









What a manifold is and what tasks it solves in the system
The manifold distributes the heat carrier or water across the circuits, equalizes pressure between the branches and simplifies system maintenance. Below we break down what the manifold assembly consists of and what tasks it handles.
Design of the manifold assembly: what the manifold consists of
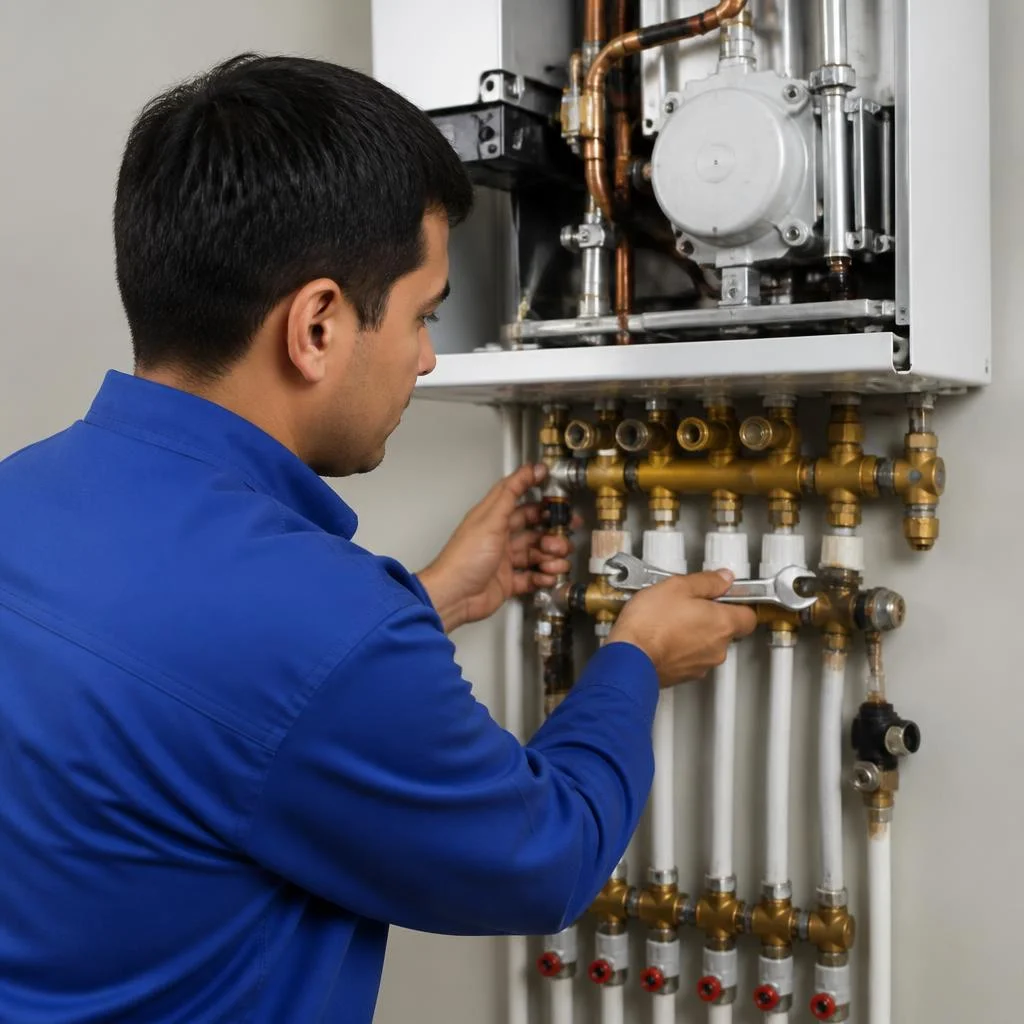
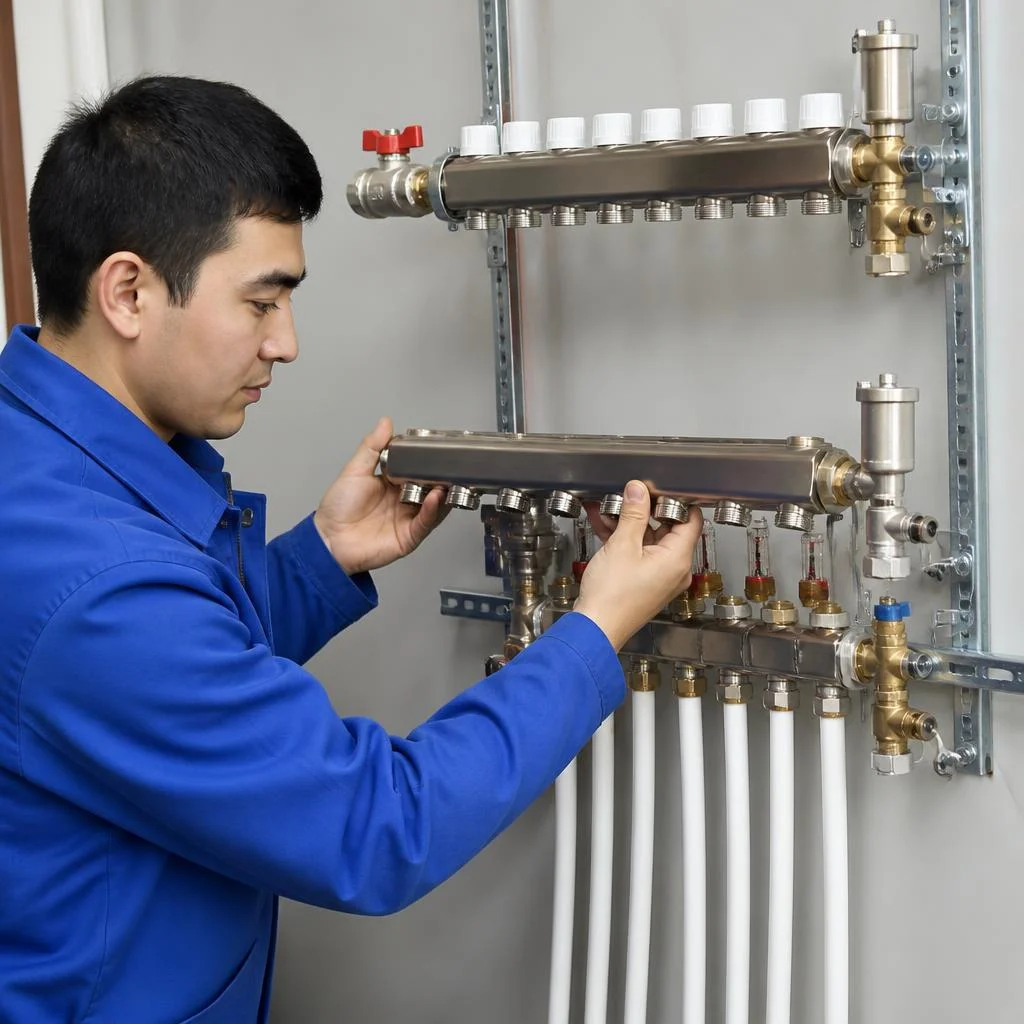
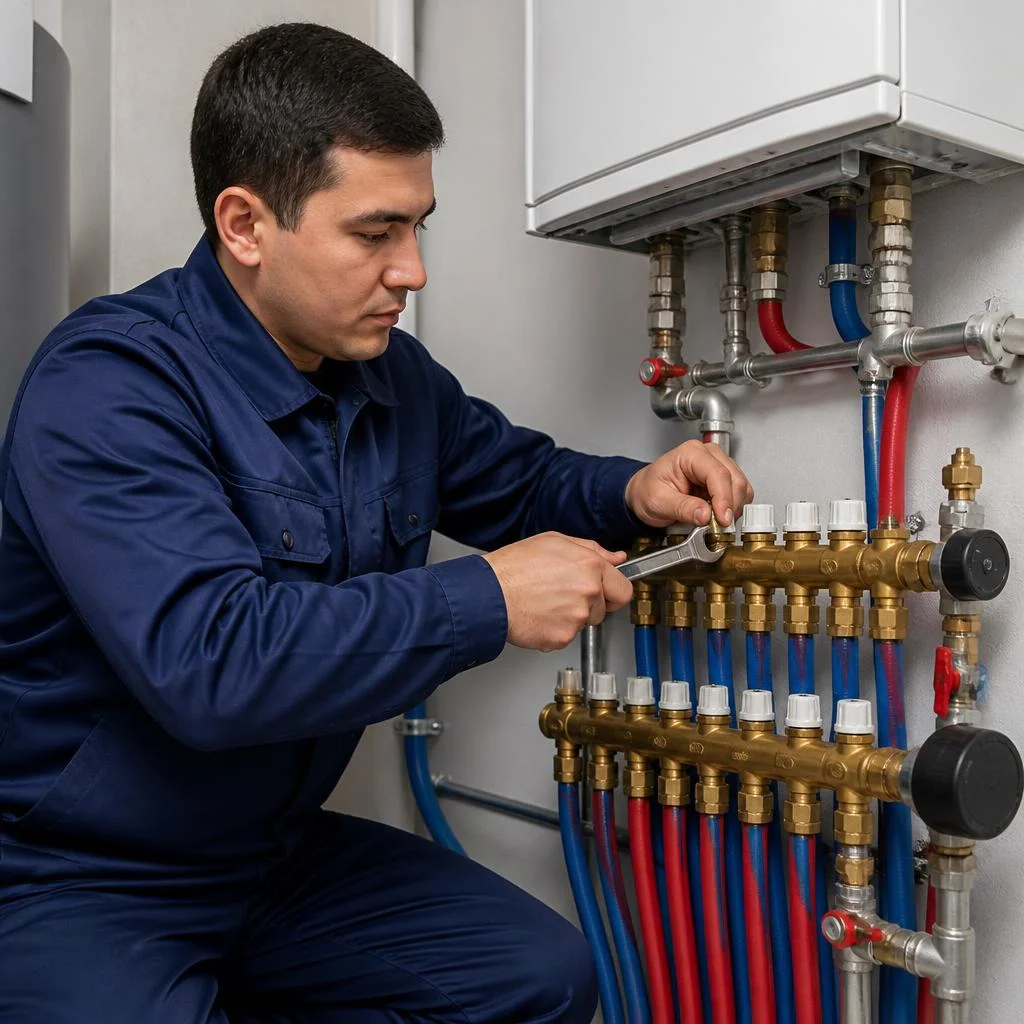
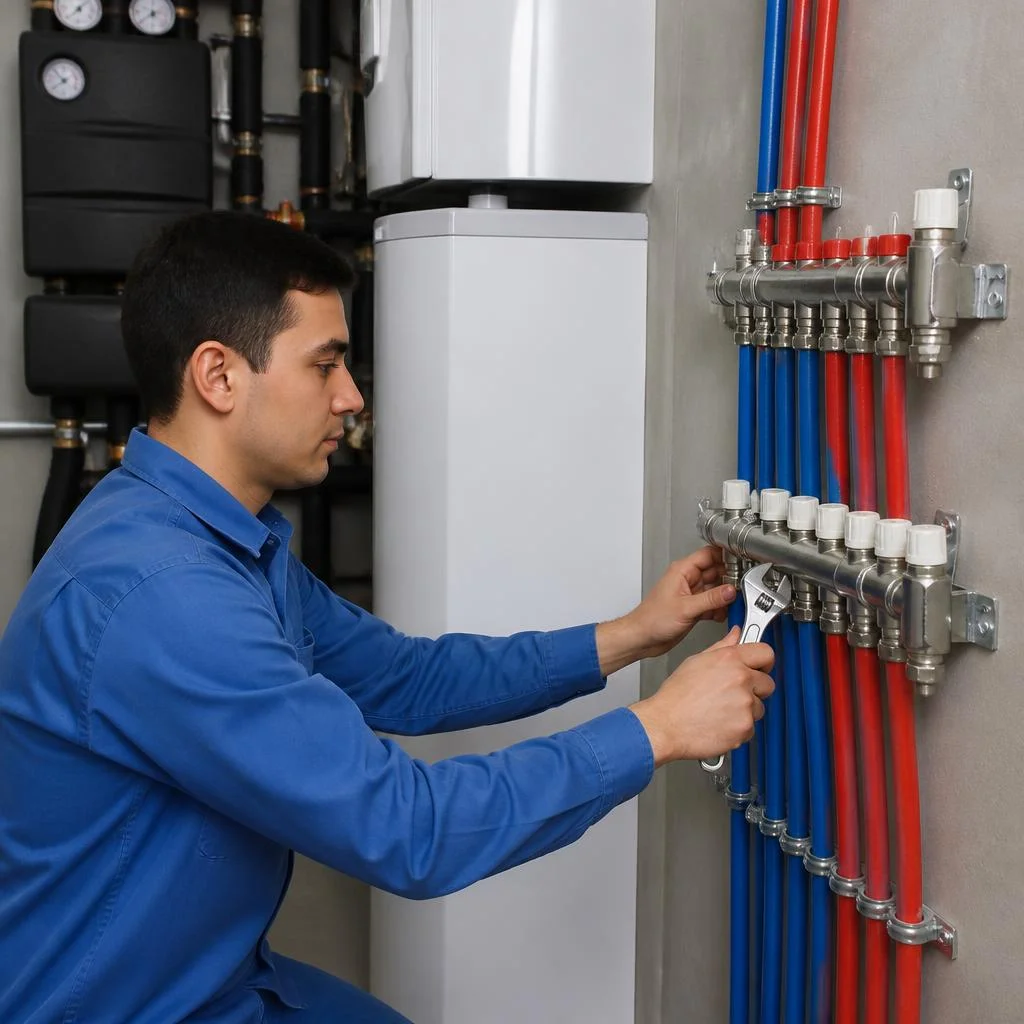
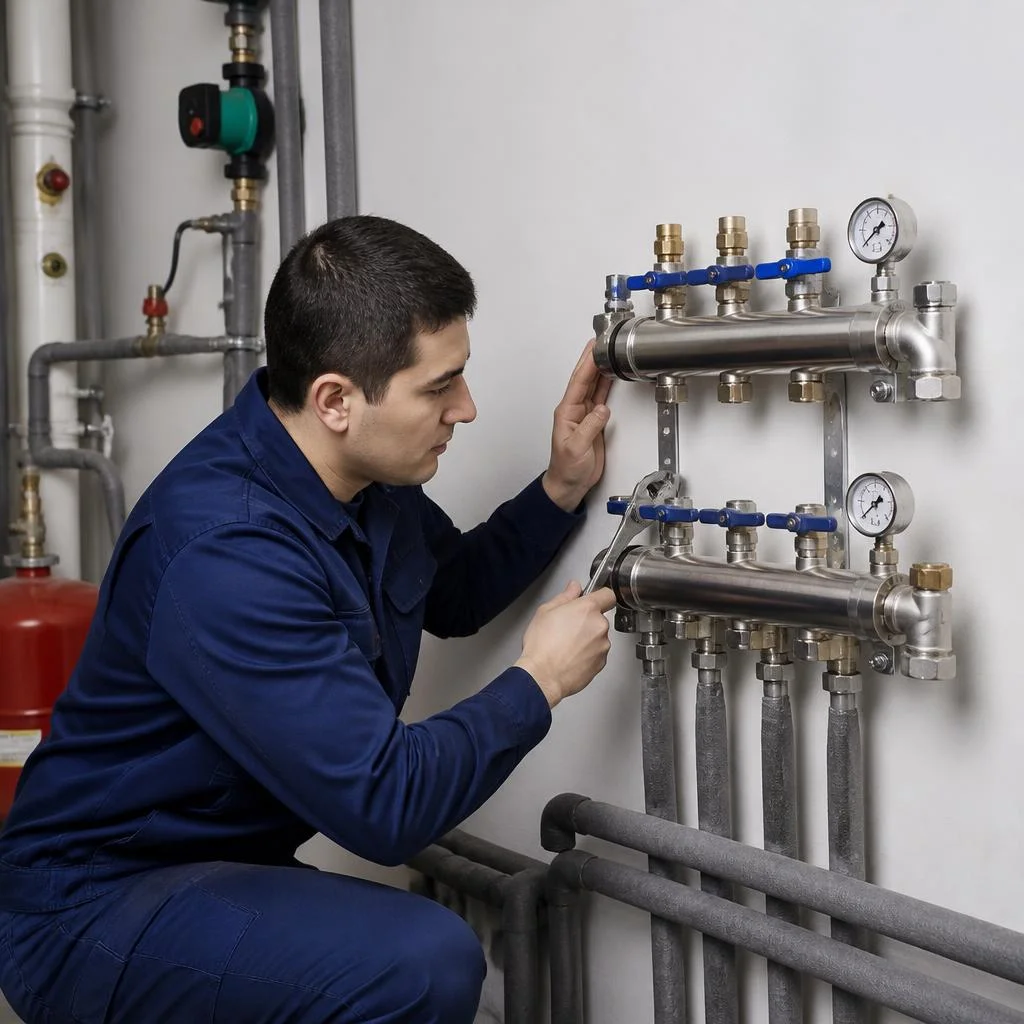
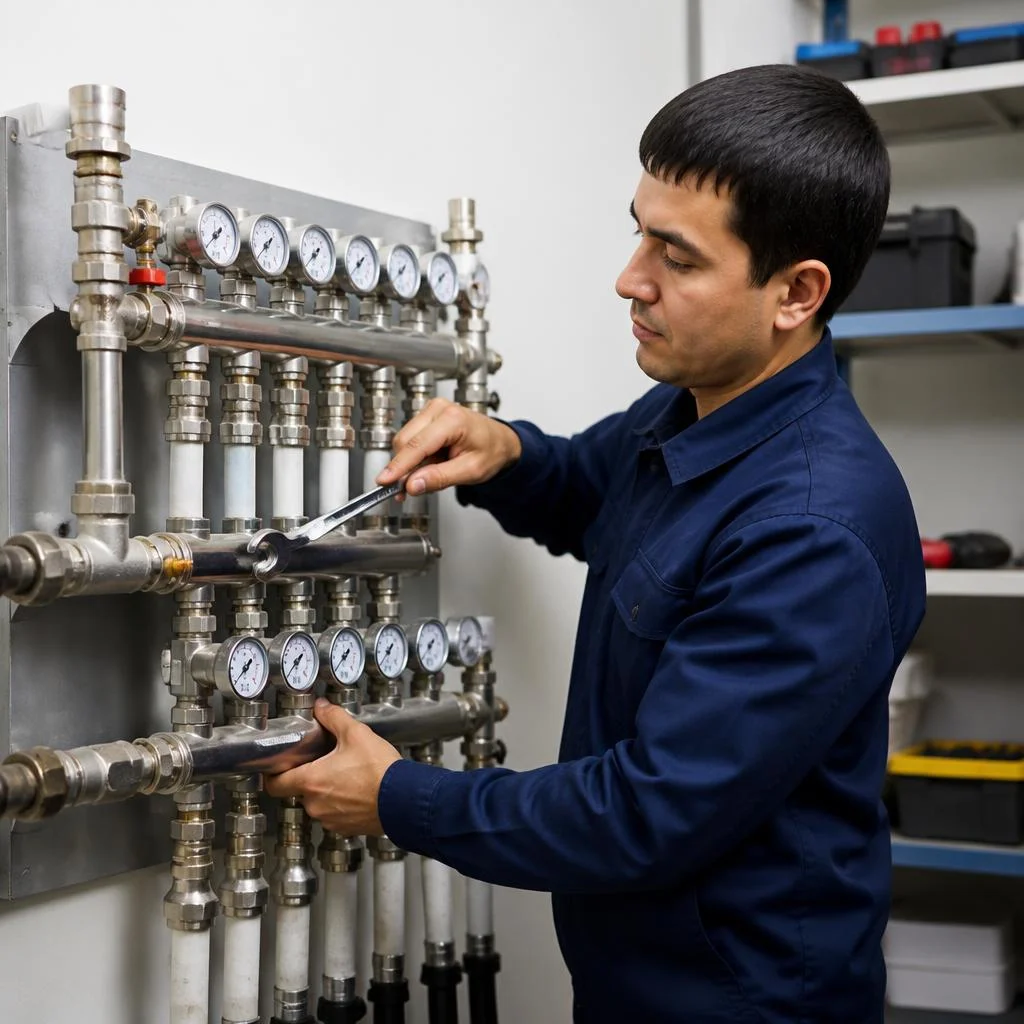
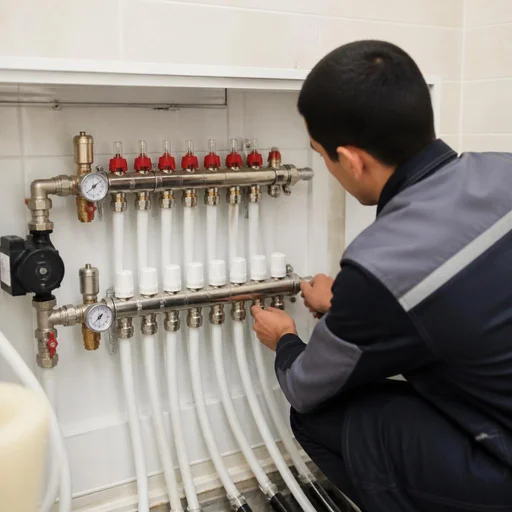
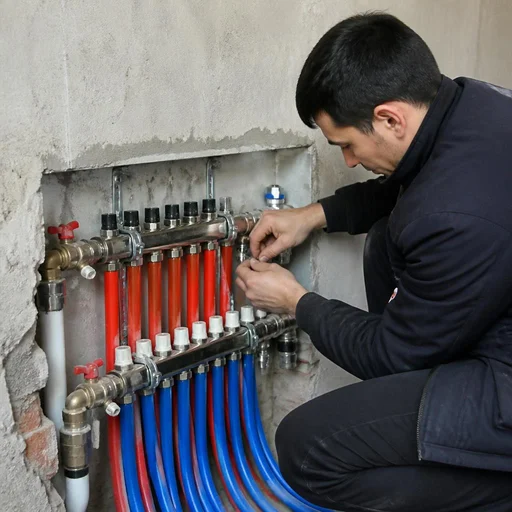
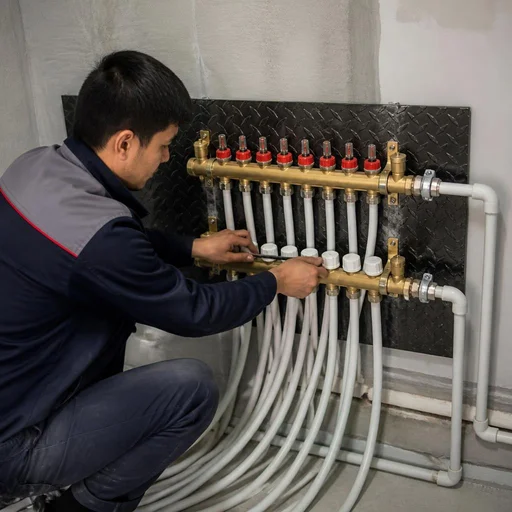
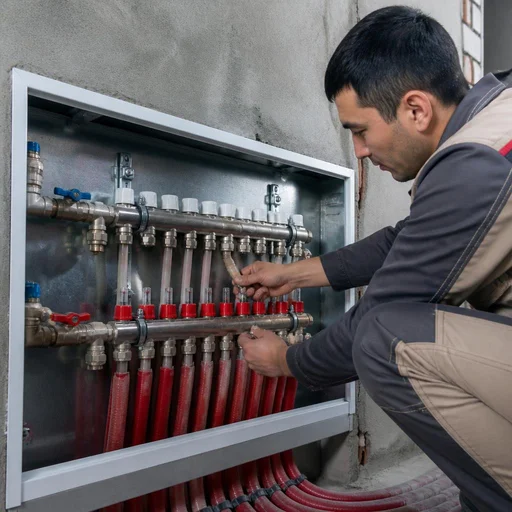
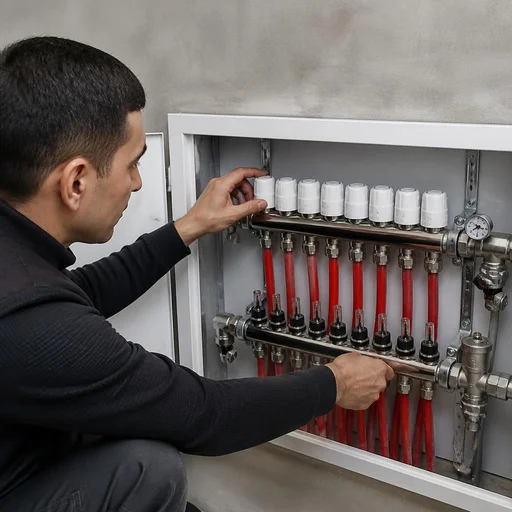
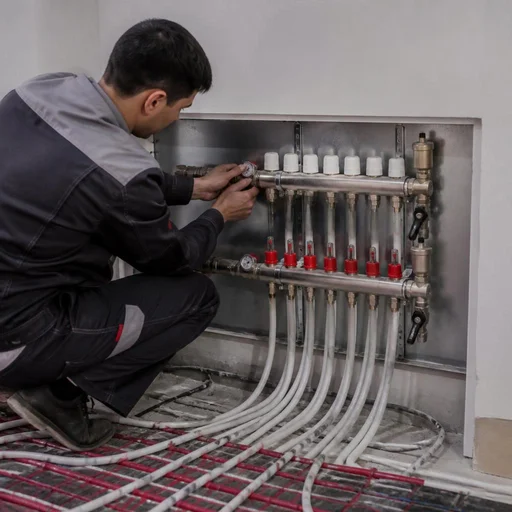
A manifold assembly is a supply and return manifold connected to the circuits via fittings, with flow meters, balancing valves and an air vent. The body is assembled from brass or stainless steel, and the outlets are distributed via a euroconus or press fitting for pipes of 16, 20 and 26 mm. Flow meters are installed on the supply — the bulb shows liters per minute on each circuit, while the balancing valves on the return set the design flow rate. The automatic air vent is brought out to the top point of the manifold, and the drain valve to the bottom, so the system can be drained before the season. When assembling units with 8 or more outlets, the body is mounted on a bracket in the manifold cabinet — otherwise the weight of the filled loops deforms the structure. If the manifold has no air vent, after the first season the underfloor heating circuits become airlocked — heating becomes uneven, and a technician will have to be called again.
How a manifold differs from tee distribution
A manifold provides independent regulation of each circuit, while tee distribution does not: when the flow rate changes in one branch, the entire system readjusts. With tees, water follows the path of least resistance — the nearest radiator receives more heat carrier, the farthest is underheated, and the temperature difference between the first and last appliance reaches 8-10 °C. The manifold assembly solves this with flow meters: each loop is adjusted separately for its heat losses, and the balancing valves lock in the flow rate. Maintainability is also higher — one branch can be shut off without stopping the others. On sites with 4+ circuits, tee distribution almost always leads to uneven heating — the manifold pays for itself already in the first heating season.
For which systems manifolds are installed in Tashkent
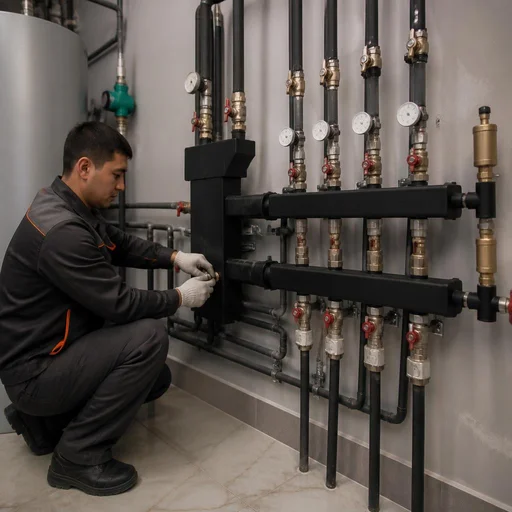
- Heating manifold: distributes the heat carrier to the radiators, works with supply from a central riser or boiler, and is equipped with shut-off valves and an air vent.
- Water supply manifold: distributes cold and hot water to bathrooms and water draw-off points; for the hot line, a body with heat-resistant seals and thermal expansion compensators is used.
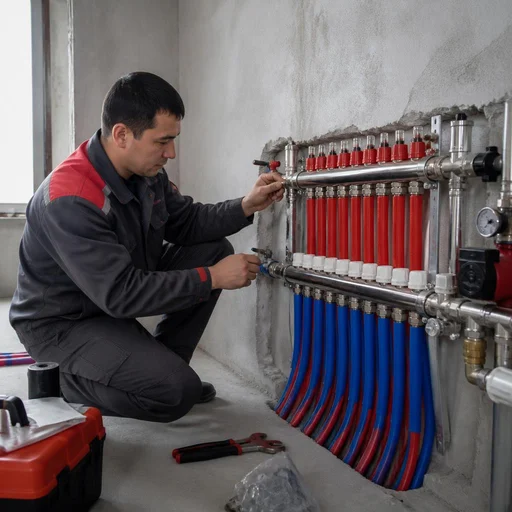
- Underfloor heating manifold: supplies the heat carrier to the loops through a pump-and-mixing unit, with flow meters and servomotors for room-by-room regulation.
We assemble manifolds for all three systems at sites in Tashkent. For underfloor heating, a pump-and-mixing unit is mandatory: without it, the supply temperature in the circuits is higher than permissible for the pipes, and the screed cracks.
Installation of a heating manifold: selection and installation for radiator distribution
The heating manifold is selected according to the number of radiators and the type of riser. We explain how we calculate the outlets, what diameter is needed for a panel building, and what materials we use for the unit.
How to select the number of manifold outlets
We calculate the outlets based on the number of radiators plus one reserve: for a typical three-room apartment in Tashkent this is 5-6 outlets, for a private house — 8-12. At sites in the Mirzo-Ulugbek and Yunusabad districts, schemes with 6 and 8 circuits are most common — for bedrooms, kitchen, living room and bathroom with a towel warmer. If underfloor heating is included in the project on the ground floor, a separate group is added to the radiator circuits through a mixing unit. Our specialists select the number of manifold outlets for the site after measuring the area and calculating heat losses for each room. A reserve outlet is cheaper to add right away during installation than to replace the entire manifold later: manifolds are not extended in sections, they are replaced entirely, and along with it the entire distribution is redone.
Manifold diameter for the riser of a panel building
For panel buildings in Tashkent, we most often install 1″ or 1¼″ manifolds at the inlet — this is enough for 6-8 radiators without pressure drop on the far circuits. In series with bottom distribution and a narrowed ¾″ riser, the transition to a 1″ manifold is made through a nipple, otherwise the throughput will not be enough for the last room. At sites in Chilanzar and Sergeli, where risers were replaced during major repairs, 32 mm inlets are found — for these, a manifold with a 1¼″ inlet and ½″ outlets is used. An undersized diameter does not show up immediately, but in winter: the far radiator heats weaker, and owners blame it on a "bad riser," although the cause is the narrow cross-section of the manifold, which does not pass the design flow rate of the coolant. Eco-Service specialists select the manifold diameter for the riser of a panel building after checking the actual inlet passage and the number of circuits.
Brass or stainless steel: what we install and why
| Material | Where we use it | Feature |
|---|---|---|
| Brass | Apartments, 4-8 circuits | Threaded outlets, repairable |
| Stainless steel | Private houses, 8-12 circuits | Withstands pressure up to 10 bar |
| Polypropylene | Water supply | Warps under temperature fluctuations in heating |
| Combined unit | Reconstruction | Brass manifold on a steel bracket |
Brass and stainless steel manifolds cover almost all heating demand: brass is chosen for apartments on a moderate budget, stainless steel — for private houses and high-pressure systems. Polypropylene manifolds are cheaper, but in heating they warp under temperature fluctuations — threaded connections start to leak as early as the second season, and the unit has to be redone. When selecting, look not only at the body material, but also at the type of outlets: euroconus requires one type of fittings, threaded radiator plugs require another, and adapters between them eat up space in the cabinet.
Stages of heating manifold installation
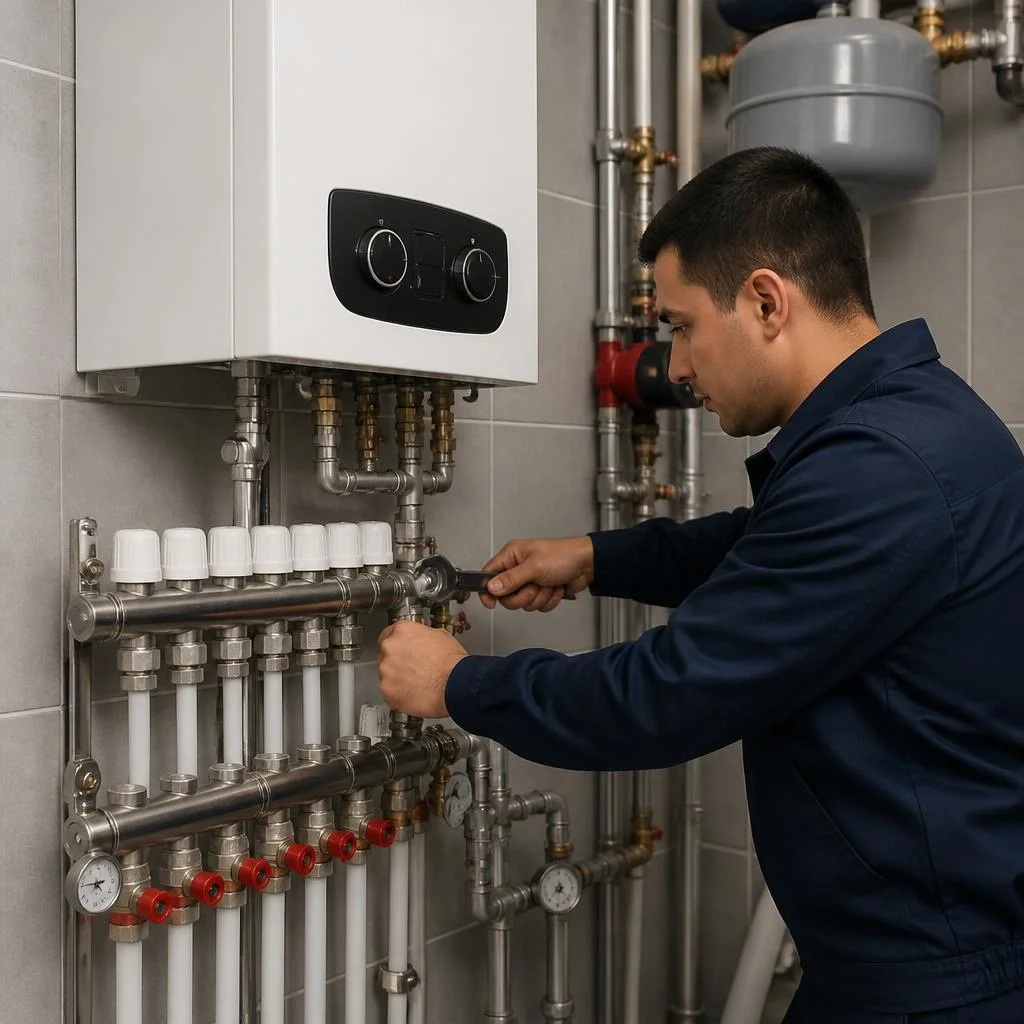
Our heating manifold installation proceeds in five stages: marking and mounting the manifold, connecting to the riser, distributing the circuits, piping with automation, pressure testing. First we level the unit in the cabinet or niche and mount it on brackets with a gap for servicing. Then we tap into the riser through ball valves and a filter, install a bypass so the system works when the manifold is shut off. We run the distribution to the radiators, with a shut-off valve and a balancing valve at each outlet. Then the automation piping: thermostatic heads, flow meters, and if necessary — a pump mixing unit. Pressure testing is not a formality: we keep the system under pressure until acceptance, because opening up connections hidden in the wall after finishing is many times more expensive. Installation of the manifold at Eco-Service sites ends with recording the pressure test result in a report.
What is included in manifold installation for radiator distribution
Work on a radiator system includes mounting the manifold, tapping into the riser, distributing across circuits, piping with valves and fittings, and pressure-testing the unit before acceptance. Fasteners are selected to match the wall material: in Tashkent's panel buildings these are anchor studs, in brick buildings they are nail dowels anchored into the masonry. Tapping into the riser requires shutting down the riser according to the management company's schedule, so the work is planned for the non-heating season. Distribution is done with 16 or 20 mm pipe — metal-plastic and cross-linked polyethylene require different fittings, and adapters eat up space in the cabinet. The piping includes ball valves, a filter, balancing valves and, if necessary, a pump-and-mixing unit. Before acceptance, the unit is held under test pressure — connections hidden in the wall are more expensive to open up after the finish work than to check right away.
Installation of a water supply manifold: distributing cold and hot water to points
A water supply manifold distributes cold and hot water to bathrooms and water draw-off points without tees in the walls. Let's break down how we plan the distribution, where we place the manifold unit and how we connect it to the riser.
How distribution to bathrooms and points is planned
We run water from the manifold in a separate line to each point — mixer, toilet, washing machine, boiler — without tees in the wall, so that pressure does not drop when several are opened at once. In a typical apartment with two bathrooms, this comes to 8-12 lines: 4-6 each for cold and hot water, each on its own manifold outlet. We make connections with euroconus fittings or press fittings: the euroconus is more convenient for later repair of the faucet, the press fitting is more reliable in a hidden chase under tiles. We run the cold and hot water routes in parallel with a gap of at least 20 mm, so that the hot pipe does not heat the cold one and there are no temperature fluctuations at the mixer. A separate line to each point eliminates the "cold shower effect": when water is turned on in the kitchen, the pressure in the bathroom does not drop.
Where to place the manifold cabinet
We place the manifold cabinet in a niche or bathroom with access for maintenance: concealed installation is acceptable, but the hatch must open without dismantling the tiles. In new buildings, a niche of 600×400×120 mm in the bathroom or hallway at the entrance to the bathroom is most often used for the water supply manifold — this is enough for a cold and hot water manifold with shut-off valves and pressure reducers. If there is no niche, we move the cabinet into a walk-in closet or into the kitchen under the sink, but not into a solid wall and not behind a stretch ceiling. We install a manifold cabinet for concealed installation with an inspection hatch on magnets or a concealed hinge. A cabinet in a solid wall without inspection access is a typical mistake: at the first leak you have to open up the finish to get to the valves.
Connecting the water supply manifold to the riser
We connect the water supply manifold to the riser through ball valves and filters at the inlet — this makes it possible to shut off the manifold for maintenance without draining the entire system. We make the tap on a threaded connection or through a press tee, depending on the pipe material: panel buildings mostly have steel, new ones have polypropylene or cross-linked polyethylene. At the cold and hot water inlets we install main coarse filters of 100 microns and a pressure reducer if the pressure in the riser is above 4 bar. We assemble the piping with detachable connections — when replacing a cartridge or faucet you won't have to cut the pipe. For installing a water supply manifold, the price is made up of the number of points, the pipe material and the tapping scheme; a filter before the manifold extends the life of mixer cartridges, because without it sand from the city water clogs the aerators within a couple of months.
Assembling a Underfloor Heating Manifold: Flow Meters, Mixing Unit, Balancing
The underfloor heating manifold is the most complex unit in the system: flow meters, the mixing unit and proper balancing of the loops are essential here. Let's go through each element in order.
Why a Pump and Mixing Unit Is Needed
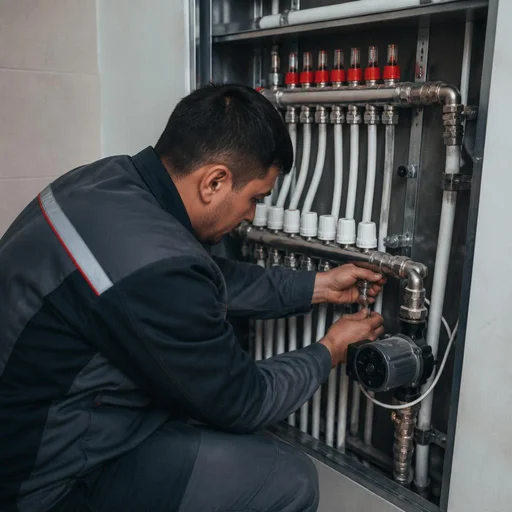
The pump and mixing unit mixes return water into the supply to keep a safe temperature in the underfloor heating loops — without it, the screed and pipes operate at their limit. The unit is assembled on a three-way valve with a thermostatic head, a circulation pump and a bypass: the pump circulates the heat carrier through the loops, the valve doses hot water from the boiler, and the return from the floor goes back into the circuit. For the loops, the supply is kept in the range of 35-45 °C, while 70-80 °C comes from the boiler — the difference is precisely what the mixing removes. Through Eco-Service, a pump and mixing unit is assembled for a specific area: for 60-80 m² a unit with a 25/6 pump is installed, for 120-150 m² — a 25/7 with higher flow. The supply temperature in the loops is selected according to the type of flooring: higher under tiles, lower under laminate, otherwise the flooring deforms.
Flow Meters and Loop Balancing
We install flow meters on each loop and balance them according to actual flow: we throttle short loops and open long ones — then the floor heats evenly across the entire area. A flow meter is a glass tube with a 0.5-4 l/min scale and a float: it shows the actual flow of heat carrier in each loop, not the calculated one. Balancing is needed because loops have different lengths: a 40 m loop and a 90 m loop receive different flow at the same valve opening, and the short loop consumes most of the heat. Eco-Service installs flow meters on underfloor heating loops and adjusts them after the system is started up, when the heat carrier is already warmed. Without balancing, the shortest loop takes most of the heat carrier, and the far room stays cold — and the owner turns the thermostat to maximum, overheating the rest.
Servo Drives and Thermostatic Valve: Loop Automation
- Thermostatic valve: installed on the supply manifold and keeps the heat carrier temperature in the loops at the set level by mixing in return water.
- Servo drive: screws onto the loop's balancing valve and shuts off the loop on command from the room thermostat when the required temperature is reached in the room.
- Room thermostat: a programmable device on the wall that sets the schedule by the clock — for example, lower at night, higher in the morning — and sends a signal to the servo drives.
Comparison of Manifolds for Heating, Water Supply and Underfloor Heating
| System Type | Key Components | What It Regulates |
|---|---|---|
| Heating manifold | Balancing valves, air vents | Flow through radiators, air removal |
| Water supply manifold | Ball valves, filters, meters | Cold and hot water supply to points |
| Underfloor heating manifold | Flow meters, pump and mixing unit, servo drives | Flow through loops, supply temperature |
There is no universal manifold "for all systems": the configuration is selected for the task, and trying to save on this leads to redoing the unit. Eco-Service configures manifolds for the type of system — from radiator distribution to underfloor heating loops with automation. Manifold assembly in Tashkent is carried out with the composition of the unit fixed before work begins: the more loops and automation devices, the higher the final estimate, so the configuration is agreed in advance. Clients often phrase the request as underfloor heating manifold installation price — and this is an accurate description of what we calculate: assembly of the unit, installation of flow meters, connection of servo drives and commissioning of the loops. The cost depends on the number of loops, the type of pump and mixing unit and the number of automation devices, not directly on the area of the room.
Common mistakes when installing manifolds and how to avoid them
Some problems with manifolds are the result of installation errors rather than equipment defects. We examine the most common ones: airlocks, imbalance, and selection mistakes that cause the system to operate outside its design conditions.
Airlocks and noise in pipes
Noise in pipes and poor heating of distant fixtures most often mean an airlock: air accumulates at the highest point of the circuit and blocks the flow of the heat-transfer fluid. The pump hums more evenly than usual, and the temperature difference between supply and return grows to 15-20 degrees — these two signs reveal the fault without disassembling the unit. An automatic air vent at the highest point of the manifold eliminates the problem from the start: it releases air during filling and after every draining of the system. Without it, air is removed manually through Mayevsky valves, and after a scheduled shutdown of the riser the procedure must be repeated. During installation, bring the air vent out at the highest point of the unit — on the lower manifold it is useless, since an air pocket does not form there.
Uneven heating due to lack of balancing
If one underfloor heating circuit heats more strongly than the others, the cause is a lack of balancing: the flow of heat-transfer fluid between the loops is not equalized. The loop with the lowest hydraulic resistance — usually the shortest one — takes most of the flow, while the long circuits receive insufficient heat and warm up with a delay of 30-40 minutes. The flow is equalized with flow meters on the supply manifold: liters per minute are measured for each loop and the valves are adjusted to the design values — for circuits of 60-80 meters this is approximately 1.5-2 liters per minute. Balancing is done using the flow meters, not "by eye": without measurements, adjustment turns into trial and error with valve positions, and the result is unstable — after a change in outdoor temperature the imbalance returns.
Mistakes when choosing the diameter and number of outlets
- Diameter for the riser: a 3/4 inch manifold on a 1 inch riser chokes the flow, the velocity of the heat-transfer fluid increases, and humming appears in the pipes.
- Number of outlets: the manifold is chosen exactly according to the number of circuits with no reserve — later there is nowhere to add a radiator or a loop.
- Flow capacity: a unit with 6 outlets is installed on 10 circuits on the assumption that it will "push it through" — on the distant loops the flow drops by half.
- Recalculation after installation: the unit is replaced entirely, so selection is done before purchase — according to the number of circuits and the type of riser.
Warranty, timelines and acceptance of manifold installation work
After the unit is assembled, it matters who is responsible for the connections and how the work is accepted. We break down warranty obligations, pressure testing as a form of acceptance, and realistic on-site visit timelines.
2-year warranty on installation and connection
Eco-Service provides a 2-year warranty on manifold installation and connection — including threaded connections, piping and pressure testing of the unit. The obligations cover both the manifold cabinet and the tie-in points to the riser: if after six months the union fitting on the supply starts leaking or the thread on the outlet strips, the visit and repair are at the service's expense. There is one condition — the unit was not disassembled by third-party technicians and components were not changed without approval. In our practice, the cost of work does not affect the warranty period: both a basic assembly and an extended unit with flow meters are covered equally. If the unit was disassembled by third-party technicians or components were changed, the obligations for connections are voided — so keep the acceptance certificate and the receipt for the fittings.
Pressure testing as acceptance of work
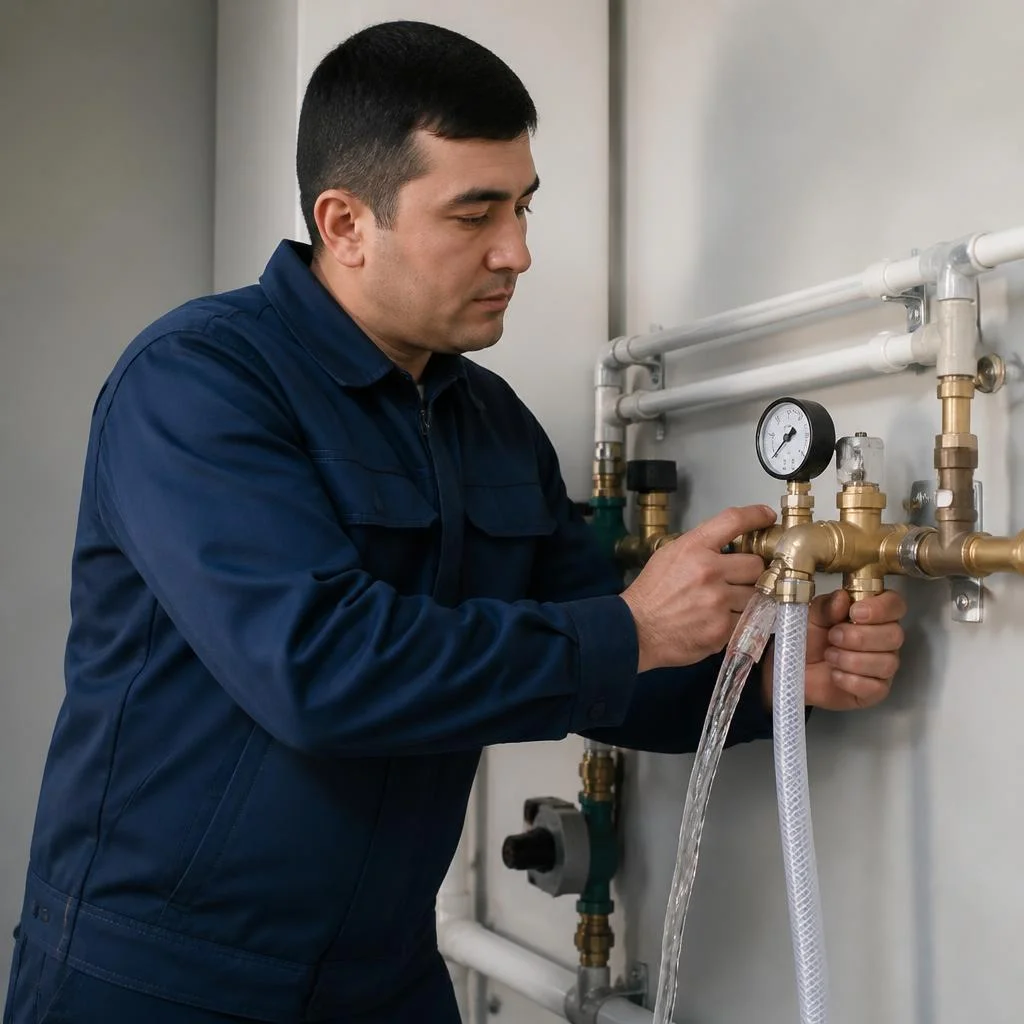
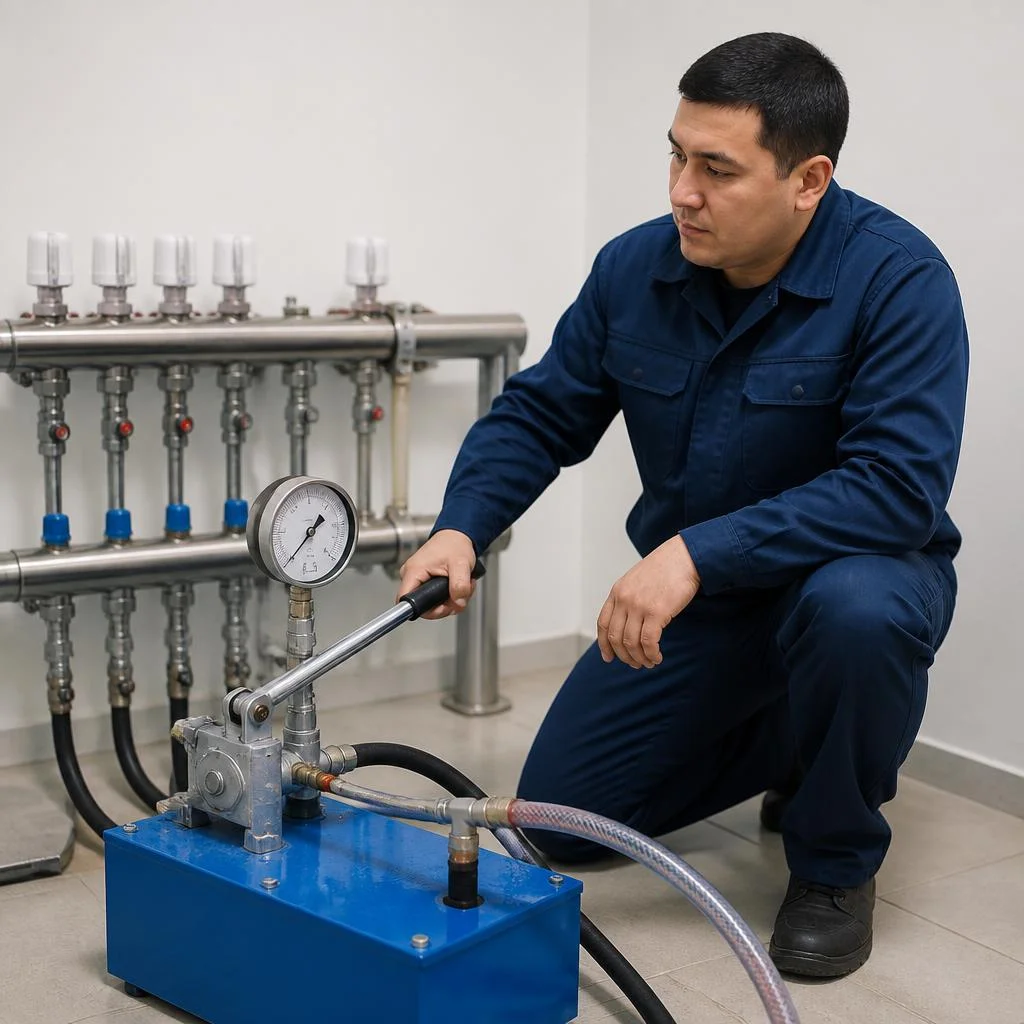
We hand over the unit after pressure testing: the system is held under pressure, and only after that is the work considered accepted — before finish finishing. We test the heating manifold at one and a half times the working pressure, and the water supply at the riser pressure with a hold of at least one hour; the pressure gauge on the supply manifold shows a drop if a union nut is not tightened somewhere or a gasket is leaking. Pressure testing is done before pouring the screed and laying tiles: if the unit is checked after finishing, any leak will mean opening up the surface. The cost of assembly does not affect the warranty period: both a basic assembly and an extended unit with flow meters are covered equally. Record the pressure test result in the certificate — this is your argument if a leak appears during the warranty period.
Installation timelines and on-site visits by districts of Tashkent
A typical manifold installation in an apartment takes one working day; we travel to districts of Tashkent — Chilanzar, Yunusabad, Mirzo-Ulugbek and others. Assembling a unit with 4-8 outlets with piping and pressure testing takes 6-8 hours, and connecting to the riser adds another 1-2 hours. The timeline depends on the readiness of the chases and screed: if the piping is already prepared, installation and pressure testing fit into a day, otherwise a preparation stage is added. Our own service center in Tashkent handles acceptance and diagnostics on site — there is no need to take the fittings to another city. Plan installation before finish finishing: postponing it to the stage after laying tiles lengthens the work by 2-3 times due to opening up the surface.
Conclusion
Manifold installation is work where the cost of a mistake is not visible immediately, but after a season: pressure imbalance, cold circuits, a frozen unit. Below is a short summary worth keeping in mind before purchasing components and before starting to chase walls.
Key takeaways
- The system type dictates the configuration: heating, water supply and underfloor heating require different fittings, and there is no universal unit "for everything".
- Calculate before purchasing: the number of outlets and the diameter are determined in advance, because a manifold is not extended in sections — it is replaced entirely along with the piping.
- Underfloor heating does not work without automation: flow meters, a mixing unit and balancing of circuits are the mandatory minimum, otherwise the far loops remain cold.
- Pressure testing before finish finishing: only it shows tightness without opening up the screed and tiles — after laying the surface there is no way to check the joints.
- Warranty on installation and connection — 2 years subject to compliance with operating conditions, system pressure and coolant quality.
- Documentation and unit passport: keep the piping diagram and receipts for the fittings — without them a warranty case is difficult to confirm, and repairs become more complicated.


