













What a distribution box is and why it is needed in an apartment
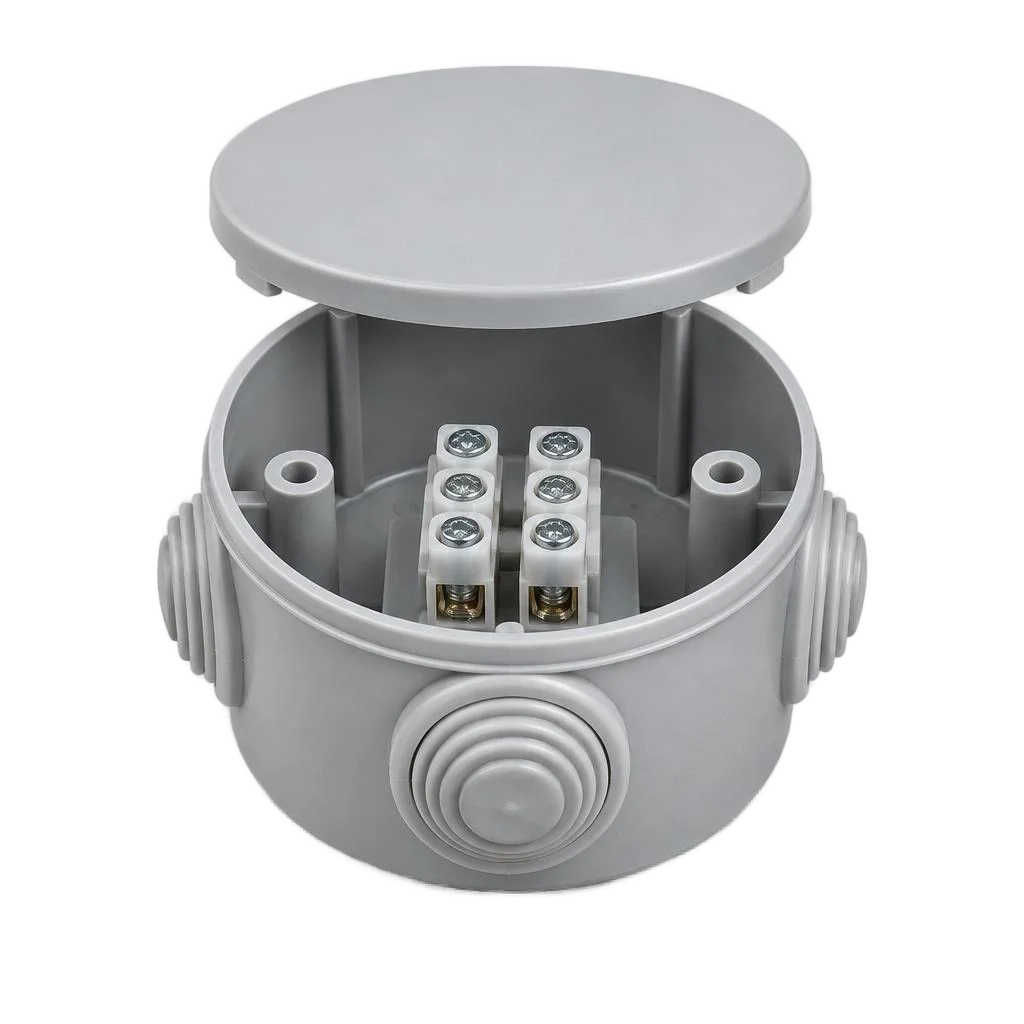
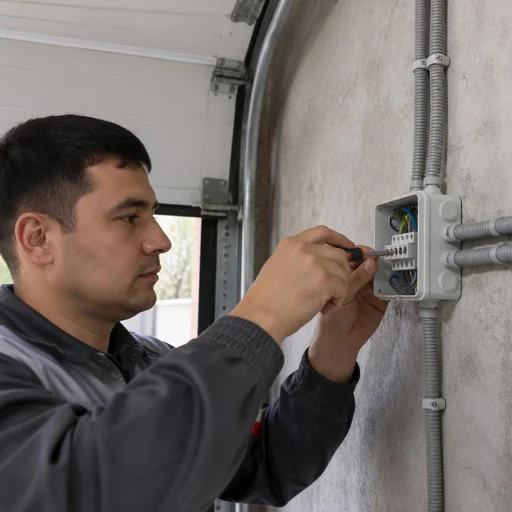
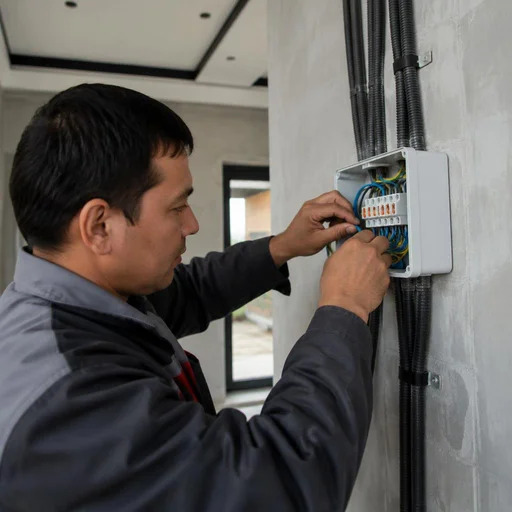
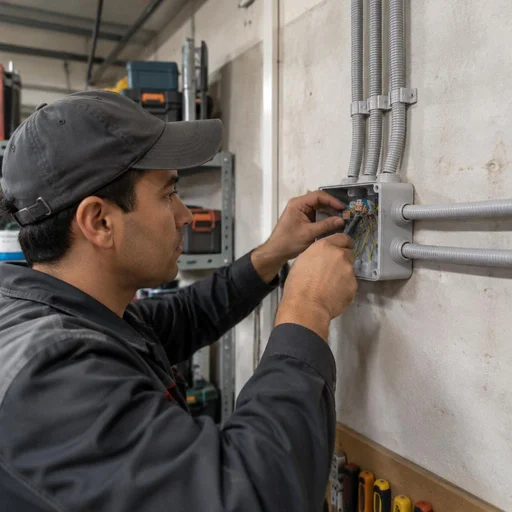
A distribution box is a node where the main cable branches into wiring groups. Without it, the wiring to the rooms turns into a bundle of separate lines from the panel, and inspecting any contact requires opening up the finish.
The purpose of a junction box in the electrical wiring scheme
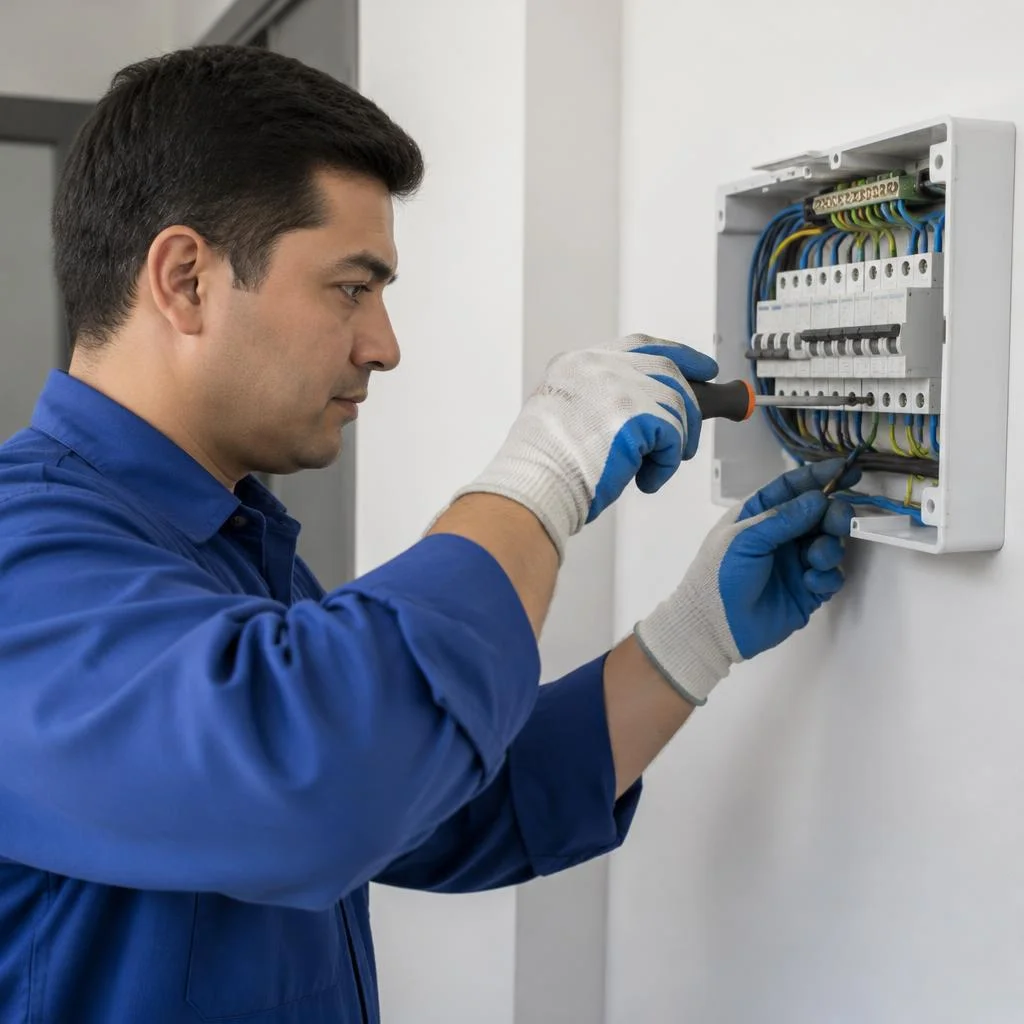
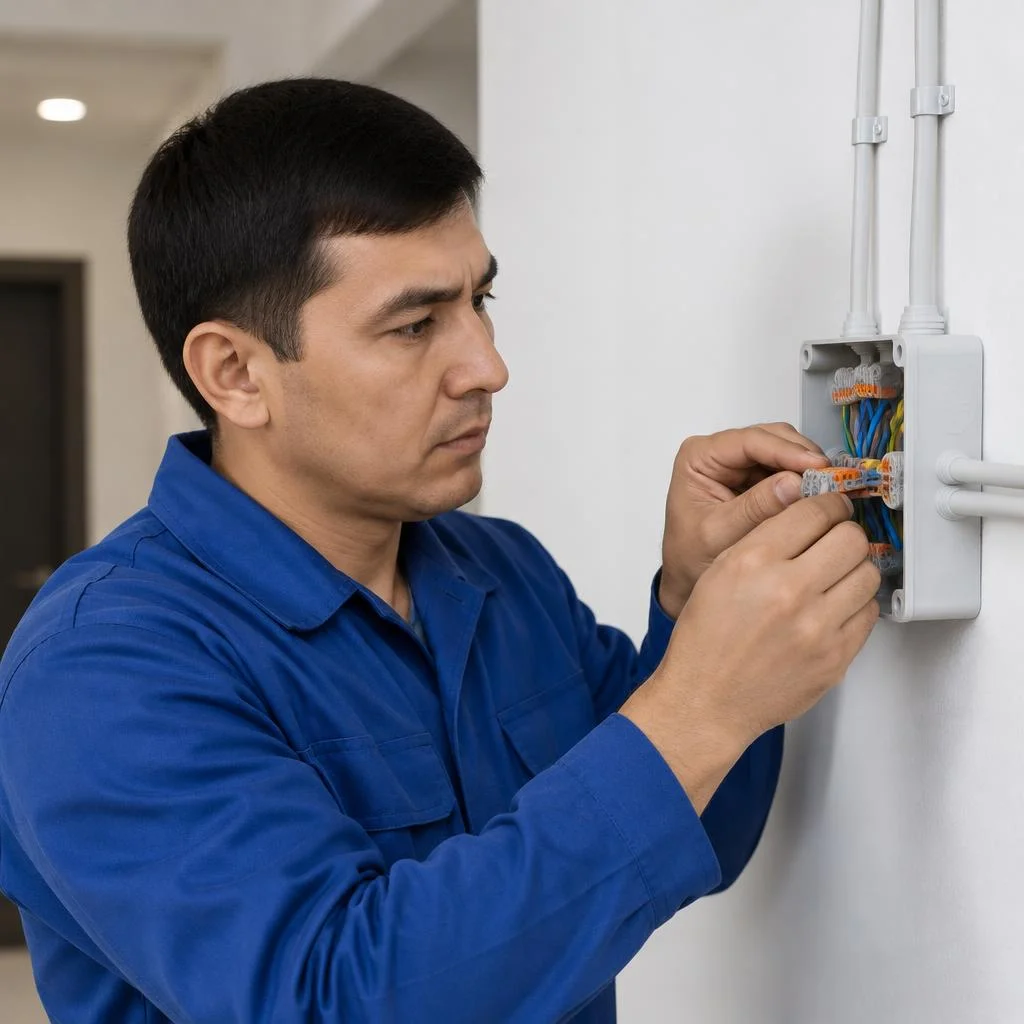
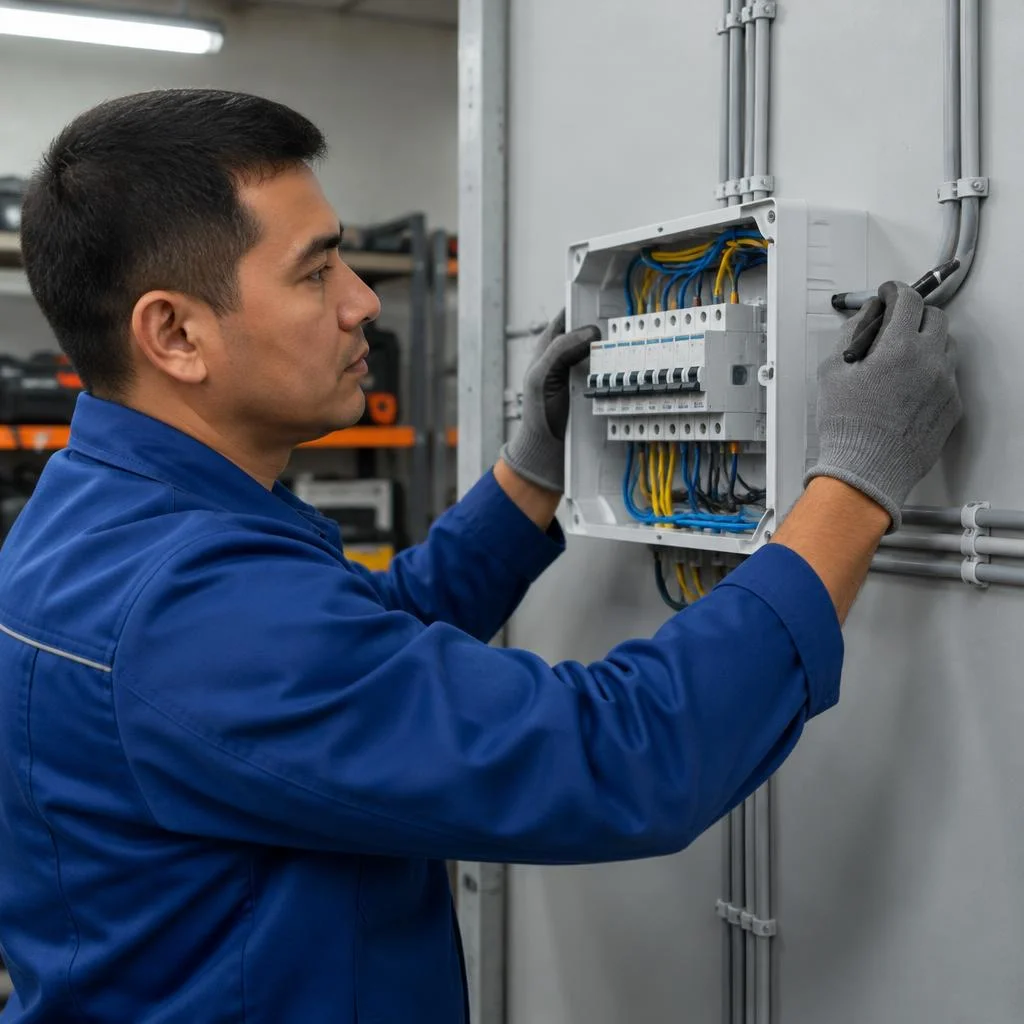
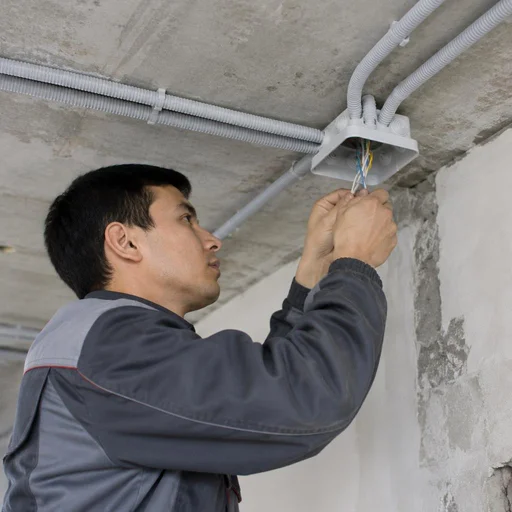
A distribution box is a node in which the main cable branches into groups: lighting, sockets, separate lines. One input comes from the panel, and inside the node it splits into three to five directions — kitchen, bedroom, bathroom, hallway; each is protected by its own 10, 16 or 25 amp breaker. It is here, and not at the socket, that copper-to-copper connections are made via Wago terminals, sleeves or soldering — whether the line will heat up depends on the quality of this contact. If the box is removed, each branch will have to be run with a separate cable from the panel: wire consumption increases 2-3 times, and finding a break or a weak contact without dismantling the walls becomes almost impossible.
Where the box is placed: ceiling, wall, under plaster
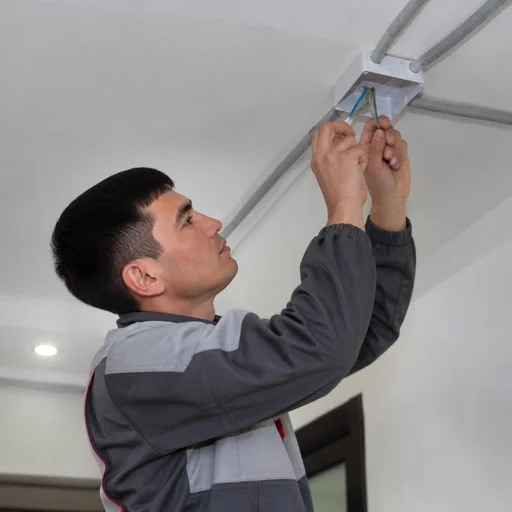
- Ceiling: the classic place in Tashkent panel buildings — the node is fixed to the slab before pouring the screed or installing the stretch fabric.
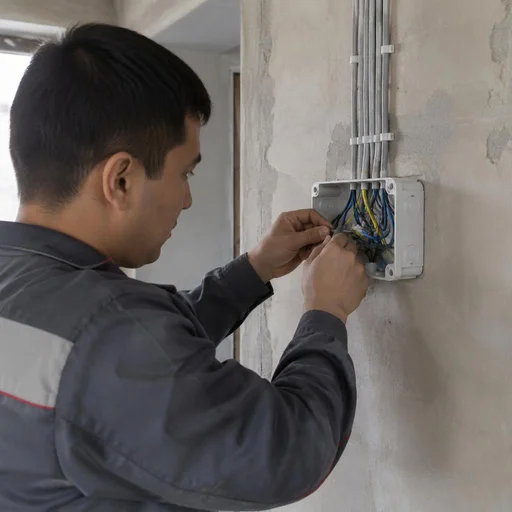
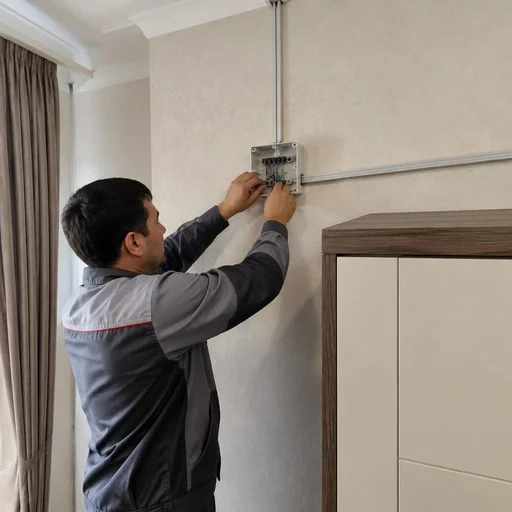
- Wall at a height of 2.2-2.5 m: a convenient level for inspection; access is not blocked by cabinets or furniture.
- Concealed in plaster: the box is recessed flush into the wall, the cover remains removable — this is how it is done in new buildings.
- In a niche or behind a false wall: an option for hallways and bathrooms where aesthetics matter.
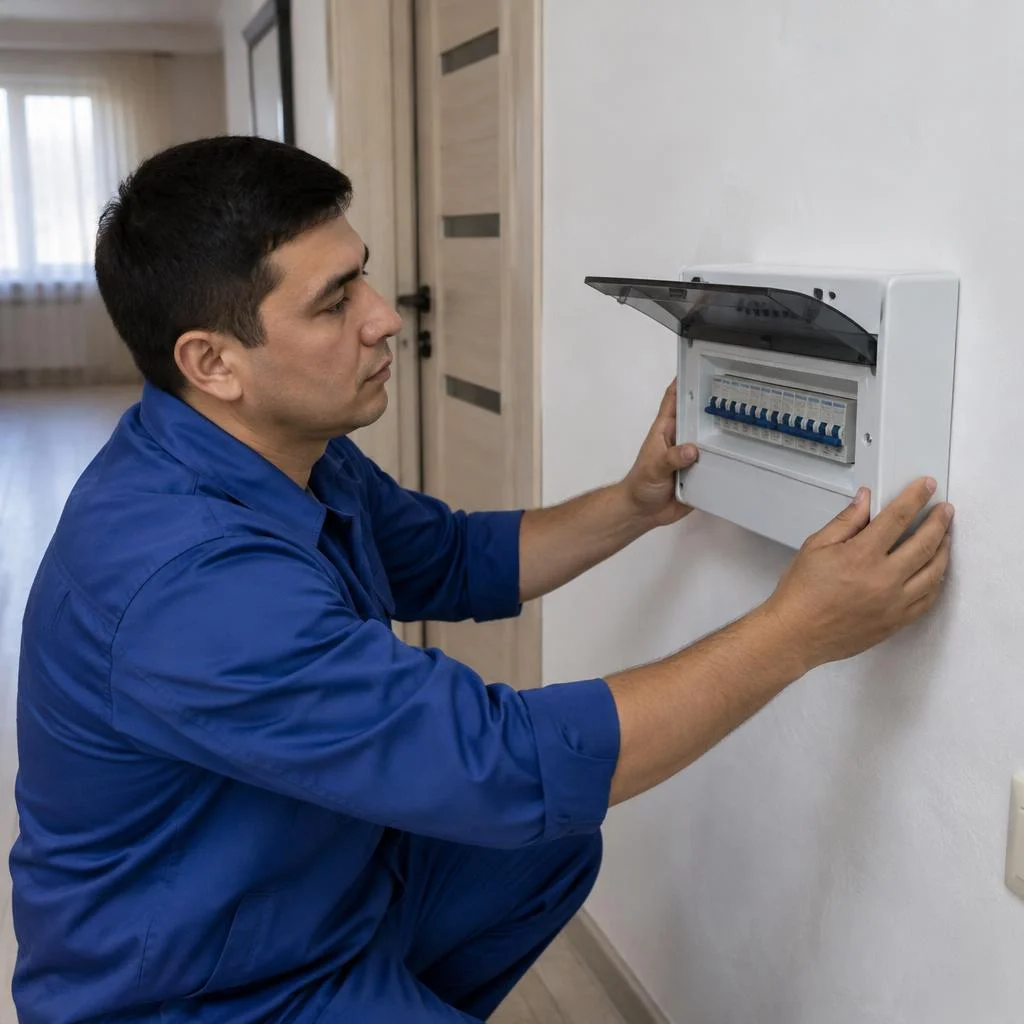
- Right by the panel: when the line is short and an intermediate node is not needed.
How a distribution box differs from a junction box
This is the same device: "distrib" is short for "distribution", "junction" comes from the word "splicing" of the wires inside. Both names describe one node: an enclosure with a terminal block where the main line is divided into groups and connected by twisting, soldering or Wago terminals. In Tashkent listings and price lists both variants are found — installation of a junction box and installation of a distribution box mean the same service, so when ordering, clarify with the technician that it is the same job, so as not to pay twice for one action. Installation of a distrib box is a term from the same group: a shortened form that electricians use in messages and requests. Clients searching also type the full variant — installation of a distribution box — and land on the same service, only the wording is four words longer.
Types of boxes and wiring: what suits an apartment and a house
The choice of box depends on whether the wiring is concealed or exposed, what the wall is made of, and what load the groups carry. We break down three scenarios: concrete and brick, surface mounting, and classification by material with IP.
Box for concealed wiring: under plaster and in concrete
We install boxes for concealed wiring in concrete and brick using a core bit and a rotary hammer, seating them on alabaster or gypsum mortar. We select the core bit diameter to match the product's size: a standard round box takes 68 mm, two groups side by side take 80 mm, and when chasing for a block of three sections we use 100 mm. In concrete we drill to a depth of 45–50 mm, in brick — 40 mm, otherwise the loose masonry crumbles at the edge of the hole. In Tashkent panel buildings of series 1-464, the rebar runs in a mesh with a 100 mm pitch, so we choose the point using a detector, not at random. Clients often phrase the request as installation of a junction box price — and the technician immediately understands that both a mounting box and seating into the wall are needed. In concrete, the seating depth is critical: if the box is sunk too deep, the cover won't close flush with the plaster, and it will have to be leveled again.
Box for exposed wiring: when it's needed and what it looks like
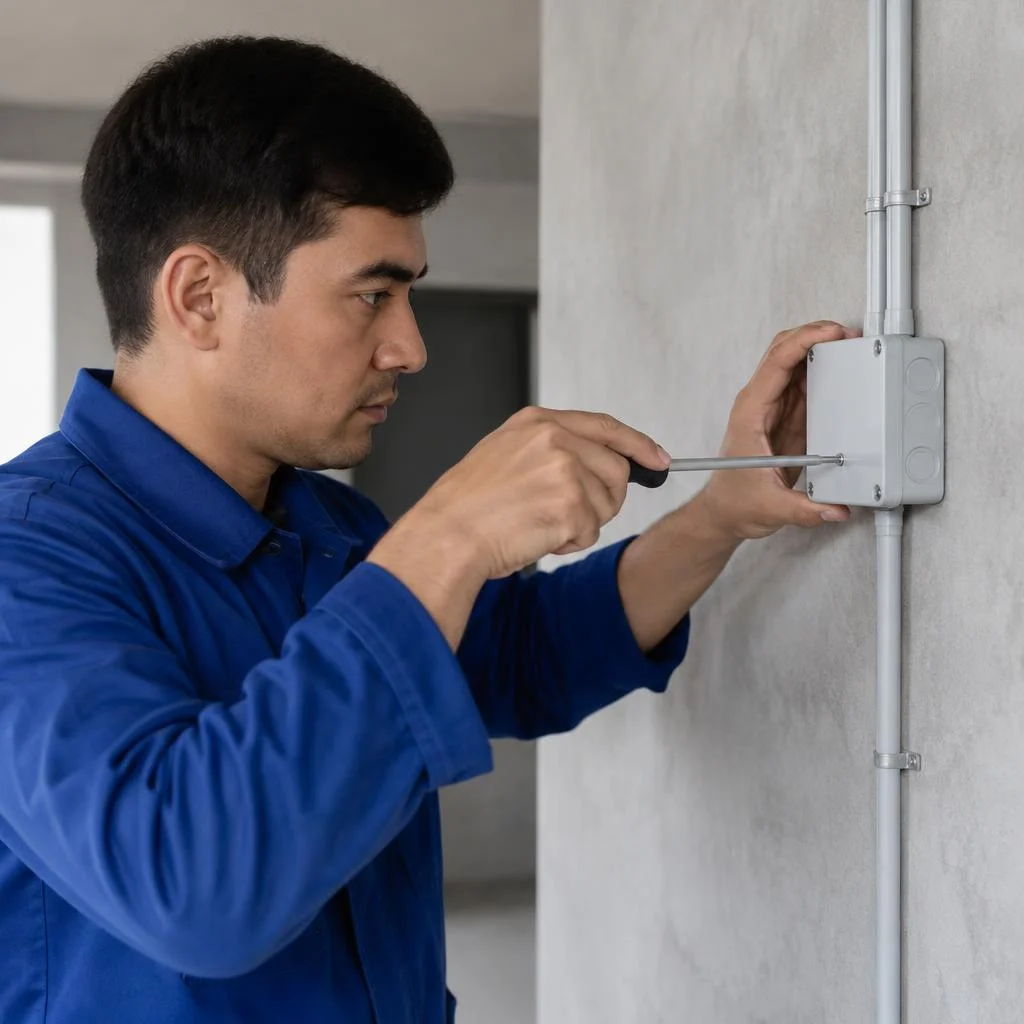
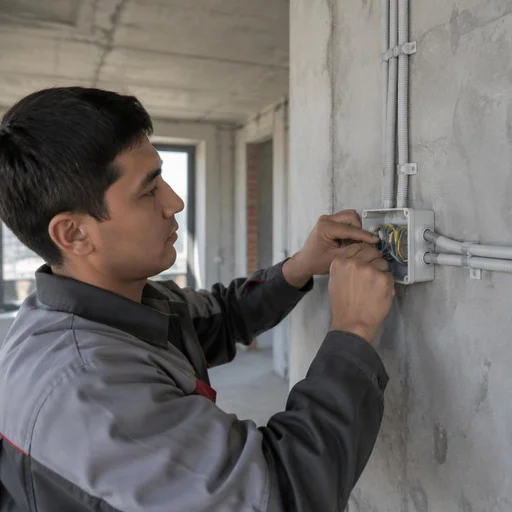
We mount an exposed box on the wall for surface wiring — in wooden houses, at dachas, and in utility rooms. The body comes with four to six entries for 3×2.5 and 3×1.5 cable, the cover is removed on a latch or two screws, and fastening is with two wood screws or 6×40 dowel nails into brick. In wooden buildings near Tashkent (Chirchiq, Gazalkent), we additionally run the cable in flexible metal conduit or corrugated tubing with a metal braid — an exposed plastic box without this doesn't provide the required protection class. The standard size of an outdoor box is 100×100×50 mm; for eight groups we use 150×110×70 mm. For exposed wiring, choose a box with an IP of at least 44: in unheated rooms, condensation settles on the walls and, without protection, causes oxidation of the terminals.
Comparison of boxes by material, IP, and purpose
| Box type | Material | IP | Where it's used |
|---|---|---|---|
| Under plaster | plastic | IP20 | apartments, offices |
| Outdoor | plastic | IP44-IP65 | dachas, utility rooms |
| Metal | steel | IP20-IP44 | industrial, wood |
| For drywall | plastic | IP20 | partitions, ceilings |
Plastic is used for apartments, metal — for rooms with increased fire safety requirements; IP is chosen according to humidity. For drywall, boxes with clamping lugs are used: they are fixed in a 12.5 mm sheet without a backing, but for two or more groups a jumper between sections is needed. Metal models at sites with wooden structures are installed with mandatory grounding of the body — a separate 2.5 mm² conductor to the PE bus. Don't confuse the IP of the box with the IP of the entire assembly: even an IP65 box won't help if the cable enters through an unsealed entry.
What is clarified before ordering
- Wall type: concrete, brick, or drywall determines the seating method — core bit, chase, or clamping lugs.
- Number of groups: up to three, a round 68 mm box is enough; from four — a block with a jumper.
- Connection method: Wago terminals for copper, sleeves or soldering for aluminum in old housing stock.
- Estimate: installation of a junction box price depends on the volume of chasing and the number of groups, not on the cost of the product.
- Replacing the assembly: installation of a junction box price when dismantling an old assembly is calculated separately — cleaning the chase and reconnecting take more time than the initial installation.
- Exact calculation: installation of a junction box price is confirmed by the technician after inspection — the total can't be quoted from a photo without a 20-30% margin of error.
How distribution box installation is carried out: stages of work
We show the full cycle — from marking the point according to the diagram to testing the unit under load. This way the customer sees what each operation consists of and what they are paying the electrician for.
Marking and chasing for the box
We mark the point according to the wiring diagram, chase a channel for the cable and drill a socket with a core bit of the required diameter. In the panel buildings of Tashkent — Chilanzar, Yunusabad, Sergeli — the walls are load-bearing, so we keep the channel depth within the limits permissible for reinforced concrete and run the route strictly vertically. A rotary hammer with a concrete drill bit and a diamond core bit of 68 or 80 mm produce a clean edge without chipping the plaster, and dust extraction via a construction vacuum cleaner keeps the stairwell and apartment clean. Installation of the distribution box begins with this very operation: without precise marking and a level socket, the enclosure will not sit flush. During chasing, Eco-Service first checks the wall with a hidden wiring detector — hitting someone else's cable costs more than the work itself. Horizontal chases longer than 3 m in a panel are prohibited, so a long route is run along the ceiling or along the vertical — this is precisely why the box is often shifted from the original diagram.
Installing the distribution box in the wall
We seat the distribution box in the wall on mortar and set it flush with the finish plane. Gypsum mortar sets in 15-20 minutes, so we fix the box with wedges and check it with a level immediately — after it hardens, adjusting the position without chipping the plaster will no longer be possible. In the brick walls of old housing stock we seat the opening for the box on alabaster, in concrete — on a fast-setting compound with reinforced edges. The cable entries must face the panel: the box cannot be turned after seating, you would have to re-chisel the socket. We remove the factory plugs on the entries only after pulling all the lines, otherwise mortar gets inside and clogs the seats for the terminals.
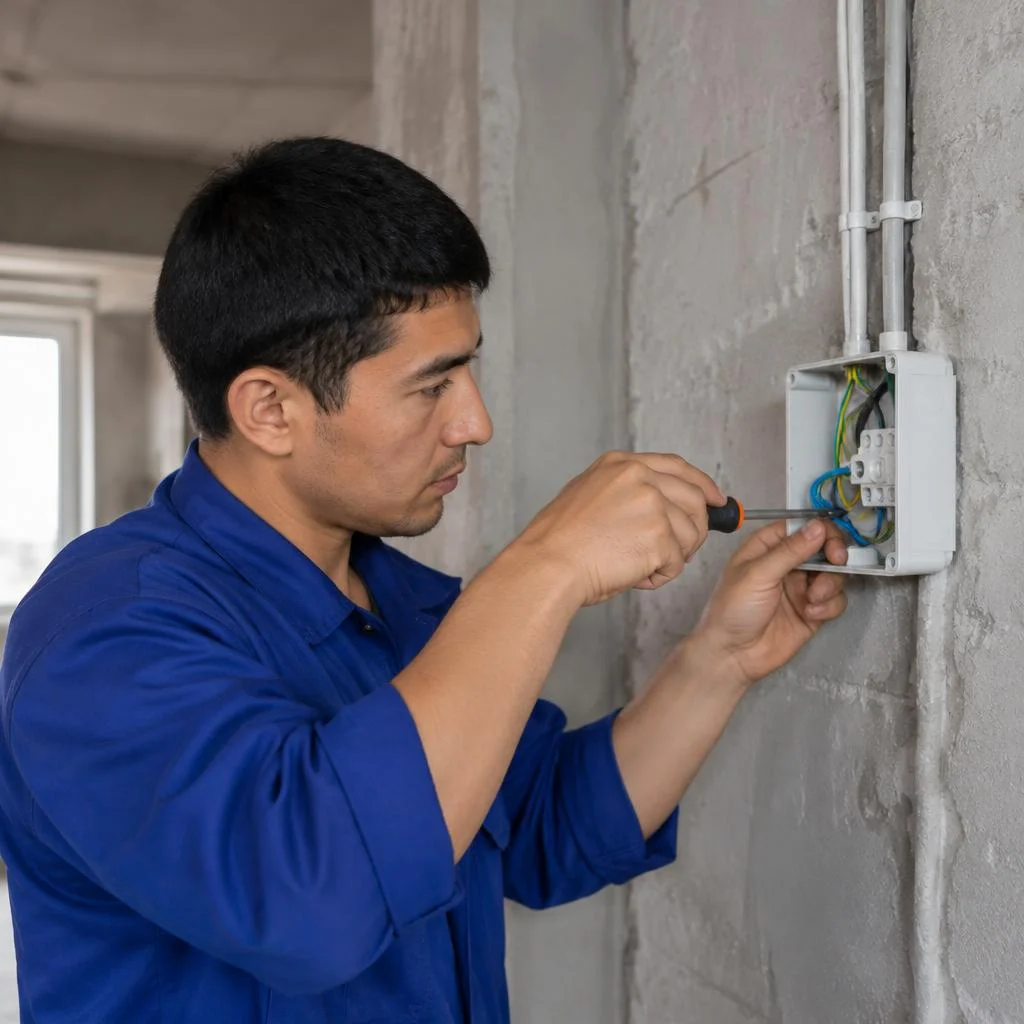
Wiring the groups and connecting wires inside the box
- Wago terminal blocks: lever models of the 221 and 222 series for copper up to 4 mm² — quick installation without tools, they hold contact under vibration and are convenient for future inspection.
- Crimping with ferrules: a copper ferrule plus a hydraulic press give a permanent connection for aluminum and large cross-sections, with heat-shrink tubing with an adhesive layer on top.
- Soldering: POS-61 with flux for critical groups where minimal transition resistance is needed on a long line up to 30 m.
- Twisting without a ferrule: we do not leave it — under load it heats up, oxidizes and after 1-2 years gives contact resistance above the norm.
- Core marking: heat-shrink tags on each line before connection, so as not to confuse phase and neutral when reworking.
Testing the unit under load and marking the groups
After assembly we ring out each group, measure the current under load and mark the lines right on the box cover. A multimeter in continuity mode shows the integrity of the core, a clamp meter — the actual current on each group, and a thermal imager detects overheating at the terminals already at 5-10 °C above background. We take the measurement with the appliances switched on: the lighting line is loaded with lamps, the power line — with connected equipment, and the discrepancy with the calculated breaker current is visible immediately. On the cover we label the groups: kitchen, bedroom, hallway sockets — without this label the next electrician looks for the needed line by trying breakers one by one, not by the marking.
Box replacement and relocation: old housing stock and stretch ceilings
Two situations most often require reworking a finished assembly: old Tashkent housing stock with aluminum wiring, and a renovation where the box is covered by a stretch ceiling fabric. Let's look at how we work in each case.
Replacing a distribution box in old housing stock with aluminum
We perform replacement of a distribution box in old housing stock and connect aluminum to copper only through terminal blocks or sleeves — we do not make direct twists. In buildings of old construction in Tashkent, Chilanzar and Mirzo-Ulugbek district, aluminum conductors with a cross-section of 2.5 mm² sit alongside copper taps for sockets and lighting, and installing distribution boxes in such assemblies requires disassembling every twist and checking its condition. Aluminum and copper in direct contact form a galvanic pair: the connection point heats up and deteriorates within one or two heating seasons. Through Eco-Service, such a replacement is done with an inspection of all taps and labeling of the groups. Before starting work, measure the load current on each group — if the total current on the old line exceeds the rating of the circuit breaker, no terminal blocks will save the assembly from overheating.
Relocating a box under a stretch ceiling
We relocate a distribution box under a stretch ceiling onto the wall or into a hidden hatch to preserve access for inspection. When installing a stretch fabric in khrushchyovkas and panel buildings in Sergeli, a box embedded in the ceiling slab has to be brought out onto the wall next to the chandelier or hidden behind a decorative inspection hatch in the corner of the room — in this case, installation of distribution boxes is done after dismantling the old ceiling covering. If the box is left behind the fabric without a hatch, the very first overload of the group will mean the ceiling has to be dismantled — that costs more than the relocation itself. Plan the relocation point before measuring the fabric: a shift of 10-15 cm already changes the cutting layout and adds work.
Reconnecting old wiring and finding a hidden box
We find a hidden box with a cable locator and reconnect the old wiring without opening up the entire wall. Installing a distribution box after the search takes less time than continuous wall chasing: the device detects the metal of the enclosure through a layer of plaster up to 40 mm, then we open up only a 15×15 cm area under the assembly itself. Clients often write briefly in a request — installation of a junction box — and the technician at the address immediately understands that a search for the assembly and an inspection of the taps are needed. Another common wording in requests — installation of distribution boxes — means the same scenario: find the assembly, check the taps, reconnect the groups. Before reconnecting, we check the conductor cross-section: if the cross-section is too small for the new load, the connection in the box will heat up regardless of the quality of the terminals. In Tashkent apartments with 2.5 mm² aluminum wiring, replacing the assembly without recalculating the cross-section for an air conditioner or a cooktop leads to a repeat call for the technician within a month.
How many groups can be connected and how to avoid overload
We break down how many lines one box can really handle, how to link them to circuit breakers and RCDs, and what to do if the wires inside the junction start heating up.
Calculating the number of groups per box
We calculate the number of groups per box based on the total current and the cross-section of the incoming cable — usually this is 3-6 groups for a standard apartment. For a 6 mm² copper feed with a single-phase 220 V scheme, the working current stays within 40 A, and each line with a 2.5 mm² cable accounts for up to 16 A: the kitchen socket group, room sockets, lighting, a separate branch for the boiler or air conditioner. Clients searching often type "Distribution box installation" — and land on this breakdown, because the number of lines determines the layout of the junction. In a Tashkent apartment with a stove and two air conditioners, exactly six lines are needed — a 10 mm² feed, a 50 A breaker, and each group runs its own cable to its own device. More groups in one box means more connections: every extra connection is a potential hot spot, so it's better to split lines across separate boxes.
Circuit breakers and RCDs: how they protect the groups in the box
We select the breaker to match the cross-section of each group, and we install an RCD on wet zones and socket lines. A 2.5 mm² cable gets a 16 A module, a 1.5 mm² lighting line gets a 10 A one, and the hob gets a separate device rated for its nameplate current, more often 32 A with 6 mm² copper. We install a 30 mA RCD on the socket network and the bathroom, and on the feed — a fire-protection one at 100 or 300 mA with a time delay; in an Eco-Service panel such combinations are assembled with selectivity so that only the faulty line trips. A breaker protects the cable, not a person: without an RCD on a socket group, if there's a breakdown to the enclosure, the breaker may not trip, because the leakage current is below the trip threshold.
Why wires in a distribution box heat up and what to do
- Weak contact: a twist without a ferrule or terminal block oxidizes, resistance grows, the connection point heats up under load — we redo the junction using Wago or a crimped ferrule.
- Undersized cross-section: 2.5 mm² aluminum on a group with a kettle, microwave and washing machine heats up already at 3.5 kW — we replace the section with 2.5-4 mm² copper.
- Group overload: one line carries the sockets of two rooms and the kitchen, the total current exceeds the breaker rating — we split the consumers into separate branches.
- Poor terminal tightening: screws loosen from thermal expansion, the contact burns at the edges — we tighten with a torque screwdriver and check with a thermal imager.
- Copper-aluminum oxidation: direct contact between the two metals causes electrochemical corrosion — we connect only through a terminal block with grease.
2-year warranty, in-house crew and request intake in Tashkent
The work is performed by a staff team, not outside contractors, so a single contractor is responsible for the result. Below — how the warranty works, to which standards the installation is carried out, and how to submit a request for a master's visit.
2-year warranty on installation and connections
Eco-Service provides a 2-year warranty on the installation of the distribution box, the wiring of groups and wire connections — including Wago terminal blocks, crimping with ferrules and soldering of twists. We process a warranty case based on the completed work act and receipt: the master records the condition of the assembly with photos before and after installation, so that when a claim is made there is something to compare with. The coverage extends to the mechanics of the connection, the contact under screw clamps and the integrity of the insulation at cable entry points, and not just the housing itself. The warranty is valid as long as the assembly has not been opened by third parties: if after our work the box was opened by another electrician, the cause of the fault can no longer be established. In requests, clients often write briefly — installation of a distribution box — and from this wording the dispatcher immediately understands that a visit is needed for installing the connection assembly. In my opinion, it is precisely this point that most often eliminates disputes — the client sees that responsibility is not diluted.
In-house crew of masters and PUE standards
The work is performed by Eco-Service's own crew of masters according to PUE standards — without subcontracting or random contractors. Electricians with permits up to and above 1000 V visit the site; they handle both power and lighting groups, work with copper and aluminum cable, select the cross-section for the load and balance it across circuit breakers. PUE standards set requirements for chasing depth, core bend radius, stripping length for the terminal block and the prohibition of twists without welding or crimping — these parameters are specified in the acceptance checklist and are checked before closing the box. In our practice, at old-building sites it is most often precisely the connection assembly that has to be redone, and not the box itself. An in-house crew means that a single provider is responsible for the result: you won't have to figure out who exactly ruined the connection if something goes wrong.
How to submit a request and receive a master
- Request: you submit it via the website, Telegram or by phone — you describe the task: installation, replacement or relocation of the box.
- Clarification: the dispatcher asks about the type of wiring, the core material and the number of groups in order to select a master for the task.
- Inspection: the electrician arrives at the site, checks the panel, the condition of the cable and the place for the box.
- Estimate: after the inspection we state the scope of work and the timeframe — without a visit the figures are not fixed.
- Installation: the work is carried out at the agreed time; after acceptance we issue an act and a warranty document; before the visit, photograph the panel and the place for the box — based on the photos we will tell you in advance whether the existing groups are sufficient or rewiring will be required.
Conclusion
Briefly about what defines a working assembly: the type of box, the connection method and the calculation of groups. Below are five conclusions worth keeping in mind before starting work.
Main conclusions
- A distribution box is the branching assembly for groups: without it, cable consumption increases, and inspection and troubleshooting turn into opening up the walls.
- The type of box is chosen based on the wiring and the wall: concealed — for under plaster and into concrete, open — with IP44 protection and above.
- Connections are made with terminal blocks, ferrules or soldering: a twist without a ferrule under load heats up and oxidizes within just a few months.
- Aluminum and copper are connected only through terminal blocks or ferrules: direct contact between the two metals breaks down due to electrochemical corrosion.
- The number of groups is calculated based on current and cross-section: when heating occurs, the contact, the core cross-section and the actual load on the circuit breaker are checked.


