












How to choose a motion sensor for the task
The class of the device is determined by the mounting method, the physics of the sensor and the conditions of the room. The connection diagram, the set of installation works and how the system behaves in heat and cold depend on these three parameters.
Surface-mounted or recessed: how the mounting options differ
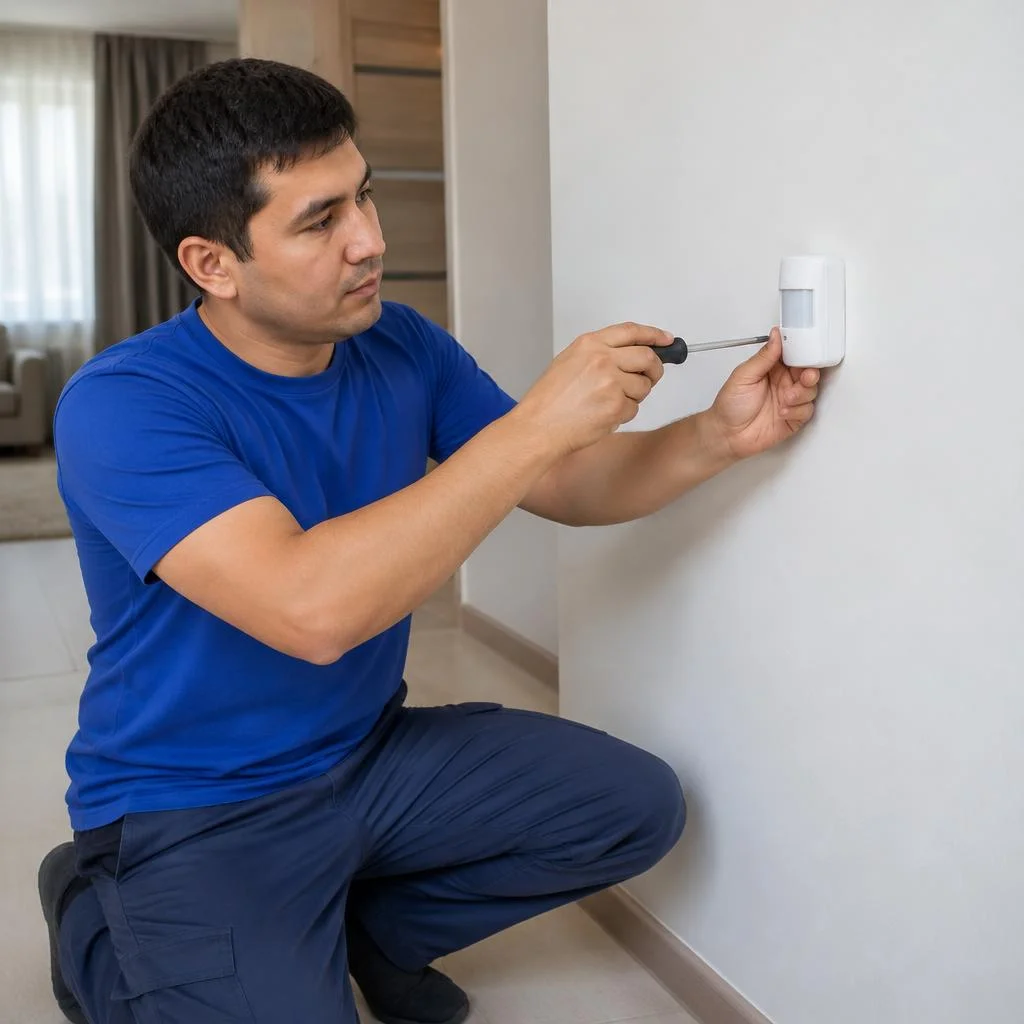
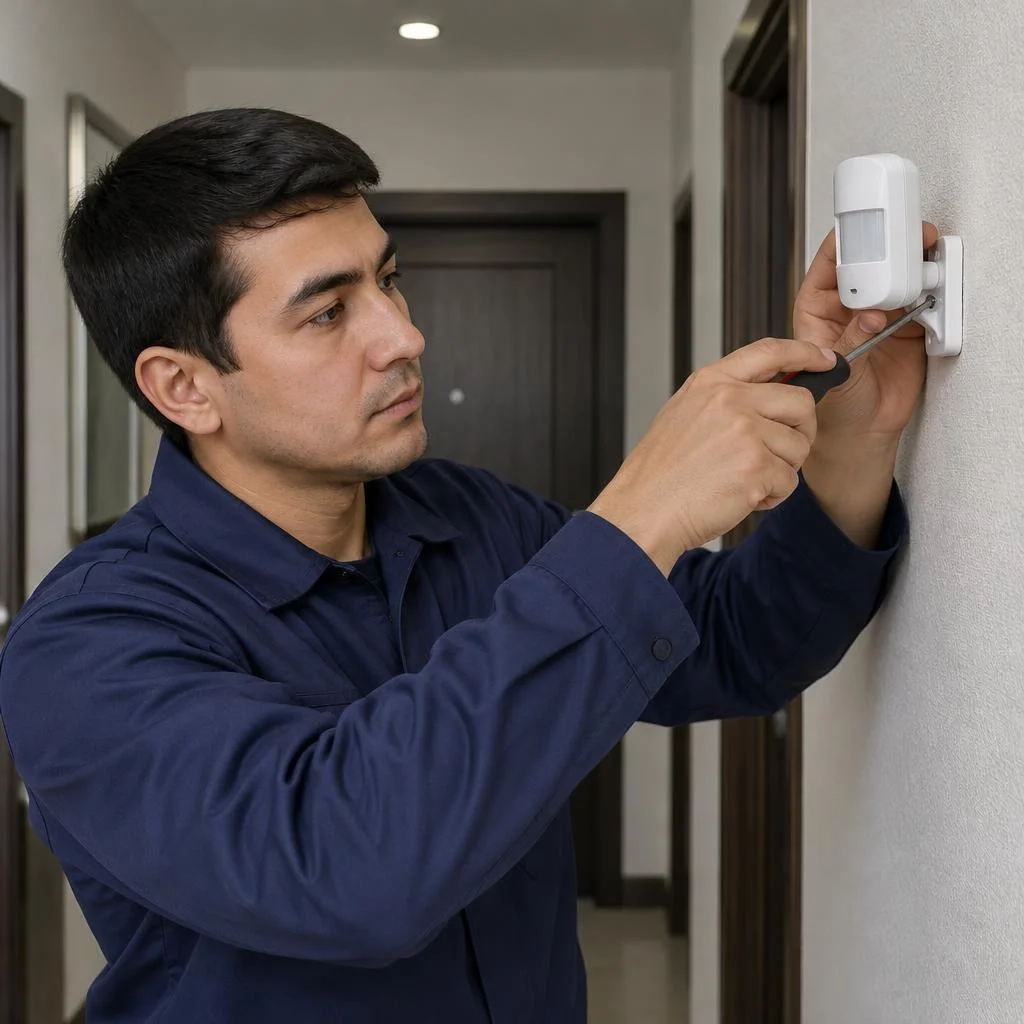
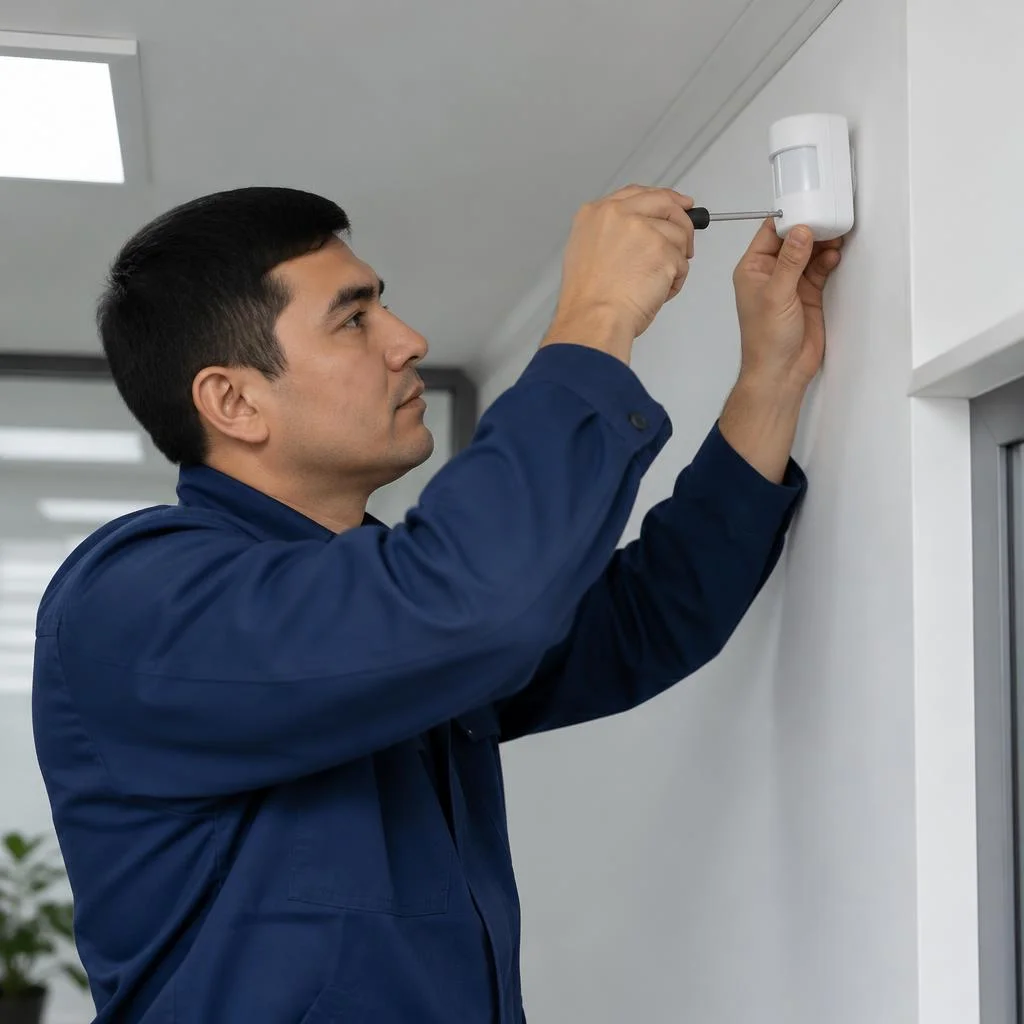
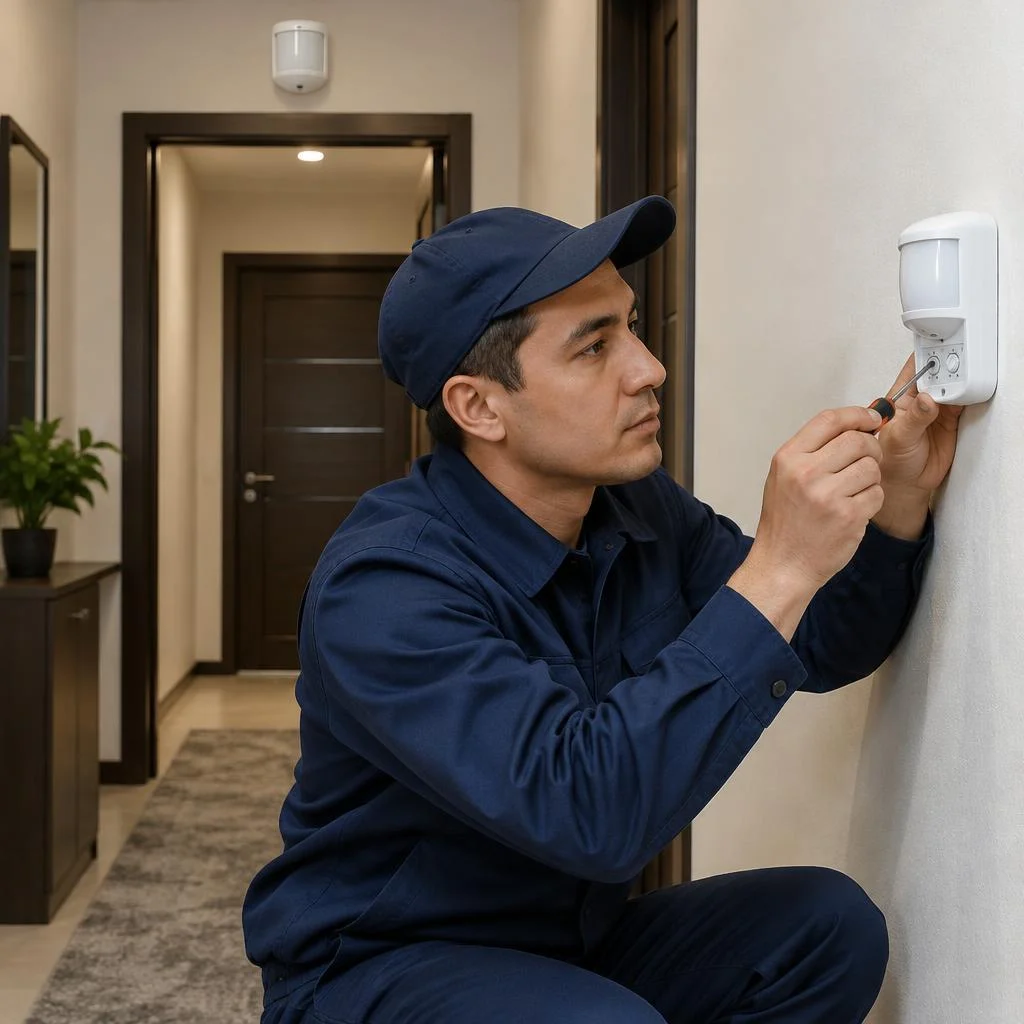
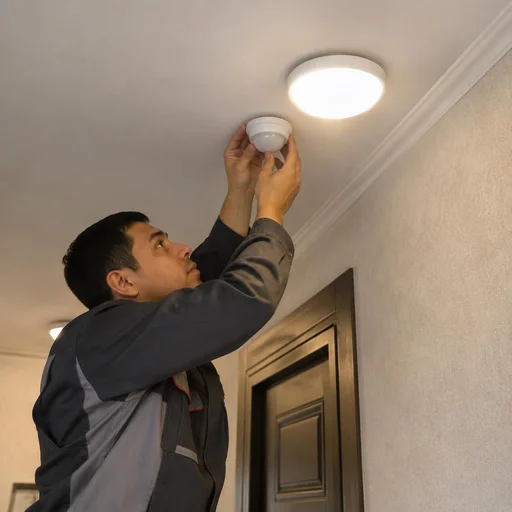
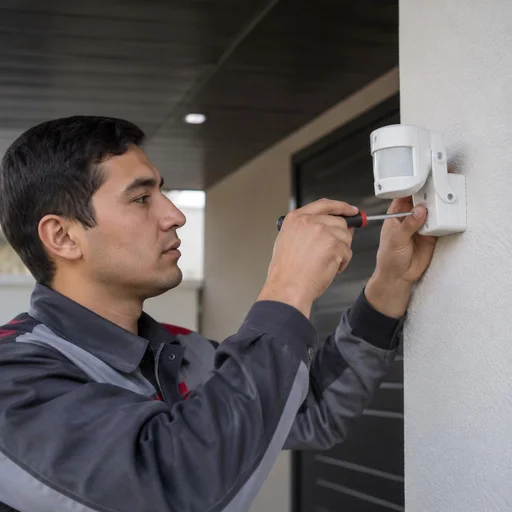
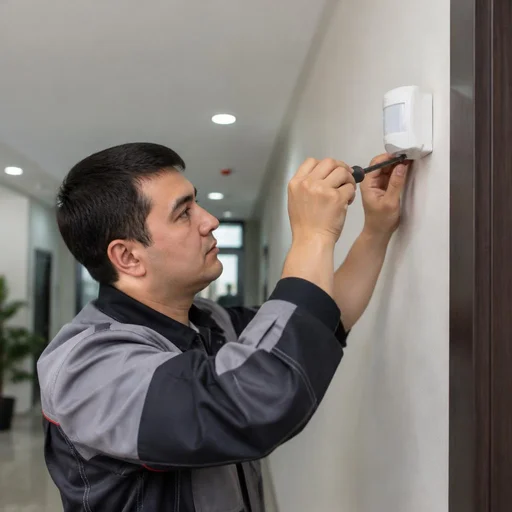
Installation of sensors in Tashkent apartments follows two paths: a surface-mounted housing is attached directly to the surface of a wall or ceiling, while a recessed one is sunk into a mounting box and requires chasing the wall for the cable. The surface-mounted option takes 30-40 minutes per point and leaves no dust; the recessed one adds cable and junction box work to the estimate, but the front panel sits flush with the finish. Recessed models are chosen for living rooms and bedrooms, where aesthetics matter; surface-mounted ones — for corridors, technical areas and stairwells. Installation of motion sensors covers both scenarios: we work with standard 60 mm mounting boxes and select a frame to match the wallpaper color. A recessed housing cannot be installed on an already finished surface without opening it up — if the renovation is done, go with surface-mounted.
Infrared, microwave, ultrasonic: which sensor for what
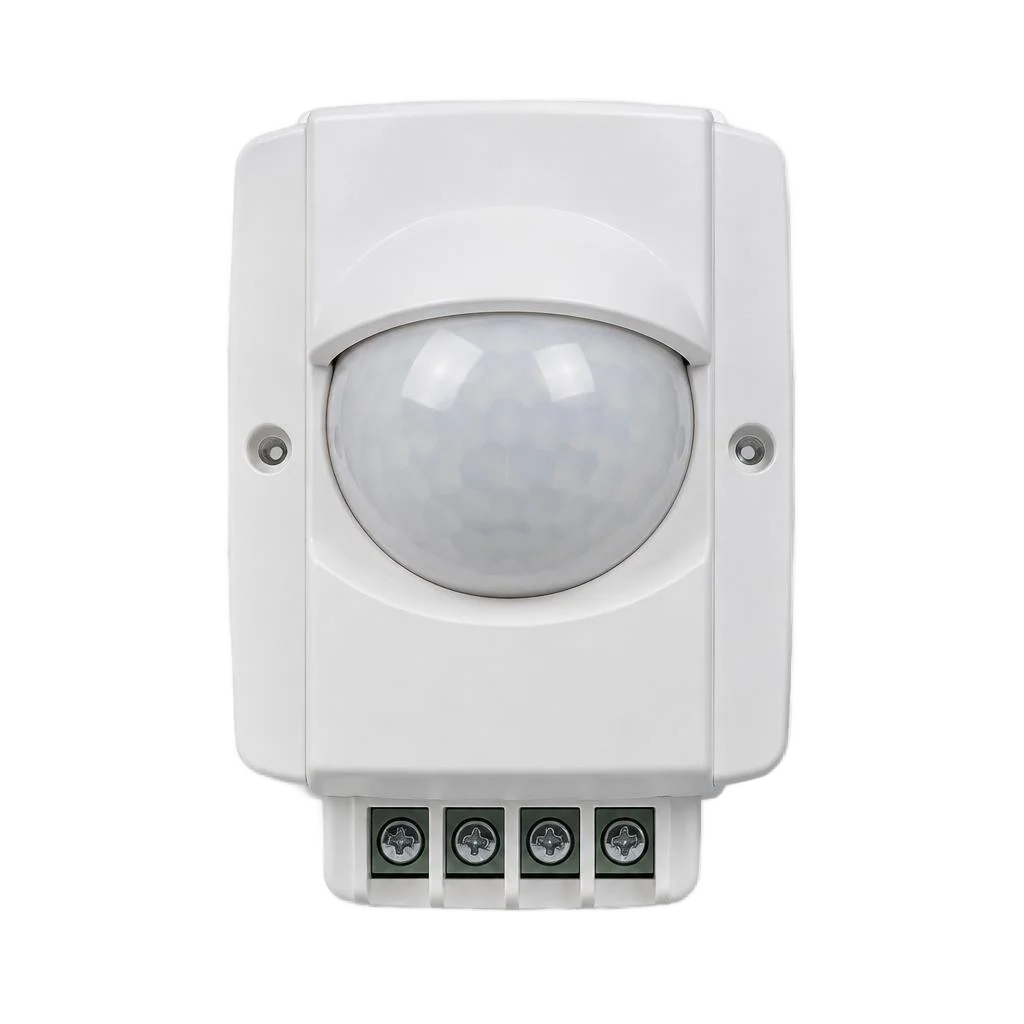
- Infrared (PIR): detects the thermal radiation of a body within a sector of up to 12 meters, installed in corridors, bathrooms, storerooms and on staircases.
- Microwave: emits a radio wave and receives the reflection, reads movement through drywall and glass, works in an unheated warehouse and vestibule.
- Ultrasonic: detects air fluctuations, is sensitive to drafts and airflow from an air conditioner, used in narrow passages and where there is no direct line of sight.
- Combined PIR + microwave: triggers only when two signals coincide, cuts false activations from a radiator and a patch of sunlight.
- With a light sensor: turns on the light only when the lux level falls below the threshold, saving the lamp's life during daylight hours.
Comparison of sensor options by installation conditions
| Conditions | Mounting type | Protection rating | Detection angle |
|---|---|---|---|
| Apartment corridor | surface-mounted | IP20 | 180° |
| Bathroom | recessed | IP20 | 180° |
| Stair landing | surface-mounted on ceiling | IP20 | 360° |
| Entrance hall, vestibule | surface-mounted | IP44 | 180° |
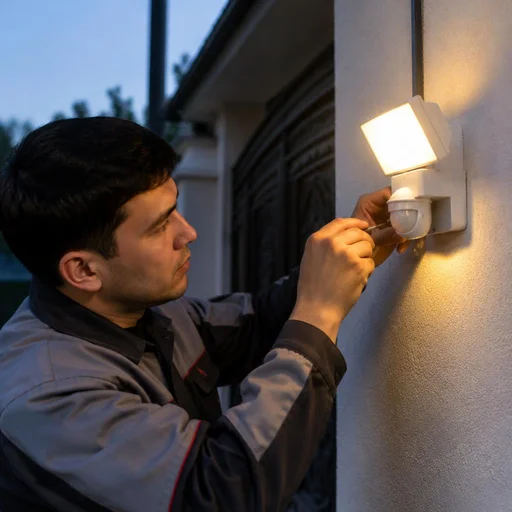
| Outdoors, yard | surface-mounted | IP65 | 180° |
| Office, open space | surface-mounted on ceiling | IP20 | 360° |
Selection is based on three parameters — mounting type, IP protection rating and detection angle. For a stair landing, a ceiling model with a 360° angle is chosen; for outdoors, a housing with IP65 and protection against false triggers from rain and dew; and installation in an entrance hall with a vestibule requires at least IP44 against splashes and dust.
Installing a motion sensor for light: wiring diagrams and connection
The wiring diagram determines how the sensor controls the lighting: directly through a single light fixture or through a relay and contactor when the total load exceeds what the sensor contacts can handle.
Connecting the sensor to a single light fixture
We connect the motion sensor to the light fixture using the phase — neutral — switched wire scheme, where the sensor breaks the phase wire, not the neutral. The sensor cable is routed into the junction box, where the phase comes to the L input, the neutral passes through to the light fixture, and the switched wire from the load terminal goes to the lamp. Infrared and microwave models with two load terminals switch a single line; three-wire versions require a separate neutral at the output. If the neutral is broken, the light fixture body remains energized even when the light is off — this is a common mistake in DIY installation. When searching, clients often type "installing a motion sensor for light" — and the technician immediately understands which scheme is meant. Before assembly, use a multimeter to check which conductor comes from the switch: in older buildings in Tashkent, the phase is sometimes fed from below, and the sensor then triggers incorrectly.
Connecting to a group of light fixtures via relay and contactor
For a group of light fixtures, we install a relay or contactor — the sensor contacts are rated for low current and cannot handle the total load of several lamps directly. The scheme is built as follows: the sensor controls the coil of an intermediate 220 V relay, and the power contacts of the relay or contactor switch the line of the light fixture group. For fluorescent and LED fixtures with an inrush current higher than the rated value, a contactor with a current margin is used; for a corridor group of 6–8 downlights, a 16 A relay is sufficient. A contactor is mandatory if the total power of the group exceeds the sensor's rated current — otherwise the contacts burn out within a few months. Check the model's datasheet: most household sensors have a limited switched current, and a 30–40% margin extends the relay's service life.
What the connection work includes
- Line marking: the technician traces the sensor cable route from the sensor to the junction box and the light fixture's power point.
- Junction box installation: mounting the enclosure, feeding the conductors, labeling the phase, neutral, and switched wires.
- Connecting the conductors: terminal clamps or soldering, insulating the twists, laying the wire in the box without tension.
- Lighting system commissioning: applying power, measuring the current on the group, testing switching under load.
- Testing scenarios: installing a motion sensor for light does not depend on the switch — the technician checks triggering with the main light off and on, as well as operation when the switch is toggled.
Installation of motion sensors: work stages and cable routing
Sensor installation consists of marking, routing the line, mounting the housing and connecting — the routing method is chosen based on the condition of the surface and the type of finish in the room.
Open and concealed cable routing to the sensor
Cable routing to the sensor in an open manner is done in a cable duct or corrugated conduit along the wall, while concealed routing involves chasing and subsequent patching. The open method takes 1-2 hours per point, while the concealed one stretches to 4-8 hours due to chasing and plastering work. Wall chasing for the sensor cable is done at a depth of 20-25 mm and a width of 15-20 mm — this is enough for a cable with a cross-section of up to 3×1.5 mm² in a protective sheath. On brick and drywall walls, chasing goes faster, on monolithic walls — slower due to reinforcement. Concealed routing is cheaper in terms of cable, but more expensive in terms of labor: if the wall is already finished, the open method in a cable duct will preserve the coating without opening it up and repainting. At Eco-Service, both schemes follow the same principle — first the route, then the housing.
Installation at height and on the ceiling
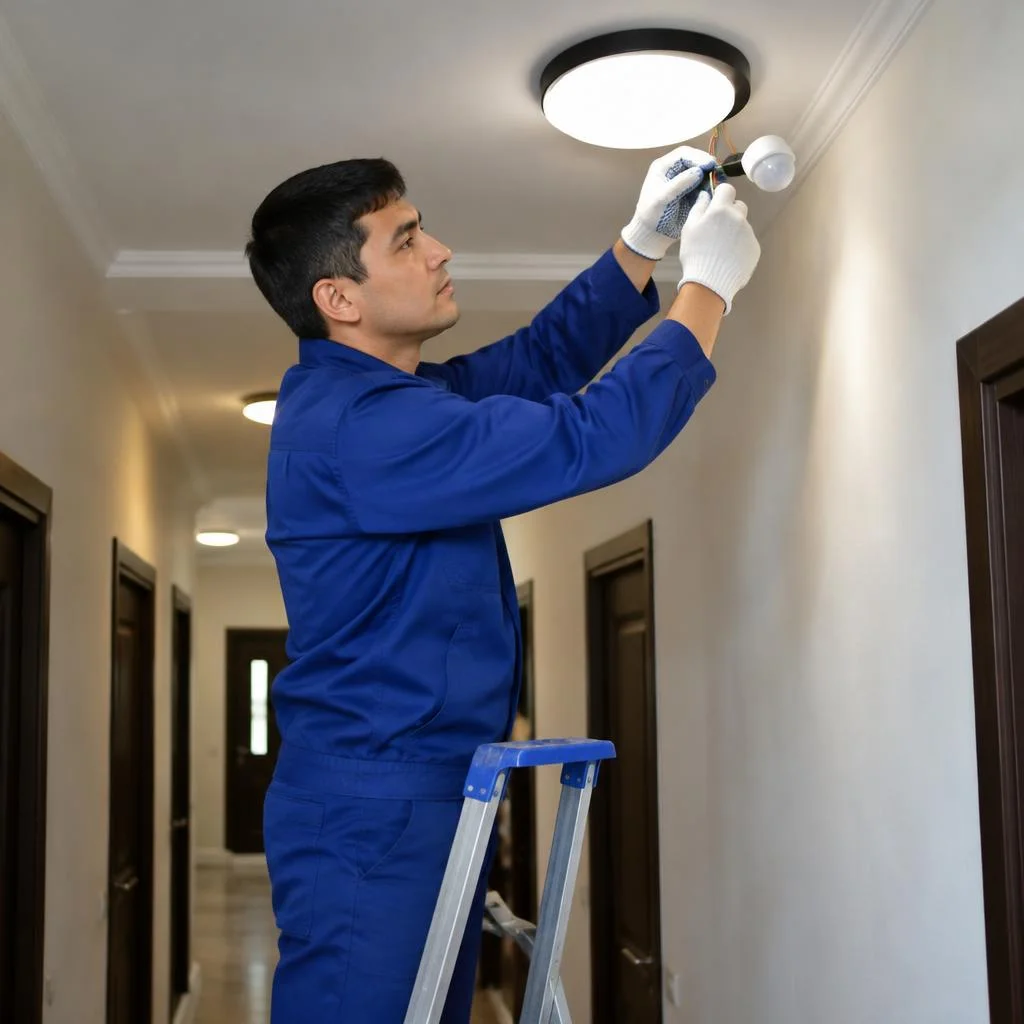
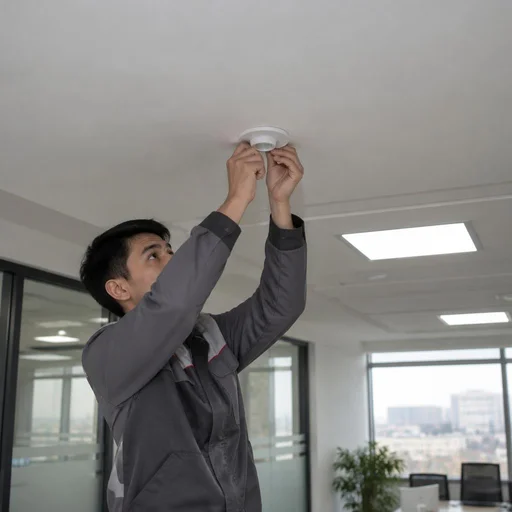
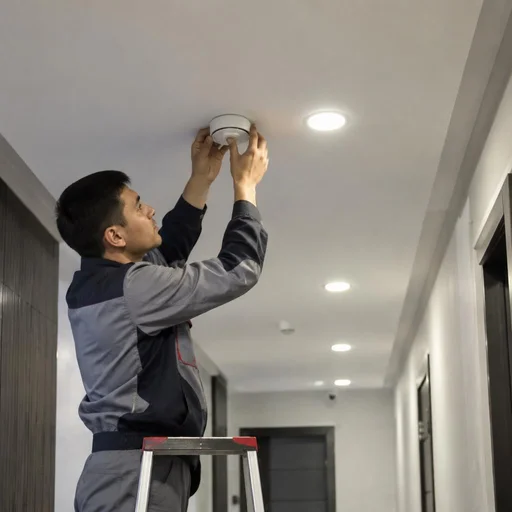
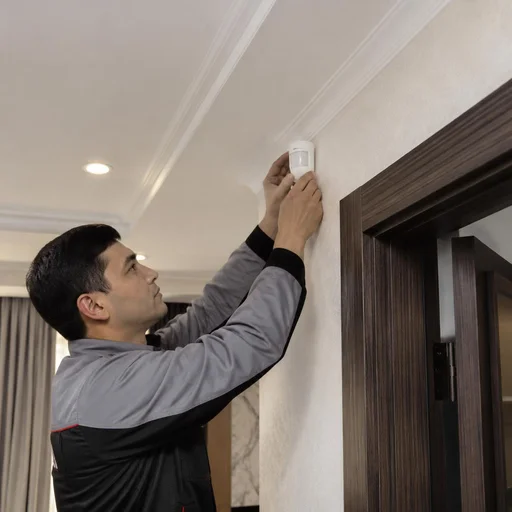
Sensors are mounted at a height of 2.5 to 4 meters — on the ceiling or in the upper part of the wall, depending on the detection angle of the specific model. The viewing angle of surface-mounted infrared sensors is 120-180°, while ceiling-mounted ones are 360°, so for stairwells and corridors longer than 6 meters, ceiling-mounted models are used. For points above 3 meters, stepladders and telescopic poles are used, and on stairwell routes in new buildings in Tashkent — construction scaffolding. When mounted above 4 meters, the detection zone narrows, and when installed below 2 meters, the sensor picks up the movement of pets and swaying curtains. Installing motion sensors at a height of 3 meters or more requires additional time — up to 40 minutes per point versus 20 minutes at standard height. At Eco-Service, ceiling installation is more convenient to carry out before the final finishing — then the fasteners and the route are hidden.
Stages of motion sensor installation
- Marking: we mark the sensor installation points, the cable route and the location of the junction box before starting work.
- Line routing: from the panel or the nearest lighting group, we run the cable to each point — using the open or concealed method.
- Housing installation: we mount the mounting base of a surface-mounted sensor or the back box of a flush-mounted one, level.
- Connection: we connect the phase and neutral conductors, and wire the sensor into the lighting circuit via terminals.
- Commissioning of the lighting system: we check the triggering, set the zone, delay and light threshold for the room's task.
- Final check: we run the scenario 5-7 times at different light levels and record the parameters.
Setting up the detection zone, delay and light level
After installation, the sensor is configured for the specific room: the detection zone, the switch-off delay time and the light level at which it triggers are set. These three parameters determine whether the light turns on in time and whether the system will annoy the occupants.
Setting up the detection zone
We set up the detection zone so that the sensor triggers at the entrance to the room but does not react to movement behind a wall or in the corridor. For infrared models, the detection angle is narrowed by rotating the sensor head, and the excess sector is covered with an opaque petal-shaped blind from the kit; for microwave models, sensitivity is adjusted with a potentiometer, reducing the range from 8-12 metres to the required 3-5. In a corridor 1.2 metres wide and 6 metres long, the zone is set along the direction of movement, not across it, otherwise the sensor picks up passers-by through the open door. On a stairwell landing with two exits, two sensors with separate zones are installed, or one 360° ceiling sensor. Installing motion sensors begins with this very step — we immediately clarify the geometry of the room in order to select the angle and mounting height. If the zone is not trimmed, the light will turn on from the neighbours' footsteps behind the door — check the setting with a test walk along the boundary of the zone.
Switch-off delay time and light level
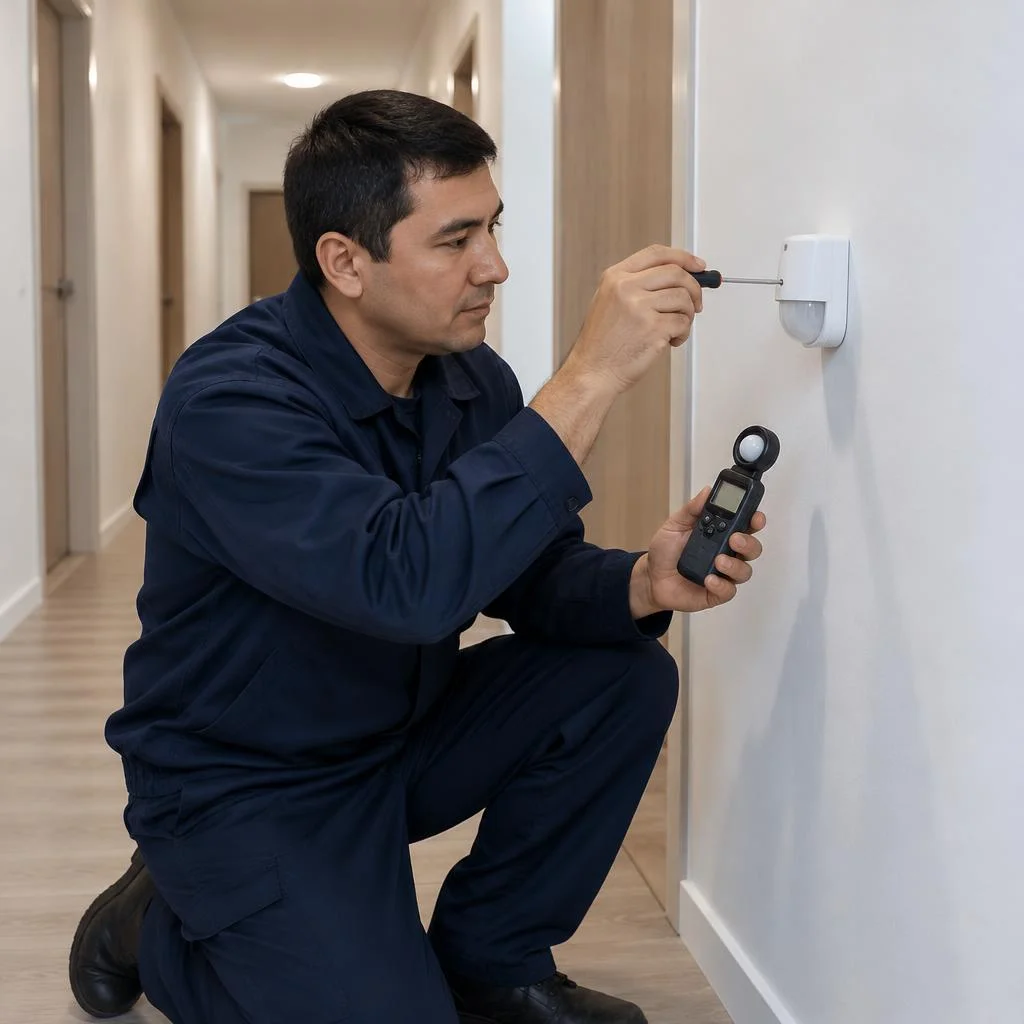
We set the switch-off delay time in the range from 10 seconds to 15 minutes and the light level at which it triggers — the threshold below which the sensor turns on the light. The delay is set with the TIME potentiometer: 30 seconds is enough in a bathroom, 2-3 minutes is set in a stairwell, 5-10 in an office corridor. The light threshold (LUX potentiometer) is adjusted so that during the day at 300-500 lux the sensor does not trigger at all, and turns on only at dusk. For rooms with windows, the threshold is raised to the maximum; for dark staircases, it is lowered to the minimum. Too long a delay in a small room is annoying, too short a one causes flickering at the slightest movement — choose according to the scenario, not "by eye".
Settings parameters for different rooms
| Room | Switch-off delay | Light threshold | Detection zone |
|---|---|---|---|
| Bathroom | 30 seconds | high | narrow, at the entrance |
| Apartment corridor | 1-2 minutes | medium | medium |
| Stairwell landing | 2-3 minutes | low | wide, 360° |
| Stairwell | 3-5 minutes | low | wide |
| Office | 5-10 minutes | medium | along the walkways |
In rooms with natural light, the light threshold is set high so that the sensor does not turn on the light during the day; on dark staircases without windows, it is lowered to the minimum. When installing motion sensors in offices with long walkways, the zone is stretched along the direction of movement, and the delay is kept longer — so the light does not go out while a person is walking along the corridor.
Replacement, relocation and installation of a sensor system on a floor
In addition to initial installation, we perform service work: we replace a failed sensor, relocate the detection point during redevelopment, and assemble a sensor system for an entire floor.
Replacing a motion sensor
We replace a motion sensor if it has failed or become outdated — the work includes dismantling the old housing, checking the line and installing a new device. The technician arrives with surface-mounted and recessed models of infrared, microwave and ultrasonic type, so the right sensor is selected on site to suit the room's geometry and ceiling height. Before replacement, the sensor cable is tested for continuity and the load on the line is measured: in older Tashkent apartments, aluminium wiring heats up at twisted joints, and a new device ends up on a burnt section. If the client wants to install a motion sensor where a switch used to be, the circuit is completely redone — from the junction box to the light fixture. Clients often search for the cost of installing a motion sensor — and land on this page, so we quote it right after diagnostics: the total depends on the sensor type, the condition of the wiring and the scope of work on the line. Before replacement, the technician checks the line and the load: often a "broken" sensor turns out to be working, and the problem is a burnt relay contact, in which case it is enough to retighten the terminals.
Relocating a sensor to a new place
We relocate a motion sensor if the detection zone is unsuitable or furniture blocks the view — the work includes dismantling, new marking-out and connection. The reasons for relocation vary in our practice: a wardrobe blocked the field of view after renovation, the sensor triggers on neighbours passing in the corridor, the point is behind a decorative beam and only covers the near half of the room. For relocation, wall chasing for the sensor cable is done in the new section, while the old line is sealed and plastered for the final finish. If the room has a stretch ceiling, the cable is routed through the ceiling space — the membrane does not need to be opened. During relocation, the old line is often left in the wall as a spare: this is cheaper than removing the cable and sealing the chase, and the point is already prepared for the next redevelopment.
Installing a sensor system on a floor
We install a sensor system on a floor — several points combined into a single lighting control scheme with shared commissioning. A typical configuration for a business centre or an apartment building entrance in Tashkent: sensors in the corridor, on the stairwell, at the lift lobby and in shared bathrooms, grouped onto a set of light fixtures via a relay and contactor. A floor of average area takes from 6 to 14 points, depending on the length of the corridors and the number of isolated zones. The installation of motion sensors on a floor is completed with commissioning of the lighting system: each zone is checked, the hold time and triggering threshold are adjusted so that the light does not go out before a person reaches the next sector. On a floor, sensors are installed with overlapping zones so that the light does not go out between them — otherwise a person walks in the dark at the junction, and this is the most common cause of rework after installation.
2-Year Warranty, Timelines and Service Center in Tashkent
Installation and connection work is carried out by our own service center in Tashkent, and installation comes with a 2-year warranty. This section answers frequently asked questions about warranty cases, response times and how to submit a request.
2-Year Warranty on Installation
We provide a 2-year warranty on the installation and connection of the motion sensor — if a failure occurs due to the work performed, the technician returns and fixes the cause at no extra charge. The warranty certificate is tied to the work completion report, which records the sensor model, the connection diagram to the light fixture or group of fixtures, and the result of commissioning the lighting system. In our experience, a repeat visit is most often needed after power surges in the grid or due to a loose contact in the junction box. The warranty does not cover failure of the sensor itself — that is the manufacturer's responsibility, so the equipment receipt is kept separately from the installation report: it is used to file a claim with the seller, not with the installer. If the sensor was purchased on Uzum Market or Texnomart, the receipt arrives in your personal account — save it in a separate folder so you don't have to search for it when you need it.
Work Completion Timelines
Installing a single motion sensor takes 1-2 hours, work on a floor takes from one day, and the final timeline is determined by the cable routing method. A surface-mounted sensor on a finished wall is installed in one visit without dust, while a recessed one requires wall chasing for the cable and subsequent patching, so it stretches over two visits. Concealed routing adds time for patching and plastering, so it is best planned before final finishing: in a renovated space, dust and patching marks will have to be masked again. When chasing concrete, the visit is sometimes split into two days — first the route, then installation and configuration. Clients often search for "motion sensor installation price" — and land here, although the technician only quotes the exact amount after inspecting the site. Different installation methods affect the final cost differently: the surface-mounted option without chasing is cheaper than the recessed one.
Service Center and In-Person Reception in Tashkent
- In-person reception: at the Eco-Service center you can show photos of the space and a floor plan — the technician will immediately select the sensor type.
- Phone and Telegram: the request is logged within the day, and a reply comes back with an estimated visit date.
- Site visit: the technician inspects the walls, wiring and panel, then states the final scope of work.
- Reviews: clients leave them on Yandex.Maps and in the Telegram chat — they show real timelines for different districts.
- Estimate: the cost of work, the motion sensor installation price and other parameters are stated by the technician after inspection — the rate depends on the type of installation, cable footage and mounting height.
Conclusion
A lighting system with motion sensors is assembled from four independent decisions: sensor type, connection diagram, cable routing method and parameter configuration. Below is a short summary that helps keep the project logic in mind before purchasing.
Key Takeaways
- Sensor type: chosen based on the conditions of the space — surface-mounted or recessed housing, PIR or microwave sensor, taking into account IP protection and a detection angle of 180 or 360 degrees.
- Connection diagram: a single light fixture is powered directly from the sensor terminals, while a group of three or more lines requires an intermediate relay or contactor to switch the load.
- Cable routing: the open method preserves the finish and takes 1-2 hours, while the concealed method requires wall chasing and adds another working day to the timeline.
- Parameter configuration: the detection zone, switch-off delay time and light threshold determine how often the lamp turns on at night and how quickly the energy savings pay off.
- Service work: replacement, relocation and installation of a sensor system on a floor are handled as separate requests — each type has its own tools, ceiling access and commissioning time.


