








How the leak protection system works and what it consists of
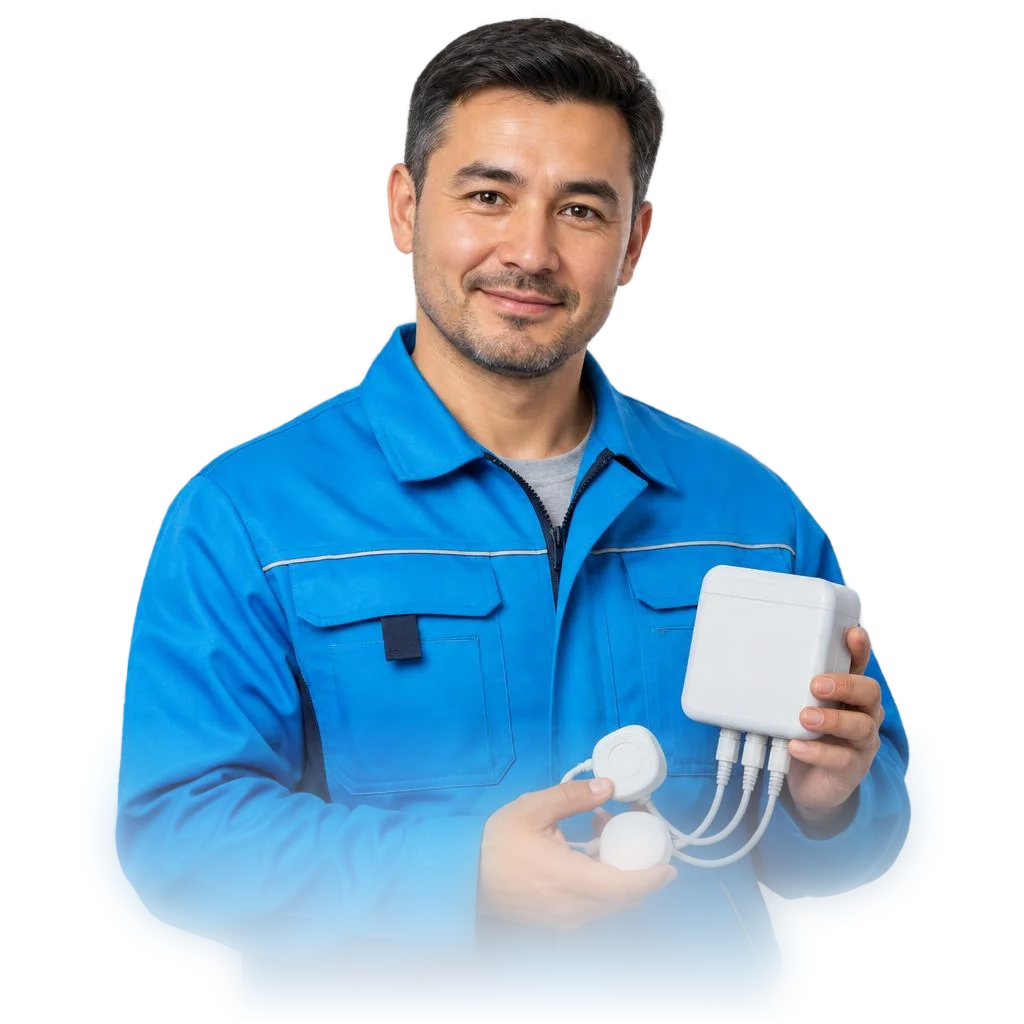
A leak protection system is a "sensor → controller → motorized valve" chain: the sensor detects water, the controller sends a signal, and the shut-off unit closes off the riser. The response logic takes 3-4 seconds and requires no human involvement.
Controller and motorized valve: the core of the system
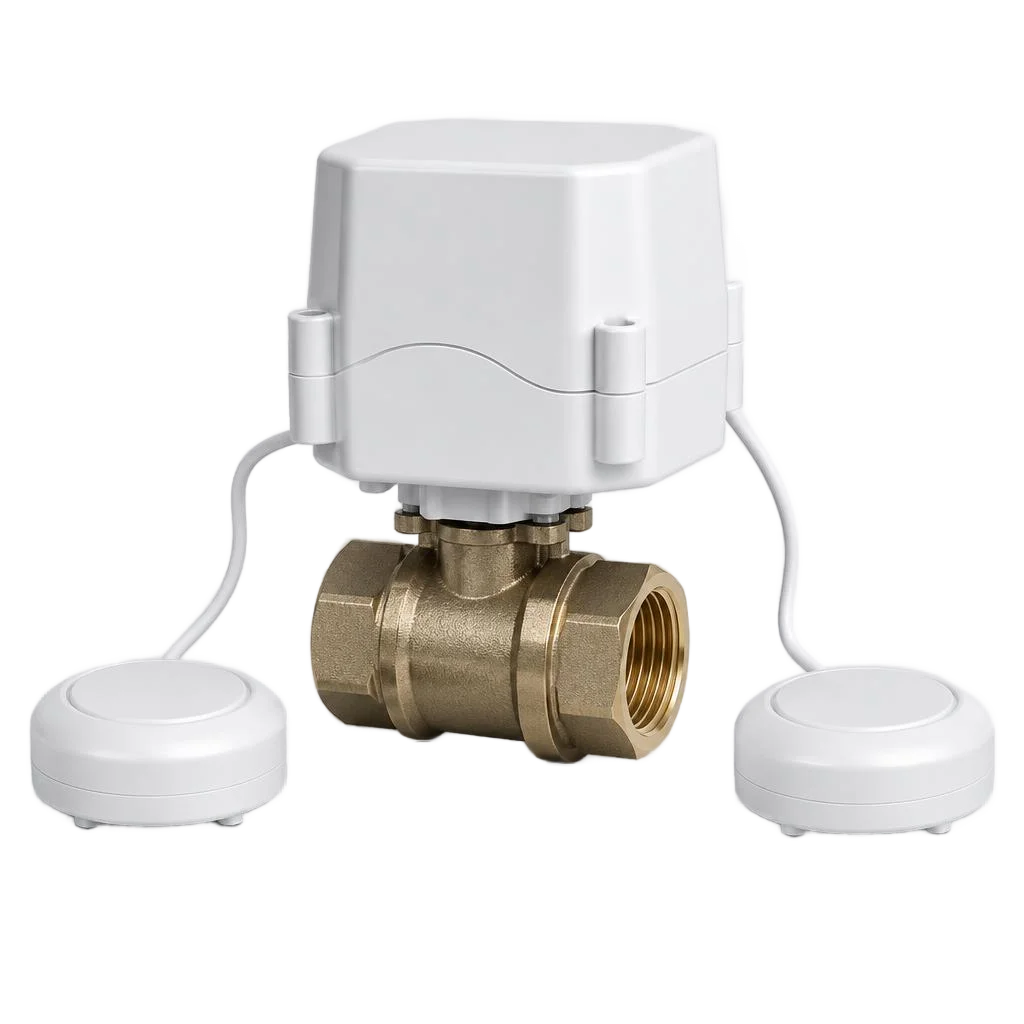
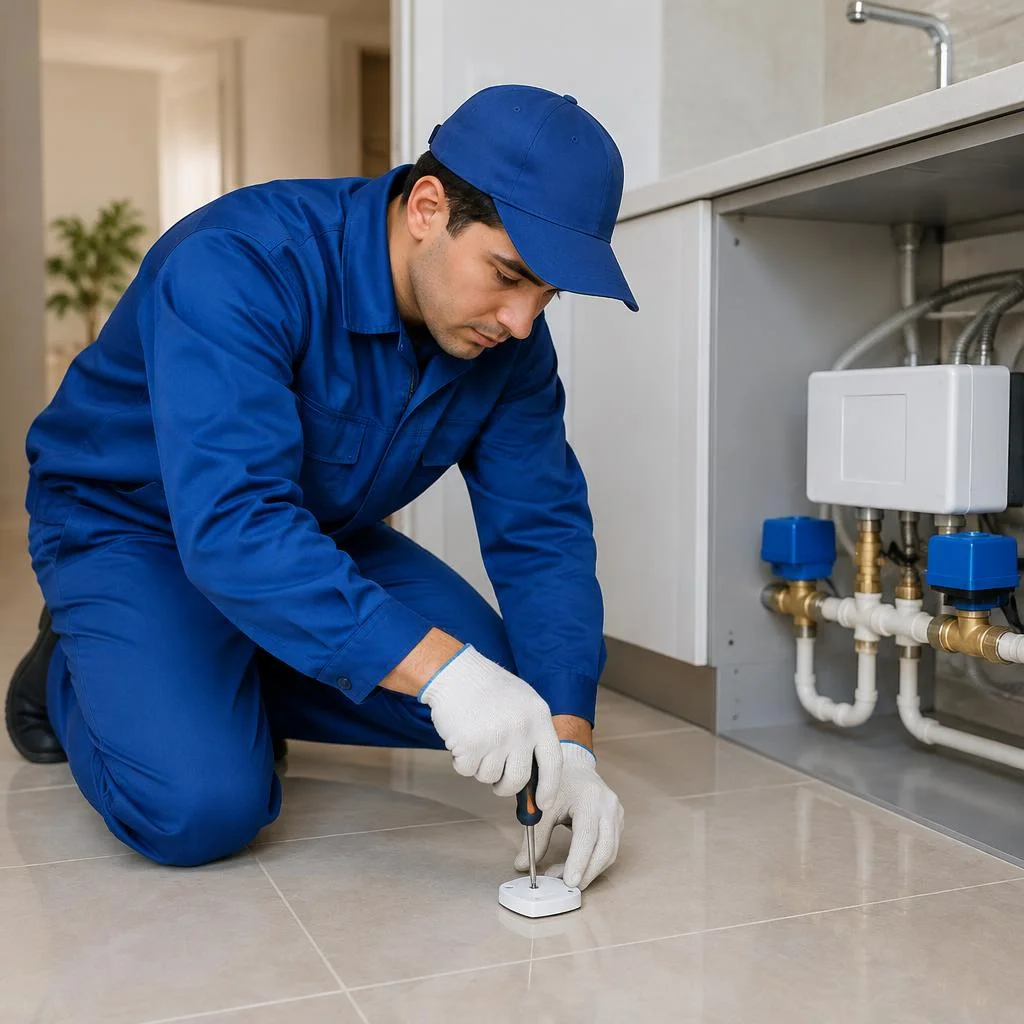
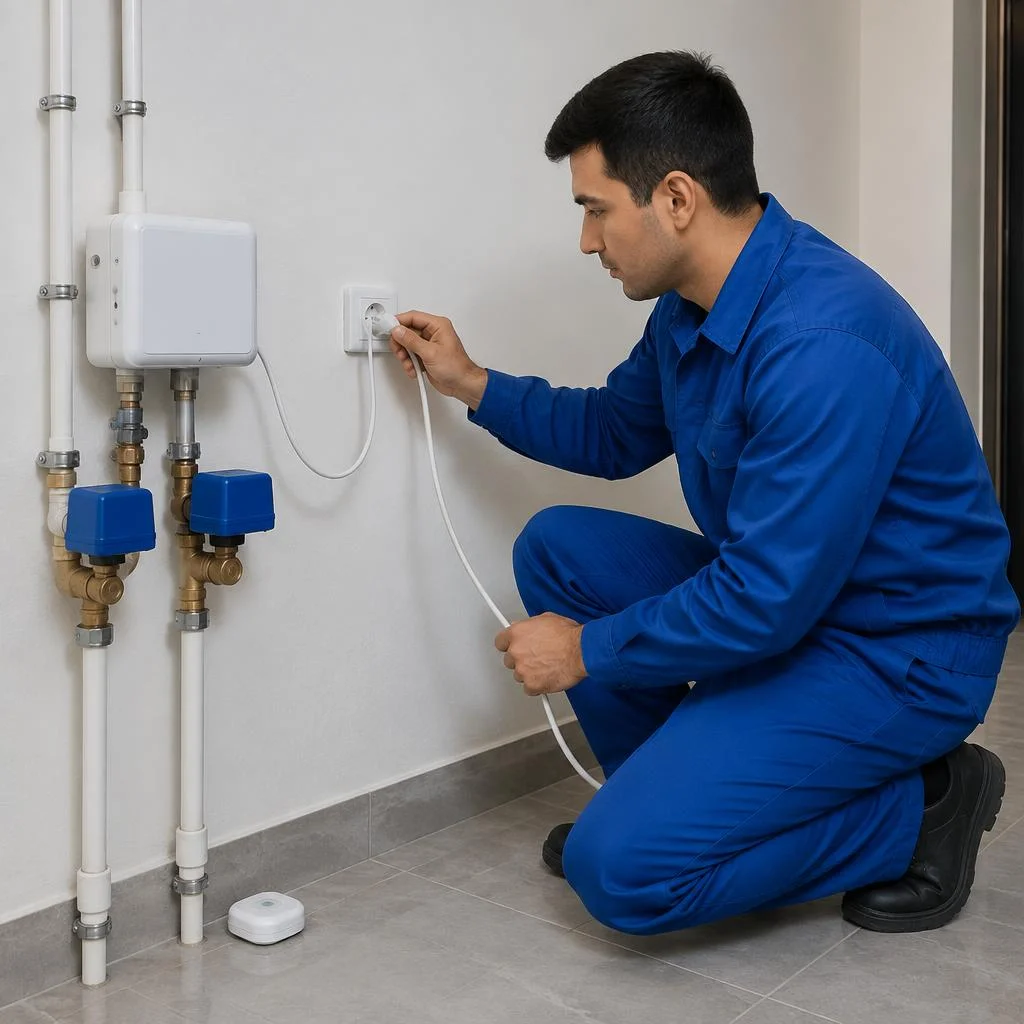
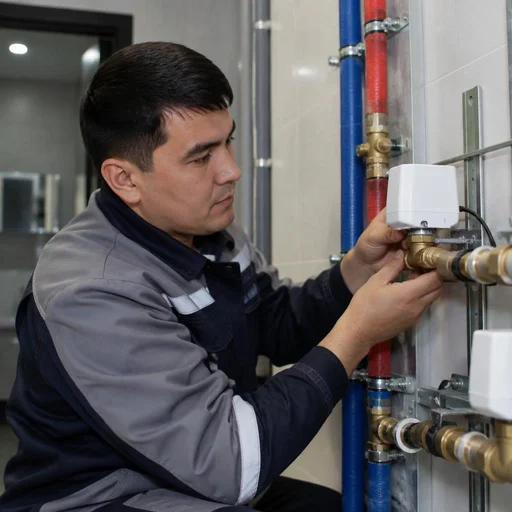
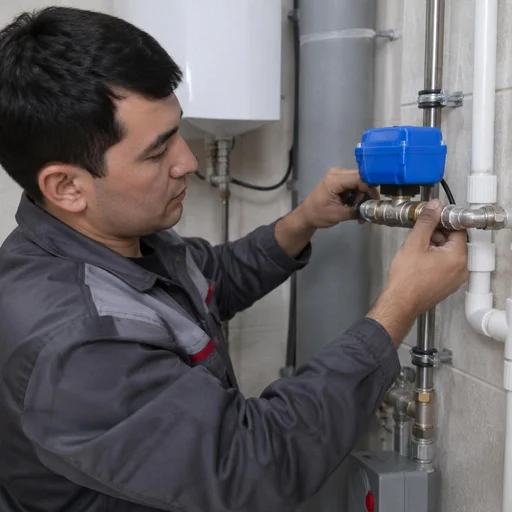
We install the controller paired with a motorized ball valve — when the sensor signals, the actuator turns the gate and shuts off the water in a matter of seconds. The controller is powered from a 220 V mains and continuously polls the sensors at its terminals at intervals of fractions of a second, while the valve is installed at the apartment inlet: one on the cold line, the second on the hot line. The motorized ball valve operates on a 6-12 V pulse and holds the gate position when the power is cut. Our installation of water leak protection systems always comes as a "brain plus shut-off unit" pair — a controller without an actuator is useless, and an actuator without a controller is just a manual valve. We test the response under working pressure before handing over the project: we supply water to the riser, simulate a drop on the sensor and measure how many seconds it takes for the gate to reach the closed position.
Leak sensors: where exactly they are placed
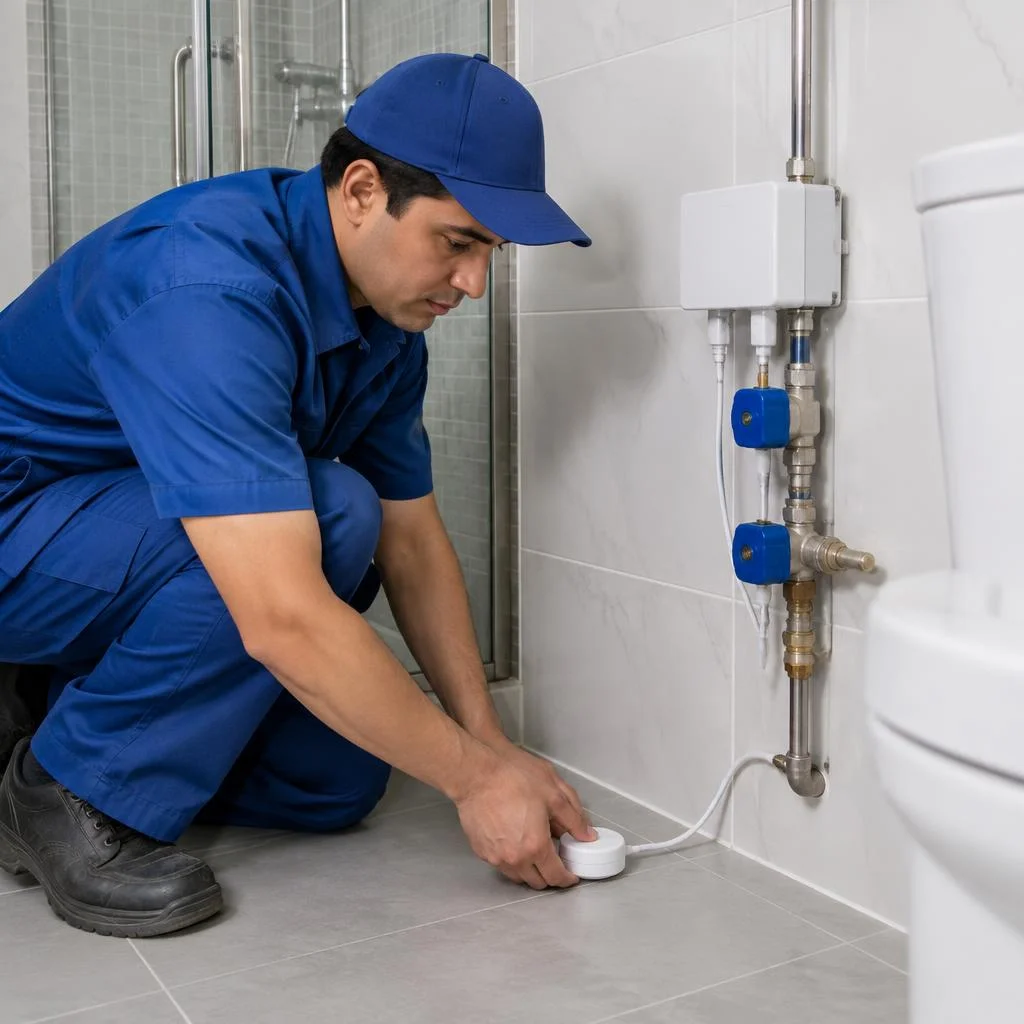
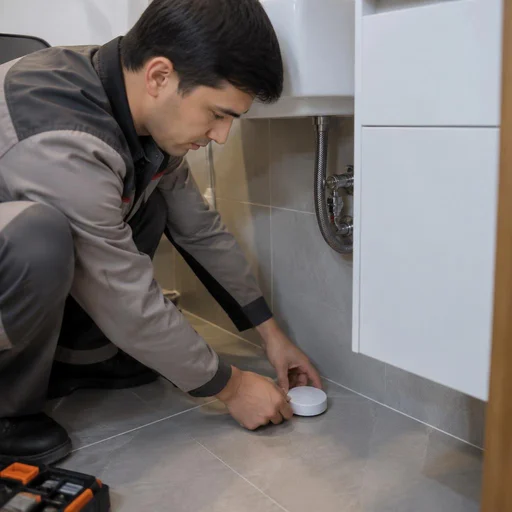
- Floor leak sensor: placed at the lowest point of the bathroom and hallway, it catches water when a flexible supply line bursts or the riser breaks.
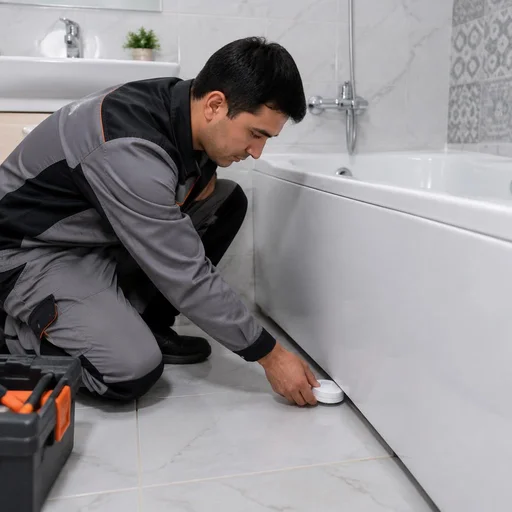
- Bathroom leak sensor: mounted under the bathtub itself and next to the siphon, it detects drips at joints and overflow over the rim.
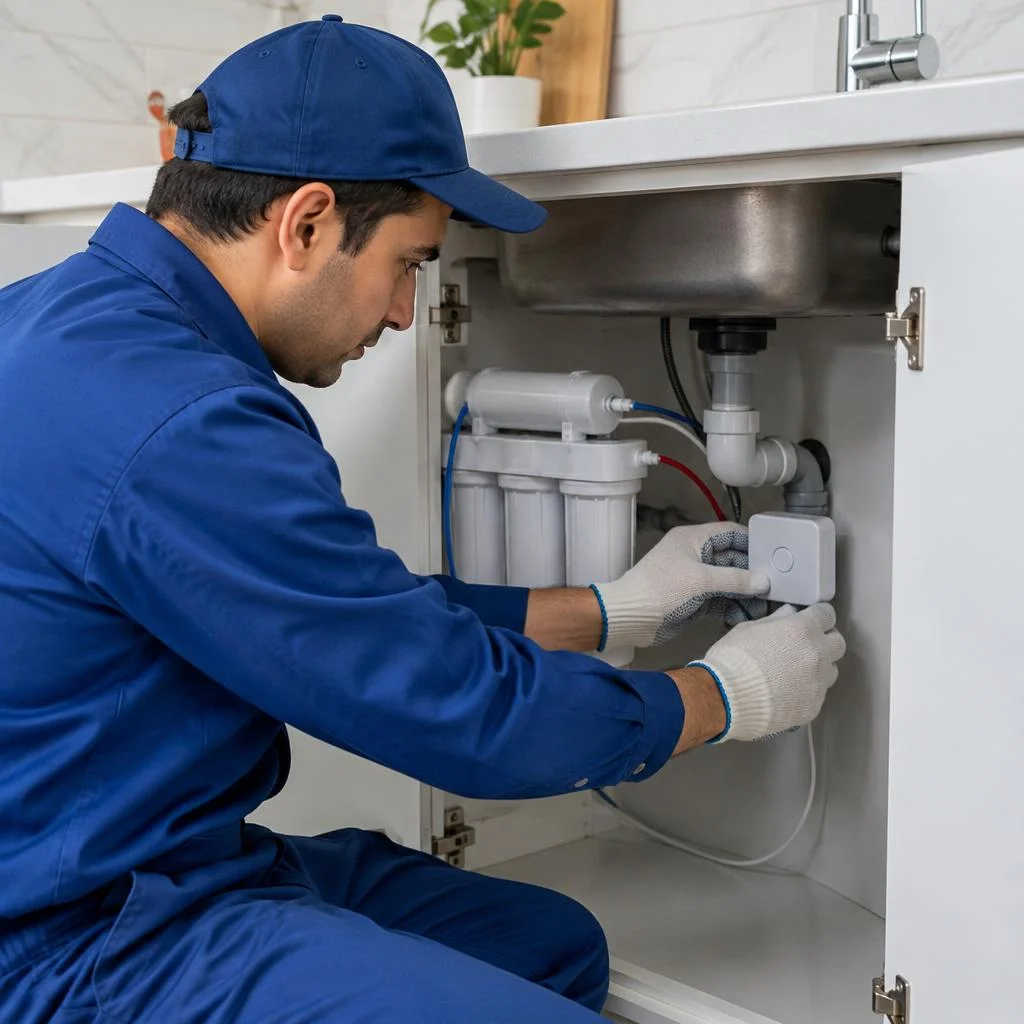
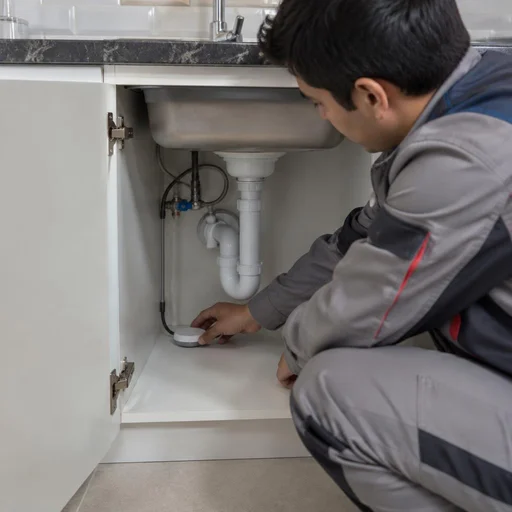
- Under-sink leak sensor: placed in the kitchen cabinet under the mixer's flexible supply line and under the dishwasher, it reacts to the first drop.
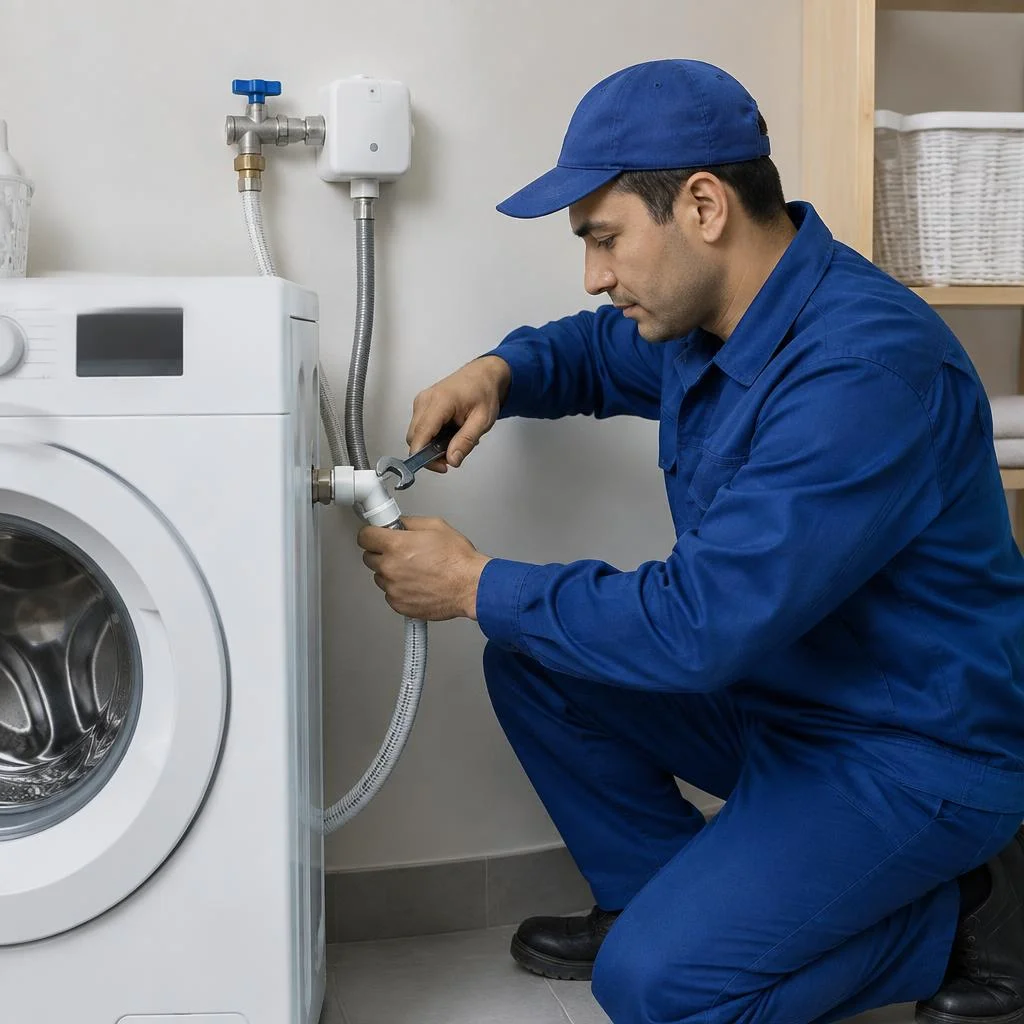
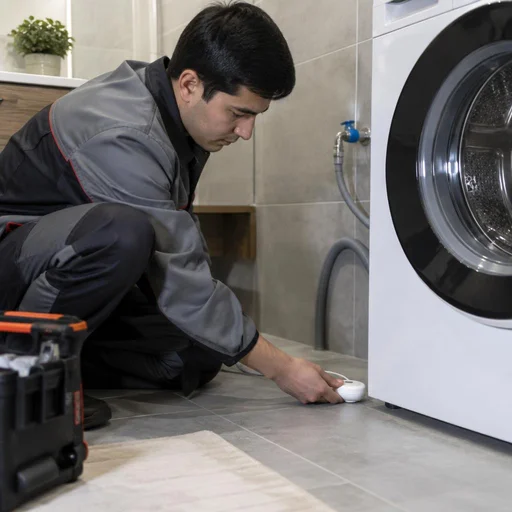
- Washing machine leak sensor: placed behind the unit at the inlet hose and drain, where the clamp most often gives way.
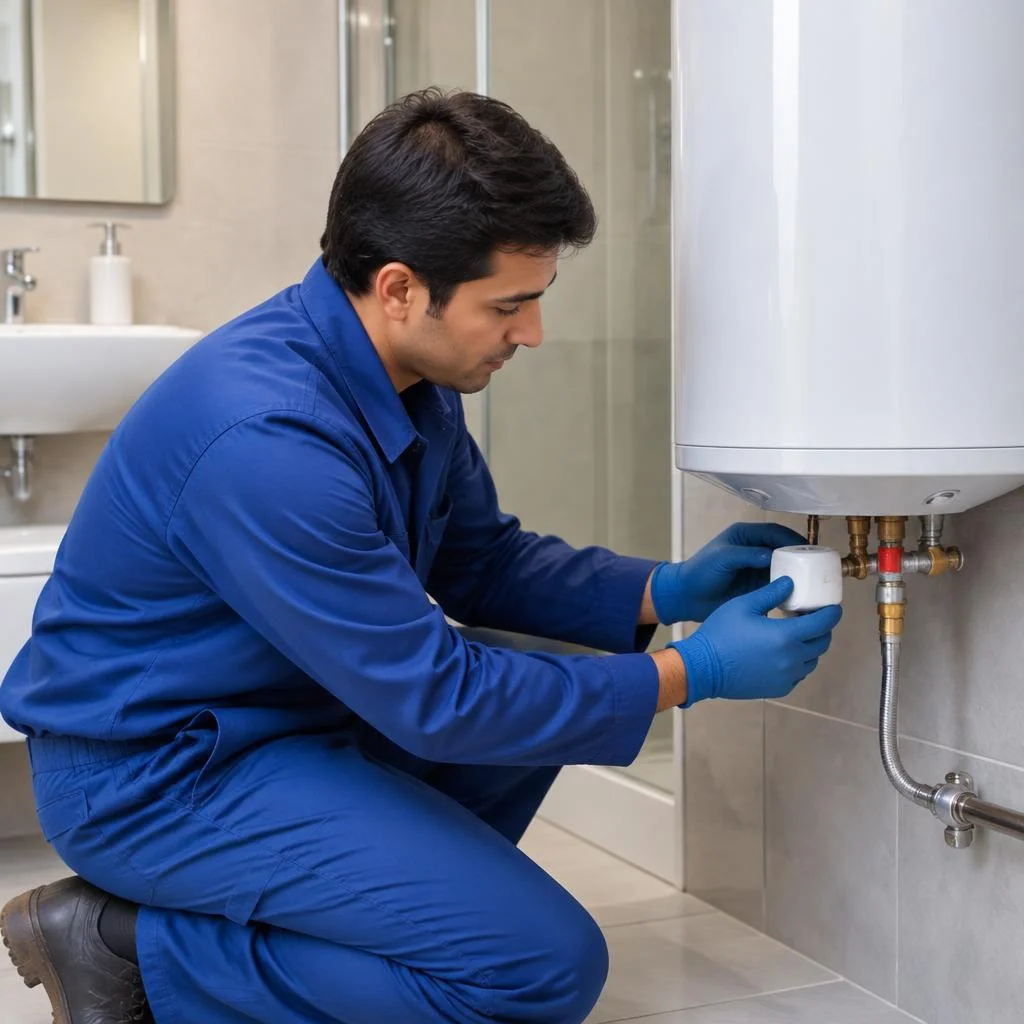
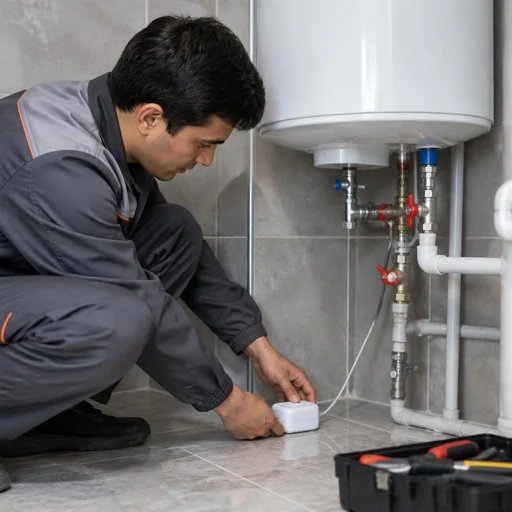
- Water heater leak sensor: attached under the storage tank and at the supply line, it catches leaks through the safety valve and threaded connections.
Cable and power: how the sensors are connected to the controller
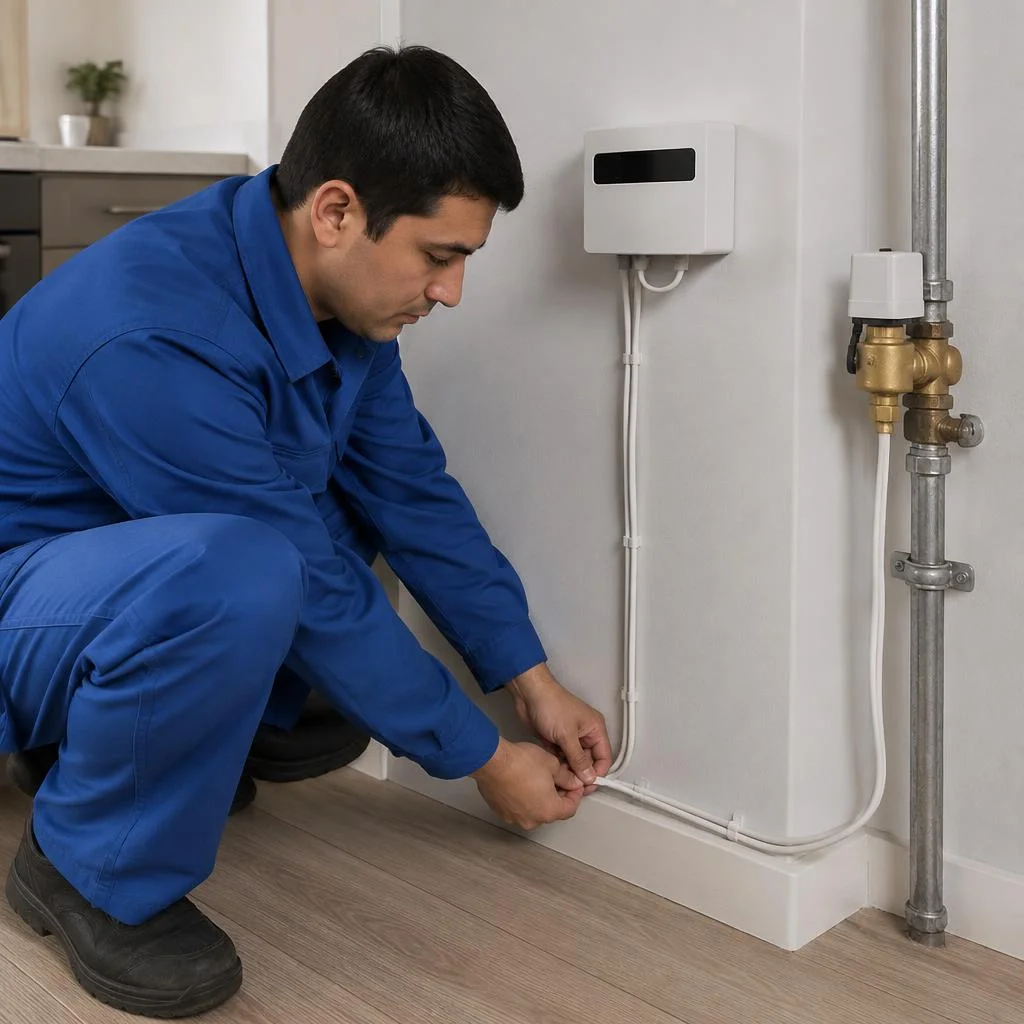
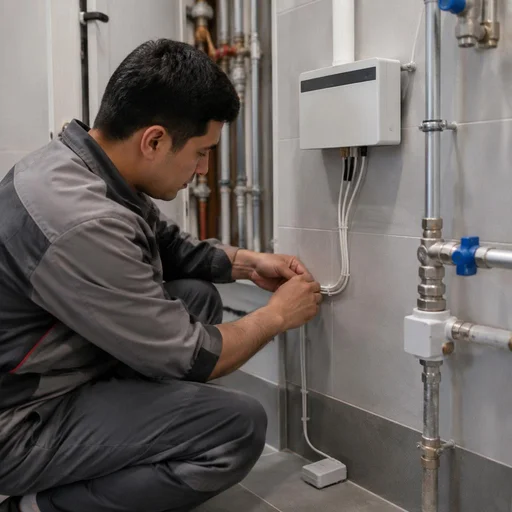
We run the cable from the sensors to the controller and connect it to the electrical mains on a separate line. The wire runs from each point — floor, bathroom, sink, washing machine, water heater — to the controller's terminal block; usually this is a twisted pair with a cross-section of 0.2-0.5 mm², designed for a low-voltage signal of 5-12 V. The controller is powered from a separate circuit breaker in the panel so that the washing machine, water heater and microwave don't load the line and cause false alarms. A cable in the screed or under the baseboard saves on repairs but requires wall chasing — in apartments where the finishing is already done, we offer open routing in a cable duct: it's cheaper and doesn't damage the walls.
Choosing a system for your apartment: Neptune, Hydrolock, Aquastorozh
Three product lines cover different tasks — from a compact apartment with a single wet zone to a home with a boiler and washing machine. We break down how they differ in the number of zones, control type, and application scenarios.
How Neptune, Hydrolock and Aquastorozh differ
| Product line | Number of zones | Control type | What it suits |
|---|---|---|---|
| Neptune | 2-8 | Wired controller | Apartments with a bathroom and kitchen |
| Hydrolock | 3-12 | Controller with expansion | Homes with a boiler and washing machine |
| Aquastorozh | 2-6 | Standalone modules | Compact apartments, renovation without wall chasing |
| Eco-Service | Selection by number of zones | Installation and setup of any product line | Properties with different pipe layouts |
For an apartment with a single wet zone, the basic product line is enough, while for a home with a boiler and washing machine you need a system with expansion — otherwise the sensors will have to be combined manually. In our practice, at properties with two bathrooms and a kitchen, controllers for 6-8 zones are installed more often: the reserve allows adding a sensor at the dishwasher without replacing the unit.
Installing the Neptune system: what is important to consider
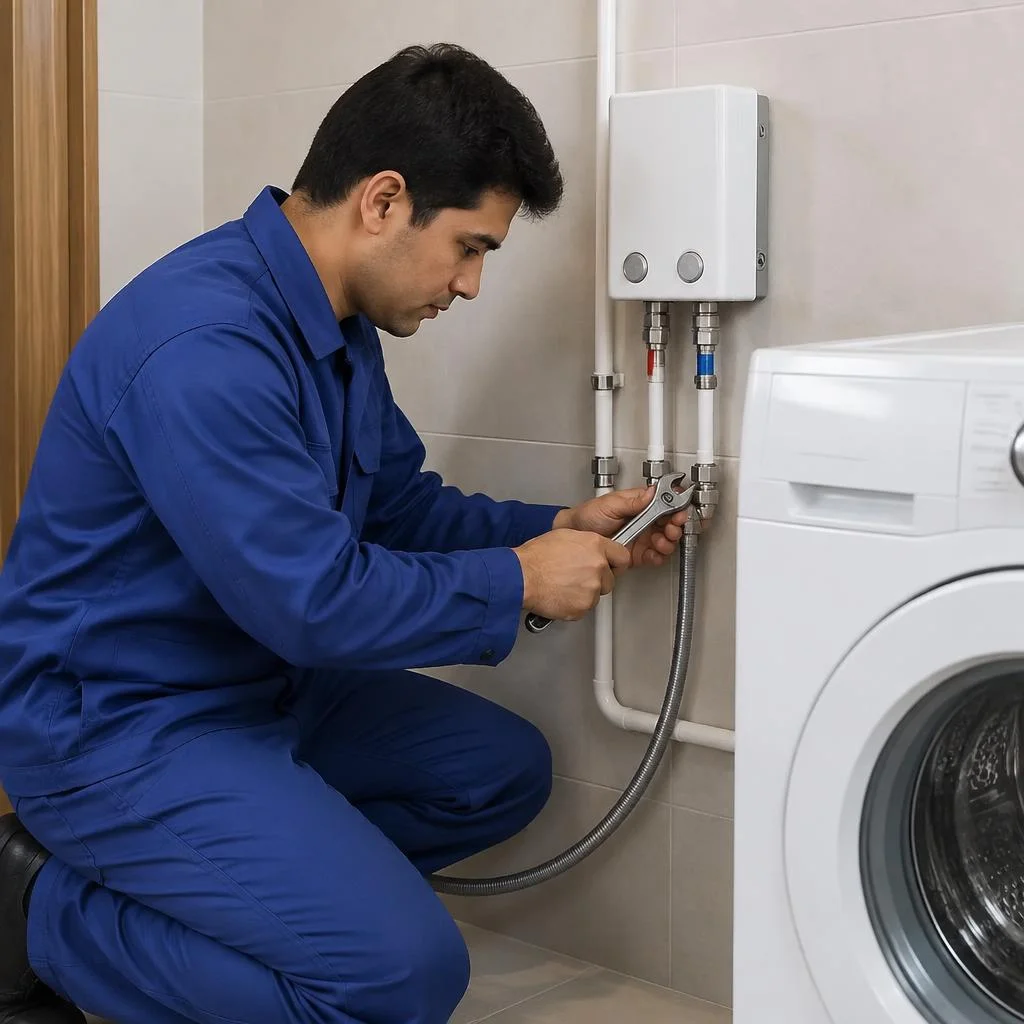
Assembling the controller, cutting in the valve with an actuator and connecting the sensors by zone take one working day. Controllers in this product line are produced for 2, 4, 6 and 8 zones, sensors are placed on the floor in the bathroom, under the sink, at the washing machine and boiler, and the electrically actuated valve is cut in at the inlet or on the manifold. In the request it is enough to specify the number of wet zones and the pipe material — the technician immediately understands what is meant. Some models have a separate power supply unit — if there is no socket at the riser, we plan the line in advance so as not to run an extension cord across the whole apartment. When ordering in advance, specify where the inlet valve is located: the length of the cable from the sensors to the controller depends on this.
Installing the Neptune system on metal-plastic and copper pipes
We carry out work on polypropylene, metal-plastic and copper — the pipe type determines the method of cutting in the valve with an actuator. On polypropylene the valve is installed by soldering, on metal-plastic — with compression fittings, for copper a press or soldering is needed. In Tashkent new builds, polypropylene is more common, while in older buildings — metal and metal-plastic, so the technician goes out with two sets of tools. On copper, ordinary compression fittings cannot be used — soldering or a press is needed, so we confirm the pipe material before the visit so as not to postpone the installation to a second day.
How to choose a product line for a specific apartment
- One wet zone: bathroom or kitchen — a basic controller for 2 sensors plus a valve with an actuator at the inlet is enough.
- Two bathrooms and a kitchen: a controller for 4-6 zones, separate sensors under the sink, at the washing machine and in each bathroom.
- Apartment with a boiler: a zone at the boiler is added, and a valve with an actuator is installed both at the inlet and on the manifold.
- Renovation without wall chasing: standalone Aquastorozh modules with a radio channel between the sensor and the valve.
- Home with several risers: a controller with expansion for 8-12 zones and separate valves for each inlet.
- Rented apartment: a system with quick-release fittings so it can be removed when moving out without leaving marks on the pipes.
- Property with filters: the valve with an actuator is installed after the filter, otherwise when it triggers, water remains in the housing.
Installation of a leak protection system: stages of work and tapping into the riser
We break down the sequence of work — from shutting off the riser to pressure testing. We show exactly where the valve is tapped in, why a bypass is needed, and why without a final check of the sensors the system may stay silent during an emergency.
Stages of turnkey leak protection system installation
- Diagnostics: we inspect the piping, mark the tap-in points, and measure the pressure in the riser and on the manifold.
- Design: we determine the number of sensors by zone — sink, bathroom, washing machine, boiler — and the cable routing plan.
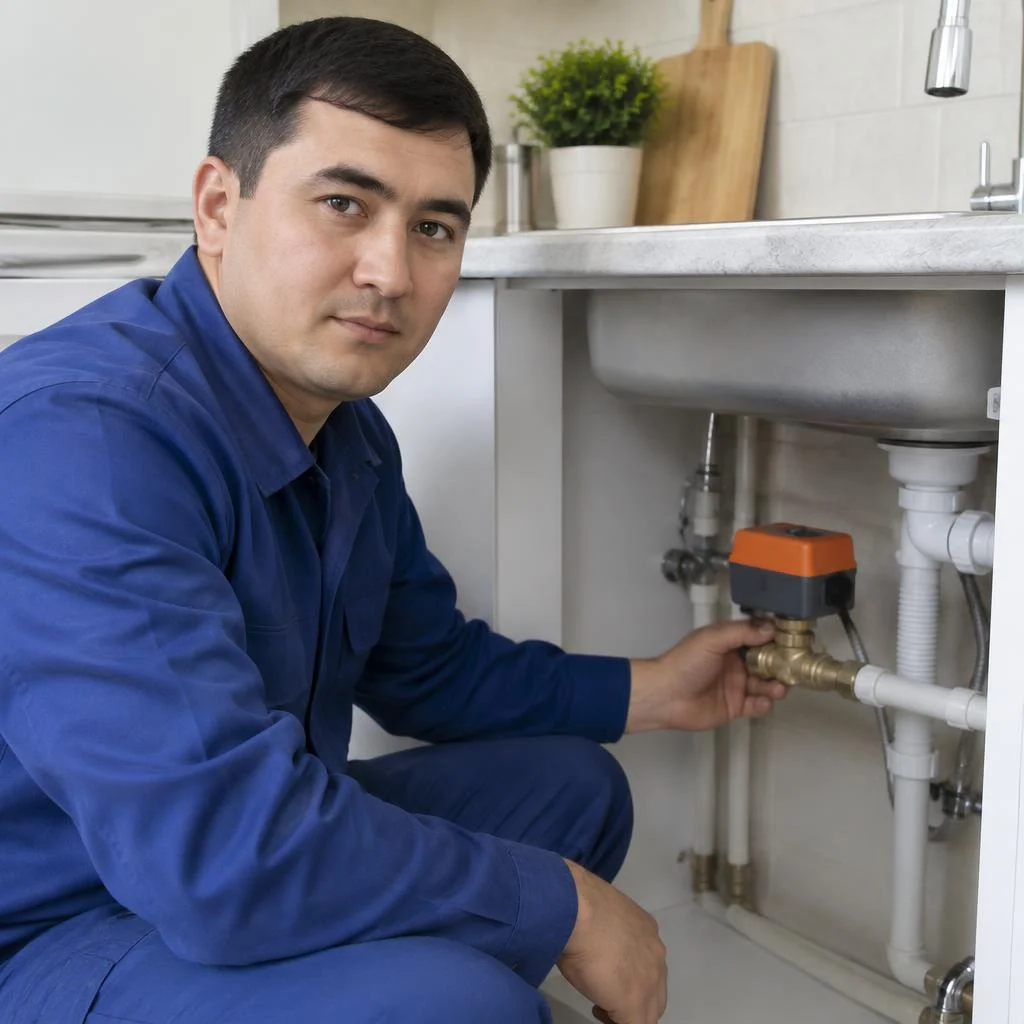
- Valve tap-in: we install a motorized ball valve at the inlet or on the manifold, and mount a bypass.
- Cable routing and sensor installation: we run the cable to the controller and mount the sensors on the floor and near the appliances.
- Connection and configuration: we connect the power and program the trigger scenarios in the controller.
- Trigger test: we simulate a leak and measure the shut-off closing time — we pour water on the sensor and see how many seconds it takes to shut off the supply.
Tapping the motorized valve into the riser and the manifold
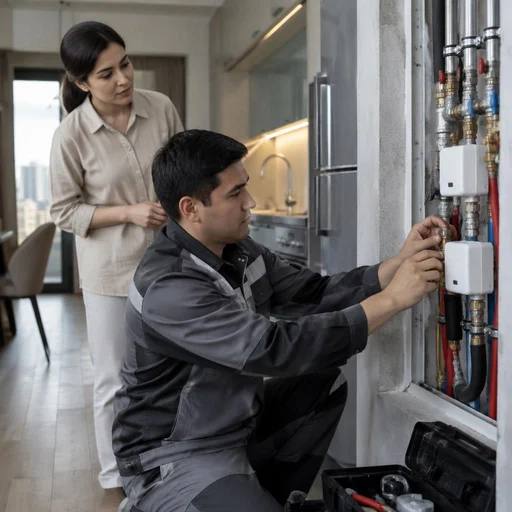
We tap the motorized valve into the riser or the manifold — the choice of point depends on whether the system shuts off water for the entire apartment or for individual zones. Tapping into the riser places the valve before the piping: one emergency — and the water is shut off in the entire apartment, including the towel warmer and the boiler. Tapping into the manifold after the collector allows the circuits to be separated: bathroom separately, kitchen separately, washing machine separately. In the panel buildings of Tashkent, the riser often runs in a niche in the bathroom, and then the valve is hidden in an inspection hatch with access without breaking the tiles. We use full-bore motorized ball valves — they do not cut the pressure on the upper floors, where the head is already weak. Tapping into the riser requires coordination with the building management company and shutting off the water for the entrance — we warn about this in advance and schedule the work for the morning hours, when the neighbors are at home.
Bypass and replacement of the inlet valve: why this is needed
We install a bypass for the motorized valve and replace the inlet valve — this allows the system to be serviced without shutting off the entire apartment. A bypass is a parallel branch with a manual valve: when replacing the actuator or servicing the controller, the water flows around, not through the automation. We replace the inlet valve if the old one does not hold pressure or has seized on the threads: after it we install a new ball valve with an electric actuator and a pressure reducer. Installing water leak protection systems at sites with worn-out piping requires preliminary re-soldering of the polypropylene — otherwise the new motorized valve will not fit onto the old threads. Without a bypass, when replacing the actuator you would have to shut off the riser and wait for the building management company; a bypass costs money once, but saves hours of downtime in an emergency.
Compatibility with pipes and piping: filters, pressure reducers, bypass
The system does not work in a vacuum: it is affected by water hardness, pressure in the riser, and the material of the wiring. Let's break down what we install before the controller and how we tap into different pipes.
Installation of a leak protection system on different types of pipes
| Pipe type | Tapping method | What to consider |
|---|---|---|
| Polypropylene | Re-soldering a section under a tee | The joint needs heating, cooling for 20 minutes |
| Metal-plastic | Press fitting or compression adapter | The inner sleeve prevents the pipe from being compressed when tightening |
| Copper | Soldering with flux under an actuated valve | Annealing is mandatory, otherwise a crack along the seam |
| Metal (old housing stock) | Check the threads; if worn, re-solder | Oxidized threads do not provide a leak-tight fit |
Installation of a leak protection system on metal pipes in old housing stock requires a separate check: the threads are often "oxidized," and an actuated valve will not seat tightly. In Tashkent's housing stock from the 1960s-70s, we run a die over the threads and, if worn, re-solder the section — otherwise within a month the connection leaks.
Filter and pressure reducer before the controller
Eco-Service installs a filter before the controller and a pressure reducer before the system — this protects the actuator and sensors from contamination and water hammer. A mechanical filter traps sand and scale that carry away the seat of the electric valve: after riser repairs in Tashkent's khrushchyovkas, a murky flow runs for a week, and without a filter the gate jams. The reducer keeps pressure within 2.5-3 bar, although in the riser at night it can be 5-6 bar, and during water hammer peaks reach 10. We mount both elements in a single assembly before the controller — that's 40-60 minutes of work without opening the walls. Without a reducer, during a surge the actuator can jam in the closed position, and water won't flow even after the leak is fixed — a reducer costs less than calling an emergency crew.
Installation of leak protection in an apartment with a boiler and a washing machine
Installation of leak protection in an apartment with a boiler and a washing machine requires separate sensors at each appliance and a zone on the manifold. A 50-80 liter boiler and a washing machine are the two most common sources of accidents: the supply hose on the boiler cracks from temperature fluctuations, and the washing machine's inlet hose bursts during a pressure surge. Installation of leak protection in such an apartment begins with marking: we place the sensor at the boiler on the floor under the tank, and the sensor at the washing machine in the drip tray; both are wired to separate channels of the controller through the manifold. In our practice, in an apartment in Chilanzar, a burst washing machine inlet hose flooded the neighbors below on two floors — with a separate zone on the manifold, the controller would have shut off only the washing machine circuit, and the water in the bathroom and kitchen would have remained. That's why separate zones are more important than a single common sensor: if the washing machine leaks, the supply to the boiler and sink keeps working.
Protection scenarios and setup for a specific apartment
A leak protection system doesn't just shut off the water — it responds according to a predefined scenario. Let's break down which zones we designate in an apartment, what happens after activation, and how temporary water shutoff works during installation.
Configuring leak protection scenarios by zone
- Kitchen: a sensor under the sink and near the dishwasher shuts off supply to the kitchen manifold without affecting the bathroom.
- Bathroom: a floor sensor and a sensor under the sink cut off the inlet to the faucet and shower; the signal is duplicated to the controller.
- Washing machine: a separate circuit responds to a leak under the unit and shuts off only its own branch; the wash cycle is left without water.
- Boiler: a sensor near the storage tank and on the supply line cuts off supply to the heater to avoid flooding the neighbors below.
What to do after the system activates
- Find the source: inspect the sensor that triggered the signal — most often it's condensation, a leak in the flexible supply line, or a washing machine overflow.
- Eliminate the cause: close the local valve, replace the supply line, or tighten the connection without forcibly opening the main valve.
- Reset the error: on the controller, clear the lockout with a button or through the menu, and wait until the sensor dries out and returns to normal.
- Check the sensor: wipe the contacts dry, make sure it isn't flooded or displaced, then turn the water back on and observe the response.
Water shutoff during installation: how it works
Eco-Service coordinates the water shutoff for the duration of tapping in the valve — in an apartment this takes 1-2 hours; when tapping into the riser, coordination with the management company and advance notice to neighbors is required. The technician shuts off the riser for the minimum interval, installs the motorized valve, the bypass, and starts up the system before supply is restored. Installing water leak protection systems in Tashkent high-rises most often hinges on precisely this stage: the shorter the shutoff window, the less inconvenience to neighbors. We notify residents via a notice at the building entrance one day before the work — this reduces the risk of complaints and speeds up access to the riser. If the riser is shared by several apartments, the shutoff is scheduled for the morning hours, when the neighbors are home and access can be coordinated quickly.
Warranty, timelines and service maintenance
After installation, the system remains under warranty and maintenance. We explain exactly what the two-year warranty covers, how long installation takes, how the service is structured and how to pay for the work.
2-year installation warranty: what it covers
- Valve tapping: covered are the tapping of the electric shut-off valve into the riser and the manifold, and the tightness of threaded and press connections.
- Controller connection: the warranty covers connection to the power supply, routing of the cable from the sensors and the condition of the terminals.
- Scenario configuration: if the protection logic has been disrupted through the technician's fault, the controller is reflashed and the sensors are re-checked zone by zone.
- Electric shut-off valve: covered are the stem travel, the actuator tripping on the controller signal and the integrity of the housing.
Installation timelines and system service maintenance
We carry out standard installation of a leak protection system in an apartment within one working day — from tapping the valve to the tripping test. At sites with metal-plastic or copper pipes, the work takes longer: re-soldering and piping add 3-4 hours, so we schedule such orders for the morning. System service maintenance includes an annual check of the sensors, a tripping test and tightening of threaded connections on the shut-off valves. Over time, sensors oxidize from moisture — an annual check identifies "silent" sensors before a real emergency, not after. We make a second visit per year on request: if after plumbing repairs or replacement of the boiler the system behaves differently, the technician will re-check the zones.
Payment and calling a technician to your home
Eco-Service accepts payment via Click, Payme, Uzcard and Humo. We arrange the home visit by time: in Tashkent we arrive at a convenient interval, and the technician inspects the riser, the manifold and the sensor installation points before starting work. In their requests, clients often write briefly — leak protection system installation price — and from that line we immediately understand that a quote is needed for a specific apartment. On site we calculate the estimate: the final amount depends on the number of sensors, the type of pipes and whether a bypass is needed. Turnkey installation in an apartment takes place on the same day as payment — no separate visit for the estimate is needed. We take payment after the tripping test, not at the beginning: the client sees how the valve shuts off the water on signal, and only then pays.
Conclusion
Installation of water leak protection systems is a combination of a controller, electric shut-off valves and sensors selected for a specific apartment. Below are the main points to keep in mind before starting work.
Key takeaways
- System composition: a controller, an electric shut-off valve at the inlet and sensors in risk zones — kitchen sink, bathroom, washing machine, boiler.
- Selection by pipes: metal-plastic, copper and polypropylene require different fittings and adapters; there is no universal installation.
- Piping is mandatory: a coarse filter and a pressure reducer before the controller extend the service life of the valves and sensors.
- Scenarios for the apartment: zone-based configuration shuts off water only in the problem zone, not in the entire riser.
- Service after installation: check the sensors and flush the filter once a year — that way the system responds to a leak within seconds, not with a delay.


