













When an old sewer system needs replacement: signs of wear and diagnostics
In Tashkent homes, sewer systems wear out faster due to hard water and old cast-iron risers: scale and rust narrow the pipe bore from the inside. That is why we never start work without diagnostics — it reveals the real condition of the system.
Signs that the sewer system in an apartment or house has served its time
- Constant clogs: if cleaning helps for two or three weeks, and then water drains slowly again — the pipe bore is already narrowed by buildup.
- Rusty streaks at joints: brown marks on sockets and clamps indicate that the cast iron has begun to deteriorate from the inside and the wall has thinned.
- Smell from the inspection hatch: a persistent sewage smell in the bathroom means the seals of the connections are compromised or a section of pipe has cracked.
- Slow drainage: water in the toilet and sink drains sluggishly even without a visible clog — a typical sign of overgrowth on the inner surface.
- Noise and vibration: humming and trembling of the pipe during flushing indicate displaced joints and loosened riser fastenings.
Video inspection of pipes: how we determine the real scope of work
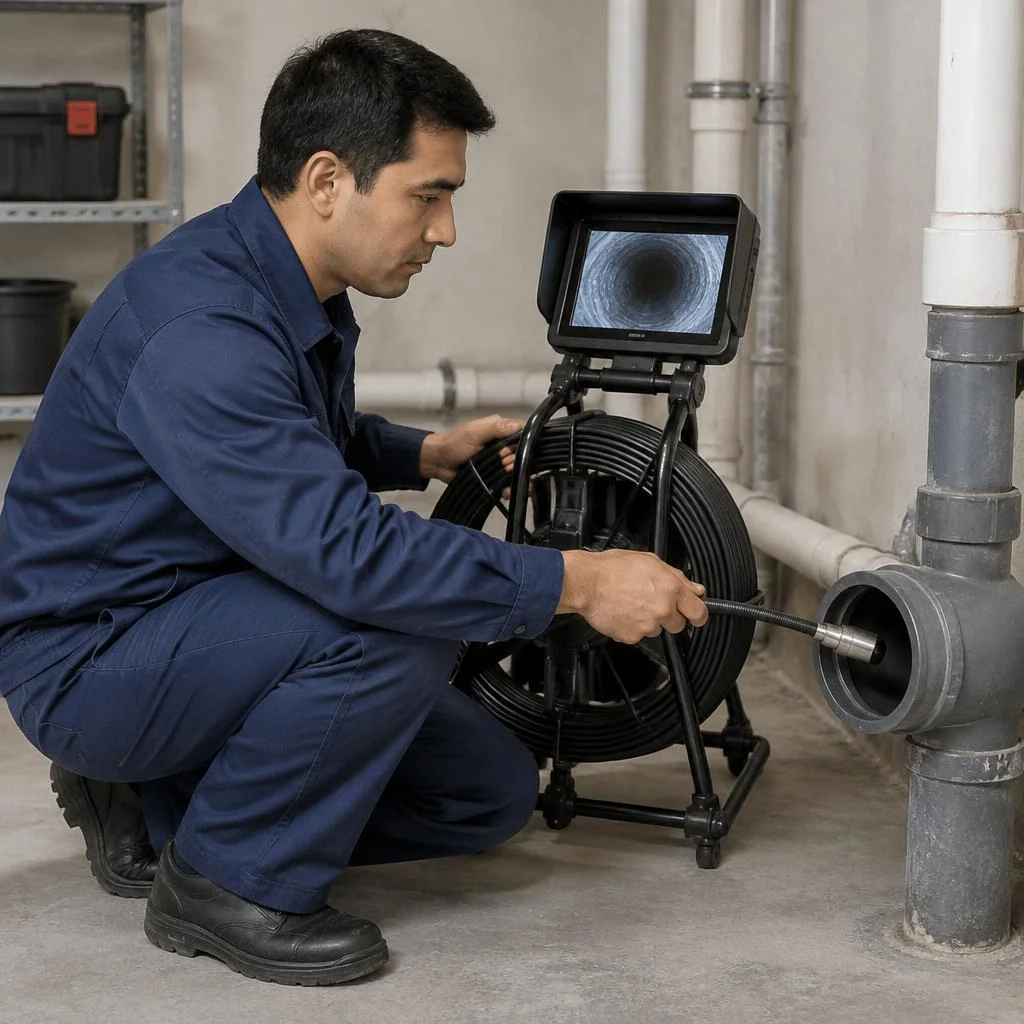
We perform video inspection of pipes with a camera and recording — this reveals cracks, displaced joints and areas with buildup before dismantling begins, not after opening up. The camera travels through the riser and horizontal runs with diameters of 50 and 110 mm, the operator records the depth of overgrowth as a percentage and marks the points where the metal has sagged or the socket has separated. On cast-iron risers in Tashkent homes after 30-40 years of service, the bore is often narrowed by half — a single such recording shows where work is mandatory and where local repair is sufficient. Clients often phrase their request as replacing pipes in an apartment — and from that wording we immediately understand that full diagnostics of the riser and horizontal runs are needed. The inspection recording stays with the client: it shows which sections truly require renewal and which can be left as they are — this eliminates redoing entire risers "just in case."
How sewer replacement differs in a khrushchyovka and a panel building
In khrushchyovkas and panel buildings in Tashkent, risers run in shared shafts, and the distribution lines are concealed in the walls — so we first coordinate access with the neighbors on the riser and only then open up. In khrushchyovkas, the bathroom is usually combined, pipes are laid openly along the wall or in a shallow chase, and installation in a khrushchyovka goes faster: access to the distribution lines is easier, cast-iron horizontal runs are shorter. In panel buildings, the distribution lines are hidden behind tiles and in partitions, and the riser is walled up in the shaft — opening up takes more time and requires careful work with a rotary hammer. That is precisely why renewing the sewer system in a khrushchyovka costs less and takes less time than in a panel high-rise. Chasing load-bearing walls for new pipes is not allowed — the distribution lines are run along the floor or in a duct, otherwise the floor slab is weakened.
What is included in the estimate before work begins
- Diagnostics and dismantling: video inspection of pipes, opening up sections, removal of old cast-iron or plastic pipes along the entire length.
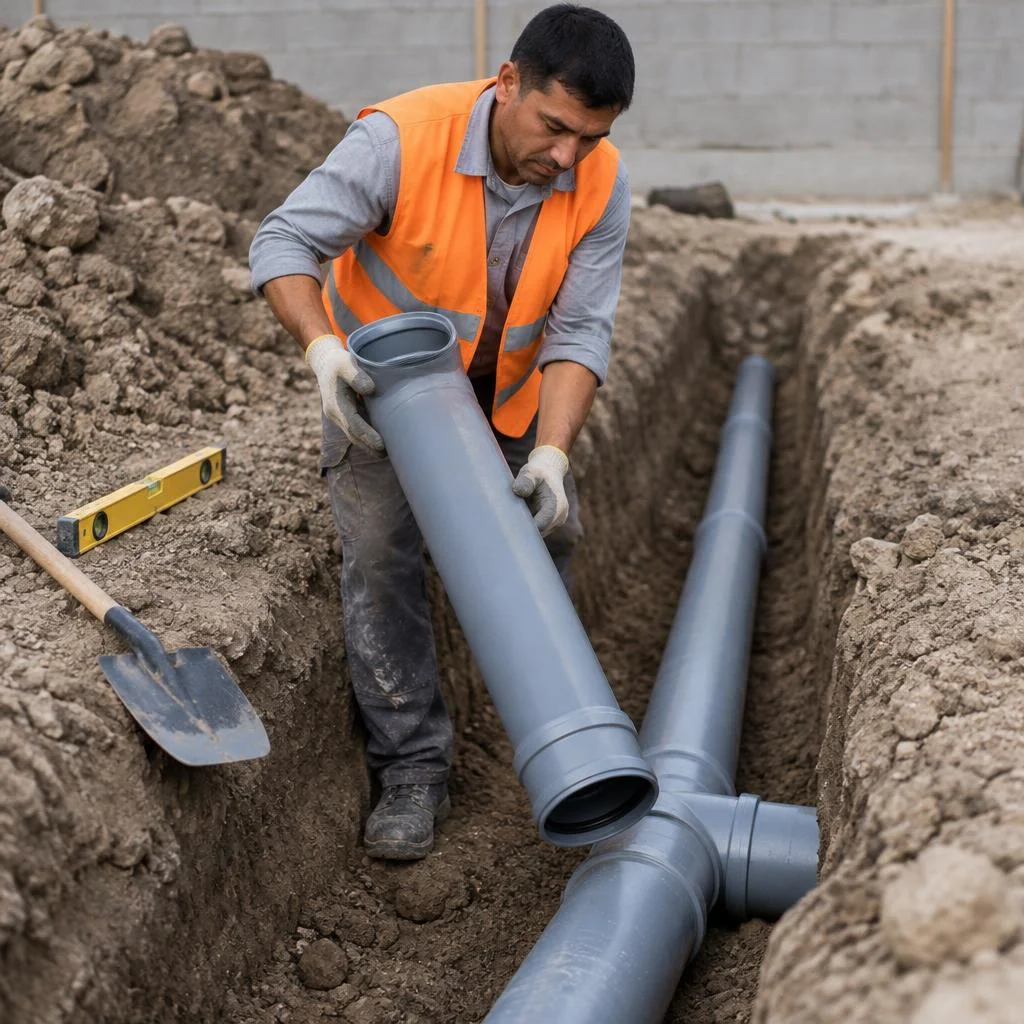
- Earthworks: marking and digging the trench by hand or mechanically, installing a sand bed under the pipe.
- Laying and connections: placing the pipe in the trench, welding polyethylene pipes, installing socket connections, replacing the riser.
- Backfilling: bedding the pipe, filling the trench, compacting the soil and installing the inspection hatch.
- Recording the scope: each item as a separate line, so that when opening up, a hidden section is added as a new line rather than dissolving into the total sum.
Replacing cast iron sewer pipes with plastic: materials and technology
Cast iron pipes in Tashkent homes last 40-50 years, but sooner or later they are replaced with plastic. Let's look at why this has become the standard, which diameters we use, and how we connect pipes so the system works without blockages for decades.
Why cast iron is replaced with plastic: comparison by key parameters
| Parameter | Cast iron | Plastic (PVC/PP) |
|---|---|---|
| Weight of 1 m of 110 mm pipe | 12-14 kg | 2-3 kg |
| Reaction to water | Rusts, corrodes | Inert |
| Internal buildup | Bore narrows over 15-20 years | Does not build up |
| Service life | 40-50 years | 50+ years |
| Sound insulation | High | Requires insulation |
The cost of switching from cast iron to plastic depends on the scope of demolition and the length of the piping runs, and the switch itself delivers the main benefit: a smooth wall reduces the risk of blockages severalfold. Cast iron handles noise better than plastic, so in bedrooms next to the stack a cast iron section is sometimes left in place or sound insulation is used — this is a compromise, not a rejection of the switch.
Which pipes we use: 50 and 110 mm diameters and where they are needed
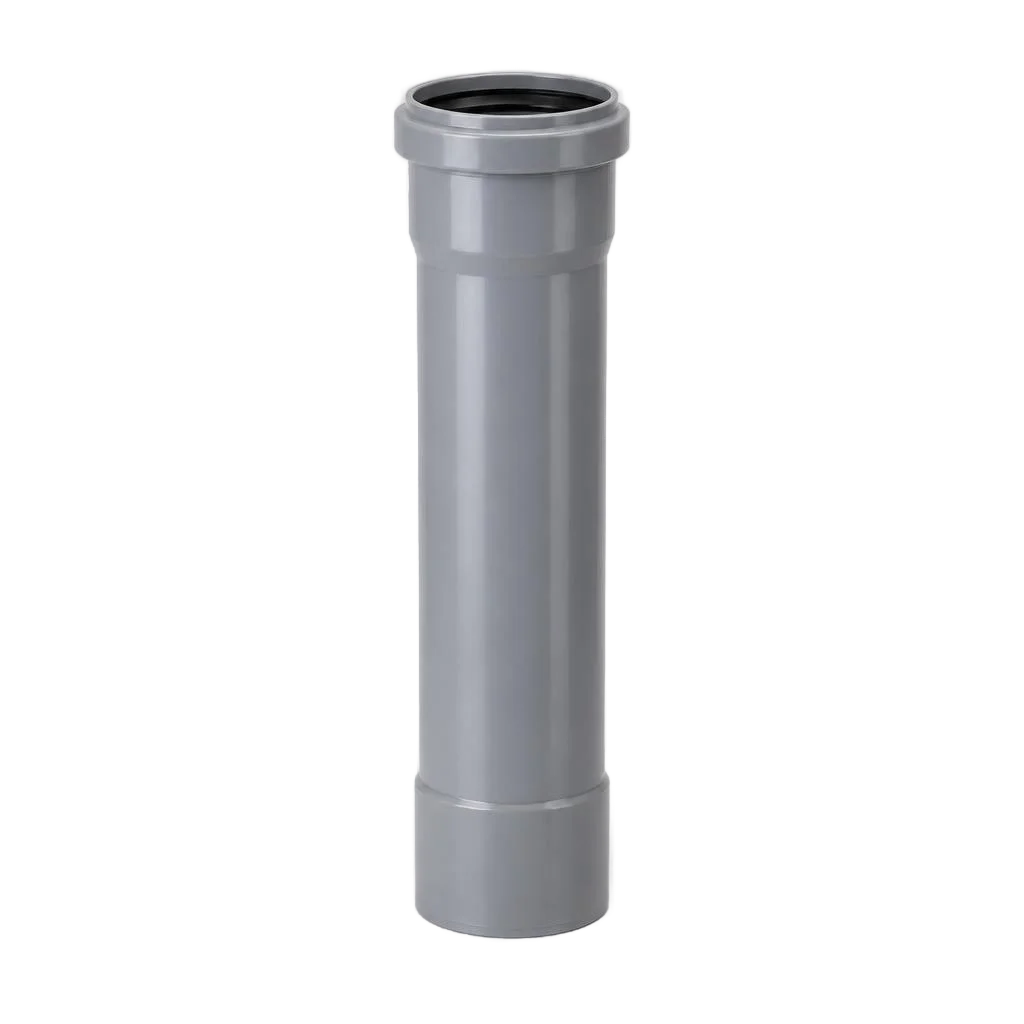
- 110 mm — stacks and horizontal runs: the main diameter for vertical sections and horizontal collectors gathering wastewater from the entire stack.
- 50 mm — branches from plumbing fixtures: a toilet is connected via 110 mm, while a sink, bathtub and kitchen sink are connected via 50 mm.
- 110→50 adapters: we install them only on straight sections, not at bends, so as not to create a blockage point.
- We lay pipes in trenches and inside the house: we select the diameter for the specific assembly, not "by eye".
Welding polyethylene pipes and installing socket connections
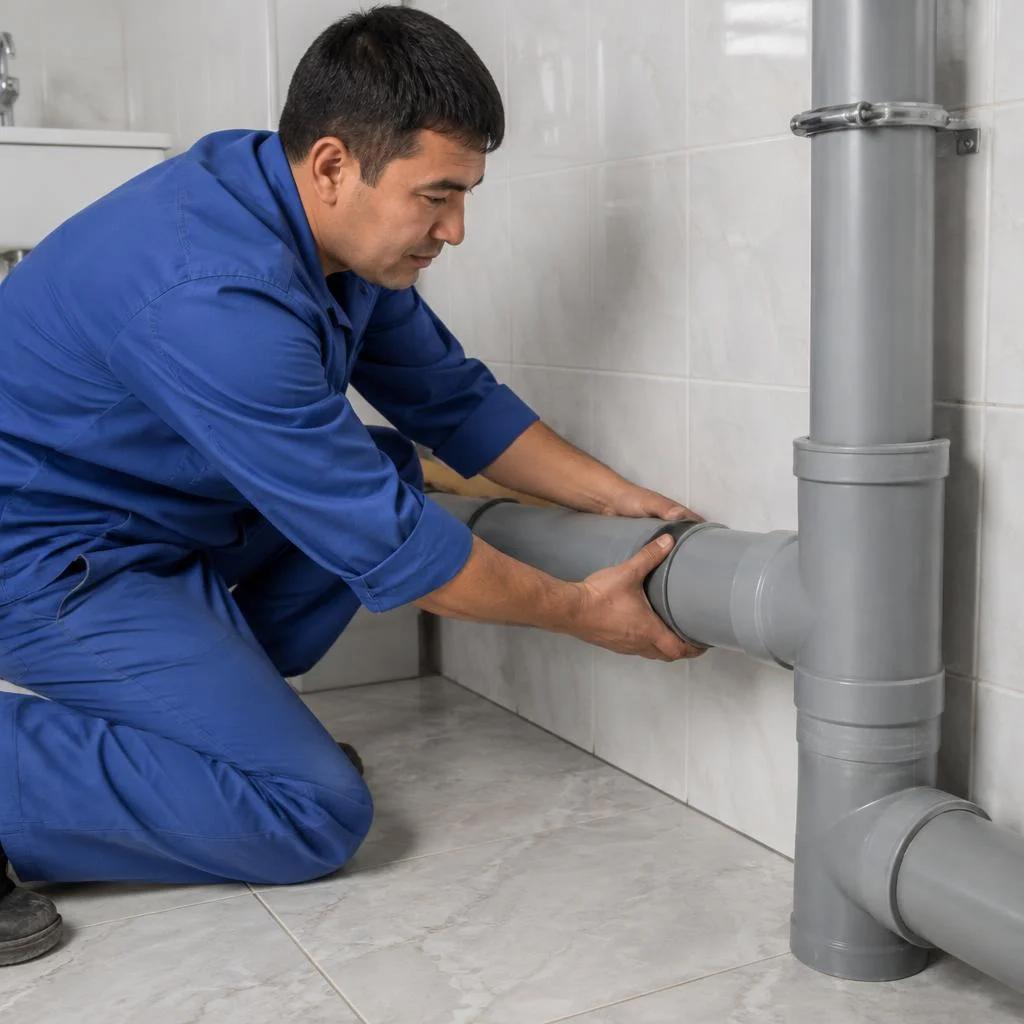
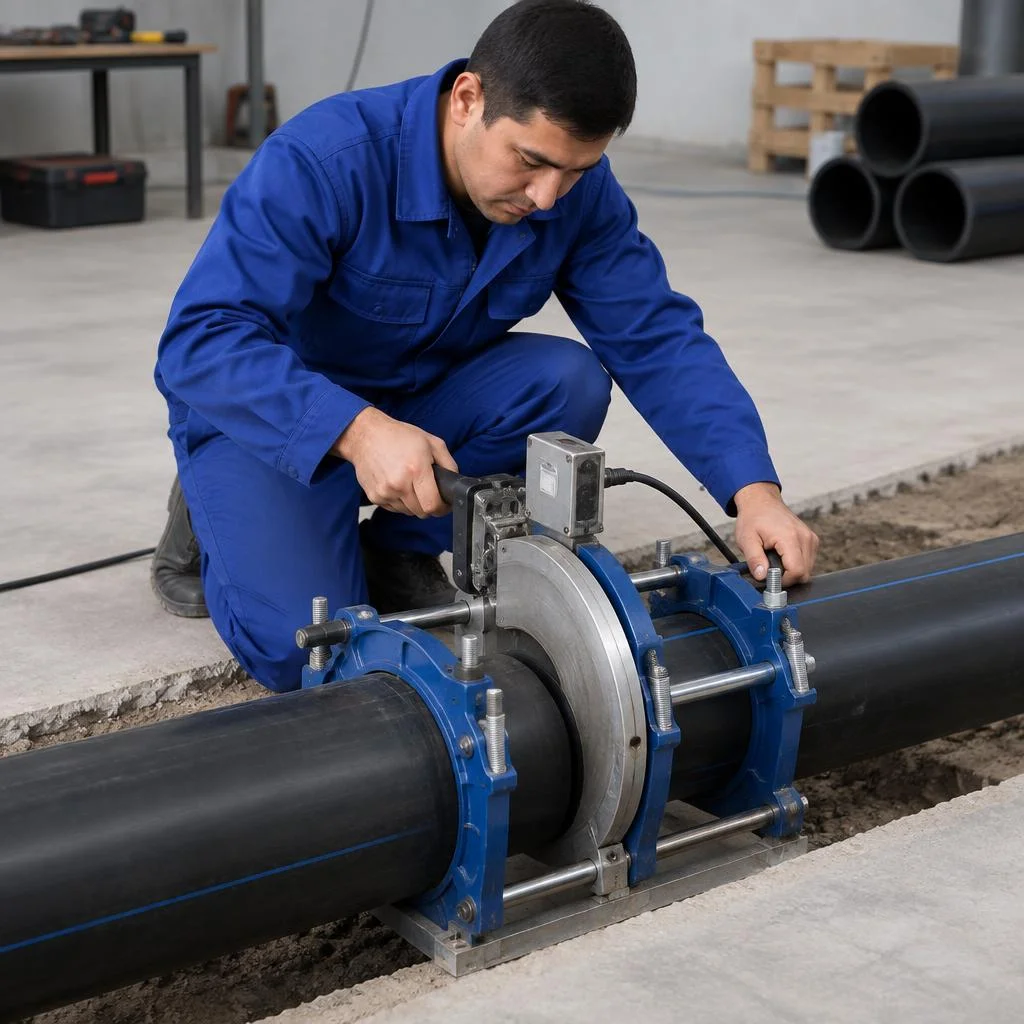
We weld polyethylene pipes for outdoor sections and install socket connections inside the house — welding produces a monolithic joint for the entire service life of the pipeline, while a socket with a rubber ring is convenient for quick inspection and replacement of a section. For outdoor sewerage in the private sector of Tashkent we use PE pipes: they withstand soil pressure and seasonal movement without cracking. Inside the house, on the internal piping, we work with PVC and PP — socket connections are assembled without special equipment and are sealed when the ring is installed correctly. Clients often search for "replacing cast iron sewer pipes with plastic price" — and land on this page, because the final estimate is built precisely around the connection method: welding requires equipment and a specialist, while sockets are cheaper to install. A welded joint cannot be disassembled without cutting, so on internal piping we leave inspection points — otherwise, in the event of a blockage, the entire section would have to be opened up.
Slope and sand bedding: what determines a system that works without blockages
We lay the pipe on a sand bed and maintain a slope toward the manhole — without this, water stagnates and the pipe silts up even with the correct diameter. The 110 mm run is laid with a slope of 2 cm per linear meter, for 50 mm — 3 cm: the smaller the diameter, the steeper the slope needed so the flow does not slow against the walls. The sand bed compensates for seasonal soil movement in Tashkent: without it, the pipe sags in certain sections and the slope "breaks" — a local dip appears where sediment accumulates. Eco-Service installs a sand bed under the pipe in a layer of 10-15 cm with compaction — this is cheaper than opening up a finished trench a year later.
Replacing the sewer system in an apartment: the riser, the layout, and the connection
We break down how the sewer system in an apartment is upgraded: from dismantling the old riser to connecting the new layout to the shared riser. We show the stages that affect neighbors and the assemblies that determine whether the system works without clogs.
The sewer riser: stages and coordination with neighbors
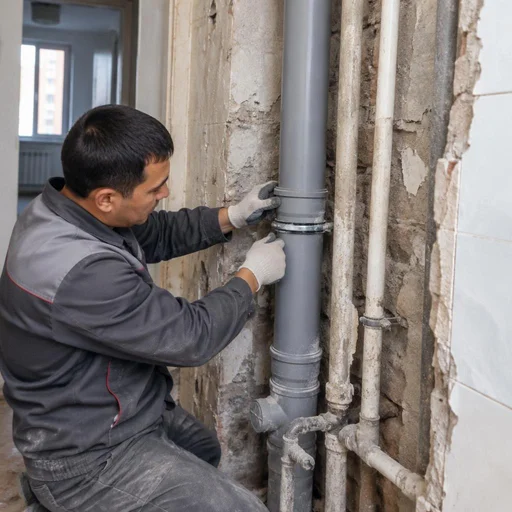
We replace the riser floor by floor, coordinating access with neighbors: the pipe is shared, so the work proceeds from top to bottom with temporary plugs during dismantling. Before work begins, the technician visits the apartments on the floors, records the condition of the cast-iron branches, and agrees on access times — usually 2-3 hours per floor. We dismantle the cast-iron pipes on the riser in sections so as not to leave the building without drainage: during the work we install a plug on each floor and warn residents not to pour water. Through Eco-Service you can order a complete riser replacement for an entire entrance block, with permits arranged and the management company notified. The riser is replaced in full, not just the section at your apartment: if a cast-iron fragment is left between floors, the new plastic will butt up against the old joint — and that is exactly where the first leak will occur.
Sewer pipes in the apartment: layout through the bathroom and kitchen
- Layout along the floor: we run 50 mm pipes with a slope of 3 cm per meter toward the riser, concealing them in the screed or in a duct along the wall.
- Branch to the toilet: a separate 110 mm line with a slope of 2 cm per meter — a straight section without turns for 1-1.5 meters from the fixture.
- Kitchen sink: a separate 50 mm branch to the riser through a tee, so that the kitchen drain is not combined with the bathroom at a single point.
- Inspection assembly: at a bend in the route we install a cleanout — we leave access to it through a hatch in the duct or tile.
- Checking the slopes: after assembly, we run water through each branch separately and measure the level with a laser before closing the screed.
Sewer system in the toilet: what changes and what stays
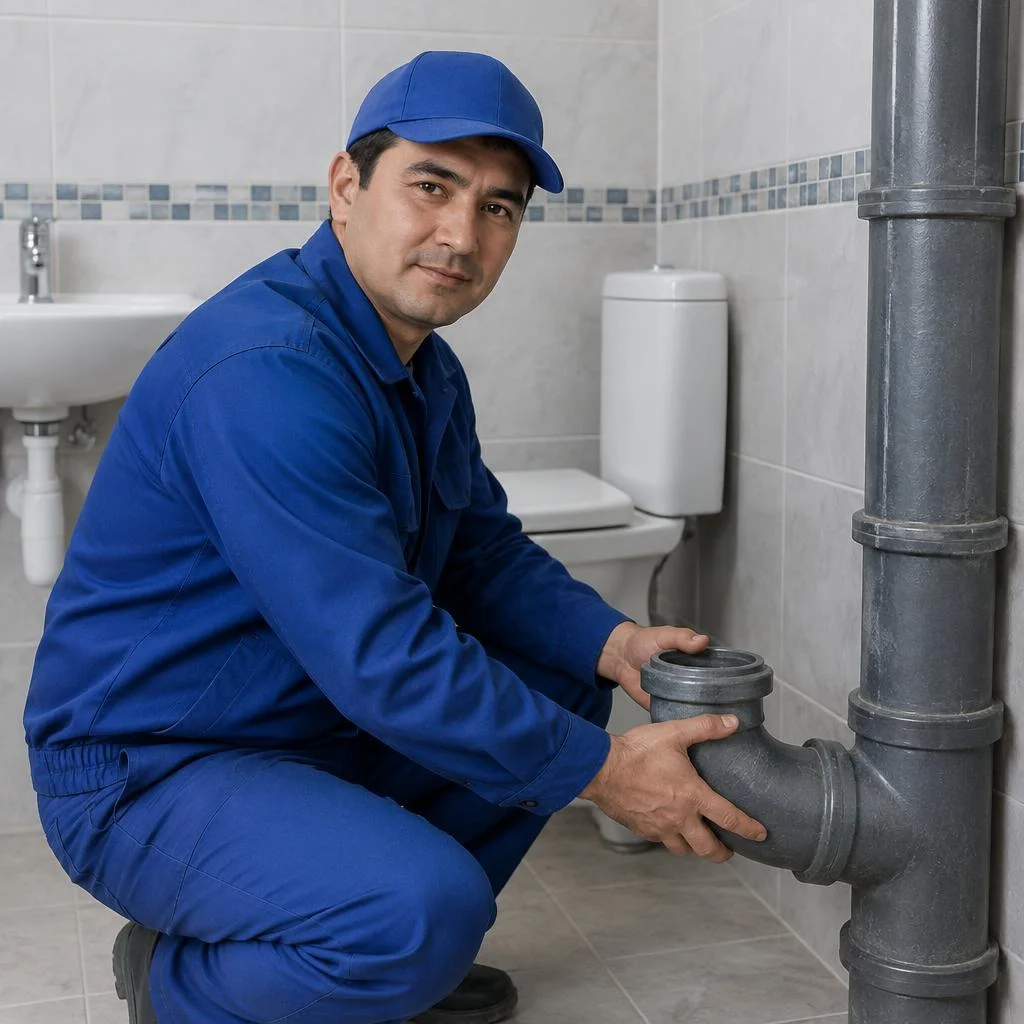
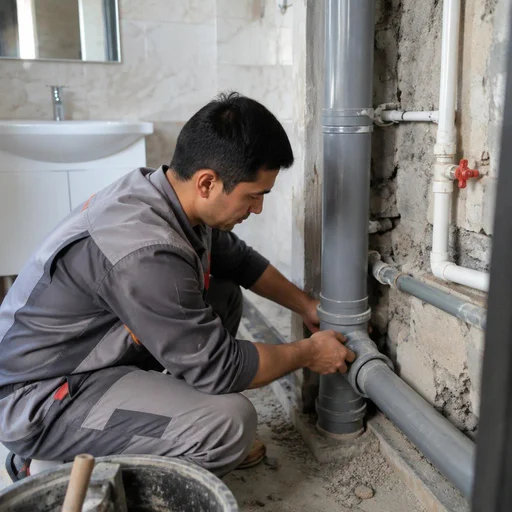
In the toilet we replace the tee, the branch to the toilet, and the section of the horizontal run, and we also install an inspection hatch for access to the system without opening the tile. Replacing the sewer tee is a mandatory stage when replacing the riser: the part connects the vertical pipe to the horizontal branch and takes the main flow. We make the branch to the toilet from 110 mm pipe with socket connections and rubber seals, without threads or sealant at the joints. We mount the inspection hatch opposite the tee at a height of 30-40 cm from the floor — through it, a clog can be cleared with a cable without dismantling the plumbing fixtures. The tee is the weakest point of the old cast-iron layout: it is where sediment accumulates and a crack appears, so when replacing the riser it is always replaced, even if it looks intact. In requests, clients often write briefly: sewer replacement in the toilet — and the technician immediately understands that this means the tee, the branch, and the inspection point in a single assembly.
Sewer pipes in the basement and connection to the shared riser
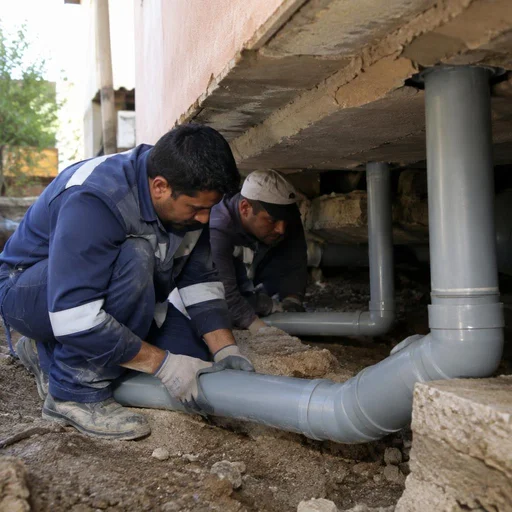
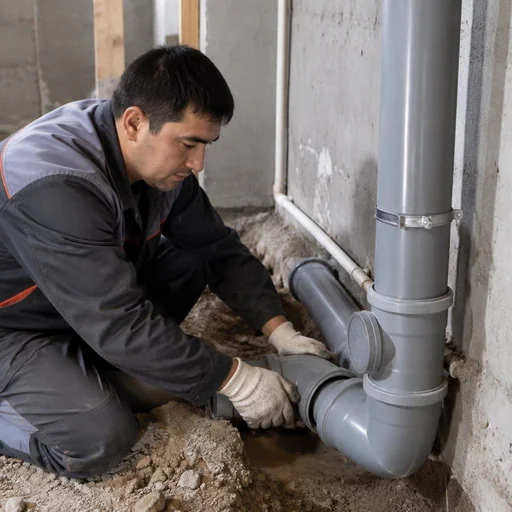
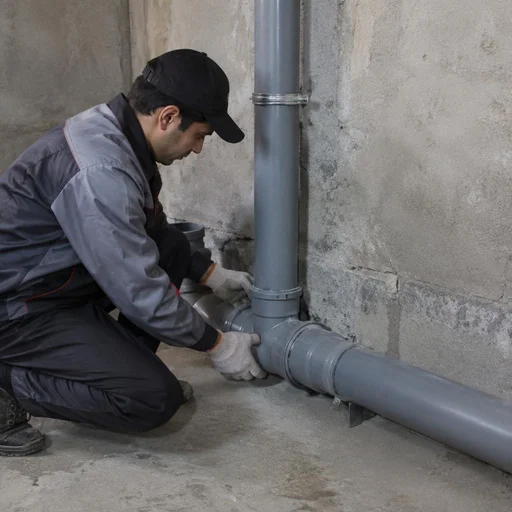
In the basement we replace the horizontal runs and connect the new layout to the shared riser — this is the final stage, after which the system is tested by running water through it. We assemble the horizontal run from the outlet to the riser using 110 mm pipes with sockets, and we check every connection for tightness before backfilling. We make the connection to the shared riser through an adapter for a cast-iron socket or a compression coupling — we choose the option based on the condition of the old pipe at the tie-in point. The question of the cost of upgrading the sewer system in an apartment is resolved after a video inspection: the scope depends on the length of the horizontal run, the number of floors, and the condition of the outlet, and the final estimate is made up of dismantling, installation, and connection. Basement horizontal runs are replaced with a slope toward the outlet: if the slope "falls" toward the wall, waste sits in the pipe, and the basement starts to smell even with functioning risers. A separate line item in the estimate is the replacement of sewer pipes in the basement: it includes dismantling the old cast-iron horizontal runs, laying new ones, and sealing the entries into the walls.
Replacing Sewerage in a Private House: Trench, Septic Tank and Storm Drainage
The outdoor network on the property consists of a trench, a slope, a septic tank and a separate storm drain; updating the sewerage system here involves soil, not just pipes inside the walls. Here the work involves soil, not just pipes inside the walls, and mistakes in the ground cost more.
Installation of Sewer Pipes in a Private House: From Marking to Backfilling
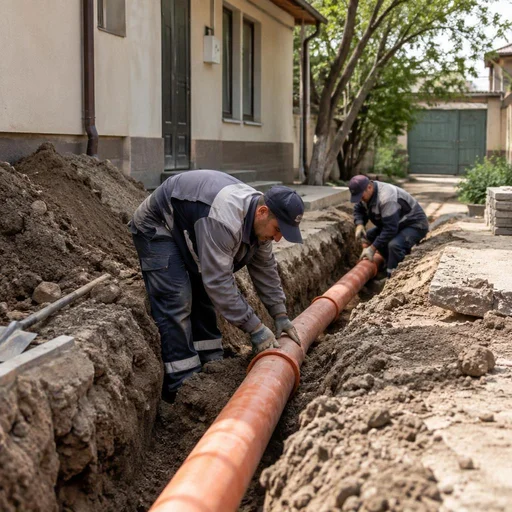
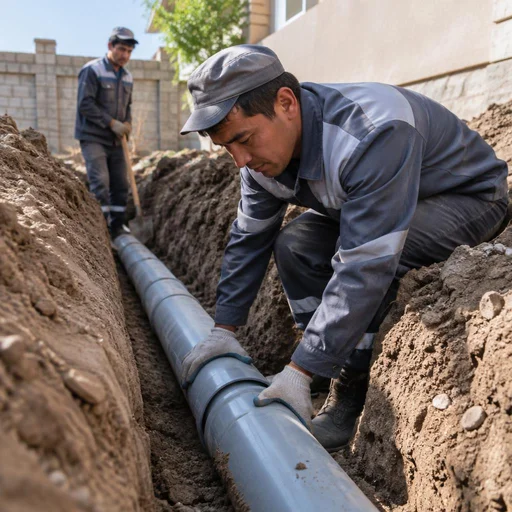
- Marking the trench: we mark out the route using a level with the design slope and a depth below the soil freezing level.
- Digging the trench by hand: we open up the ground at the foundation, inlets and crossings with gas and water pipes, where machinery cannot reach.
- Digging the trench with machinery: we work the main linear section with an excavator — this is many times faster than a manual cycle.
- Sand bedding: we lay a layer of sand under the pipe so that hard stones do not press through the wall under the weight of the soil.
- Backfilling and compacting the soil: we backfill in layers with tamping, otherwise subsidence will tear the joint at the entry into the house.
- Acceptance before closing: we run water through the section and check the slope before final backfilling — the price of the work depends on the length of the route and the depth of the trench.
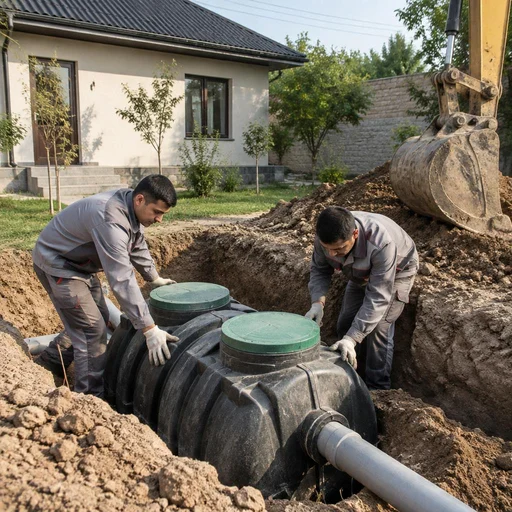
Removing the Old Septic Tank and Installing a New One
We remove the old septic tank, prepare the base for the new one and connect it to the sewer outlet — with a leak test before backfilling. We carry out the work together with updating the water supply in a private house if the routes run in the same trench: this way the property is not dug up twice. On clay soils near Tashkent we reinforce the base with crushed stone and sand, otherwise the tank body will tilt and the seams will come apart. We backfill the pipe with soft soil without construction debris. The old septic tank cannot simply be buried: without removal it subsides over the years and pulls the soil down with it, causing the pipe approaching it to deform and crack. Clients often find us through a search for water supply replacement in a private house — and land on this page.
Updating Storm Drainage on the Property
We replace storm drainage separately from domestic sewerage: rainwater runoff goes into a separate well or discharge point so as not to overload the septic tank. On sloped properties we install storm water inlets at the blind area and drainage channels along the paths, and run the pipe to a storage tank or to a discharge point beyond the property boundary. We select diameters based on the area of the roof and hard surfaces: a slope of 80-100 m² collects during a rainstorm a volume that a 110 mm domestic pipe cannot handle. Storm drainage must not be connected to the domestic septic tank: the rainwater volume is many times greater than the household volume, and at the first rainstorm the septic tank overflows and the sewage flows back toward the house. In search this is most often formulated as a query about pipe replacement in a private house — and for such a request we calculate the estimate after inspecting the route.
Dismantling Sewer Wells and Installing an Inspection Manhole
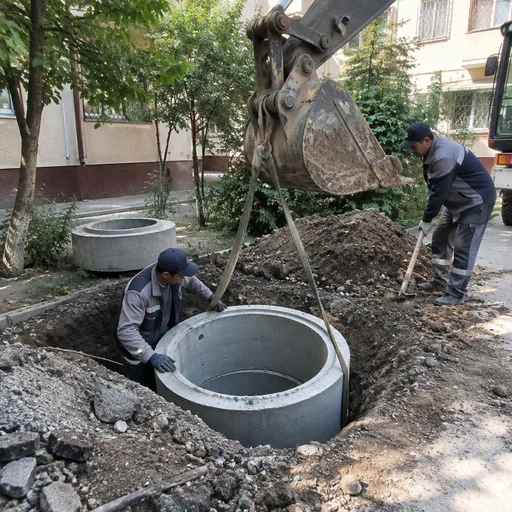
- Dismantling sewer wells: we take apart old concrete and brick rings, haul away the debris and prepare a pit for the new structure.
- Dismantling cast-iron pipes: we remove heavy cast-iron sections at the outlet, where they most often develop cracks.
- Installing an inspection manhole: we install the manhole flush with the surface of the property — an access point for cleaning without excavation work.
- Backfilling the pipe: we backfill and compact the soil around the well with layer-by-layer tamping so that the rings do not shift.
- Checking the slopes: we run water through the new assembly and make sure it flows into the septic tank rather than standing in the well.
Dismantling the old sewer system: cast iron, plastic, and preparation for installation
Dismantling is the noisiest and most labor-intensive stage of the work. How the old pipes are removed and the base is prepared determines how evenly the new piping will lie and whether it will sag in the very first season.
Dismantling cast iron pipes: why it is harder than it seems
We dismantle cast iron pipes piece by piece with cutting and support of the riser — cast iron is brittle, and a whole section can collapse down the shaft. At sites in Tashkent panel buildings from the 1970s-1980s, the cast iron riser is held on bell-and-spigot joints with caulked rope, and the first blow to such a section often splits it into fragments weighing up to 3-4 kg each. We cut with an angle grinder with a metal cutting disc or hydraulic shears, secure each fragment no longer than 40-50 cm with a clamp, and remove it with two workers. A cast iron pipe cannot simply be knocked out: when struck, it splits into fragments that get stuck in the shaft one floor below, so dismantling is carried out with each section secured. Work with cast iron sewerage requires a separate line in the estimate: at the Eco-Service company, the dismantling of cast iron pipes and the replacement of sewer pipes price are calculated separately — so you can see exactly what you are paying for.
Dismantling plastic pipes and preparing the base for the new piping
We dismantle plastic pipes faster than cast iron ones, but we обязательно level the base for the new piping — a difference in floor height breaks the slope. Polypropylene and PVC sections are removed in 1-2 hours: they are assembled on bell-and-spigot joints with rubber rings or with glue, and it is enough to cut the pipe with a plastic saw in two or three places to pull it out whole. It is more difficult with the fasteners: clips, clamps, and dowels leave holes 30-50 mm deep in the screed and walls, and a layer of silt and grease deposits accumulates under the old piping. In the private sector, clients often phrase the request as: replacement of sewer pipes in a private house — and from it it is immediately clear that floor opening and work with soil lie ahead, and not just replacement of a section in the wall. After dismantling, dents and remnants of fasteners remain on the floor: if a new pipe is laid directly on them, it will lie with a local kink — and that is exactly where a crack will appear at the first movement of the soil. Therefore, we add fill to the base and bring it to level before installation, rather than adjusting the already assembled piping.
Backfilling the pipe and protection from soil movement
We perform backfilling of the pipe with sand without stones and only then fill with soil — this protects the pipe wall from point loads. In Tashkent's external networks, the soil often contains crushed stone, broken brick, and construction debris from previous excavation work: such material, when compacted with a vibrating plate, produces point impacts on the wall. We make the sand layer around the pipe at least 10 cm at the bottom and on the sides, and 15-20 cm on top; we pour water over the sand and compact it layer by layer in 20-30 cm increments so that no voids remain under the pipe. Stones in the backfill press through the wall of a plastic pipe during compaction: the crack does not appear immediately, but after a season, when the soil settles. In winter and during the rainy season, on clayey sections we add geotextile — it prevents the sand from migrating into the soil and preserves the cushion under the pipe.
Warranty, timelines and acceptance of work: what you get after replacement
After installation, the system doesn't just stay with you — it is accepted by flushing, warranty obligations are recorded, and it is handed over for servicing. Let's break down what this part of the work consists of.
2-year warranty on sewer replacement
We provide a 2-year warranty on all work to update the sewer system — from dismantling to connection to the common riser. During the warranty period, we free of charge eliminate leaks at socket joints, welded seams of polyethylene, at points where the riser passes through the floor slab, and at inspection assemblies. The warranty covers joints and slopes, not just pipes: most sewer-related callouts are specifically related to connections, so we record them in the acceptance report. The report is signed by the customer together with the technician — it lists all assemblies covered by the warranty case and specifies the term. If a contractor offers a warranty verbally, without a document, there will be no basis to demand fulfillment later: before starting work, clarify exactly what will be included in the acceptance report.
Completion timelines: from diagnostics to handover of the system
We state timelines after video inspection and estimate: replacement in an apartment takes less time than an outdoor network on a plot, where earthworks are added. A typical replacement of the riser and distribution in a bathroom is one to two working days; distribution in the kitchen and bathroom adds another day. An outdoor network in a private house with trench digging, sand bedding and backfilling stretches to three to five days, and if removal of an old septic tank and installation of a new one is required — plus two to three days for earthworks and installation operations. A separate story is the replacement of stormwater drainage: here, installation of catch basins and connection to the collector is added to the earthworks, which extends the timeline by another two to three days. The timeline depends not on the footage but on access: if the riser is in a shaft and the neighbors have approved access, the work goes faster than when opening up concealed distribution in walls. The cost of sewer replacement in an apartment and the timelines are calculated in one estimate — don't approve them separately, otherwise earthworks will surface as an additional line item during the process.
System acceptance: flushing, checking slopes and inspection assemblies
- Section-by-section flushing: before backfilling the trench, each section is filled with water and the joints are checked — this way a defect is visible before the soil covers it.
- Full control flush: after assembling the entire system, water is run through the riser and distribution, the drainage rate and absence of leaks are checked.
- Checking slopes: the slope on 50 and 110 mm pipes is verified with a level — an insufficient angle causes stagnation, too steep a one breaks the water seal.
- Inspection assemblies: hatches and inspection points are checked for accessibility and tightness, so that cleaning doesn't require opening up tiles.
- Handover with the customer: all items are recorded in the report, and only after that is the system put into operation.
Our own service center in Tashkent: why this matters
Eco-Service is a direct provider of services with its own service center in Tashkent: you work with the contractor, not with an intermediary aggregator. Work to update the sewer system, the price of which is calculated according to a fixed estimate, is performed by the same crew that carried out the diagnostics — there are no third parties between the designer, installers and service department. The direct contractor is responsible for the warranty result itself: when you make a request, you don't have to figure out who exactly performed the work — the crew and the service center are part of the same structure. For the service center in Tashkent, requests are accepted in person, without forwarding to another city. If a warranty case does occur, the technician's visit is arranged according to the same acceptance report, where the assemblies and term are recorded. We advise keeping the report together with receipts for materials: this is the only document by which the service department accepts a request without additional diagnostics at the customer's expense.
Conclusion
Sewer installation is a sequence of decisions where each stage builds on the previous one: from diagnostics to system acceptance. Below are the main takeaways that will save time, money, and nerves when planning the work.
Key takeaways
- Diagnostics precede the work: video inspection of the pipes shows the real scope and eliminates redoing serviceable sections that will still last for years.
- The material and diameter are selected for the task: 110 mm for stacks and horizontal runs, 50 mm for branches to plumbing fixtures, polyethylene pipe welding for outdoor sections.
- The slope and sand bedding determine whether the system works without clogs no less than the quality of the pipes themselves: an error of 1-2 cm per linear meter results in regular blockages.
- In an apartment, the key stage is installing the stack and connecting to the common stack, in a private house it is the trench, septic tank, and storm drainage, where marking before digging is important.
- Acceptance with a flow test and a 2-year warranty on joints protect against having to reopen the system: check the slopes and inspection points before backfilling the trench.


