











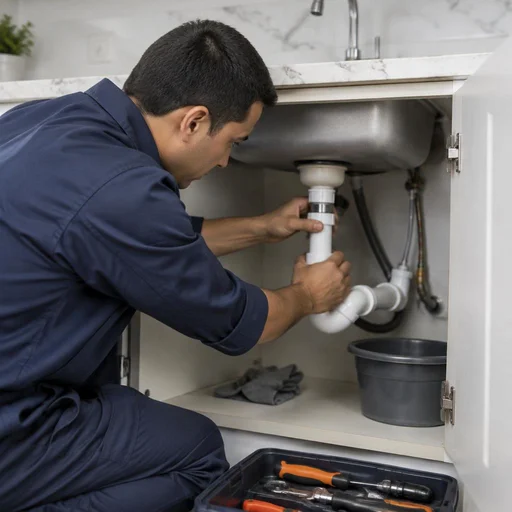
Why pipes leak: causes and types of leaks in Tashkent homes
A leak rarely starts suddenly — it always has a cause, and understanding the cause determines how to fix it and how long it will take. Let's look at the three main factors, the differences by material, and the signs of hidden leaks.
Wear, pressure and installation: the three main causes of leaks
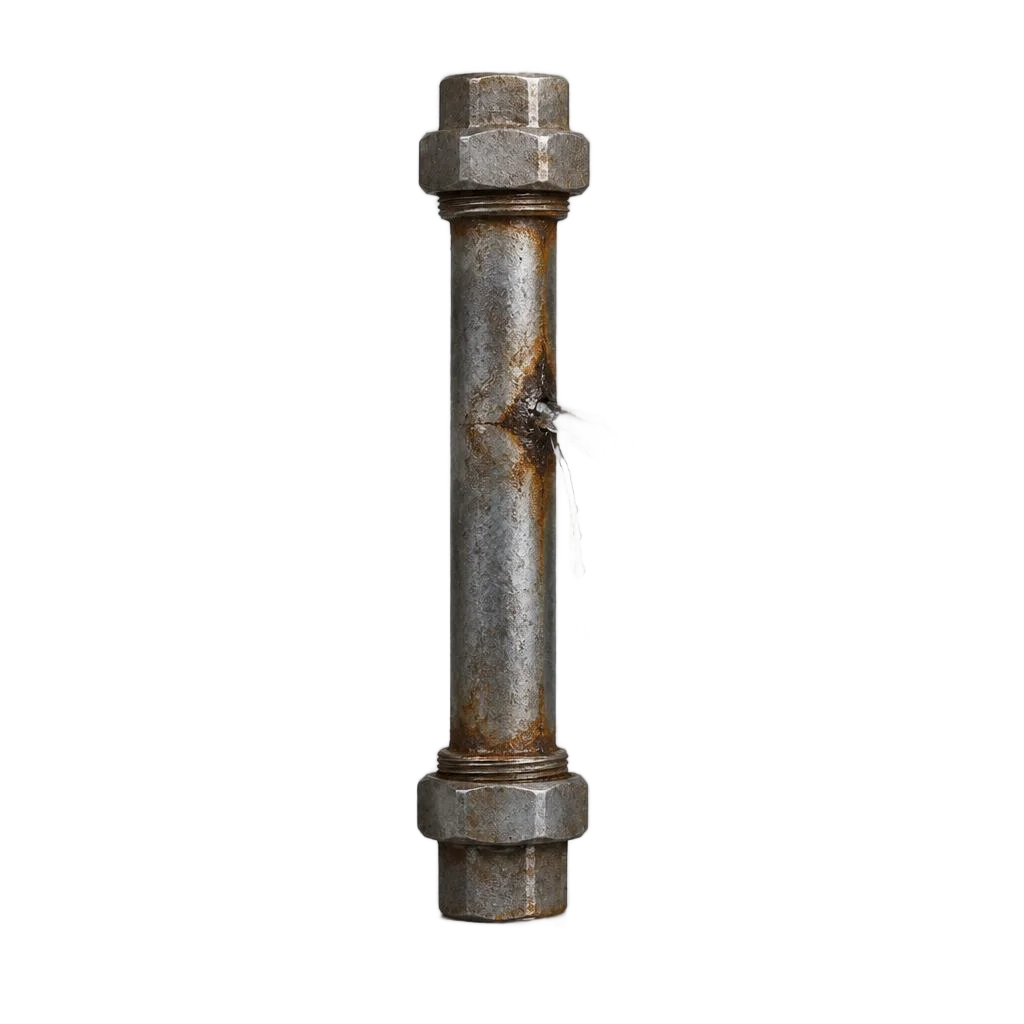
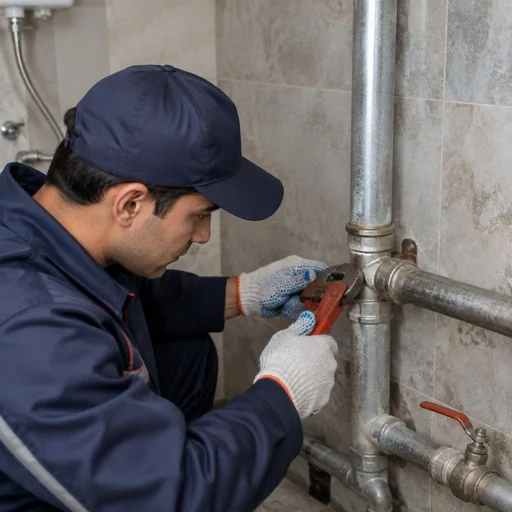
In Tashkent homes, leaks are most often caused by three factors — wear of pipes older than 15 years, pressure surges in the riser, and installation errors when replacing the piping. In the Khrushchyovka buildings of Chilanzar and Sergeli, the steel risers from the 1970s-80s have thinned to 1-2 mm, and the working pressure of 6-8 atmospheres on the fourth or fifth floor bursts a pinhole at the thread. After the summer hot water shutdowns, the utility workers supply it with water hammer surges up to 12 bar — this finishes off weakened joints. A common picture: the upstairs neighbors replaced their piping with polypropylene, but skimped on pressure testing, and a month later water ran along their welded seam straight into your stove. Fixing a pipe leak begins not with replacing a section, but with finding the specific joint — if the leak appeared right after the upstairs neighbors' renovation or after a water shutdown, the cause is almost always in a connection, and you need to look for it at the joints, not along the entire length.
Which pipe materials leak more often: polypropylene, metal-plastic, steel
| Material | Service life | Typical leak location |
|---|---|---|
| Polypropylene | 25-30 years | welded seam, threaded transition |
| Metal-plastic | 5-7 years | hidden fitting in the wall |
| Steel | 15-20 years | pinhole along the length, thread |
| Copper | 40-50 years | soldered joint |
Metal-plastic is dangerous because it leaks not along the pipe, but at a hidden fitting in the wall — several weeks may pass before a stain appears on the wallpaper, and all that time water is seeping into the floor structure.
Hidden leaks: how to tell that a pipe is leaking in the wall or floor
- Damp patch: a persistent dark patch on the wall, floor or ceiling that does not dry out after ventilation and slowly grows.
- Water meter: with the taps closed and appliances off, the meter keeps ticking — the leak is in a closed circuit.
- Smell of damp: a persistent smell of mold in the stairwell or bathroom with no visible water — a common signal of a hidden leak.
- Blistering paint: paint or wallpaper peeling for no reason indicates moisture under the finish coming from a hidden pipeline.
- Warm patch of screed: a locally warm floor with the heating off reveals a leak in a hot water pipe in the floor.
Dealing with a leak begins with finding the specific problem joint, not with replacing an entire section. Don't cover the patch with sealant or dry it with a hairdryer — this masks the leak location, and the technician will have to open up a larger area to find the source.
Types of leaks that Eco-Service fixes
The range of leaks is wide — from a threaded connection in the kitchen to a hidden leak in a wall chase. Below we break it down by unit: what exactly is leaking and how each type is eliminated on site.
Connections and fittings: threads, welded seam, flexible hose
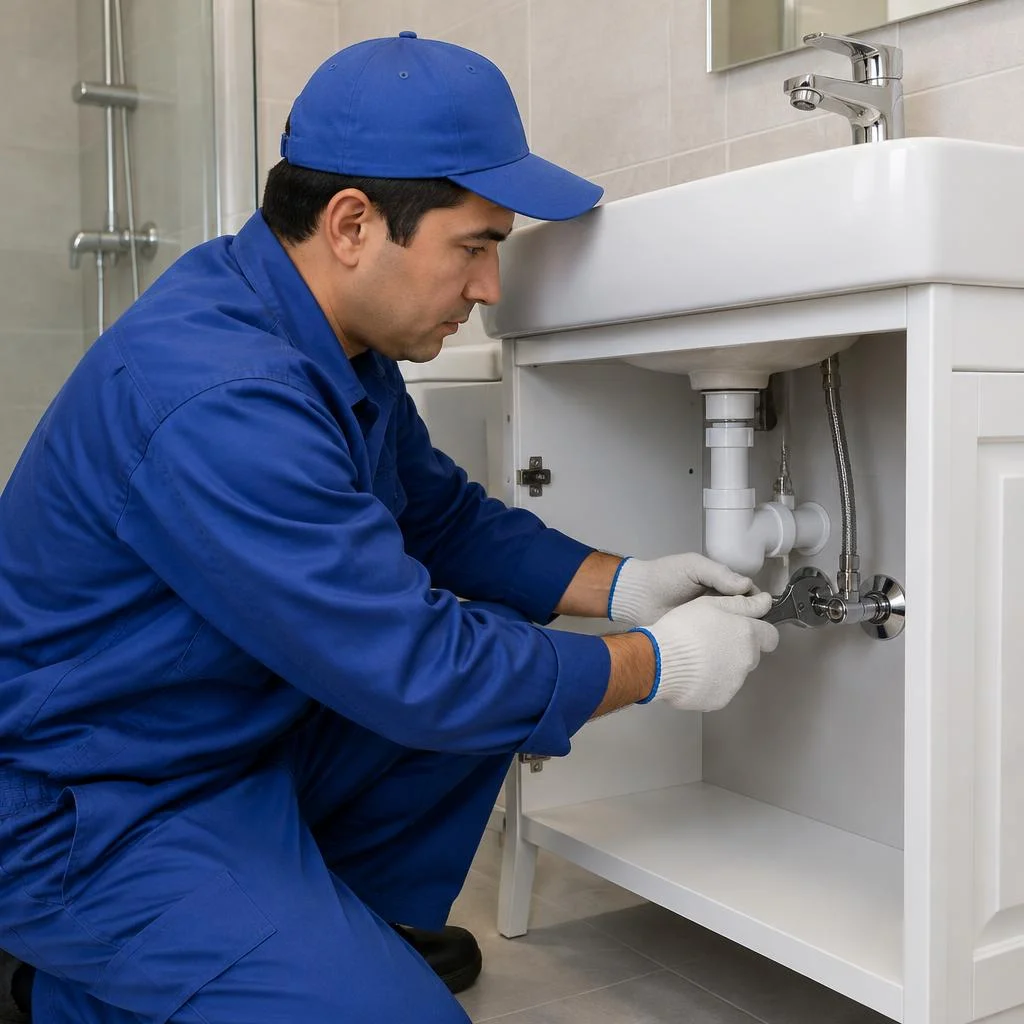
We eliminate leaks in threaded connections and flexible hoses without welding — by repacking the threads with flax and paste and replacing the hose; a welded seam requires local re-welding or installing a repair coupling. The technician begins fixing a pipe leak at a threaded joint by removing the old winding, cleaning the threads with a metal brush, applying sealant along the thread direction, and tightening the connection with a wrench using force appropriate to the diameter — on polypropylene fittings this is 3/4 inch, on steel couplings up to 1 inch. A flexible hose cannot be "tightened" — if it has started leaking along the braid, it is replaced entirely: re-tightening the nut leads to a leak within 2-3 weeks under pressure. For a welded seam on metal-plastic, a compression fitting is installed; on steel, a press coupling — so as not to cut the riser completely. Work on threads takes 40-60 minutes, whereas re-welding a seam with metal cooling stretches to 2-3 hours.
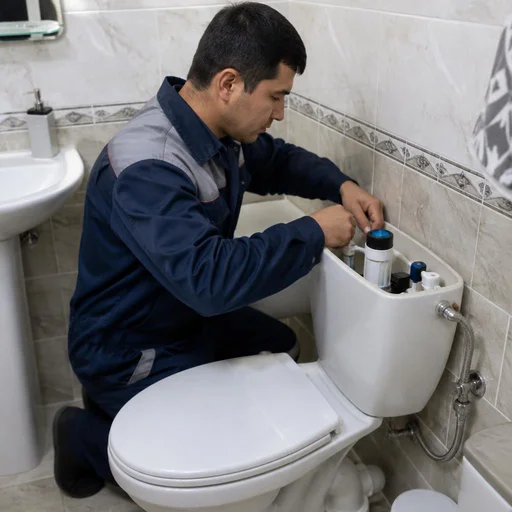
Faucets, mixers and toilet tank: what leaks in the bathroom
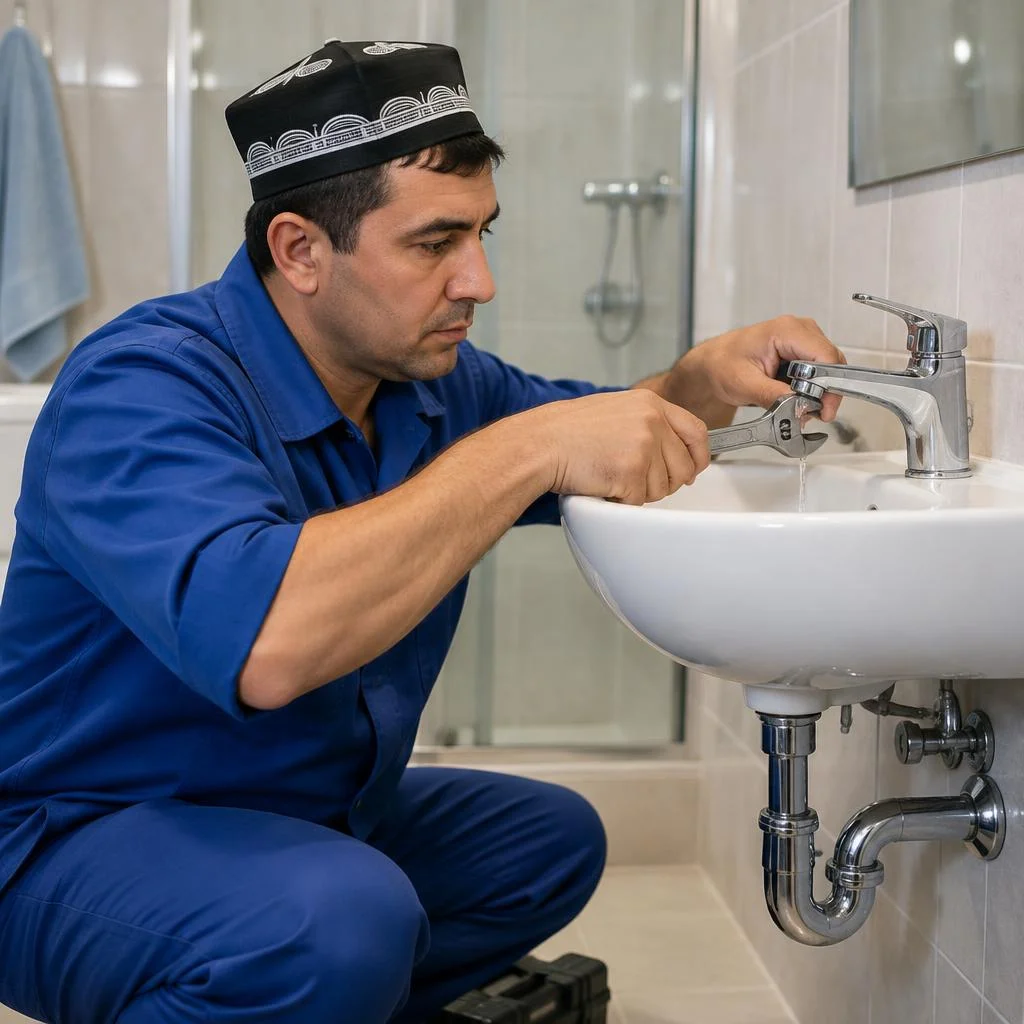
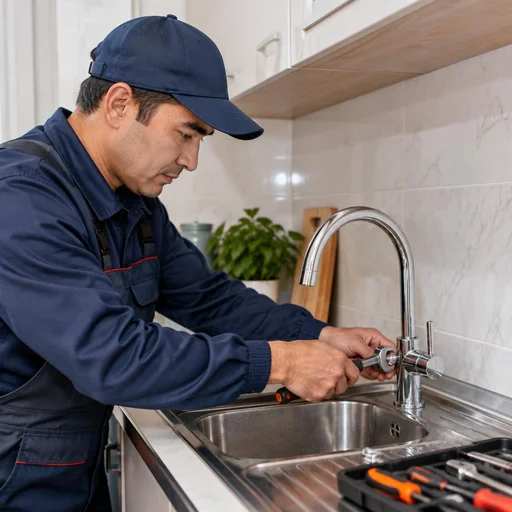
- Faucet: a leak along the stem indicates a worn gland packing, replacement takes 15-20 minutes without removing the body from the supply line.
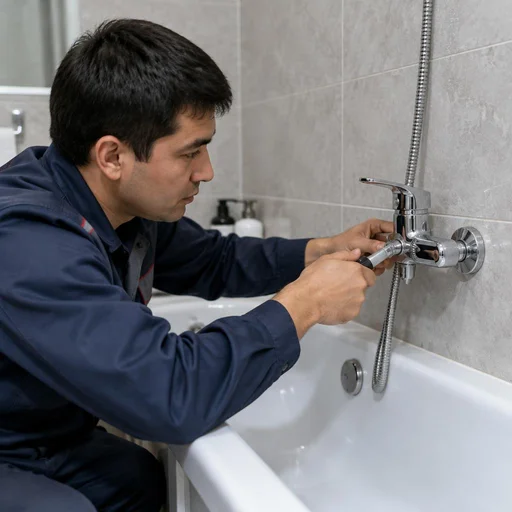
- Mixer: dripping in one handle position — the ceramic cartridge is worn, it is replaced with an equivalent of 35 or 40 mm diameter.
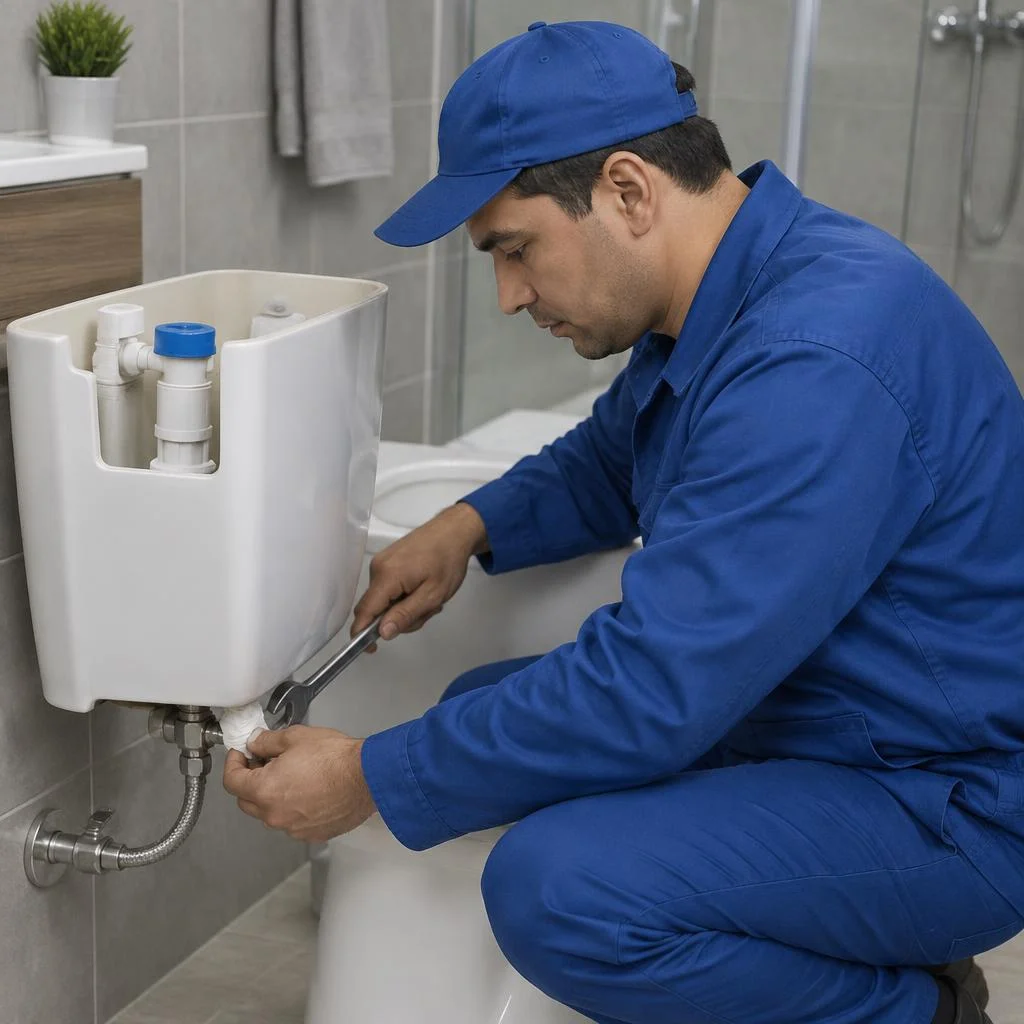
- Toilet tank: water constantly runs into the bowl — the outlet valve is stretched or seized, less often the fill membrane has cracked.
- Shut-off valves: the valve doesn't hold after closing — the seat is damaged, lapping or replacing the head is needed.
Riser, radiator, towel warmer and heating inlet
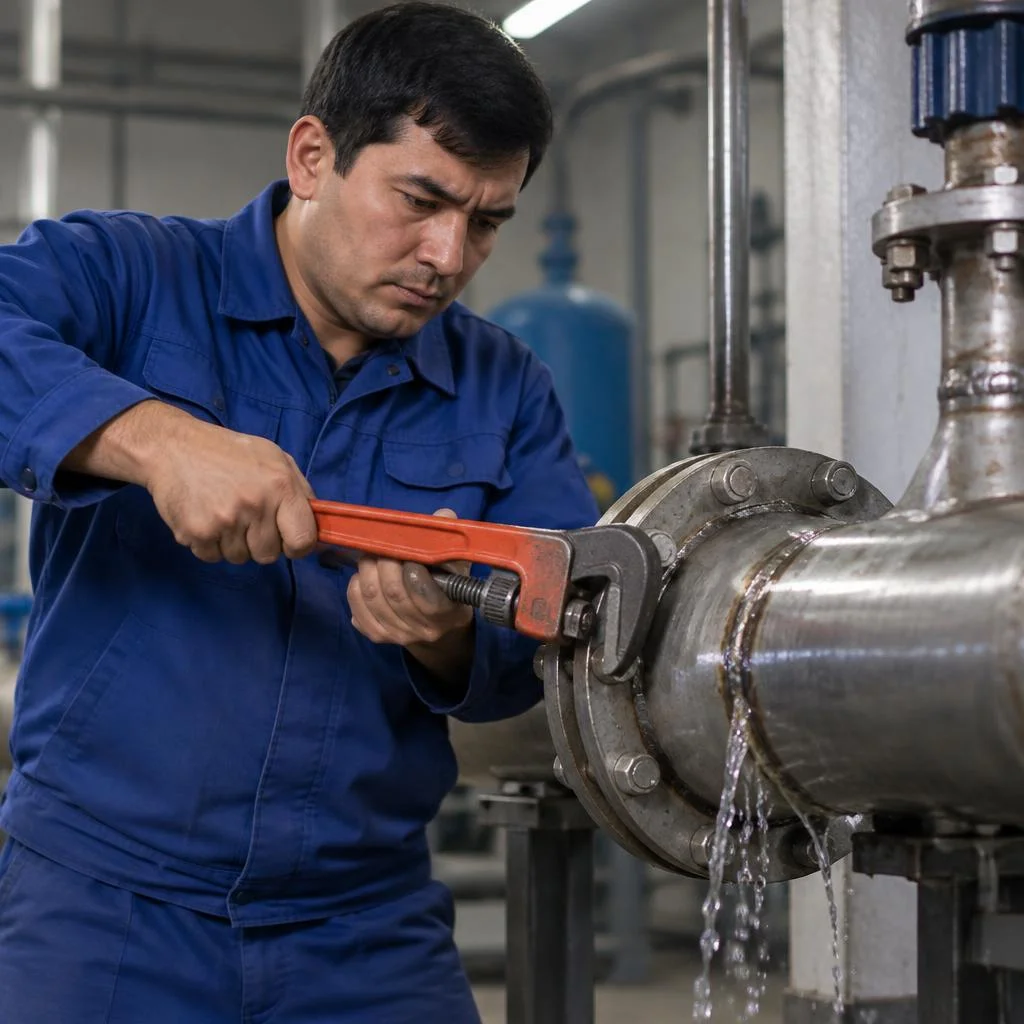
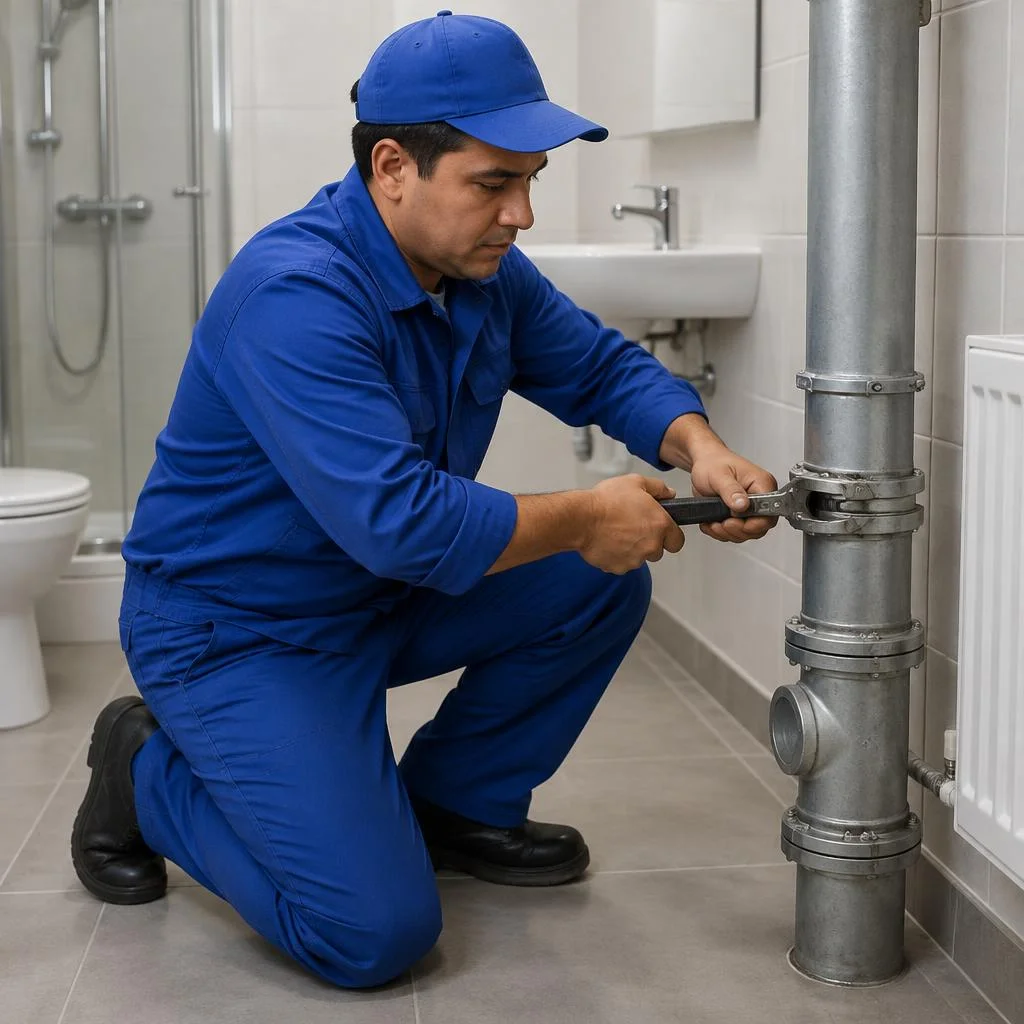
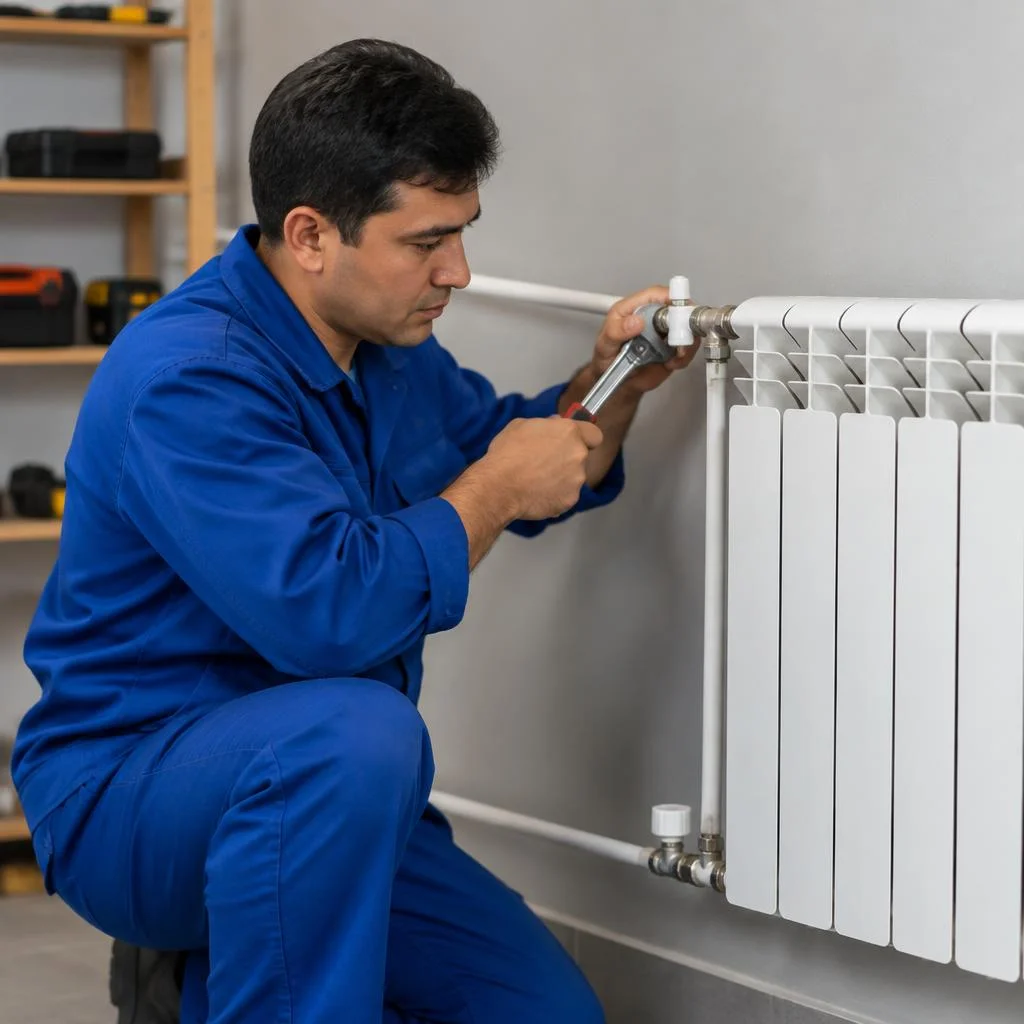
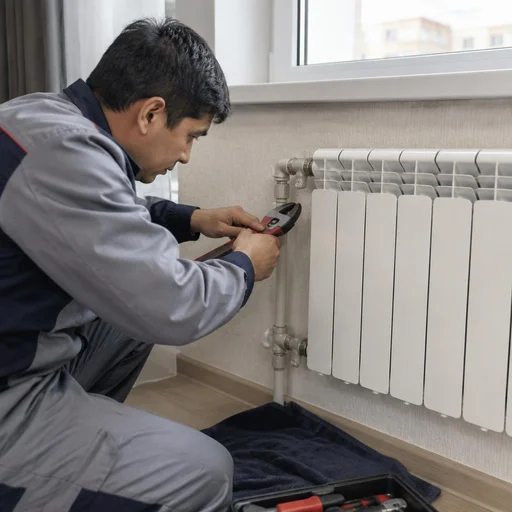
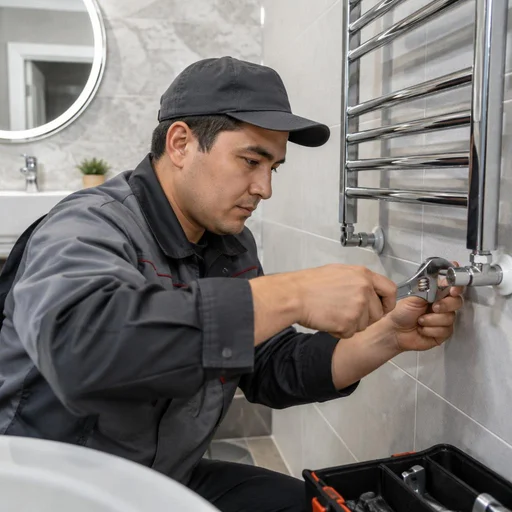
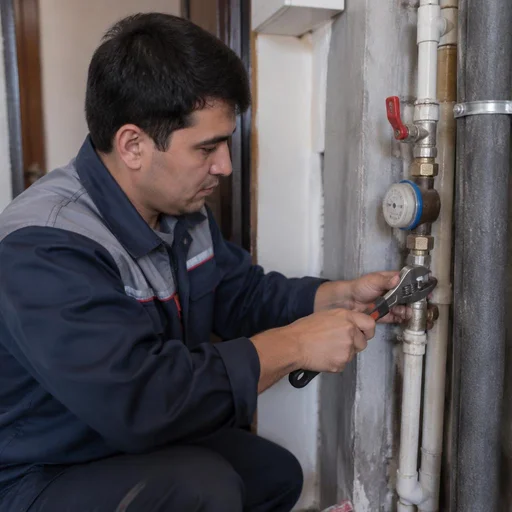
We eliminate a riser leak in a single visit after coordinating with the management company; the radiator, towel warmer and heating inlet are repaired on site without dismantling the system. On the riser, the technician installs a clamp with a rubber gasket over the pinhole, shuts off the inlet and replaces the pipe section up to the threaded transition — on steel risers in Tashkent buildings this is most often 1/2 or 3/4 inch. A radiator leaks at the fitting or at a section: the fitting is repacked, a cracked section is plugged or replaced with a bimetallic one. A stainless steel towel warmer leaks at the welded seam near the manifold — it is removed, re-welded and put back on the same brackets. A heating inlet with a worn valve is replaced with a ball valve with a union nut. The riser is the management company's area of responsibility, but the technician performs an emergency stop of the leak before they arrive: shuts off the inlet and installs a temporary plug so as not to flood the neighbors below.
Boiler, washing machine, sewerage, under the sink
| Unit | Typical cause | What the technician does |
|---|---|---|
| Boiler | Leak at the heating element flange or at the pipe threads | Replaces the flange gasket, repacks the threads |
| Washing machine | Check valve or flexible hose | Replaces the valve and hose, checks the drain hose |
| Sewerage | Socket has come apart or the collar has cracked | Replaces the collar, repacks the joint |
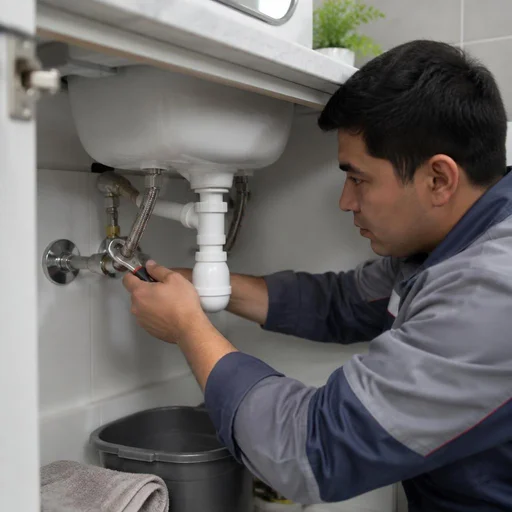
| Under the sink | Siphon, mixer gasket, flexible hose | Tightens or replaces the gasket, installs a new siphon |
With a washing machine and boiler, it's not the appliance itself that leaks but the hose and check valve — the technician checks them first so as not to disassemble the unit needlessly.
Hidden leaks in the wall, floor and wall chase
A pipe leak in a wall, floor, or chase is eliminated after precise localization — only the section above the leak is opened up, not the entire wall. Localization is performed with a thermal imager and an acoustic sensor: on polypropylene in a chase, the leak often runs along the coupling joint; on metal-plastic, along the press sleeve; on steel in the floor, along a pinhole at the weld seam. Opening is done with a rotary hammer with a depth stop to avoid damaging adjacent utilities and fittings; on a chase, a 30-40 cm strip is sufficient; on a poured screed, a 50 by 50 cm square around the point. After the work, the section is closed with a repair coupling or a new pipe segment and the system is pressure-tested. Before opening, the technician photographs the boundaries of the section and the condition of the finish — this protects both the client and the service from disputes about what was damaged before the work.
How Eco-Service finds the leak location
Before cutting into a wall or replacing a unit, the technician finds the leak point — this determines both the scope of work and the preservation of the finish. Let's break down how diagnostics proceed and when welding can be avoided.
Finding the leak location: visual inspection, pressure testing, checking units
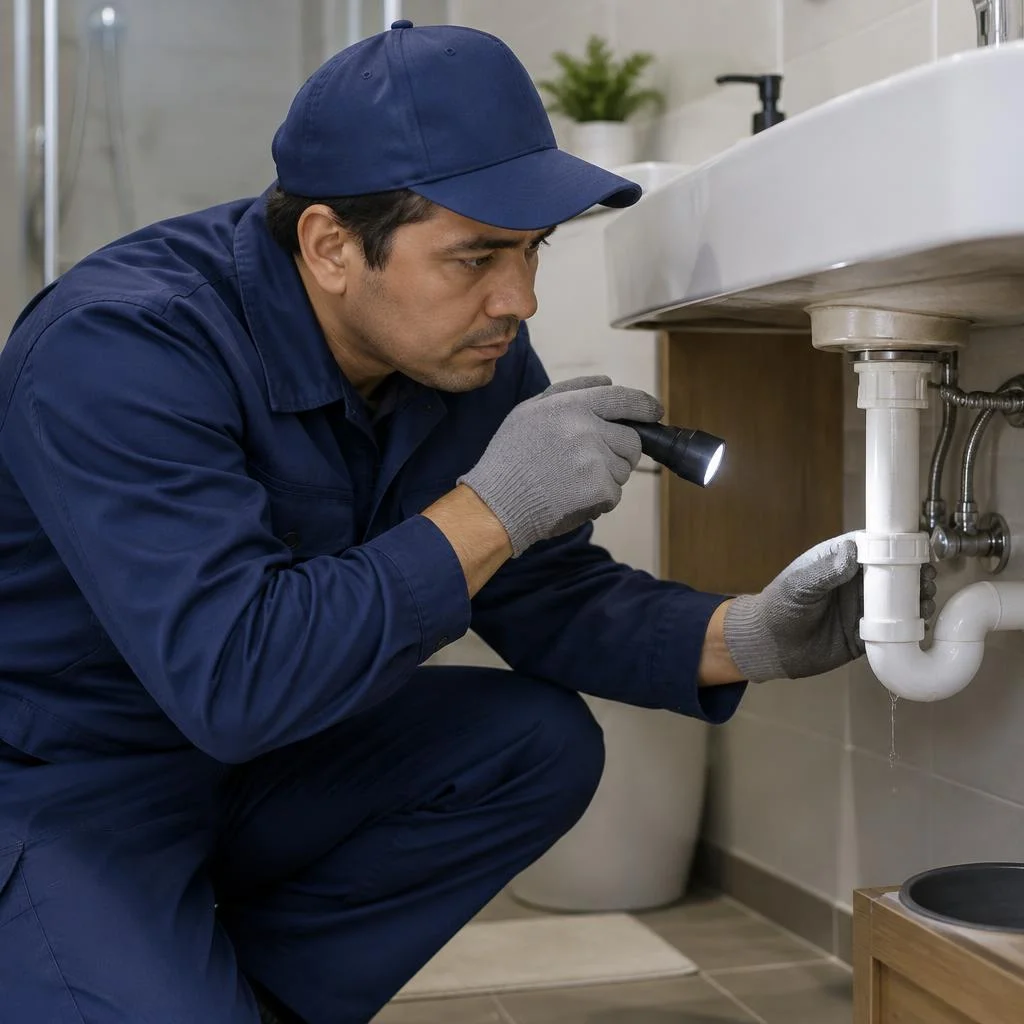
The search for the leak location at Eco-Service begins with a visual inspection of the units and a check of the meter, followed by pressure testing of the system under pressure, which reveals the leak area even behind the finish. The technician walks through the bathroom and kitchen: inspects threaded connections at the inlet, flexible hoses under the sink and toilet tank, faucets and mixers, checks the dryness of the riser and radiators. At the same time, they look at the water meter — if the impeller spins with the faucets closed, water is escaping into a hidden section. Then the system is pressure-tested: the inlet is shut off, pressure is raised with a pump to 1.5-2 bar above the working pressure and held for 15-30 minutes. A drop in the gauge needle indicates the circuit with the leak, and a thermal imager or acoustic sensor scan pinpoints the spot behind the tile or in the chase. Clients often state the task briefly — fix a pipe leak — and from that phrase the technician immediately understands that finding the leak point is needed before any work. Pressure testing is done before repair, not after: if you first weld the seam and then pressure-test, you can discover a second leak and have to open the wall again. In my view, it is precisely this order that saves the client one cycle of dusty work.
Can it be done without welding and without opening the wall
- Threaded connection: disassemble, remove the old tape or hemp, wrap new sealant, and reassemble the unit.
- Flexible hose: replace the hose entirely with a new one with a metal braid — restoring the old one provides no guarantee.
- Faucets and mixers: service the cartridge, replace gaskets and valve stems without dismantling the body.
- Toilet tank: replace the valve and flush column gasket, adjust the float level.
- Shut-off valves: tighten the gland; if worn, replace the valve head at the inlet.
You can't avoid opening up if a weld seam or pipe in a chase is leaking — here access to the metal is needed, and the technician says in advance which section of the finish will have to be removed. But a leak on a thread or hose can be fixed in a single visit without touching the tile: such work on connections and fittings is performed by Eco-Service through repacking or part replacement.
What to do before the technician arrives: stop the leak yourself
While the technician is on the way, a few actions reduce the damage several times over — and help you sort out afterward who is responsible for what. Below is the order of steps and the division of responsibility.
How to shut off the water and temporarily stop the leak
- Shut off the water supply: the valve on the riser in the bathroom or the main valve at the apartment inlet — this is the first action for any leak.
- Open the lower valve: drain the remaining water from the pipes so the pressure drops and water stops flowing to the leak point.
- Apply a bandage: wrap the damaged section with a rubber bandage or sealing tape in 3-4 layers.
- Tighten the clamp: firmly, but without force — over-tightened rubber tears, and the leak gets worse instead of stopping.
- Place a container and towels: under the leak point so water doesn't get under the baseboard and into the floor structure.
- Disconnect appliances: the washing machine, boiler and pump — from the power supply and from the water, if the leak is near them.
Who pays for the damage: the management company, the neighbors or you
The management company is responsible for the riser and the building's common property, while the owner is responsible for the wiring inside the apartment; damage to the neighbors below is recorded in a report, and payment depends on exactly where the leak originated. If the water came from the riser or the attic wiring — the costs and repairs fall on the management company; if it came from a flexible supply line, a mixer tap or a pipe after the inlet valve — on the apartment owner. Fixing a pipe leak on the common riser is the management company's area, and calling its representative is mandatory before any work begins in the apartment. If the leak is through the floor structure, the report is drawn up before any repair begins, with photos of the damage, meter readings and signatures of both parties. Without this document, it is practically impossible to prove that the leak was on the riser and not in the apartment, and the court will side with whoever has the paperwork. Call the management company representative immediately after shutting off the water — before the neighbors start taking down the stretch ceiling and throwing out ruined furniture.
Warranty, timelines and terms of service at Eco-Service
Warranty, timelines and payment procedure — that is what distinguishes a service center from a private handyman from OLX.uz. Below are the specific terms: how long the warranty lasts, how quickly the work is performed and which payment methods are available.
2-year warranty on leak repair
Eco-Service provides a 2-year warranty on leak repair — if the leak returns at the same unit, the technician comes out again and fixes it free of charge. A warranty case is processed based on the receipt and the work completion report: the document records the specific unit — a threaded connection, a welded seam, a flexible supply line, a faucet or a cistern. The two-year term applies to all types of work, from faucet repair to restoring a riser and a heating inlet. The warranty covers only the unit that the technician repaired: if a neighboring fitting starts leaking a month later, that is a separate job — which is why during a visit the entire nearby piping is checked so as not to leave a weak spot untouched.
Timelines: how long it takes to fix different leaks
| Type of leak | Time | What is included |
|---|---|---|
| Threaded connection, flexible supply line | 30-60 minutes | Diagnostics, replacement of the gasket or supply line |
| Faucet, mixer, cistern | 40-90 minutes | Disassembly of the unit, replacement of the cartridge or valve |
| Riser, heating inlet | up to 2-3 hours | Coordination, shutoff, welding or replacement of a section |
| Pipe leak in a wall or floor | from 2 hours | Opening up, fixing the pipe leak, backfilling |
The time depends not on the complexity of the unit, but on access: if the riser cannot be reached because of a box or tiles, the time increases by the dismantling — the technician assesses this on site before starting work and gives a realistic interval, not the average from the price list.
Emergency callout and round-the-clock service
Eco-Service operates in emergency callout and round-the-clock service mode — leak requests are accepted at any time, and the technician comes out the same day across Tashkent. Our own service center in Tashkent keeps a duty shift: the dispatcher records the address, the type of unit and whether the water is shut off, then passes the request to the nearest technician. At night and on weekends, risers and heating inlets leak more often — they account for the majority of emergency calls, so such requests are handled first, while faucets and supply lines wait their turn until morning. If water is pouring onto wiring or flooding neighbors, tell the dispatcher immediately — the technician will bring a welding machine and shutoff valves of the required diameter.
How to pay: Click, Payme, Uzcard, Humo
- Click and Payme: transfer from a card or by phone number, the receipt arrives in the app after the transaction is confirmed.
- Uzcard and Humo: card payment via the technician's terminal right on site, with no payment fee.
- Cash: payment after the work is completed, a cash receipt is handed over together with the report.
- Payment procedure: the service does not take prepayment — first the technician shows the result and pressure-tests the unit to eliminate the pipe leak for good, and only then is payment accepted.
Why choose a service center instead of a private technician
There are many technicians on OLX.uz and Telegram, but a service center has what a private individual doesn't — a contract, a warranty, and responsibility for the result. Let's break down how to tell one from the other before calling.
Our own service center in Tashkent: what it gives you
Eco-Service has its own service center in Tashkent — this means a parts warehouse, a staff of technicians, and in-person intake, so for a typical leak the technician arrives with the right fittings right away. We keep fast-moving items in stock: flexible hoses, ball valves, mixer gaskets, fittings for polypropylene and metal-plastic, couplings and adapters for steel. The technician arrives with a pressure testing pump, press jaws for PEX, and a welding machine for polypropylene — sealing both threaded joints and welded seams on site. A request like eliminating a pipe leak is what clients most often type into search, and it shows how quickly a service is ready to respond. A private technician often comes "to take a look," then goes back for the part, and the leak costs you another half a day; having a warehouse cuts this down to a single visit. If the assembly is non-standard, we source the part within a day instead of stretching the repair out for a week.
Reviews, ratings, and photos of work: how to vet a contractor
- Yandex.Maps and Google Maps: the service's listing, recent ratings, and text reviews with dates — Eco-Service keeps these channels open and updated.
- Instagram and Telegram: before-and-after photos of work, stories from job sites, client comments under posts.
- Freshness of reviews: the last 2-3 months matter more than the total count — they show how the service operates now, not three years ago.
- Photo of the assembly: ask for a picture of the specific leak — the thread, welded seam, or flexible hose — not general shots of the bathroom.
- Reaction to negativity: how the service responds to criticism, not just to praise.
Contract and legal entity versus a private technician from OLX.uz
| Parameter | Service center | Private technician |
|---|---|---|
| Status | Legal entity, details in the contract | Individual, work by verbal agreement |
| Document | Contract for work and completion act | Usually no receipt or act |
| Warranty | 2 years for leak elimination | Verbal, no set term |
| Repeat visit | Under warranty, no charge | New payment for the work |
| Responsibility | The company, per contract | Personal, often without obligations |
A contract matters not for the paper itself, but for the warranty: without it, a repeat visit when the leak returns means a new payment rather than an obligation on the contractor. Eco-Service draws up a contract for the work, so a warranty case is resolved with a completion act.
Conclusion
We have gathered the key points worth keeping in mind after reviewing the material: how to recognize the problem, what to do before a specialist arrives, and why prevention costs less than emergency repairs.
Key takeaways
- Cause before repair: wear, pressure surges and installation errors produce different types of leaks, so the method for eliminating a pipe leak is chosen only after diagnosing the unit.
- Hidden leak: a damp patch on the wall, accelerated meter readings and a musty smell indicate a problem behind the finish — there is no need to tear open the surface at random.
- Before the technician arrives: shut off the water supply, apply a temporary bandage to the joint, and document the damage in a report together with your neighbors.
- Contract and warranty: a service center draws up documents and provides a 2-year warranty, whereas a private handyman without paperwork leaves a recurring leak at your expense.
- Prevention: inspecting connections, flexible hoses and shut-off valves once a year is cheaper than chiseling open a wall chase after an accident.


