
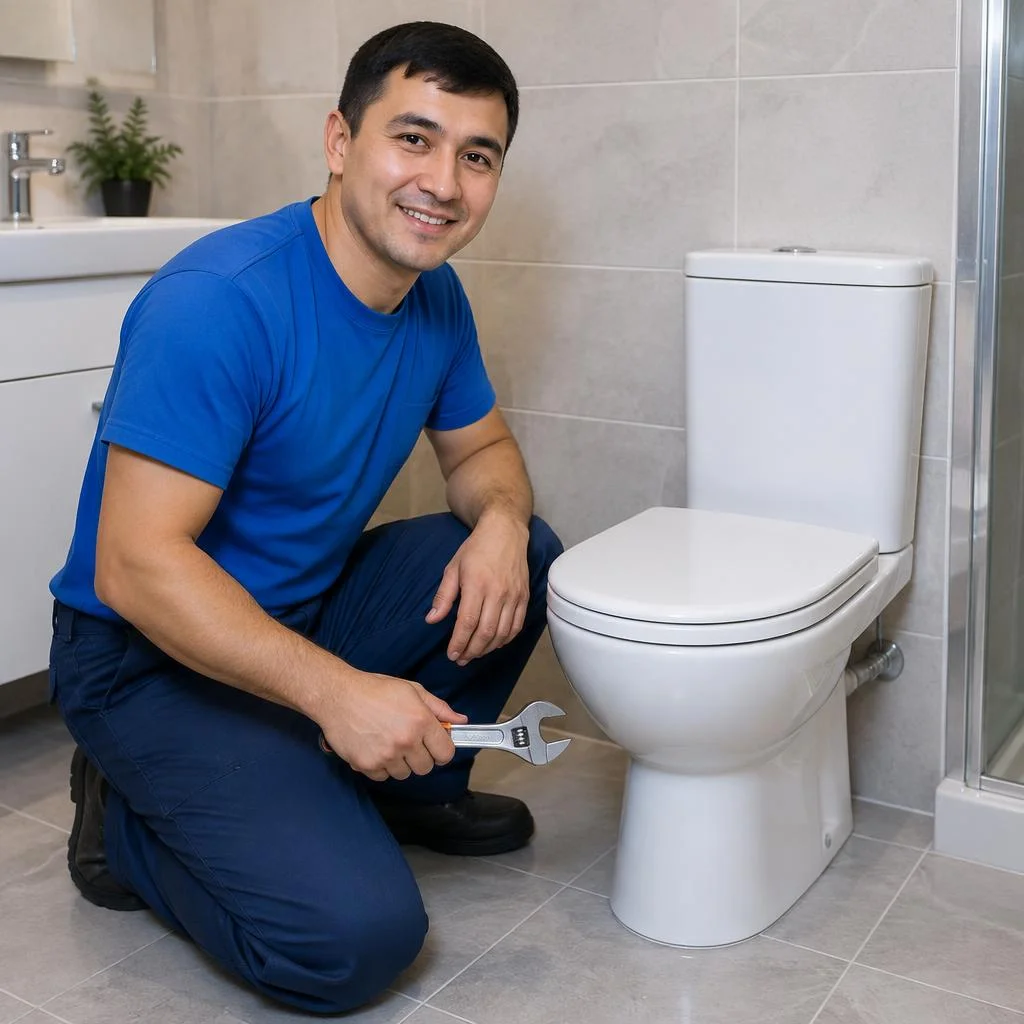
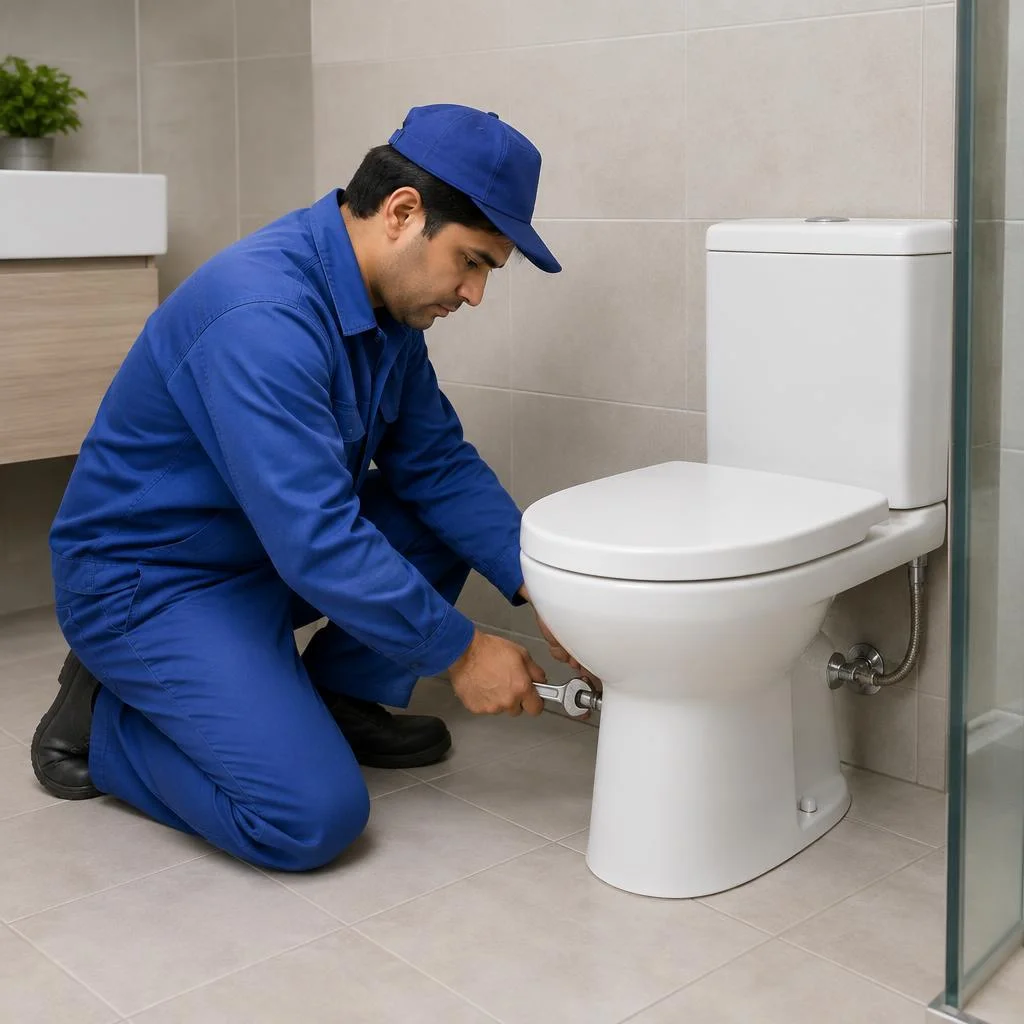
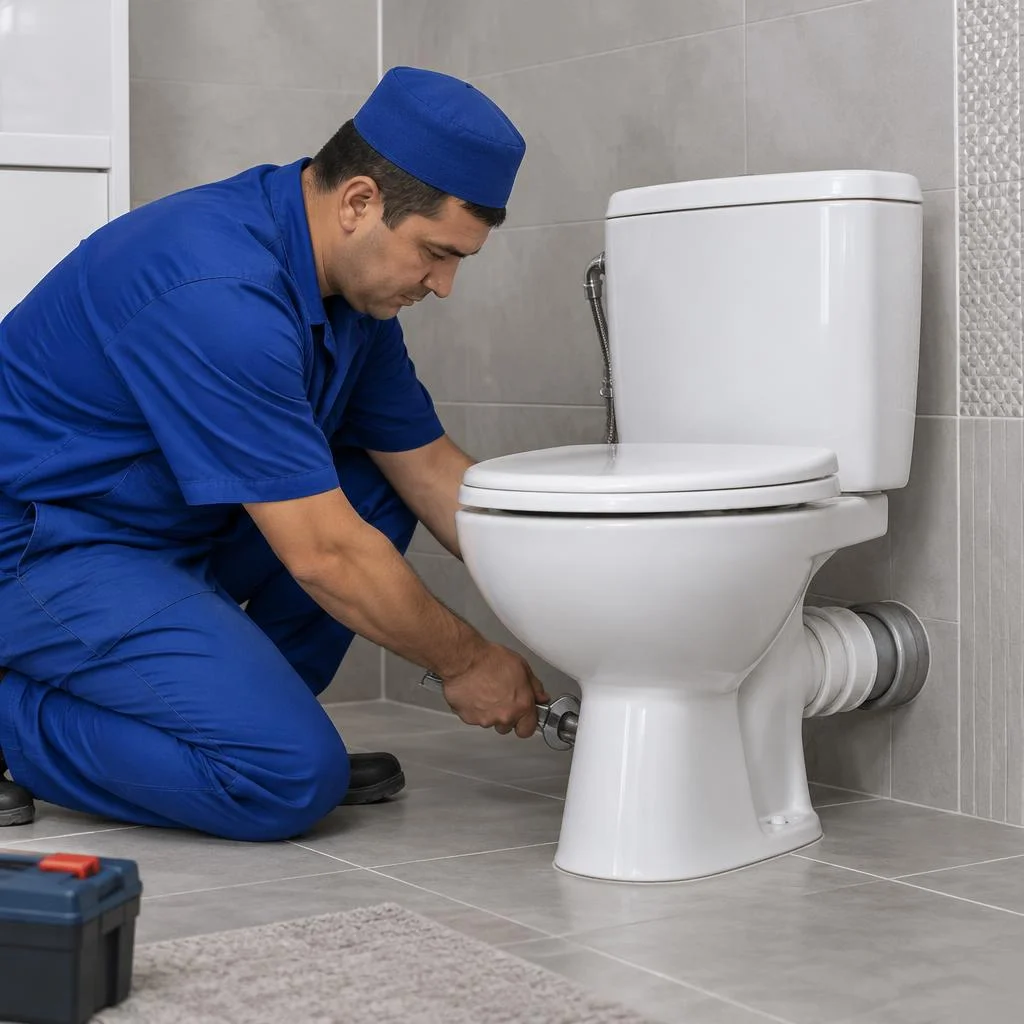
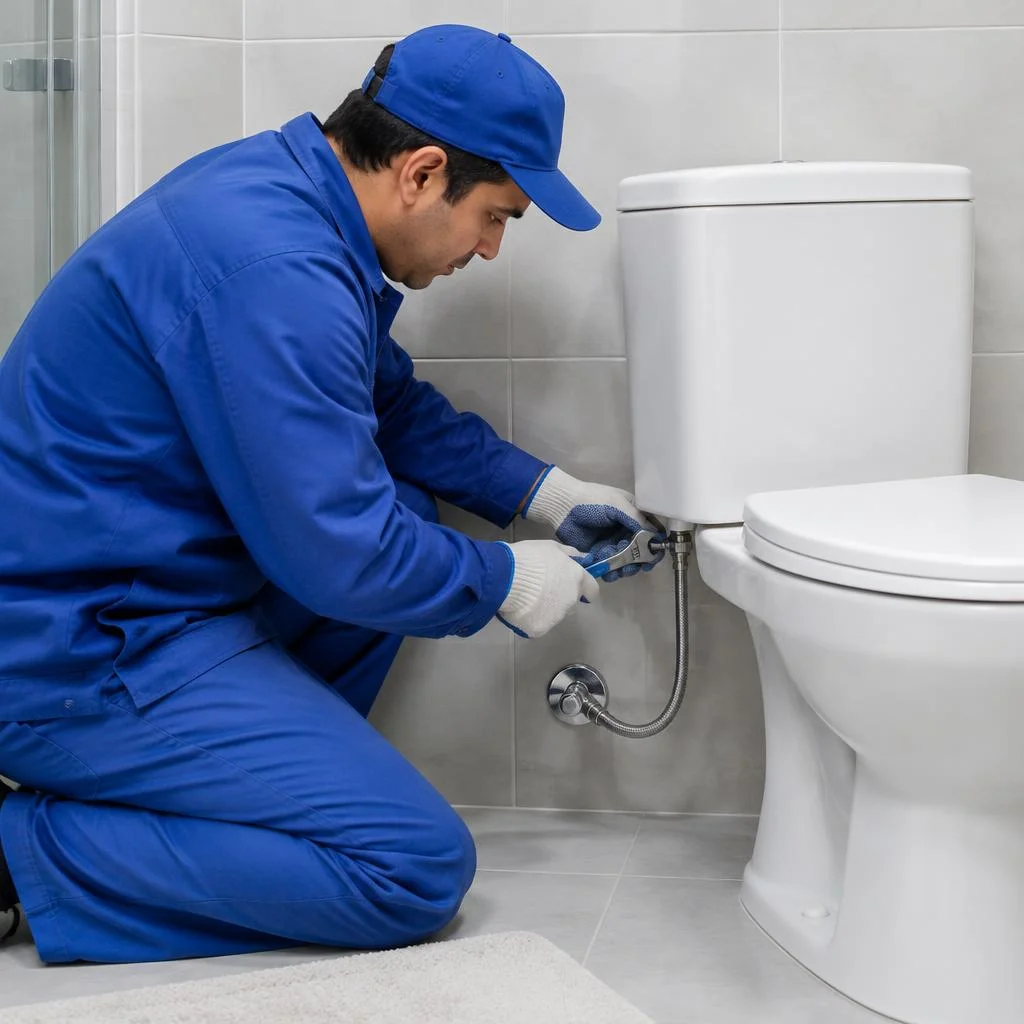








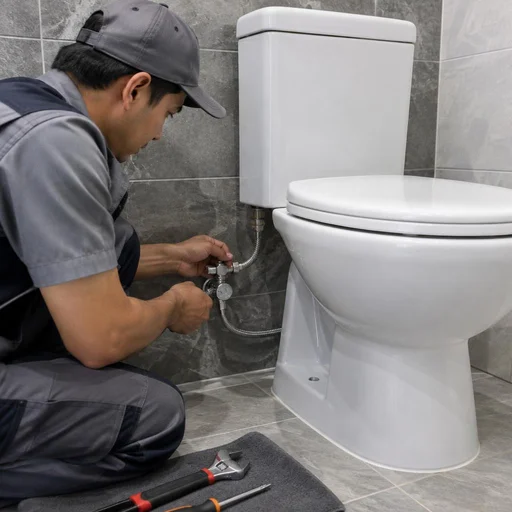
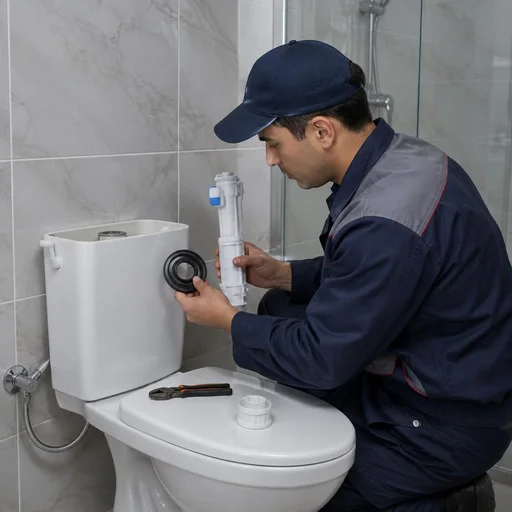
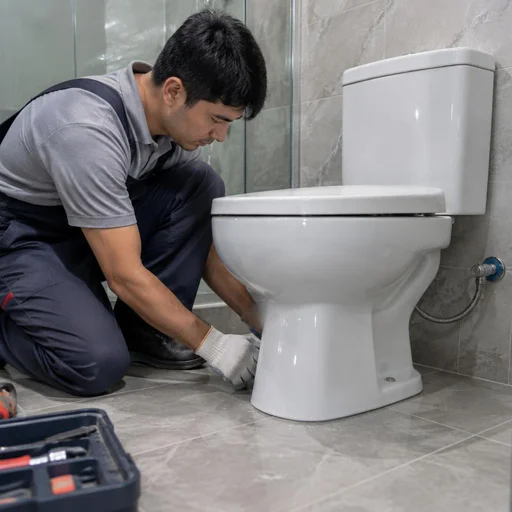
How to determine which type of installation you specifically need
The choice starts with two things: where the bowl drains water and how it is attached to the floor or wall. This determines the scope of work, the installation time, and the details that will be needed in advance.
How floor-mounted, wall-hung, and compact differ
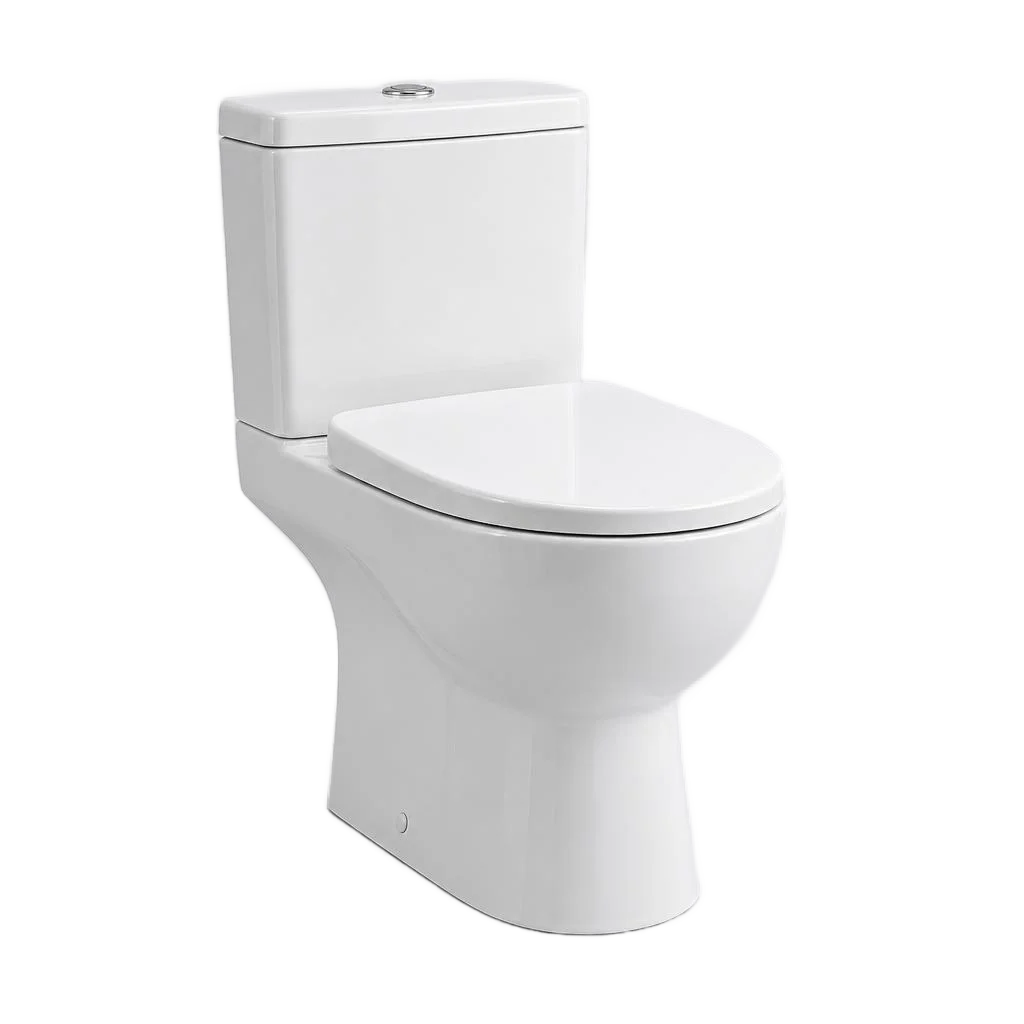
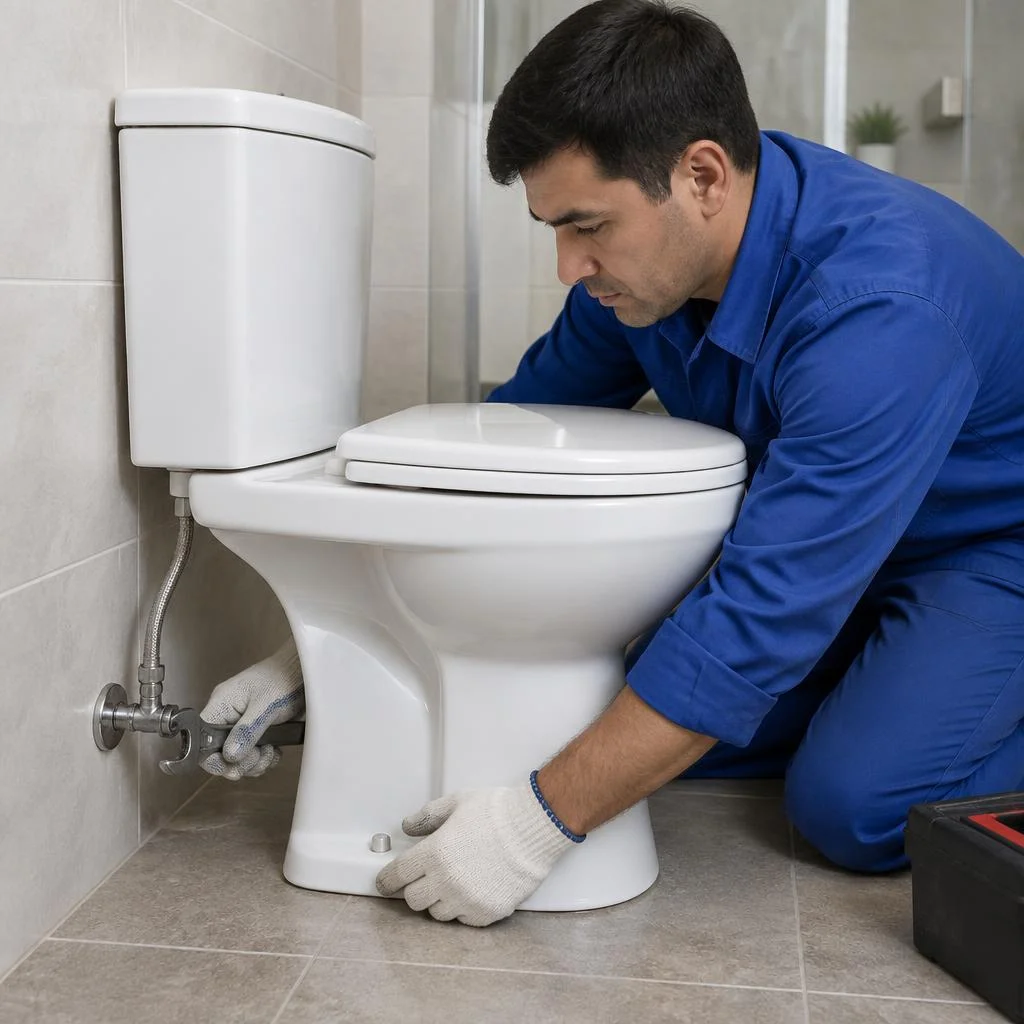
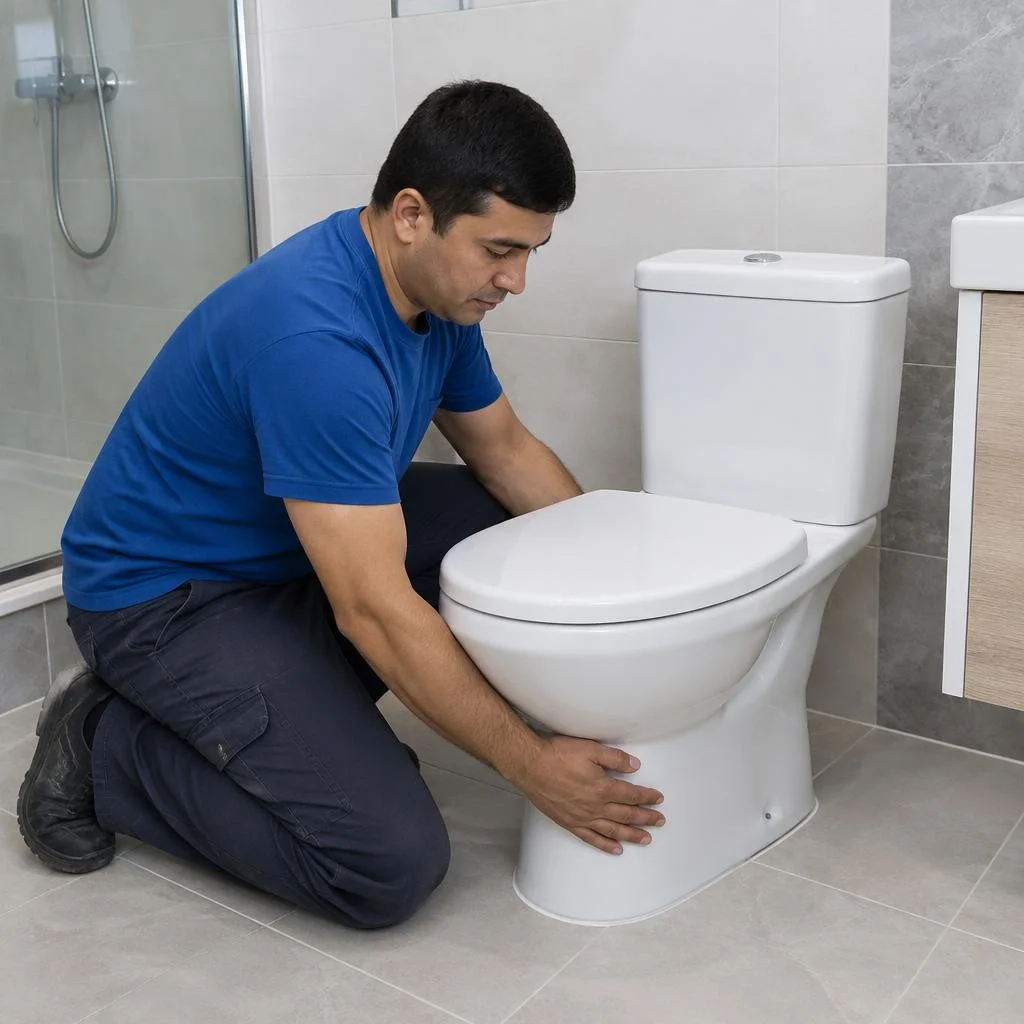
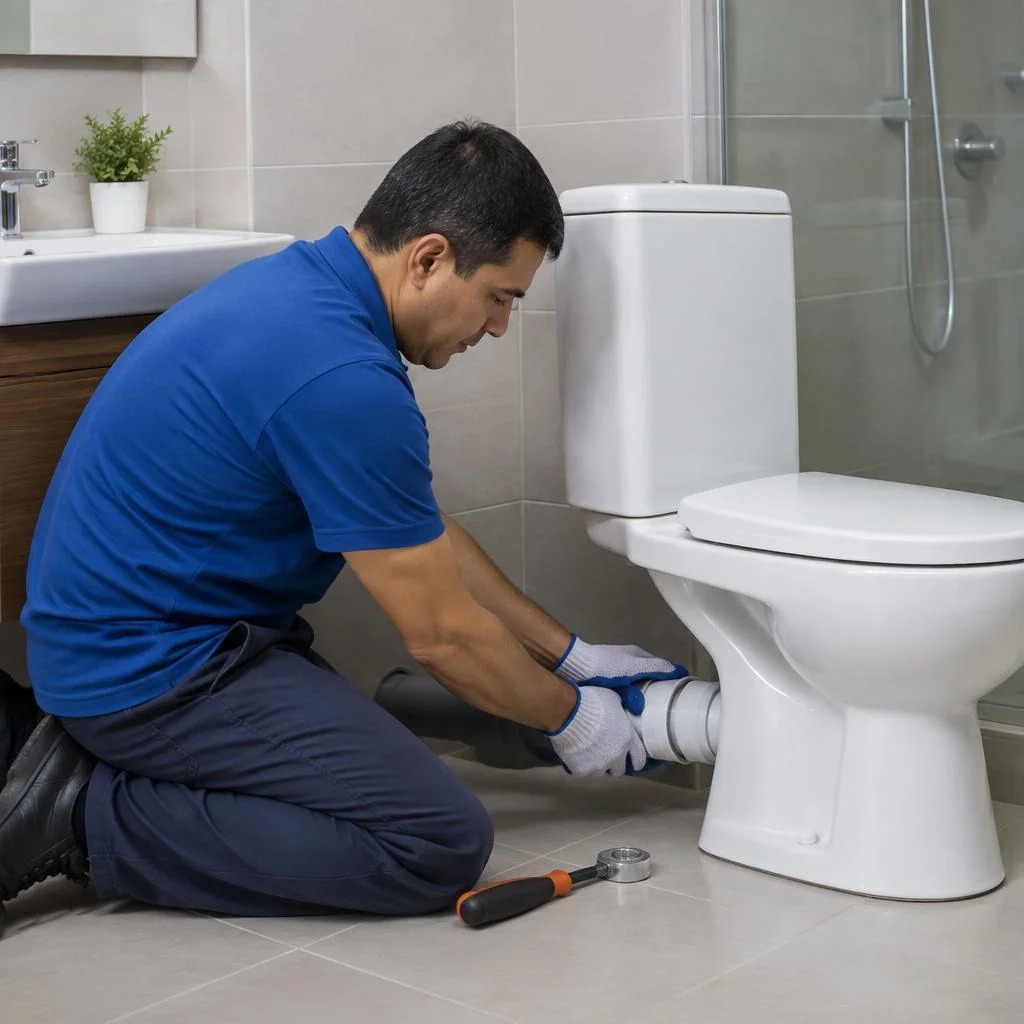
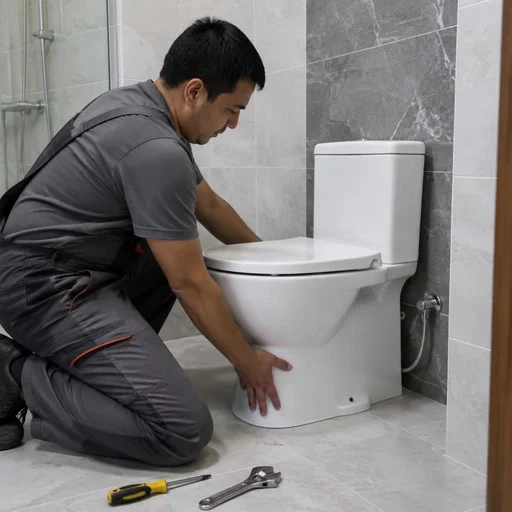
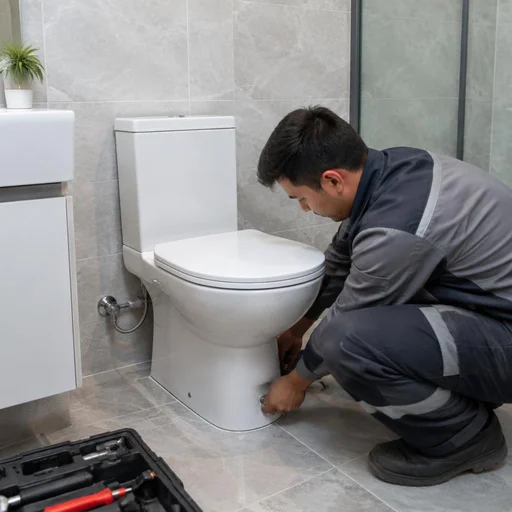
- Floor-mounted toilet: the bowl stands on the floor and is held by anchors, the tank is separate or built-in — the most common setup in older buildings.
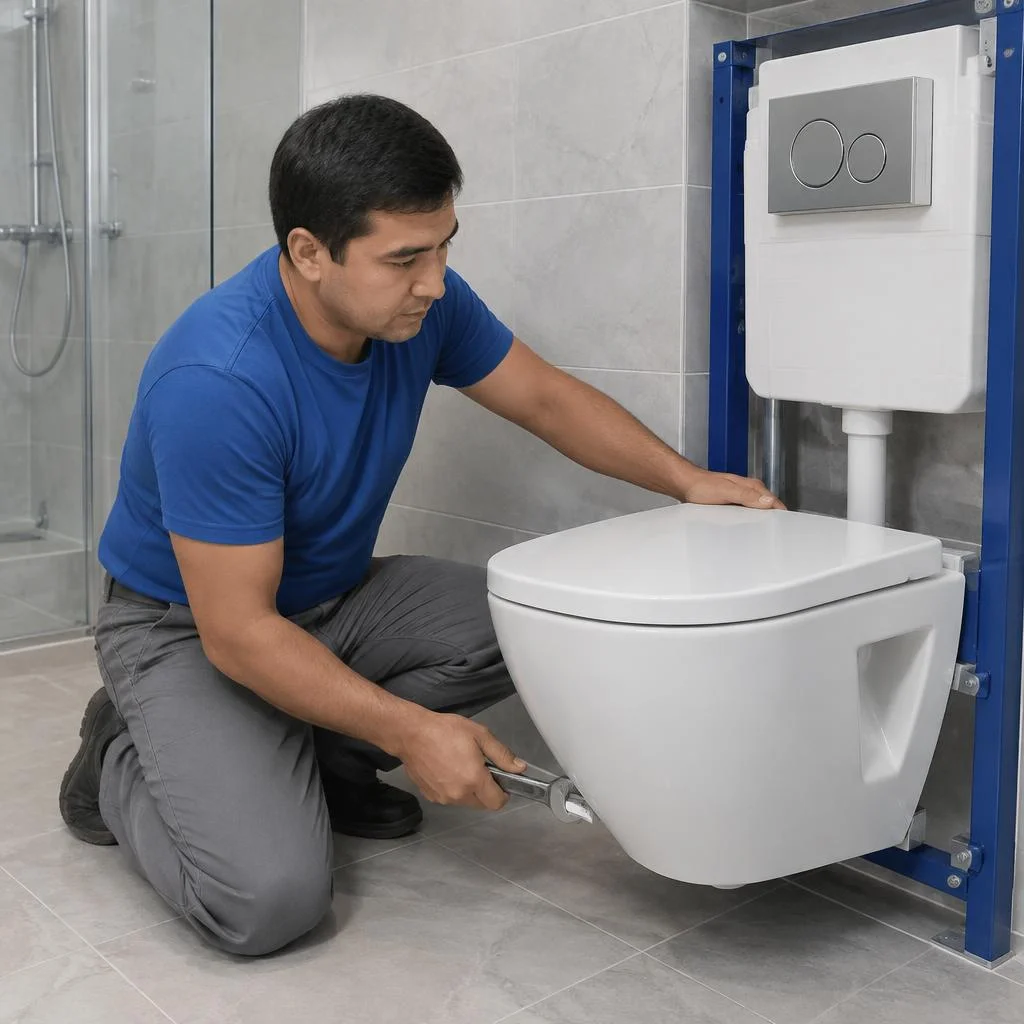
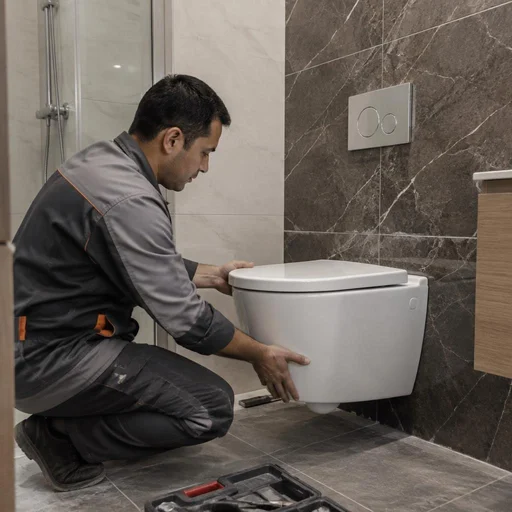
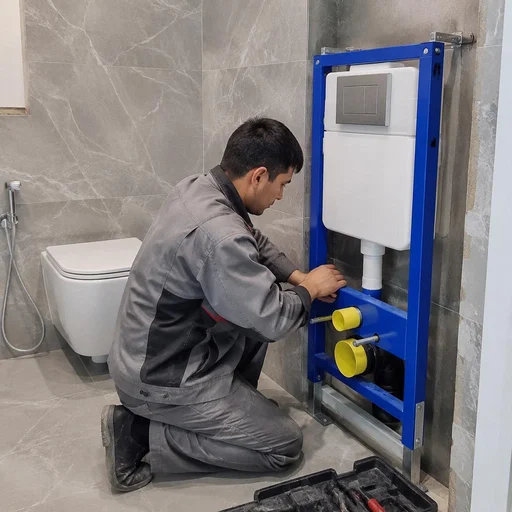
- Wall-hung toilet: the bowl hangs on a steel installation frame behind the cladding, the floor beneath it is free, and the installer sets the seating height.
- Compact: the tank and bowl are cast as a single unit, water flows directly into the bowl, there are fewer joints — almost no leaks at the connection.
- Installation frame: a load-bearing frame with a tank and valves for concealed installation, attached to a structural wall or to the floor before tile is laid.
Horizontal, vertical, and angled outlet — what this means in practice
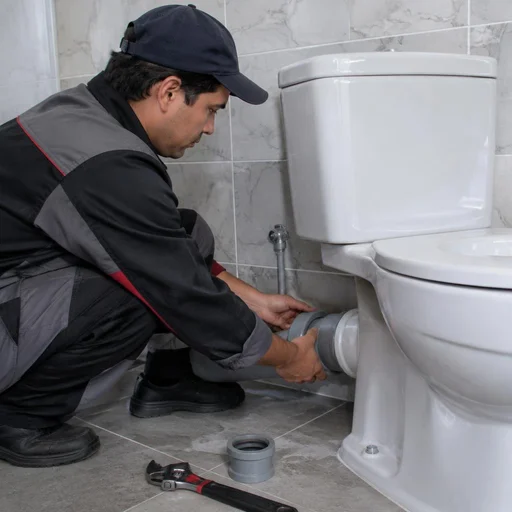
The outlet is the pipe through which water leaves the bowl into the sewer, and it determines which model will fit the stack without modifications. A horizontal one faces backward into the wall, a vertical one faces down into the floor, and an angled one runs at a slant and is found where the stack is offset relative to the bowl. A toilet with a vertical outlet requires careful installation: the tile under the bowl is drilled with a diamond core bit, and the joint is sealed with a gasket so water does not escape under the covering. Clients often phrase the request as installation of a toilet with a horizontal outlet — and from that it is immediately clear that the bowl drains water backward into the stack through the wall. If the direction does not match the stack, you do not necessarily have to change the plumbing fixture — in most cases an adapter or flexible hose helps. A frequent client question is how much it costs to install a toilet, and the answer depends on whether the outlet needs to be modified to fit the stack.
Side and bottom bowl mounting: what to choose
Mounting is chosen based on the floor material, not on design. Side mounting is more convenient on tile: the holes are drilled into the grout line or into the tile body with a diamond core bit, without disturbing the waterproofing, and the fasteners are covered with decorative caps. Bottom mounting is more reliable on concrete and self-leveling floors — the anchor goes in deep, the bowl sits rigidly, but the layout is done before installation, because re-drilling concrete next to a previous hole is almost impossible without losing strength. The final step is the same in any variant — sealing the toilet to the floor with silicone around the perimeter: it eliminates wobbling and prevents water from under the bowl from getting under the covering. If the floor is wooden or on joists, side mounting through a reinforcing pad holds better than a bottom anchor in a thin board.
What affects the cost and time of work
Installation in Tashkent is calculated by three parameters: bowl type, outlet type, and floor material. Installation on a concrete floor with a horizontal outlet takes a technician about two hours, while work with a wall-hung model on an installation frame with cladding stretches to a day, because the frame is positioned before tile is laid. Clients often search for toilet installation prices — and land on this page, because the total depends on the scope of work, not on a single price list item. The cost consists of removing the old bowl, relocating the connection point, and replacing the fasteners. In the private sector of Sergeli and Kuylyuk-5, a vertical outlet is more common than in the new residential complexes of Mirzo-Ulugbek district, where a horizontal wall outlet predominates. For the request installation of a new toilet, the technician's price is confirmed after measurement, when the condition of the floor and stack is visible. Before calling, photograph the bowl from below and attach the photo to your request — from the image the installer will determine the outlet type and bring the necessary adapters right away, without a second visit.
What is included in a turnkey toilet installation
Turnkey means more than just putting the bowl in place. The work includes removing the old plumbing, preparing the base, connecting the fixture to the sewer and water supply, sealing the joints, and testing the system under load.
Removing the old toilet and preparing the site
- Shutting off the water: the valve on the supply line is closed, the tank is drained completely, and the remaining water is collected in a basin — otherwise, when the bowl is removed, water will flood the floor.
- Disconnecting the supply line: the flexible hose is unscrewed from the fill valve with a wrench, without cutting off the nut, to preserve the threads.
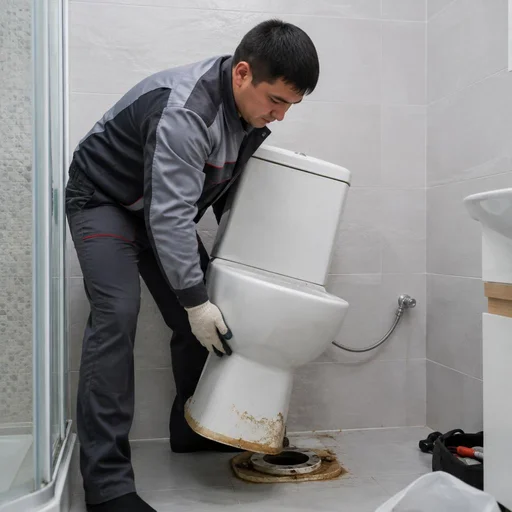
- Removing the bowl: the floor fasteners are unscrewed, and the fixture is removed by two people — ceramic weighs 20-35 kg, and if it is tilted, the bowl cracks at the base.
- Removing the gasket: stuck rubber is cut in a circle with a knife rather than pulled with force — the socket of a cast-iron sewer line in older buildings chips easily.
- Hauling away debris: the old plumbing and broken ceramic are packed and removed, and the area is swept before marking the new fasteners.
Connecting to the sewer and water supply
We connect the fixture to the sewer through an outlet with a gasket, and to the water supply through a flexible supply line with a shutoff valve. The outlet is inserted into the socket at an angle of 2-3 degrees, the gasket is lubricated with silicone grease for tight sliding, and 8-10 wraps of PTFE tape are wound onto the threaded nipple. The flexible supply line is taken at a length of 30-50 cm with a metal braid: brass fittings withstand pressure up to 10 bar, whereas plastic ones crack already at 4-5. The shutoff valve is installed before the supply line — if there is a leak, the water is shut off in seconds, without draining the tank or disassembling the connections. The supply line is replaced together with the fixture: the rubber core loses elasticity in 1-2 years and leaks at the threads. An installer in a private sector additionally checks the pressure after a storage tank or septic tank — pressure there is unstable, and without a shutoff valve it is harder to set up the system. Clients often phrase the request as: how much does it cost to install a toilet — and from that phrase the installer immediately understands that a full cycle of work with removal and connection is needed. In search, people often type toilet installation in a private house — and from that query the installer immediately sees that work with an autonomous sewer system lies ahead.
Sealing and final check
We seal the fixture to the floor with sanitary silicone along the contour of the base and check the flush operation, tank filling, and absence of leaks under the bowl. Silicone is applied after the final tightening of the anchors: if applied before, when the fasteners are tightened the layer tears and a gap 1-2 mm wide remains, where water goes during floor washing. The fasteners are tightened in a cross pattern so that the bowl does not seat crookedly. Then the flush and fill valves are adjusted: the water level is set 15-20 mm below the overflow rim, otherwise the tank constantly leaks into the bowl. The check is done with two or three consecutive flushes — the first shows the flush operation, the second and third reveal a slow leak along the gasket, which is not visible with a single flush. Installation in a private house differs in that the outlet is more often routed to a septic tank, so the final check is carried out under the load of two tank fills. In search, people type toilet installation price and cost of toilet installation, and for suburban housing — toilet installation in a private house price, and from these queries the installer calculates the estimate based on the scope of work.
Installation by toilet type: floor-mounted, wall-hung, compact, installation frame
Each type of toilet dictates its own sequence of work on site. Below we break down exactly what is done for a floor-mounted model, a wall-hung one with an installation frame, a compact, and what the differences are in requirements for the wall.
Installation of a floor-mounted toilet
We install a floor-mounted toilet in a single visit: marking, drilling for fasteners, setting the bowl, connecting to the water supply and sewer, sealing the joint to the floor. The technician checks the center-to-center distance of the outlet against the actual position of the pipe; if they don't match, he selects an adapter and adjusts the mounting point. A floor-mounted bowl rests on the floor with its entire base area, so a level surface matters here more than with concealed installation. Work in a private house is complicated by the fact that the floor is often wooden or sloped — in that case a shim is laid under the base and the bowl is leveled before securing. On tile, holes are drilled with a diamond core bit without a hammer drill — otherwise the surface cracks at the edge; if underfloor heating is laid beneath the tile, the drilling depth is limited to the thickness of the covering so as not to hit the heating cable. Clients often phrase the task as toilet installation in a private house — and the technician immediately understands that a reserve of fasteners for wooden floors will be needed.
Installation of a wall-hung toilet and installation frame
We install the frame for a wall-hung toilet: the frame is attached to a load-bearing wall or to the floor, then the outlet is routed, the supply line is connected, and only then is the bowl hung. Geberit and TECE frames differ in installation depth and connection scheme — Geberit's standard unit comes with ready-made water outlets, while some TECE models require a separate adapter for a specific outlet. The frame is leveled before cladding: after the tile is laid, the slope can no longer be corrected, and a misalignment causes the bowl to sag under the weight of a seated person. The flush button is positioned at a height convenient for everyone in the house, usually 90-100 cm from the floor — for children and the elderly this parameter is selected individually. A wall-hung toilet cannot be installed without a frame: the bowl has no support on the floor and is held only by the frame, so any model requires a concealed carcass. In requests this most often sounds like plumber toilet installation — and from the description of the frame the technician immediately estimates the scope of wall chasing.
Installation of a compact toilet
Eco-Service installs a compact toilet as a single unit — the bowl and tank are already connected at the factory, so installation takes less time than with separate models and requires no assembly on site. The tank is attached to the bowl with bolts through a rubber gasket, and this simplifies future maintenance: when replacing the flush button or flush valve, the tank does not need to be removed, access is from above through the lid. A compact is installed where there is no possibility of chasing the wall for a frame or where the bathroom is already tiled — the model requires no concealed work. For a small bathroom, compacts with a shortened depth and an angled outlet are selected so that the bowl does not hit the door. In requests there is also such wording as toilet installation with side mounting — this is how clients describe models where the bowl is fixed to the floor via side studs, and from this description the technician immediately selects fasteners for the type of base. The installation price here is lower than for a wall-hung one, due to the smaller scope of preparatory work. If the bathroom is tiled and you don't want to redo the tile, installation of this type of toilet is done without dust and without removing the covering.
Comparison of installation types by parameters
| Installation type | What is needed on site | Special feature |
|---|---|---|
| Floor-mounted | Level floor, marking for fasteners | Rests on the floor with its entire area |
| Wall-hung + installation frame | Load-bearing wall or reinforced frame | Bowl height is set before cladding |
| Compact | Ready outlet, level surface | Tank and bowl — a single unit |
| Installation frame separately | Chase for the frame, button outlet | Slope cannot be corrected after tiling |
A wall-hung toilet and installation require a load-bearing wall or a reinforced frame — on a drywall partition without embedded supports, the bowl will sag over time. If the bathroom is already tiled and you are planning a wall-hung model, the installation frame is mounted in a chased groove with partial dismantling of the tiles; for work in a private house, the price and timeline depend on whether the floor structure underneath is wooden or concrete. On request, the cost in Tashkent is calculated after an inspection: the technician assesses the condition of the outlet, the evenness of the floor and the type of wall. Clients often search for "toilet installation prices" — and receive a quote after an inspection, not a fixed figure from an advertisement.
Outlet and connection: sewer, water supply, corrugated pipe
Connection is the most common cause of leaks after installation: it accounts for almost a third of repeat call-outs. Below we break down how a toilet is connected to the sewer and water supply, and what gets replaced during the work.
Corrugated or rigid outlet: which is more reliable
Eco-Service installs both corrugated and rigid outlets — the choice depends on how precisely the bowl's axis aligns with the riser. A PVC corrugated pipe wins on installation: it bends, compensates for misalignment of up to 30-40 mm horizontally, and suits installation with side mounting, where the bowl does not sit strictly opposite the socket. A rigid pipe with a gasket loses out on flexibility, but has no internal ribs — no scale or biofilm settles on its walls, so blockages occur 3-4 times less often. In Tashkent's Khrushchevka and panel buildings with cast-iron risers, technicians often compromise: they install a rigid outlet with an eccentric gasket so as not to cut the tiles. The corrugated pipe is replaced every 2-3 years — it cracks at the bend; when the axes align, it is better to install a rigid pipe with a gasket straight away, which eliminates future repairs.
Replacing the outlet, gasket and fasteners
- Outlet: the old corrugated pipe or pipe is removed, the riser socket is checked for chips and scores, and sanded down if necessary.
- Gasket: a new corrugated or rubber seal is fitted — the old one hardens within 2-3 years and stops sealing the joint.
- Fasteners: anchors and bolts are replaced with stainless steel ones so that constant moisture does not rust them and they do not tear the ceramic when tightened.
- Joint to the floor: sealant is applied around the perimeter of the base, leaving a gap at the back wall for ventilation of the bowl.
Fixing a leak in the cistern and under the toilet
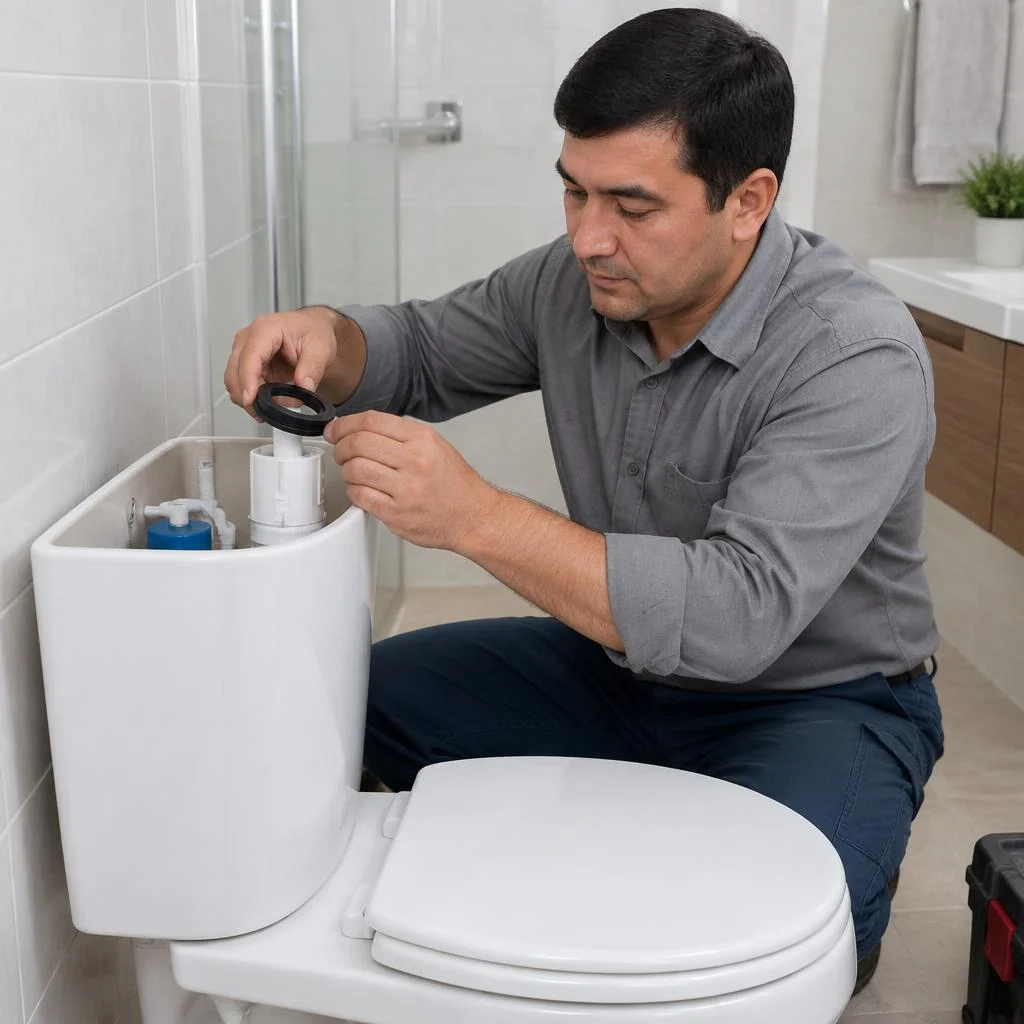
Eco-Service fixes cistern leaks and leaks under the toilet — the cause is almost always the flush valve, the gasket or loosened fasteners, not the ceramic itself. Diagnostics start from below: if water runs down the bowl's leg and leaves a puddle at the base, the culprit is the outlet joint or the gasket; and if the cistern is noisy and trickles into the bowl, it is the flush valve with its seat. The fill valve is checked separately: when the gasket wears out, the water does not shut off completely, the level in the cistern rises and escapes through the overflow. In Tashkent apartments with hard water, scale builds up on the valve seat within 8-10 months — then the valve fails to close even with an intact gasket. Start your inspection with the bowl and outlet, not the flush mechanism: that way you won't take apart a working cistern for nothing.
Work sequence and what is included in the estimate
Installation begins with marking out and fitting the outlet to the socket, not with fastening the bowl to the floor. Installing a new toilet after dismantling the old one takes 1.5-2 hours with a ready joint, and up to 4 hours if the sewer point has to be relocated or the supply line extended. Turnkey work includes dismantling, connection to the sewer and water supply, sealing, cistern adjustment and testing the flush under pressure — toilet installation prices and toilet installation cost depend on the type of model and the condition of the riser; the technician names the exact amount after an inspection. In our practice, with wall-hung models using Geberit and TECE installation frames, connecting to the water supply takes more time than mounting the bowl itself: the flexible supply line runs inside the frame. Clients often phrase their request as "toilet installation price" — and from that phrase the technician immediately understands that installation with dismantling of the old bowl is needed. Another common request is "toilet installation Tashkent price": it shows that the person needs a technician to visit their home with a full set of consumables.
Installation in a private house, apartment, and on tile
The conditions of the site change the set of works and fasteners: a private house, an apartment, and laid tile require a different approach to the outlet and securing of the bowl. Below is how installation differs in each of the three cases.
Toilet installation in a private house
Eco-Service installs a toilet in a private house taking into account the local sewage system — a septic tank, a cesspit, or a central riser. In the suburbs of Tashkent, a cesspit 2-3 meters deep is more common, less often a storage septic tank with two chambers, to which a 110 mm diameter pipe leads with a slope of 2 cm per linear meter. With a run length of 3 meters or more, a rigid outlet is more reliable than a corrugated one: the corrugated wall collects deposits and sags under the weight of the bowl. Clients searching type in toilet installation in a private house — and land on this page, although in the private sector the task is solved differently than in a city apartment. With a cesspit, the slope of the outlet toward the pit is maintained strictly — an error of 1 cm per meter already slows the drain and in winter causes odor in the bathroom.
Toilet installation in an apartment
Eco-Service installs a toilet in an apartment with connection to the central riser — the work takes one visit without dismantling walls. In panel nine-story buildings and Khrushchyovkas, the riser is often cast iron, with a socket of actual diameter 108-112 mm instead of the nominal 110; the gasket is selected based on measurement, not according to the product's data sheet. The socket is measured before installation — a standard rubber gasket does not fit a 112 mm socket and leaks at the thread. Often the request sounds like turnkey toilet installation — and that is exactly what we do in an apartment: dismantling the old bowl, fitting the gasket, securing, and checking the drain in one visit. Coordination with the management company for replacement without relocating the riser is not required: the work is done within the boundaries of the apartment, and the noise from the hammer drill is no longer than 15-20 minutes for fastening. We use plumbing fasteners with rubber gaskets — they dampen vibration and do not transmit hum to the neighbors below.
Toilet installation on tile without damaging the surface
Eco-Service installs a toilet on tile with a diamond core bit and without a hammer drill — the holes are drilled exactly according to the fastener markings. A core bit 8-10 mm in diameter goes through porcelain stoneware and ceramic in 20-30 seconds without chipping the enamel, and the drilling mode without impact keeps the adjacent tile intact. If the tile is laid on drywall, a reinforcing backing is placed under the bowl — otherwise the anchor does not hold and the bowl wobbles; the backing is installed before final securing, through an access hatch or before tiling. Clients searching type in toilet installation price — and land here, although the cost depends not on the floor covering, but on the type of outlet and the condition of the riser. A neutral silicone is applied under the bowl, not an acidic one: acidic silicone corrodes the glaze along the edge and leaves a matte mark. After securing, we check for play by hand — at the slightest shift we reposition the fasteners before the silicone sets.
What to clarify before the technician's visit
- Outlet type: horizontal, vertical, or angled — this determines whether an adapter needs to be purchased and which fasteners to use.
- Riser material: cast iron, plastic, or metal-plastic — for cast iron the gasket is selected based on actual measurement, for plastic the standard one works.
- Floor covering: tile, porcelain stoneware, self-leveling floor — tile requires a diamond core bit, self-leveling requires an expansion anchor.
- Presence of a concealed cistern frame: concealed installation requires a mounting frame, which is installed before tiling, not after.
- Water access: where the tap into the water supply is and whether there is a shut-off valve on it — without a valve, the water will have to be shut off at the riser.
Complete bathroom: toilet and sink, relocation, replacement of components
Often the installation of plumbing fixtures goes together with other work in the bathroom: the sink is replaced, the bowl is repositioned, the cistern is repaired. Below is what a comprehensive visit includes and how it is done in practice.
Installation of the bowl and sink
Installation of the bowl and sink is counted as two separate items, but when two fixtures are ordered for one bathroom, the technician performs them in a single visit — this saves time and transport costs. First the bowl is installed and connected to the sewer and water supply, then the sink is mounted on brackets or a vanity unit and the flexible supply lines are run. Both fixtures are fed from a single shut-off assembly with a tee and separate valves — in case of a leak, the water is shut off with one movement, without running to the riser. The sink is installed after the bowl not by chance: while the latter is not yet secured, the technician moves freely along the wall and does not bump the fragile porcelain stoneware of the sink. In our practice, it is precisely this order that saves time — in the reverse sequence, the installer shuts off the water twice and disassembles the supply lines. Clients often find us like this: toilet installation price — and land on the page describing the comprehensive visit.
Relocating the bowl in the bathroom
Relocating the bowl within the bathroom is done by rerouting the outlet and connecting to the riser at the new location. First the old one is dismantled, a section of the floor or wall is opened up, a new 110 mm diameter pipe is laid at the required angle, and the sewer is routed anew. When relocating, it is important to maintain the slope of the outlet toward the riser — 2-3 cm of drop is allowed for each meter of pipe, otherwise the waste drains slowly and sediment accumulates in the bend. If the fixture is turned to another wall, the outlet is extended with rigid PP pipe, not a corrugated hose: a corrugated hose longer than 40 cm sags and clogs with fiber. Installation with a straight outlet in a new location requires precise marking — an error of 1 cm will not allow the gasket to seat hermetically. The request plumber toilet installation in our practice means exactly such a visit with rerouting of the outlet.
Replacement of valves, button, seat and cistern adjustment
- Flush valve: replaced when water constantly leaks into the bowl — the old gasket loses its elasticity in 3-4 years.
- Inlet valve: responsible for filling the cistern; its replacement is needed when the water does not stop or runs with a humming noise.
- Flush button: the plastic pusher breaks; it is selected to match the cistern model — Geberit, TECE, local compact units.
- Seat: fastened with a soft-close hinge or ordinary bolts; in case of enamel chips, a model with a wide fit is chosen.
- Cistern adjustment: the water level is set according to the mark and the float is adjusted so that the cistern does not make noise when filling.
Prices and what affects the estimate
The price for installing the bowl depends on its type, the condition of the outlet and the scope of related work — connecting the sink, relocating or repairing the cistern. The service's price list forms the cost by item: dismantling the old bowl, installation, connection to the sewer and water supply are counted separately. If the bathroom is old, replacement of the gasket, fasteners or corrugated hose is added to the estimate — these parts fail most often. Installing a toilet in an apartment with existing plumbing runs costs less than in a new building without installed utilities: there the technician first lays the pipes and only then installs the bowl. In our practice, the estimate is always agreed upon before work begins — the final amount does not change unless hidden defects of the riser are discovered along the way. Clients often phrase the task as install toilet price or price for toilet installation, and some type toilet and sink installation price — and receive a calculation for all items at once.
Warranty, timelines and how to call a technician
This section covers what happens after installation: what period the warranty covers, how long it takes the technician to reach the address, and what methods can be used to request a visit.
2-year warranty on installation
Eco-Service provides a 2-year warranty on installation — including connection to the sewer and water supply, sealing to the floor, and the flush mechanism. If six months after the work the tank starts leaking at the gasket or an odor appears from under the bowl, the technician comes back and fixes the cause without an additional charge for labor. A warranty case is processed based on the work completion report and the receipt — these two documents confirm that the appliance was installed by a service center specialist and not a third-party contractor. The warranty is valid provided that the technician connected the appliance himself: if the toilet was installed independently and then a leak was reported, the case is considered a repair and is billed separately. For this reason, it is better to order the installation of a floor-standing toilet as a complete package right away, rather than purchasing the connection later from another contractor. In requests, clients often write briefly: toilet installation in an apartment — and from this wording the dispatcher immediately understands that a full cycle of work with dismantling of the old appliance is needed. Another common request is toilet installation and dismantling: in this case, the technician removes the old bowl, takes it out, and installs the new one in a single visit.
Visit timelines and service area in Tashkent
Eco-Service travels to the client's address — we work in the Chilanzar, Yunusabad, Mirzo-Ulugbek, Yashnabad, Sergeli and Shaykhantaur districts. We accept urgent call requests on the day of contact if there is an available slot in the technician's schedule; planned work is usually scheduled for the next one or two days. Across Tashkent districts, the technician arrives with his own tools, fasteners and consumables, so toilet installation is completed in one visit. Installation of a floor-standing toilet usually takes one visit, while a wall-hung model with an installation frame may require a second visit after tiling — this is better planned in advance, before laying the tiles, otherwise the finished wall will have to be opened up. If you say in advance that the bathroom is at the renovation stage, the technician will adjust the schedule to the finishing stages. A separate category of requests is the installation of a toilet with a direct outlet: in older housing stock, a horizontal outlet is common, and for such a request the technician brings additional gaskets and adapters.
How to submit a request and payment methods
- Telegram and WhatsApp: write to either messenger, attach a photo of the toilet and the installation location — the dispatcher will confirm the visit time.
- Cash payment: the technician accepts payment after completing the work and checking the flush together with the client.
- Click and Payme: transfer by the technician's phone number or via an invoice that the dispatcher sends before the visit.
- Uzcard and Humo: card payment via terminal if the client prefers cashless payment.
- Warranty requests: a separate request using the report number; a warranty visit is not billed.
What to clarify when requesting to avoid overpaying
The price for toilet installation depends on the type of bowl, the condition of the outlet and the scope of dismantling, so the dispatcher clarifies these details before the visit. Prices differ for different models: a floor-standing compact costs less than a wall-hung model with a concealed installation frame, which requires cutting into the wall and separate mounting of the frame. Installation of a toilet and a sink is counted as two separate items, but when ordering two appliances in one bathroom, the technician completes them in one visit — this saves time and transportation costs. Toilet installation in the older housing stock of Chilanzar or Sergeli often requires replacement of the outlet and gasket, which is better to mention in advance. Clients often search for "toilet installation price" — and land on this page, where the estimate is given after a photo of the bathroom and the appliance model.
Conclusion
We have gathered the key points to keep in mind before ordering work: what determines the set of operations, where mistakes are most often made during installation, and what to look for when choosing a contractor.
Main takeaways
- Outlet and bowl type: a horizontal, vertical, or angled outlet together with the bowl shape determines the list of works, and these are checked before installation begins, not after dismantling.
- Dismantling and preparation: removing the old toilet, clearing the area, and leveling the base are included in turnkey installation; you do not need to pay for them separately.
- Outlet: a flexible corrugated connector is easier to install, a rigid pipe is more durable — the choice depends on whether the axes align with the stack's socket.
- Tiles and drywall: holes in ceramic are drilled with a diamond core bit without chipping; a backing block for fasteners is installed under the cladding.
- Warranty and request: the installation warranty is 2 years; toilet installation is arranged via Telegram or WhatsApp, where you can also clarify how much it costs to install a toilet for a specific model.
- Price: toilet installation price and toilet installation on tiles price depend on the bowl and outlet type — the final estimate is calculated after an inspection.