









What is a concealed cistern frame and what tasks does it solve in a bathroom
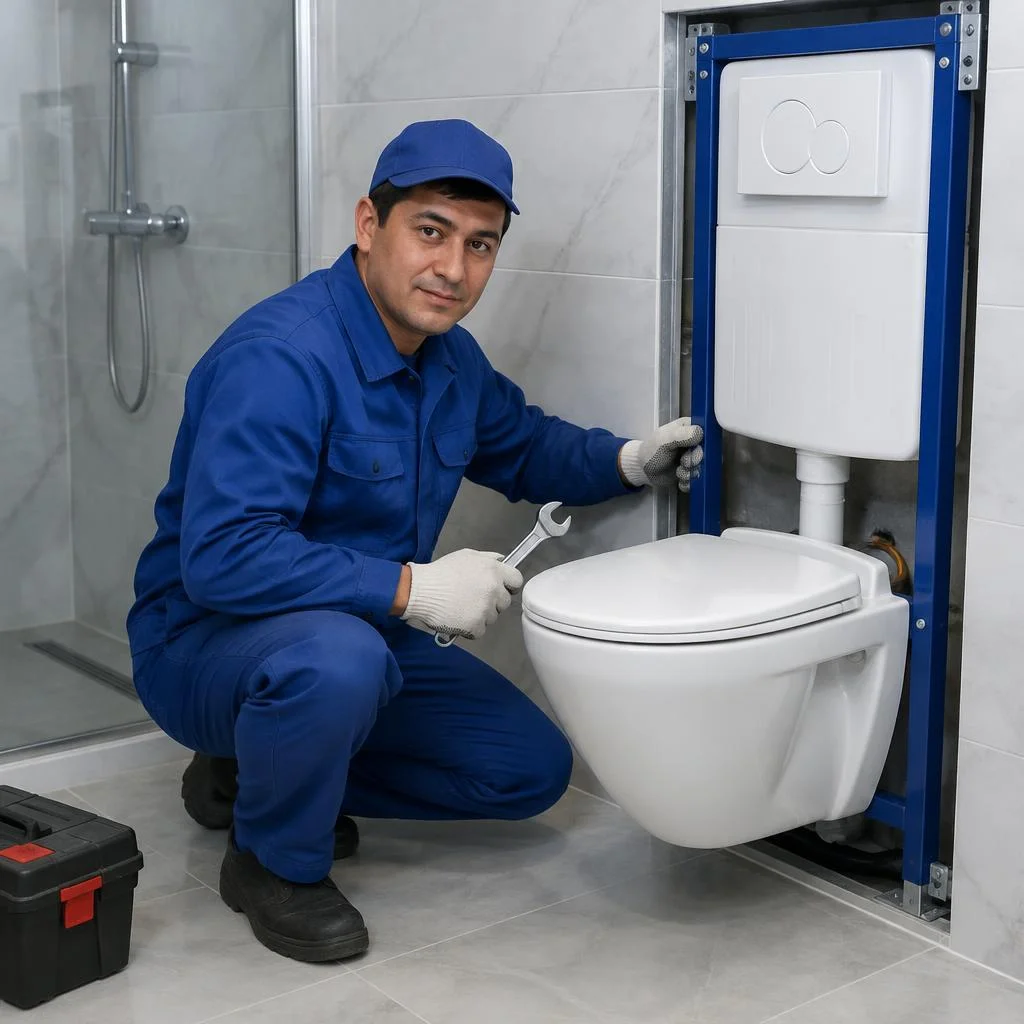
A concealed cistern frame is a load-bearing frame with a hidden cistern that replaces a conventional toilet with an exposed cistern. Let's break down what the system consists of and why it is increasingly chosen in Tashkent apartments.
Concealed cistern frame design: frame, hidden cistern and flush components
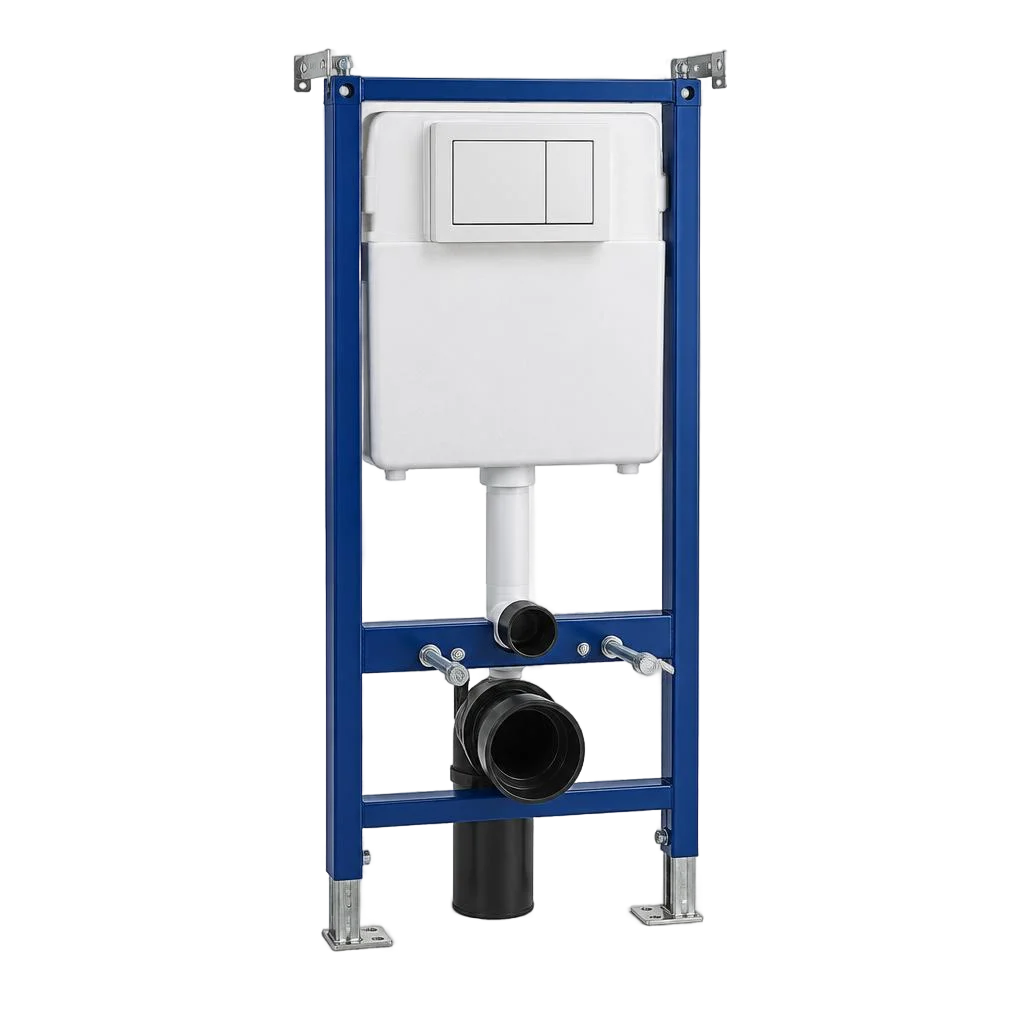
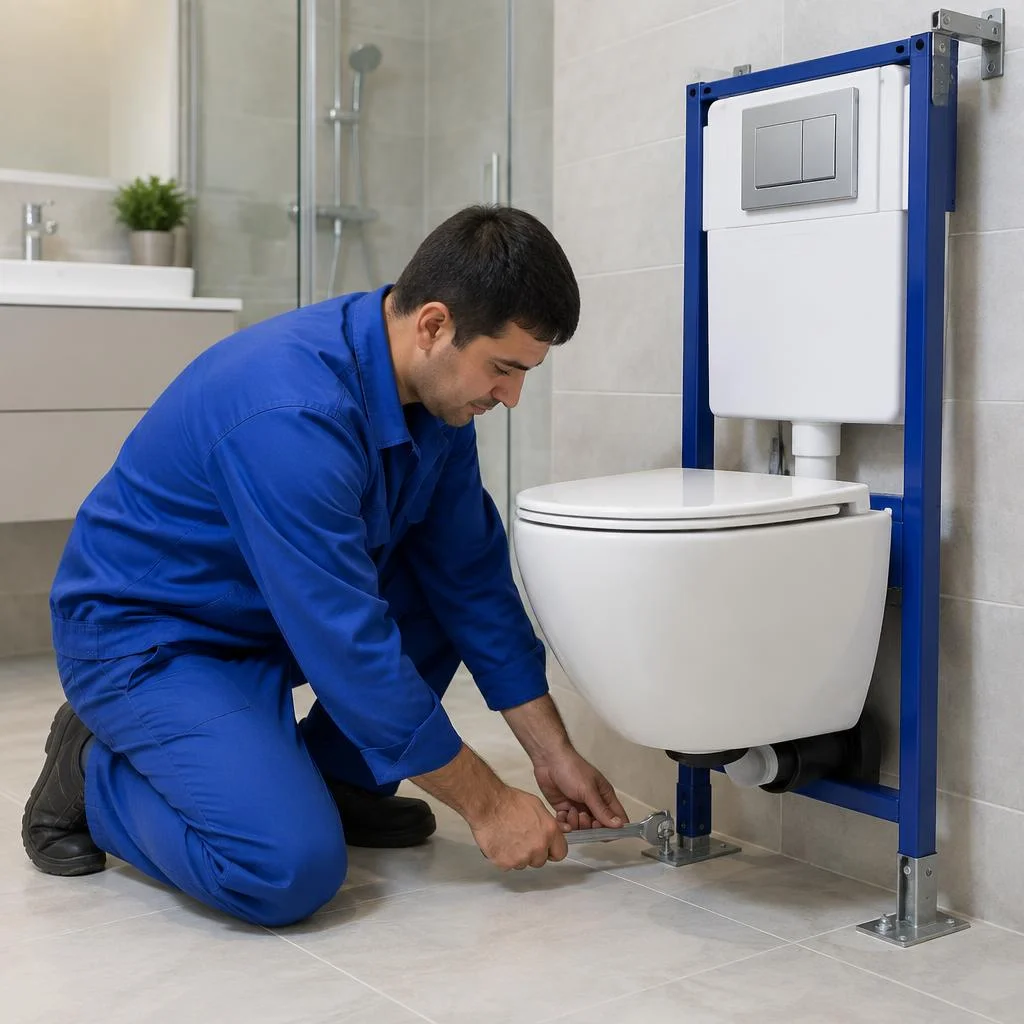
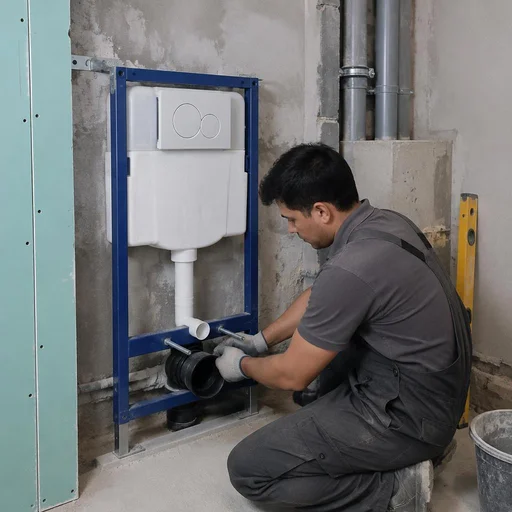
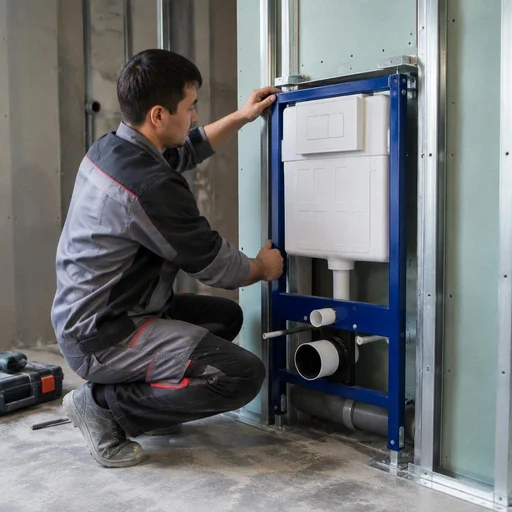
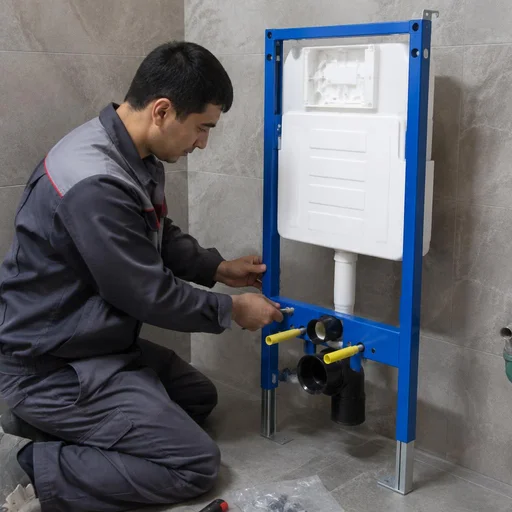
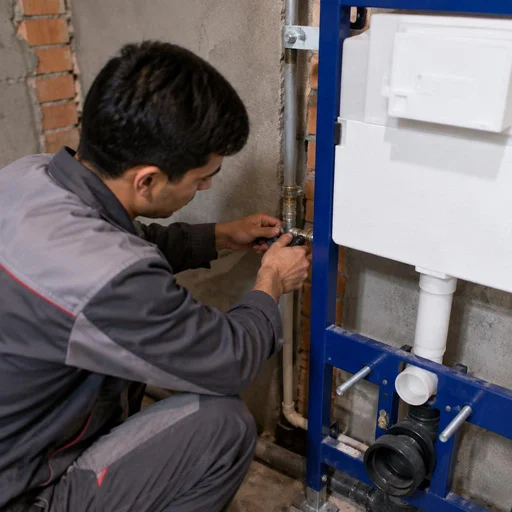
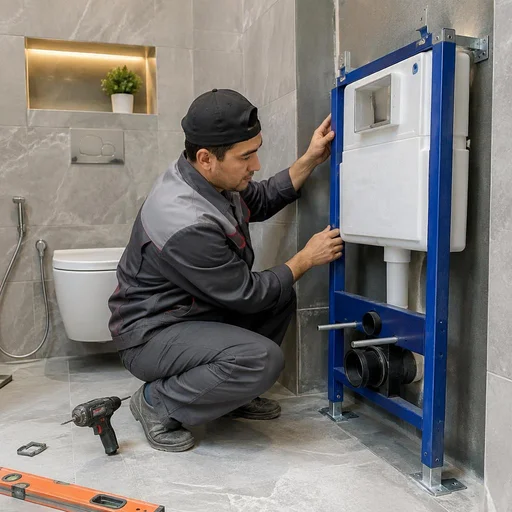
A concealed cistern frame consists of a steel frame, a hidden cistern, flush and fill valves, a flush button and a front panel — all components are hidden in the wall or a box. The frame bears the load from the wall-hung toilet, a 6–9 litre cistern is secured inside it, and the flush and fill valves regulate the discharge and supply of water. The button is routed to a panel that covers the service opening. Both valves are replaced through an inspection hatch, so access to them is planned in advance. Clients often phrase the request as concealed cistern frame installation — and from that the technician immediately understands that a full cycle is needed: frame assembly, wall mounting, button routing. An inspection hatch or removable panel is mandatory: without access to the valves, any adjustment of the flush mechanism turns into dismantling the tiles. In search, people often type toilet installation on concealed cistern frame price, although the cost is calculated after measurement and depends on the type of frame.
How a concealed cistern frame differs from a conventional toilet with a cistern
- Clear floor: 25–30 cm remains under the bowl, you can pass a mop in one motion with no gap behind the cistern.
- Less depth: the hidden cistern goes into the wall, the bowl protrudes 50–54 cm instead of 70 cm for a floor-standing model.
- Quieter flush: the cistern is hidden in the box, the sound of water is dampened by drywall and mineral wool.
- Pipes hidden: old risers in a panel building are hidden behind the same box as the frame.
- Easier cleaning: a wall-hung toilet does not touch the floor, and in a khrushchyovka with a 2.5 sq. m bathroom the gain in depth reaches 20–30 cm.
Block and frame concealed cistern systems: which to choose
| Type of concealed cistern frame | Where it is mounted | Load | When it is chosen |
|---|---|---|---|
| Frame | Floor and load-bearing wall | Up to 400 kg | New builds, brick, monolithic |
| Block | Lightweight partition, drywall | Up to 200 kg | Narrow bathroom, redevelopment |
| Corner | Adjacent walls in a corner | Up to 300 kg | Niche, non-standard geometry |
| Low | Under a window, attic | Up to 300 kg | Sloped ceiling, windowsill |
For a load-bearing wall in a Tashkent new build, a frame type is more often chosen — it does not require reinforcement of the partition; a block type is installed when the bathroom is assembled from drywall. The frame construction is more convenient in that it allows installation of a wall-hung toilet at any stage of renovation, while the block type is rigidly tied to the partition frame and does not tolerate relocation. If the bathroom has already been dismantled, the technicians clarify whether concealed cistern frame toilet installation with a full replacement of the riser is needed or whether it is enough to move the frame back to its previous place. In everyday speech, clients write briefly: install a concealed cistern frame — and from that phrase it is clear that this is about assembling the frame from scratch, not about moving a ready-made construction. They separately clarify whether the estimate includes concealed cistern frame installation and preparation of the niche for the box, because the price of the work depends on the amount of chasing.
Low concealed cistern frame for a toilet: when it is needed
A low installation for a toilet is needed under a window, in an attic, or in a bathroom with a sloped ceiling — the frame height is 82 cm instead of the standard 98–112 cm. Before ordering, measure the distance from the floor to the windowsill: if it is less than 105 cm, a standard frame will not fit and a low size will be required. The bowl height is measured from the floor to the top edge — 100–105 cm, so that sitting is comfortable. In everyday usage this is called installation mounting, although in essence it refers to assembling the frame, leveling it, and connecting the water. If you decide to install the system after removing the old toilet, the height measurements are checked again — the tiles and screed have already been removed, and the numbers change. In our practice, installation under a 100 cm high windowsill required replacing the frame's standard studs with shortened ones — otherwise the flush button pressed against the reveal. Clients often ask about installation installation and the cost of installing a toilet installation, but we provide an exact estimate only after an inspection.
Installation of a toilet installation unit: step-by-step assembly by Eco-Service
Full cycle of work on site: from marking and assembling the frame to connecting to the sewer and water supply. The technician performs each stage on-site, with their own fasteners and pressure-testing of the assemblies.
Marking and setting the installation height
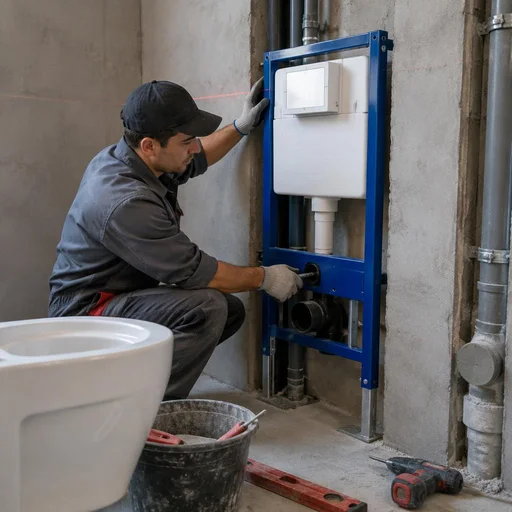
We set the top edge of the bowl at 100–105 cm from the floor — this is the standard at which a wall-hung toilet is comfortable for both an adult and a child. We measure the height of the main users of the bathroom: for a person 150–160 cm tall, a mark of 98–100 cm is comfortable; for 180 cm and above — 105–108 cm. We apply the markings with a laser level at three points — the center of the frame, the axis of the sewer outlet, and the finished floor line — so that after tile laying the bowl doesn't shift sideways. The height is adjusted to the users' height: a 5 cm difference becomes noticeable after just a month of daily use, and it cannot be redone after tile laying.
Assembling the installation frame and fastening to the floor
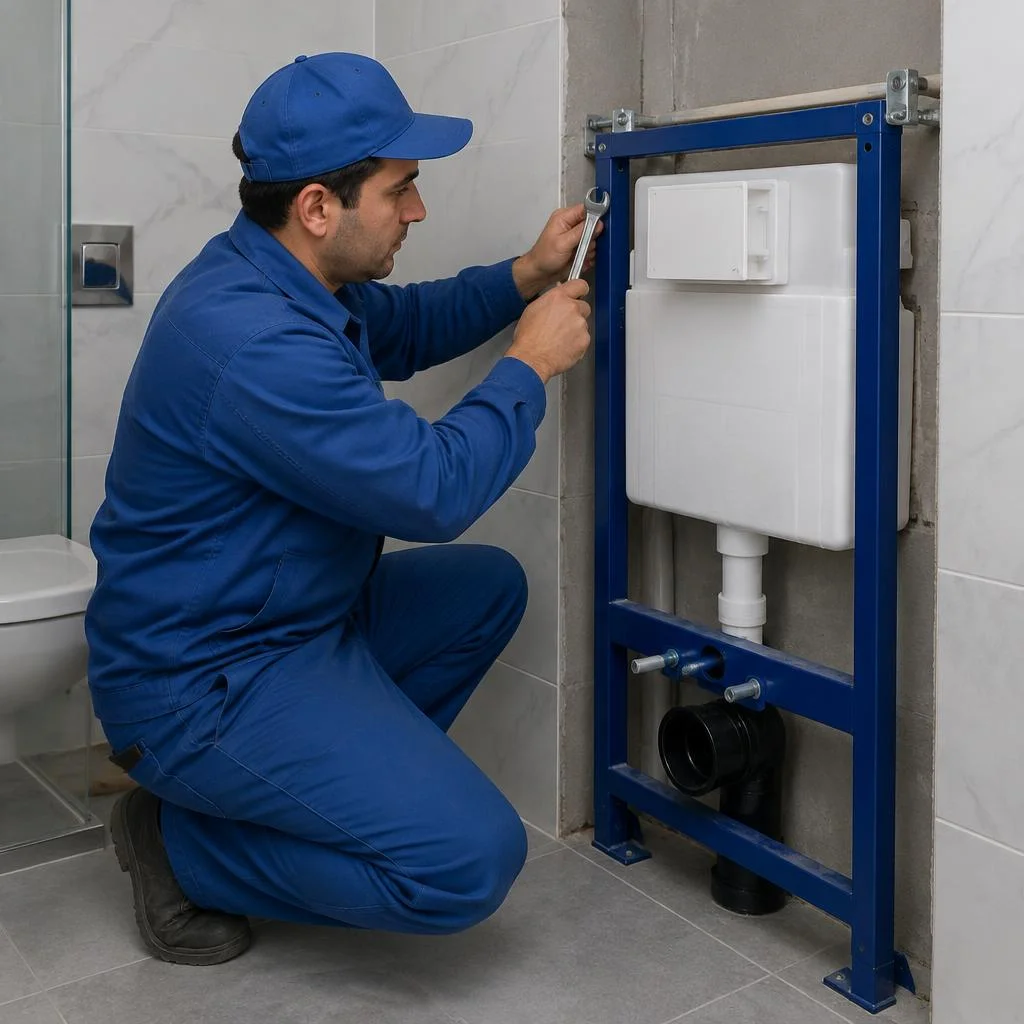
- Assembling the toilet installation: the frame is laid out according to the manufacturer's diagram, the uprights are connected to the support plate, and the bolts are tightened with a torque wrench to the specified torque.
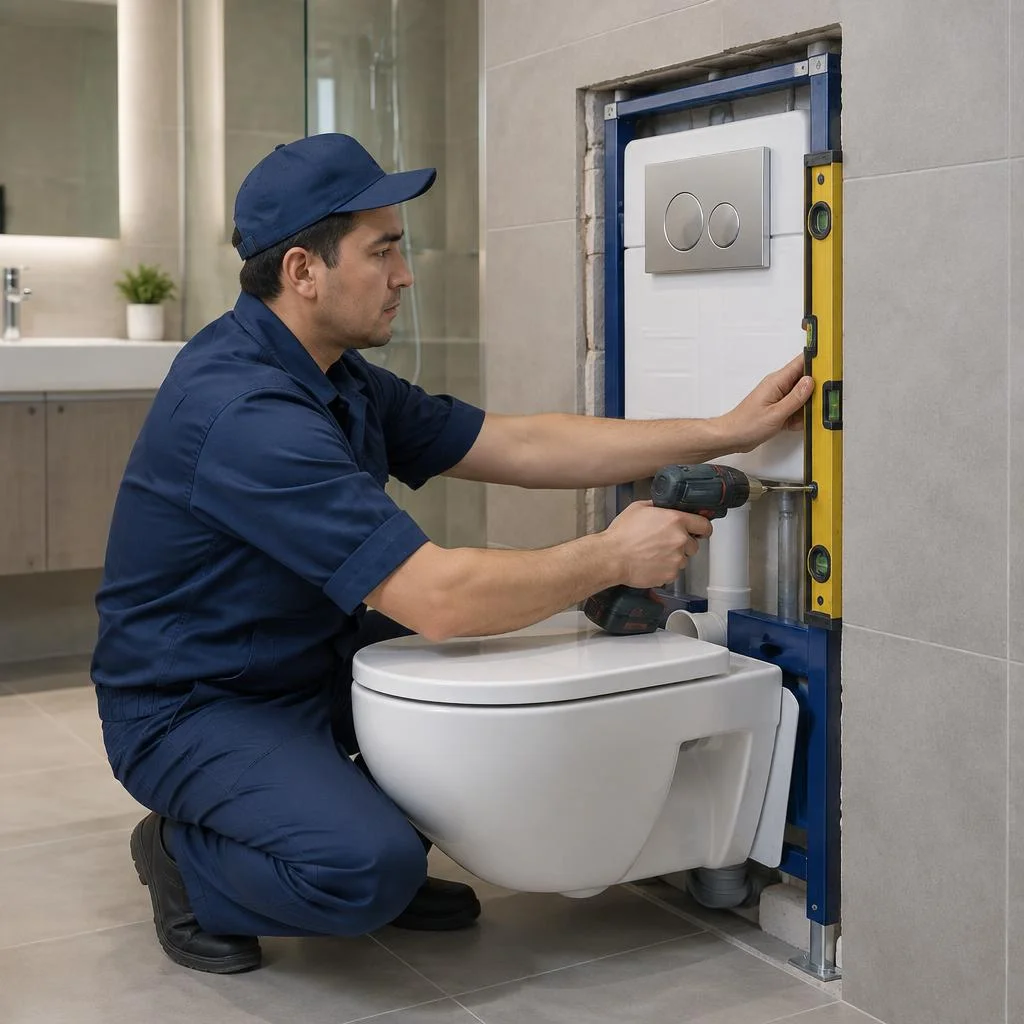
- Leveling: the verticality of the uprights and the horizontality of the top rail are set using the laser; a deviation of more than 2 mm per meter causes the bowl to skew.
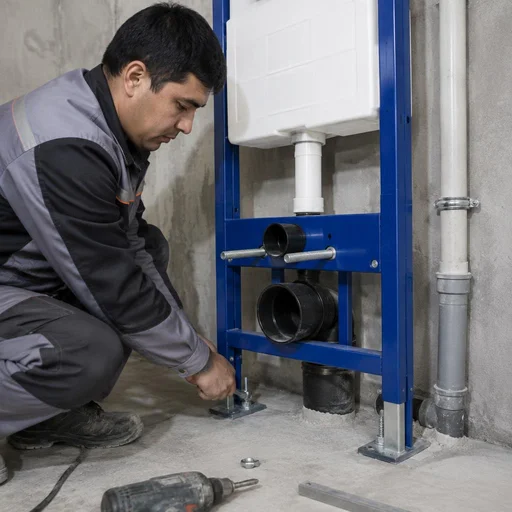
- Fastening the installation to the floor: 10×100 mm anchors go into the concrete base by 60–70 mm; in a wooden floor, through-bolts with a washer underneath are used.
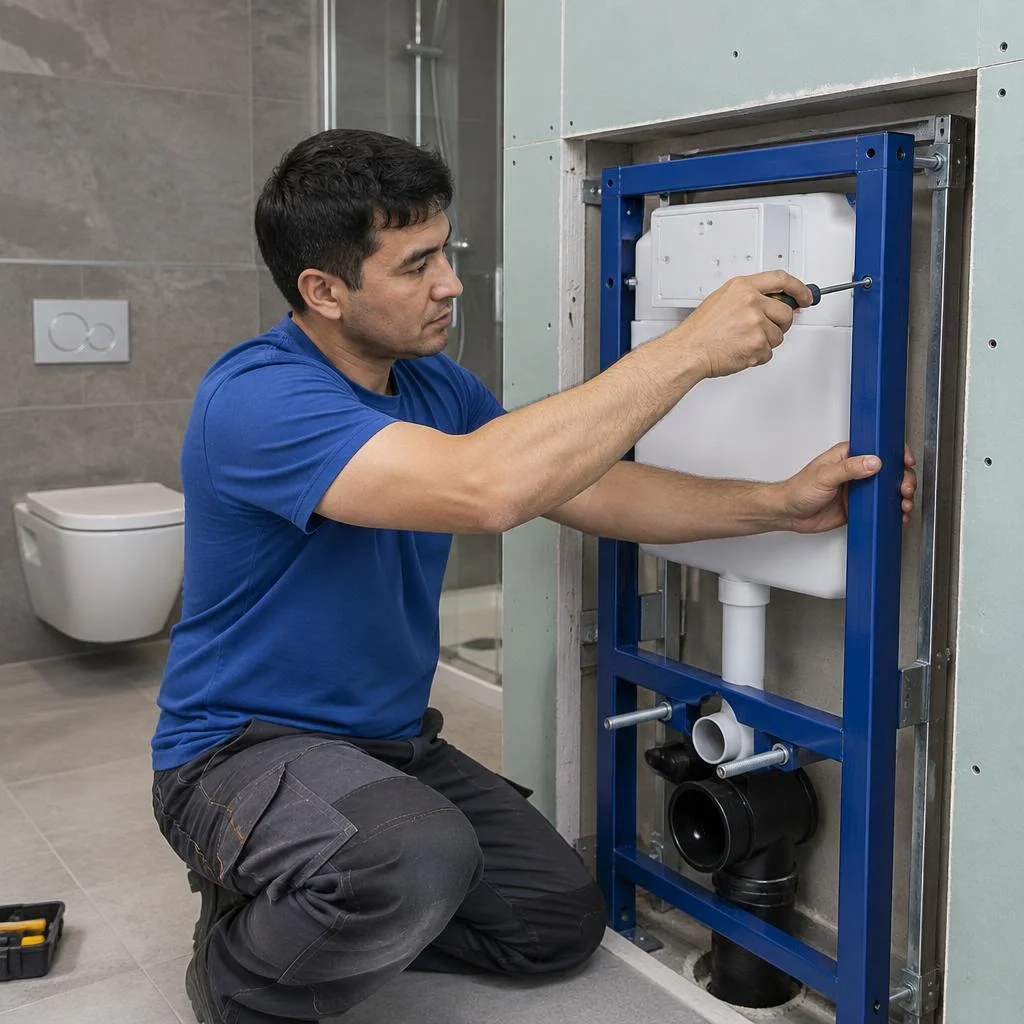
- Fixing to the wall: the side brackets are tightened to the load-bearing masonry or to a reinforced frame if the wall is drywall.
- Checking rigidity: the frame is pushed by hand — play of more than 1 mm means the fasteners are not tightened enough.
Connecting the installation to the sewer and water supply
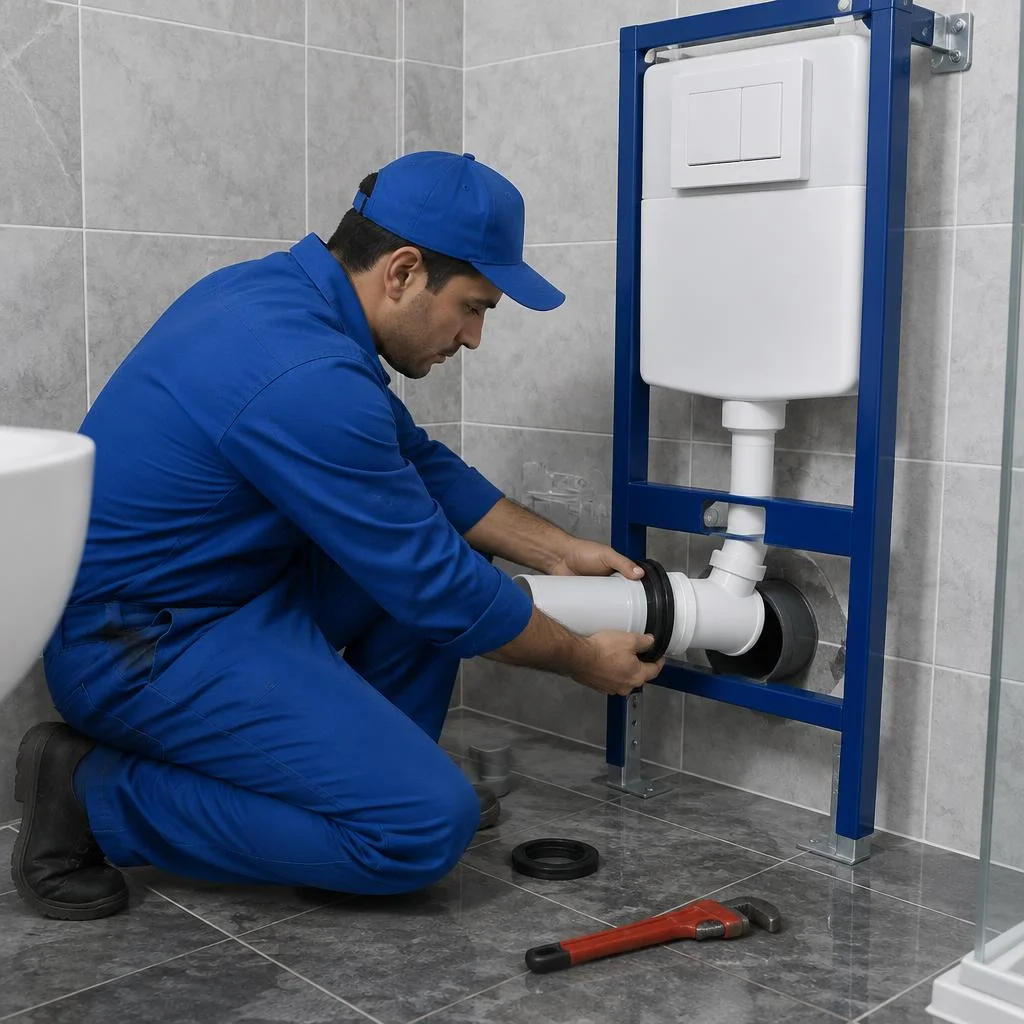
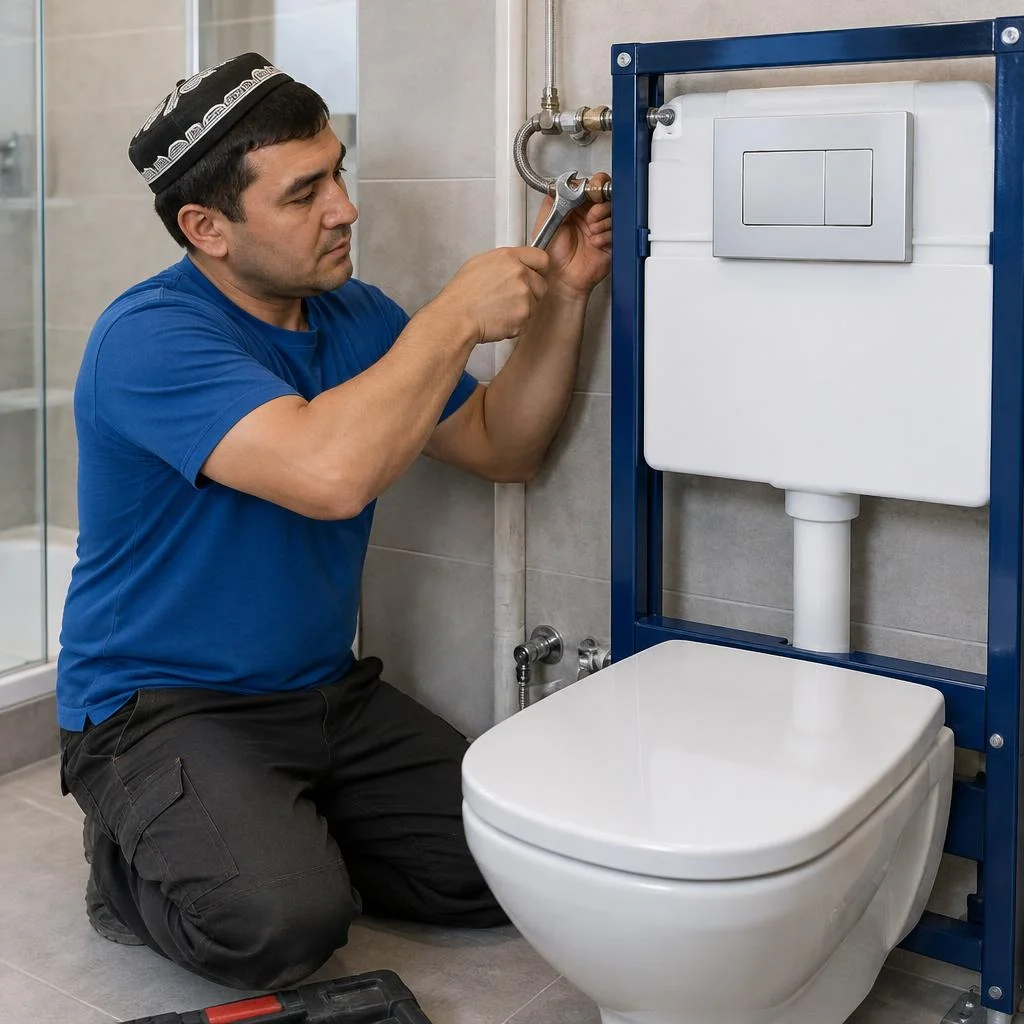
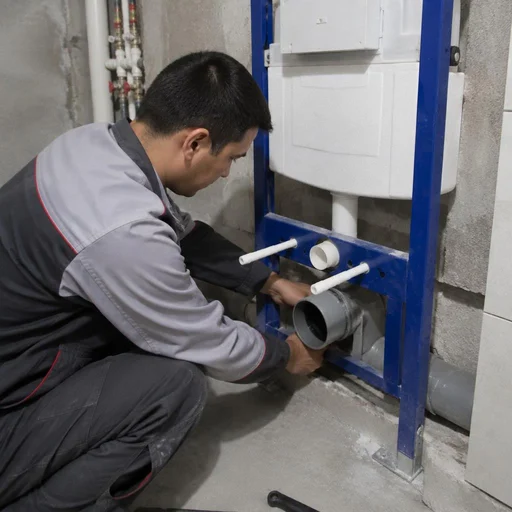
We connect the installation to the sewer via an adapter with sealing of the joint, and to the water supply with a flexible supply line with a shut-off valve. The sewer outlet is inserted into the socket with a slope of 2 cm per meter — with a smaller slope, fecal matter settles on the pipe walls. Water connection to the installation is done through an inlet valve and a flexible braided supply line with an EPDM inner hose: it withstands municipal network pressure up to 10 bar. The joint between the adapter and the socket is coated with silicone sealant, not with hemp and paint — paint cracks under the vibration of the flush valve. On old pipes in houses in Chilanzar and Yunusabad, the inlet valve is replaced first: without it, a pressure surge in the municipal network bursts the supply line inside the wall.
Installing the installation in drywall and in a solid wall
| Wall type | Fastener | Preparation | Specifics |
|---|---|---|---|
| Solid masonry | Wedge anchor 10×120 mm | Drilling with a rotary hammer | Supports the frame weight without reinforcement |
| Drywall on a metal frame | Anchor into the profile + through-bolt into the floor | Checking the uprights inside the partition | Additional vertical uprights are needed |
| Panel building | Anchor into the load-bearing panel | Leveling floor unevenness up to 2 cm | The wall is load-bearing — drill only per the project |
| Solid brick | Anchor 10×100 mm | Controlling the drilling depth | Chemical anchors are used in hollow brick |
Installing the wall-hung toilet and flush button
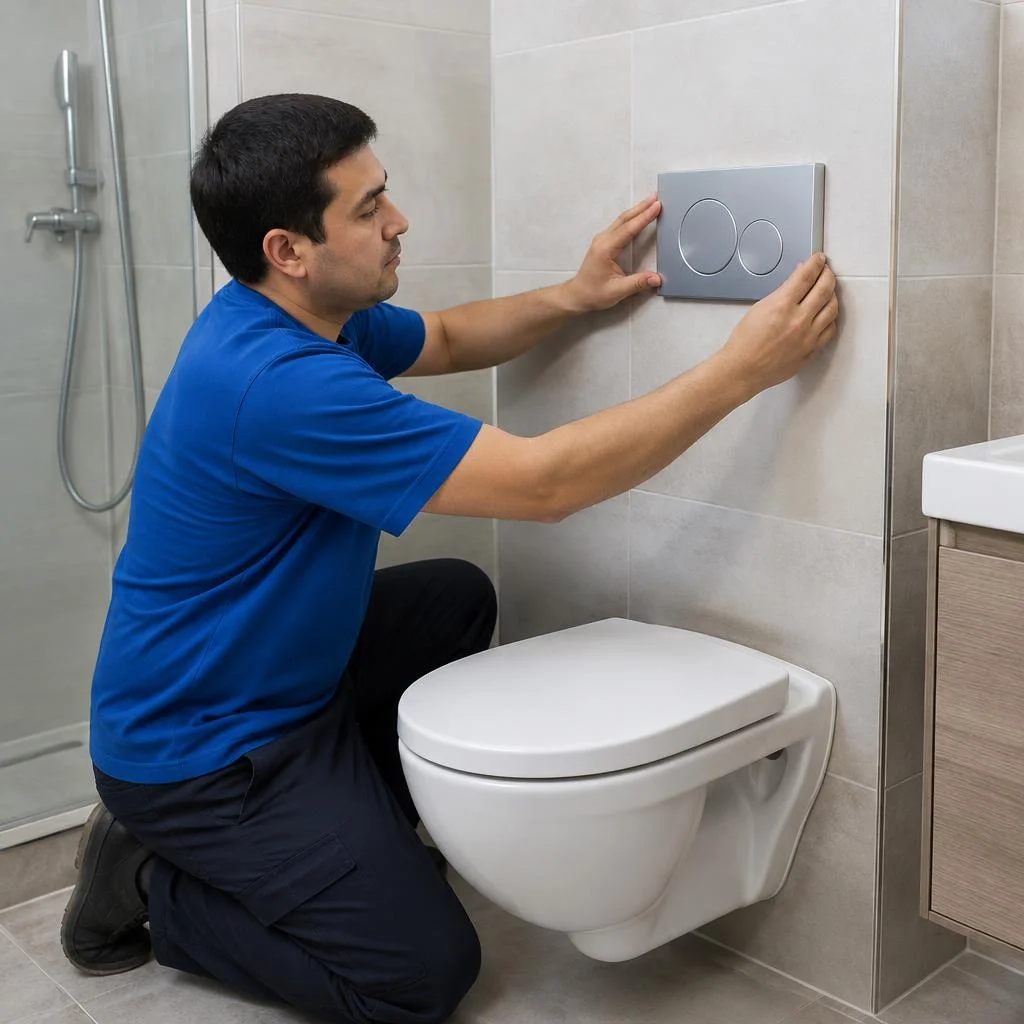
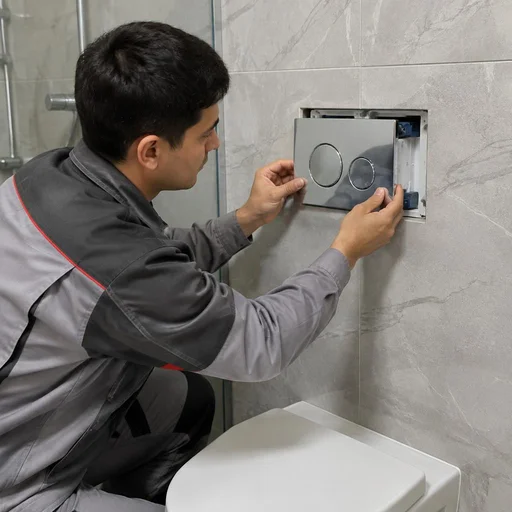
Eco-Service mounts a wall-hung toilet on the frame's threaded rods, levels it, and installs the flush button with stroke adjustment. The threaded rods are set using a template with a center-to-center distance of 180 or 230 mm — for the specific bowl model, otherwise the fasteners won't align with the holes. A silicone gasket is placed between the bowl and the tile, not cement mortar: when the toilet is removed for repair, the tile remains intact. The installation panel is mounted on clips without a gap, the flush button is connected to the dual-flush valve, and both modes are checked — the small flush at 3 liters and the full flush at 6 liters. The flush button is adjusted for the dual-flush valve: a weak rod stroke results in an incomplete flush, and the user presses the button harder — the mechanism wears out twice as fast.
Turnkey installation of a concealed cistern in the bathroom: what the full package includes
We break down what comprehensive installation means — from dismantling the old toilet to the finishing panel — and in which cases it is more advantageous to take the entire cycle of work in one request rather than assembling it from separate visits.
What the turnkey package includes
- Dismantling the old installation: we remove the bowl, the button and the panel, disconnect the supply line, and take the frame out of the niche.
- Assembling and aligning the frame: we assemble the carcass, set the height for the bowl, and secure it with anchors to the floor and wall.
- Connecting to the sewer: we cut the branch into the riser with a slope of 2-3 cm per meter so that water drains without stagnation.
- Connecting to the water supply: we run the line through a tee, install a shut-off valve and a flexible supply line with a gasket.
- Installing the toilet and flush button: we hang the bowl on the studs, adjust the flush mechanism, and set the button travel.
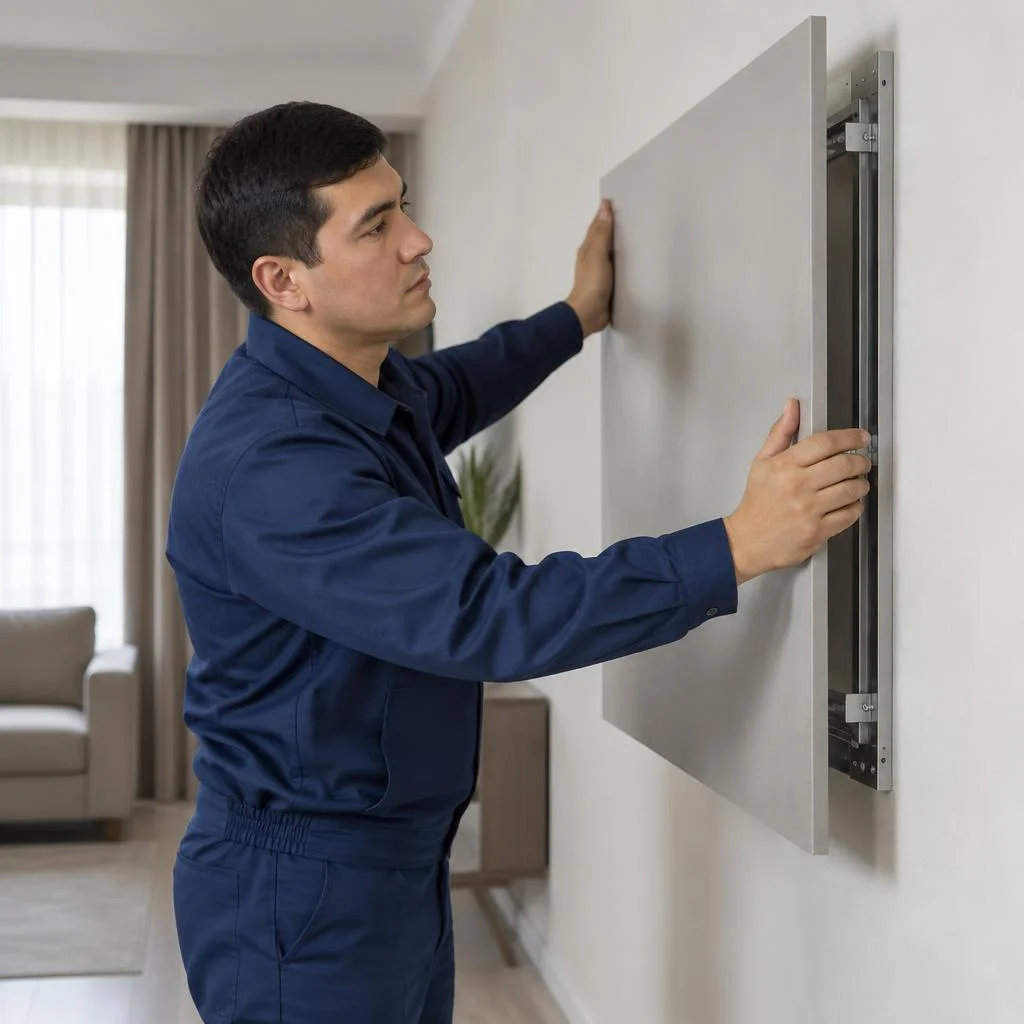
- Finishing panel: we close the niche with moisture-resistant material, install a removable panel for the button, and seal the joints with silicone.
Installation with a concealed cistern and an inspection hatch
Installation with a concealed cistern necessarily includes an inspection hatch opposite the valves — through it the flush and fill units are serviced without opening the tiles. The hatch is hidden behind a removable panel or tiles on magnets: with a solid closure, replacing the flush valve or fill valve will require dismantling the cladding and re-laying it. In Tashkent, we coordinate the hatch size with the tiler before closing up — otherwise the opening for the button and the inspection hatch do not align on their axes, and the panel sits crooked. For Geberit Duofix and Grohe Rapid SL systems, the hatch is placed at a level of 20-25 cm from the floor so that the valves can be reached by hand without removing the bowl. Clients describe this work as "toilet installation installation" — and receive in response a diagram with the inspection point even before the rough work begins. If you are looking for installation of a concealed cistern price — clarify it before purchasing the frame: some models require wall reinforcement, and this is a separate line item in the estimate. We will also specifically discuss how the installation of a toilet with a concealed cistern is calculated; its price depends on the type of frame and the condition of the wall, so we fix the estimate after inspecting the bathroom. Most often, people search for toilet installation concealed cistern price — and from this query it is immediately clear that the person needs the full cycle, not a separate operation.
Installing a wall-hung bidet on a concealed cistern frame
Installing a wall-hung bidet on a concealed cistern frame is done on the same frame as the toilet — with a separate connection to the water supply and the sewer outlet. A bidet requires a second supply of cold and hot water: if the bathroom has only one line, the technician will warn in advance and propose a routing scheme before installation begins, not after the wall is closed up. For TOTO, Roca and Am.Pm models, the bidet mixer is installed on the rim of the bowl or on a concealed valve in the wall — the second option is more expensive in terms of rough work, but does not interfere with cleaning. The bidet outlet is connected to the same sewer as the toilet, through a tee with a 50 mm branch. Clients often send the request installation of a concealed cistern price together with a photo of the bathroom — this way the technician immediately sees the length of the supply line and the point of connection to the riser. If a second hot water supply line is not provided, it is cheaper to lay it during the rough routing stage than to open the tiles under the finished finish. When clients search for installation of a toilet concealed cistern, we immediately clarify whether it is a new frame or the relocation of an existing one — the scope of rough work depends on this. A separate search query is wall-hung toilet with concealed cistern installation: from it, it is clear that the person is still choosing between a ready-made kit and buying the frame separately.
Relocating and replacing the concealed cistern frame entirely
- Bathroom reconfiguration: we move the frame to a new location, reroute the sewer and water supply for the new layout.
- Dismantling the old installation: we fully remove the frame, anchors and cut-off studs, and clean the niche before installing the new one.
- Replacing the toilet installation: we install a new frame if the old one is deformed or does not fit the mounting dimensions of the new toilet.
- Final assembly: we connect the bowl, button and panel, and check the flush and the tightness of all connections under load.
Installation compatibility with equipment and brands
Geberit, Grohe, TOTO and Roca installations differ in mounting dimensions and connection layout — here we break down how we select fasteners and adjust the frame to a specific model.
Geberit Duofix, Grohe Rapid SL, TOTO, Roca: what to consider during installation
| Brand | Frame sizes | Fastener specifics | Bowl compatibility |
|---|---|---|---|
| Geberit Duofix | 82 / 98 / 112 cm | M12 studs, template included | spacing 180 and 230 mm |
| Grohe Rapid SL | 82 / 98 / 112 cm | studs are standardized | spacing 180 and 230 mm |
| TOTO | 82 / 98 cm | non-standard center-to-center distances | TOTO bowls, adapter sold separately |
| Roca | 82 / 98 / 112 cm | fasteners for its own series | some models with an adapter |
Geberit and Grohe have standardized bowl studs, while TOTO and Roca sometimes have non-standard center-to-center distances — before installation, the technician checks the template to avoid drilling extra holes. A 5-10 mm mismatch in spacing turns the installation into a redo: holes in porcelain stoneware cannot be relocated, and the bowl has to be mounted on an adapter plate.
Toilet installation: buy separately or as a package with installation
The toilet frame can be bought separately at Texnomart, Mediapark or Uzum Market, and installation can be ordered from Eco-Service — the service works with the client's equipment. When purchasing, check that the package is complete: for some models, the flush button and the sewer adapter are sold separately, and without them the work will come to a halt. The warranty on the frame itself remains with the seller, while the installer is responsible for the installation: if the frame arrives with defective studs, you will have to deal with the store, not the technician. Before the visit, we ask for a photo of the nameplate and the part number so the technician brings the right fasteners — with non-standard stud spacing, selection takes up to three days.
Selecting an installation for a small bathroom and old pipes
For a small bathroom, we select an 82 cm frame and a compact bowl, and on old pipes we install an inspection hatch for access to the shut-off valve. In a bathroom up to 3 m², the depth of the frame matters more than the width of the bowl: the extra 5 cm of the box eats up the passage, and the door no longer opens fully. Installation in Tashkent's old housing stock begins with an inspection of the riser, not with marking: cast-iron pipes in buildings in Chilanzar and Yunusabad require an adapter to plastic. Prices at such sites are higher due to the replacement of the inlet assembly, while in new buildings they are lower — there, even walls and plastic pipes allow an 98 cm frame to be installed with minimal clearance. Plan work in old housing stock with extra time: fitting the adapter and sealing the cast-iron socket take more than an hour.
Eco-Service Warranty, Timelines and Terms of Service
A direct provider of the service with its own service center in Tashkent: we explain how the warranty works, how long installation takes, who performs the work and how payment is handled.
2-year warranty on installation of a concealed cistern frame
Eco-Service provides a 2-year warranty on the installation of a concealed cistern frame — it covers fastening the frame to the floor and wall, connection to the sewer and water supply, installation of the flush button and panel. During this period, we free of charge eliminate leaks at connection points, adjust the flush mechanism and replace failed valves if the defect arose through our fault. A warranty case is processed according to the acceptance report: it records the frame model, the cistern serial number and the date the unit was handed over. The warranty is valid provided access to the units is maintained: if the inspection hatch is sealed shut with tiles, free servicing of the valves becomes impossible — the technician physically cannot reach the inlet and flush units without dismantling the cladding. Clients often find us through the query "toilet installation concealed cistern installation price" — and via it they land on this page, where the cost of installing a concealed cistern frame is calculated after inspecting the bathroom. They also ask separately about installing a concealed cistern frame into a wall — this is the same scope of work, only with boxing in the duct. Another frequent query goes like this: wall-hung toilet installation — behind it is the same work with the frame and bowl, only the client describes it by the type of plumbing fixture.
Installation timelines: how long installation of a concealed cistern frame takes
- Basic frame installation: marking out, assembling the frame, fastening to the floor and load-bearing wall, running the sewer and water supply — one working day.
- Installation into drywall: the same scope plus boxing in the duct with a moisture-resistant sheet and preparation for tiling — a day or two for complex bathroom geometry.
- Turnkey installation: dismantling the old concealed cistern frame, installing the new frame, connections, the cistern panel and hanging the toilet — up to two days.
- Final stage: hanging the bowl and flush button after tiling — 2-3 hours as a separate visit if the finishing is done later.
Own service center and direct provider of the service
Eco-Service is a direct provider of the service: its own service center in Tashkent, staff technicians and in-person acceptance of requests without intermediaries or dispatchers. Installation of a concealed cistern frame is performed by the same specialist who will later come for warranty service — he knows the specific unit, remembers how he ran the sewer and at what height he set the frame. The staff works with Geberit, TOTO, Roca, Grohe, Am.Pm systems, so for each brand there is its own set of fasteners, adapters and spare valves in stock. A direct provider is responsible for the result as a whole: if the connection leaks after installation, the same technician comes, not a third-party subcontractor crew. Built-in toilet installation and wall-hung toilet installation are the most frequent requests at our fastener warehouse: for them we keep reinforced studs and adapters for different wall thicknesses. The timeframe depends on the readiness of the walls: if the duct is not yet boxed in, the technician installs the frame and connections in a day, and the panel and tiles are installed after the finishing work — requests are accepted in person at the service center, where you can bring a photo of the bathroom and get an estimate before the visit. Clients phrase the task in different ways: concealed cistern toilet installation, installation of a concealed cistern frame for a wall-hung toilet, toilet installation with a concealed cistern frame — behind all these queries is the same work, and the technician clarifies the details on site. In search they also type this: concealed cistern frame for toilet installation — and land on our page, where the technician analyzes the specific bathroom from a photo. Another frequent query goes like this: wall-hung toilet installation — behind it is the same installation of the frame with the bowl, only the client describes it by the type of plumbing fixture. This wording also occurs: concealed cistern toilet installation — with it the client comes with a photograph of the bathroom and gets an estimate before the technician's visit.
Payment and customer reviews
- Click and Payme: transfer by order number or QR code after acceptance of the work, the commission is on the service's side.
- Uzcard and Humo: by card via the technician's terminal or at the service center, the receipt is issued immediately.
- Reviews on Google Maps and Yandex.Maps: clients describe specific work — installation in drywall, valve replacement, flush adjustment.
- Feedback on Telegram and Instagram: photo reports on sites, answers to questions about warranty cases.
Common mistakes when installing a concealed cistern frame and how to avoid them
We break down the mistakes that most often lead to rework: from weak frame fastening to sealing up with no access to the valves. Each point comes from the practice of service visits.
Why you can't fasten the frame only to drywall
A frame secured only to drywall without reinforcing the carcass sags under the weight of the bowl and water — the fastening must go to the floor and the load-bearing wall. Based on our visits, roughly a third of calls complaining about a "wobbly" bowl are installations on cladding without anchors into the base: a 12.5 mm drywall sheet holds a vertical load of 30-40 kg, while a wall-hung toilet with water puts 60-80 kg on the fastening points. A Geberit Duofix or Grohe Rapid SL frame is rated for 400 kg, but only when secured with standard anchors to the floor and a solid wall — into drywall without backing it transfers the entire load to the sheet. Clients often phrase the request as installing a wall-hung toilet without specifying the base — and get an estimate without carcass reinforcement. The sign of the mistake becomes visible after six months: the bowl pulls away from the wall, and the flush button jams due to the frame being skewed. Before cladding, check that the lower supports of the frame rest on the slab or screed, not on a wooden shim. A separate story is installing a concealed frame in a panel building: thin inter-panel seams and voids in the wall don't hold an anchor the way monolithic concrete does, so a backing plate is placed under the frame. Many people search for concealed frame installation for a toilet and don't specify the base — yet it is precisely the base that determines whether the frame will withstand the weight of the bowl. In search, such clients often type concealed frame for toilet installation — and the technician immediately understands that the person needs not only the frame but also reinforcement of the base beneath it.
Mistakes in connecting the concealed frame to the sewer and water supply
- Slope of the outlet to the riser: the pipe from the concealed frame is run with a slope of 2-3 cm per linear meter; with even a 1 cm reverse slope, water stagnates in the corrugated pipe and produces a constant odor.
- Sealing the joint: the collar at the entry to the riser is set on silicone sealant and fixed with a clamp — a dry fit without sealant lets sewer gases through within a few weeks.
- Shut-off valve on the supply line: without a valve before the flexible supply line, any leak inside the wall requires opening up the cladding; a valve is installed on every line — both for the flush and for the bidet.
- Supply line diameter: the flexible supply line should be no thinner than 1/2 inch, while 3/8 inch adapters narrow the flow and cause noise during flushing.
Why sealing up with no inspection hatch is a bad solution
Sealing up with no inspection hatch makes replacing the flush and fill valves impossible without opening up the tile and the box. The valves are a wear item: with Tashkent's hard water they are replaced every few years, and having a hatch saves a full cladding repair. Water with increased carbonate hardness (in the capital's networks — 6-8 mg-eq/l) leaves scale on the valve seat, causing the Geberit or TOTO flush mechanism to start leaking earlier than its stated service life. A 200×300 mm inspection hatch under the button gives access to the fill and flush assemblies without dismantling the panel, and installing it is incomparable in labor cost to restoring the tile and box. Install a hatch even with neat sealing — it's not an aesthetic compromise but a mandatory service point. Clients type "concealed frame installation price", "wall-hung toilet installation price", "wall-hung toilet installation price" and "concealed frame for toilet buy" — and land on this page, even though the question of access to the valves is resolved at the cladding stage. In the same search results people look for wall-mounted toilet installation and toilet with concealed frame installation — and these are the same works, just named differently.
Conclusion
Installing the fixture is work where the decisions made before the first fastener determine the convenience of the bathroom for years to come. We have gathered the key points to keep in mind before starting work.
Main takeaways
- The wall type determines the fastening: the frame is secured to a solid base — drywall carries only the cladding, but not the weight of the bowl.
- The installation height of 100–105 cm is fixed before tiling: the frame cannot be moved after laying without dismantling the facing.
- The drain is connected with a slope and sealing: a mistake at the joint leads to a leak inside the wall that is not visible from the outside.
- An inspection hatch is mandatory: it provides access to service the flush and fill valves without opening the tiles.
- The 2-year warranty is valid when there is access to the components: a solid enclosure without a hatch removes the possibility of free repair.


