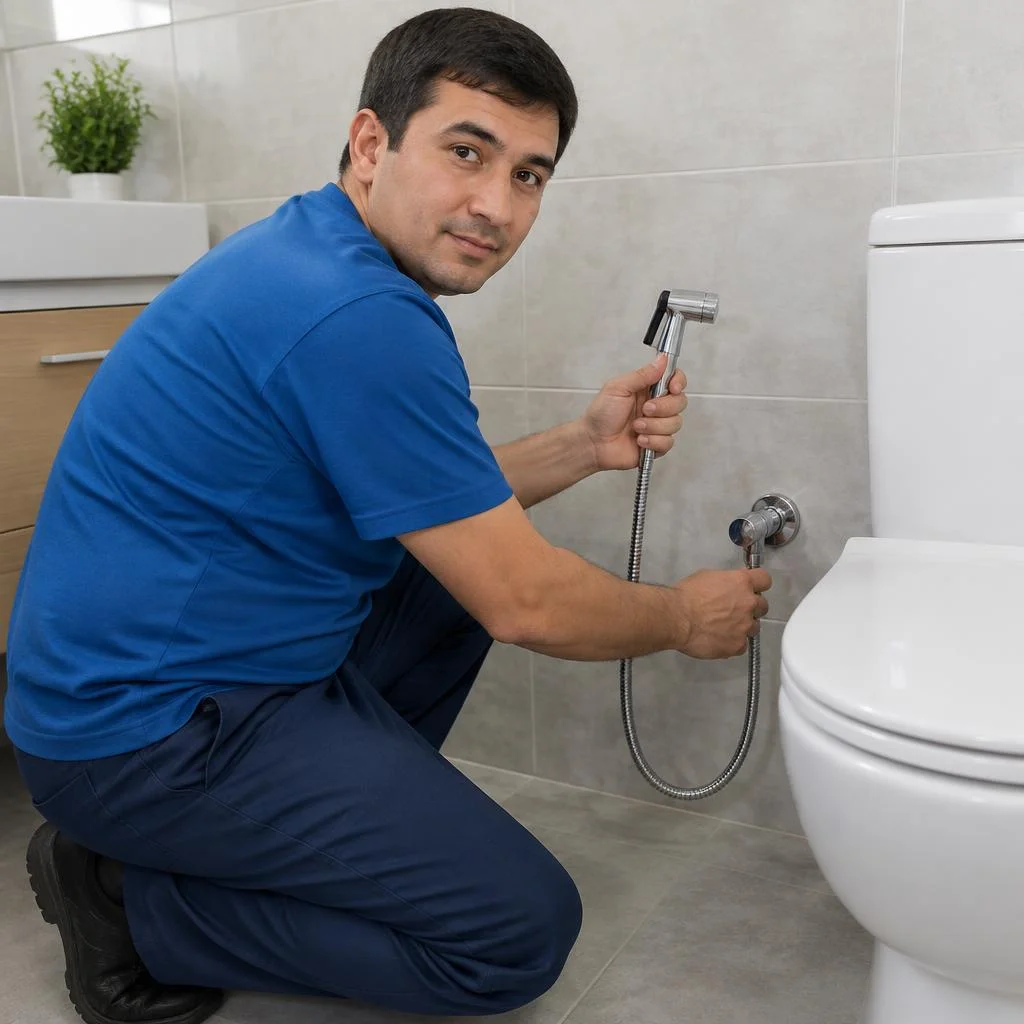
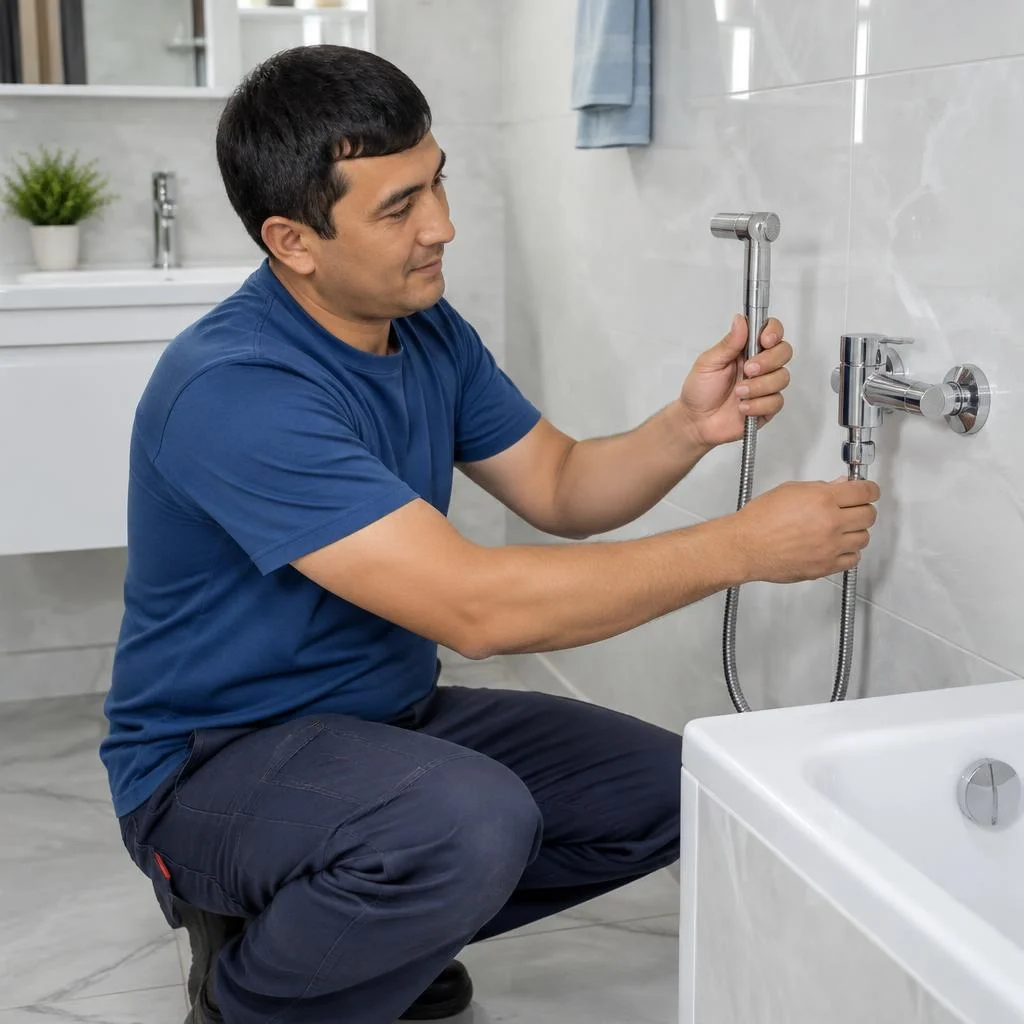
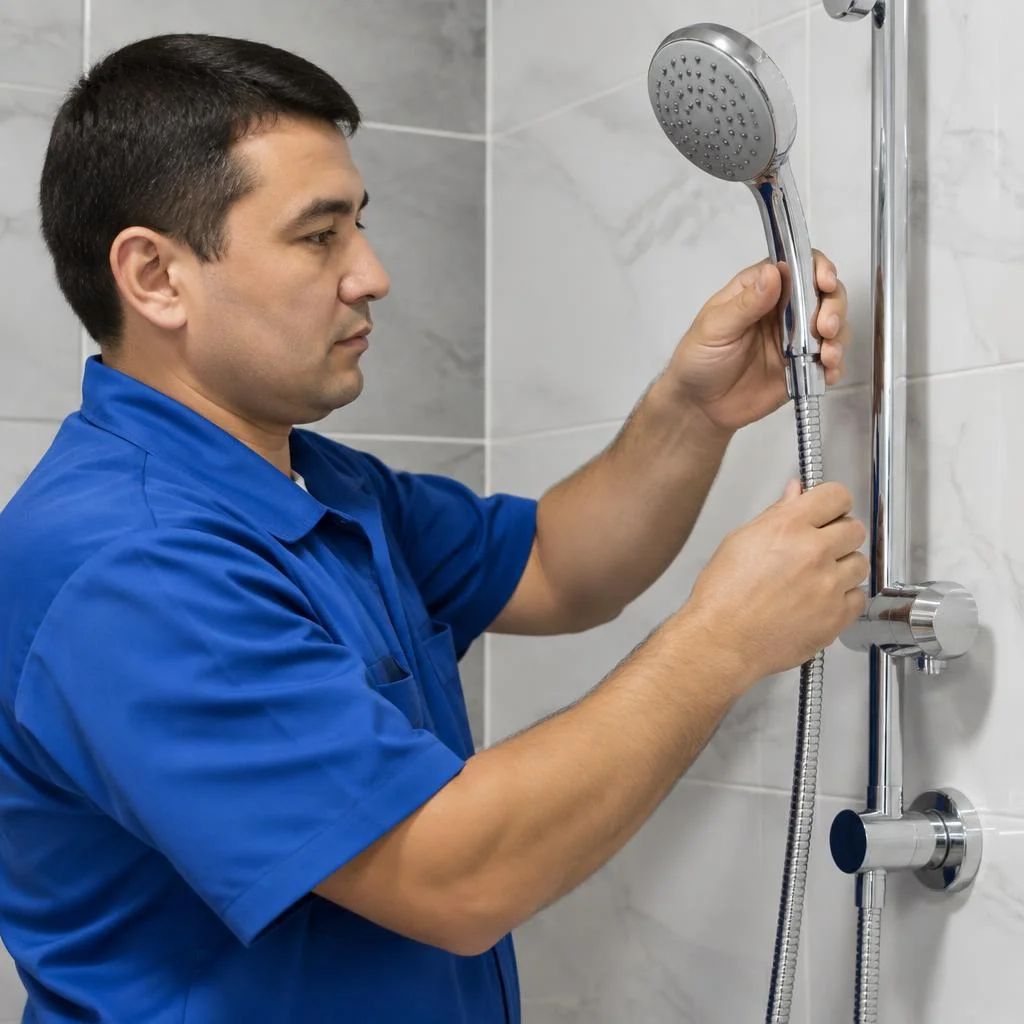
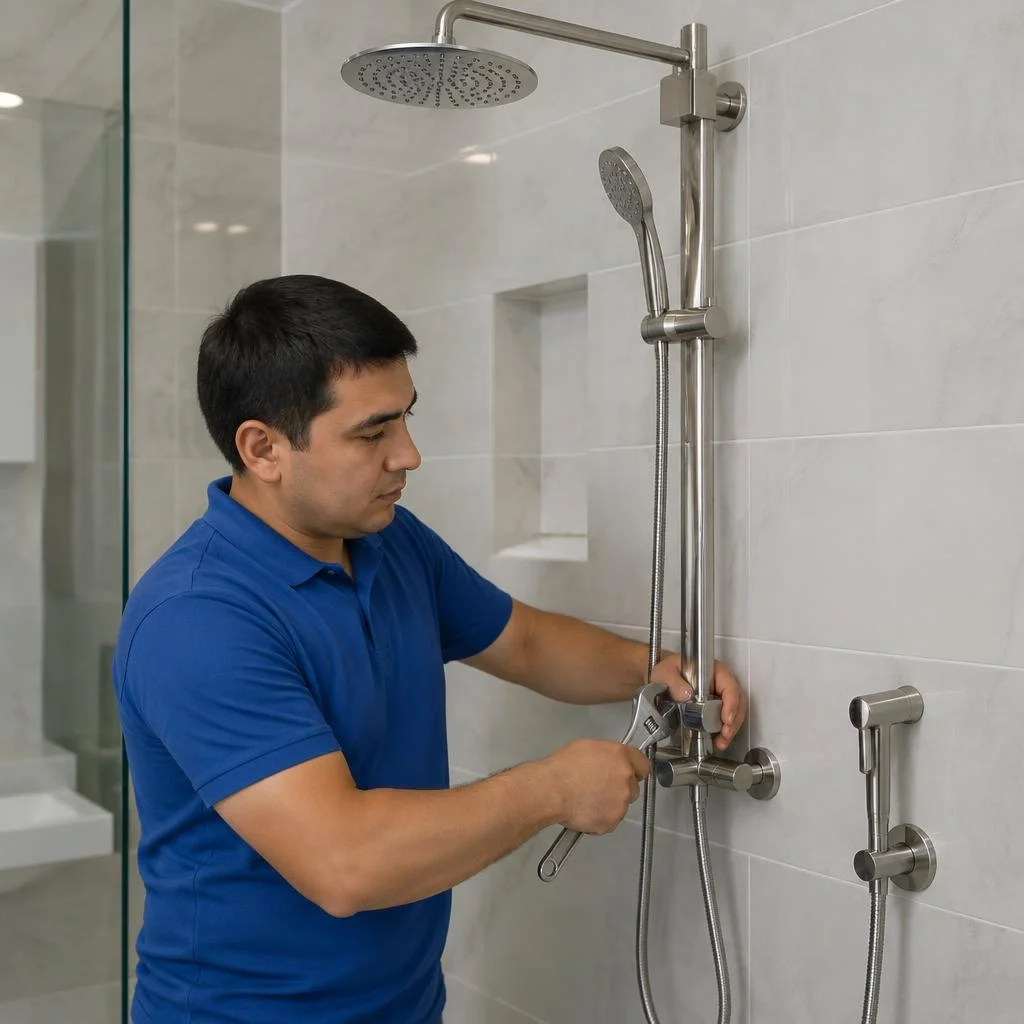








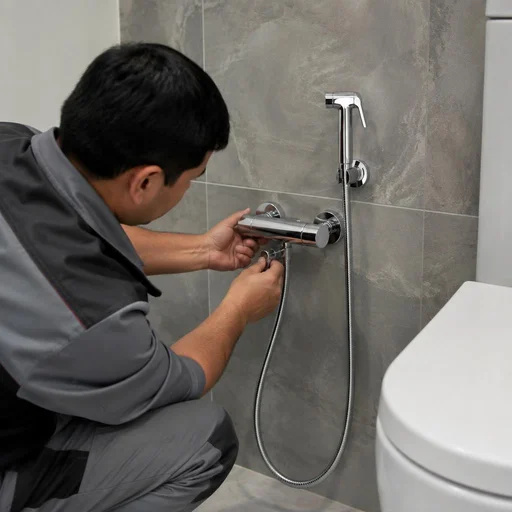
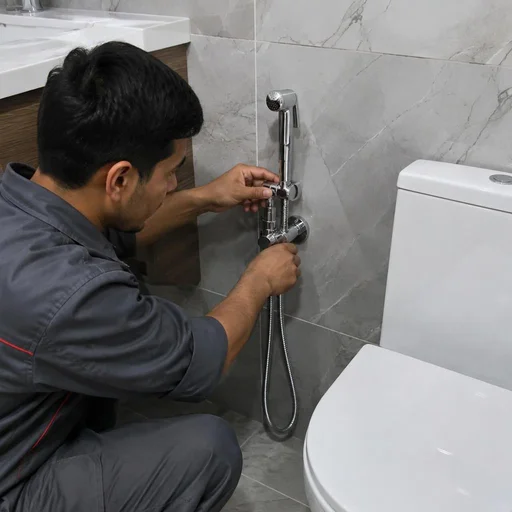
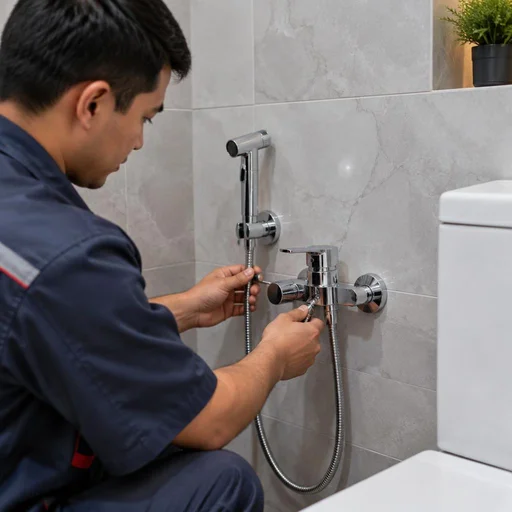
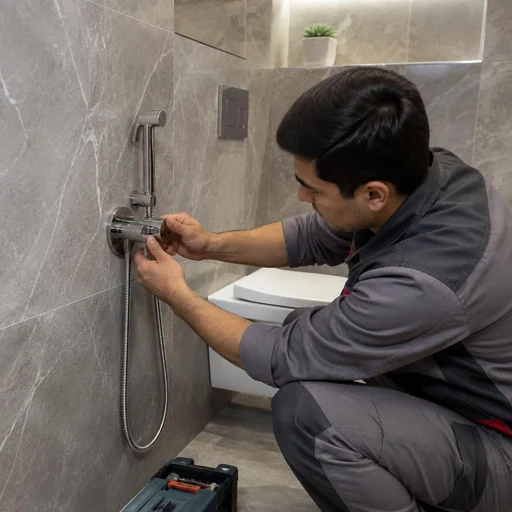
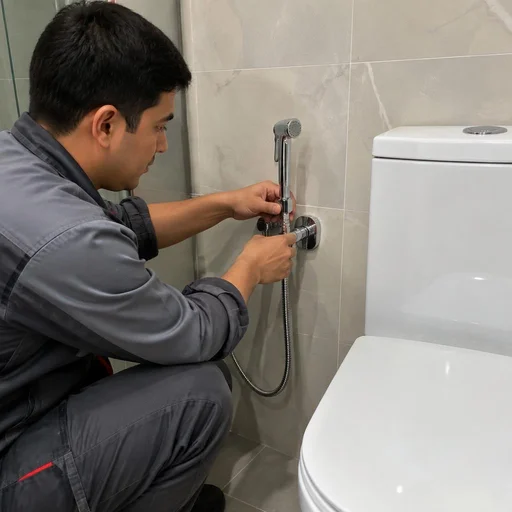
What a bidet sprayer is and what tasks it solves in the bathroom
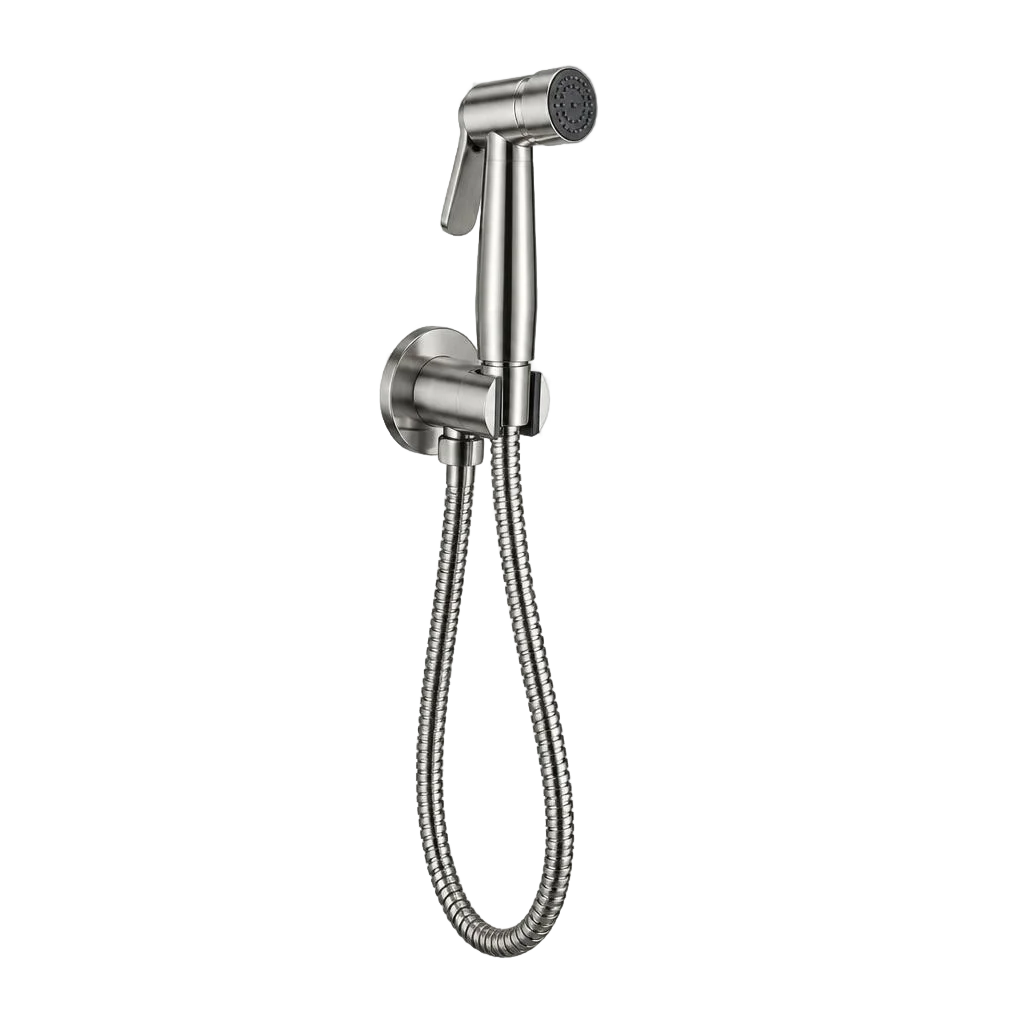
A bidet sprayer is a compact mixer with a flexible hose and a spray head next to the toilet. I explain how it differs from a bidet and an attachment, which installation to choose and who especially needs it in a Tashkent bathroom.
Bidet sprayer, bidet attachment and a regular mixer: what's the difference
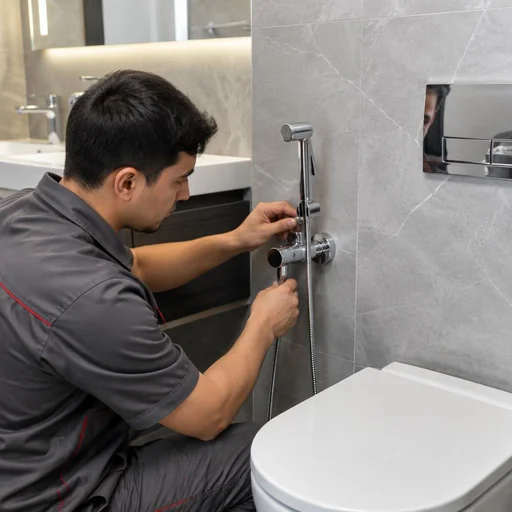
A bidet sprayer is a separate mixer with a flexible hose and a spray head that is placed next to the toilet and supplies water at an adjustable pressure. A bidet is a standalone plumbing fixture with a bowl: it requires a separate water supply point and drain, which is why it is almost never installed in combined bathrooms of Tashkent apartment blocks. A bidet attachment is mounted directly under the toilet seat and connected to the tank — cheaper, but without temperature adjustment: the water is the same as in the tank. A regular mixer at the sink or in the shower cabin is inconvenient for hygiene: reaching across the entire bathroom to the toilet is far, and the hose doesn't reach. In search, clients often type bidet sprayer installation — and land on this page. A toilet attachment is cheaper, but doesn't allow temperature adjustment — in families with children and elderly parents, this is a decisive argument in favor of a full-fledged mixer.
Exposed and concealed installation: which option to choose
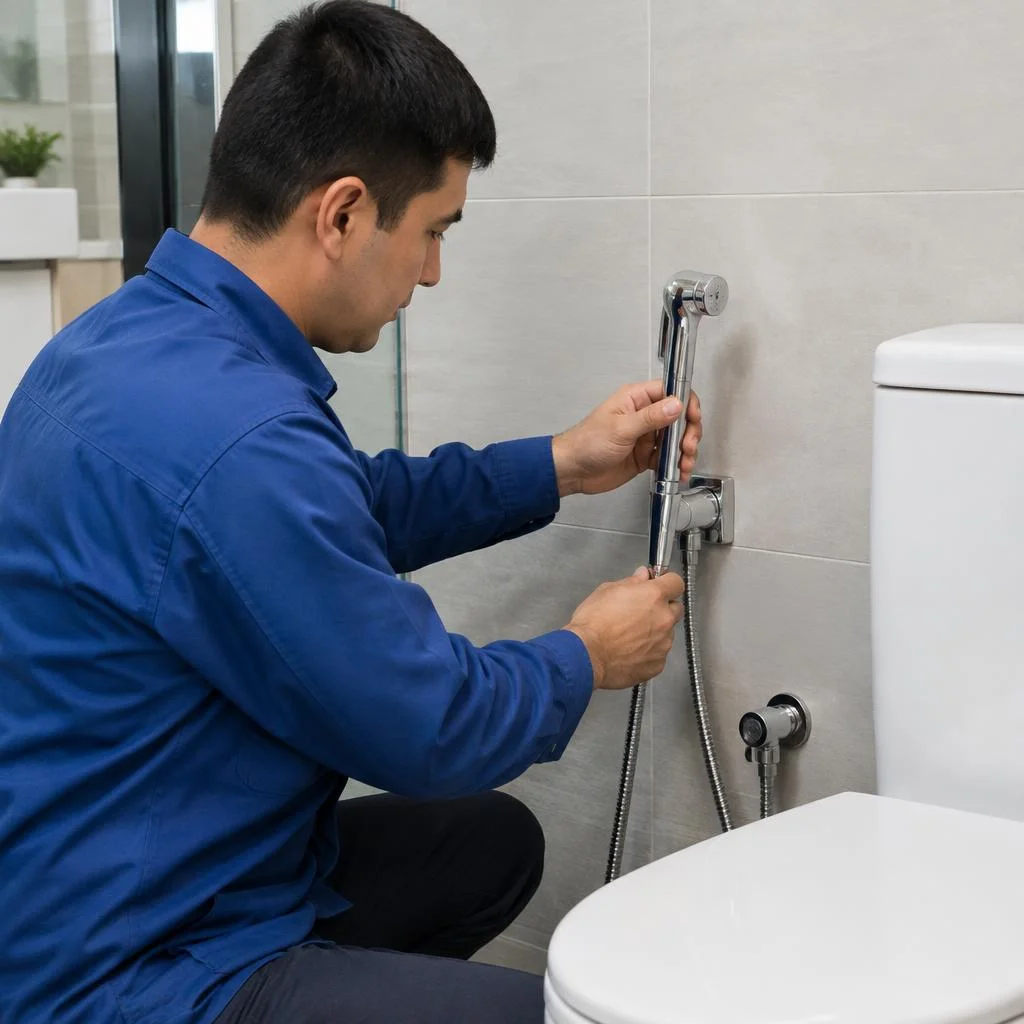
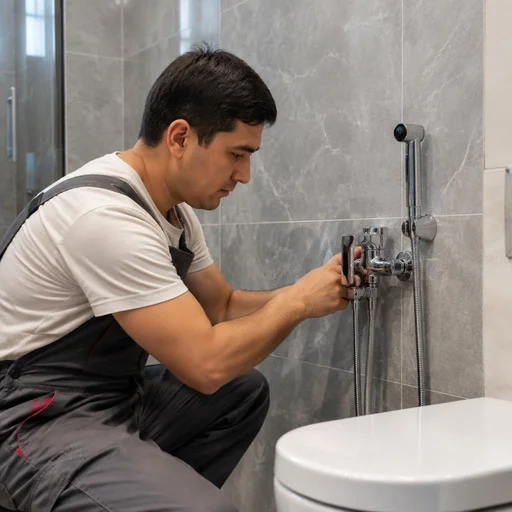
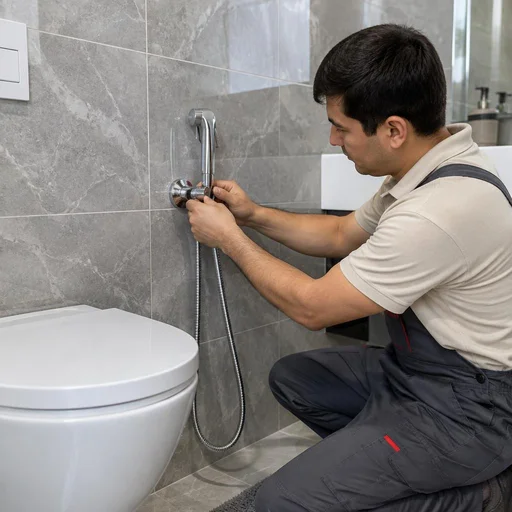
- Exposed installation: the mixer and supply lines remain visible, the work takes a few hours, no wall chasing is needed — suitable for a finished renovation.
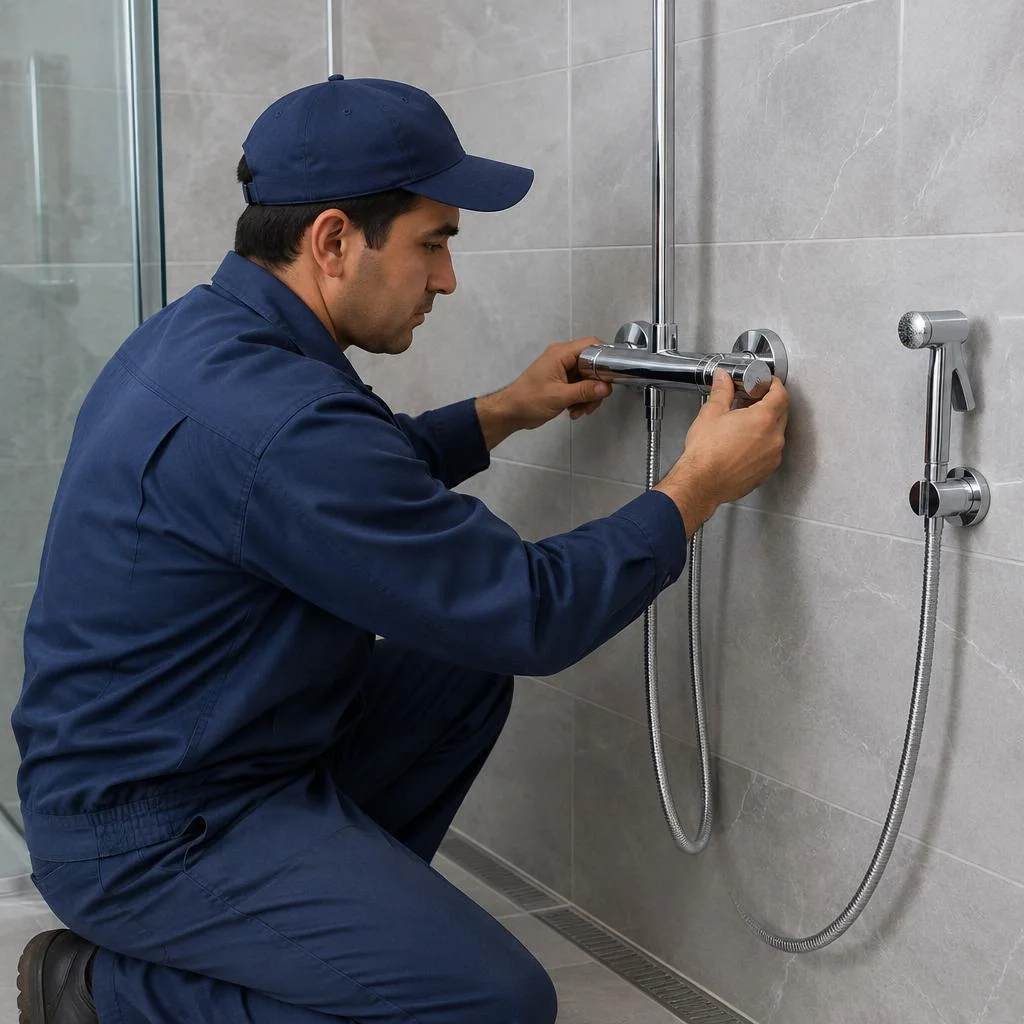
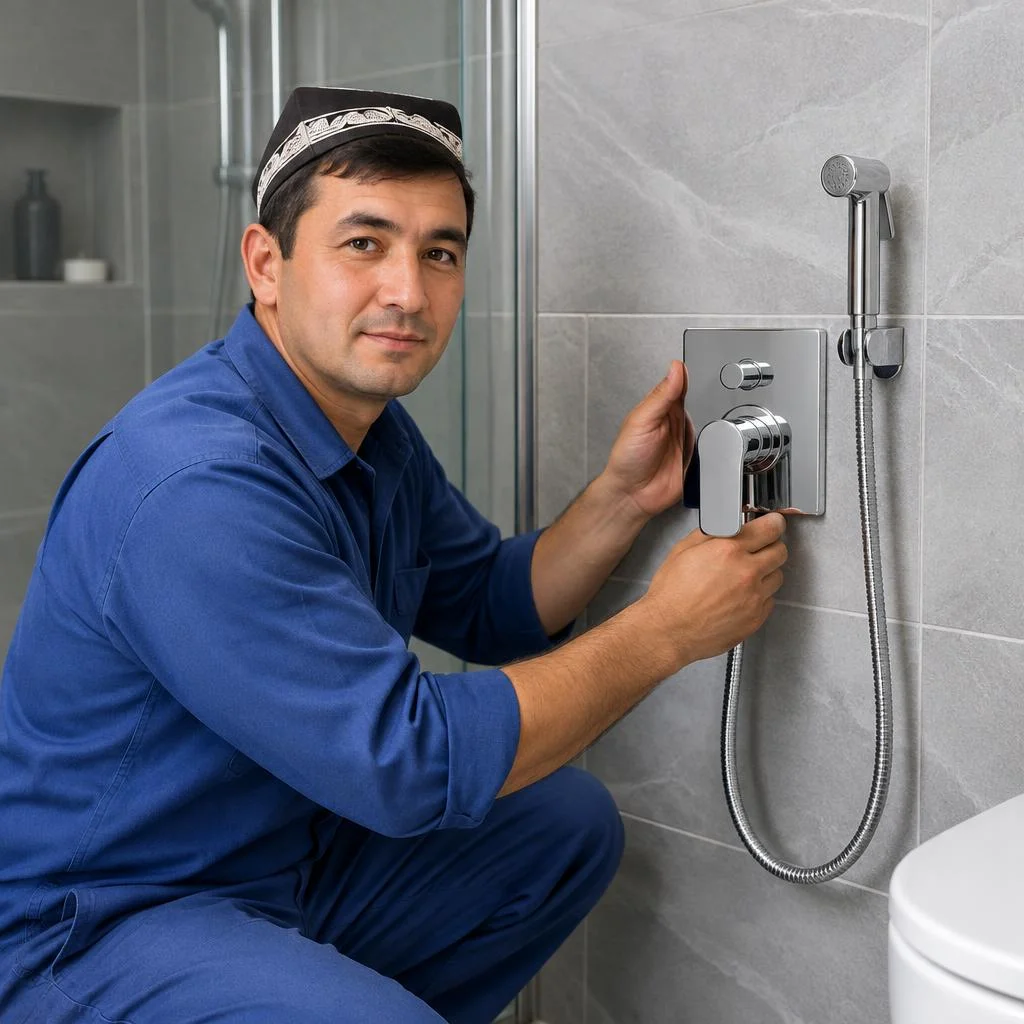
- Concealed installation: the pipes go into the wall, only the spray head and valve remain outside — a smooth wall without unnecessary details.
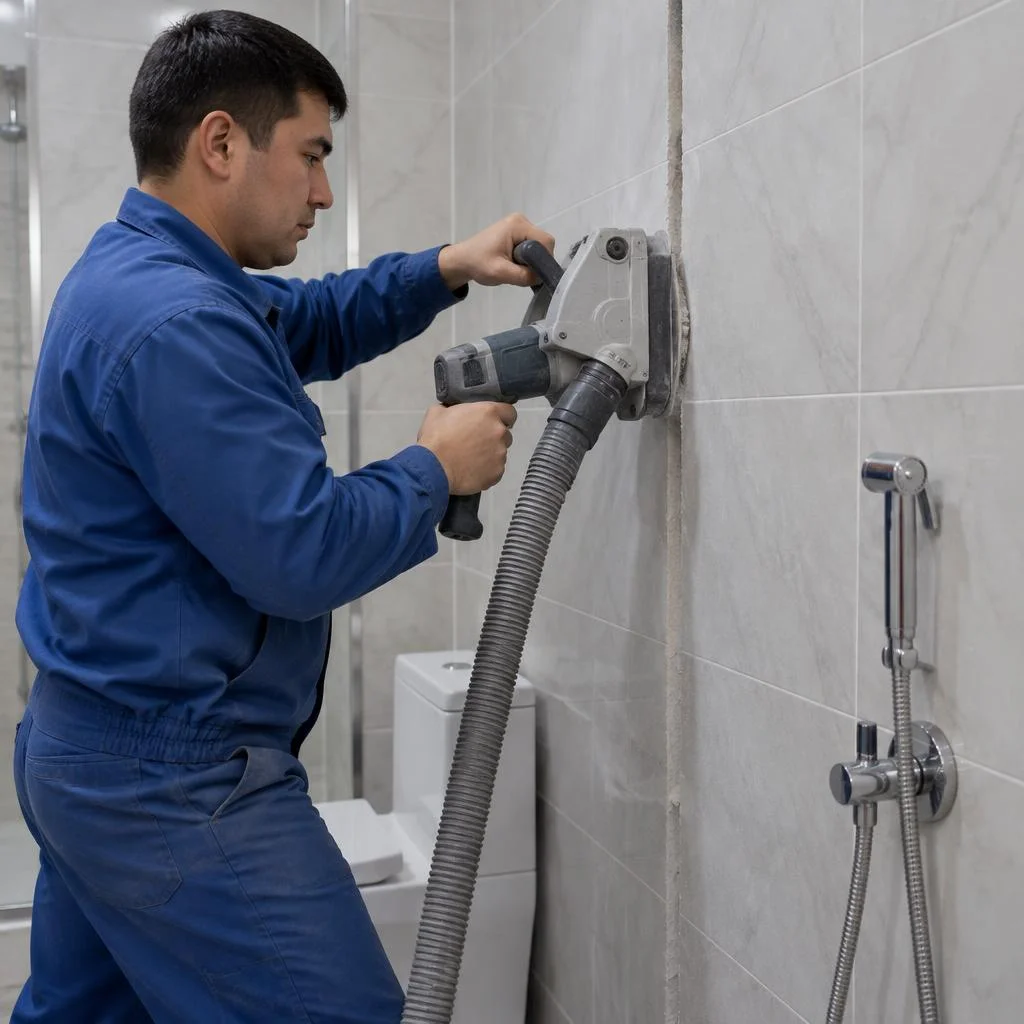
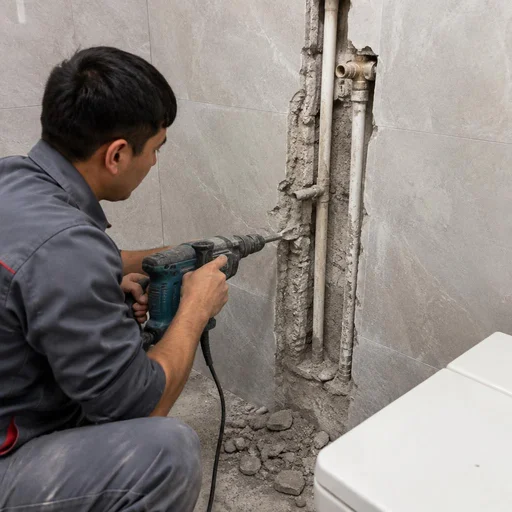
- Wall chasing for pipes: a mandatory stage of the concealed option, requires local dismantling of tiles and subsequent re-grouting of the joints.
- Concealed mixer: built into a niche with an inspection hatch to access the internal components without opening up the finish.
- Eco-Service: performs both options — exposed installation is faster and cheaper in terms of work, concealed requires wall chasing, so it is chosen at the stage of bathroom renovation.
Who especially needs a bidet sprayer
- Families with children: washing with warm water at low pressure reduces the risk of skin irritation in little ones compared to wet wipes.
- Elderly parents: no need to bend over and reach for the sink — the spray head on a flexible hose is delivered right to the toilet, less strain on the back and knees.
- People with limited mobility: after surgeries and with arthritis, independent hygiene is simplified without assistance.
- Families with a combined bathroom: a bidet sprayer saves space compared to a separate bidet, and the installation occupies the freed-up section of the wall.
- Finished renovation without wall chasing: if the tiles are already laid, the technician can install the device in the exposed option in a single visit.
Installation of a concealed-mounted hygienic shower under the installation frame
Concealed mounting is chosen in most bathroom renovations: the fittings go into the wall, leaving only the faceplate exposed. This format requires wall chasing and precise alignment with the installation frame — let's break down the process step by step.
How concealed installation of a hygienic shower proceeds step by step
- Marking the outlet point: the technician marks the mixer axis and height from the finished floor on the wall, checking against the Geberit installation frame datasheet.
- Chasing the wall for pipes: wall chasing for pipes is done along a level line, with depth matching the diameter of the supply line plus allowance for a sleeve.
- Running the supply connection: a flexible hose or polypropylene pipe is routed into the installation frame body; the connection is checked by pressure testing before the wall is closed.
- Securing the body: the concealed mixer is leveled within the mounting frame, otherwise the faceplate will sit crooked.
- Closing the wall and finishing: the wall is covered with drywall or plastered, and the opening for the cartridge is cut out using the manufacturer's template.
- Installing the faceplate: after tiling, the chrome trim plate, handle and shower head are installed, then water is supplied and both lines are checked.
Concealed hygienic shower installation: working with marble and ceramic
Concealed hygienic shower installation in a bathroom with marble and ceramic is done without chipping: with a diamond core bit at low speed with constant water cooling, and the edge of the hole is covered by a decorative collar. On 60×120 cm tile, the technician cuts through with the core bit in 3-4 minutes; on a 20 mm thick marble slab — in 6-8 minutes with two cooling pauses. For marble, a core bit with a continuous diamond edge is used; for porcelain stoneware — a segmented one; for glazed ceramic — one with a centering drill bit, so the hole doesn't drift off the cartridge axis. Eco-Service works with marble and ceramic without damaging the finish, including areas with ventilation ducts and drywall screens. Marble is sensitive to local overheating — dry drilling leaves a matte spot around the hole that can no longer be polished out.
Concealed hygienic shower installation: what to prepare before the technician arrives
- Access to the wall: clear the area around the toilet, put away towels, the mat and shelves — the technician needs a passage at least a meter wide.
- Outlet height: decide on the mixer level in advance, measuring from the finished floor, not from the screed.
- Wall type: clarify whether it's drywall, brick or monolithic behind the finish — this determines the tool for wall chasing.
- Bathroom without water: let us know if the riser can only be shut off for the whole building entrance — we'll coordinate the time with the neighbors.
- Kit: ball valve, FUM tape or flax with tow on the supply connection — Eco-Service brings consumables and fasteners for concealed installation with it, nothing extra needs to be purchased.
Hygienic shower installation on the installation frame: pressure and tightness control
Hygienic shower installation on the installation frame is completed with pressure testing of both lines under working pressure — cold and hot — with a hold of at least 30 minutes before the wall is closed. In Tashkent high-rise buildings, the pressure in the riser fluctuates from 1.5 to 4 bar, so a pressure reducer and a ball valve with a coarse filter are installed on the supply connection: sand from the main line will ruin the cartridge in a single season. Clients often phrase the request as concealed installation — and from that phrase the technician immediately understands that a factory frame with depth adjustment is needed, compensating for wall deviation of up to 20 mm. Another common request variant is concealed installation under cladding: it means the customer has already chosen the model and wants to do without external pipes. Concealed installation on a drywall screen is done with reinforcement of the studs with profile and a mounting block, otherwise the panel flexes when the shower head is pressed. Check tightness before laying the tile — redoing it after finishing costs as much as a second visit.
Bidet sprayer in the toilet: installation on the toilet and connection to the water supply
There are two connection points: from the toilet tank and from the riser. The choice determines the pressure, water temperature and scope of work — let's go over both scenarios and the case of low pressure in Tashkent homes.
Connecting the bidet sprayer to the toilet tank
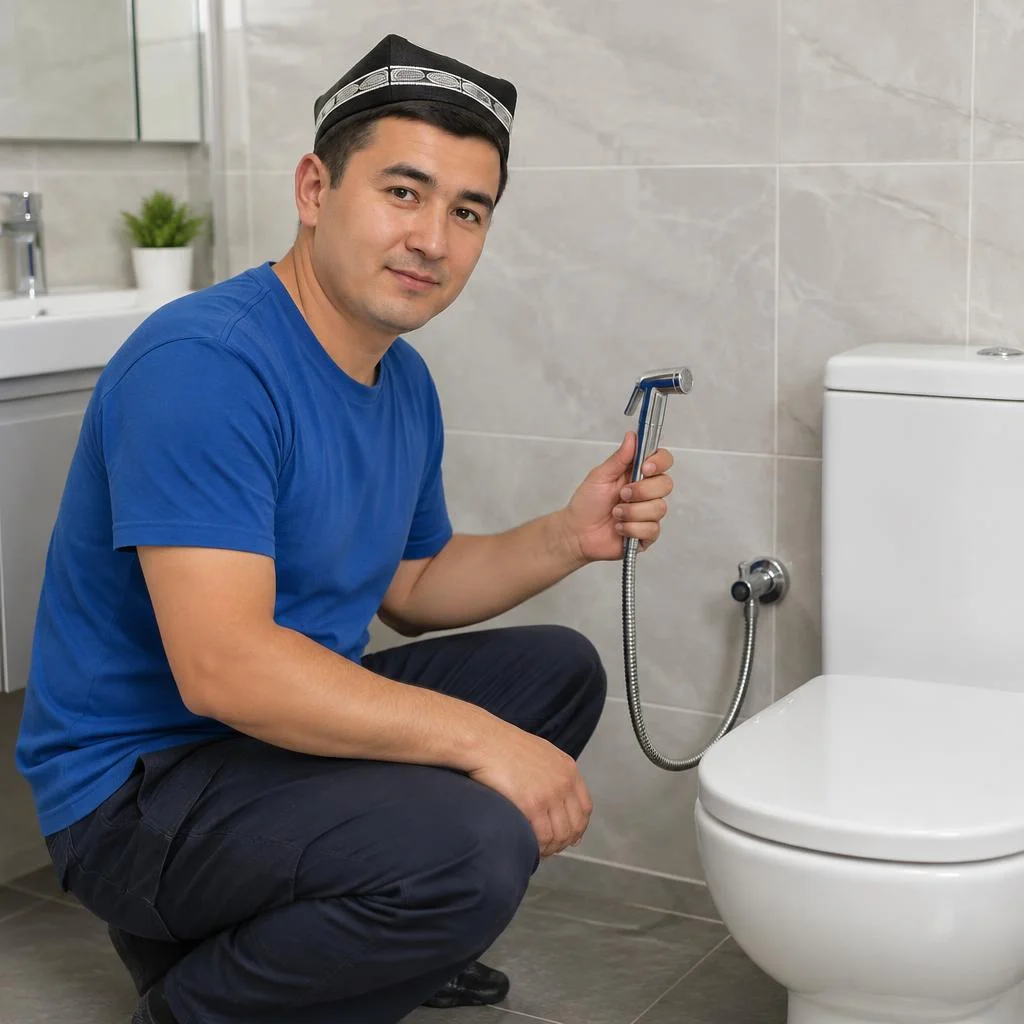
We connect the bidet sprayer to the tank via a tee with a ball valve — this is the fastest option if water is already supplied to the tank. Clients often phrase the request as "installation in the toilet" — and the technician immediately understands what is meant. Installation on the toilet takes less time than tapping into the riser: the tee is cut into the supply line between the valve and the tank, the ball valve shuts off the line separately from the toilet, and a flexible hose runs to the mixer on a bracket. This scenario covers the request for connection to the toilet without wall chasing and without shutting off the water supply to the riser. Only cold water comes from the tank, so for comfortable use you need either a mixer with hot water blending or a thermostatic cartridge — otherwise in winter the water from the spray head will be around 12-14 °C. If you are comparing options by budget, the final cost is made up of the price of the tee, valve, hose and the kit itself, not just the installation. Separately, let us clarify: installing a bidet sprayer in the toilet from the tank does not require approval from the management company.
Tapping into the riser and distribution from the manifold
- Manifold: distributes water to the bidet sprayer, sink and washing machine, with each line having its own shut-off valve.
- Check valve: must be installed on the bidet sprayer line — without it, when pressure in the riser drops, water from the bathroom flows back into the shared network.
- Ball valve: shuts off each branch separately, so you can replace the hose or spray head without shutting off water in the entire apartment.
- Tapping into the water supply: is done on metal-plastic, polypropylene or steel — each material has its own adapter and connection method.
- Service point: the manifold is routed into a plumbing cabinet so the line can be serviced without opening the tiles.
Low pressure in Tashkent high-rises: how we solve it
With low pressure, we install a pressure reducer and select the supply line cross-section for the actual pressure in the building — after that the spray head works stably on all floors. Installation in the panel buildings of Chilanzar and Yunusabad often runs into one problem: in the evening from 19:00 to 22:00 the pressure on the upper floors drops to 0.8-1.2 bar, while the operating pressure of most mixers starts at 1.5 bar. The reducer is set to the lower limit of the mixer's operating range, the flexible hose is taken with an internal diameter of 8-10 mm instead of the standard 6 mm, and the thermostatic cartridge is chosen with an extended inlet pressure range. We recommend installing a bidet sprayer in the toilet on the upper floors with a preliminary pressure measurement using a manometer — this will show whether the standard supply line is sufficient or a reducer with a storage tank is needed.
Installation of a bidet shower mixer and selection of components
The mixer determines how convenient it is to use the shower every day: the accuracy of the temperature, the travel of the lever, and how often the cartridge needs replacing all depend on it. Let's look at the options we install most often.
Standard, thermostatic, and concealed mixer: comparison
| Mixer type | Feature | For which bathroom | What installation includes |
|---|---|---|---|
| Standard lever | Ceramic cartridge, manual temperature control | Apartments, bathrooms for adults | Removal of the old one, sealing, testing |
| Thermostatic | Temperature locking, scald protection | Families with children, elderly parents | Connection to two supply lines, adjustment |
| Concealed | The body goes into the wall, only the panel is visible | Renovation with tile, marble | Chasing, mounting block, outlet for the panel |
Hand shower, hose, and riser: what to look at when choosing
- Hand shower material: brass withstands hard water and lasts for years, plastic cracks when the pressure in the riser fluctuates.
- Aerator: a stainless steel mesh mixes water with air and softens the stream, but it clogs with limescale within 3-4 months.
- Hose length: 1.2-1.5 m is enough to reach the toilet and the far wall of the bathroom without stretching.
- Shower riser: suitable for high ceilings and combined bathrooms where both an overhead shower and a bidet shower are needed.
- Washers and eccentric fittings: check the kit before buying — budget sets often don't include them in the box.
Where to buy the kit and what we bring with us
You can buy the kit yourself on Uzum Market or Texnomart, while consumables — PTFE tape, flax, fasteners — we bring with us. Marketplace assortments include Grohe, Kludi, and local brass sets; when choosing, look at the weight of the hand shower — a heavy part almost always means brass, not silumin. If you buy the mixer yourself, check that eccentric fittings and washers are included: some budget models don't have them, and the technician has to buy them on site, which delays the installation time. Clients often phrase the request as selection of a kit with installation — and from that wording alone it's immediately clear that the person needs both the components and the technician's work. The concealed type requires a mounting block — it is ordered in advance, before the final wall finishing. Installing a bidet shower mixer with a ready-made kit goes faster: the technician arrives with consumables and fasteners, and nothing needs to be bought along the way. In search queries you also come across wording such as installation on a pre-wall frame — it usually refers to a bathroom with a wall-hung toilet, where the mixer is mounted to the same load-bearing frame as the bowl.
Installation of a bidet shower: timelines, stages, and what the work includes
The technician's visit follows a clear sequence: inspection, removal of the old unit, installation of the new one, connection, and pressure testing. Most orders in Tashkent apartments are completed in a single visit.
Stages of work: from removing the old mixer to testing
- Inspection and marking: the technician checks the pressure in the supply line, assesses the wall, and marks the outlet points for the bidet shower.
- Removal of the old mixer: the water is shut off, the previous unit is removed, and the mounting seat is cleaned of old sealant and limescale.
- Installation of the new unit: the shower body or concealed mounting box is installed, and the sprayer angle is set; we perform this operation using a template for the specific model.
- Connecting the flexible supply line: connection to the water supply via a braided hose or rigid pipe, with tape or thread applied to the threads.
- Sealing and test run: the joints are sealed with silicone, water is turned on, and every connection is checked.
- Leak testing: a follow-up inspection 15-20 minutes after the water is turned on — a minor thread leak shows up with a delay, once the metal warms up.
How long installation takes and what the timeline depends on
The exposed option takes 1-2 hours; the concealed option with wall chasing for the pipes takes up to one working day, and the technician gives the exact timeline after inspecting the wall. On a drywall partition, no chasing is needed at all: the supply line is hidden in the frame, and the work is completed within two hours. A separate time item is connecting to the toilet tank: if the thread on the stud has seized, removing the tank adds 30-40 minutes. If the wall is faced with marble or large-format ceramic tiles, add time for careful drilling — rushing here costs more than an hour of work. When searching, clients often type it briefly: bidet shower installation — and with that query the technician immediately understands that a visit with a full set of tools is needed. Many ask about the cost of work — the final amount depends on the type of installation, the wall material, and the condition of the supply line, so the technician provides an exact estimate after inspection, not over the phone.
What is included in the work and what is not
- Included: technician's visit, marking, removal of the old mixer, installation of the body or mounting box, connection of the flexible supply line.
- Included: sealing of joints, leak testing, adjustment of the sprayer angle and flow rate.
- Included: instructions on use and care of the sprayer.
- Not included: the bidet shower kit itself — the sprayer, hose, mixer, and holder are purchased separately; the price and work per the price list items are calculated without the cost of the kit.
- Not included: wall chasing for pipes with concealed installation — this is counted as a separate item.
- Not included: removal of the old mixer — in some orders this is a separate service, and it is remembered only after installation; at Eco-Service it is agreed upon at the order intake stage.
Warranty, payment and Eco-Service service in Tashkent
After installation, three things remain that determine trust in the work: warranty, payment method and service availability. Let's break down the terms — from warranty coverage to reviews and order coordination.
2-year warranty on work: what it covers
Eco-Service provides a 2-year warranty on work — it covers the tightness of connections, the fastening of the unit to the wall or installation frame, and the correct connection to the water supply. Warranty cases include leaks at threaded joints and flexible hoses, loosening of the dowel fastening under the weight of the riser, errors in tapping into the riser or manifold, as well as incorrect adjustment of the mixer that causes water to bypass. We separately document the installation of a concealed-mounted hygienic shower: if after handover a leak is found in the concealed cavity or the outlets have shifted, the technician opens up the section and reassembles the unit. Acceptance of requests is recorded in a work completion certificate, which specifies the connection points and the model of the installed set. The technician comes back and fixes the defect at no extra charge if the cause is installation and not wear of parts. The warranty does not cover the shower set itself — the manufacturer's warranty applies to it, so it is worth keeping the store receipt until the end of the term.
How to pay: Click, Payme, Uzcard, Humo
- Click: card transfer or via the app — suitable if the bathroom is rented out and the owner pays remotely.
- Payme: payment by QR code after installation, the receipt arrives in the app and stays in the payment history.
- Uzcard and Humo: bank cards of Uzbekistan — we accept them via terminal and by transfer to the account.
- Cash: it is convenient to pay right after the leak check, the technician issues a receipt on site.
- Payment procedure: payment through Eco-Service is made after installation is completed and the connections have been pressure-tested.
Reviews, examples of work and service center in Tashkent
Reviews of our work can be seen in Google Reviews and on Yandex.Maps, and orders are coordinated by Eco-Service's own service center in Tashkent. In their requests, clients often write briefly: installation on the toilet — and from that one line the technician immediately understands the scope: remove the tank, select a tee, route the hose at the required angle. The plumber technician arrives with a full set of tools, so connecting to the tank or tapping into the riser is done in a single visit without intermediate purchases. The portfolio includes bathrooms in new buildings in Chilanzar, Yunusabad and Mirzo-Ulugbek district, as well as properties with marble finishes and concealed installation frames, where it is important to preserve the integrity of the tiles. Before ordering, ask to show photos of a similar bathroom — from them you can see how the technician works around the installation frame and pipe outlets, better than from general reviews.
Conclusion
We have gathered brief conclusions from installation practice: they will help you choose the method and avoid overpaying for unnecessary work when setting up a bathroom.
Main conclusions
- Exposed installation: faster and cheaper to do, concealed requires wall chasing and is only appropriate during renovation.
- Connection to the toilet tank: the simplest plumbing option, but it provides only cold water without mixing.
- Weak pressure: in Tashkent high-rises this is solved by a pressure reducer and a correctly selected supply pipe diameter.
- Thermostatic mixer: pays off in families with children — it maintains temperature during pressure surges in the riser.
- 2-year warranty: the leak check is done with a delay, already after water has been supplied to the system.
What to consider before ordering
- Pressure measurement: ask for the pressure to be measured with a gauge before buying the set — the choice of mixer depends on this.
- Wall type: drywall, marble and ceramic require different fasteners and tools for chasing.
- Tapping point: manifold, riser or tank — the length of the supply line and the scope of excavation work depend on it.
- Configuration: the hose, shower head and riser are selected for the mixer model and the pressure in the specific apartment.