









What a turnkey shower cabin installation includes
Turnkey means not just assembling the body, but the entire cycle from dismantling the old cabin to connecting to three utility networks. Let's break down the stages, their order, and the differences between installation with and without a tray.
Full work cycle: from dismantling to connection
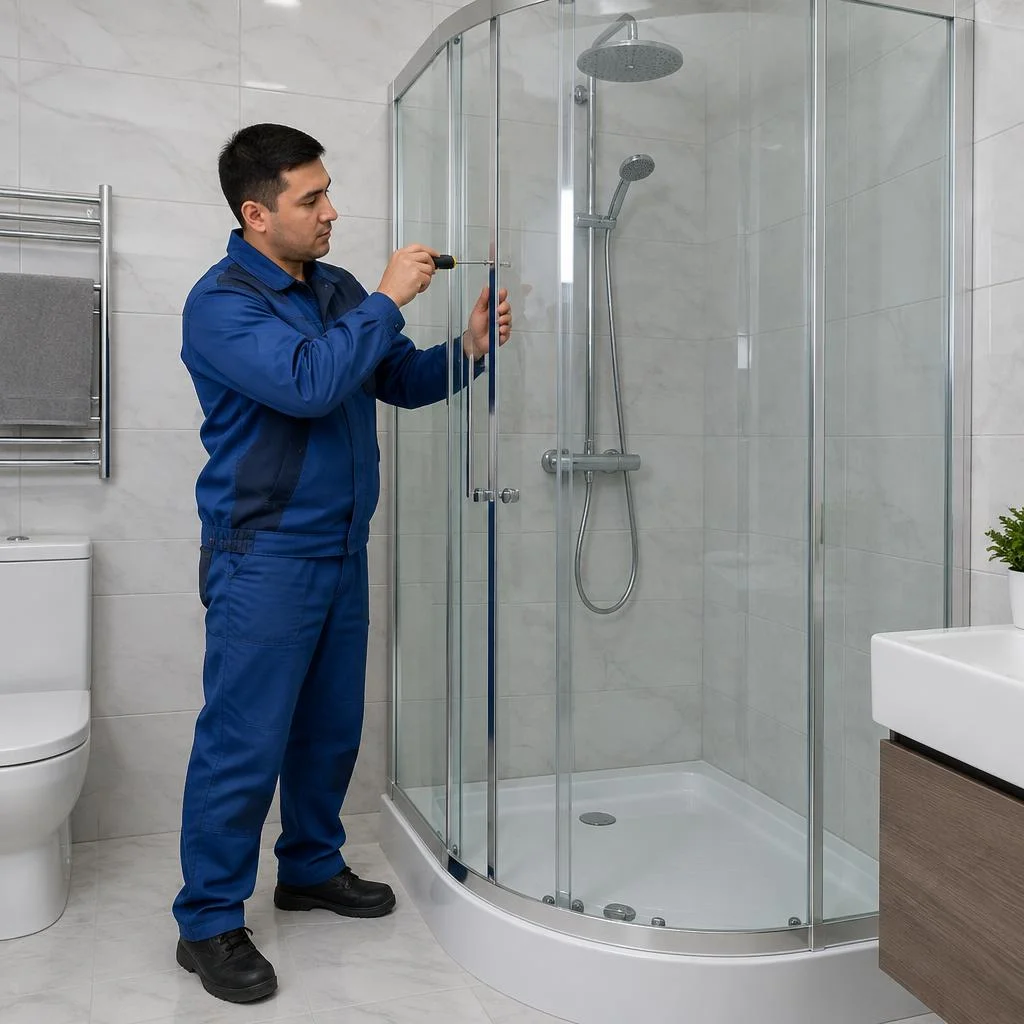
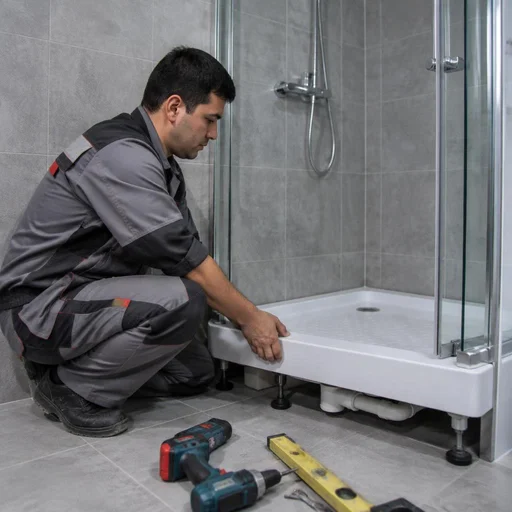
Eco-Service carries out shower cabin installation in an apartment as a single cycle: dismantling the old cabin, preparing the base, waterproofing, assembling the frame, installing the tray, walls, doors and roof, then connecting to the water supply, sewer and electrical network. As for tools, the crew brings a rotary hammer with a bit for porcelain stoneware, a wall chaser with a vacuum, laser and spirit levels, an adjustable wrench, a set of hex keys for the fittings, a silicone gun and a tester for checking grounding. One bathroom in a Tashkent apartment takes two visits: the first — dismantling, marking and rough work, the second — assembling the body and commissioning. Installing shower cabins by a single contractor closes the "base — tray" and "tray — drain" junctions: if the cycle is split between different contractors, this zone is left without anyone responsible, a leak shows up months later, and the cause can no longer be proven. In searches, people most often type turnkey shower cabin installation — and from such a query the specialist immediately sees that a full cycle with connection to three networks is needed, not just assembling the body. Another common search variant is shower cabin installation Tashkent: from it, it's clear that the client needs a crew to come specifically to the capital, not a phone consultation.
Installation stages and what the specialist does at each
- Dismantling the old cabin: removing the body, disconnecting the hoses and drain, carrying out the structure without damaging the tiles and adjacent plumbing.
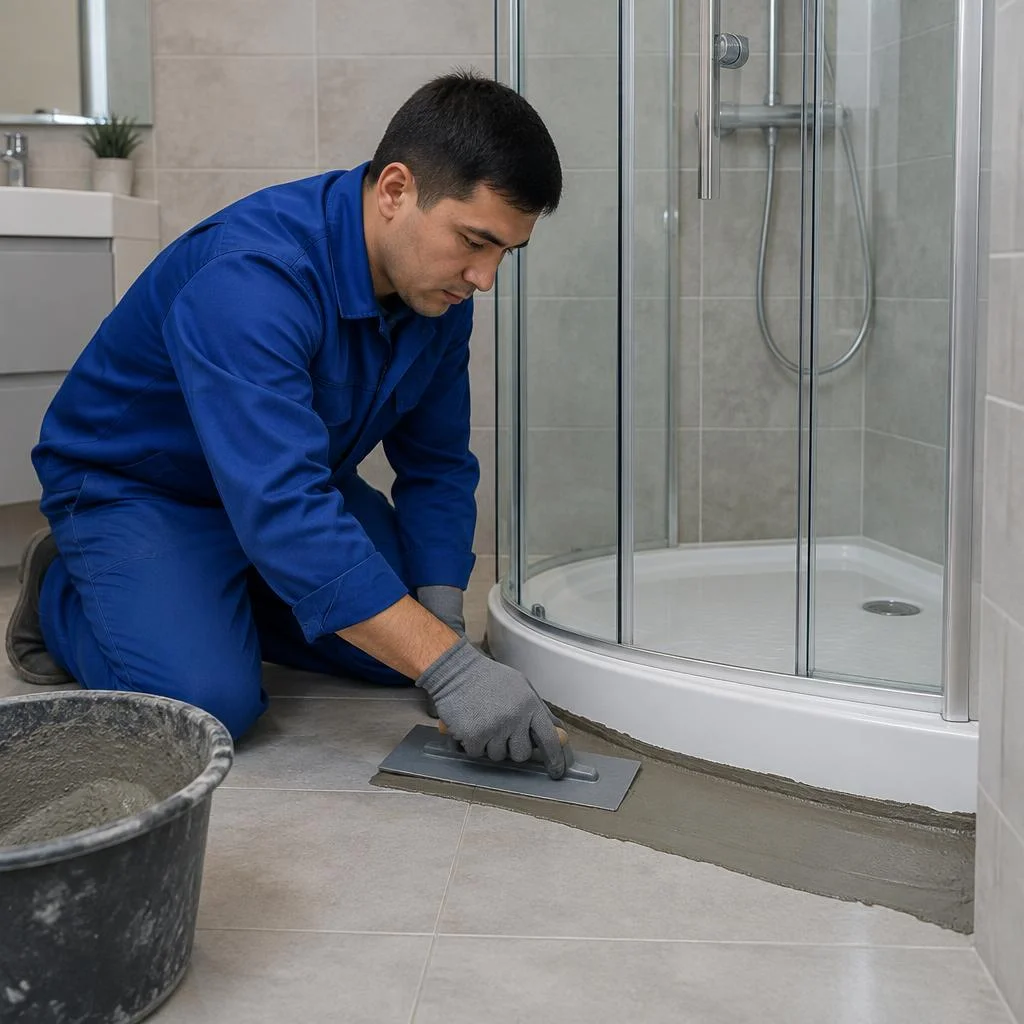
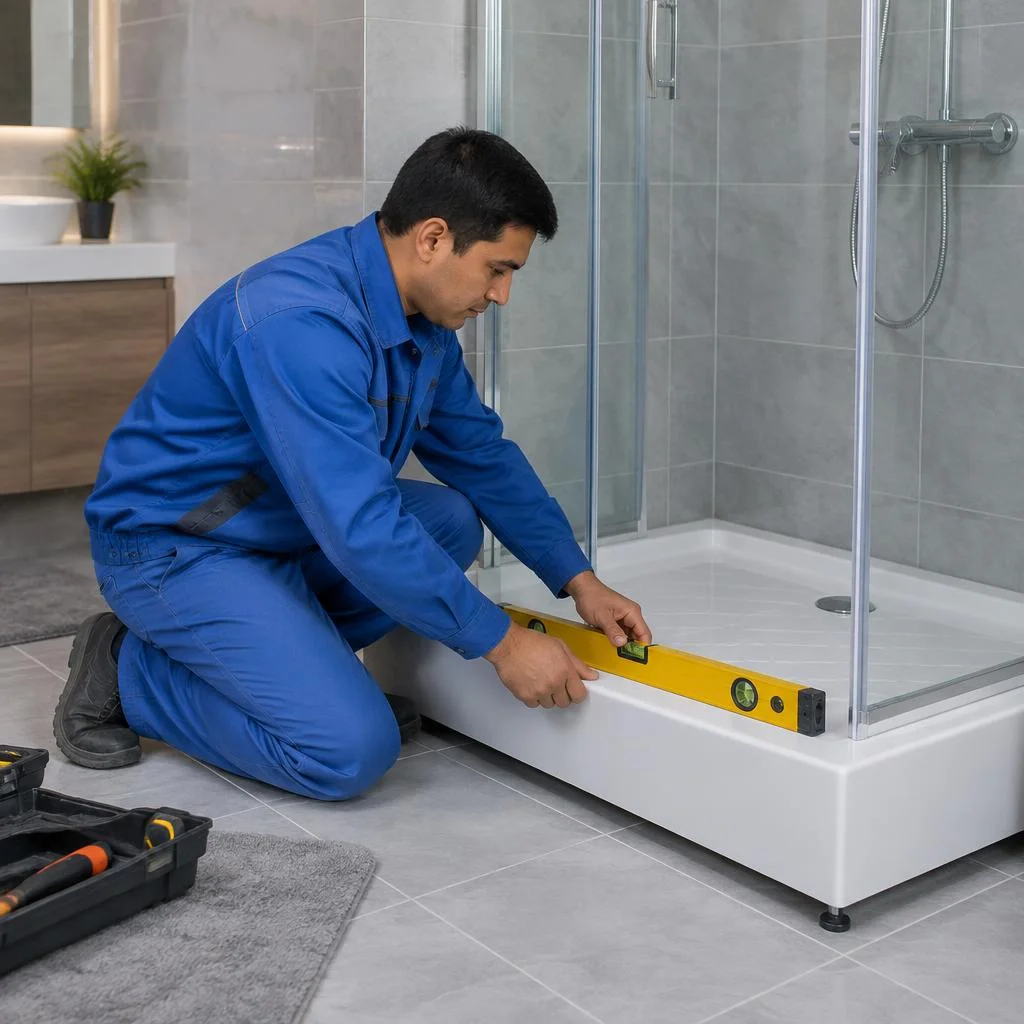
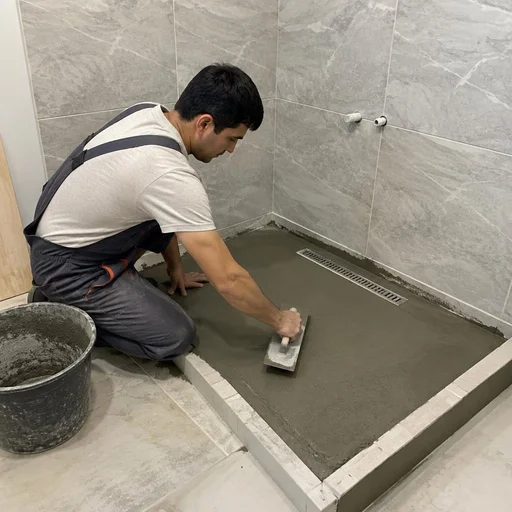
- Preparing the base: leveling the floor under the tray, checking for height differences with a level, and if necessary — pouring a leveling compound.
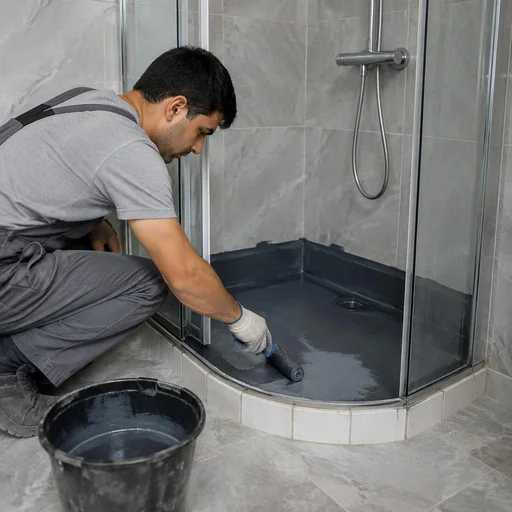
- Waterproofing the installation zone: a coating layer on the floor and walls around the cabin, extending 200-300 mm above the tray.
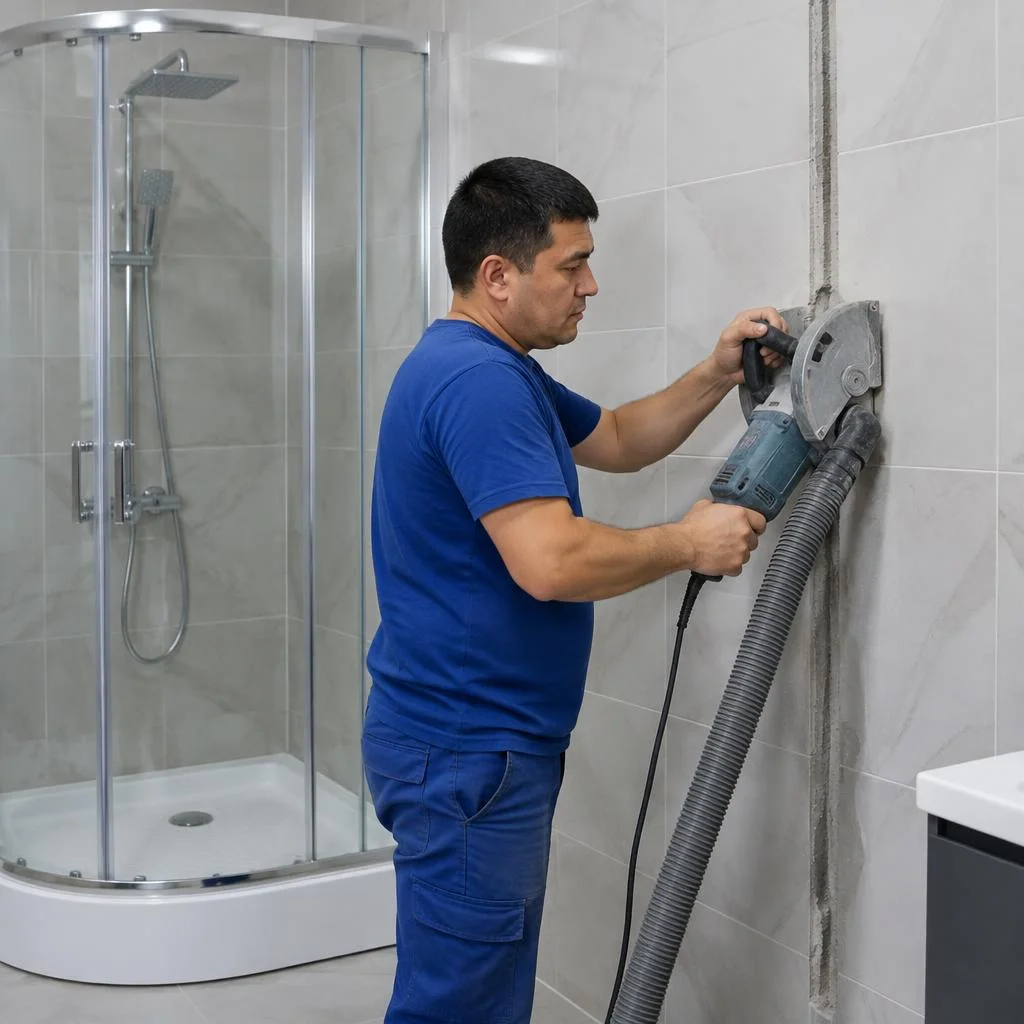
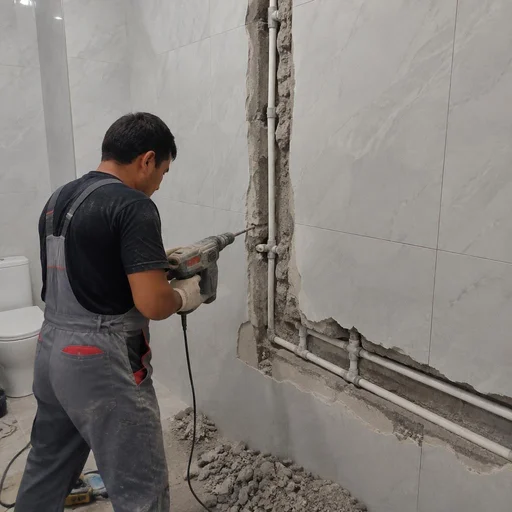
- Chasing the walls for utilities: cutting channels for pipes and cable, laying the lines, sealing the chases; chasing must be done before waterproofing, otherwise the layer is opened up and has to be redone entirely.
- Relocating the water connection point and the drain point: bringing the pipes to the design position if the standard ones don't match the cabin's dimensions.
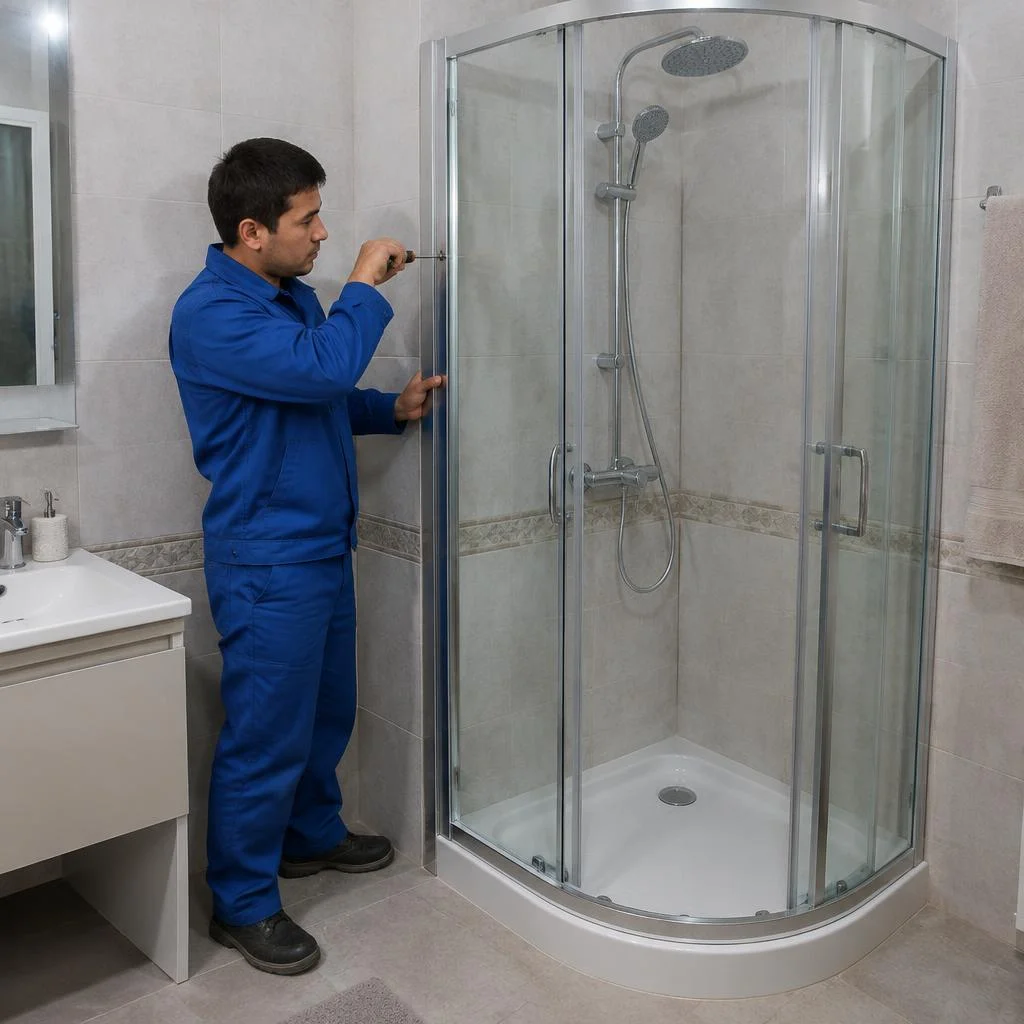
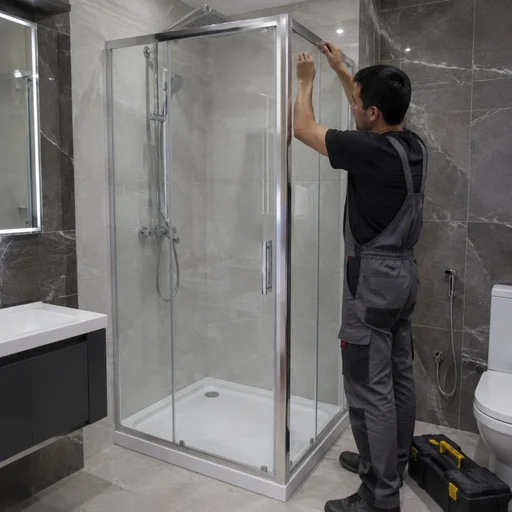
- Assembling the frame, installing the tray, walls, doors and roof: installing the profile, panels, sliding leaves and top panel with the gaps set.
- Commissioning: checking the water pressure, the drain slope, adjusting the door rollers and a leak test under pressure.
How installing a cabin with a tray differs from one without a tray
A cabin with a tray rests on a prepared base and connects to the drain through the tray, while a model without a tray is mounted directly on the tiles with a slope toward the drain — and requires separate floor waterproofing over the entire shower zone. Clients often type shower cabin installation without tray price — and land on this page, because the difference in the work here is truly decisive. The price of work without a tray depends on the volume of waterproofing, the floor slope and whether a drain is present: if the drain is already installed, the work comes down to setting the glass walls and connecting the mixer; if there is no drain, opening up the tiles and installing the channel are added. Based on our crew's experience, preparing a zone without a tray takes 3-4 hours more than a standard installation with a tray, because of laying the slope and drying the waterproofing. Without a tray, the slope is critical: even 1-2 mm of reverse slope causes water to stagnate at the far wall, which isn't visible until a smell appears. When people ask about shower cabin installation price, we explain that the total depends on the number of visits and the volume of rough work, not just the dimensions of the body.
Preparing the bathroom: base, waterproofing, utilities
The quality of the installation is determined not by the cabin body, but by what is beneath it and behind the wall. We break down the preparatory layer: the base, waterproofing and utility routing before assembling the body.
Preparing the base for the cabin
We level the base for the cabin and check the load-bearing capacity of the floor slab — a tray filled with water weighs substantially more than an empty one, and any misalignment leads to cracks in the acrylic and gaps at the joints. Preparing the base for the cabin includes removing the old covering, patching potholes and pouring a levelling layer with a slope of strictly zero. In Tashkent's older housing stock — in series 1-464 buildings and brick Khrushchyovkas in Chilanzar and Yashnabad — the floor slab often has a slope toward the former drain left over from the cast-iron sewer. If this is not compensated for, the tray will sit with a gap, and installers will start shimming it — which is unacceptable: a point load pushes through the acrylic right at the edge. Clients often find us with the query "shower cabin installation in an apartment" — and that is where the conversation about floor preparation begins. Before pouring, check the deviation with a two-metre straightedge: a discrepancy of more than five millimetres means you should use a levelling compound, not tile adhesive.
Waterproofing the installation area
Eco-Service waterproofs the installation area before assembling the cabin: we treat the floor and adjoining walls up to the height of the tray rim, carry the layer onto the walls with an overlap and seal the floor-to-wall joint. For Tashkent bathrooms with adhesive-set tiles, we use a cement-polymer coating membrane and tape in the corners — it accommodates the movement of the base that is inevitable with temperature swings in the summer season. Waterproofing the installation area is coordinated with the connection to the sewer: around the pipe outlet the layer is carried 15-20 centimetres up and sealed with a collar. The coating cannot be checked visually alone — after it dries, a water test is performed with a holding time of up to 24 hours, otherwise a hidden leak will show up at the neighbours below after the tiles have been laid, when the entire floor has to be opened up.
Relocating the water point and drain: when it is needed
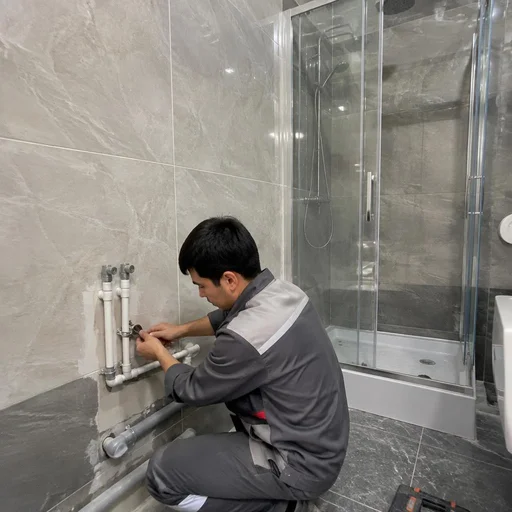
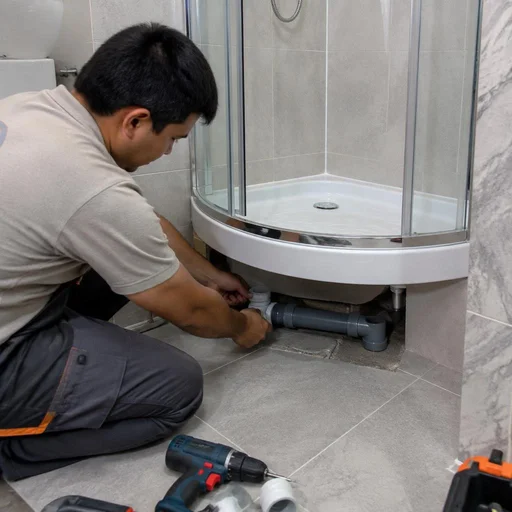
Relocating the water connection point and the drain point in the sewer is needed when the cabin is placed in a new position or its dimensions change: we run new supply lines in a chase and reroute the drain while maintaining the pipe slope. We chase walls for utilities in panel buildings only horizontally and to a depth of up to 30 millimetres — vertical chases in load-bearing walls are prohibited, and the riser in the bathroom must not be touched without approval from the management company. We relocate the drain point in the sewer using a 50-millimetre pipe with a slope of two centimetres per linear metre. Clients often search for "shower cabin installation cost" — and during the inspection it turns out that half the estimate goes specifically to relocating utilities, not to assembling the body. The slope must not be reduced to save height under the tray: over a short run it is not noticeable, but this is precisely where a blockage most often occurs, which is then cleared through an inspection port or by disassembling the cabin.
Connection to the water supply, sewer and electrical network
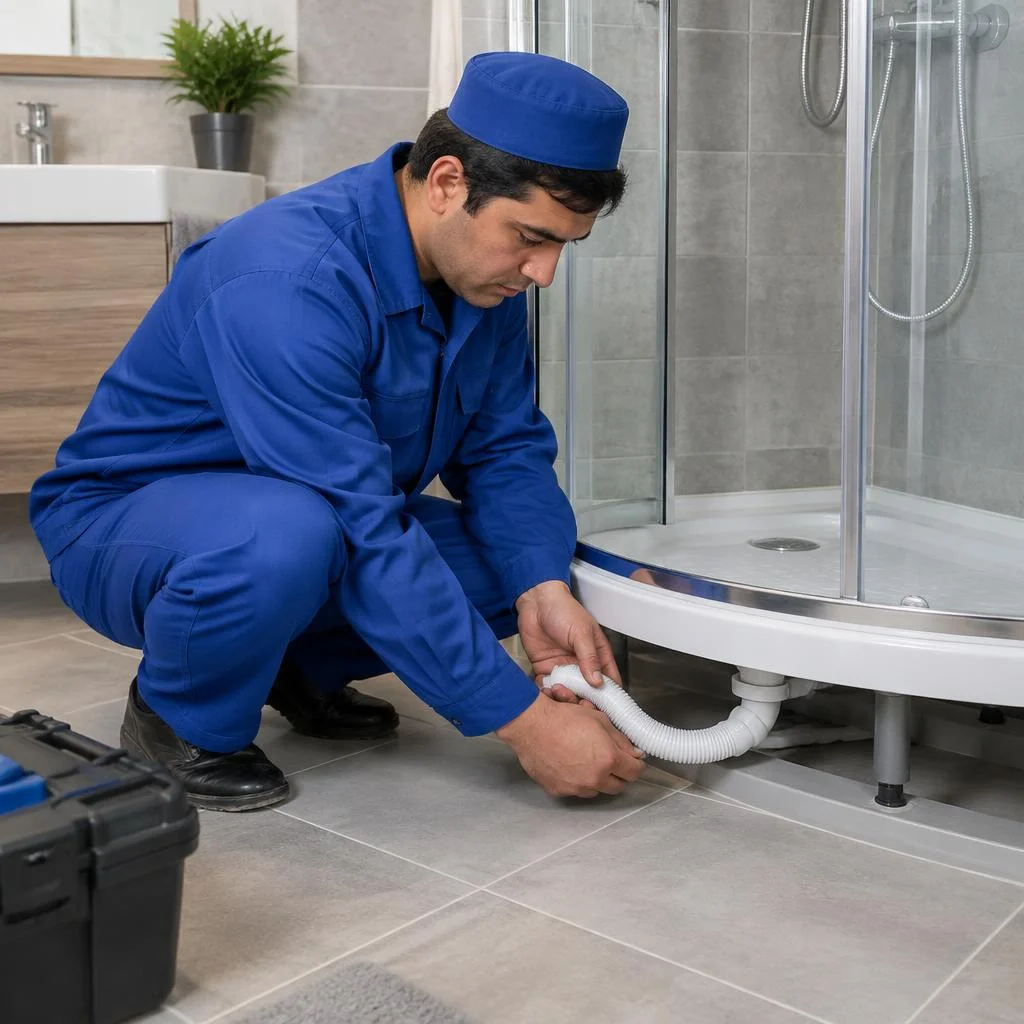
Shower cabin installation in Tashkent begins with the rough-in: we connect the cabin to the water supply via a flexible hose with a shut-off valve, to the sewer via a siphon with a water trap, and to the electrical network via a dedicated line with an RCD if the cabin has lighting, a fan or hydromassage. Work in panel and brick buildings requires particular attention to the drain point and the height of the tray. Installation in an apartment with an old cast-iron sewer almost always means replacing a section of the outlet and installing an inspection port for cleaning. Clients often type "shower cabin installation in Tashkent" — and already at the inspection we break down what will be included in the work. The cost is calculated after the inspection: the final amount is affected by the length of the new supply lines, the need for chasing and the volume of waterproofing. A water supply filter and a check valve are installed before connecting the cabin — after the body is assembled, access to the supply lines is closed, and they can no longer be added "later" without disassembly.
Assembling the body: frame, tray, walls, doors
The body is assembled in a strict sequence — frame, tray, walls, doors, equipment. Violating the order results in misaligned panels, gaps in the seal, and leaks at the joints, which show up after the first weeks of use.
Assembling the frame and installing the tray
We assemble the frame on a level base and fasten it to the walls via adjustable supports, after which we set the tray level in two planes — this is the base on which the geometry of the entire cabin depends. In Tashkent bathrooms of panel and monolithic buildings, wall unevenness reaches up to 15 mm per meter, so we adjust each support individually rather than setting the frame "by average." Eco-Service assembles the shower cabin frame on site after preparing the base — the finished frame does not have to be carried through a narrow doorway and re-leveled. Clients often phrase the request as shower cabin tray installation price — and the technician immediately understands that a calculation is needed based on the type of basin and the height of the rim. The tray cannot be set by eye along the rim: on most models the rim is decorative, and the working level is set by the inner basin.
Installing walls, partitions, and doors
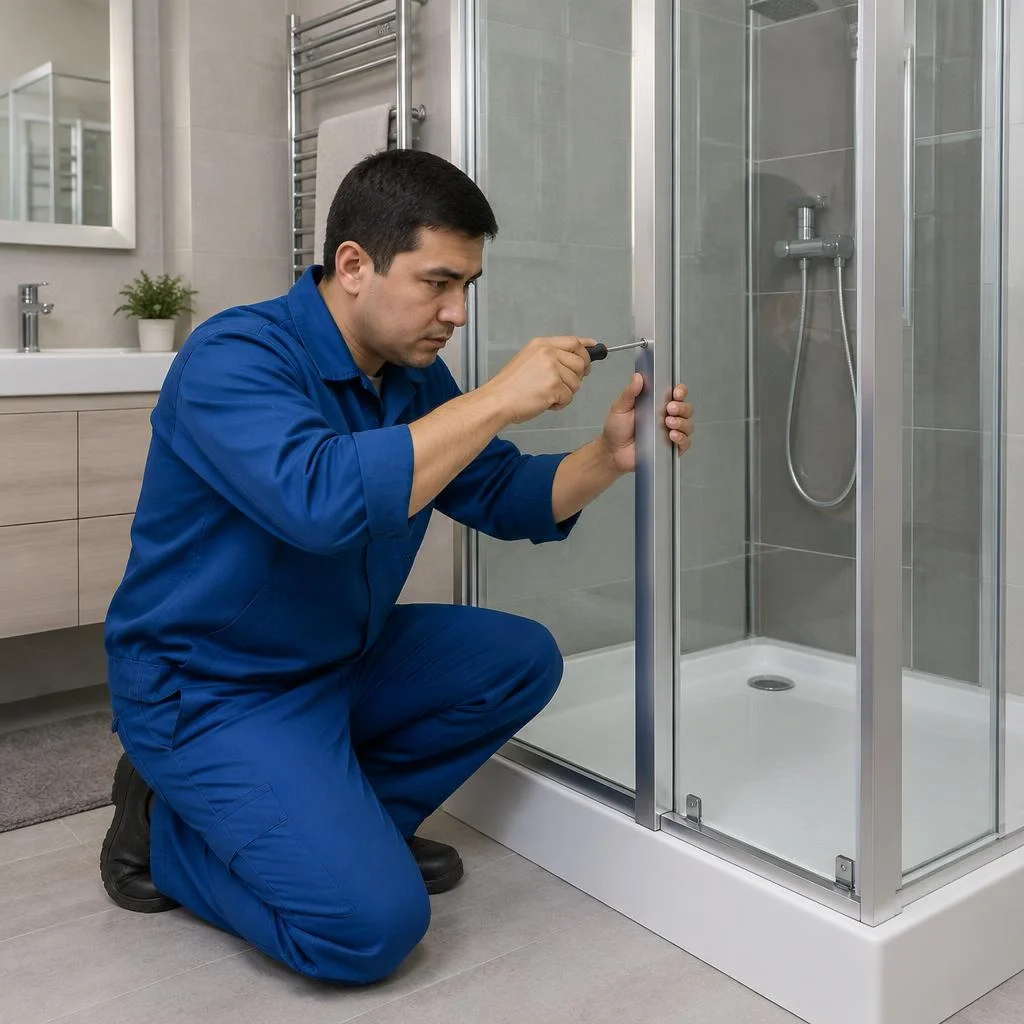
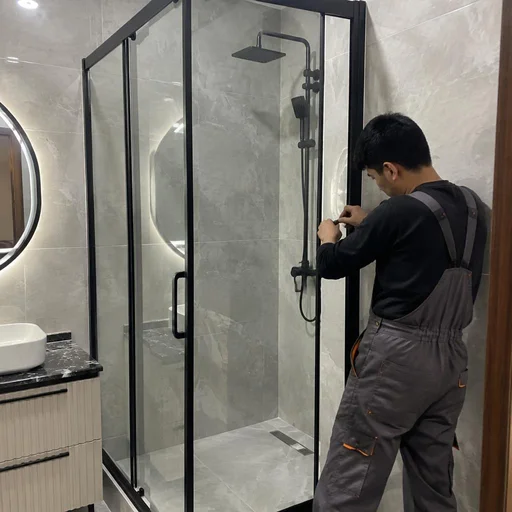
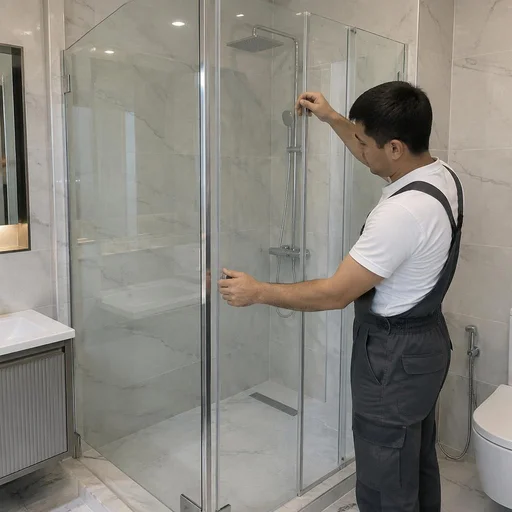
We install the walls and partitions after the tray, align them vertically, and only then hang the doors — this way the panels move without jamming and the magnetic seal closes along the entire height. The glass on the shower tray is guided through a sealing profile with a silicone gasket: first we seat the panel in the groove, check the gaps with a laser level, then secure it with clamping strips. Eco-Service installs walls and partitions with fastener spacing of no more than 300 mm — with sparse attachment points, the panel flexes under water pressure and cracks along the edge. Glass on the shower tray is set on a seal, not on sealant: rigid fixation with sealant does not allow for thermal expansion compensation and leads to chipping of the edge.
Roof, top panel, and shower equipment
- Roof and top panel: installed on the frame guides last, so as not to interfere with the installation of the walls and not to press on the glass during installation.
- Shower panel: attached to the load-bearing frame post, not to the cabin wall — hanging on glass is unacceptable due to point loading.
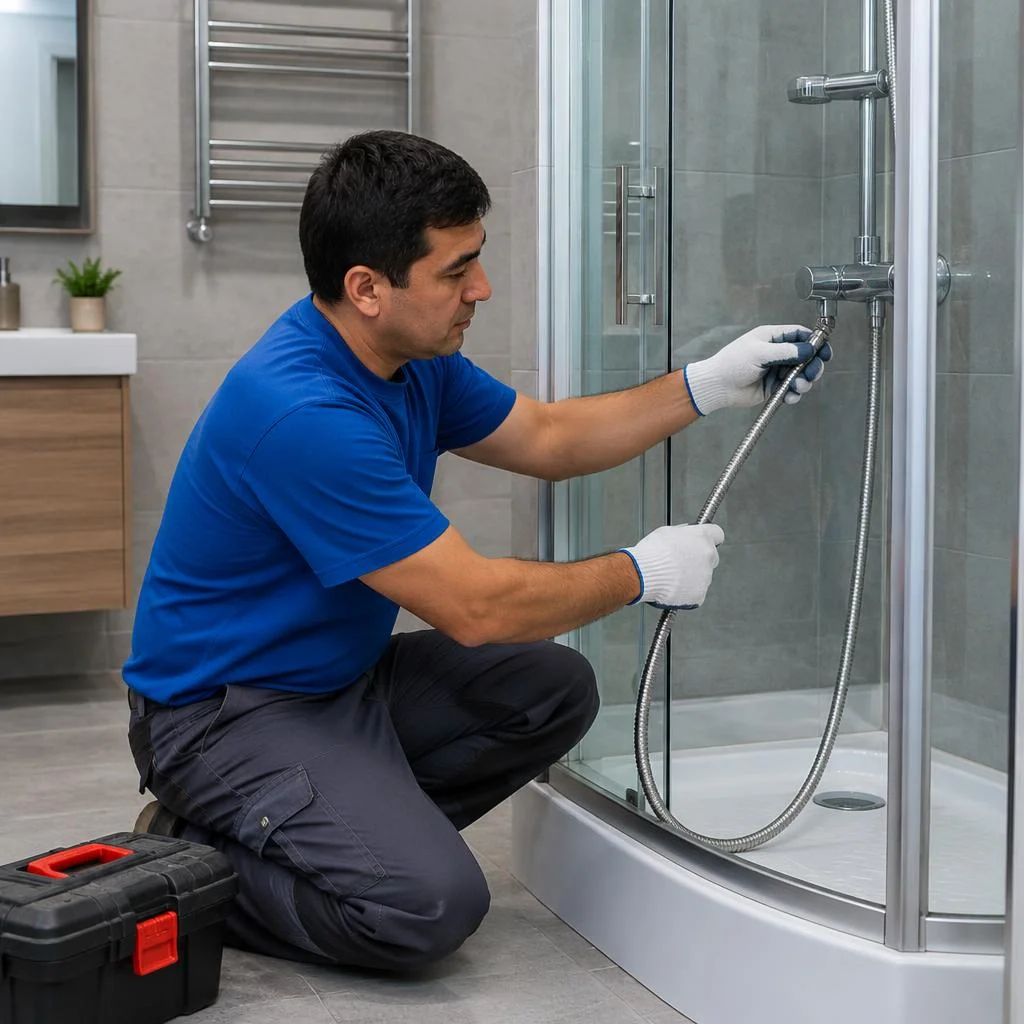
- Mixer and shower head: connected with a flexible supply line with a gasket; after assembly, they are checked for pressure and absence of drips at the joints.
- Rain shower: Eco-Service installs a rain shower with separate wall mounting if the top panel does not bear the load from the water.
- Hydromassage jets: installed after measuring the pressure in the riser — with unstable pressure, the mode works intermittently and quickly clogs.
- Shower cabin installation price: calculated after measurement, so the technician gives the final estimate before assembling the body.
What shower cabins we install: types and configurations
The type of cabin determines both the installation method and the scope of work: each group has its own water supply scheme, its own drain height, and its own set of fasteners. Below is a comparison by the parameters that matter specifically during installation.
Comparison of cabin types by installation
| Cabin type | Base | Drain connection | Installation specifics |
|---|---|---|---|
| With a tray | leveled base | through the tray | the tray is set by the inner bowl |
| Without a tray | tiles with a slope | floor drain | separate waterproofing of the entire area |
| Combined | tray + partition | through the tray | the wall panel is fixed to the wall with reinforcement |
| One-piece acrylic | leveled base | through the tray | the frame requires a level wall |
| Glass on a frame | leveled base | through the tray | the profile is set by level in two planes |
Components: panel, mixer, tropical shower, jets
A separate line item in the estimate that customers ask about most often is installing glass on a shower tray: this is a high-risk operation, because tempered glass does not tolerate skew when seated into the profile. We install the glass only after the final leveling of the tray and checking all fasteners, otherwise the edge rests against the guide and a chip appears the very first time the door is closed. The shower panel is fixed to the wall or frame at the standard points, the mixer and hand shower are connected to the prepared water outlets with a check of alignment and cartridge play, the tropical shower requires a pressure margin, and hydromassage jets are sealed along the seating contour. Clients often ask about shower cabin installation price Tashkent — and receive a quote after measurement, because the total depends on the type of base, the plumbing layout, and the set of components. A filter and check valve on the supply protect the mixer from scale and prevent water from flowing back into the riser. In my opinion, it is not worth saving on the check valve: replacing it after a clog costs more than the part itself.
Shower enclosure installation and repair: when repair is needed and when replacement is
Not every malfunction is solved by replacing the enclosure. We break down what can be fixed on site without dismantling, and in which cases the enclosure is removed, the base is restored and reassembled.
What can be repaired without dismantling the enclosure
- Mixer and shower head: we replace the cartridge, gaskets or the entire unit — access through the hatch or by removing the top panel, without touching the base.
- Leak along the supply line: we tighten or replace the flexible hoses and gaskets at the water inlet, the body stays in place.
- Hydromassage jets: we clean off limescale or replace them one by one — without removing the tray or opening up the waterproofing.
- Doors and seals: we adjust the rollers, replace the magnetic profile and silicone — door installation is done on the assembled body.
- Hardware and hinges: we tighten the fasteners, lubricate the mechanisms, eliminate squeaking and misalignment of the panels.
When the enclosure needs to be dismantled and reinstalled
Dismantling and reassembly are needed when the tray is cracked, the base is destroyed, the drain is displaced, or when the bathroom is being reconfigured — in these cases the enclosure is removed, the waterproofing of the installation area is restored and it is reassembled. A crack in an acrylic tray cannot be repaired with sealant: under body weight it spreads, and water seeps into the floor structure. Destruction of the base — the screed crumbles, the tiles come loose — also requires a full cycle: dismantling the old enclosure, relocating the drain point if necessary, new waterproofing and assembly from scratch. Clients often phrase their request as shower enclosure installation in Tashkent, when in fact what they need is precisely a reinstallation, not a local fix. During reassembly, the old tray is almost never reused: after removal, its fasteners and mounting points no longer provide the same rigidity. Eco-Service performs dismantling of the old shower enclosure and reinstallation with base restoration.
How to choose between local repair and full replacement
The difference between the two scenarios is visible already during the site assessment, and it is easier for the client to choose when they see the whole table. Most often people ask the same thing: how much does shower enclosure installation cost — and the answer depends on whether the malfunction falls into the left or the right column. Repair and installation of shower enclosures do not always come as one package: sometimes it is enough to replace the seal and adjust the doors without removing the body. The second most frequent request sounds like this: shower enclosure installation price — it is left by those who are already ready to replace the body rather than fix a separate unit. There is also a third wording, when a person writes briefly: shower installation price — this is usually how those who have not yet decided on the scope of work search, wanting to understand the order of figures before calling a technician. During the site assessment, the technician checks the tray, the joints and the base, after which he states the exact scope of work and explains what is cheaper in the specific case — repairing a unit or reassembling the enclosure from scratch.
Warranty, technicians and terms of work at Eco-Service
We provide a 2-year warranty on installation work. Below is exactly what it covers, who will come to the site, and how the request, measurement, payment and service area are organized.
2-year warranty on installation work
Eco-Service provides a 2-year warranty on installation work: it covers assembly of the body, connection to the water supply, connection to the sewer and electrical network, as well as waterproofing of the installation area. A warranty case is processed based on the acceptance certificate and receipt — the technician comes out and fixes the defect in the unit rather than shifting it onto the cabin supplier. The condition is simple: the cabin must not have been disassembled by third-party technicians, because any interference with the connections after us removes responsibility for the specific unit. For acrylic, glass and combined models the term is the same — 2 years; there is no separate shorter period for fittings. If after installation a leak appears along a seam or the door adjustment loosens, report it immediately: the earlier the request, the smaller the scope of warranty work. In search, clients often type shower cabin installation price — and land on this page, where all the terms are laid out.
Our own technicians and service center in Tashkent
Installation is carried out by Eco-Service's own technicians, not contractors from aggregators: the service center operates in Tashkent, where you can come in person and discuss the work on site. A technician from our own staff is accountable for the result within the company — this changes both the response time to a request and who deals with a warranty case. We do not hand the site over to subcontractors, so the same specialist handles frame assembly, tray installation and connection to water and sewer. Device intake and installation consultations take place in person at the center, while a site visit for measurement is arranged separately. In our practice, disputed situations most often arise where the cabin was installed on one's own and without waterproofing — redoing it costs more than the initial installation. In search, such clients type technician for shower cabin installation — and come to us for a site visit. Another common query goes like this: shower cabin installation prices — from it you can see that the person is interested in the final estimate, not just the scope of work.
How we work: request, measurement, installation, acceptance
- Request: we take the inquiry, clarify the cabin model, bathroom dimensions and address — the scope of work depends on this.
- Measurement: we come to the site, check the base, water lines and drain point, and record whether relocating the water connection point is needed.
- Approval: we calculate the scope, explain what is included in installation and what is considered separate work, and fix the payment procedure.
- Installation: we assemble the body, install the tray, walls and doors, and connect the cabin to the water supply, sewer and electrical network.
- Acceptance: we check the pressure, drain, operation of the mixer and electrics together with the owner — after that we sign the certificate.
Payment and service area
- Click and Payme: we accept the transfer immediately after the estimate is approved — convenient if the order is placed by someone other than the owner.
- Uzcard and Humo: we accept cards at the site after acceptance, and issue the receipt together with the certificate.
- Service area: Tashkent, where our own service center and in-person intake operate; visits outside the city are discussed separately.
- Staging: we split payment by stages — preparation and installation separately, so it is clear exactly what was paid for.
- Calculation by scope: how much shower cabin installation costs and shower cabin installation price depend on the condition of the base and the pipe layout.
- Estimate benchmarks: the cost of shower cabin installation and the price of shower cabin installation differ if the drain point needs to be relocated.
- Fixed before start: shower cabin installation prices and shower cabin installation price are locked in the estimate in advance and do not change retroactively.
- Page price list: shower cabin installation price is calculated by scope of work — the total is visible in the price list next to the item.
Conclusion
Shower enclosure installation relies on sequence: first preparation and utilities, then the body and connections. Below are brief takeaways that help plan the work and avoid rework.
Key takeaways
- A full cycle, not assembly: installing a shower enclosure includes preparing the base, waterproofing, assembling the body, and three connections — water, drain, and electrical.
- Order of work: wall chasing and relocating water and drain points are done before waterproofing, otherwise the finished layer is opened up and re-poured.
- The enclosure type determines the layout: a model with a tray, without a tray, or combined is chosen before installation — the drain routing and rim height depend on this.
- Repair or reinstallation: the mixer, jets, and doors can be replaced without dismantling; a cracked tray and a damaged base require removing the enclosure and reinstalling it.
- A single contractor: the installation warranty holds when the entire scope from the base to the connections is handled by one crew, rather than different subcontractors for each stage.