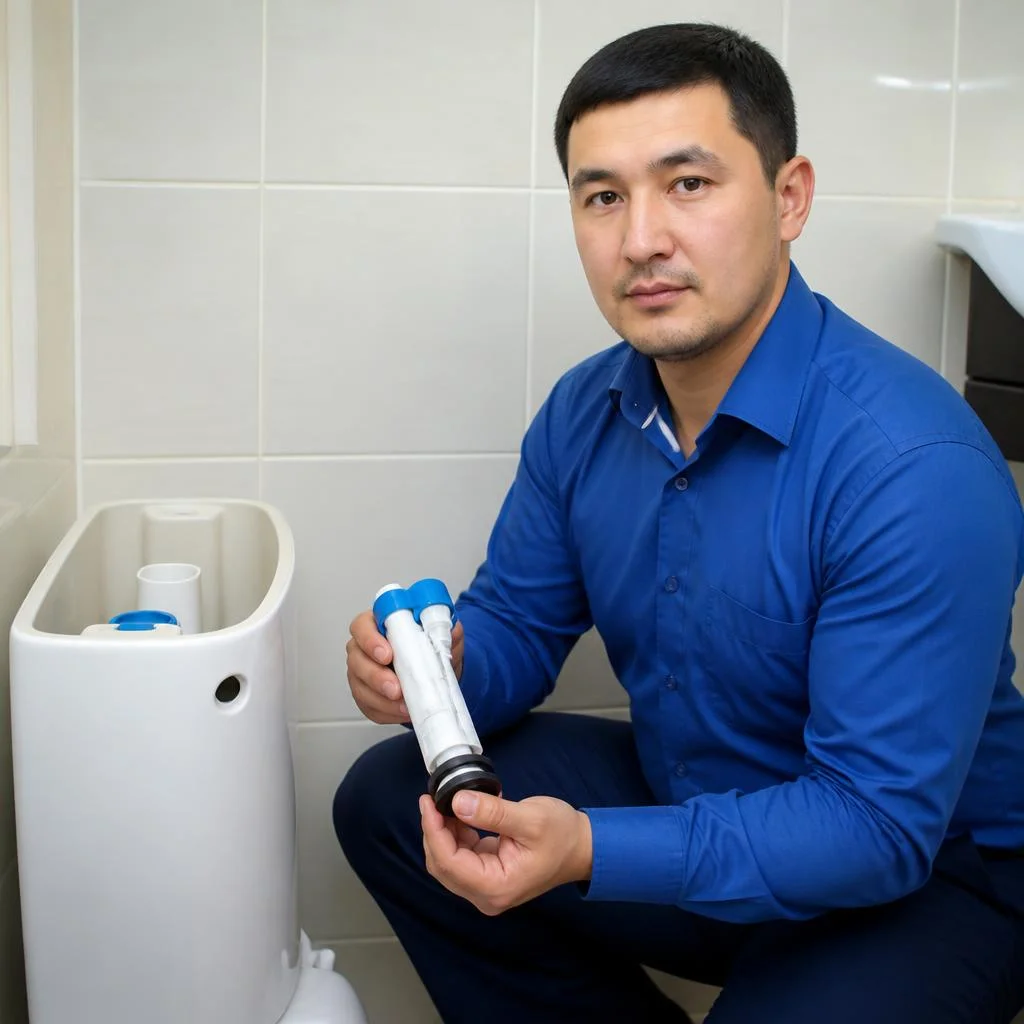
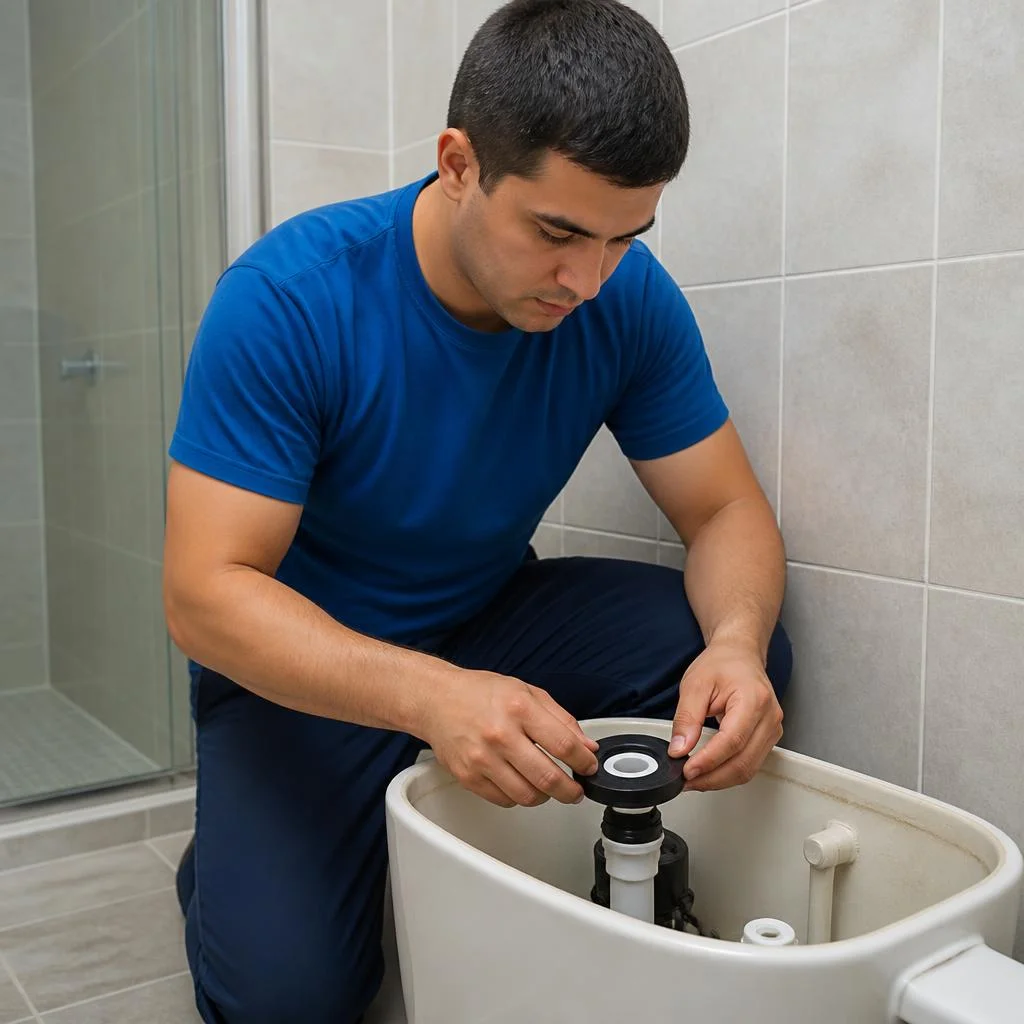
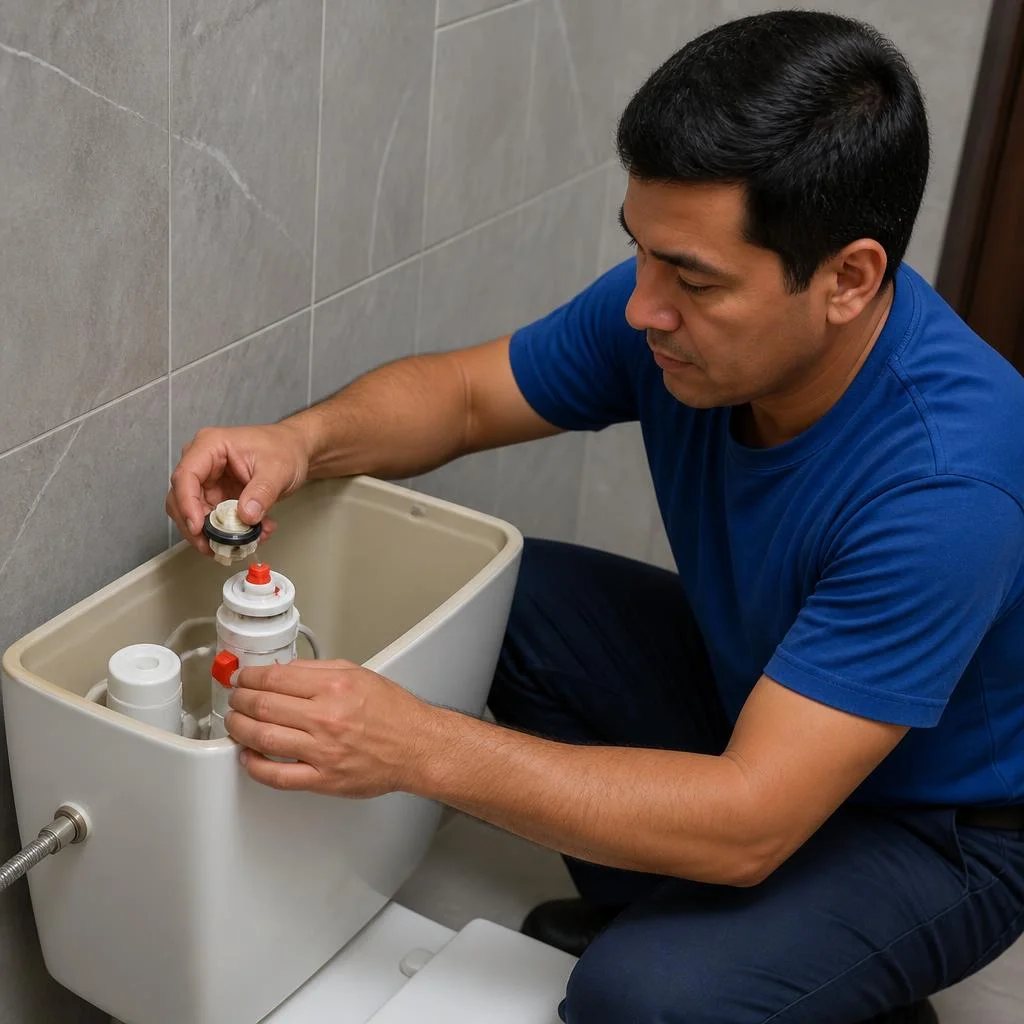








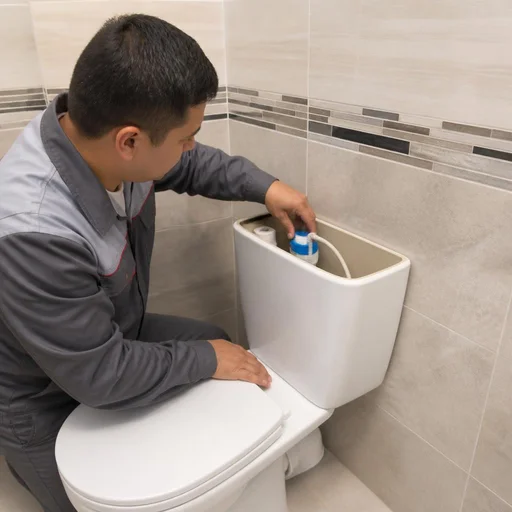
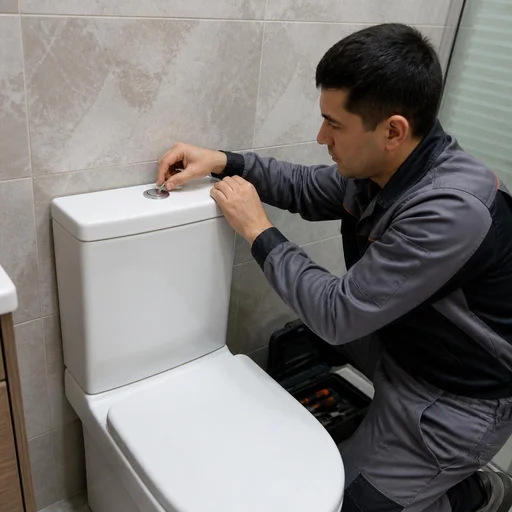
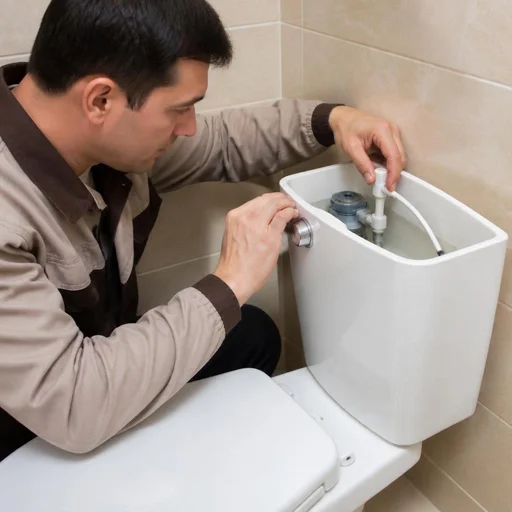
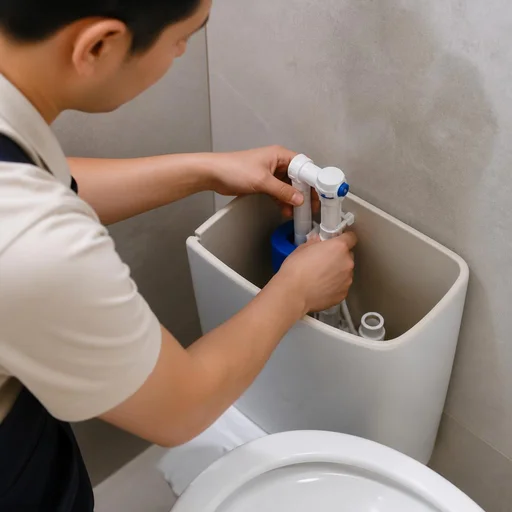
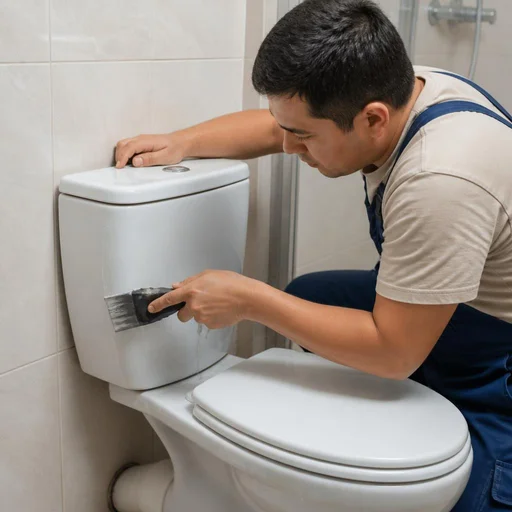
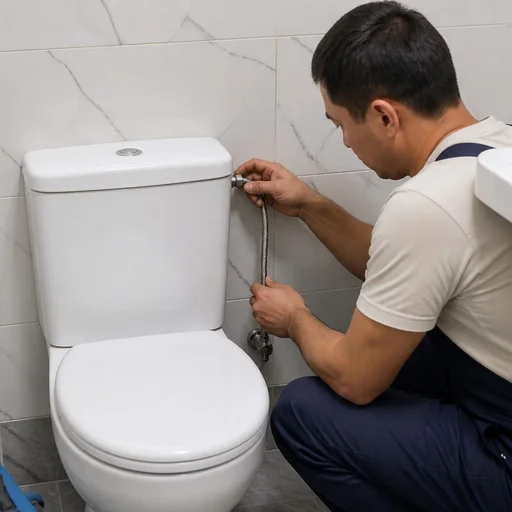
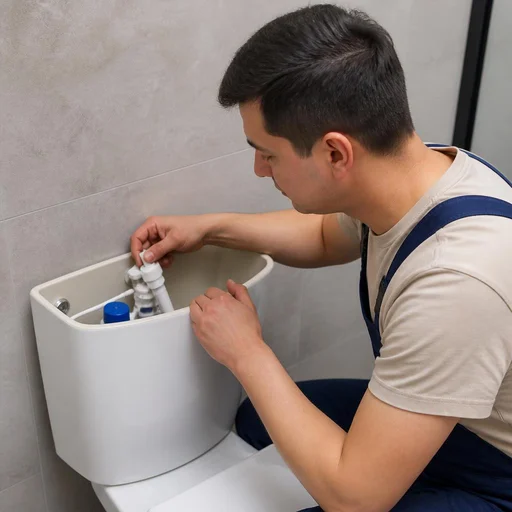
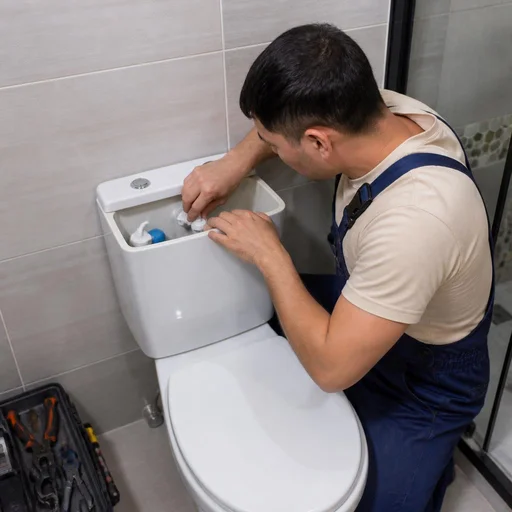
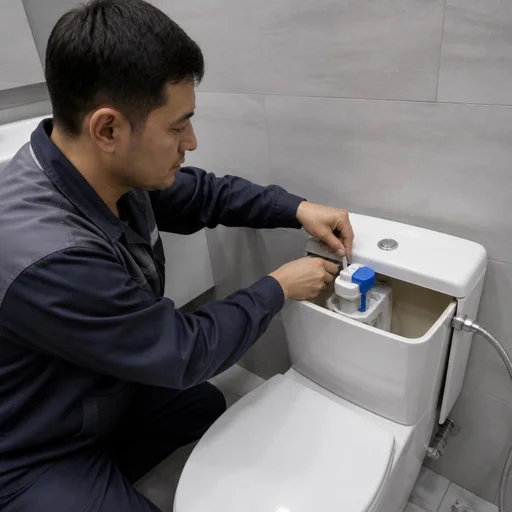
Why the tank leaks and makes noise: design and typical faults
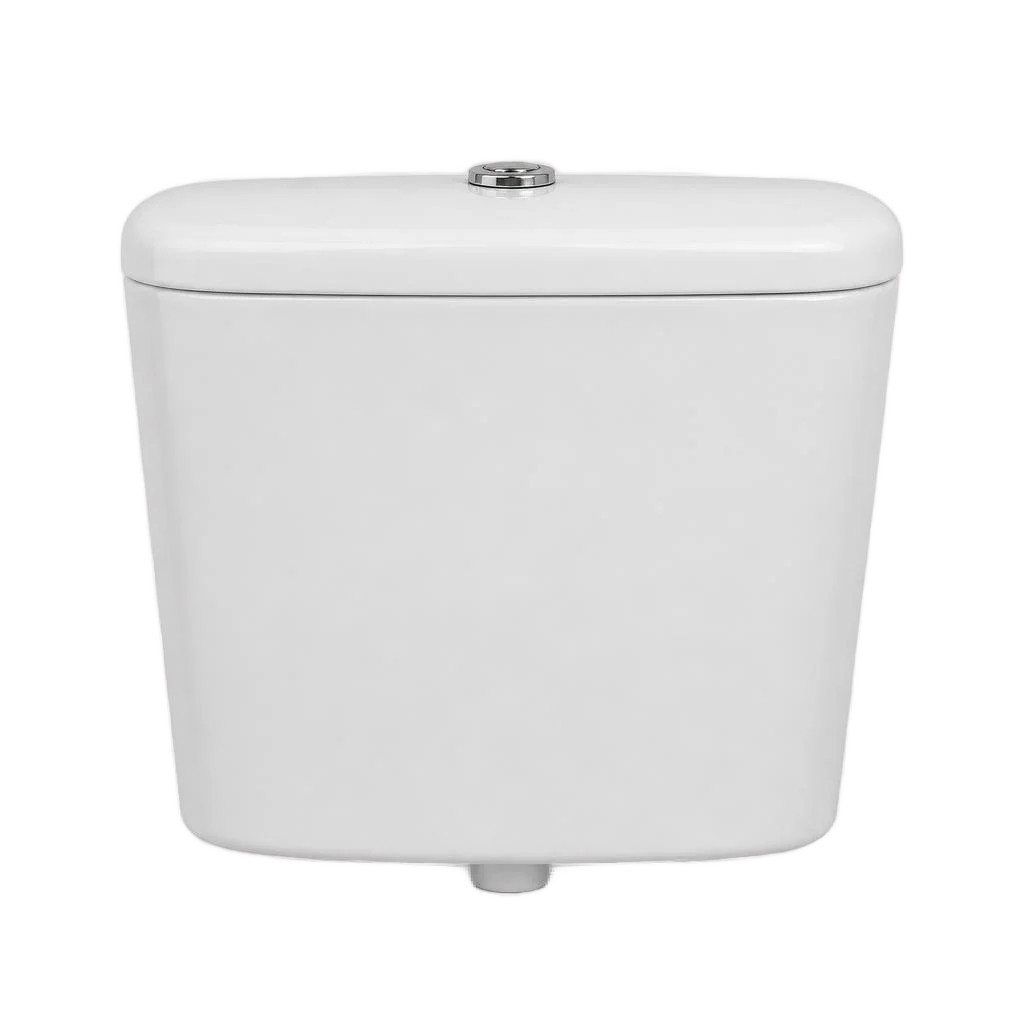
A toilet tank consists of four components: the inlet valve, the flush valve, the float, and the flush button or lever. In Tashkent, about 80% of tank repair calls are related to worn gaskets and membranes — hard water accelerates the breakdown of rubber.
How a toilet tank is built: inlet valve, flush valve, float, button
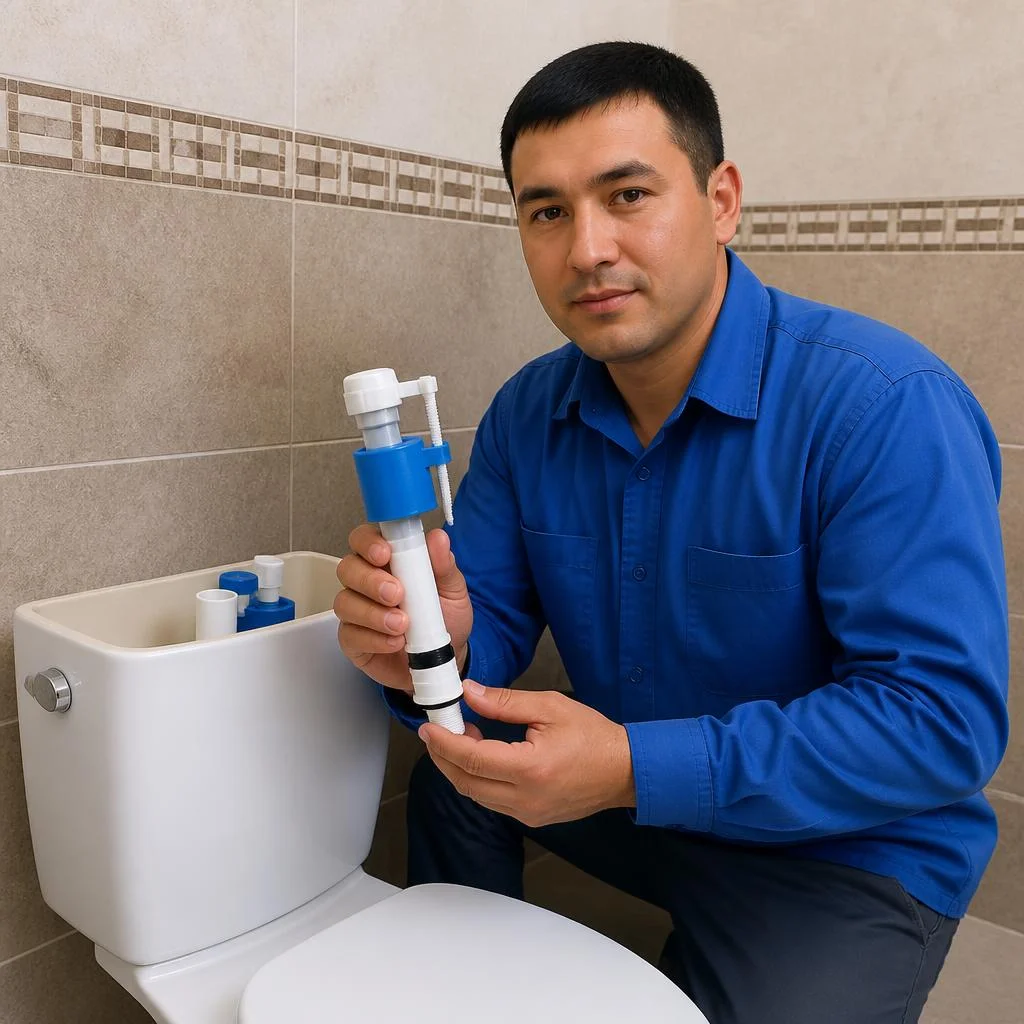
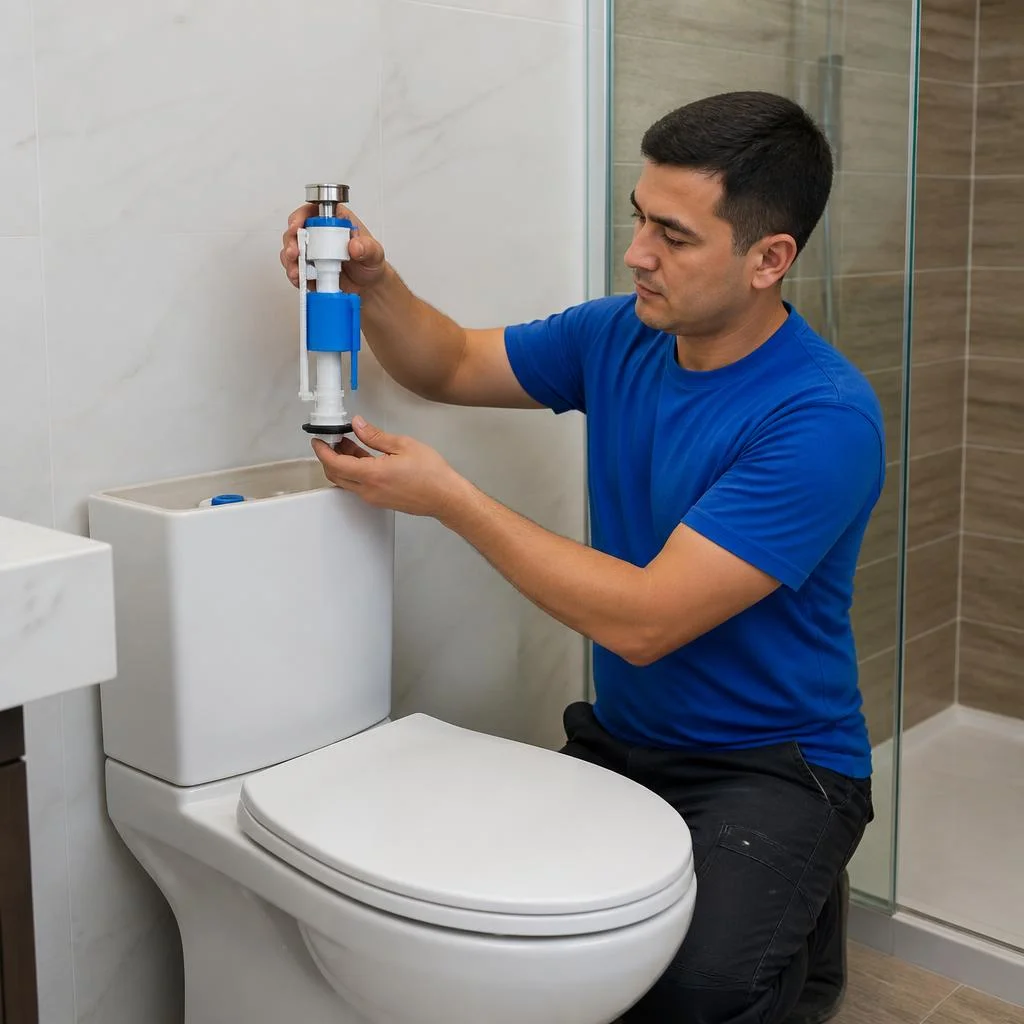
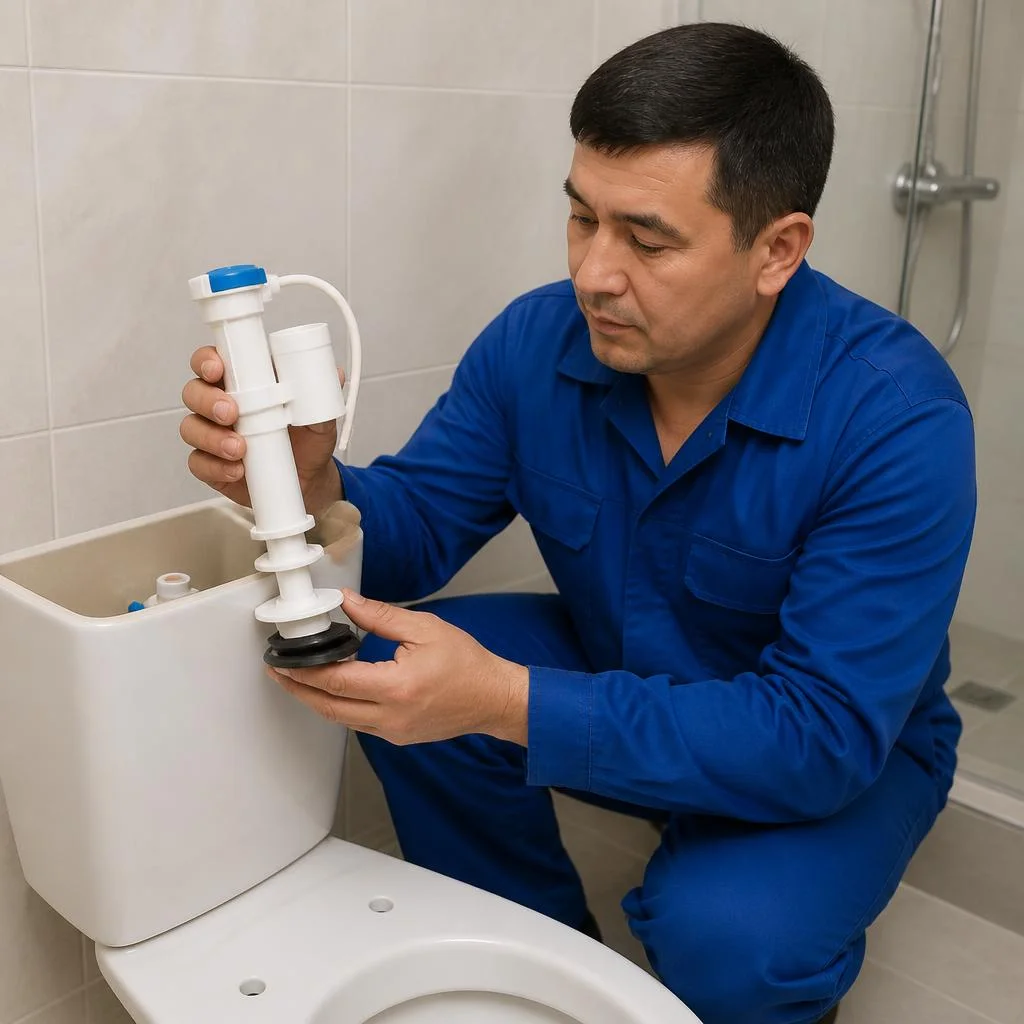
- Inlet (fill) valve: water enters the reservoir through it after flushing and shuts off the flow when the float rises to the set level.
- Flush (outlet) valve: holds the water thanks to a membrane or gasket; when pressed, it opens and releases the flow into the bowl.
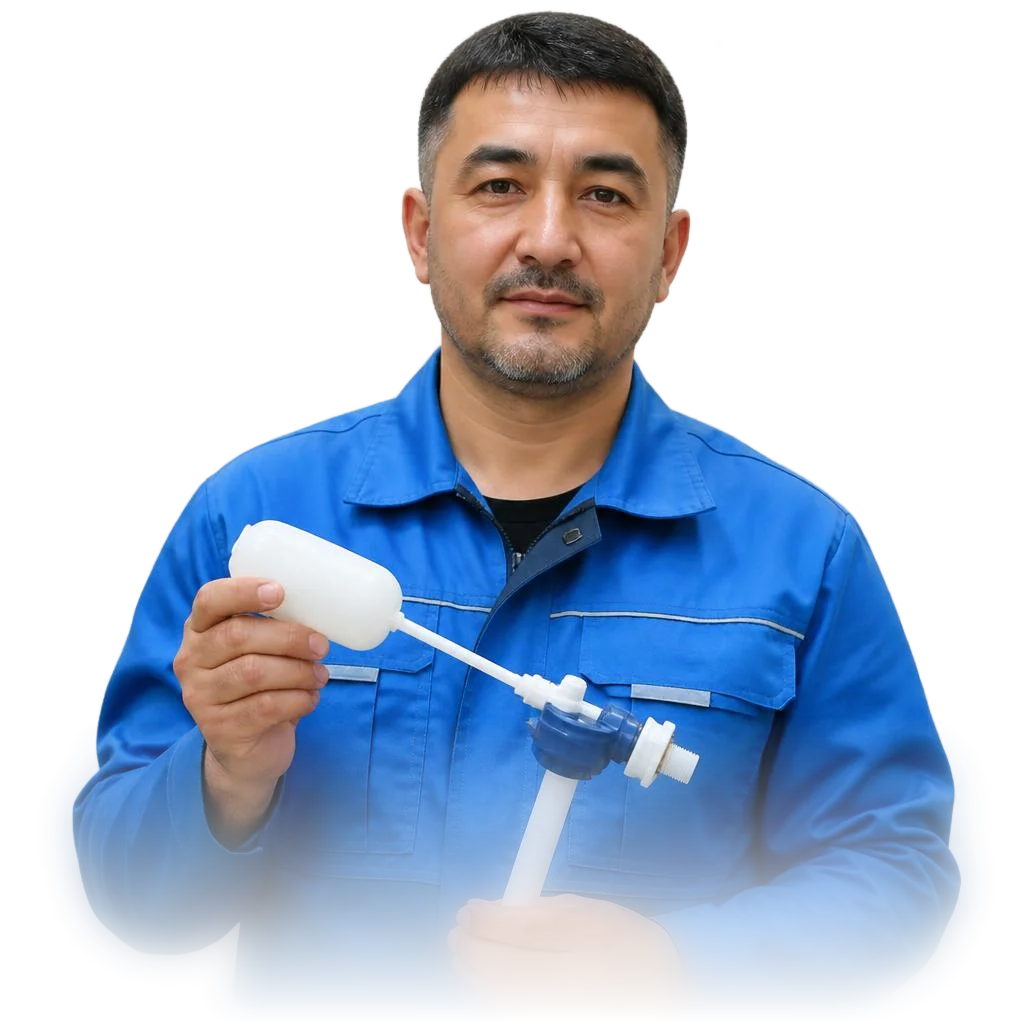
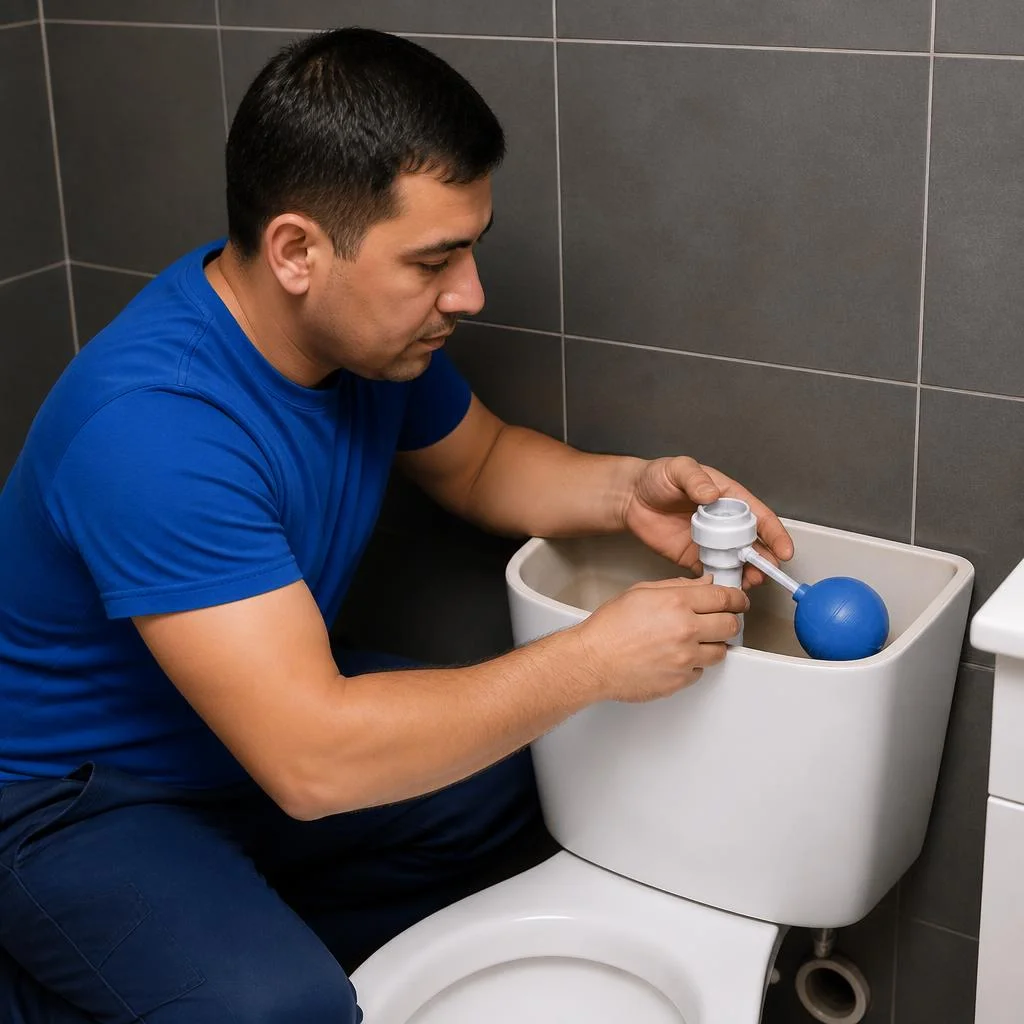
- Float mechanism: connected to the inlet valve, it sets the water fill level; when worn, the water either underfills or overflows over the edge.
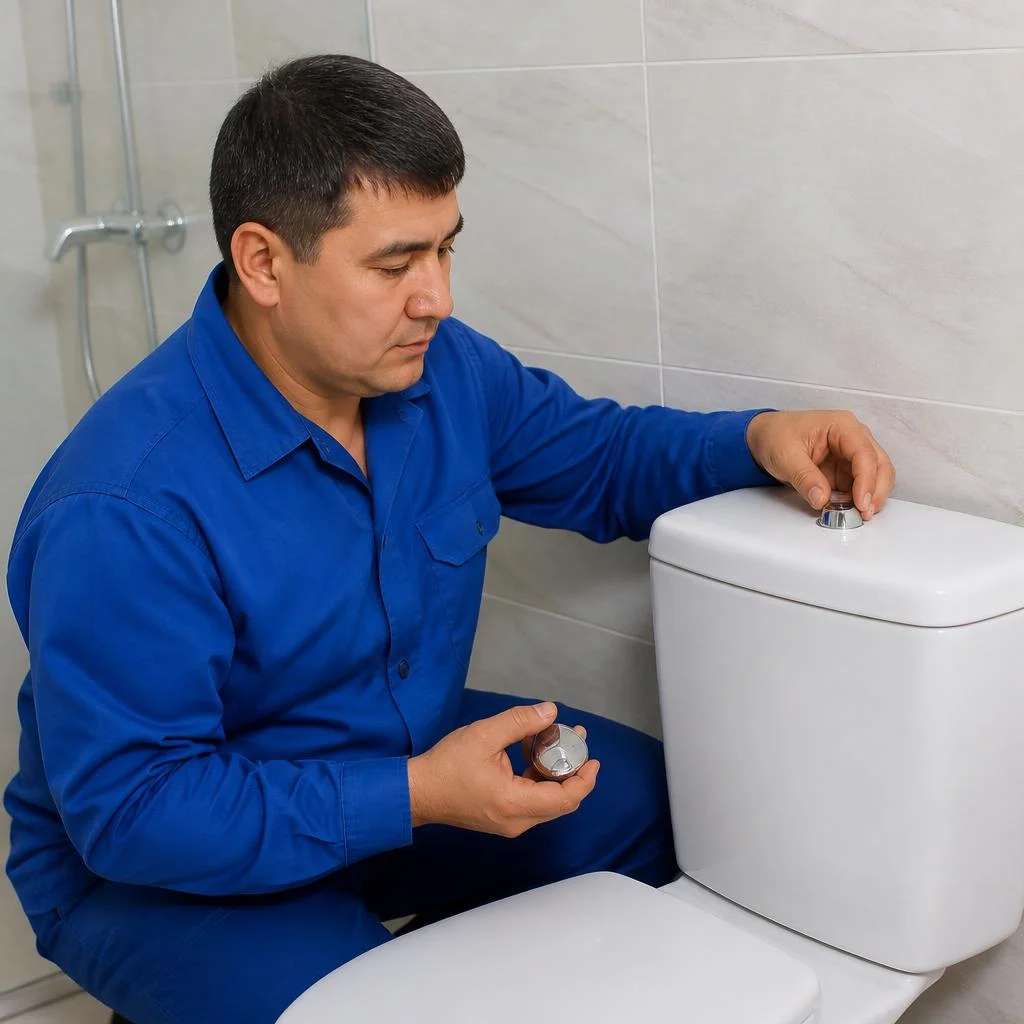
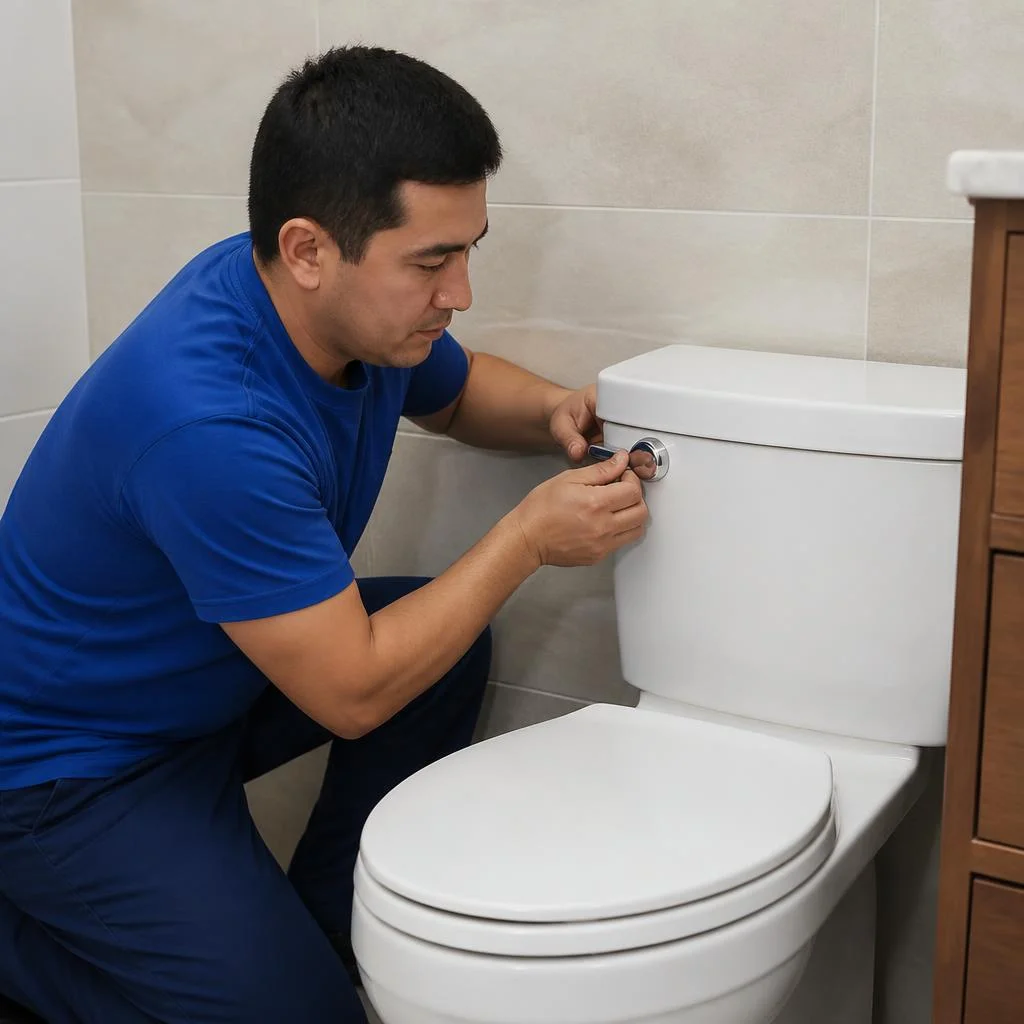
- Flush button or lever: transmits force to the flush valve through the stem; worn plastic leads to idle travel and no flushing.
7 reasons why a toilet tank leaks
- Worn inlet valve gasket: the rubber loses elasticity within 2–4 years, and water constantly trickles into the bowl.
- Damaged flush valve membrane: cracks in the elastomer cause a leak even without pressing the button.
- Displaced valve seat: salt deposits shift the seat, the fit is compromised, and water is not shut off completely.
- Sticking float: limescale on the stem prevents the float from rising — water overflows over the edge.
- Crack in the body: microcracks in ceramic or plastic appear after a sharp pressure surge in the riser.
- Loosened connection between the toilet and the tank: the gasket between the bowl and the reservoir dries out, and water seeps along the joint.
- Hard water in Tashkent: calcium salts deposit on the seat and membrane, accelerating wear by 1.5–2 times compared to the rated service life.
The flush tank is broken: 5 symptoms that it's time to call a technician
- The toilet tank wobbles: the fasteners have loosened, the gasket between the bowl and the reservoir has dried out — tightening without disassembly risks cracking the ceramic.
- The shut-off valve does not stop the water: the stopcock on the supply line does not hold pressure, and repair without replacing the unit is impossible.
- The toilet tank is shattered or the toilet tank lid is shattered: ceramic fragments require a complete replacement of the reservoir or lid; gluing does not withstand the load.
- Flushing does not work after three presses: the button or lever stem has worn out its service life, and the mechanism needs replacing.
- The leak runs along the body or at the connection point: water seeps along the seam or at the flexible supply line — tightening it yourself often leads to stripped threads.
When the toilet tank is broken and the toilet tank is broken: analyzing two scenarios
- The toilet tank is broken entirely: if the body is shattered or the ceramic has cracked along the seam — the reservoir is replaced as a whole; individual components cannot be restored.
- The toilet tank is mechanically broken: a broken button stem, a cracked lever, or stripped fastener threads — restored by replacing the specific part in a single visit.
- The flush tank in the toilet is broken hydraulically: water is not shut off by the inlet valve or constantly runs into the bowl — the valve or its seat is to blame.
- The flush tank is broken when the lid falls: a chip on the seating rim compromises the fit — the lid is replaced, and the rim is sanded by hand.
Hard water in Tashkent and the service life of fittings
Hard water shortens the service life of rubber gaskets and diaphragms to 2–4 years instead of the rated 5–7: salts deposit on the valve seat and destroy the elastomer from the inside. In Tashkent homes with a centralized supply, lime on the float rod appears as early as 8–10 months after installing new fittings, and repairing the float in a toilet tank becomes a routine procedure rather than an emergency one. At a hardness above 7 mg-eq/L, the outlet valve diaphragm loses its seal roughly a third faster than in regions with soft water. Customers often describe the problem briefly: toilet tank leak — and from that request the technician immediately understands that diagnostics of the seat and diaphragm are needed. For those who want to understand how to repair the tank themselves or how to reassemble a toilet flush tank after disassembly, it is worth remembering the order of the components. A separate frequent request is adjusting the water in the flush tank: with hard water it is more advantageous to install fittings with a ceramic seat; it withstands deposits longer than rubber and requires float replacement less often.
Toilet tank repair: what work we perform and how a visit proceeds
Work on the tank follows a single standard: request, on-site diagnostics, approval of the scope, restoration of the assembly, pressure testing, and a warranty card. Below are the stages of a visit, the full list of work, and a breakdown of designs with a button, a lever, and bottom water supply.
How an Eco-Service technician's visit proceeds: 5 stages
- Request: Eco-Service accepts requests by phone or in Telegram; the dispatcher clarifies the tank model and the nature of the fault before the visit.
- On-site diagnostics: the technician opens the housing, checks the inlet and outlet valves, the float, the condition of the gaskets and the seat.
- Approval: the client receives a list of work and the cost before repair begins; disputed items are discussed immediately.
- Restoration in one visit: the fittings are replaced from the kit brought along — a repeat visit is needed in roughly one case out of ten.
- Testing and card: the assembly is run through a full and half flush, the water fill is checked under pressure, and the client receives a 2-year warranty card.
What toilet tank repair includes: 14 types of work
- Valves and float: replacement of the inlet valve, outlet valve, float mechanism, valve diaphragm.
- Gaskets and seat: replacement of the inlet valve gasket, outlet valve gasket, valve seat.
- Flush and controls: replacement of the flush button, flush lever, water level adjustment.
- Leaks and supply line: elimination of tank dripping, leaks along the housing, leaks at the connection point, replacement of the flexible supply line and drain hose, elimination of noise when filling with water.
Toilet tank repair with a button and with a lever: what's the difference
| Flush type | What breaks most often | What we replace | Adjustment specifics |
|---|---|---|---|
| Button (single) | Diaphragm, spring | Diaphragm, spring, button | The key travel is set according to the water level |
| Button (dual) | Diaphragm, key axle | Diaphragm, both keys | The travel of both keys is adjusted at once |
| Lever | Gasket, rocker axle | Gasket, axle, lever | The rod tension is selected manually |
Button tanks with two keys require adjustment of the travel of both: if one sticks, the other stops working after 2–3 months. For lever assemblies, a common mistake is an overtightened rod; because of it, the gasket seats unevenly and water runs into the bowl.
Toilet tank repair with bottom water supply
Work with bottom water supply begins with removing the housing from the bowl: the flexible supply line connects to the inlet valve from below, and there is no way to reach the thread without disassembly. The technician shuts off the valve, disconnects the supply line, removes the housing, replaces the valve or gasket, and reassembles the assembly with a new connection gasket. Clients searching often type "toilet tank" — and land on this page, although the topic is bottom supply. Restoring the fittings of a toilet tank with bottom supply on Cersanit and Jika models takes about an hour; on built-in installations it takes longer due to access through the service opening. Servicing a toilet tank with a button with bottom water supply on dual-key Geberit models requires simultaneously checking the seating of the diaphragm and the travel of both keys. A separate line in requests is repair of toilet tank fittings with bottom supply: for it, the technician prepares a set of gaskets for the specific thread in advance. If a client writes "toilet tank repair cersanit," the technician clarifies the type of supply and the year of manufacture of the housing before the visit. Bottom supply more often leaks at the connection point due to the accumulation of salts on the thread, so on every visit the technician checks the connection and, if necessary, replaces the gasket — this is cheaper than disassembling the assembly again a month later.
Button and lever repair: adjustment and replacement
Working with the toilet tank button and replacing the lever are the most frequent requests after leaks: the mechanism wears out in 3–5 years with hard water. Adjusting the toilet tank button solves the problem of a sticking key without replacing parts: the technician sets the rod travel and spring tension for the specific water level. If the plastic of the key is cracked or the rocker axle has come loose, the part is replaced entirely — repairing a toilet flush tank with a button in such a case takes 40–60 minutes. On dual-button Geberit and Grohe models, both keys are adjusted simultaneously: mismatched travel leads to the full flush no longer working even with functioning fittings. Requests also include wording such as inlet valve for toilet repair — from this the technician immediately understands that diagnostics of the inlet assembly are needed. When a client writes repair of a toilet flush tank with a button with bottom water supply, the technician adds an inlet valve membrane and a connection gasket for the specific thread to the kit. Check the key travel after every water level adjustment — this extends the service life of the membrane. When a client writes repair of a toilet tank float, the technician adds a float mechanism and an inlet valve membrane to the kit.
Work Standard: What We Check Before Handover
- Leak-tightness: the assembly is filled and left for 10 minutes, the connections and the supply line connection point are checked for dryness.
- Water level: the mark is set 2–3 cm below the overflow edge, otherwise water flows into the bowl by gravity.
- Flush: full and half modes are run, and it is checked that the valve seats on the seat without jamming.
- Noise: humming and whistling during filling are eliminated — usually the cause is a clogged inlet valve filter.
- Fasteners: the bolts securing the body to the bowl are tightened, and stability is checked.
Repair of Toilet Flush Tanks: What We Take Into Account on Roca and Sanita Models
Work on toilet flush tanks on Roca and Sanita models with side supply is faster than on concealed installations due to free access to the valves. A toilet tank with partial replacement of fittings costs the client less than a repeat call a month later — therefore related items are agreed on immediately. Servicing the toilet tank on these bodies is more often associated with wear of the valve seat: hard water leaves limescale on the edge, because of which the membrane does not fit tightly and water leaks into the bowl even with a functioning float. The technician removes the scale, replaces the seat in case of deep wear, and checks the seating of the flush valve under pressure. Work on the toilet tank on Ukrainian models with side supply follows the same scheme: first the seat and membrane are assessed, then the replacement is agreed on. A separate category is repair of a built-in toilet flush tank: there access is through the service opening of the installation, and the list of operations is agreed on before opening the panel. In requests this often sounds like toilet tank repair — the wording does not change the order of work, but the technician immediately clarifies the type of supply.
Replacing the inlet and fill valve: adjustment and common mistakes
The inlet (fill) valve is responsible for filling with water and the level in the tank. Its malfunction causes noise during filling, overflowing over the edge, or constant filling — we break down when the assembly is repaired and when it is replaced.
Toilet inlet valve: when to replace and when to clean
Restoring the tank inlet valve is justified if the assembly is clogged with hardness salts or the membrane has lost its elasticity: cleaning and replacing the membrane return the valve to operation in a single visit. If the body is cracked or the thread on the fitting is stripped, the assembly is replaced entirely, because restoring the tightness of cracked plastic gives no guarantee and the leak returns. Clients often phrase the task as toilet inlet valve repair — and the technician immediately understands what is meant. Such work requires proper diagnostics: we check the stem travel, the condition of the seat and the sealing ring, not just the membrane. Through the Eco-Service service center in Tashkent, a visit to the address takes place on the day of the request. In requests there is also another wording — toilet valve repair — and from it you can see that the client does not understand the design of the assembly and expects diagnostics on site. Sometimes the request sounds even simpler: repair of the toilet tank inlet valve — and from it it is clear that the person needs a technician with spare parts in hand. And someone types toilet tank flush repair — and for such a request the technician also arrives with a full set of parts. Before replacing the valve, we shut off the valve and drain the water from the tank — without this, when unscrewing the supply line, water will go onto the floor.
Fill valve with side and bottom supply
| Supply type | Access to the valve | What we remove | What we check additionally |
|---|---|---|---|
| Side | free, from the side of the tank | nothing | the fitting nut for overtightening |
| Bottom | through the bottom of the tank | the tank from the bowl | the connection of the toilet to the tank |
| Bottom on a concealed installation | through the service opening | the flush panel | the fastening to the frame |
| Combined | from the side plus from below | the tank lid | both connection points |
Replacing an inlet valve with a side supply takes 20–30 minutes, while with a bottom supply it stretches to 40–50 minutes due to removing the tank. The bottom option also requires checking the gasket between the tank and the bowl — when removed, it often shifts. In requests this work is described briefly: valve for a toilet tank with bottom supply — and from this phrase it is clear that the bowl will have to be removed. With a side supply, it is important not to overtighten the nut: the plastic thread of the valve cracks from excessive force, and after 1–2 weeks a leak appears at the connection point. If the tank hangs on a concealed installation, in correspondence they write wall-hung toilet tank repair — and the technician takes the flush panel and fastening to the frame in advance.
Adjusting the fill valve: how to set the water level
- Shut off the water and drain the tank: open the lid, remove the remaining water so that you can see the level mark and the overflow tube.
- Find the adjustment screw or float: on lever models the level is set by the position of the float on the rod, on compact models — by the screw on the valve body.
- Set the water 2–3 cm below the overflow tube: this is the basic volume of the toilet tank at which the flush is strong and there is no overflow.
- Check with two flushes in a row: if after the second one the water fills for longer than 40 seconds, the valve or supply line is clogged with salts — cleaning is needed.
- Secure the position: tighten the locknut of the screw, otherwise from vibration the adjustment drifts within a week.
Toilet inlet valve Cersanit and Gustavsberg
Cersanit and Gustavsberg have similar valve assemblies: for both brands the valve is modular, the entire cartridge is replaced rather than a separate membrane. That is why the technician carries original cartridges for these brands — a universal one does not fit the seat. With Cersanit, the cartridge itself more often fails due to salts in the water, while with Gustavsberg it is the O-ring between the valve and the tank body. We replace the ring together with the cartridge, otherwise the leak returns within a month. In the price list this item is listed as Gustavsberg toilet fill valve repair, and from it you can see that it refers specifically to Swedish models. The valve for a bottom-inlet tank on these models is replaced without removing the bowl: access is through the top of the tank. On modular models, you should start by checking the cartridge part number — a mismatch in height results in an incorrect water level. In the support chat you also come across wording such as toilet tank valve repair — using it, the technician clarifies the brand and brings the right cartridge.
Repair of the flush and outlet valve: leak, weak flush, noise
The outlet valve holds water in the tank and opens when flushed. Its wear causes a constant leak into the bowl, a weak flush and noise. We break down the four scenarios that a technician encounters most often on a service call.
Toilet flush valve repair: why water runs into the bowl
In most cases, toilet flush valve repair comes down to replacing the gasket and seat rather than the entire assembly: water runs into the bowl when the gasket or diaphragm has lost its elasticity, or when hard-water salts have built up on the seat. An EPDM gasket lasts 3-5 years, a silicone diaphragm up to 7, but at a hardness above 7 mg-eq/L the service life is halved: salts accumulate on the edge of the seat, the seal is compromised, and water flows into the bowl. Clients often describe this in their own words: toilet flush tank repair — and the technician immediately understands what is meant. Requests also contain another wording — flush tank valve repair, when the person has already looked closely at the assembly and roughly figured out what needs replacing. The work begins with inspecting the seat under a magnifying glass — microcracks and limescale deposits are immediately visible. If the leak returns 2-3 weeks after replacing the gasket, the cause is deformation of the seat — it is ground down or replaced together with the valve. At Eco-Service, on service calls we carry seats for Cersanit, Jika and Roca fittings so we don't have to send the technician out twice.
Fixing a weak flush: 5 causes and what the technician does
- Low water level in the tank: the float is set below the mark, the flush volume drops by 30-40% — it is adjusted with a screw on the inlet valve.
- Clogged holes in the bowl: limescale and rust narrow the outlet holes, the flow is sluggish — they are cleaned with a brush and citric acid.
- Stretched valve linkage: over 4-6 years the plastic linkage stretches, the valve does not lift fully — the linkage is replaced or its length adjusted.
- Worn diaphragm: a diaphragm that has lost its elasticity opens only a third of the way — a new one is installed, with a service life of 5-7 years.
- Weak pressure in the supply line: pressure below 0.5 bar does not lift the valve fully — the inlet filter screen is checked.
Eliminating noise when filling with water: humming, whistling, vibration
Eliminating noise when filling with water begins with diagnosing the pressure: humming and whistling are caused by a clogged filter screen, a worn diaphragm in the inlet valve, or excessively high pressure in the supply line. In Tashkent high-rise buildings, the pressure in the riser rises to 4-5 bar at night versus 2-2.5 during the day — the diaphragm begins to vibrate, and the tank hums throughout the entire bathroom. The technician cleans the screen, replaces the diaphragm, and at a pressure above 3.5 bar installs a pressure reducer on the supply line. A toilet tank water filling system with a side inlet is noisier than one with a bottom inlet: the flow enters at an angle and becomes turbulent at the wall. The whistling that appears only at night is usually associated with peak pressure in the riser — a reducer on the supply line solves the problem without replacing the valve.
Repair of a toilet flush tank with two buttons
Repair of a toilet flush tank with two buttons almost always comes down to the switching mechanism rather than the valve: one button stops returning, and the water either does not flush or runs constantly. The switching mechanism is a rocker with two arms and linkages of different lengths: a full press lifts the valve through its entire travel, a half press by a third. Plastic rockers break in the 5th-7th year, and the button springs lose their elasticity after just 3 years. The technician replaces the switching mechanism and adjusts the travel of both buttons, checking the gap between the pushrod and the linkage. At the same time, the outlet valve is inspected: when a button sticks, it wears out faster. After replacing the mechanism, the technician checks both modes 3 times each: if the half flush does not work, the linkage length is adjusted rather than replacing the valve.
Built-in, wall-hung and plastic cistern: repair of installation frames and non-standard housings
A built-in cistern is serviced through the installation's service opening, a wall-hung one — by removing the bowl, while plastic housings require careful work with the fasteners. Let's look at access to the fittings in each of the three cases.
Built-in toilet cistern: access through the service opening
Work on a built-in toilet cistern is carried out through the installation's service opening: the technician removes the button, takes out the inlet and flush valves, and replaces gaskets and membranes without dismantling the tiles. The operation takes 40-60 minutes, because all the fittings — inlet valve, flush valve, float — are assembled into a single unit accessible through one opening. If the inspection hatch is sealed shut with tiles, the technician carefully cuts an opening with a hole saw and installs a decorative cover in the color of the tile. Through Eco-Service, such an operation is performed without dust: the hole saw comes with a dust collector, and the joint is sealed with silicone. Clients often phrase the request as built-in toilet cistern repair — and the technician immediately understands that access through the service opening is needed. Another common phrasing is toilet inlet valve with side supply repair: based on it, the technician takes a replacement membrane and gasket for the side supply in advance. A flush cistern in the wall takes less time than redoing the entire tiling, so it's worth providing an inspection hatch in advance — this saves hours of work and preserves the finish.
Grohe and Geberit installation cisterns: modular cartridge replacement
Servicing a Grohe or Geberit installation cistern takes a single visit: the cisterns here are modular, valves and seals are replaced as individual cartridges, and original spare parts are in stock at Eco-Service. On Grohe, the inlet valve membrane wears out most often — it is replaced without removing the housing, by unscrewing the top cover of the module. On Geberit, the first thing checked is not the valve but the pneumatic button with two paddles: the air tube kinks or slips off the fitting, which is why flushing fails even with the fittings in working order. A built-in grohe cistern is serviced starting with cartridge diagnostics: the technician removes the button, blows through the tube, and only then disassembles the valve assembly. If the tube is intact, the cartridge is replaced — on average 30 minutes per operation. In requests this sounds like installation cistern repair, and based on that phrasing we immediately prepare a set of cartridges of the required size. Clients type in built-in grohe cistern repair — and land on this page. When water doesn't fill to the required volume, adjusting the toilet inlet valve helps: the technician sets the float to the level and checks the stem travel.
Wall-hung toilet: removing the bowl and fasteners
Work on a wall-hung toilet cistern is done through the same service opening as on a built-in one: the bowl is removed only when replacing the fasteners or the gasket between the bowl and the frame. A wall-hung toilet requires intervention less often — the fittings in the installation are protected from moisture and mechanical stress, so the valves last longer than on wall-mounted counterparts. When removing the bowl, the technician checks the condition of the studs and bushings: deformed bushings are replaced immediately, otherwise after 2-3 months play appears and the bowl starts to wobble. Fasteners are selected to match the diameter of the installation frame — standard studs of 8 and 10 mm, bushings for ceramics 14-16 mm. Replacing the bushings of a wall-hung toilet takes about an hour, whereas without removing the bowl — 40 minutes. In the price list this item appears as flush cistern in the wall repair, because the bowl is opened only when absolutely necessary. Requests also include cersanit toilet flush cistern repair — based on it, the technician checks the fitting size against the housing model. If water drains from the bowl by itself, it's most often about toilet cistern flush repair: the technician checks the seat and the sealing cuff of the flush column.
Plastic cistern and cistern with a sink: servicing specifics
A plastic toilet cistern is serviced with caution: the fasteners and threads crack easily, so the technician works with a torque screwdriver with limited force. A plastic toilet cistern most often requires attention to the button seat — it cracks from frequent pressing, and it is restored with a repair sleeve rather than by replacing the body. A toilet cistern with a sink requires an additional check of the tightness of the connection between the cistern and the washbasin: the joint gasket is replaced together with the valve gaskets so that water does not seep onto the shelf. A built-in toilet cistern and work with plastic models differ in tools: for ceramic and metal, a standard set is suitable; for plastic, only soft attachments. Clients often ask about toilet cistern repair price — the total is calculated after diagnostics, because it depends on the set of parts to be replaced. If there is a crack in the body of a plastic cistern, it is not restored but replaced entirely — soldering does not withstand water pressure. Another common operation is adjusting the flush cistern valve: it is done when water constantly leaks into the bowl.
Brands of cisterns and fittings: Cersanit, Jika, Roca, Sanita, Geberit
Each manufacturer has its own valve design: in some the seat is removable, in others the float is on a plastic axle, and in others the button works via a pneumatic tube. Below is what exactly breaks in five popular lines and which parts the technician brings along.
Cersanit and Jika flush cistern: what breaks most often
In Cersanit the valve seat is removable — it is replaced separately from the valve, which reduces the cost of work if the valve body is intact. The cersanit flush cistern and the jika toilet flush cistern are most often fixed in a single visit: cartridges and gaskets for both lines are in the technician's van. Clients often describe the problem in their own words — toilet cistern button repair — and from this wording the technician immediately understands that a button repair kit is needed. On the Jika line the button can be disassembled without removing the cistern, so such a request is closed the fastest. Over years of work we have developed a simple practice: jika toilet flush cistern repair almost always comes down to replacing the buttons and push rods, not the whole assembly. A separate story is plastic toilet cistern repair: in such models the body cracks along the seam, and the technician first assesses whether it makes sense to replace the whole assembly.
Roca and Sanita flush cistern
The roca toilet flush cistern and the sanita toilet flush cistern share one design feature: the inlet valve here has a side connection, and the float is mounted on a lever. Most often the technician replaces the seat gasket and adjusts the water level — the valve body in both lines lasts noticeably longer than the membrane. In Roca the float lever is metal, in Sanita it is plastic, and this determines what fails first. In Sanita the float is mounted on a plastic axle, which cracks over time: during sanita flush cistern repair the technician checks the axle and replaces it together with the gasket, otherwise in two or three weeks the float will start to stick. If water does not fill at all, this is already toilet inlet valve repair — then the membrane and filter mesh are replaced. Requests to the service often read exactly like this: sanita toilet flush cistern repair — and the technician immediately understands that a repair kit for the side connection is needed.
Geberit flush cistern and built-in fittings
The geberit flush cistern starts not with the valves but with the button: this line has a pneumatic drive, and the first thing the technician checks is the pneumatic tube and the buttons. If the button works intermittently, the cause is almost always the tube, not the outlet valve cartridge. Then the cartridge itself and the sealing rings are replaced — they come as a separate repair kit for the specific installation model. The Geberit pneumatic tube dries out and cracks over time; it is replaced together with the cartridge, otherwise the button stops working a few weeks after the work. For built-in installations this is wall-hung toilet cistern repair: the fittings can only be reached through the button panel, without removing the bowl from the wall. When the supply comes from below rather than the side, the request is filed as bottom-inlet fill valve repair — the technician brings an extended wrench and a spare membrane. Requests to the service often read exactly like this: geberit flush cistern repair — and from this wording the technician immediately understands that a repair kit for the specific installation is needed.
Cersanit toilet: cistern and related work
The cersanit toilet cistern almost always entails checking related assemblies: in this line the seat fasteners loosen faster than in other brands. The technician additionally inspects the gasket between the cistern and the bowl and the bolted connection — at the slightest play in the seat they tighten it or replace the fasteners. The cersanit toilet flush cistern on models with a bottom supply takes more time: the cistern has to be removed to reach the inlet valve. If play in the seat is detected during the work, the fasteners are replaced immediately — otherwise, when the lid is raised, the cistern receives additional load, and the connection to the bowl loosens. Requests to the service often read exactly like this: cersanit toilet inlet valve repair — and the technician immediately understands that a repair kit for the removable seat is needed. Clients type "cersanit toilet cistern repair" — and land on this page.
2-Year Warranty, Parts and Payment: How Eco-Service Takes Responsibility for Repairs
The terms under which the service takes responsibility for the result: the duration and scope of the warranty, availability of parts in stock, payment methods, and what clients write about the work of the technicians in reviews.
2-Year Warranty on Toilet Tank Repair: What It Covers
Eco-Service provides a 2-year warranty on all toilet tank repair work: if within this period a leak, noise or weak flush appears due to the technician's fault, the visit and fix are repeated free of charge. The coverage extends to the replacement of the inlet and outlet valve, float mechanism, diaphragm, gaskets, seat, flush button and lever, as well as water level adjustment. Every request is recorded in the database: the warranty card number is linked to the address, tank model and list of operations, so on a repeat visit the technician sees the history before the client even calls. The warranty remains valid if the unit has not been disassembled independently after the work. Practical tip: keep the card until it expires — on a repeat request the technician checks its number against the database, and processing takes just a couple of minutes. Clients often describe their task with the words "how to repair a toilet tank" — and from this wording the technician immediately understands that a visit with a full set of consumables is needed. And in requests they also often write "унітаз ремонт сливного бачка" — from this phrase the dispatcher determines that a home visit with a set of parts is exactly what's needed. A separate category of requests is toilet leak repair: water escapes along the body or drips at the base, and such requests are accepted on a priority basis. In search, people often type in впускной клапан унитаза с нижней подводкой ремонт — and for such a query the technician takes along an inlet valve for bottom supply and seat gaskets in advance.
Parts in Stock: Why Work Is Completed in a Single Visit
Eco-Service keeps inlet and outlet valves, diaphragms, gaskets, seats, flush buttons and levers for bottom and side supply in its warehouse in Tashkent — this allows 9 out of 10 requests to be closed in a single visit. A specific kit is selected for each model: for ремонт сливного бачка унитаза roca, the warehouse has inlet valves with bottom supply, dual-flush outlet units and seat gaskets for the standard lid opening. The technician arrives with a bag of consumables, so there is no need to wait for a part to be delivered by the supplier. Requests also contain wording such as ремонт бачка унітазу — from it the dispatcher immediately sees that a visit with a full kit for a specific model is needed, and passes the list of parts to the technician before the client is called.
- Inlet valves: side and bottom supply, for standard and elongated tank bodies.
- Outlet valves: single- and dual-flush, for button and for flush lever.
- Diaphragms and gaskets: inlet, outlet and seat — consumables that are replaced with every leak.
- Flush buttons and levers: plastic and chrome-plated, for standard lid openings.
- Float mechanisms: lever and cartridge types, with water level adjustment.
Payment via Click, Payme, Uzcard and Humo
Work can be paid for in cash to the technician, via Click, Payme, Uzcard or Humo — the receipt and warranty card are issued immediately after the work.
- Cash: the technician accepts payment on site after checking the flush and water fill.
- Click: transfer via a link or phone number, confirmation arrives in the app.
- Payme: payment from a Uzcard or Humo card via the app, the receipt is generated automatically.
- Uzcard and Humo: cards are accepted directly if the technician has a terminal with him.
Eco-Service Client Reviews in Tashkent
Customer reviews of Eco-Service can be found on Google Maps and Yandex.Maps, as well as on the service's Telegram channel: most often people mention the speed of arrival, the technician's neatness, and the fact that the work is completed in a single visit. In the reviews, the leak along the body and weak flushing are specifically highlighted — these cases most often require replacement of the valve or membrane, and customers write that the technician had the part on hand right away. The geography of the reviews covers all of Tashkent: Yunusabad, Chilanzar, Mirzo-Ulugbek, Yashnabad, Sergeli. On repeat requests, customers receive priority booking — the technician arrives the same day, even if there are many requests. Practical takeaway: before calling a technician, check the reviews for your district — they show how quickly the service reaches your specific address.
Conclusion
We have covered how the tank is put together, which components fail first, and how diagnostics are carried out. Below is a concise summary that will help you quickly get your bearings before calling a technician.
Key takeaways
- Diagnostics: a leak into the bowl points to the flush valve, noise and humming during filling — to the inlet valve, weak flushing — to the membrane or seat.
- Supply type: a bottom supply requires removing the tank and shutting off the water, while a side supply allows the valve to be replaced without dismantling the body.
- Tank type: built-in and wall-hung tanks are serviced through the service opening, while plastic and vanity-unit tanks are serviced by removing the lid.
- Brand: Cersanit, Jika, Roca, Sanita, Geberit and Grohe use modular cartridges, which speeds up the replacement of the fittings.
- Prevention: hard water shortens the service life of the gaskets to 2–4 years, so scheduled replacement is cheaper than fixing a leak along the body after the membrane ruptures.