









How to choose a radiator for a heating system in Tashkent
The type of radiator is determined by the pressure in the system, the material of the supply pipes and the heat losses of the house, not just the price. We explain how to select a model for an apartment with a central riser or a private house with a boiler.
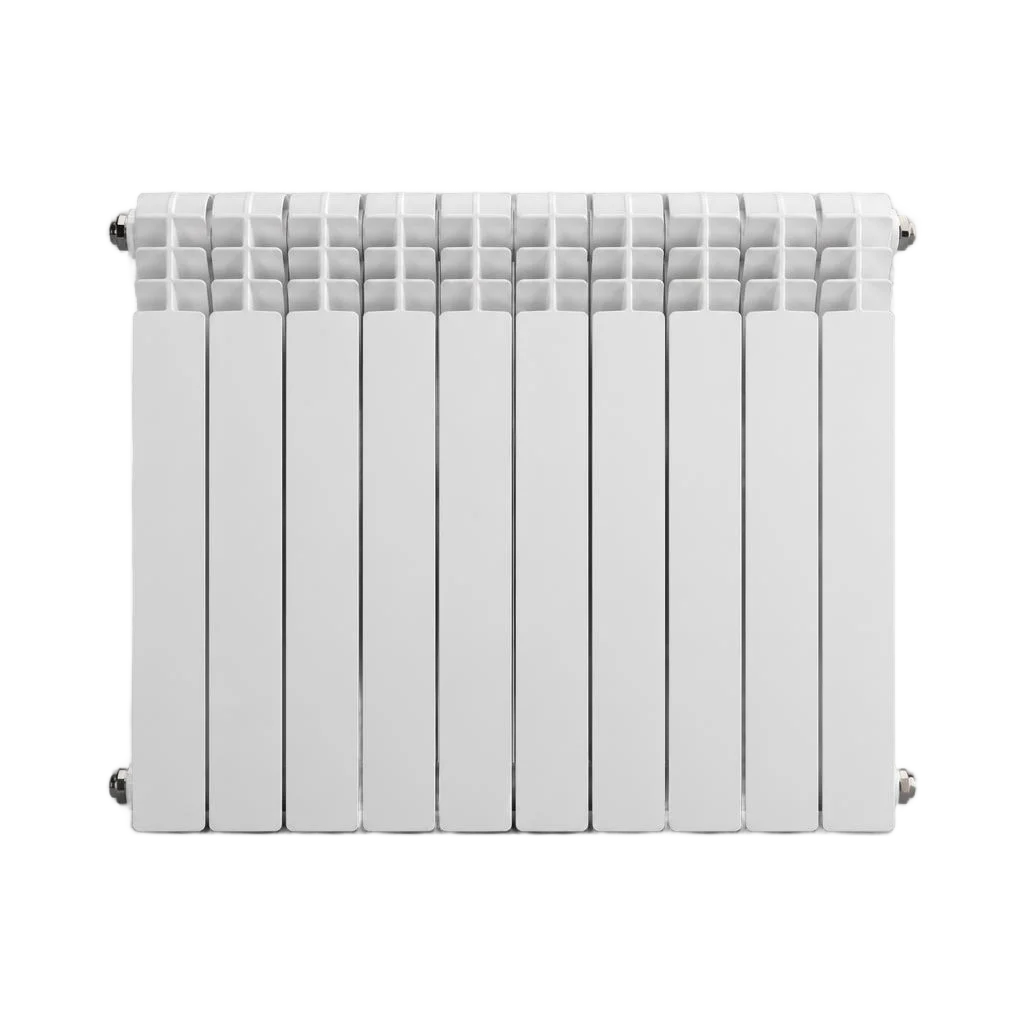
How bimetallic, aluminium, steel and cast iron differ
| Radiator type | For which system | Installation feature | Service life |
|---|---|---|---|
| Bimetallic | Central, high pressure | Steel core, threaded adapters | 20-25 years |
| Aluminium | Autonomous, boiler | Sectional assembly, nipple wrench | 10-15 years |
| Steel panel | Autonomous, boiler | Ready-made unit, no extension | 15-20 years |
| Cast iron | Central, old piping | Heavy weight, wall brackets | 30-40 years |
In Tashkent's panel buildings with a central system, bimetallic radiators withstand pressure surges better than aluminium — aluminium corrodes faster there. Installation of heating radiators in apartments in Chilanzar and Yunusabad with cast-iron risers is more often done with bimetallic models, while in private houses with a boiler on autonomous piping, aluminium and steel work without problems. One nuance: aluminium sections are sensitive to hydrogen gas in the coolant — before installation, it is worth checking the acidity of the water in the system.
How many sections are needed per room
We calculate sections based on the room's heat losses: per 1 m² with a ceiling height of up to 2.7 m, approximately 100 W of heat is taken. For a room of 18 m², this is about 1800 W, which corresponds to 10-12 sections of bimetallic with a power rating of 150-180 W per section. Corner rooms and rooms with large windows lose 15-20% more heat — there we allow a reserve in sections, otherwise the radiator will operate at its limit. The reserve is especially important for ground floors with a cold basement and for rooms with a balcony door: floor-to-ceiling glazing adds up to 25% to heat losses, and the standard calculation by area does not fit here. If a client searches for heating radiator installation, the calculation of sections is still the first step — it determines how many brackets and adapters will be needed.
Which pipes are suitable for the supply lines
- Polypropylene: cheaper to purchase, welded with a soldering iron, reliable in open routing along the wall or in the skirting board.
- Metal-plastic: bends at the required angle, convenient for hidden laying in a chase, connected with press fittings.
- Cross-linked polyethylene: withstands temperatures up to 95 °C, suitable for connection to a boiler via a manifold.
- Steel: rarely used, but indispensable when replacing a section of old piping without redoing the riser.
Hidden routing in the wall under tiles is the only case where we insist on metal-plastic: a polypropylene seam in a chase cannot be checked after sealing, while a press connection remains repairable through an access hatch.
Installation of heating radiators: turnkey work stages
What installation of heating radiators looks like from request to system check — and why the order of stages matters for the tightness of connections. We break down each step the way we do it at sites in Tashkent.
Preparation: draining water and dismantling the old radiator
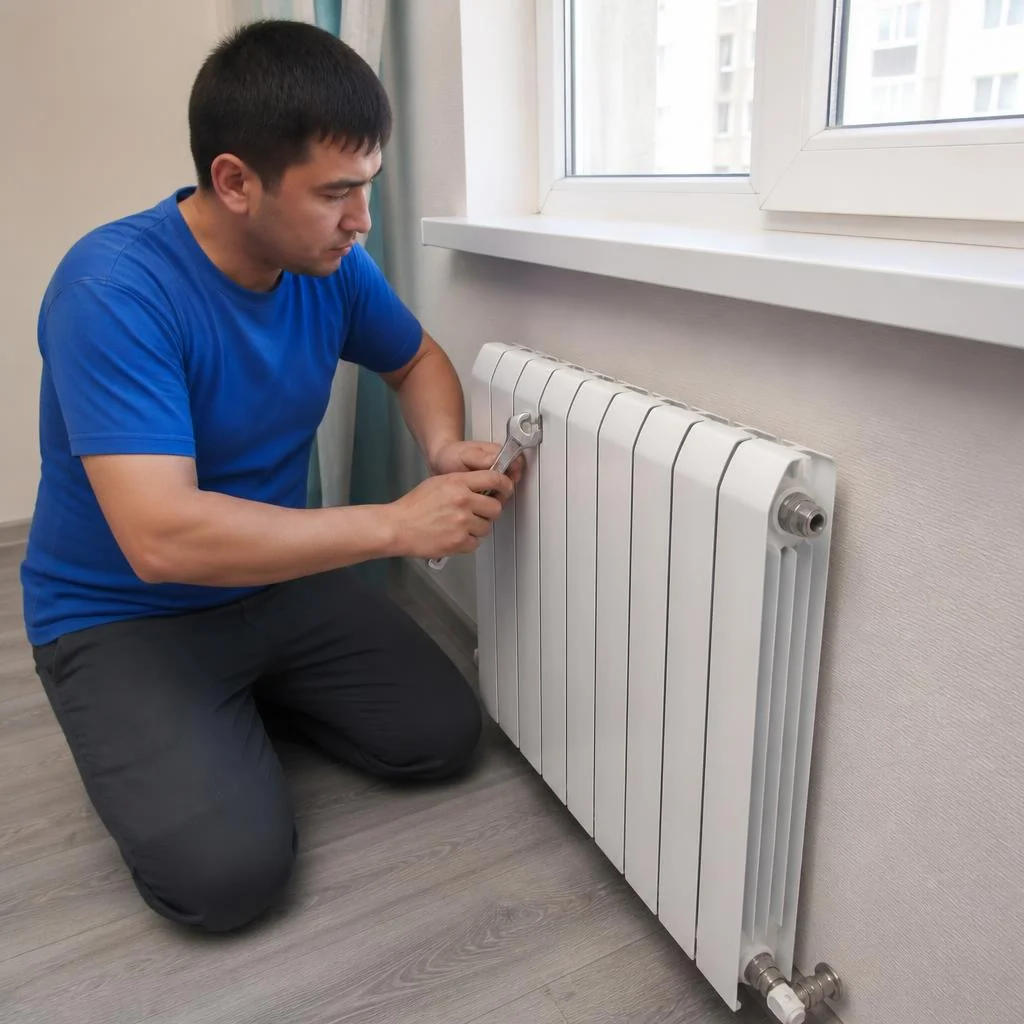
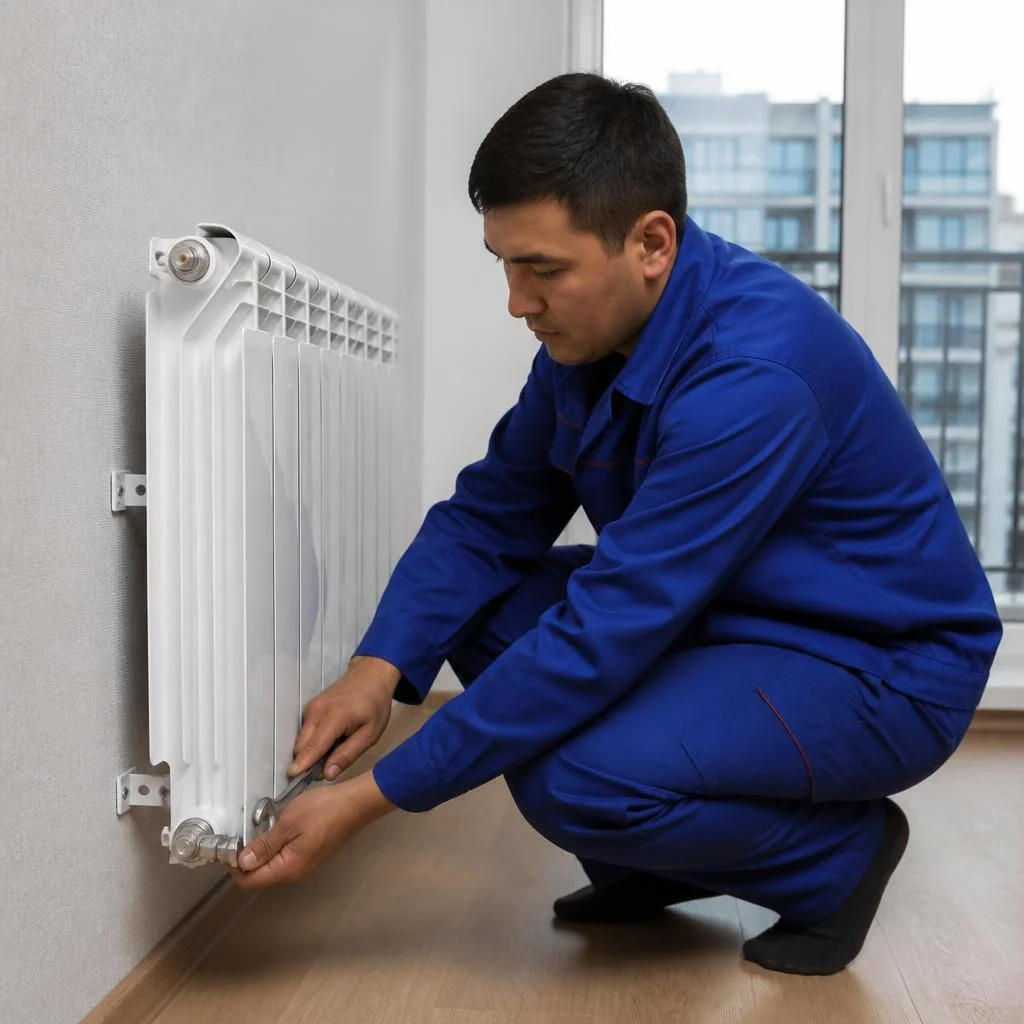
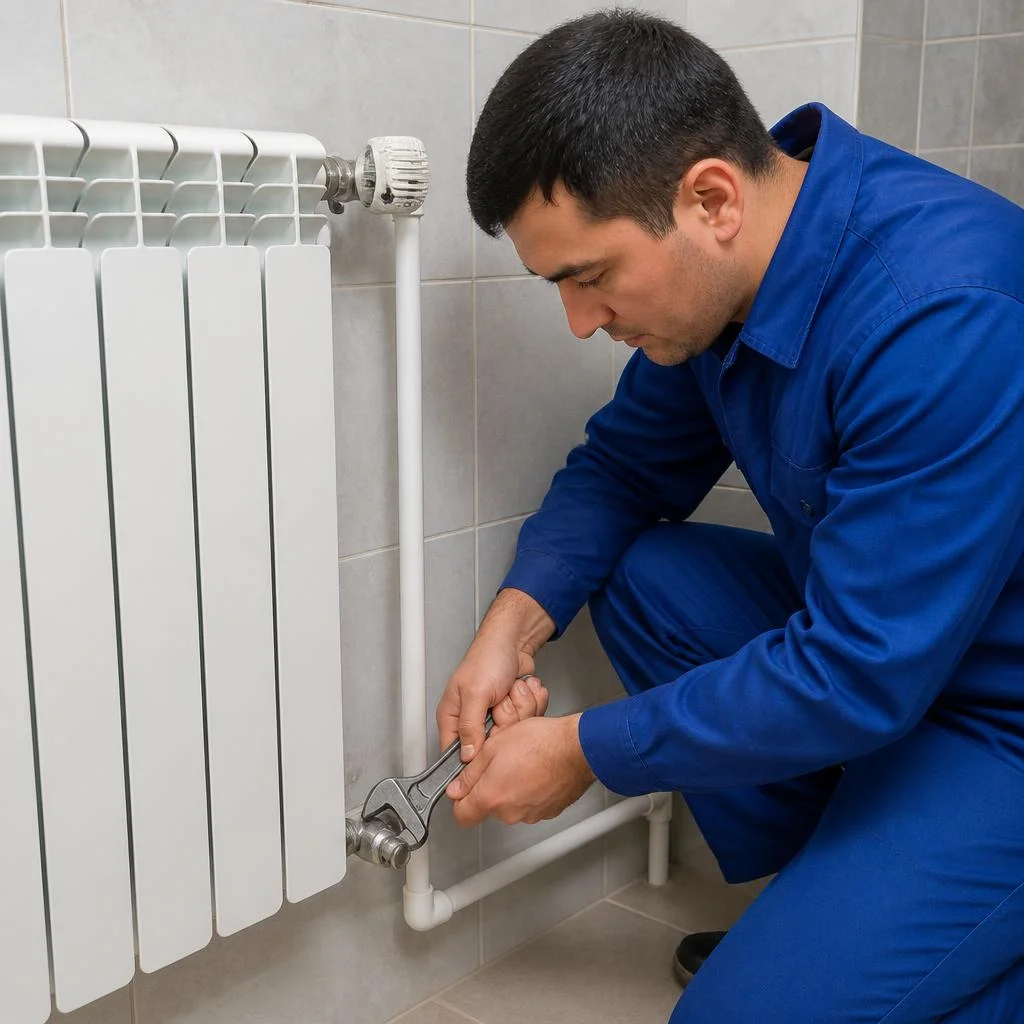
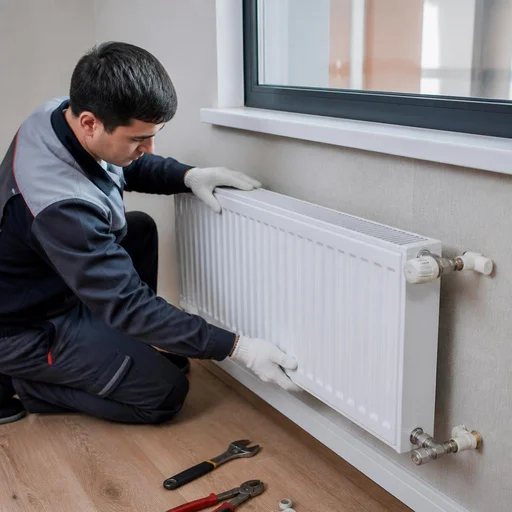
Before installation, we shut off the riser, drain the water and dismantle the old radiator — without this, equipment in an apartment building cannot be replaced. We start draining only after written approval from the management company: during the heating season, the riser is shut off for a limited window, usually for a few hours, and dismantling cannot be delayed. In requests, clients often write briefly — radiator installation — and the technician immediately understands that a full cycle is needed: from draining to startup. On old cast-iron sections, threaded connections seize up — we heat them with a gas torch and unscrew them with a wrench so as not to strip the supply lines. Eco-Service dismantles the old radiator and carries it out of the apartment, while the mounting points and marks on the wall remain for marking out the new unit. If the riser cannot be fully shut off, warn the upstairs neighbors in advance — otherwise, during draining, the water will go to them.
Connection to the riser or to the boiler: what's the difference
| Scheme | Where it is used | Is a bypass needed | Feature |
|---|---|---|---|
| Single-pipe | Buildings of older construction | Yes, mandatory | Coolant flows sequentially along the riser |
| Two-pipe | New buildings, cottages | No, but we install it on request | Supply and return are routed separately |
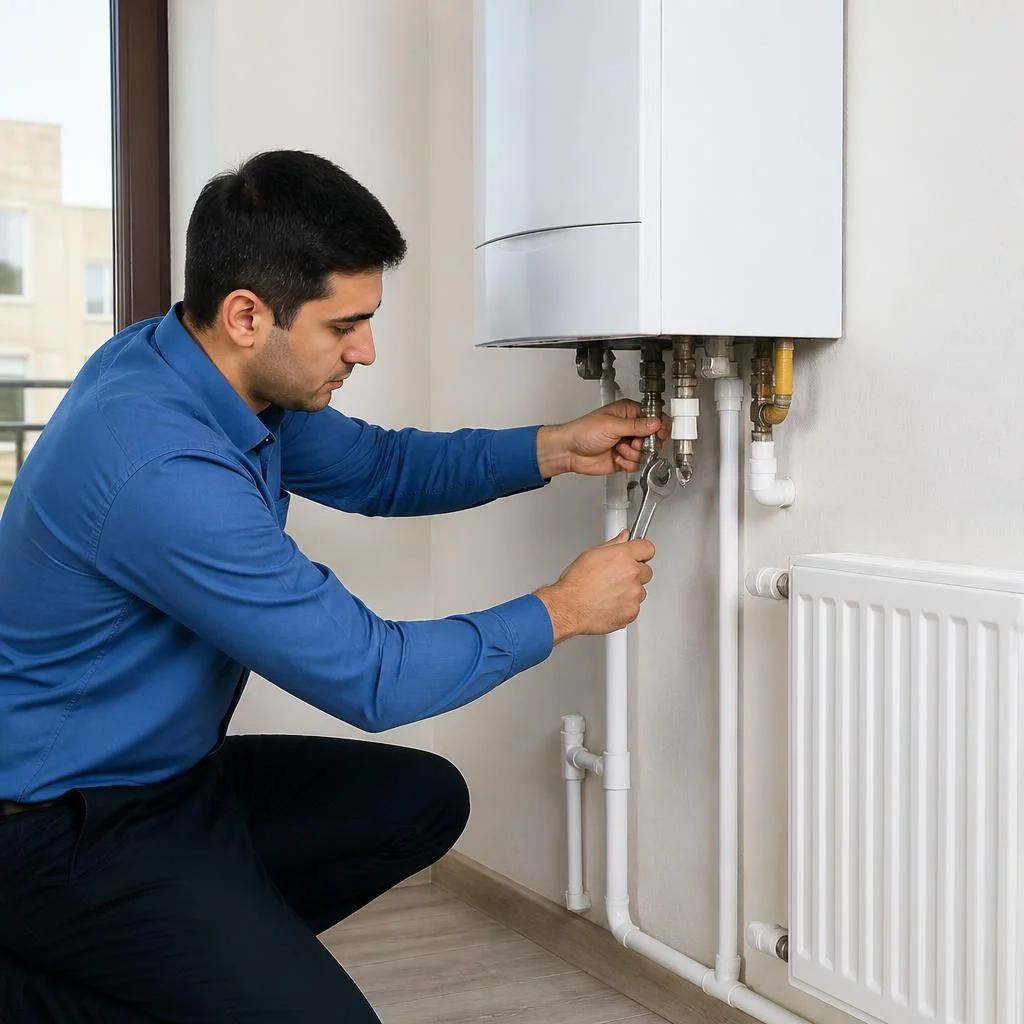
| Manifold to the boiler | Private houses, autonomous heating | No | Each radiator has its own loop from the manifold |
| Side connection to the riser | Standard series with side routing | Yes | Connection on one side of the unit |
Shut-off valves, thermostatic regulator and plugs
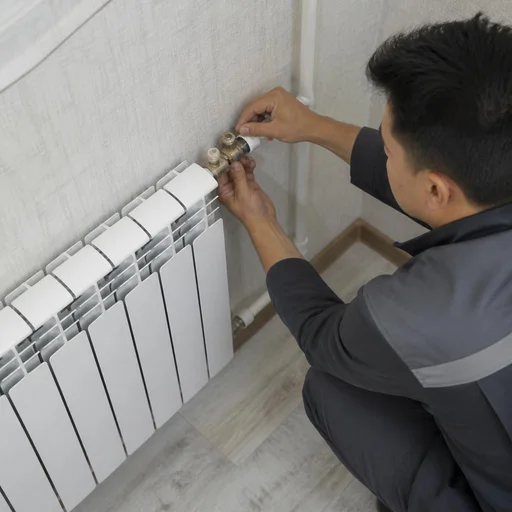
- Shut-off valves: ball valves on the supply and return allow the radiator to be removed for repair without draining the entire system.
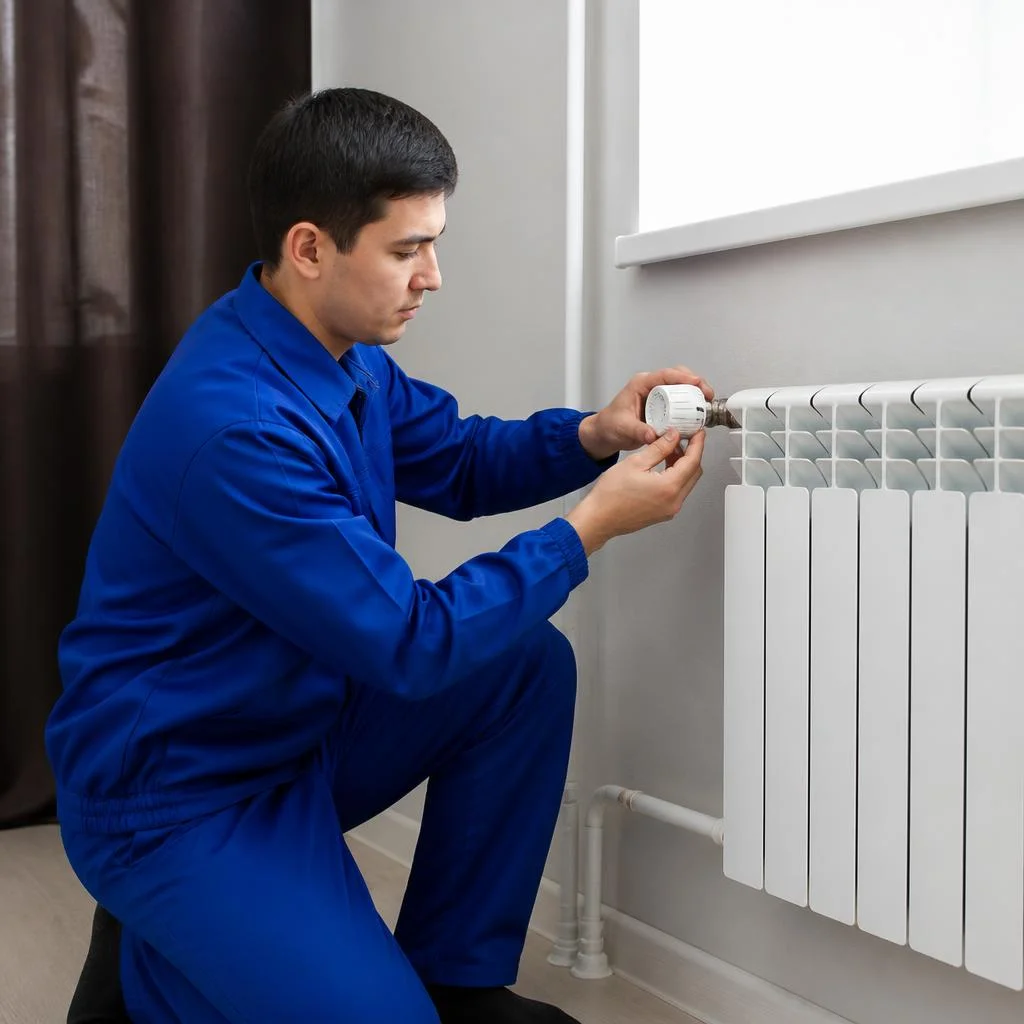
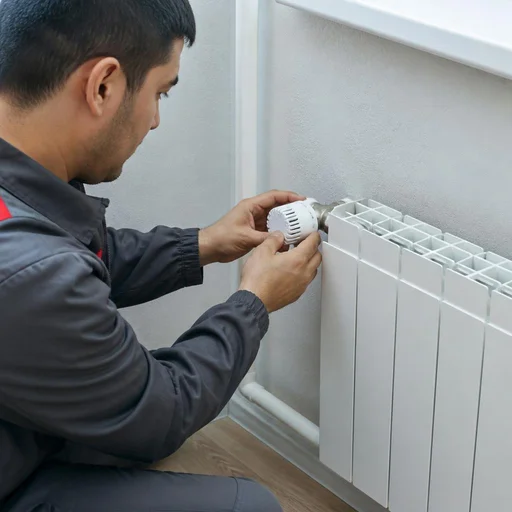
- Thermostatic regulator: a liquid or electronic sensor maintains the set room temperature, automatically reducing the flow.
- Radiator plugs: caps close off the free manifold outlets, and a Mayevsky valve bleeds air during startup.
- Union fitting: a detachable connection on the supply line simplifies removal of the unit and replacement without soldering pipes.
System check after installation
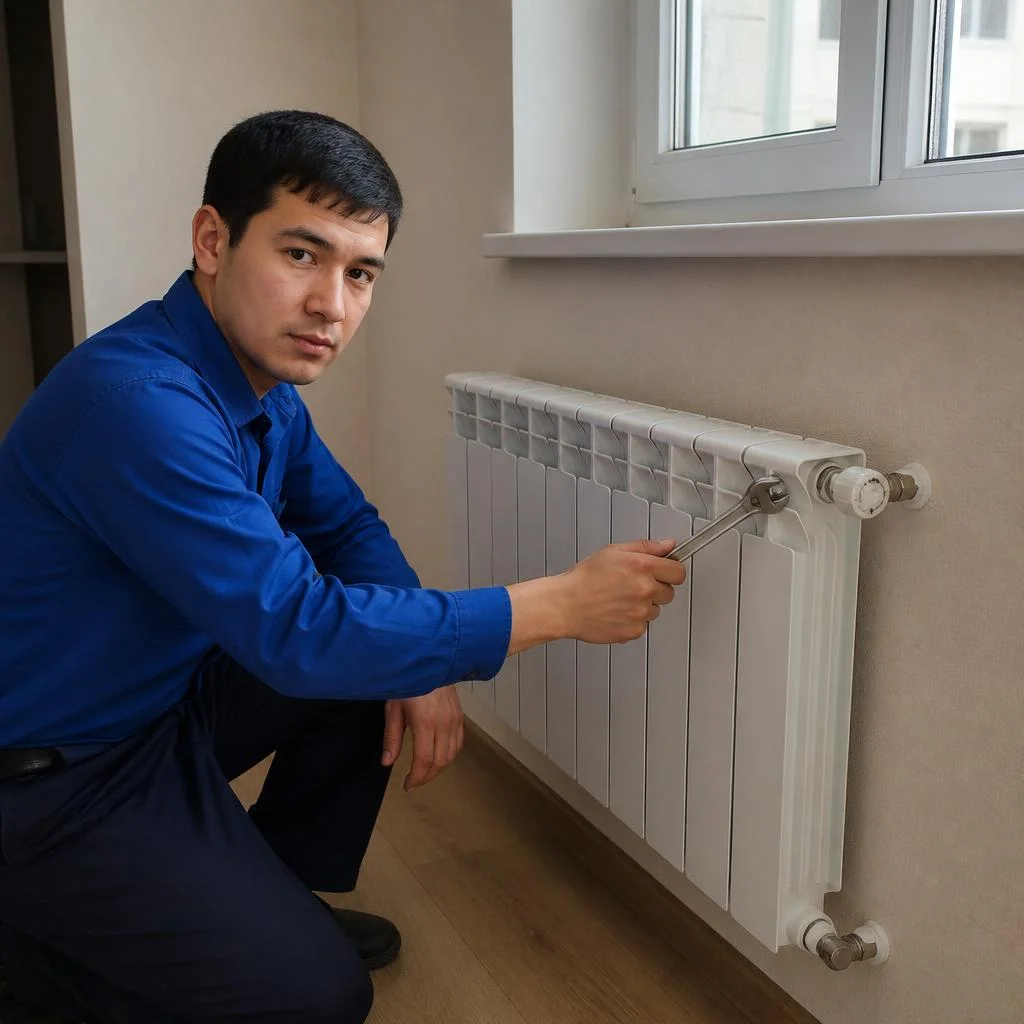
After installation, we fill the system, check the connections under pressure and start the radiator to make sure it heats evenly. We perform pressure testing at one and a half times the working pressure: for five-story buildings this is usually 6–8 bar, for private houses with a boiler — 2–3 bar. We bleed air through the Mayevsky valve on each unit until a steady stream of water flows. We check heating by touch across the entire surface: if the bottom of the section is colder than the top, it means air remains or the passage in the valve is narrowed. For the first 24 hours after the work, the connection points need to be monitored: if moisture appears on the threads, it is better to call a technician immediately rather than tighten it yourself.
Non-standard tasks: relocation, niche, and full replacement
When standard installation is not enough — you have to move the unit to another wall, place it in a niche, or replace the entire assembly with re-soldering of the supply lines. We break down the three scenarios we encounter most often.
Relocating a radiator to another wall
We perform radiator relocation to a new location with re-soldering of the supply lines and preservation of the pipe slope — the equipment itself remains the same. The work includes running pipes to the radiator from the riser or boiler, installing shut-off valves at the new points, and pressure-testing the circuit. If there is a single riser and the unit is moved across the room, a bypass is added — without it, neighbors on the riser are left without circulation. In the panel buildings of Chilanzar and Sergeli, supply lines are more often run along the wall in a chase, while in the brick buildings of the Yakkasaray district — exposed in clips. Clients often state the task briefly: relocate the radiator to another wall — and from that request the technician immediately understands the scope of work. You should not move a radiator from under a window to the opposite wall: heat loss is higher at the window, and there the unit works more efficiently than at an interior partition.
Installing a radiator in a niche
We place a radiator in a niche with a gap of at least 3 cm from the walls and 10 cm from the windowsill, otherwise convection is disrupted and the room heats up worse. Radiator installation in Tashkent in new buildings is often specifically associated with niches under panoramic windows — depth 15-20 cm, and only a low sectional model or a steel panel unit up to 300 mm high fits there. We make the connection side, diagonal, or bottom — this determines how evenly the sections heat up. In a deep niche without a screen, a radiator loses up to 20% of its output — if the niche already exists, it is better to choose a model with a side connection and move it slightly forward.
Full radiator replacement and installation of several units
- Dismantling the old unit: for a full replacement, we remove the radiator, cut the worn supply lines back to the nearest working fitting, and drain the circuit.
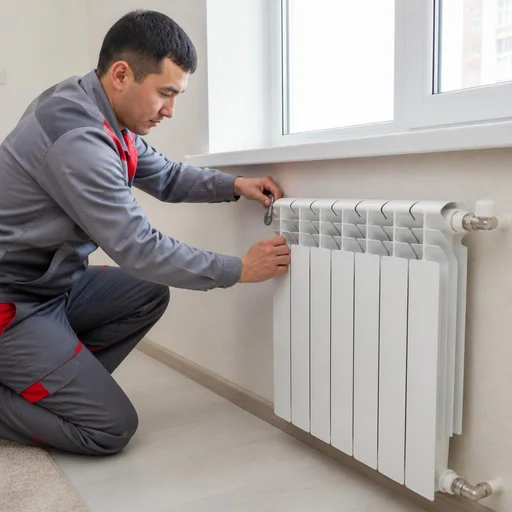
- Installing the new assembly: we mount the brackets by level, connect the radiator to the riser or boiler, and install the bypass, plugs, and shut-off valves.
- Pressure testing and startup: we check the circuit under pressure, balance the system so that all units heat up evenly, and only then hand over the site.
- Batch installation: radiator installation in each room follows the same scheme, and the circuit is opened only once — time is saved on draining and startup.
- Risk of old supply lines: replacing only the radiator while leaving the old supply lines is dangerous — old fittings are not designed for the new pressure and often leak in the first season, so we replace the assembly entirely.
Warranty, timelines and terms of Eco-Service work
What exactly the warranty covers, how many visits it takes for a technician to complete a site, and what payment methods are accepted — these terms most often determine who to entrust with radiator installation in an apartment or private house.
2-year warranty on installation
Eco-Service provides a 2-year warranty on heating radiator installation — it covers the tightness of threaded connections, the operation of shut-off valves and the correct connection to the riser or boiler. The warranty period includes a free technician visit, pressure testing of the circuit and replacement of failed valves if the cause is an installation defect rather than wear of the part. Over the past heating season, we reworked connections under warranty at 11 sites out of 340 — all cases involved the supply line, which the owners tried to tighten further themselves. The warranty is valid if the installation was performed by our technician: if you re-solder the supply line yourself after installation, the warranty on the connections is not retained. Before supplying water to the circuit, photograph the connection points — from these photos the technician can more quickly determine whether the loss of tightness was a consequence of installation or external interference.
Visit timelines and technician's work
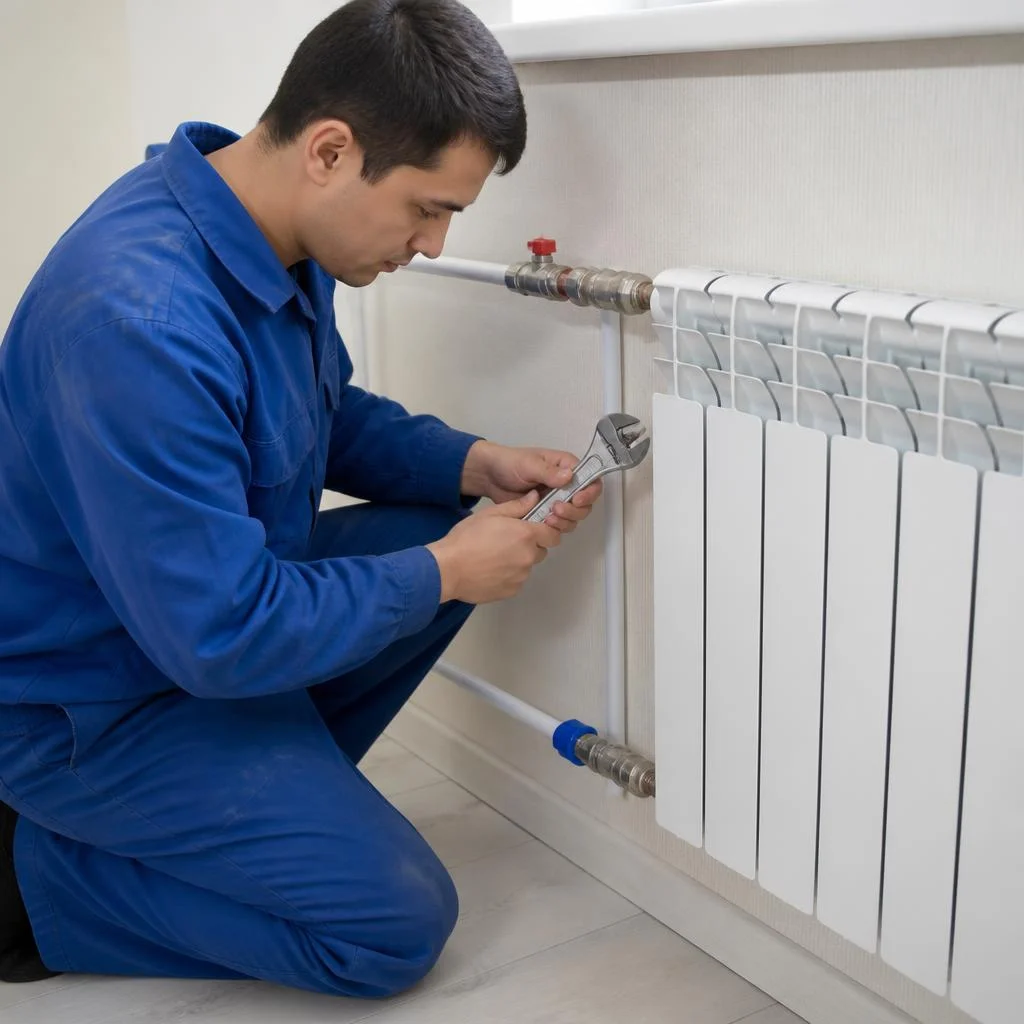
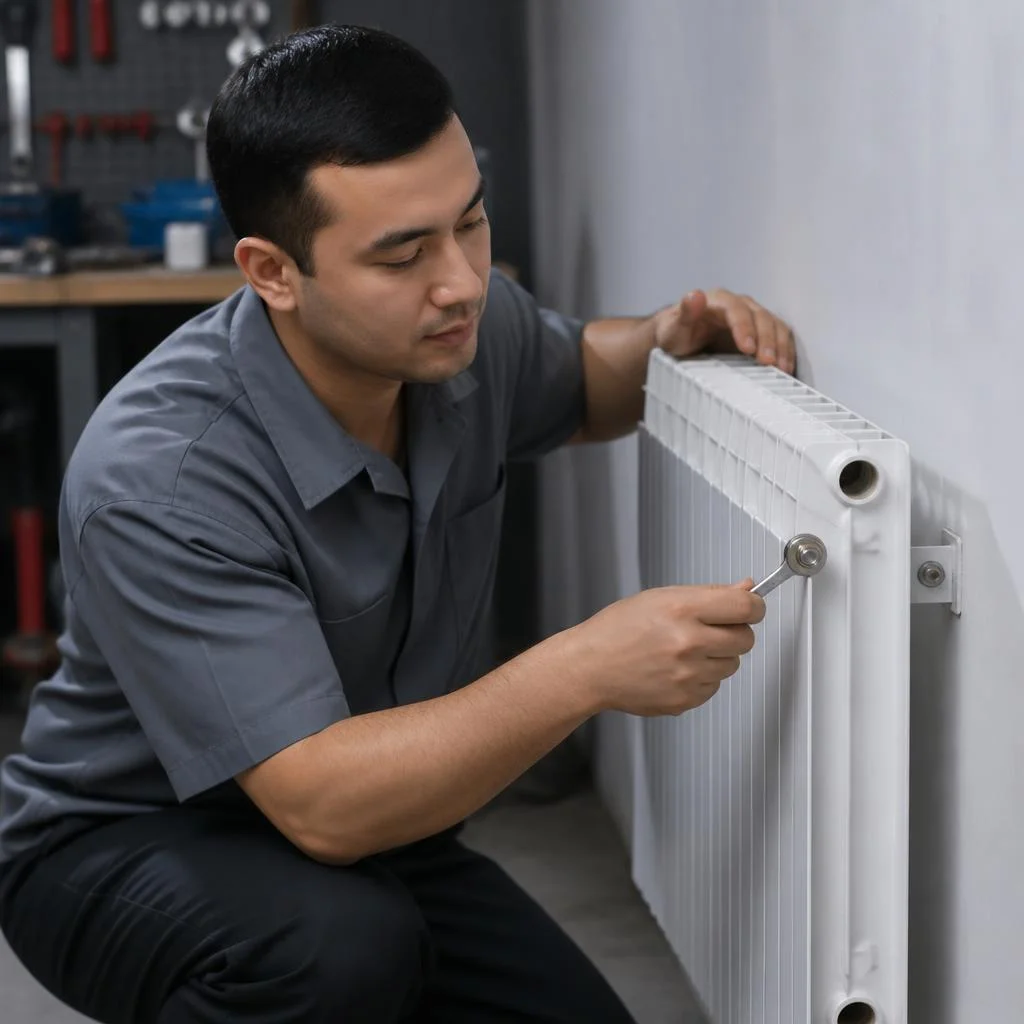
We perform a standard installation of one radiator in a single visit, and we accept requests through our own service center. Our installation technician arrives with a full set of tools, press tongs for metal-plastic and polypropylene, adjustable wrenches for threaded fittings and a pressure gauge for pressure testing — nothing extra needs to be purchased. The cost of heating radiator installation in Tashkent depends on the type of device and the connection scheme, so the technician gives the exact estimate after inspecting the riser and measuring the room's heat loss. If the radiator is being replaced during the heating season, the timeline depends on the management company shutting off the riser — this stage is best planned in advance, 3-5 days before the visit. In the private sector with its own boiler, no shut-off is required: the technician closes the circuit and drains the water locally, so installation takes place the same day.
How to pay and leave a review
- Click and Payme: transfer by request number after signing the completed work act, the receipt arrives in the app.
- Uzcard and Humo: card payment via the technician's terminal directly on site, without going to the bank.
- Review on Google Maps and Yandex.Maps: a rating with photos of the connection point before and after installation.
- Service Telegram channel: a short text review if taking and publishing photos on maps is inconvenient.
Mistakes When Installing Radiators and How to Avoid Them
When installing on your own, mistakes are most often made in three places: forgetting the bypass in a single-pipe system, getting the slope of the supply lines wrong, and starting a replacement without approval. Let's go through each mistake and its consequences.
Why You Can't Install a Radiator Without a Bypass
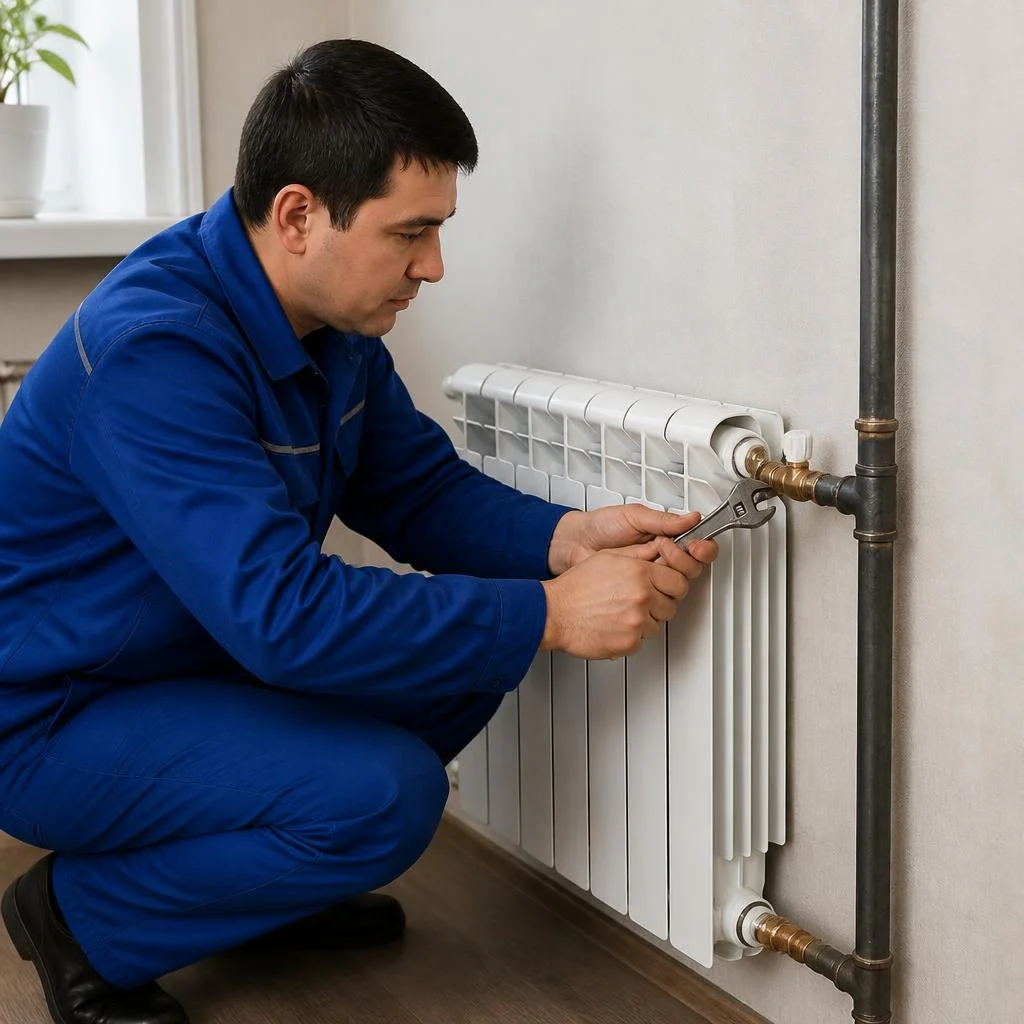
Without a bypass in a single-pipe system, shutting off one radiator stops circulation through the entire riser and leaves the neighbors without heat. The jumper between the supply and return keeps the coolant flowing when the valve on the unit is closed: the water goes past it instead of hitting a dead-ended section. In Tashkent's older buildings in Chilanzar and Yunusabad, single-pipe risers are found in most five-story buildings, and an attempt to install a bimetallic unit directly without a jumper results in complaints from the neighbors upstairs and a confrontation with the management company. In search, clients often type "heating radiator installation" — and land on a breakdown of typical mistakes, although it's more correct to start by checking the riser layout. A bypass only works with the correct diameter: if it's narrower than the supply lines, the water still goes into the radiator, and the point of the jumper is lost. Before installation, measure the inner diameter of the supply lines and select a jumper of the same cross-section — saving on one fitting costs you a frozen riser in winter.
Incorrect Slope and Misalignment of the Supply Lines
Misalignment of the supply lines leads to air pockets in the radiator: air accumulates in the upper sections, and the unit heats unevenly. With horizontal distribution, the supply pipe is run with a rise toward the unit, and the return with a slope away from it, so that air escapes to the highest point and is bled off through a Mayevsky valve. Even a small reverse slope of 1–2 cm per meter is noticeable on a long supply run — after installation, the radiator needs to be heated up and the air bled off through the Mayevsky valve. This mistake is especially common when installing heating yourself in the new developments of Sergeli and Yangihayot, where the distribution is hidden in a wall chase and leveling it afterward is almost impossible. Check the slope with a spirit level before soldering the last fitting — redoing an already plastered run costs more than proper marking at the chasing stage.
Replacing a Radiator Without Permission
In an apartment building, replacing a radiator requires approval from the management company; otherwise, fines and problems in the event of an accident are possible. The units in an apartment are part of the building-wide heating system, and unauthorized tampering with the riser is recorded in an official report at the very first leak at the neighbors'. Approval takes time, so it's better to submit the request for replacement before the heating season starts, not in the middle of the cold. In the capital's new residential complexes, developers often transfer the risers to the homeowners' association's balance, and then permission is arranged through the chairman rather than through the city service. Gather the paperwork in advance: the apartment's technical passport, the replacement design, and the written consent of the neighbors on the riser — without the last document, the management company will not accept the request.
Why radiator installation is ordered from a direct supplier
The work of a direct service supplier differs from ordering from a private handyman on OLX or from Telegram: the former is responsible for installation as a company with an address and a contract, the latter — only with his own word and phone number.
Direct supplier versus private handyman
Eco-Service works as a direct service supplier: the installation technician is on staff, not a contractor from an ad, so the company is responsible for the work, not an individual. Clients often search for "radiator installation Tashkent" — and find us, because installation is handled by our own service center: the site visit, the work and the pressure testing of the system are done by one crew familiar with single-pipe and two-pipe risers in Tashkent's building series — from Chilanzar to Yunusabad. With a private handyman, the warranty rests on his word: if he stops answering calls, there is no one to file a claim against, whereas a service center has an address and a contract. That is why, when choosing a contractor, ask who is responsible for the connection joint — a crew with a legal address or an individual with no obligations.
What a turnkey radiator installation includes
- Radiator selection: calculation of sections for the room's area and heat loss, taking into account bimetallic, aluminum, steel or cast iron.
- Removal of the old one: draining the water, taking down the previous radiator and preparing the mounting location for the new model.
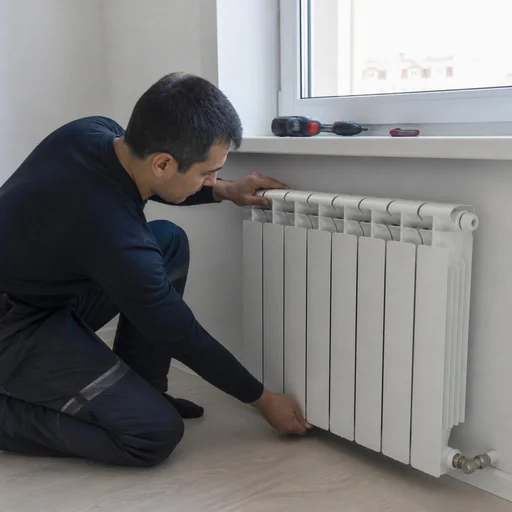
- Installation and connection: mounting the brackets, hanging the radiator, tapping into the riser or piping with the boiler.
- Valves and thermostat: shut-off valves, bypass, plugs and temperature adjustment by room.
- System check: pressure testing, inspection of the connection joints and starting up the heating.
Reviews and real projects in Tashkent
Reviews of Eco-Service's work can be seen on Google Maps and Yandex.Maps, and examples of projects — in the service center's Telegram channel. Heating radiator installation price in an ad often hides the stages: with some handymen it includes only the hanging, with others — the full cycle with valves and pressure testing. When choosing a contractor, look not at the average rating, but at reviews with photos of specific projects in Tashkent's new buildings and older-series houses — the photos show how the handyman handled the connection, the bypass and the shut-off valves.
Conclusion
We have gathered the main things that determine the result of radiator installation: from choosing the model for a specific system to approvals and the contractor's responsibility for the connections.
Key takeaways
- Radiator type: chosen by the heating system and operating pressure, not just by price — bimetallic withstands high pressure in multi-story buildings, cast iron is inert and durable.
- Number of sections: calculated by the room's heat loss with a 15-20% margin for corner rooms and rooms with a balcony, not by area "by eye".
- Bypass: mandatory in a single-pipe system — without it, shutting off one radiator stops the entire riser and leaves the neighbors without heat.
- Approval: replacing a radiator in an apartment building requires permission from the management company, otherwise there may be orders and fines.
- Warranty: only makes sense when the contractor is responsible for the connections, valves and pressure testing, not just for the fact of installation.
- Check: after installation, the system is started up under pressure and all joints are inspected — a hidden leak costs more than a repeat visit by the technician.


