









Signs of a pipe leak: how to tell that water is going to waste
A pipe leak rarely shows up right away — more often the water drains away slowly and unnoticed, and the first signal is a higher water bill or dampness in a corner.
The water meter spins with the taps closed — what that means
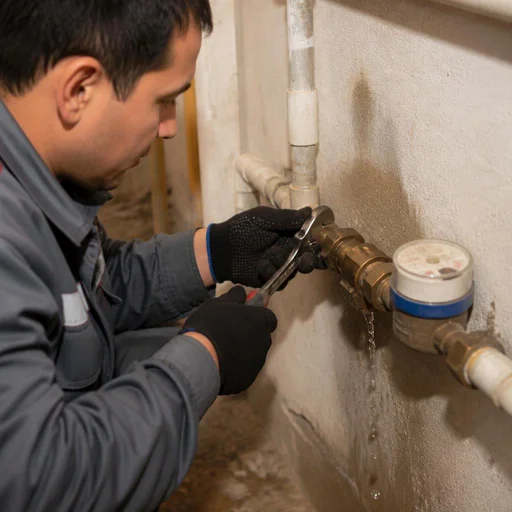
If the water meter's little wheel keeps turning with all the taps fully closed, that is a direct sign of a hidden leak in the system — water is escaping through a gap in a pipe or connection. The red indicator on the meter's display registers even the slightest flow: one division corresponds to several liters passing through, so over an hour of inactivity a noticeable volume accumulates. Here is how to check: shut off the main valve on the riser, close the taps on the mixers, boiler, washing machine, and garden tap, then look at the display after 15-20 minutes. If the needle or roller has moved — water is escaping in the pressurized circuit, and this is no longer a normal meter error. Before checking, close all the valves, including the boiler and washing machine, and wait 15-20 minutes — otherwise the meter's movement may be caused by running appliances rather than a leak.
Damp spots, mold, and a musty smell as indirect signs
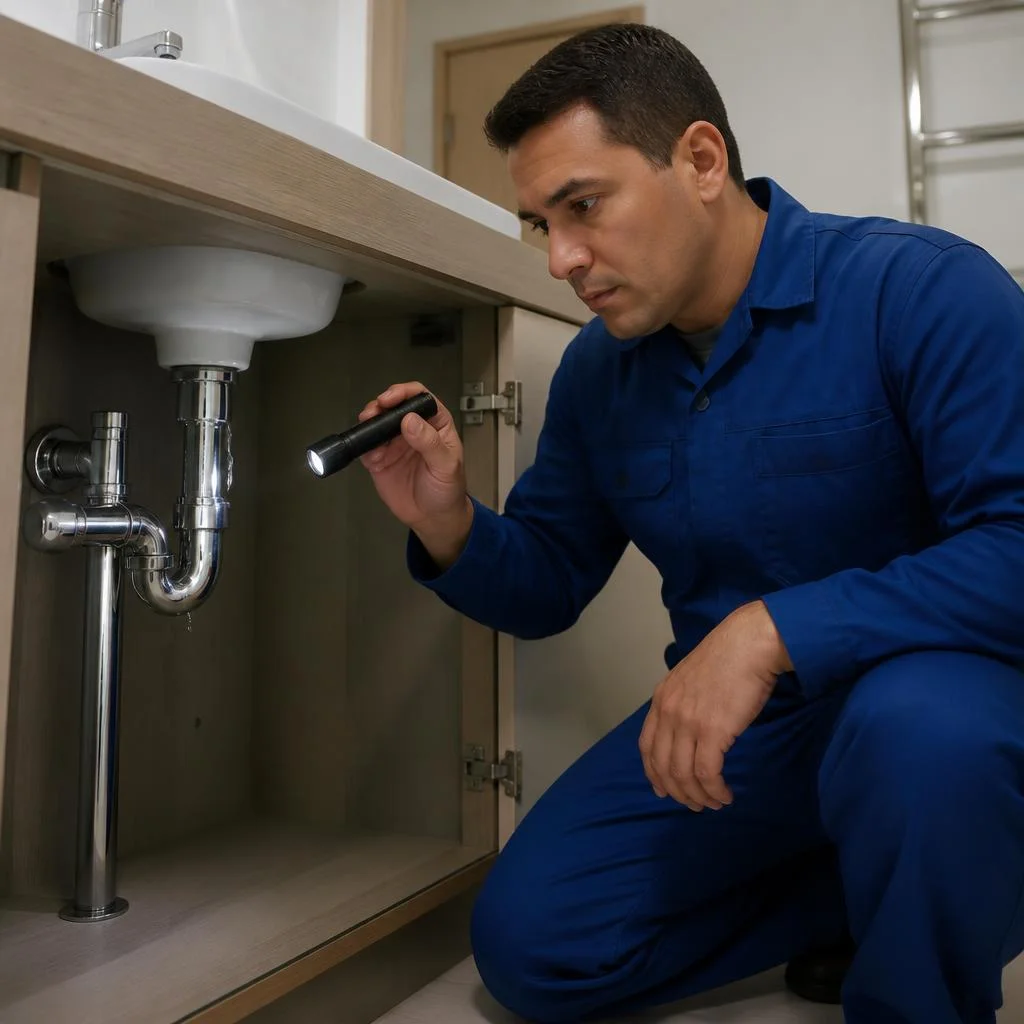
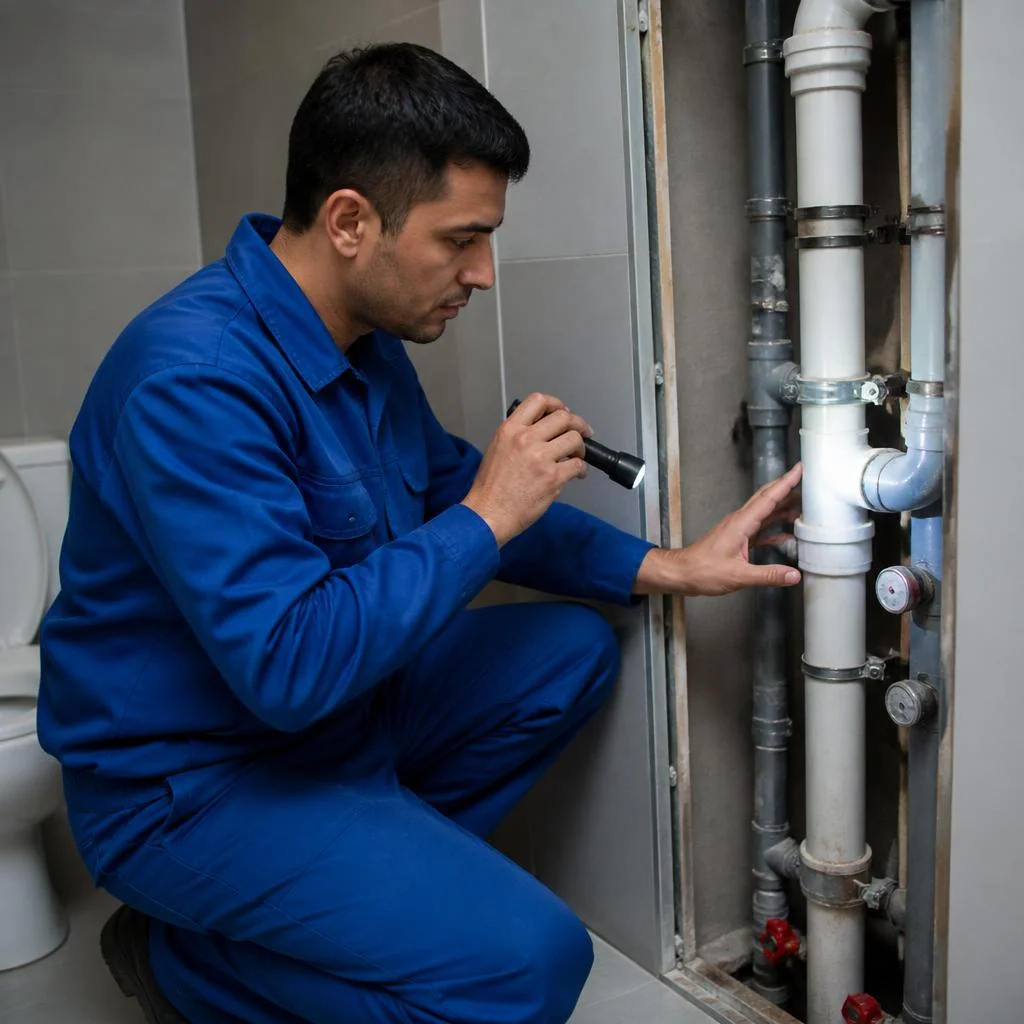
A damp spot on a wall or ceiling, dark mold in a corner, and a persistent musty smell almost always indicate a leak rather than condensation — condensation appears on cold surfaces and dries up, while traces of a leak grow. The edges of the wet area blur and darken along the edge, wallpaper peels away from the base, and a white deposit appears on the concrete — efflorescence from evaporating hard water. In the bathroom, take a close look at the joint between the wall and floor, the area behind the toilet, the riser shaft, and the ceiling at the neighbors below: that is most often where the water comes from. It is easy to tell the difference: press a dry napkin against the spot and leave it for an hour — if it got wet with no rain or shower nearby, the water is coming from inside the wall.
When the signs point to a sewer pipe leak
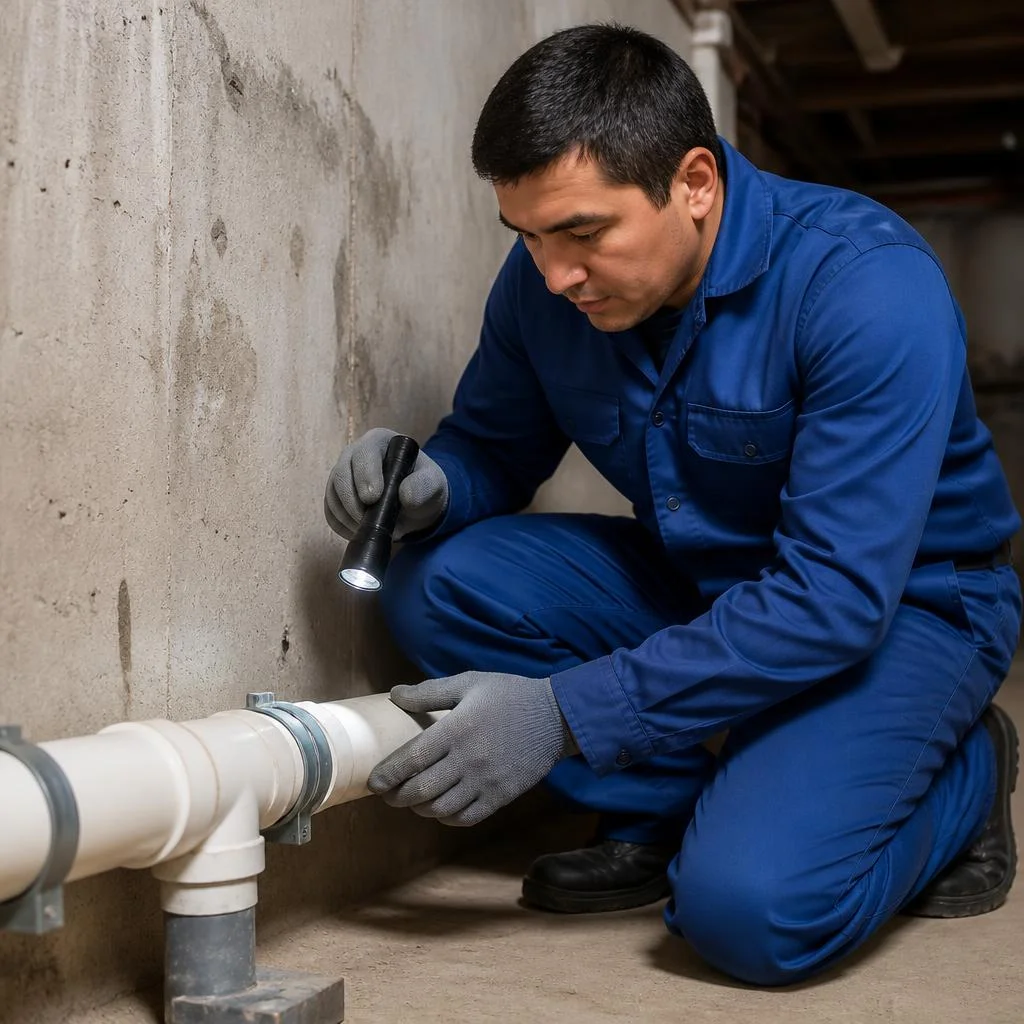
If a persistent sewage smell comes from under the floor or in the basement, and there are streaks on the pipe joints, then we are dealing with fixing a sewer pipe leak — this is a separate scenario that requires not detecting water under pressure, but inspecting the joints and bell ends. Here the water flows by gravity, so the wet spot does not grow from pressure but spreads along the slope: at the base of the riser, under the inspection hatch, at the point where the branch from the sink or toilet is connected. The joint between the bell end and the sealing ring is the weakest point: the ring settles over time, and water begins to seep along the outer wall of the pipe. A sewer leak cannot be detected with a thermal imager — the water in it flows by gravity and is not heated, so diagnosis is based on a visual inspection of the joints and checking the slope.
Pipe diagnostics for hidden water leaks: methods without opening up
Inspecting hidden utilities relies on three tools — a thermal imager, an acoustic leak detector, and a pipe locator, which make it possible to find the leak point without opening up walls and floors.
Thermal imager: how a leak in a wall is found by temperature difference
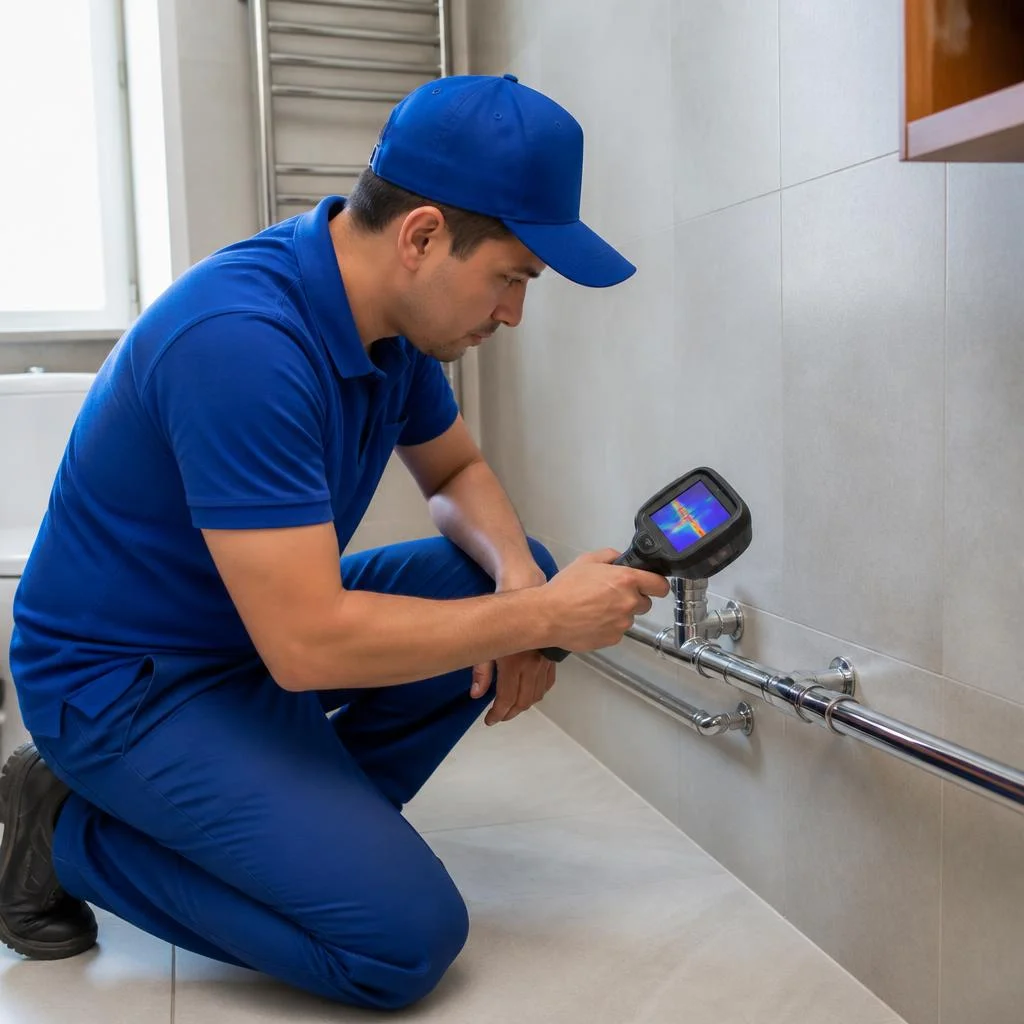
We use a thermal imager to find a leak in a wall: warm water under pressure heats up a section of the wall, and the device shows it as a contrasting spot on the thermogram. We carry out the survey in steps of 20-30 cm across the entire wall area, recording a temperature difference of 1.5 to 4 degrees between the dry and wet sections — in panel buildings of the 1-464 series in Chilanzar and Yunusabad, the difference is noticeable already at a depth of 8-10 cm of masonry. On cast-iron heating risers, the contrast appears faster than on polypropylene supply lines, because metal gives off heat more actively. A thermal imager is effective only on pipes with hot water or when the heating system is running — for cold water we combine it with the acoustic method.
Acoustic leak detector: how a leak under the floor is heard
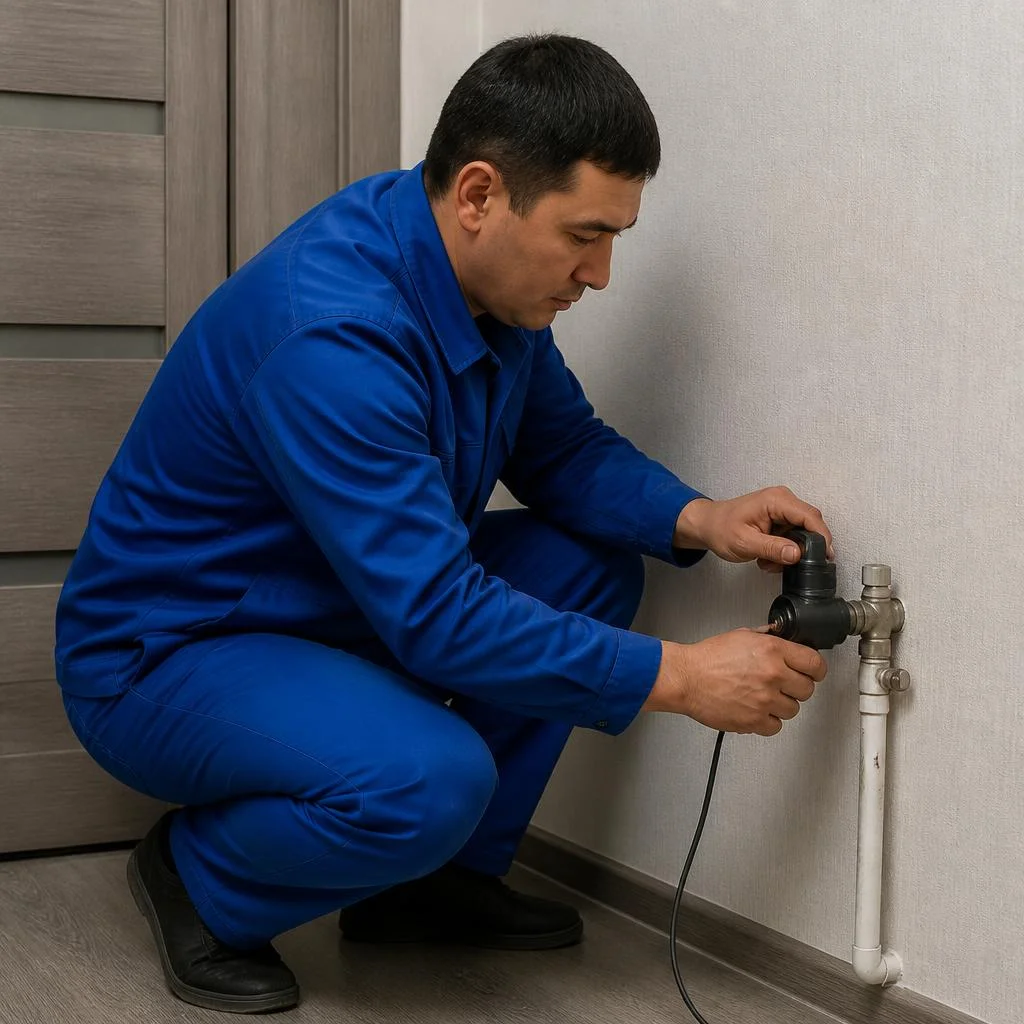
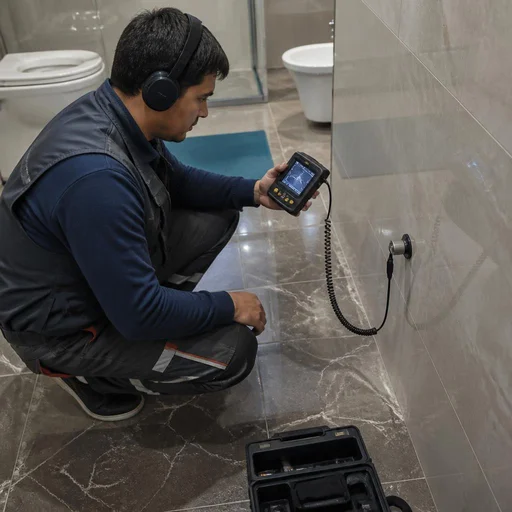
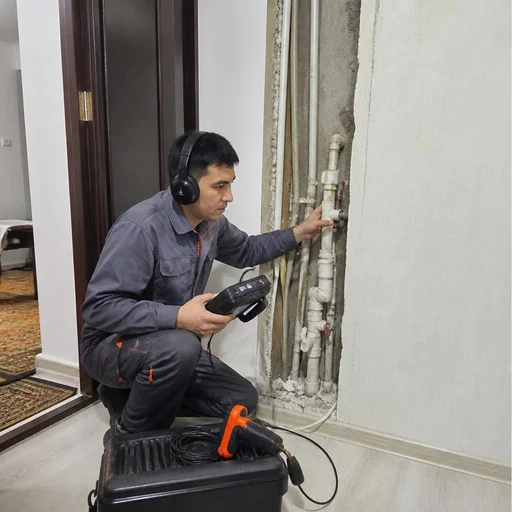
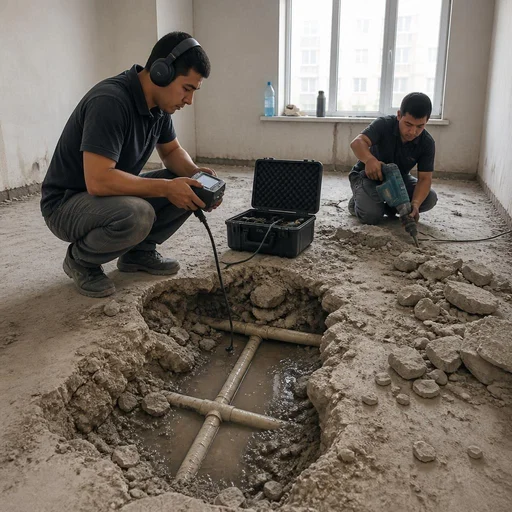
An acoustic leak detector picks up the noise of water escaping through a gap and makes it possible to find a leak in the floor with an accuracy of a few centimeters. We tune the device with a piezoelectric sensor to the 1-4 kHz range: a pinhole in a steel pipe produces a high-frequency squeak, while a rupture at a coupling produces a low hum with a frequency of 400-800 Hz. In buildings with a concrete screed 12-15 cm thick, the signal passes through without loss, but a layer of porcelain stoneware on an adhesive base muffles it by about a third, so we place scanning points more frequently. The method works best at night or when household appliances are turned off — extraneous noise from a washing machine or air conditioner throws off the sensor.
Pipe locating and pressure testing: where the pipe runs and whether it holds pressure
Pipe locating shows exactly where the pipe is laid in the wall or underground, and pressure testing confirms whether the system holds pressure after repair — we use both methods before and after the work. A generator induces an electromagnetic signal on the metal section of the pipeline, and a receiver picks it up from the surface at a depth of up to 3 meters; on plastic pipes, we transmit the signal through a steel wire or metal tape inserted into the cavity. We carry out hydraulic tests at a pressure 1.5 bar above the working pressure and keep the system under load for 30 minutes — a drop in the pressure gauge needle will indicate a leak even where everything looks dry. Clients often describe pipe leak detection in their own words, and the request sounds roughly the same — behind it there is always one task: to determine the exact location before opening up. Without pipe locating, opening up is often done not where the pipe actually lies — especially in older buildings, where the layout does not match the design.
Comparison of diagnostic methods by conditions of use
| Method | When we use it | What it shows | Limitation |
|---|---|---|---|
| Thermal imager | hot water, heating | the leak zone in the wall | does not see cold water |
| Acoustic leak detector | water under pressure | the point where water escapes | extraneous noise interferes |
| Pipe locating | unknown layout | the pipe route | access to the inlet is needed |
| Pressure testing | after repair | whether it holds pressure | does not find the leak location |
Detecting pipe leaks with a single device rarely gives an exact point — in practice we almost always combine two methods: one outlines the zone, the second pinpoints the point where water escapes, and only then does opening up remain targeted.
Finding pipe leaks by location: wall, floor, riser, basement, street
The location of the leak determines both the diagnostic method and the scope of work — water in a wall, under a floor, in a riser, basement, or on the street behaves differently, and it must be located accordingly.
Finding a leak in a wall and under a floor
We locate leaks in a wall and under a floor using a thermal imager and an acoustic leak detector — we open up only at the point confirmed by both devices. In panel and brick buildings in Tashkent, the temperature difference between the wall and the wet area is visible on the thermal imager screen within 15-20 minutes after the riser is heated, and the acoustic sensor picks up the sound of escaping water at a depth of up to 40 cm in the screed. In the Khrushchyovka buildings of Chilanzar and Yunusabad, pipes are most often walled into concrete without sleeves — pinpoint opening saves not only the finish but also the time to restore it, because the technician opens up an area the size of a palm, not a chase along the entire wall. In my opinion, it is the combination of the two devices that produces the fewest false openings.
Finding a leak in a riser: boundary of responsibility with the management company
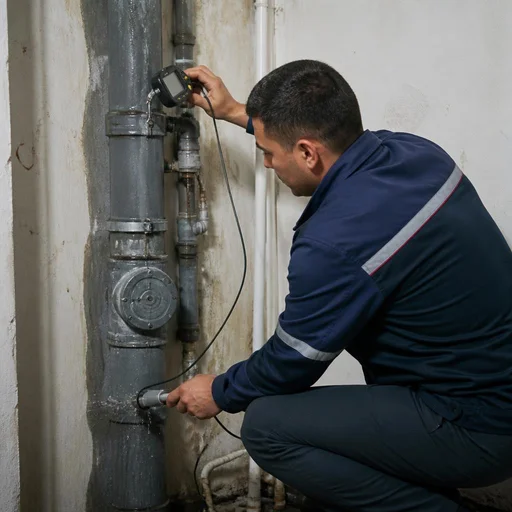
We perform riser leak detection upon the owner's request, but before starting work we help determine the boundary of responsibility: the section up to the first branch belongs to the management company, while the distribution inside the apartment belongs to the resident. In Tashkent high-rises in Sergeli and Karakamysh, the riser is usually steel or metal-plastic, and a pinhole leak on a welded seam in the stairwell section is already the management company's area, not the owner's. If a riser leak occurred due to wear of the common building pipe, the costs can be shifted to the management company — to do this, record the condition of the pipe with photos before starting repairs, and file the call for the emergency service in writing with a request number. Without these two documents, a dispute with the management company almost always resolves not in the resident's favor.
Finding a leak in the basement and on the street
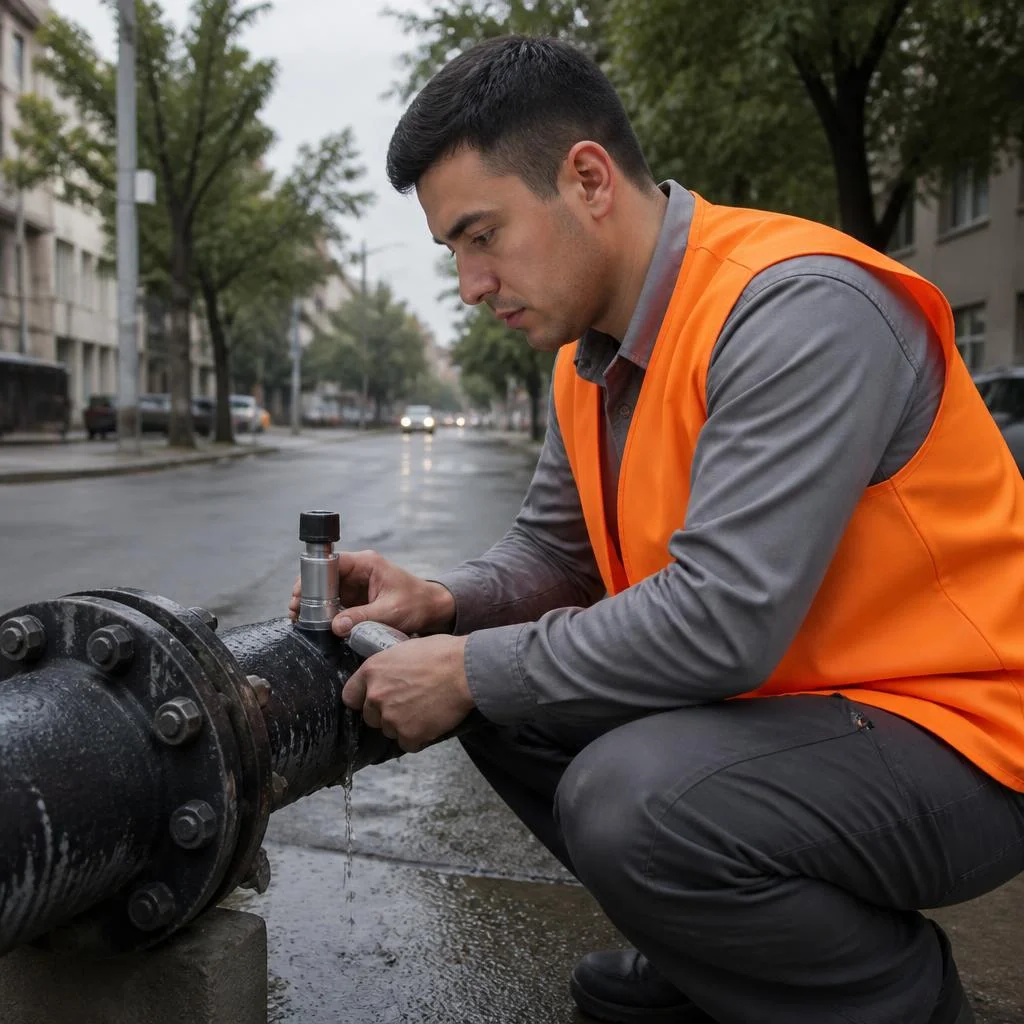
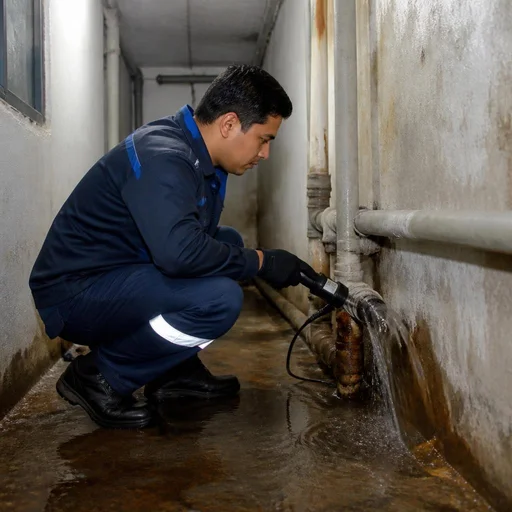
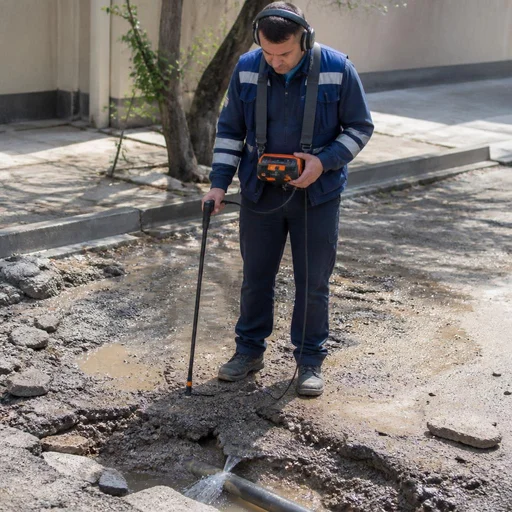
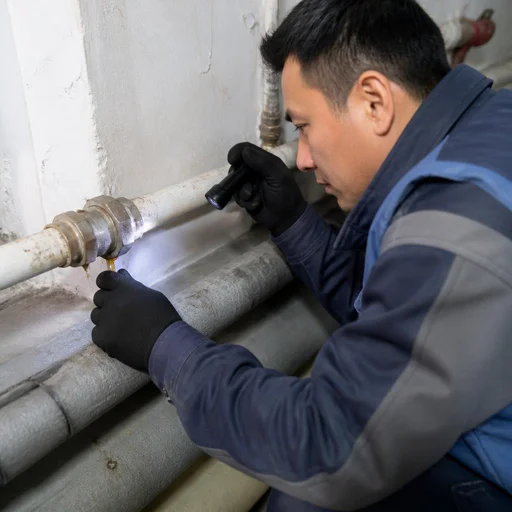
We locate leaks in the basement and on the street using the acoustic method and pipe tracing — in soil and utility rooms a thermal imager is of little use, but listening to the pipe for noise works well. In the basements of buildings in Yunusabad and Mirzo-Ulugbek district, dampness, steam, and poor visibility hinder visual inspection, so we first listen to the inlet unit and valves, and pipe tracing with a generator determines the route of the street pipe at a depth of up to 2 meters. A street leak is often given away by sunken asphalt or a year-round puddle — these signs should be recorded before the crew arrives to narrow the search area. Moreover, on old cast-iron inlets of Soviet-era construction, the sound of escaping water can be heard even through a 1.5-meter layer of soil.
How the leak location affects the method and scope of work
| Location | Primary method | Additionally | Specifics |
|---|---|---|---|
| Wall | thermal imager | acoustics | pinpoint opening |
| Under the floor | acoustics | pipe tracing | access through the screed |
| Riser | visual inspection | acoustics | boundary with the management company |
| Basement | acoustics | pipe tracing | dampness, poor visibility |
| Street | pipe tracing | acoustics | access to the inlet required |
The deeper and farther from the access point the leak is, the more methods we employ and the higher the labor intensity of the work. For a basement and street, clarify in advance whether there is access to the inlet unit — without it, part of the diagnostics will have to be done from outside, and this lengthens the visit.
Fixing a sewer pipe leak and repairing connections
Once the location has been found, the task is to eliminate the leak so that the connection holds pressure and does not leak again; the approach depends on the type of assembly.
Why sewerage requires a different approach
Eco-Service performs repair of sewer joints without pressure testing — the system operates by gravity, so we check the tightness of joints and sockets by pouring water and inspecting after drainage. We test the pressurized section up to the riser separately: there is pressure there, and a crack in a cast-iron socket behaves differently than in a non-pressure line — it is only visible under load. For plastic sockets we use silicone sealant, for cast iron — lead caulking or a repair clamp with a rubber sleeve. Sewer joints must not be sealed dry — before applying sealant, the socket must be dried, otherwise the leak will return within a month.
Fixing leaks on threads, nipples and couplings
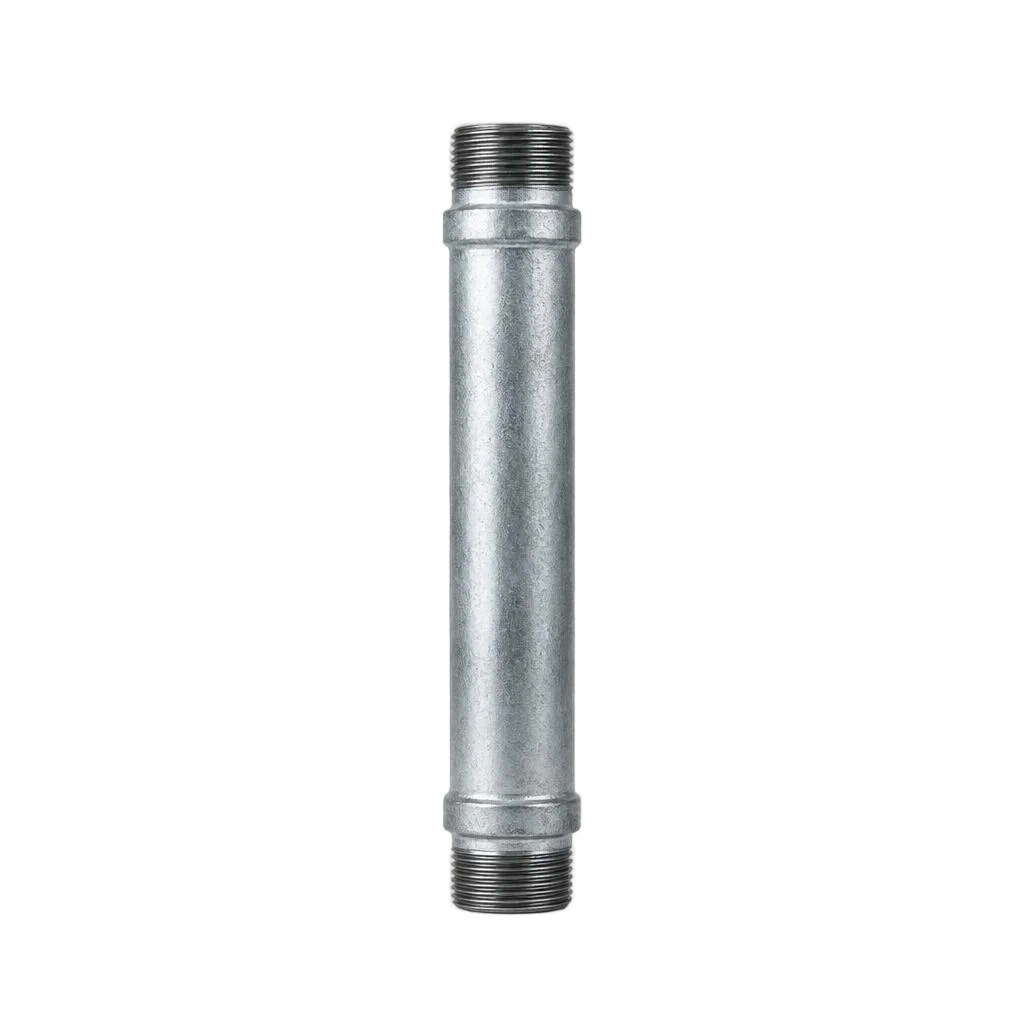
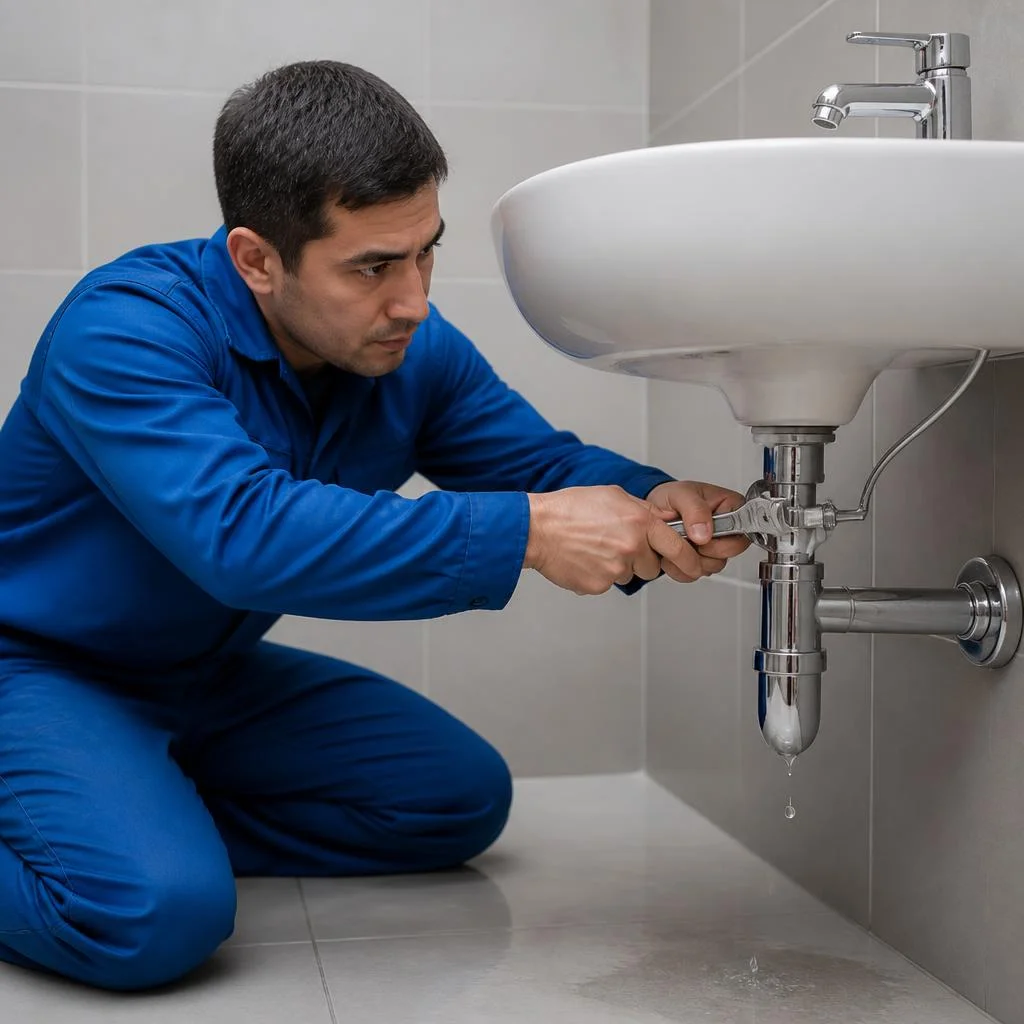
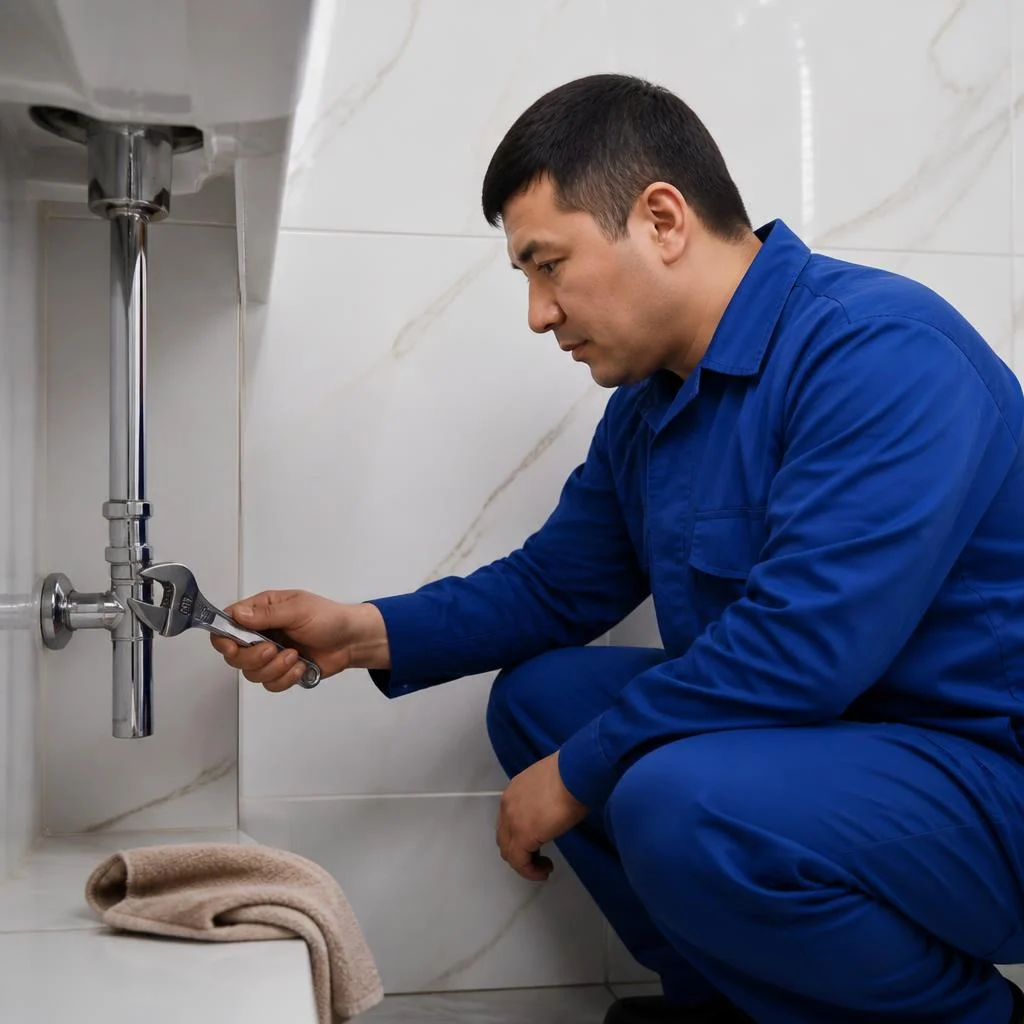
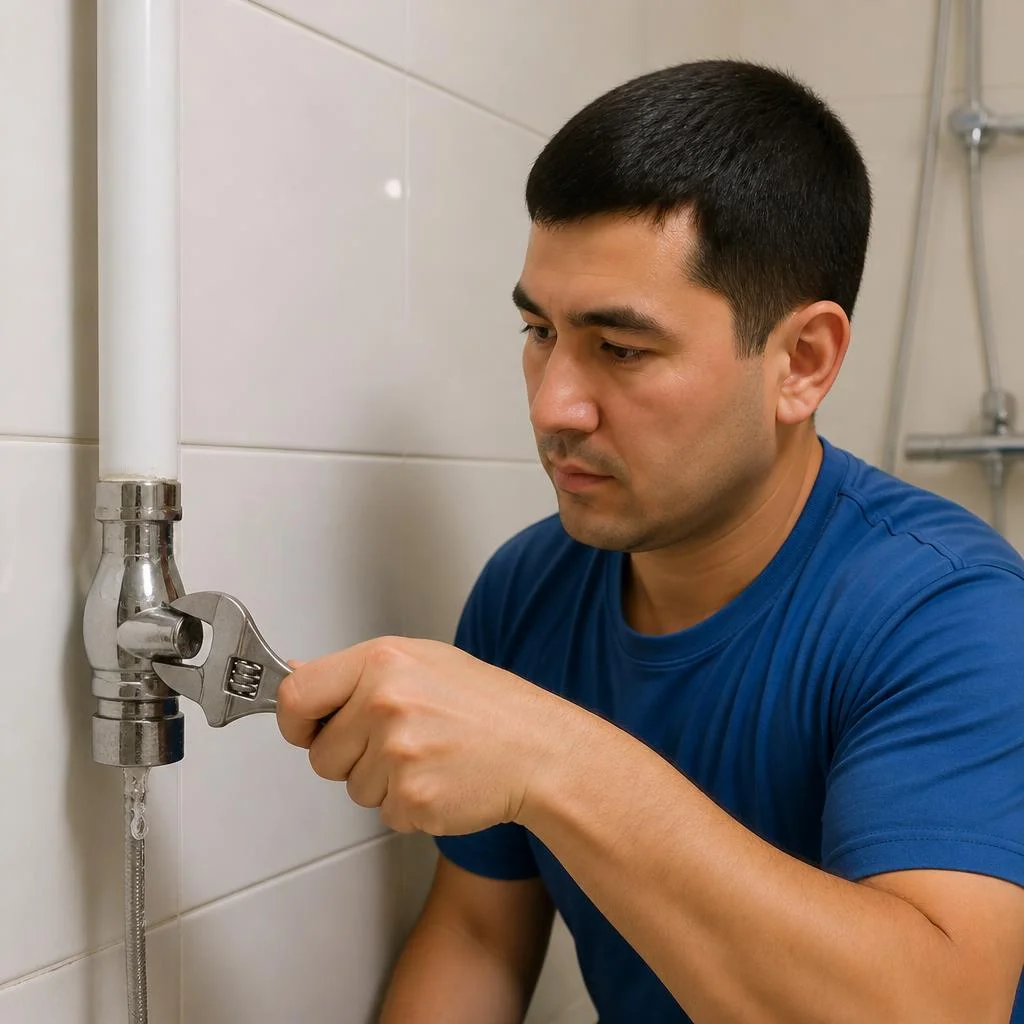
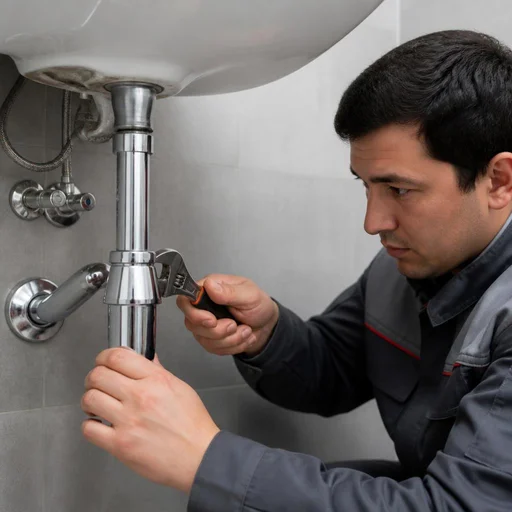
We begin fixing leaks on threads, nipples and couplings by disassembling the connection: we remove the old wrapping, clean the thread with a metal brush, apply new sealant and reassemble the assembly while controlling the tightening force. For metal-plastic on a nipple we install press fittings, for steel — flax with sealant or an anaerobic compound, for a polypropylene coupling we check the integrity of the weld seam and, if necessary, re-weld the joint. A common cause of recurring leaks on threads is over-tightening: too much force deforms the fitting, and a microcrack makes itself known a few weeks later.
Fixing leaks on a tap, valve and ball valve
Fixing a leak on a tap, valve or ball valve depends on the assembly: on a valve head we replace the gasket and lap the seat, on a ball valve the body usually needs to be replaced because the seat cannot be restored. On a valve with gland packing we tighten the nut and add graphite cord, on a mixing faucet we check the cartridge, ceramic discs and O-rings. A ball valve that "sweats" along the stem can hardly be repaired — it is cheaper and more reliable to replace it entirely than to return to the same leak twice.
Fixing leaks on a meter, filter, pressure reducer and manifold
We fix leaks on a meter, filter, pressure reducer and manifold by disassembling the assembly: we check the gaskets, O-rings and the integrity of the body, then reassemble and test under pressure. On a water meter we break the seal only with permission from the water utility, otherwise the device will have to be re-sealed and re-registered. On a fine filter we replace the cartridge and the flask O-ring, on a pressure reducer we check the diaphragm, on a manifold — the threaded outlets on the comb. A leak on a meter is often related not to the device itself but to the gasket at the inlet — before replacing the meter, it is worth checking that first.
Fixing leaks on a flange, tee, elbow and flexible connector
Fixing leaks on a flange, tee, elbow and flexible connector requires a different approach: we rebuild the flange with gasket replacement, the flexible connector is more often replaced entirely, and the tee and elbow are checked for cracks in the fitting body. On a flange connection we tighten the bolts in a crisscross pattern in two passes so as not to skew the paronite gasket. The search for pipe leaks in these assemblies begins by separating two scenarios: a leak along the thread is treated by tightening, a leak through the fitting body requires replacement — and this determines whether the repair can be done in a single visit. A flexible connector is a consumable: if it has leaked once, re-sealing gives a temporary result; it is more reliable to install a new one right away.
What is included in leak fixing by assembly type
| Node | What we do | When we replace it entirely |
|---|---|---|
| Thread / nipple | rewinding the sealant | if the fitting is cracked |
| Coupling / tee | replacing the gasket | if the body is deformed |
| Flange | replacing the gasket | if the flange is bent |
| Flexible hose | tightening the nut | if the hose is aged |
| Faucet / valve | replacing the valve cartridge | if the seat is worn |
| Meter / filter | replacing the gasket | if the housing is damaged |
If, after the leak is fixed, the node continues to "sweat" under pressure, this is a sign of housing wear — in that case we switch from repair to replacement.
How to call a technician and what happens on site
The process of calling a technician to detect a pipe leak consists of four steps: request, preparing the site, initial inspection with instruments, and repair with pressure testing. Let's go through each stage in order.
How to submit a request and prepare the site for the crew's arrival
You can submit a request by phone or via messenger — we confirm the address, the nature of the problem and whether the water supply is shut off, after which we schedule a visit time. The dispatcher records the floor, the type of piping (steel, polypropylene, metal-plastic) and the suspected leak zone, so that the crew brings the right set of equipment: a thermal imager, an acoustic leak detector, a pipe locator, and pressure gauges for pressure testing. In Tashkent, visits are scheduled within the working day, and emergency cases with an active flow of water are accepted out of turn. Before the crew arrives, shut off the main valve and move belongings away from the wall or floor in the suspected leak zone — this will speed up the inspection and protect your property.
Initial inspection and diagnostics on site
On site, the technician starts with a visual inspection and interview, then connects a thermal imager or acoustic leak detector and identifies the leak zone — this usually takes 30 to 60 minutes. The instruments register the temperature gradient on the wall surface or the acoustic signal of water escaping in the pipe, after which the technician cross-checks the data against the piping layout and the results of the pipe location. At sites with several risers, we check each one in turn so as not to confuse the source of the noise with a neighboring one. If the leak is not confirmed by the instruments, we do not begin opening up — first we check the meter and the connections, so as not to destroy the finish for no reason.
Repair and pressure testing of the result
After eliminating the leak, we reassemble the node, turn the water on and check the connection at working pressure — only after that is the work considered complete. The technician records the pressure gauge readings before and after pressure testing, inspects the repair site for drips and damp traces, and checks the tightness of threaded and press connections. If it is a heating system, we let the circuit warm up and repeat the inspection after 15-20 minutes of operation: some leaks only appear when the pipe is warmed up and the pressure is stable. Once tightness is confirmed, we draw up a work completion report and issue a 2-year warranty on leak detection and elimination.
2-Year Warranty, Payment, and Why People Choose Eco-Service
We operate as a direct provider of the service: our own service center in Tashkent, in-house crews, and equipment assigned to specific technicians. We are directly responsible for the result, without passing the request on to a subcontractor.
2-Year Warranty on Leak Detection and Repair
We provide a 2-year warranty on leak detection and repair — if within this period the leak returns at the repaired unit, we will come and fix it again at no additional cost. The warranty covers both diagnostics and the repair itself: both hidden leak detection and fixing leaks at threads, pipe nipples, couplings, tees, flanges, flexible connections, faucets, valves, ball valves, meters, filters, pressure reducers, and manifolds. In our practice, repeat warranty visits are isolated cases, usually related to wear on an adjacent section of pipe that was not touched during the first repair. The warranty is valid provided that after our repair the unit was not redone by other technicians — keep the work completion certificate until the end of the warranty period.
Our Own Service Center and Equipment
We run our own service center with request intake and a database of crews — diagnostic equipment (thermal imager, leak detector, pipe locator) is assigned to the technician and travels with them. The dispatcher takes the request by phone, via Telegram, or through Instagram, records the address and nature of the problem, after which a crew with a full set of instruments goes to the site: a thermal imager for capturing temperature contrast, an acoustic leak detector for listening to noise under the floor, and a pipe locator for determining the route of underground networks. If the leak is outdoors or in a basement, we add a pressure testing pump and manometers. Having our own center means we do not pass the request to a subcontractor — the technician who arrived is responsible for the result and stays in touch after the repair.
Payment via Click, Payme, Uzcard, and Humo
You can pay for the work in cash or via Click, Payme, Uzcard, and Humo — we issue the receipt and certificate on site after checking the result. For legal entities, we arrange non-cash payment with a full package of closing documents: contract, work completion certificate, and invoice. Payment is made after you have confirmed that the leak is fixed: the technician pressurizes the system under working pressure, you inspect the unit, and only then is the certificate signed. We do not take prepayment for diagnostics and repair.
Customer Reviews and Before-After Photos
Customer reviews are collected on Google Maps, Yandex Maps, and our Telegram channel, and for each visit we save before-and-after photos of the repair. In the reviews, two points are most often mentioned: the precision of localization without unnecessary opening up, and the fact that the technician names the cause before starting work, not after. Before-after photos are useful not only as proof — they show how targeted the opening up was, and this is the best guideline when choosing a contractor: compare not the number of reviews, but the area of damaged sections in the photos.
Conclusion
We have gathered the main things worth keeping in mind when water leaves the system unnoticed: from the first signals to checking the result after repair.
Key Takeaways
- The meter as an indicator: if it keeps spinning with the valves closed, water is escaping through a hidden leak — this is the first reason for diagnostics.
- Methods without opening up: thermal imager, acoustic leak detector, and pipe locator are combined depending on the location — wall, floor, riser, basement, or outdoors.
- Location dictates the approach: in a wall, thermal imaging works; under the floor and in the basement, acoustics; outdoors, locating underground networks.
- Repair by unit: sometimes it is enough to replace a gasket, while other times a full replacement of the element is required — thread, pipe nipple, coupling, or flange.
- Pressure testing: the result is checked under working pressure, not immediately after assembly, and the warranty on the work is 2 years.


