









What pressure testing of a heating system is and why it is done
Testing the circuit with excess pressure shows the tightness of the connections before the start of the season and after installation. Below we explain how to read the pressure gauge, why the procedure is carried out regularly and in which cases it can be postponed.
What pressure testing of a heating system is and what pressure is considered the test pressure
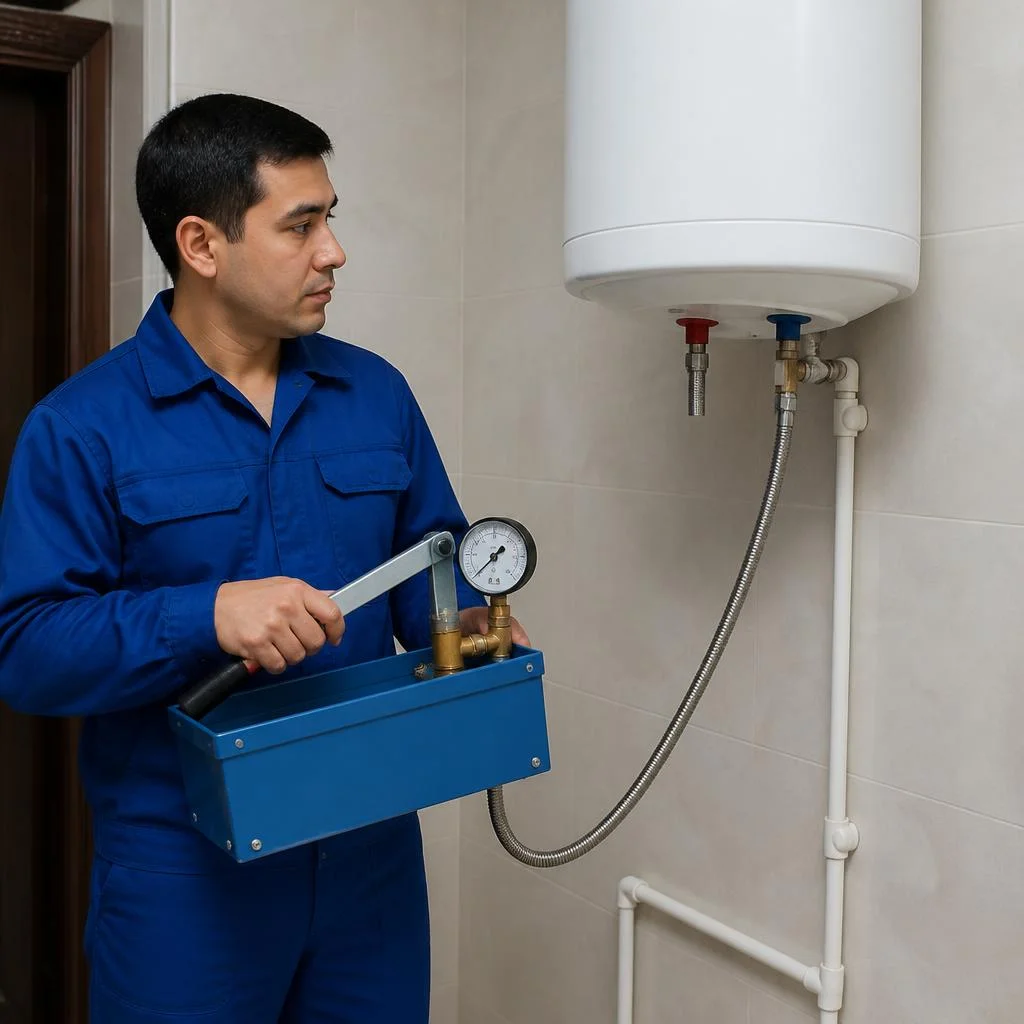
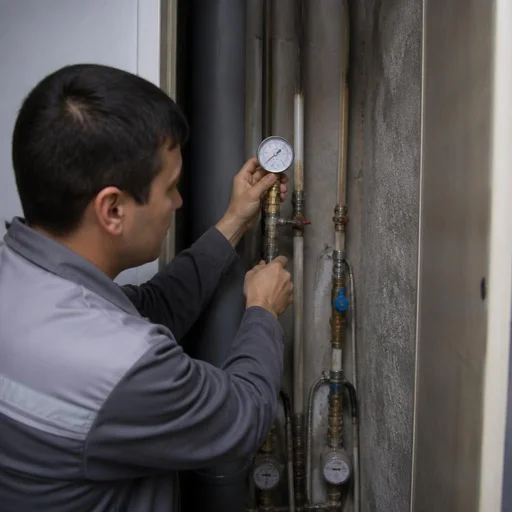
We test the circuit with excess pressure — hydraulic (cold water) or pneumatic (air), with monitoring by a pressure gauge. The pressure tester records the initial value, holds the circuit under load and watches the needle: if the pressure gauge holds its mark for 10-15 minutes, the connections are tight. In new buildings in Tashkent, the working pressure is usually 2-3 bar, in nine-storey buildings with bottom distribution it rises to 4-6 bar, and in high-rises in Chilanzar and Yunusabad it can reach 8-10 bar. The test pressure is selected 25-50% higher than the working pressure, but not higher than the rated value for the weakest element of the circuit — cast-iron radiators and old risers limit the upper boundary, so the test is carried out in stages and the readings are recorded at each stage. In search, clients often type "pressure testing of a heating system Tashkent" — and land on this page, where we break down the procedure step by step.
Why pressure test heating: 5 practical reasons
- Finding a leak: the pressure drops faster than normal — meaning something is leaking somewhere: a thread, a seal or a cracked section of pipe.
- Testing after installation: new distribution made of polypropylene, metal-plastic or PEX is tested before pouring the screed and finishing.
- Eliminating a pinhole leak: a small hole in a steel pipe is caught at an early stage, before it turns into an emergency rupture.
- Documents after testing: a report with pressure gauge readings is accepted by management companies and contractors when handing over a facility.
- Seasonal preparation: testing before the coolant is supplied reduces the risk of flooding the neighbours below in the first cold month.
When pressure testing is mandatory and when it can be postponed
Testing the system is mandatory after installation, before the heating season and after any intervention in the circuit — replacing a radiator, a valve or a section of pipe. For a private house, the procedure is no less relevant than for a multi-storey building: an autonomous circuit with a boiler and underfloor heating holds pressure all year round, but it is also tested once a year. If the circuit has not been changed for 5+ years and the pressure gauge needle stands stable, the scheduled testing of the heating system is combined with flushing — one visit is cheaper than two separate ones, and at the same time the deposits are removed from the pipe walls. A separate story is pressure testing a radiator in an apartment: an old cast-iron unit after seasonal repairs is tested separately, because sectional gaskets leak more often than the main line. Testing can only be postponed until the next off-season, when the boiler house is shut down and there is time to fix defects without haste.
Hydraulic and Pneumatic Testing: How the Methods Differ
The tightness of a circuit is checked in two ways — with water under pressure or with compressed air. The choice depends on the stage of work, the type of pipeline, and whether liquid can be supplied to the circuit at all.
Hydraulic Method with Cold Water
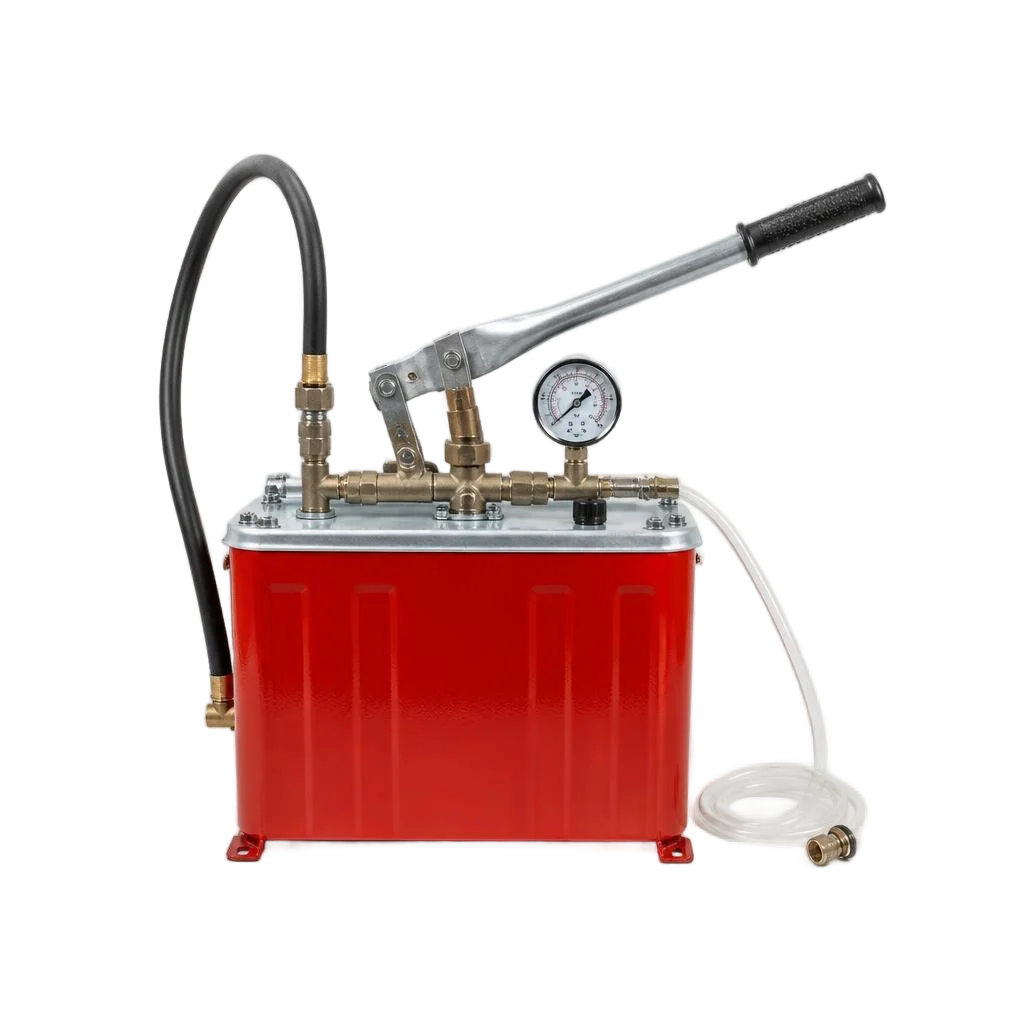
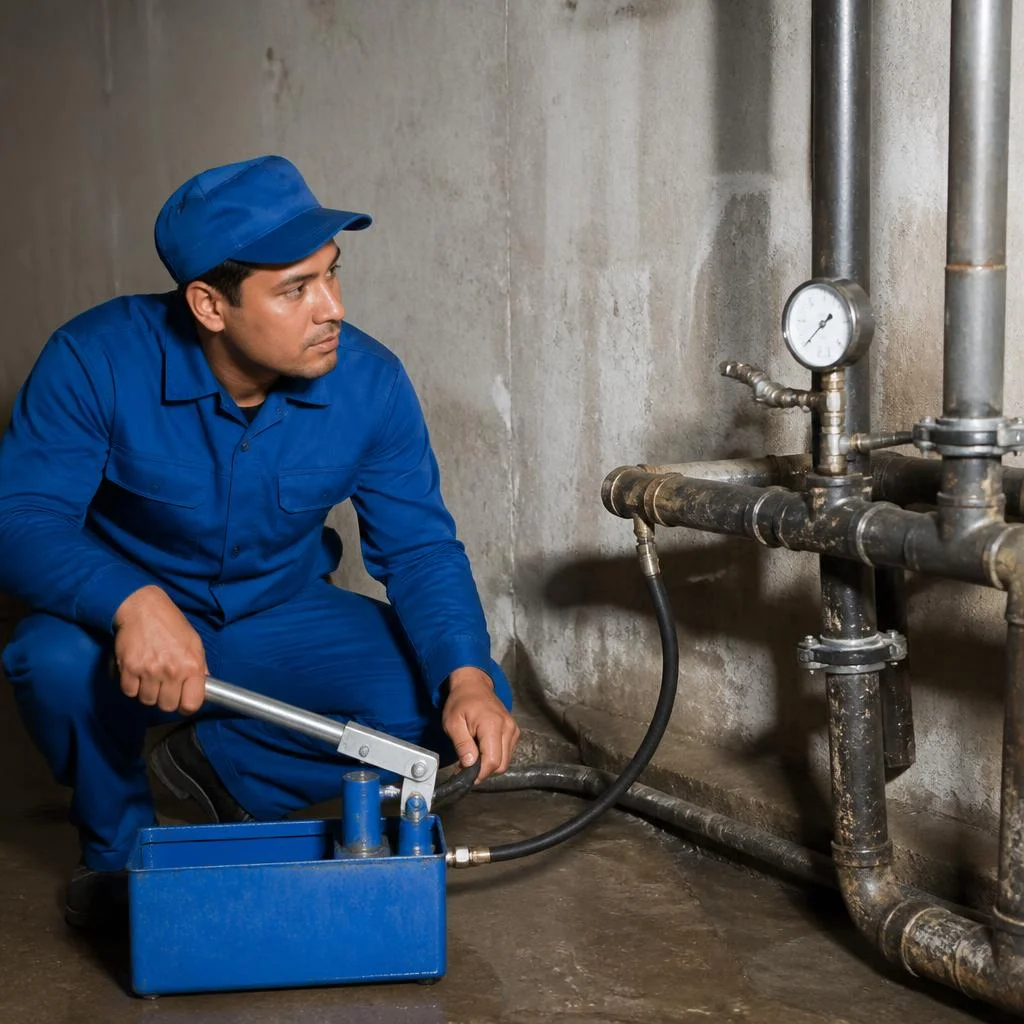
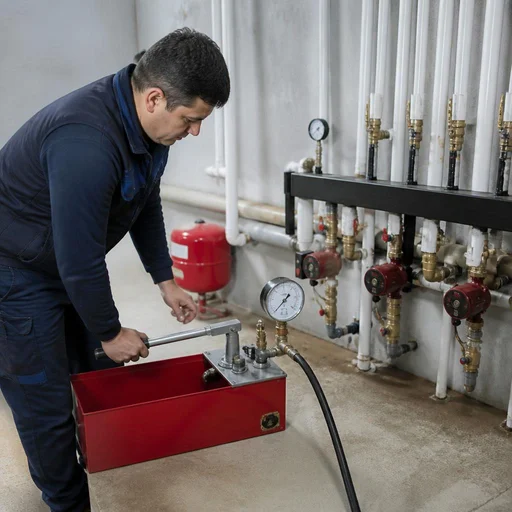
The hydraulic method with cold water is the primary one for risers, in-apartment distribution lines, and basement mains in apartment buildings in Tashkent. Water is pumped into the circuit with a manual or electric pump up to the test pressure and held under the control of a pressure gauge. Water is incompressible, so the needle reacts immediately even to a microcrack in a thread or a pinhole in a weld seam. At facilities with cast-iron sections and steel registers of Soviet series, water proves more reliable: it fills the entire volume, including stagnant zones of radiators. Clients often phrase the request as a water test — and the technician immediately understands that a water circuit is what's needed. In everyday usage, a phrasing such as pressure testing the heating system with water also occurs — essentially it's the same hydraulic test, just named in the resident's own words. Pressure testing requires that the temperature in the room be above zero, otherwise residual moisture in an unheated stairwell or attic will burst the pipe. We perform hydraulics on completed systems before the heating season — within an hour to an hour and a half, the technician takes readings and records the result in a report. Before supplying water, bleed the air through the Mayevsky valves at the high points — an air lock distorts the pressure gauge and gives a false drop.
Pneumatic Pressure Testing with Air: When Water Cannot Be Supplied
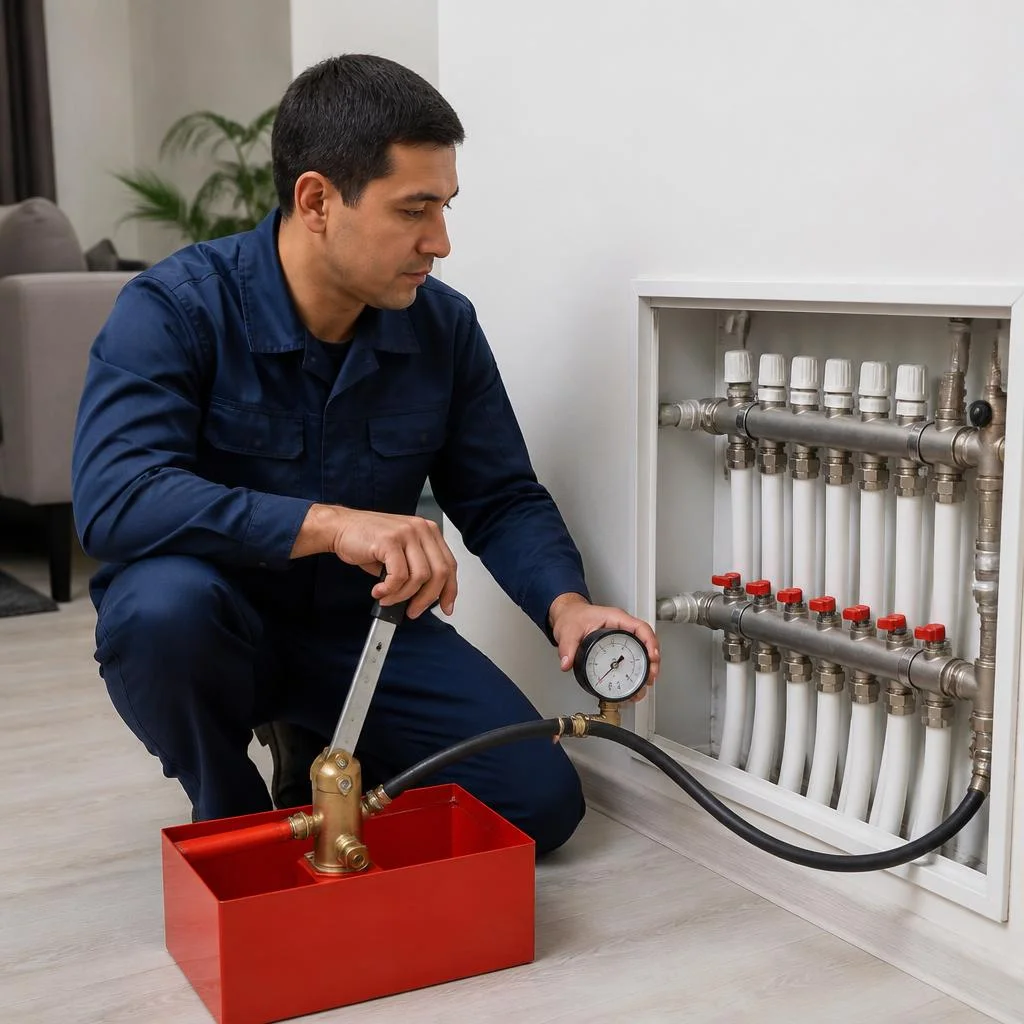
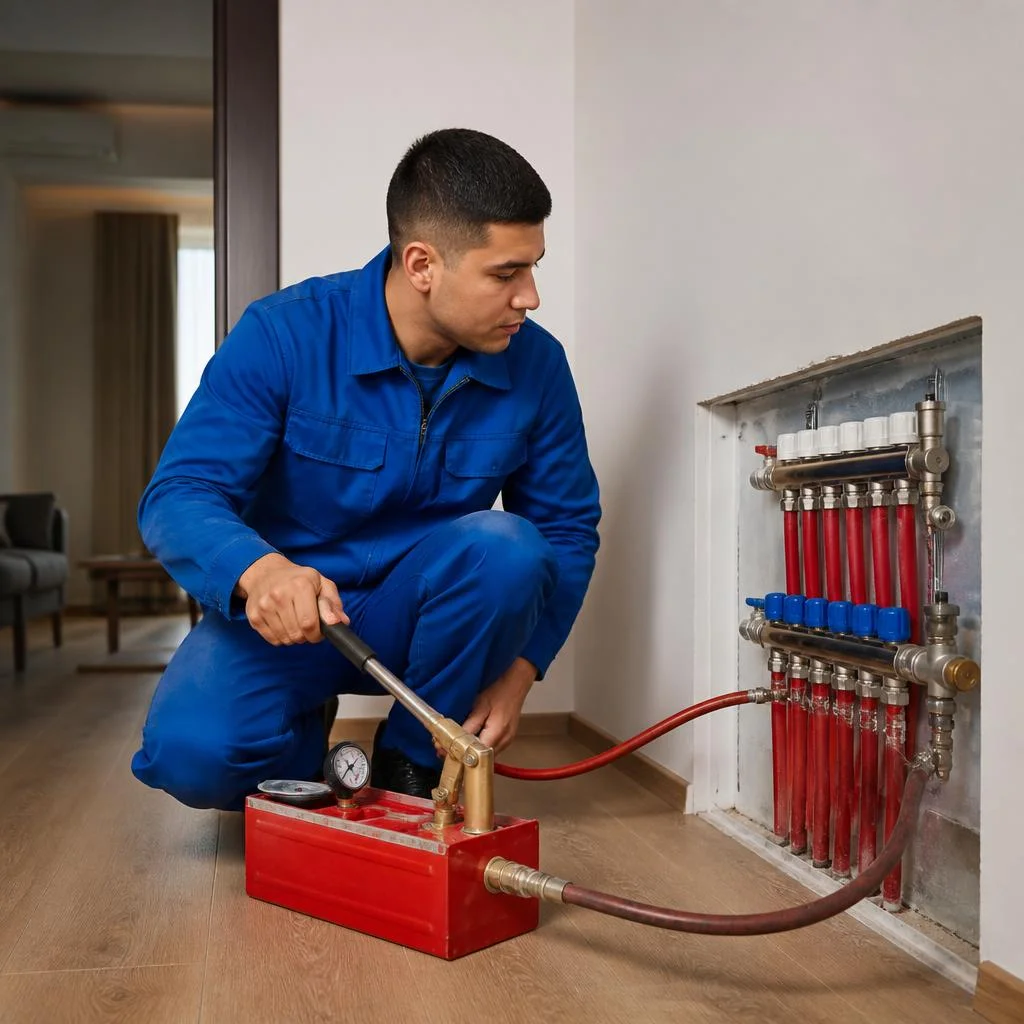
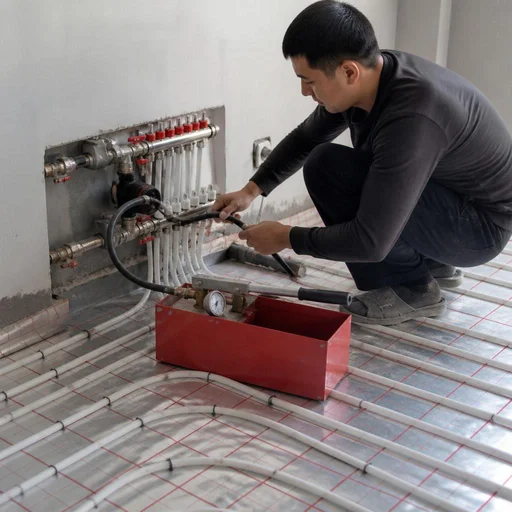
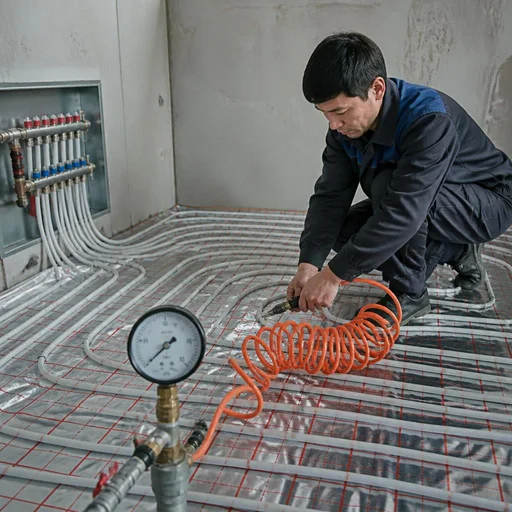
We use pneumatic pressure testing with air where water is unacceptable — in assembled but not yet connected circuits, on underfloor heating before the screed is poured, and in systems with a risk of freezing. The compressor pumps air up to the same test pressure, and the tightness of the joints is checked with soap foam: bubbles on the thread, fitting, or manifold indicate the exact location of the leak. For new polypropylene and metal-plastic circuits, this is more convenient — there's no need to drain the water after testing and dry the pipes. Air is also safer for old cast-iron radiators: if a section bursts, there won't be a flood, and the pressure will escape into the atmosphere. In search, this sounds like pressure testing of heating radiators — that's how residents enter the query before the season. We use pneumatic pressure testing with air for individual circuits — for example, for the underfloor heating manifold at the installation stage. Keep in mind: air is compressible, so it shows a small leak less clearly than water — for the final acceptance of a completed system, still supply water.
Comparison of Methods: Water vs. Air
| Parameter | Hydraulic (water) | Pneumatic (air) |
|---|---|---|
| What we supply | Cold water | Compressed air |
| Sensitivity to leaks | High | Medium |
| Risk in case of rupture | Flood | Safe |
| Where we apply it | Risers, distribution lines, mains | Underfloor heating, new circuits |
| Control | Pressure gauge | Pressure gauge + soap foam |
At a single facility, both methods are often combined: risers and mains are checked with water, while underfloor heating and new radiators are checked with air. The test pressure for both methods is the same — the only difference is the medium and the method of locating the defect. In everyday usage, people say pressure testing of heating systems — and by this they usually mean hydraulics specifically. Testing heating systems with air does not replace hydraulics at the final stage: the acceptance check of a completed circuit is carried out with water.
What we check: risers, distribution, radiators, underfloor heating, boiler
Each element of the heating system is tested differently: risers and mains — with cold water, underfloor heating — with air before screeding, the boiler — under operating pressure. We break down exactly what we check and why the approach differs.
Testing risers and basement mains in an apartment building
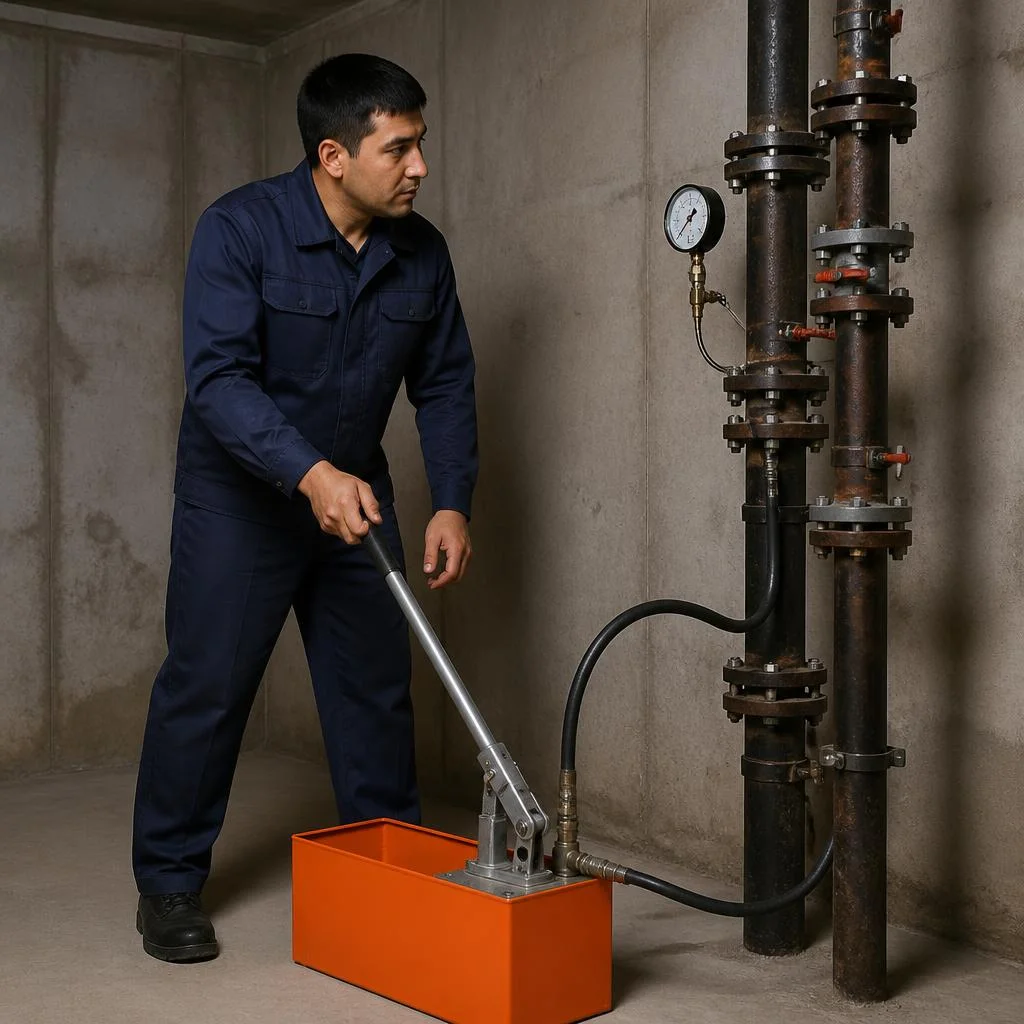
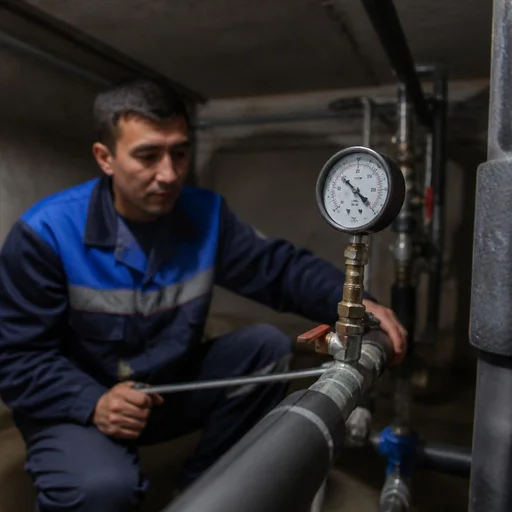
Eco-Service tests heating risers with cold water and checks basement mains — this is the foundation of preparing an apartment building for the season. Before applying pressure, the crew inspects the shut-off valves: they examine the valves, gate valves, Mayevsky valves and threaded unions on every floor. In Tashkent's older buildings, especially in Chilanzar and Yashnabad, risers are often cast iron with threaded connections, while in the new buildings of Mingurik and Yunusabad they are steel and polypropylene. Pipe testing begins with filling the circuit and raising the pressure to the test level, after which the system is held under the pressure gauge. Clients often write briefly in their requests: pressure testing of heating pipes — and from that wording alone the technician immediately understands the scope of work. In older buildings, risers are often cast iron with threaded unions — before applying pressure they are inspected, otherwise the test itself will provoke a leak.
Testing in-apartment distribution and radiators
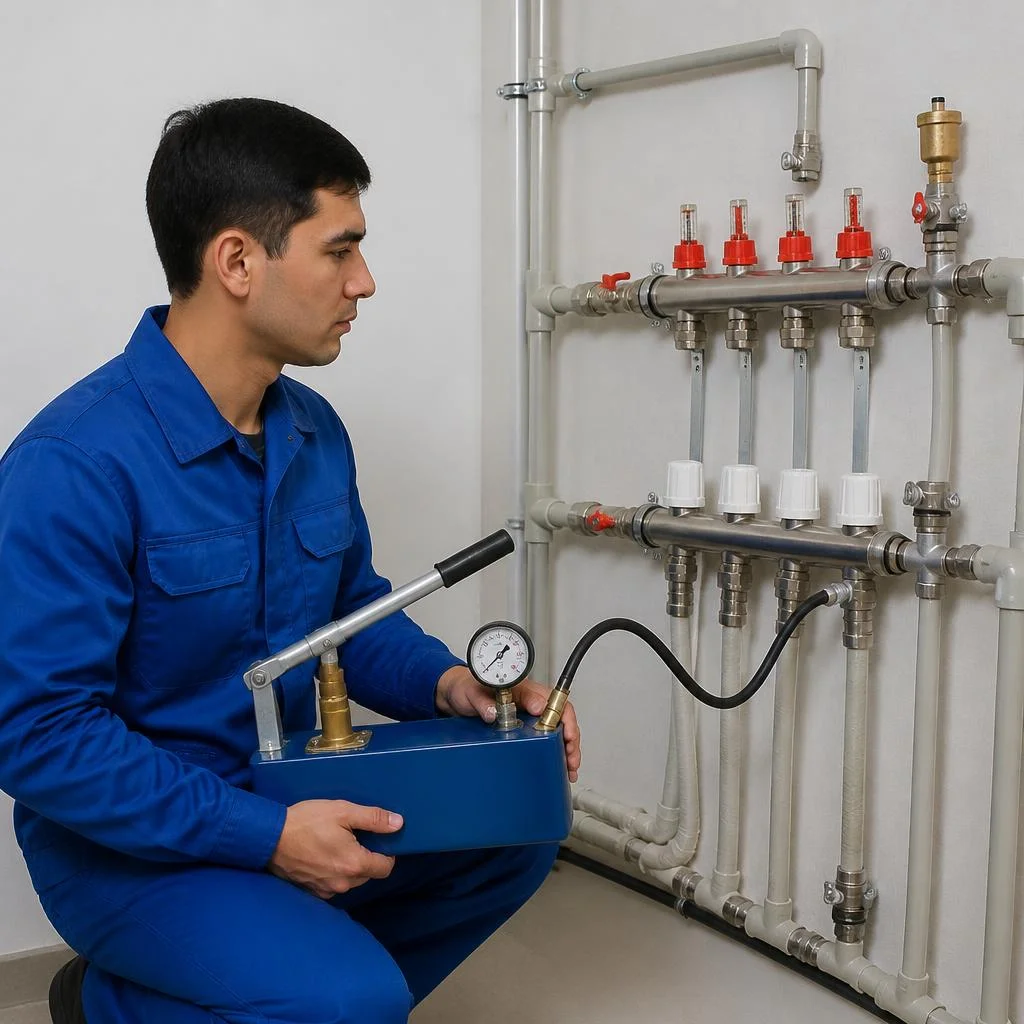
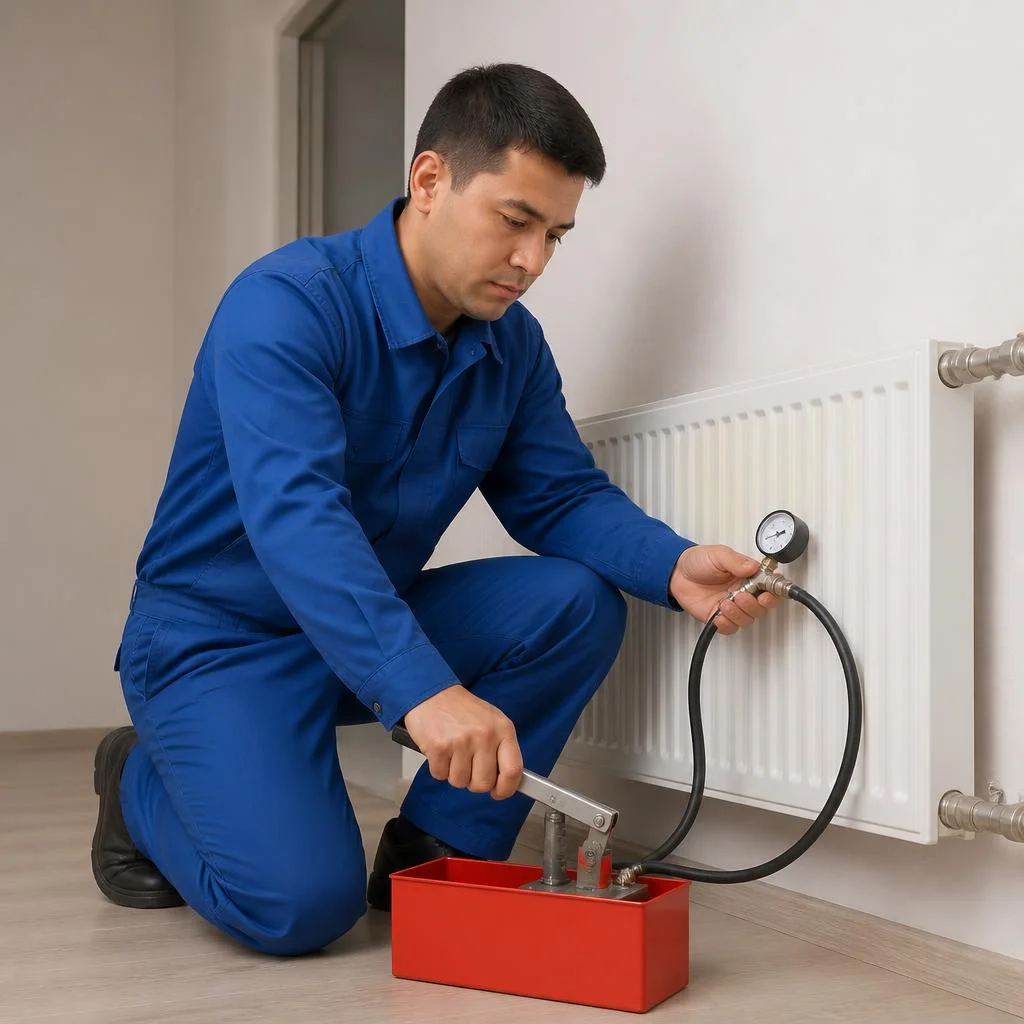
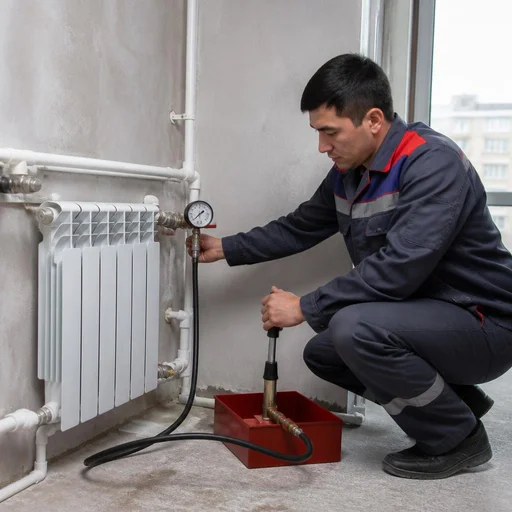
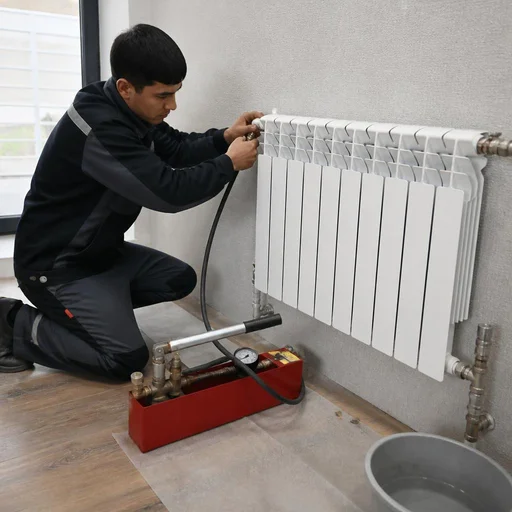
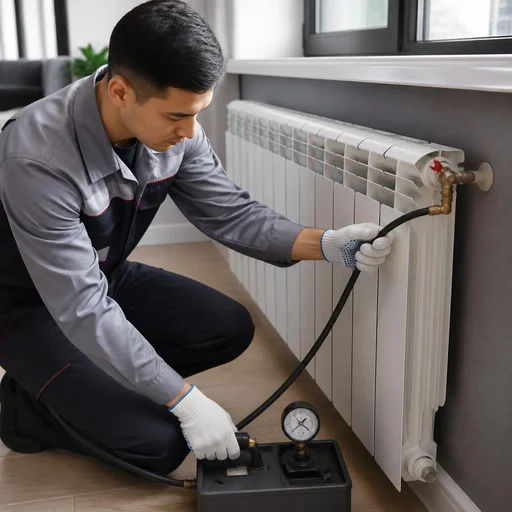
We test the in-apartment distribution and heating radiators as a separate circuit — this way it's clear exactly where pressure is being lost: in the pipe, at the joint, or in the appliance itself. Radiator testing is carried out with disconnection from the common riser: we shut off the shut-off valves, drain the section and apply pressure only to the appliance. Testing batteries in apartments with cast-iron radiators requires particular care — cast iron doesn't like water hammer, so we more often test such appliances with air. Polypropylene pipes hold pressure better than metal, but the weak point is the soldered joints; they are checked first when the pressure gauge drops. In residents' requests the wording varies: pressure testing of a heating radiator or pressure testing of batteries — essentially it's the same procedure on a specific appliance. If hidden connections remain in the walls after installation, I strongly recommend testing the circuit before sealing the chases — otherwise you'll have to break open the tiles.
Testing underfloor heating and the boiler with the DHW circuit
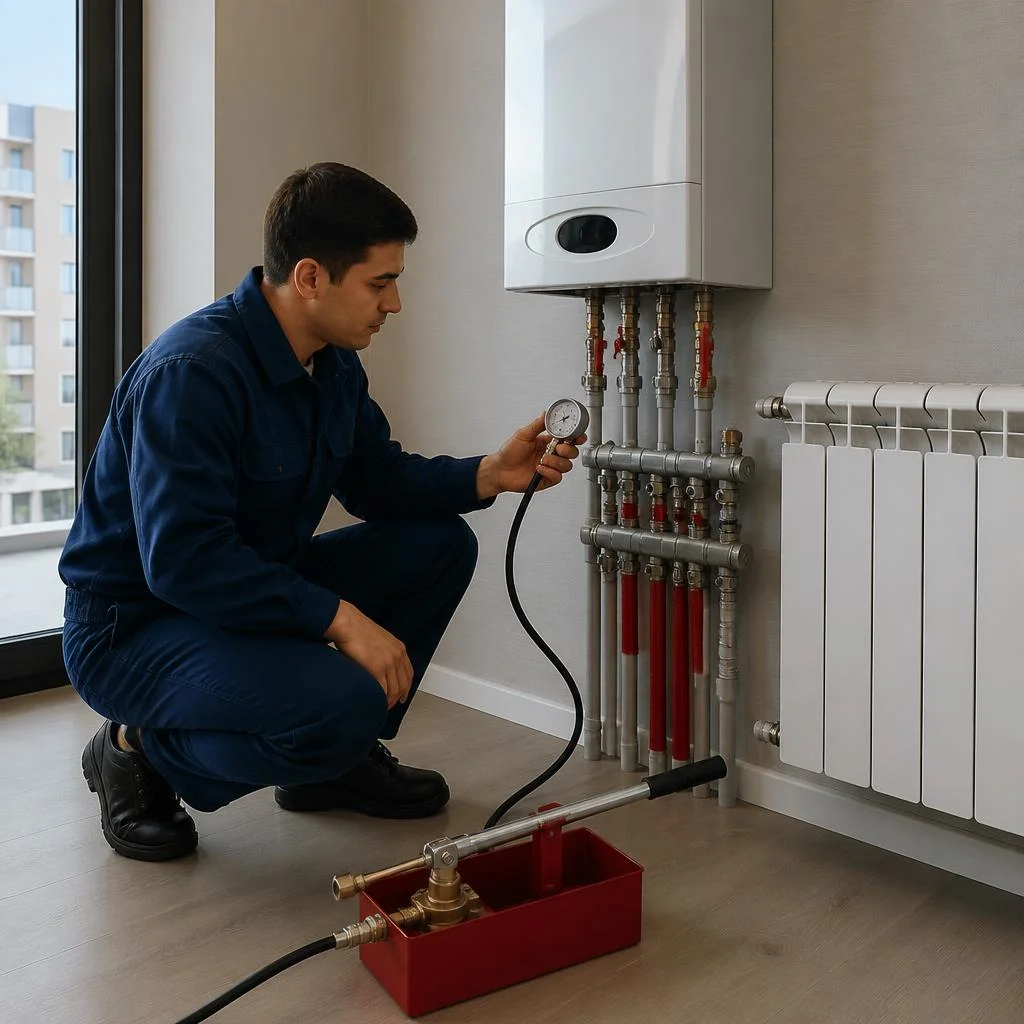
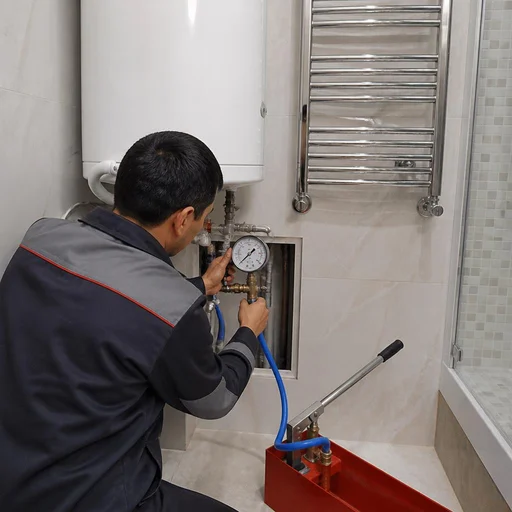
We test underfloor heating with air before pouring the screed, and the boiler and DHW circuit — with water under operating pressure while checking all connections. Pneumatic air pressure testing gives an accurate picture of the loop's tightness: the pressure gauge will show a drop even with a microcrack in a PEX pipe. A separate procedure is pressure testing of the water supply: we carry it out in parallel with monitoring the boiler, fill the circuit, raise the pressure to operating level and hold it under observation. Underfloor heating must not be tested with water before screeding: if it bursts, you'll have to break open fresh concrete — air is safer and cheaper to fix. In our experience, in Tashkent's new buildings up to 15% of loops require retesting after the first pour — this is normal and is resolved before final finishing.
Pressure testing objects and testing method
| Object | Method | Specifics |
|---|---|---|
| Risers | Water | Inspection of unions before supply |
| In-apartment distribution | Water | Circuit separate from risers |
| Radiators | Water / air | Cast iron — air only |
| Underfloor heating | Air | Before pouring the screed |
| Boiler and DHW | Water | Operating pressure |
| Basement mains | Water | Together with risers |
A single visit can cover several objects at once — this saves time and doesn't require draining the system again.
How pressure testing is carried out: stages of work from inspection to the act
The work follows a strict sequence: first diagnostics and preparation of the circuit, then applying pressure under gauge control, if necessary — eliminating defects and re-checking, and finally — signing the act.
Preparation: inspection of valves, checking pipes, system diagram
Before testing, Eco-Service inspects the shut-off valves, checks the condition of the pipeline and draws up a heating system diagram — without this, pressure must not be applied. The technician walks the circuit, checks Mayevsky valves, ball valves and balancing valves: a seized valve under pressure will simply strip the thread. On polypropylene and metal-plastic sections, joints and fittings are inspected; on steel ones — welded seams and threaded connections; the condition of radiators and connections is recorded separately. During the inspection, pipe diameters, appliance connection points and valve installation locations are marked on the diagram — this same document later forms the basis of the act. The diagram will be useful not only for checking tightness: during the next repair, the technician won't have to guess where the circuit runs. Clients often phrase the task like this: pressure testing of the heating system in an apartment — and the technician immediately understands that the circuit is within the apartment, not the building-wide one.
Applying pressure, holding time and monitoring by gauge
The pressure tester raises the pressure to the test level, holds the circuit under load and records the gauge readings — a pressure drop means a leak. For in-apartment distribution in new buildings in Tashkent, the test pressure is usually 1.5 times higher than the working pressure; for polypropylene and PEX, the upper limit is capped so as not to rupture the fitting. The gauge is installed at the lowest point of the circuit, air is bled through Mayevsky valves — otherwise the readings "jump" and a real leak can't be seen. The circuit is held under load for at least 15-30 minutes; for large mains and underfloor heating — up to several hours. The pressure is held not "by eye" but by time: a short hold won't reveal a slow leak on a thread that will show up a week after start-up. Performing a test without a hold is just a formality with no result. In residents' requests this sounds brief: pressure test the heating system — and after that it's a matter of technique and the gauge.
What to do if pressure drops: finding and eliminating the leak
If the pressure drops, we look for the leak at joints, threads and appliances, then eliminate the leak at the threaded connection or a pinhole in the pipe and repeat the check. First, visible connections are inspected — the connections to radiators, towel warmer, boiler; if there are no traces of water, hidden sections in chases and screed are checked. On threads, the most common fix is replacing the seals of the shut-off valves and re-packing with flax or anaerobic sealant; on a steel pipe, a pinhole is welded or a repair coupling is installed. After eliminating the defect, the circuit is filled again and held under the same test pressure. A repeat cycle after repair is mandatory: the eliminated leak could have "pulled" a neighboring connection, and without checking it will make itself known later. In the private sector the request sounds different: pressure testing of the heating system in a private house — there the circuit is longer, there is a boiler room and more points on the distribution.
Act and documents after pressure testing
- Pressure test act: method (water or air), test pressure, holding time and result — tight or with remarks.
- System diagram: pipe diameters, connection points of appliances and shut-off valves — will be useful during the next repair.
- Defect list: a list of the leaks found and the work to eliminate them, if it was performed during the same visit.
- Post-installation act: testing of the circuit confirms the tightness of the new circuit before commissioning and acceptance.
- Warranty card: records that the system check passed with a positive result, and ties the 2-year warranty to a specific site.
Inspection in an apartment, private house, and multi-apartment building
The type of property determines the scope of work, the test pressure, and who is responsible for the pipe. We break down how the inspection is carried out in an apartment, a private house, and a multi-apartment building.
How the inspection is carried out in an apartment
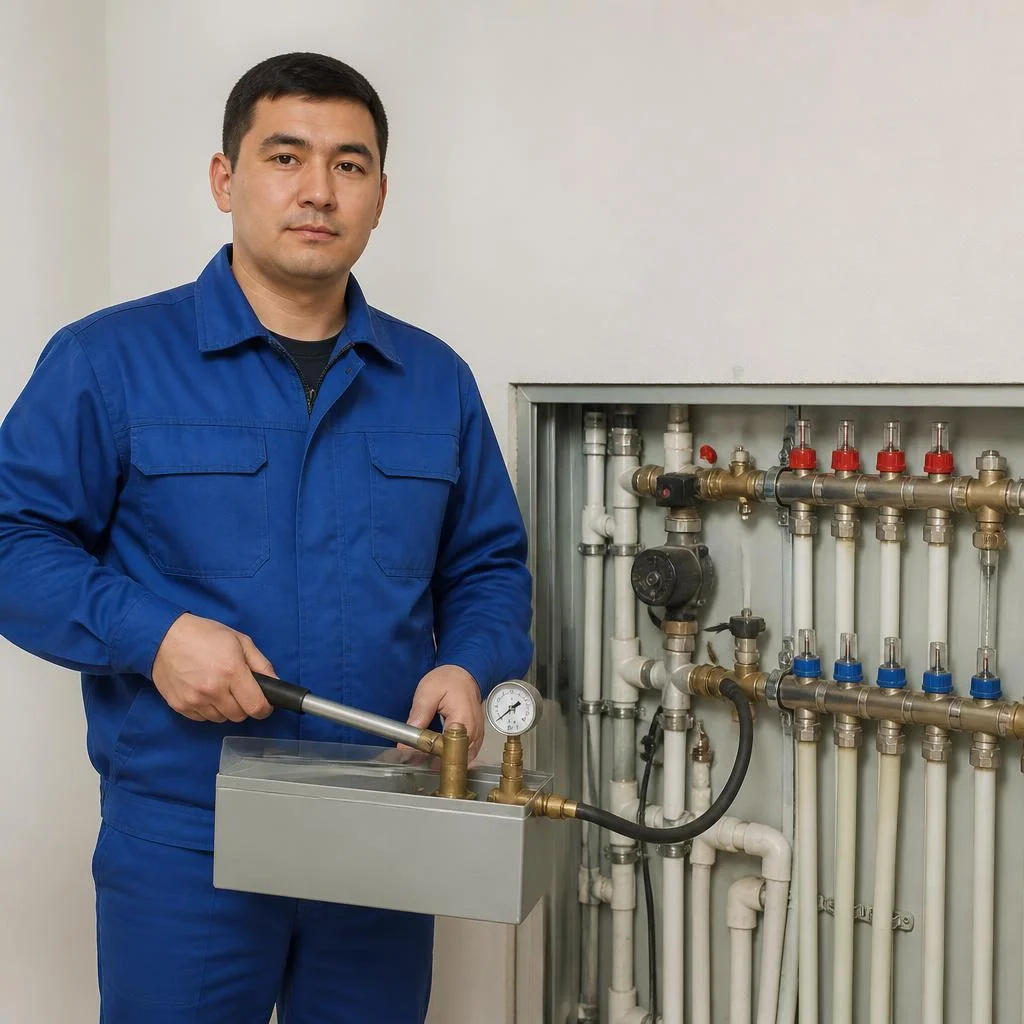
The heating system in an apartment covers the in-apartment distribution and radiators separately from the building-wide risers — this way it's clear exactly where the problem is. We work with polypropylene, metal-plastic, steel, and PEX: each material has its own tooling and its own pressure hold time. Before applying pressure, the technician shuts off the first valve at the inlet so as not to run water through the entire riser, and connects a manual hydraulic press to the nearest radiator via the Mayevsky valve. If underfloor heating is installed, its circuit is tested with a separate pressure gauge — manifold assemblies leak more often than the loops themselves. In Tashkent apartments with central heating, the risers are maintained by the management company, while everything after the first valve is the owner's responsibility. Clients often send a request for "hydraulic pressure testing of the heating system" — and the technician immediately understands that what's needed is instrument-based pressure buildup with a pressure gauge, not a visual inspection.
Heating inspection in a private house
The heating system in a private house covers the entire circuit — from the boiler to the last radiator, including underfloor heating and the water heater. There is no management company here, so we check the gas or electric boiler, expansion tank, safety group, manifolds, and shut-off valves on each branch of the distribution. The test pressure is selected according to the boiler's data sheet — usually 0.5 bar above the working pressure, but not above the limit specified by the manufacturer. For a two-story house with two independent circuits (radiators and underfloor heating), we apply pressure one at a time to localize any possible leak. In a private house, the pressure is maintained not by the management company but by the house's own boiler and expansion tank — which is why the test pressure is selected according to the boiler's data sheet, not "according to the standard." In their requests, owners phrase this as "pressure testing of heating in a private house" — and we clarify in advance the boiler type, the number of circuits, and whether there is a water heater, so we can bring the right adapters.
Heating system inspection in a multi-apartment building: responsibility zone
The heating system in a multi-apartment building is divided into the building-wide part (risers, basement mains) and the in-apartment part — we work with both. Basement mains and risers are checked when preparing the building for the heating season: they are pressure-tested with cold water at a pressure above the working pressure, and the results are recorded in a report. The in-apartment distribution after the first valve is checked separately, because the building-wide pressure test does not cover it. If the management company pressure-tests the risers, the owner should still have their own distribution checked: the building-wide test will not show a leak inside the apartment. In search, this sounds like "pressure testing of the heating system in a multi-apartment building" — for such a request, the first thing we clarify is whether only the in-apartment part needs checking or the building-wide section as well.
Service across districts of Tashkent
- Chilanzar: old housing stock with steel risers — most often requires inspection of shut-off valves before pressure testing.
- Yunusabad: new buildings with polypropylene distribution and underfloor heating manifold assemblies.
- Mirzo-Ulugbek: private sector and low-rise houses with autonomous boilers and water heaters.
- Sergeli and Yashnabad: mixed development, where both steel and metal-plastic are found in the same building.
- Own equipment: we bring hydraulic presses, pressure gauges, and compressors for pneumatic pressure testing with us — nothing needs to be purchased additionally.
- Combining orders: if several apartments in a building order pressure testing, the work on the riser is carried out with a single pressure buildup.
Flushing, repairs based on results, and a 2-year warranty
An inspection rarely ends with a single procedure: the circuit is flushed and any defects found are fixed right away. Below is what the service includes beyond the inspection, how to place an order, and what obligations remain after the report is signed.
Flushing and pressure testing of the heating system: why combine them
We perform flushing and pressure testing in a single visit: first we remove scale and sludge, then we check for leaks. Combining them saves residents time, since it doesn't require draining and refilling the circuit again, and the technician works with one set of equipment — a hydraulic press and pressure gauges. Before applying pressure, Eco-Service inspects the shut-off valves and checks the condition of the pipeline in order to rule out obviously faulty sections. The query "flushing and pressure testing of the heating system price" most often comes in for the combined service — it is completed in a single visit. Flushing before testing improves accuracy: a circuit clogged with sludge may hold pressure but heat poorly — the test will show it is leak-tight, while flushing restores heat output. When clients search for "pressure testing and flushing of the heating system," they usually mean exactly this order of work in one technician visit.
Repairs based on pressure testing results: radiator replacement, valve replacement, leak elimination
- Heating radiator replacement: removal of the old battery, installation of a new one with flushing and leak testing under pressure.
- Shut-off valve replacement: removal of the worn valve, installation of a new one, pressure testing of the assembly at the thread and at the soldered joint.
- Radiator leak elimination: repacking of section joints or replacement of the gasket between sections without removing the battery.
- Underfloor heating leak elimination: locating the damage along the circuit, local replacement of the pipe section, and re-testing of the loop.
- Elimination of a pinhole leak on a pipe: mechanical cleaning, a clamp or welded repair, followed by testing under test pressure.
2-year warranty and our own service center in Tashkent
Eco-Service provides a 2-year warranty on all pressure testing work, and our own service center in Tashkent accepts requests in person. The warranty also covers related repairs — replacement of a heating radiator, shut-off valve, seals, elimination of radiator and underfloor heating leaks. If a connection leaks after valve replacement, the repeat visit is covered by the warranty, not charged separately. Residents often ask how much pressure testing of a heating system costs: the total depends on the size of the circuit and the testing method — water or air. To be clear: the cost of pressure testing of a heating system is determined after an inspection, not over the phone, since the number of risers and the number of floors affect the scope of work. The query "heating pressure testing price" appears in search more often than longer phrasings — that's how clients find our service center. Requests are accepted with the receipt and the work completion report, so it's worth keeping the documents.
How to order and pay: Click, Payme, Uzcard, Humo
- Request: contact the Eco-Service service center or via Telegram — the technician will agree on the date and time of the visit.
- Coordination: the engineer clarifies the type of system, the scope of work, and the testing method — water or air.
- Click and Payme: cashless transfer via the mobile app before or after the work, the receipt is sent to your phone.
- Uzcard and Humo: by card via a terminal on site, a paper receipt is issued immediately after payment.
- Closing: the report is signed after the work, and the warranty card is attached to the documents.
Conclusion
We have gathered the key points to keep in mind before pressure testing a circuit: choosing the method, preparation, reading the pressure gauge, and the documents based on the results.
Main takeaways
- The essence of the procedure: pressure testing a circuit — the method is selected based on the type of object (risers, distribution piping, radiators, underfloor heating) and the stage of work.
- Water versus air: water is more sensitive to micro-leaks, air is safer for new circuits and underfloor heating, where freezing or a leak could damage the screed.
- Preparation is mandatory: before applying pressure, shut-off valves are inspected and the pipeline condition is checked — otherwise the pressure gauge will show a false picture.
- Pressure drop: a steady drop on the pressure gauge is a signal to look for a leak; after fixing the leak, the test is repeated from the beginning of the holding period.
- Document based on results: a pressure test report is needed by the management company when handing over the building and by the client when accepting the system after installation.


