











What sewer installation includes: apartment, private house, outdoor networks
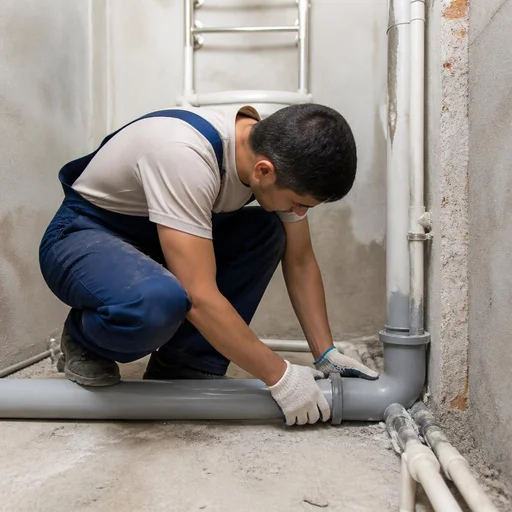
Sewer installation is not a single service but a set of works: routing inside the premises, connecting plumbing fixtures, laying outdoor pipes to a manhole or septic tank. Let's look at how the tasks differ in an apartment, a private house and outdoors.
Sewer installation in an apartment: what is actually done on site
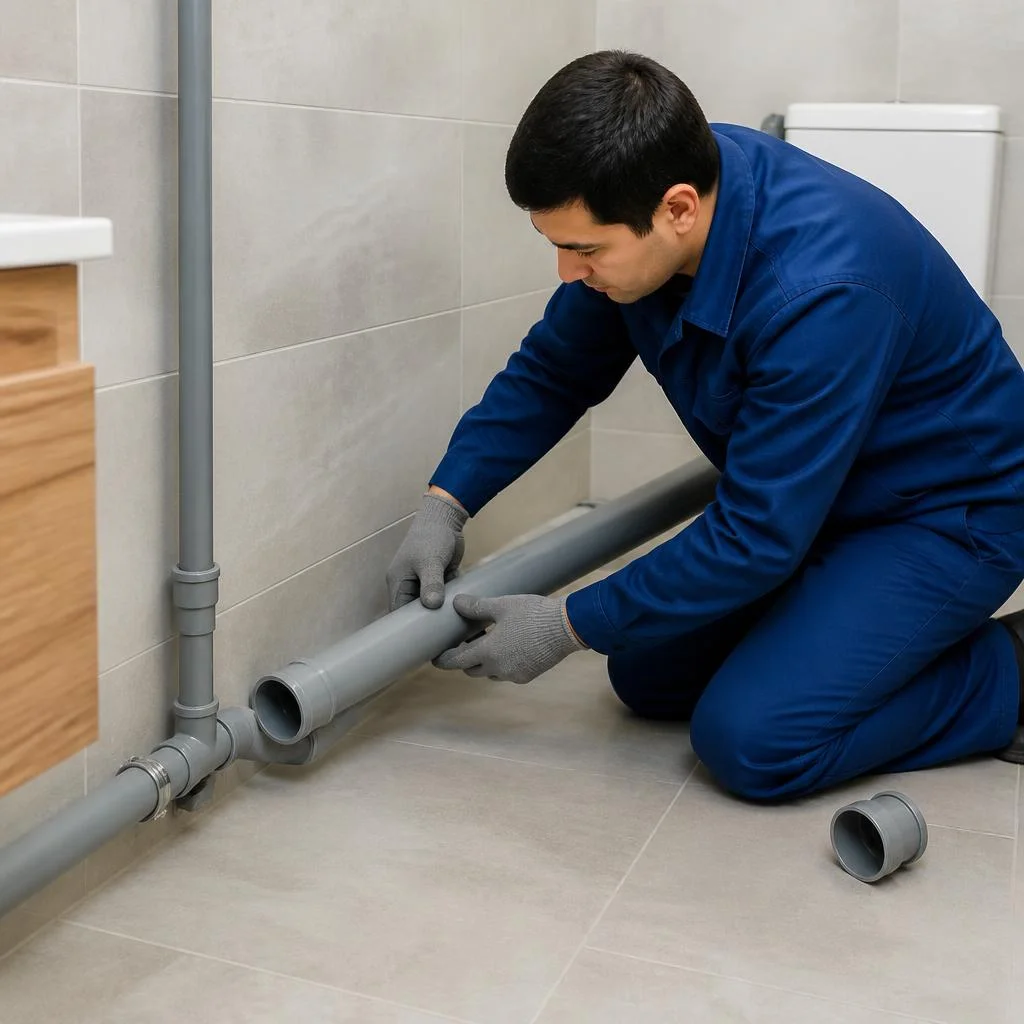
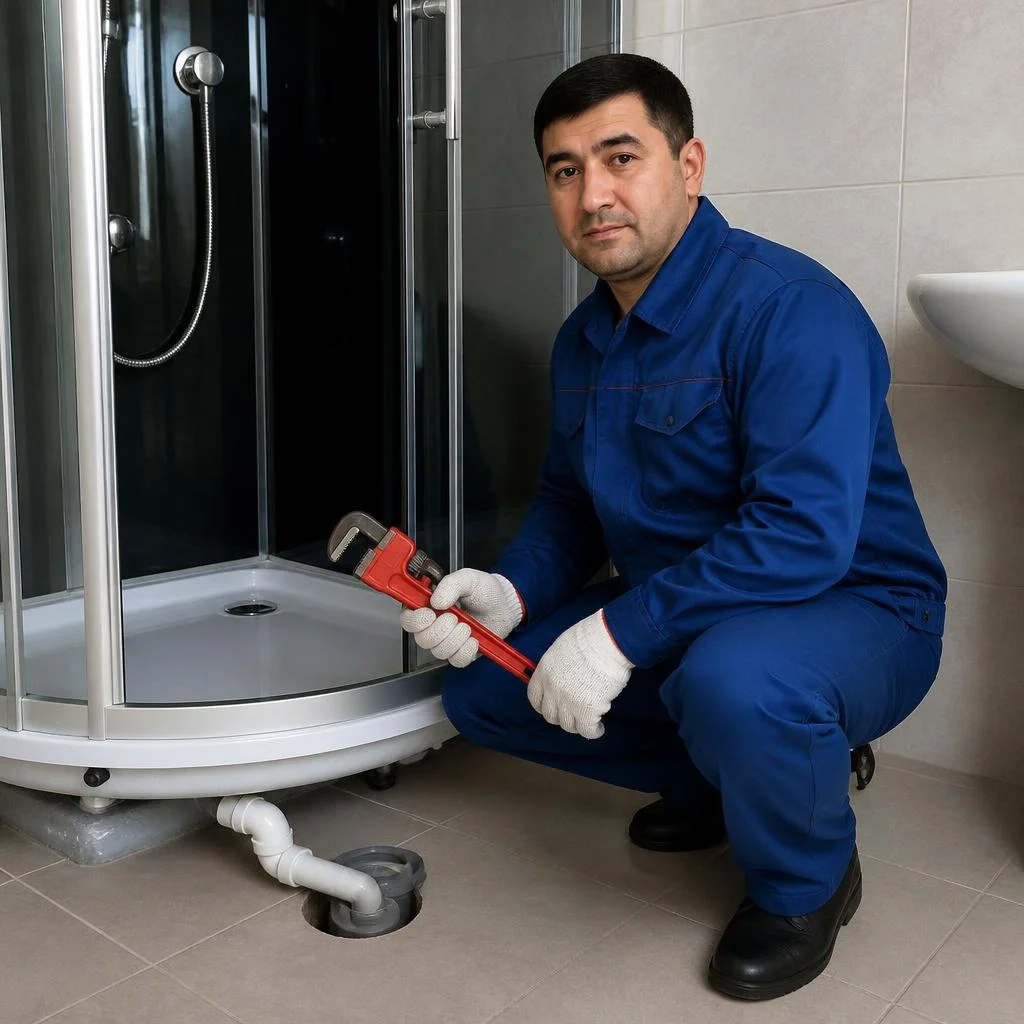
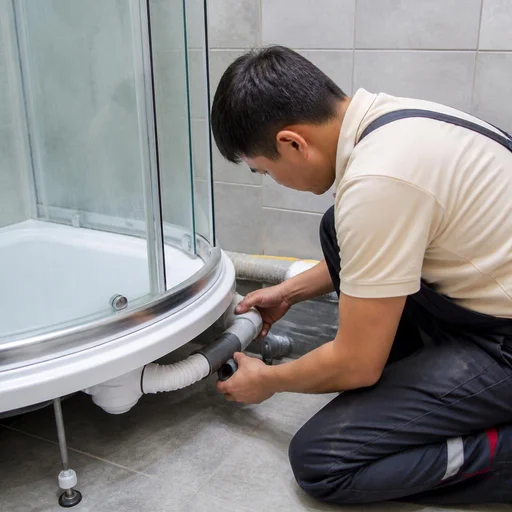
We carry out sewer installation in apartments, and clients most often search for the cost of such routing before even calling — that's why we provide an estimate after an inspection, not over the phone. In a standard Tashkent apartment this means 4-5 points: toilet, sink, shower cabin, washing machine, sometimes a bidet. 50 mm pipes run from the sink and bathtub, 110 mm from the toilet to the riser, and every branch is laid with a slope of 2-3 cm per meter. In panel buildings the riser must not be touched without approval from the management company — first we check which outlet the apartment is connected to, and only then do we plan the routing. In my opinion, it's cheaper to install an inspection fitting under the sink right away than to later break open the tiles just to clean the pipe.
Sewer installation in a private house: indoor and outdoor parts
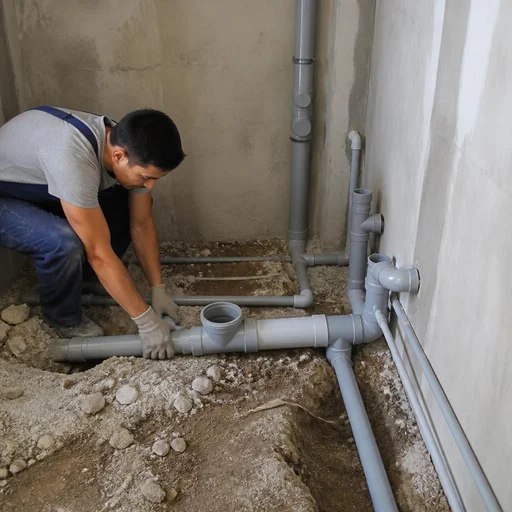
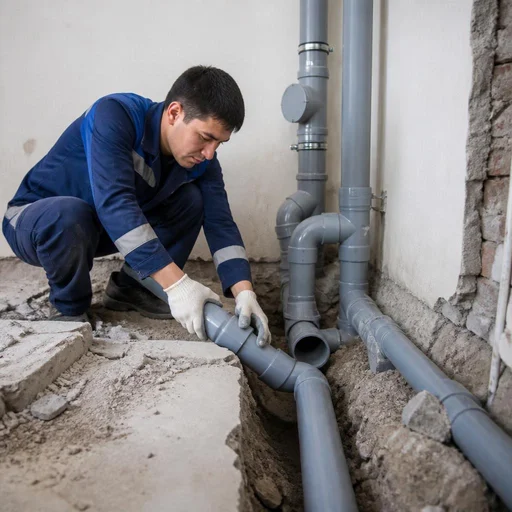
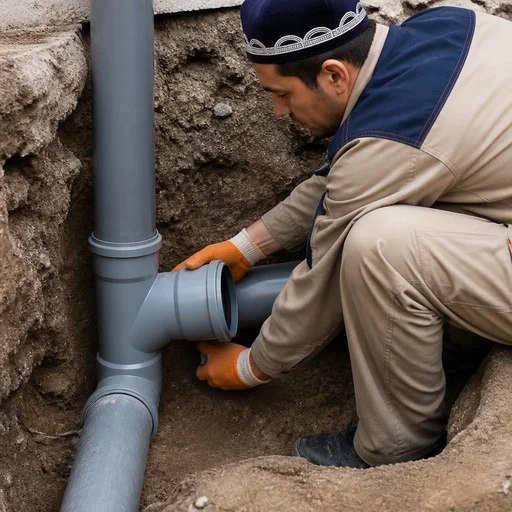
In a private house we install the sewer system in two circuits — indoor routing and the outdoor network to the septic tank or central manhole. The first circuit follows the apartment layout, the second starts from the outlet through the foundation: a 110 mm pipe is laid in a trench deeper than the frost line, with a slope of 2 cm per meter. The question of laying sewers in a private house is decided after an inspection: the length of the route, the type of soil and the presence of groundwater change the volume of excavation work severalfold. If the groundwater is high, the pipe in the trench is raised onto a 15-20 cm sand bed and insulated — otherwise a joint may burst in winter.
Types of Eco-Service work: table of services
| Service | What it includes | Where it is used |
|---|---|---|
| Sewer installation in an apartment | Routing of 50 and 110 mm pipes, connection of plumbing fixtures, outlet to the riser | Apartment buildings, new developments |
| Sewer installation in a private house | Indoor routing, outlet through the foundation, trench | Private houses, cottages, townhouses |
| Outdoor sewer installation | Laying the pipe in a trench, bedding, backfilling | Plots with a septic tank or central network |
| Septic tank installation | Excavation, installation of the tank, connection of the outlet | Houses without a central sewer |
| Sewer manhole installation | Rings or plastic, bottom, channel, cover | Turning points, connection points |
Turnkey works cover all stages — from routing design to handover of the site with the system flushed; sewer installation price per meter, which is calculated by pipe, means a different volume of excavation work in an apartment and in a private house, and the sewer pipe installation price reflects exactly this scope.
Sewer layout in the bathroom and washroom: diagram and connection points
The layout is the framework of the entire system: pipes are laid into walls and under the screed before tiling, and they cannot be redone later without opening things up. A mistake at this stage shows up months later as a clog or a smell. Let's go over the diagram and the points.
Sewer layout in the bathroom: how pipes are routed
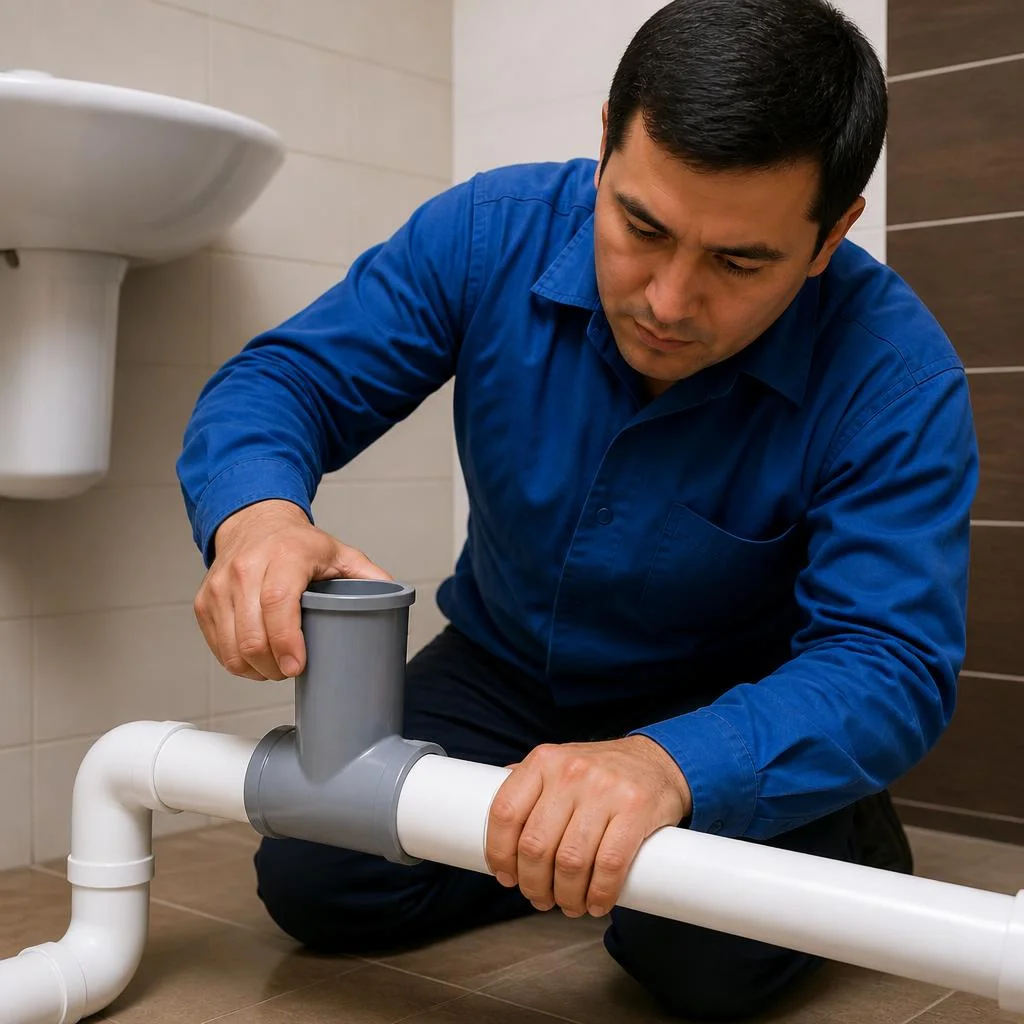
Eco-Service does the sewer layout in the bathroom using a manifold scheme: each point runs as a separate branch to the common riser or outlet. First we mark the axes of the fixtures according to the bathroom design, then we chase the walls for 50 mm and 110 mm PP pipes, assemble the branches on fittings with rubber seals, and run them into the riser through tees with a diameter transition. We carry out the work on the sewer layout in the bathroom before laying the tiles — this way the pipes are hidden in the chase and don't spoil the finish. In Tashkent homes, the old cast-iron layout is most often in the way: we keep it only if it is airtight, otherwise we replace it entirely with PP. Clients often phrase the request as sewer installation in an apartment — essentially this is our manifold scheme with a separate branch for each fixture.
Connecting the toilet, sink, shower cabin and washing machine
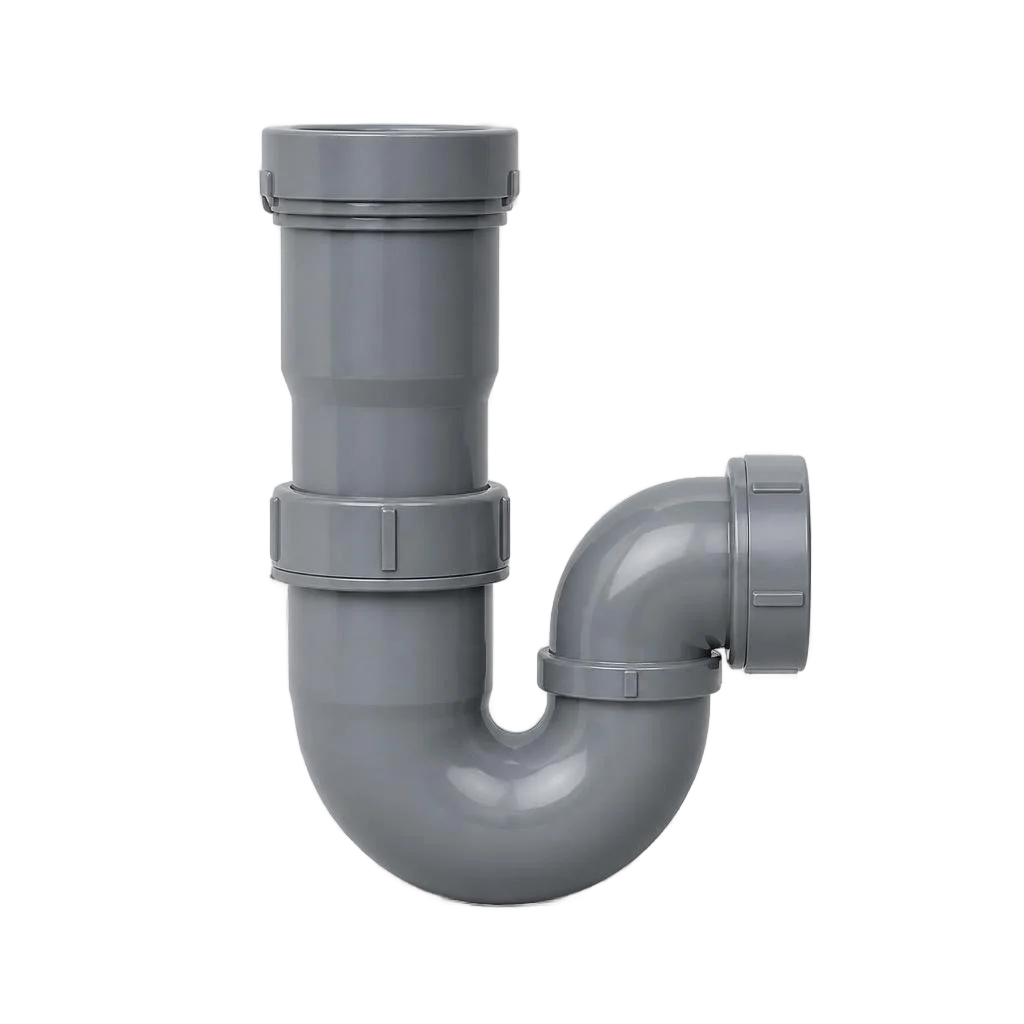
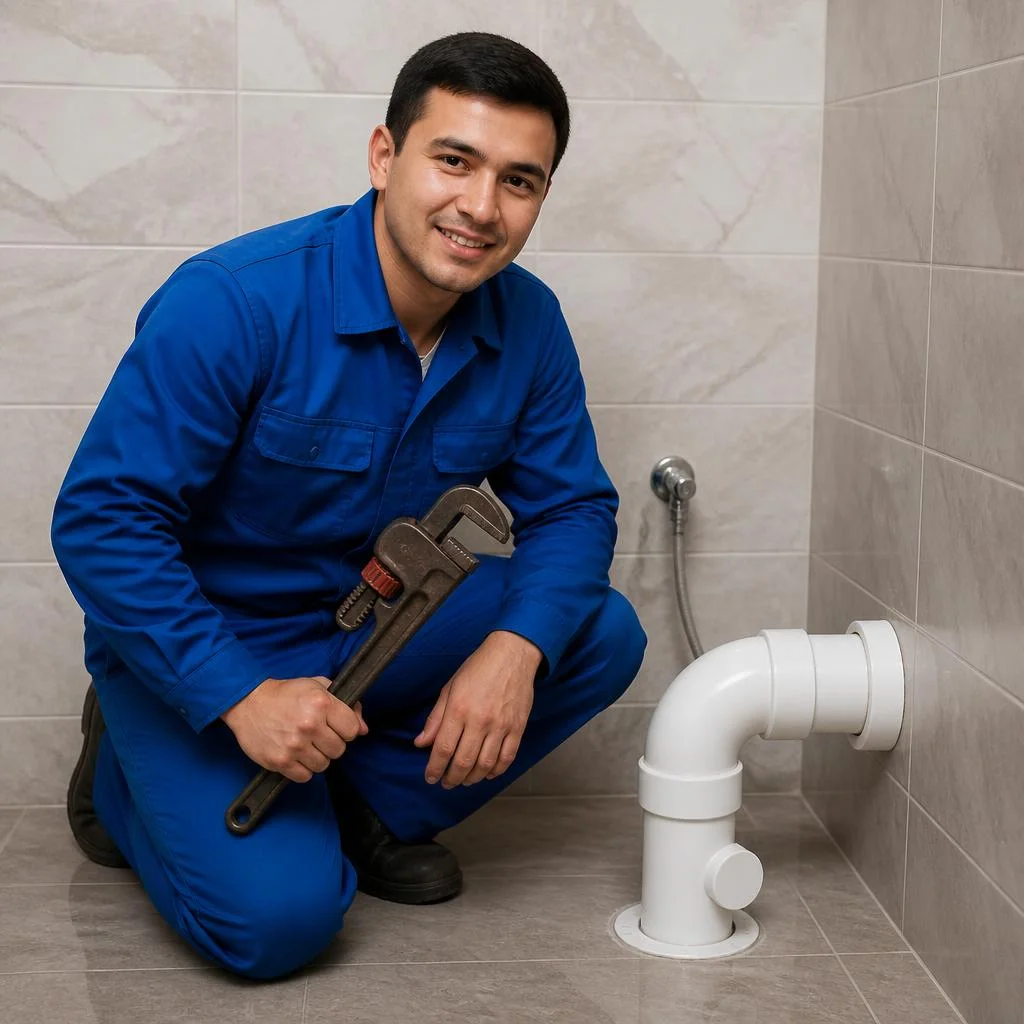
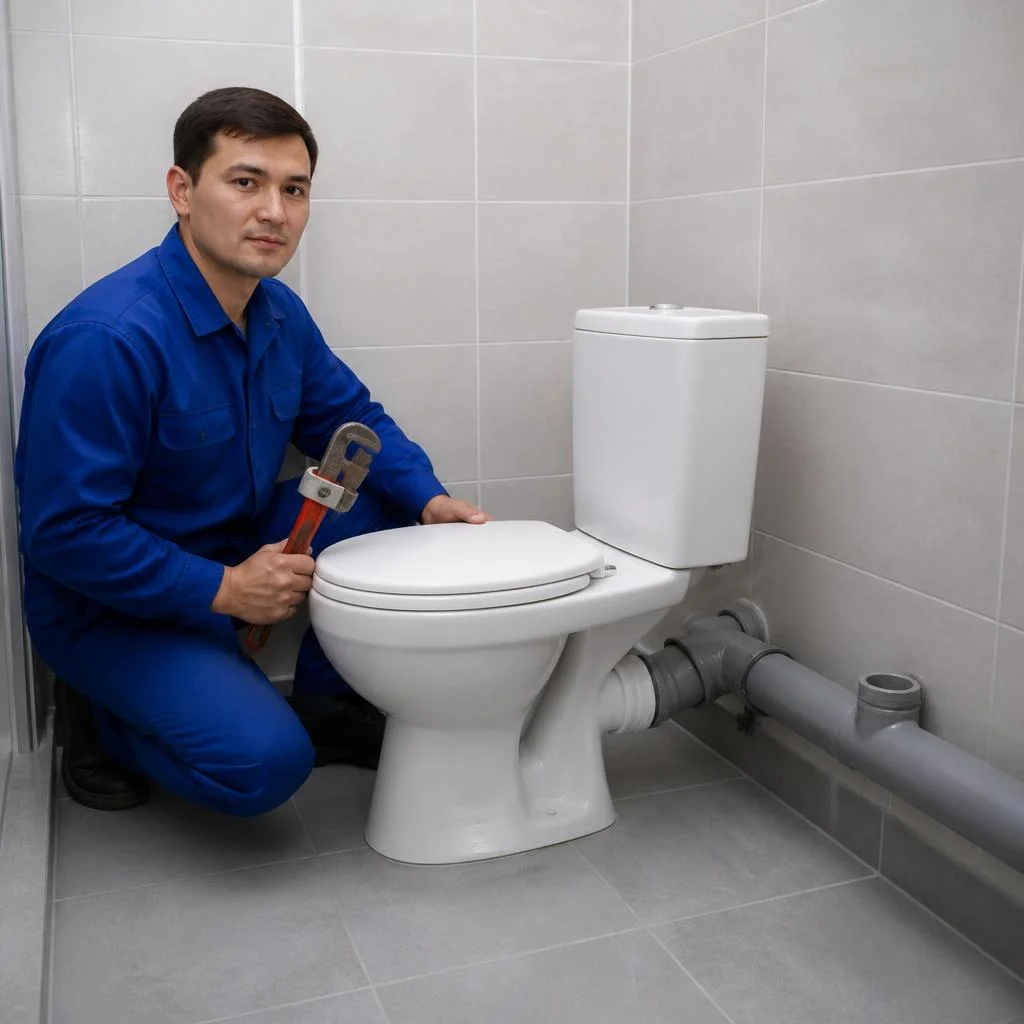
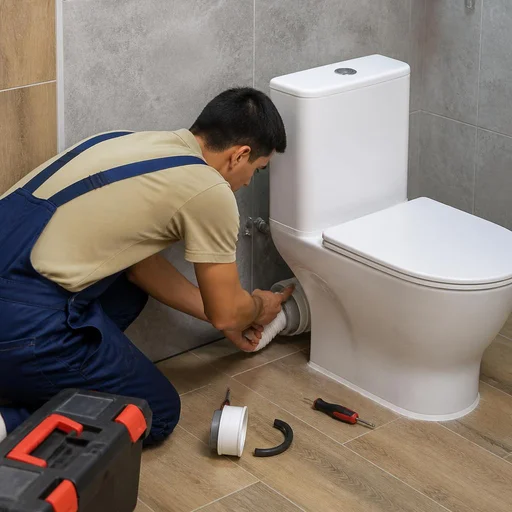
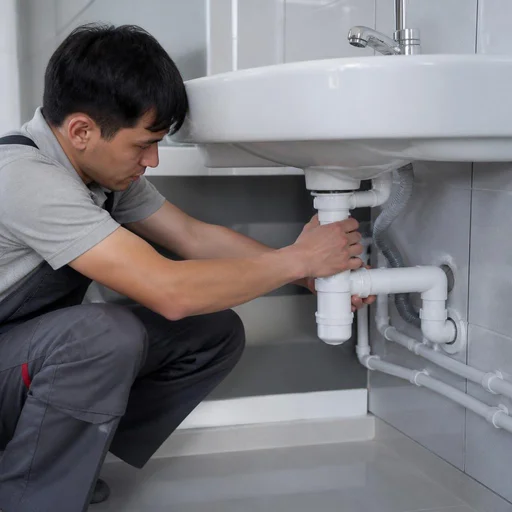
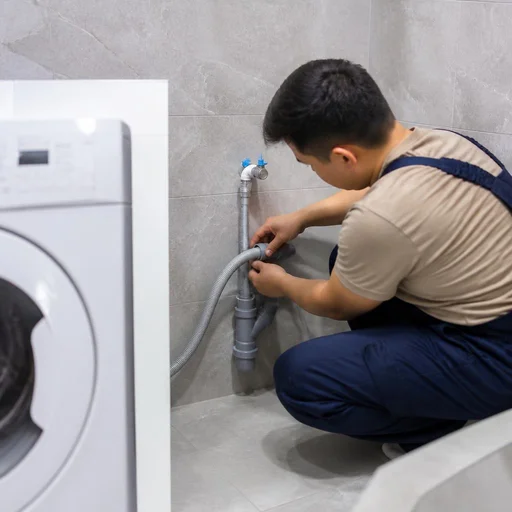
The layout starts with the toilet — its outlet sets the height and slope of the entire branch. Eco-Service connects the toilet at 110 mm, and the sink, shower cabin and washing machine at 50 mm: under the sink we install a siphon with a cleanout, under the shower cabin a floor drain with a dry trap, and under the washing machine a separate branch with a check valve. We lay the sewer pipes in the apartment with a slope of 2-3 cm per meter, otherwise water stagnates in the tray. The washing machine cannot be connected to the same branch as the sink — when both drain at the same time, water flows back into the basin, so we run them on separate lines. Requests also include wording such as pipe laying in the bathroom — from that we immediately understand that a full cycle is needed, from chasing to connecting the fixtures. Clients often write sewer installation price — and for such a request we immediately calculate the estimate based on the number of points and the footage of pipes, rather than by a price list per single item.
Table of connection points: diameter, slope, nuance
| Point | Diameter | Slope | Nuance |
|---|---|---|---|
| Toilet | 110 mm | 2 cm/m | The outlet sets the height of the branch |
| Sink | 50 mm | 3 cm/m | Siphon with a cleanout for unclogging |
| Shower cabin | 50 mm | 2 cm/m | Floor drain with a dry trap against odors |
| Washing machine | 50 mm | 3 cm/m | Separate line with a check valve |
When laying pipes in the bathroom, a slope less than the standard causes a clog, while more causes the water seal to break and a smell, so a deviation in either direction is equally bad.
Slope, diameters and ventilation: the standards that determine how the system works
Sewerage doesn't work "by eye" — it's governed by regulatory parameters: slope, diameter, stack ventilation. Below are the figures we adhere to at every site, and an explanation of why a deviation of one centimeter breaks the gravity flow.
What slope a sewer pipe needs: figures for 50 and 110 mm
We set a slope of 2 cm per meter for 110 mm pipes and 3 cm per meter for 50 mm pipes — this is the standard on which gravity flow depends. For toilet branches, a diameter of 110 mm is used; for a sink, shower cabin and washing machine — 50 mm; for every meter of horizontal run, the pipe drops strictly by the calculated amount, otherwise the water drains in bursts and dense fractions settle on the walls. On long runs over 3 meters, the slope is checked with a laser level, not visually: an error of 5 mm over three meters already causes stagnation at the far end of the layout. Before pouring the screed, run 10-15 liters of water through the pipe — this way you'll catch a back slope that isn't visible to the eye but which in a month will turn into a blockage.
Which pipes are better for sewerage: PVC or PP
For internal layouts we install PP pipes, for external installation — PVC pipes: they differ in effluent temperature and mechanical load. Polypropylene withstands operating temperatures up to 95 °C and has a smooth inner wall that doesn't overgrow, so it's used for kitchen and bathroom branches; PVC is stiffer and better resists soil pressure, which is critical in a trench at a depth of 1.5-2 meters. Clients often write in the request "sewerage layout in an apartment" — and from that one line alone the technician already understands that an internal polypropylene circuit is needed, not an outdoor main line. The socket and fittings are selected for the same material and diameter — adapters between PP and PVC are installed only on a threaded connection with a sealing ring. For a washing machine and dishwasher, choose pipes with heat resistance above 70 °C: ordinary PP deforms at the joint with frequent hot discharges, and the connection starts to leak.
Vent stack and cleanout: why they are needed
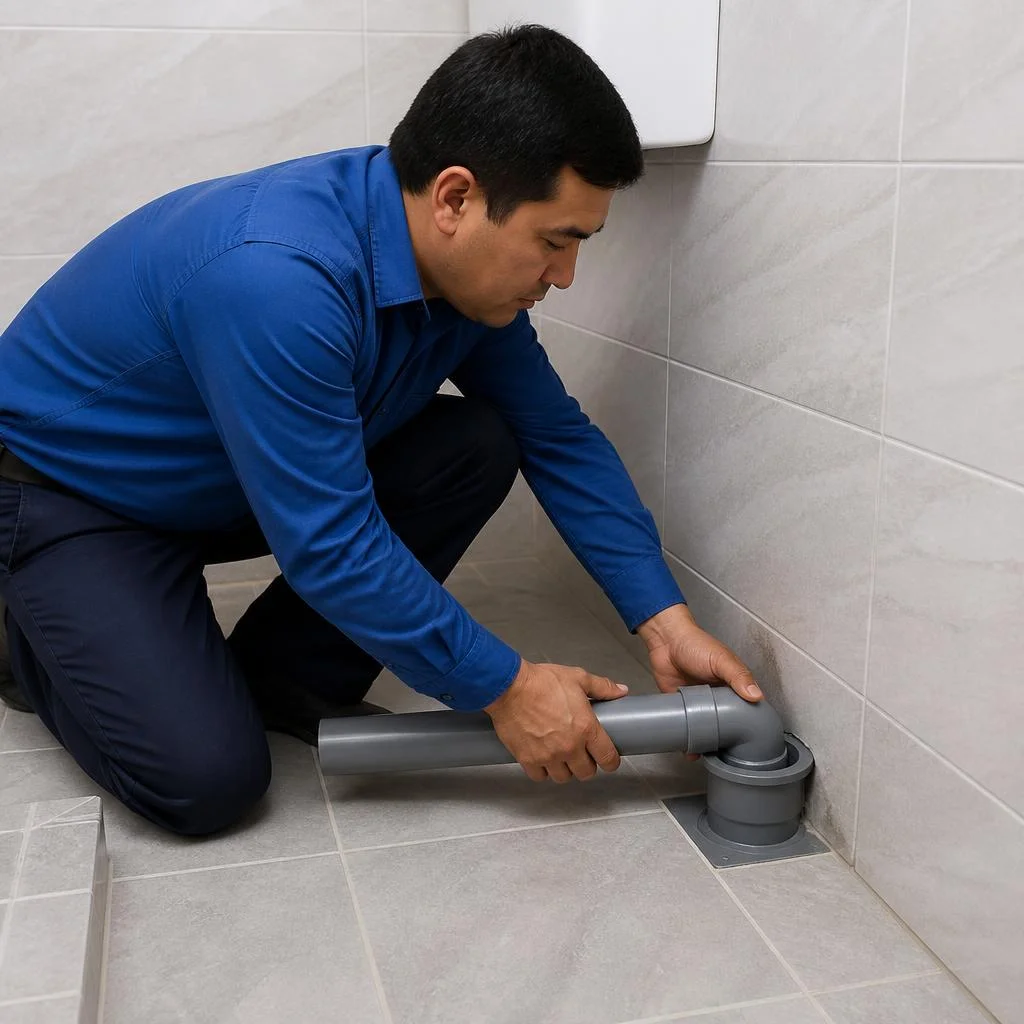
We run the vent stack up to the roof and install a cleanout access cover at every turn — this is protection against odors and access for cleaning. The vent stack with a diameter of 110 mm rises 0.3-0.5 meters above the roof and equalizes the pressure in the system: when the toilet is flushed, air is drawn in after it, and without ventilation the water trap in the sink is siphoned out — people look for the smell in the trap, but the cause is in the stack. A cleanout is installed on horizontal runs longer than 8 meters, at 90° turns and at points where several branches connect; the access cover is left in an accessible place, not behind tiles. If there is no cleanout access cover and a blockage occurs at a turn, you have to break open the surface — plan the cleanout points at the layout stage, not after laying the tiles.
External sewerage: trench, wells, septic tank and connection to the central network
The external loop is the most expensive and the most invisible part of the work: after backfilling, the plot looks as it did before, and the entire system is hidden underground. Let's break down the stages: from earthworks to tapping into the city network.
Laying sewer pipes in the ground: stages and bedding
We lay the pipe in the trench on a 10–15 cm sand bedding with a maintained slope and layer-by-layer backfilling — without the bedding, the soil subsides, and the joint ruptures on the very first spring. The depth of the trench is calculated from the freezing point and from the slope: for every 2 cm of drop per meter, a 110 mm pipe arrives at the well below ground level, so the bottom of the trench is leveled with a laser level, not "by eye." Sand without stones is poured under the socket so that the fitting does not rest against crushed stone, and the turning assemblies are fixed against displacement during backfilling. Laying sewer pipes in the ground price depends on the footage and depth — we calculate based on actuals after marking. If you want to estimate the budget in advance — laying sewer pipes price consists of earthworks, material and bedding. In Tashkent, the groundwater level in certain districts is high: before digging we check it, otherwise the trench floods and the pipe is pushed upward.
Construction of a sewer well and septic tank: what to choose
We install a sewer well from concrete rings or install a septic tank — the choice depends on the availability of a central network and the volume of wastewater. When connecting to the city main, an inspection well is placed at the outlet: through it the line is cleaned and the joint is inspected without opening up the yard. The autonomous option is a sealed septic tank with the discharge of clarified water into drainage or a storage tank with pumping out by a sewage truck. Installation of sewer rings price and installation of sewer rings price depend on the diameter, number of sections and depth of placement: for two or three rings a pit is dug, they are set by level, the joints are sealed and the manhole is brought flush with the surface. A private house can do without a septic tank only if a central network runs nearby and the technical specifications allow tapping in. A septic tank without pumping out works only with proper drainage: on clay soil an additional drainage well is needed, otherwise it turns into a storage tank and requires a truck every two to three weeks.
Connecting a house to the central sewerage
We connect a private house to the central sewerage through an outlet and an inspection well at the boundary of the plot — in compliance with the requirements of the water utility. The route from the house to the tapping point is dug with a slope, revisions are placed at the turns, and the tapping assembly itself is carried out under the supervision of the network service: the diameter and material of the outlet are coordinated with the main so that the flow does not slow down at the transition. Installation of external sewerage price here is determined by the length of the route, depth and number of wells — on a plot of 15–20 meters there is usually one inspection and one turning well. Laying sewerage price increases if existing surfacing has to be opened up or the foundation has to be bypassed. Clients often find us through the search query installation of sewer pipes in an apartment — and that makes sense: the same principle of slope and revisions works inside the house too, so we handle both internal routing and external tapping as a single contractor. The tapping point is coordinated in advance: unauthorized connection in Tashkent leads to a fine and an order to redo the assembly at your own expense.
Storm sewerage: when a separate system is needed
Eco-Service installs storm sewerage as a separate loop — rainwater runoff must not be discharged into the domestic network, as this overloads the septic tank and wells. Rain inlets are placed under downspouts and on sloped areas, connected with 110–160 mm pipes and routed to a separate well or to the surface with a diversion away from the foundation. Installation of storm sewerage price depends on the number of rain inlets, footage and depth of placement: the driveway area and the apron are drained by separate branches so that water does not stand near the walls. Storm sewerage is laid before landscaping the plot — after laying tiles or asphalt, opening up the surfacing is more expensive than doing it right away.
Replacing and repairing sewer lines: when installation alone is no longer enough
A full overhaul isn't always necessary — sometimes replacing a section is enough. Let's look at three scenarios where a repair costs less than a full overhaul and solves the problem for years.
Replacing a sewer pipe and stack: signs it's time
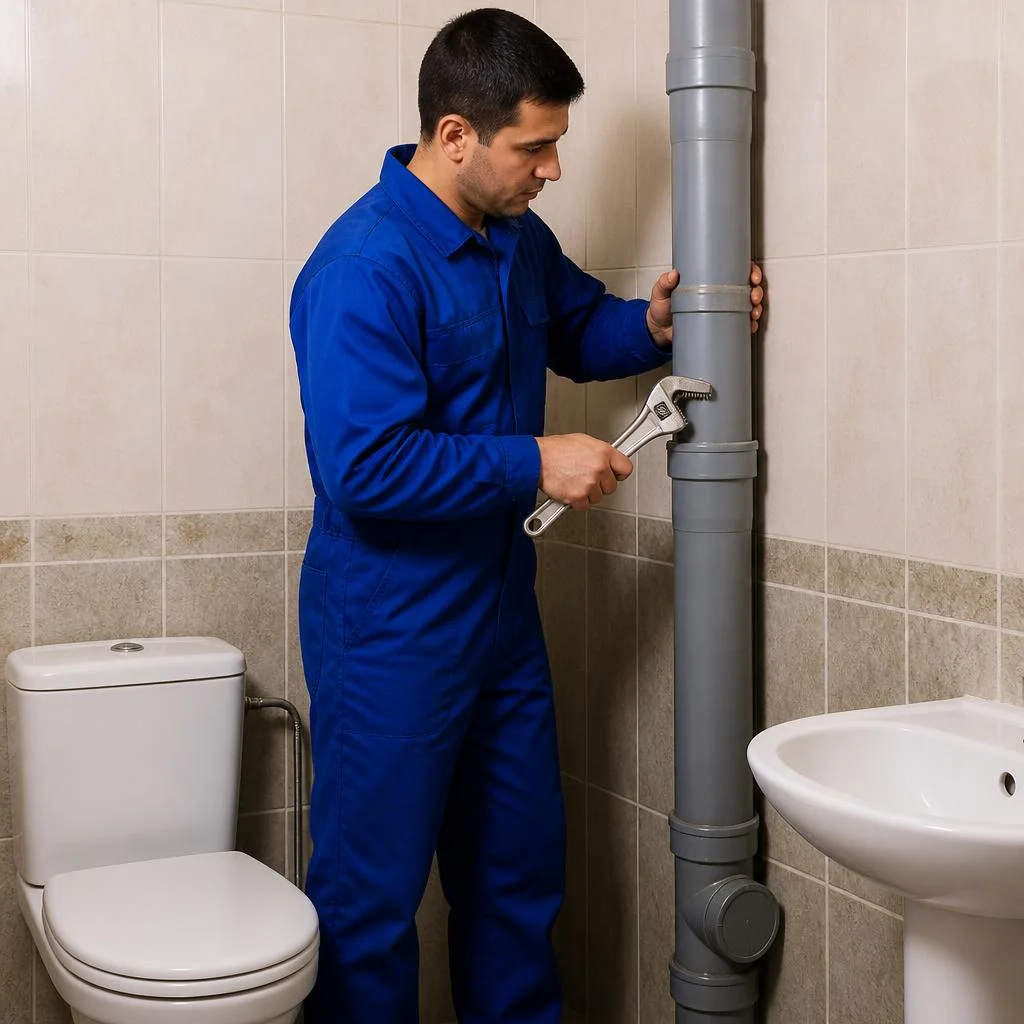
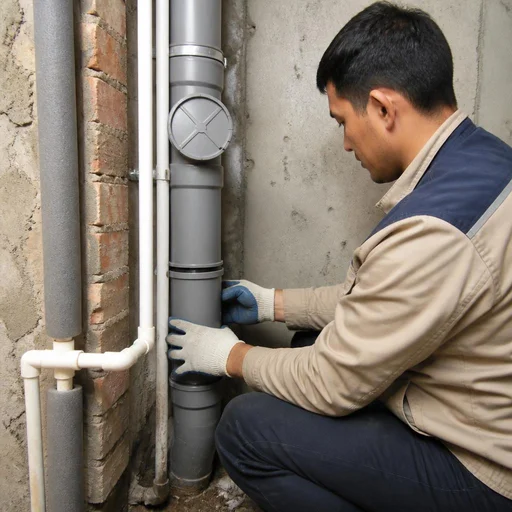
Eco-Service replaces a sewer pipe and stack when cracks, pinholes, or constant clogs appear in one section. In Tashkent's old housing stock — the buildings of Chilanzar, Yunusabad, Yakkasaray — cast-iron stacks from the 1960s-1980s are most common, and their service life has long been exhausted. Signs of wear are visible without opening anything up: rust-colored streaks along the stack, a characteristic smell from the cleanout, water at the base of the pipe after draining the bathtub. Replacing a section takes one working day, a stack takes two, with neighbors notified and water shut off in coordination with the management company. A cast-iron stack in old housing stock is replaced not because of a leak, but because of internal buildup — the bore narrows by half, and clogs return every two to three months until the pipe is fully replaced.
Fixing leaks and replacing a siphon, branch
Eco-Service fixes a sewer pipe leak and replaces a siphon or branch in a single visit — without removing tiles, if access is available through the cleanout. Most often it's not the pipe itself that leaks, but the joint: an old rubber gasket dries out over 5-7 years and stops sealing. In Tashkent apartments with plastic plumbing from the 2000s, a typical picture is a cheap plastic siphon under the sink with a crack in the body, a branch with stripped threads, or a socket fitted without a seal. Clients often describe the problem in their own words — "sewer layout in the bathroom" — and from that request we understand that all the connections need inspection, not just the visible joint. A leak at a joint is often fixed not by replacing the pipe, but by properly reassembling the socket with a new gasket — we check the joint first, rather than cutting the pipe. If it leaks along the body of the branch or siphon, the part is replaced entirely: smearing sealant on a crack buys a month or two at most.
Relocating the outlet and toilet: when it's possible
Eco-Service relocates a sewer outlet and toilet to another point if the required slope to the stack is maintained. A typical request is moving the toilet to the opposite wall of the bathroom during a remodel or when combining the bathroom and the washroom. For a 110 mm pipe, a slope of 2 cm per meter is a mandatory condition, otherwise waste stagnates and clogs the section within a few weeks. Relocation isn't always possible — if there's less than a meter to the stack, a 2 cm/m slope can't be achieved, and in that case we suggest raising the floor or leaving the point where it is. When the cost of water supply pipe installation and sewer work are calculated together, relocating the outlet often turns out to be more cost-effective than adding a second point: one new branch to the stack is cheaper than two separate connections.
2-year warranty, timelines and how work with Eco-Service proceeds
Laying a sewer system is work that is invisible after finishing. That is why the warranty, the timelines and who exactly will come to the site matter.
2-year warranty and what it covers
Eco-Service provides a 2-year warranty on sewer installation — for the tightness of joints, the maintained slopes and the operation of connected fixtures. If a month after handover moisture appears from under the toilet or the sink siphon, and the slope on a horizontal 110 mm section is not brought to standard, the visit and rework are at the service's expense. In our practice, the main cause of callbacks is not the pipe itself but the socket connection: the rubber ring seats with a skew when installed without a chamfer, and the joint starts weeping already at the first flush of water. The warranty is valid only if the operating rules are observed — disposal of construction debris, rags or grease into the sewer is not covered, and this is honestly stated before work begins.
Installation timelines: from request to handover of the site
Eco-Service carries out sewer distribution in a bathroom in one working day, and the laying of an external network with a manhole or septic tank in 2–4 days, depending on the volume of earthworks. We accept requests around the clock, we schedule the master's visit for measurement in Tashkent for the nearest available slot, and work usually starts within two to three days after measurement and selection of PP and PVC pipes of the required diameter. The timelines are shifted not by the work itself but by the earthworks: a trench for an external sewer pipe is dug by hand many times longer than with an excavator, and this is factored into the plan in advance — in dense built-up areas, machine access to the plot is not always possible, so allow a time buffer.
Our own installers, visits across Tashkent and payment
Eco-Service works with its own installers without intermediaries, travels throughout Tashkent and accepts payment via Click, Payme, Uzcard and Humo. The master arrives with his own tools and consumables — chamfers, silicone, fasteners — and the service center in Tashkent takes the site under warranty and keeps the completed work certificate. When searching, clients often type "sewer installation in an apartment" — and land on our page, although this query covers both the distribution in the bathroom and the connection of the riser to the city network. The absence of intermediaries matters not because of price but because of responsibility: the warranty is given by the one who did the work, not by a reseller of the request, and in a warranty case the same installer who managed the site comes out. Before starting work, record in the certificate the pipe diameters, slopes and connection points — this document will be the basis for the warranty.
Conclusion
A sewer system rests on three things: the correct slope, the right diameter and tight joints. Below is a short summary that will help you make a decision before the crew arrives and avoid redoing the system after a season.
Main takeaways
- Slope matters more than speed: for a 50 mm pipe the norm is 3 cm per meter, for 110 mm — 2 cm; less — silting, more — noise and trap blowout.
- The diameter is selected for the fixture: a toilet requires 110 mm, a sink and washing machine get by with 50 mm, a shower cabin — 50 mm with a separate branch.
- A cleanout and a vent stack are mandatory: without them, a blockage in a horizontal branch cannot be cleared, and the traps are blown out when water is drained on floors above.
- The external part is insulated and laid on a bed: a 10-15 cm sand bedding and a reverse slope toward the manhole protect the pipe from soil settlement.
- The 2-year warranty covers joints, slopes and fastenings — record a handover certificate with photos of concealed sections before backfilling.


