









How we design the system before the first joint: calculation, schematic, marking
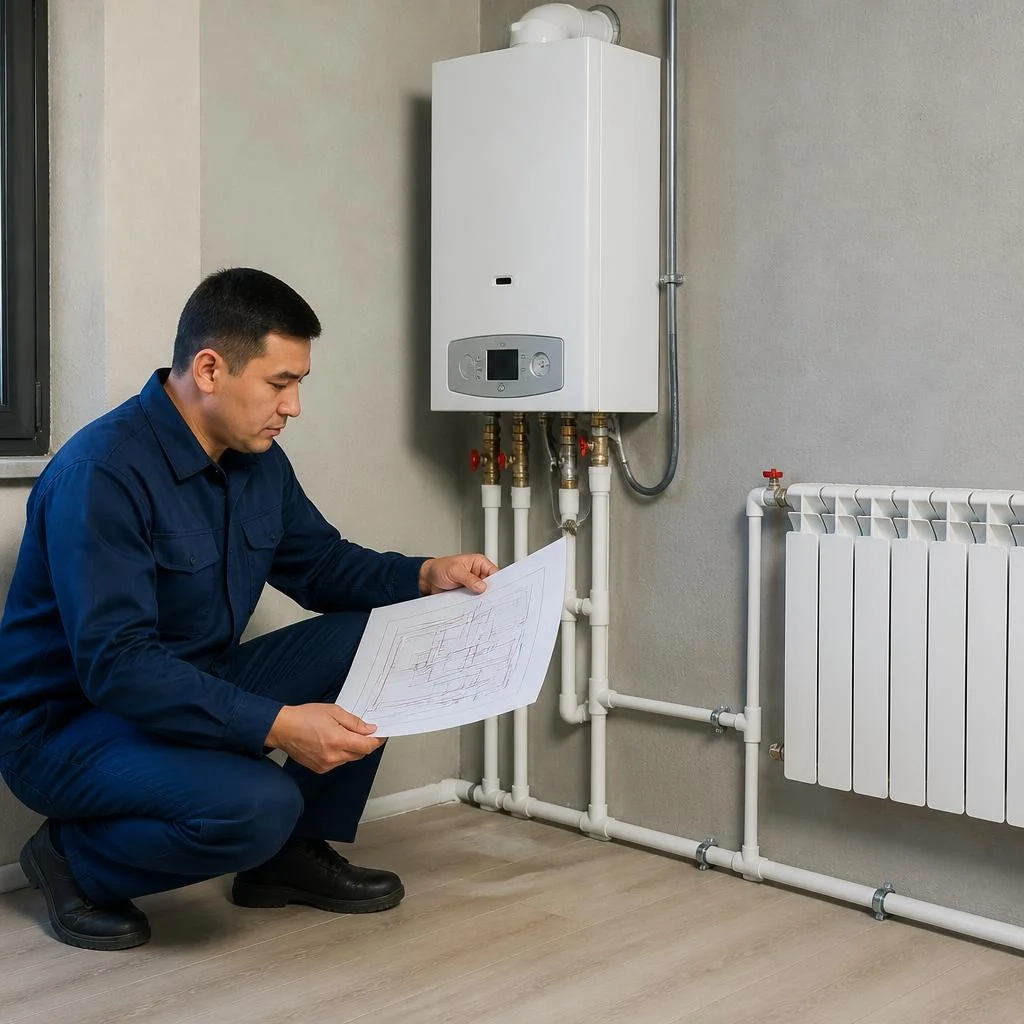
Work begins not with pipes or the boiler, but with the engineering stage: heat engineering calculation, distribution schematic and marking of the runs. Let's look at what this stage delivers before the first weld.
Why a heat engineering calculation is needed before installation
The Eco-Service engineer starts with a heat engineering calculation: it determines the boiler output, the number of radiator sections and the pipe diameter for the specific area and insulation of the house. The specialist calculates heat losses through walls, windows, roof and ventilation — for a 120 m² house with brick walls and single-chamber double-glazed units they reach 9-11 kW, for the same floor area with an insulated facade and double-chamber units — 6-7 kW. This difference sets the boiler class and the number of sections: for 9 kW a 12 kW unit is installed, for 6 kW a 9-kilowatt one is enough. In Tashkent in winter the temperature drops to minus 10-12 °C, and here the power reserve works not as a safety margin but as excess gas consumption. Without a calculation the boiler is chosen "by eye" with double the reserve — this means excess fuel consumption in winter and burner cycling; an accurate heat engineering calculation pays for itself in the first heating season.
Developing the heating schematic and marking the runs
- Developing the heating schematic: choosing the type of distribution, positioning the boiler, radiators and manifold unit on the floor plan.
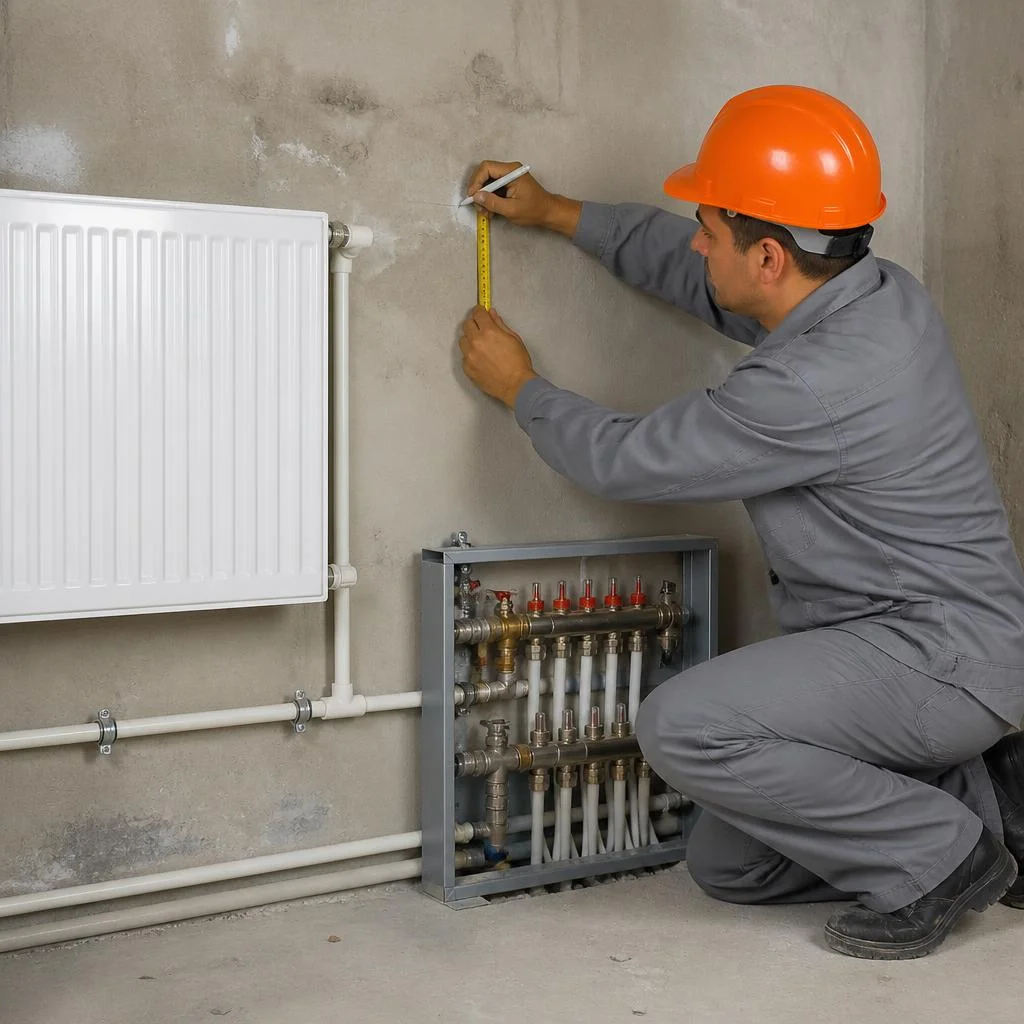
- Marking the runs and risers: laying out the pipe axes on walls and floor taking into account load-bearing structures and furniture.
- Calculating the heat load by room: distributing the output across the rooms so that the bedroom and the kitchen are equally warm.
- Material specification: the exact footage of pipes, the number of fittings, valves and sections — without buying anything extra.
- Approval of the schematic: final check of the distribution taking into account future finishing and furniture.
What the design stage delivers before work starts
Work on heating systems without design documentation turns into fitting units on site: the crew welds the circuit, then it turns out that the radiator does not have enough sections and the boiler cannot handle the peak load. We fix the schematic, specification and marking before purchasing materials — and on site all that remains is to assemble the units according to the drawing. Clients often find us via the search "heating system installation" and come precisely for this order of work: first the calculation, then the schematic, then the welding. On houses of 150-200 m² in Tashkent and the suburbs this order shortens the work period by 2-4 days compared with working "off the cuff" and eliminates re-welding of already installed sections. The schematic should be approved before buying pipes: changing the distribution after marking costs less than re-welding a finished circuit.
Which heating system suits your home
The system is selected to match the heat source, the area of the house and the living pattern. Below are three basic scenarios and a comparison of distribution schemes that helps you decide before the surveyor's visit.
Autonomous heating of a private house
For a private house in Tashkent, Eco-Service most often assembles an autonomous circuit with a gas boiler — it does not depend on the central network and operates on its own schedule. A wall-mounted unit with a capacity of 24–32 kW covers a house of 120–200 m²: it heats radiators and prepares hot water via a built-in boiler or a separate storage tank. What distinguishes such a system from a mains circuit are three components — the boiler, the circulation pump and the expansion tank, which are assembled in the boiler room rather than spread across the floors. Clients often write to us briefly — heating installation — and from that request we immediately understand that a surveyor's visit and a circuit calculation are needed. The autonomous scheme requires a chimney and supply ventilation: these are planned in advance, otherwise the gas boiler will not be commissioned according to the standards of the supervisory authorities.
Water-based underfloor heating and central heating
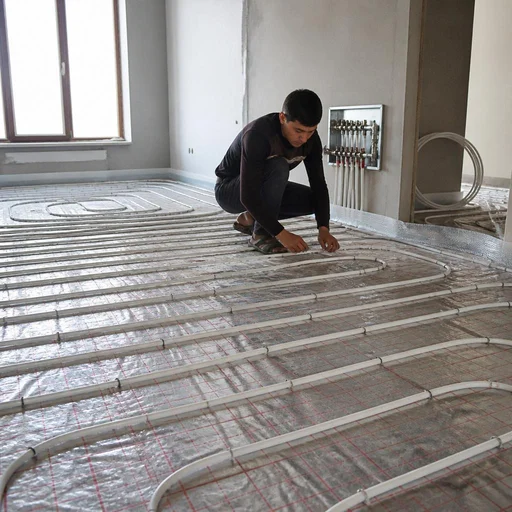
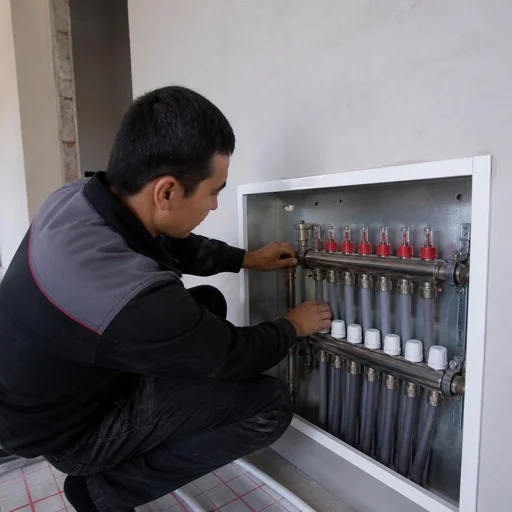
Water-based underfloor heating is installed as a supplement to the radiator circuit or as the main system in certain zones — with a manifold unit and a thermostat for each loop. Central heating in Tashkent high-rise buildings supplies heat on a schedule and with seasonal shutdowns, so in apartments on the upper floors autonomous loops are often added for the kitchen, bathroom and balcony. The pipe laying spacing is taken as 150 mm in living rooms and 100–120 mm along the perimeter of external walls, where heat losses are higher. Underfloor heating cannot be installed on wooden joists without preparing the base — a screed is made first, otherwise the pipe "moves" and heats unevenly.
Distribution schemes: single-pipe, two-pipe, manifold
| Scheme | How it works | Where it is appropriate | Controllability |
|---|---|---|---|
| Single-pipe | radiators in one chain | small houses up to 80 m² | low |
| Two-pipe | supply and return separately | houses of 1–2 floors | medium |
| Manifold | a beam from the unit to the appliance | large areas, 2+ floors | high |
Manifold distribution is more expensive in terms of pipe, but it allows one radiator to be shut off without stopping the entire circuit — this is important during repairs. In the private sector of Tashkent, a two-pipe scheme with dead-end movement of the coolant is more often used: it is 20–30% cheaper than manifold distribution in terms of pipe footage and does not require a separate cabinet for the manifold. In my opinion, for a house up to 100 m², a two-pipe system with balancing valves on each appliance wins — the extra cost for a manifold does not pay off.
Pipes and distribution: what to choose for the Uzbek climate
The pipe material determines the service life of the circuit, its repairability, and what the cost of heating installation will be in a particular house. Let's look at four options that we use on sites, and the rules for laying routes in a house.
Polypropylene, metal-plastic, PEX and steel
| Material | Operating temperature | Connection method | Where we use it |
|---|---|---|---|
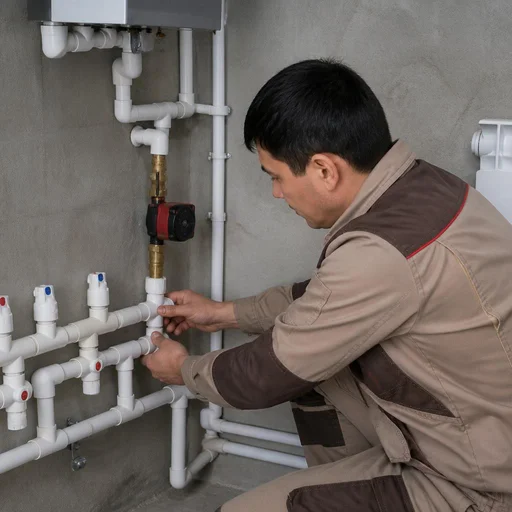
| Polypropylene (PPR) | up to 95 °C | fitting soldering | exposed distribution in the boiler room |
| Metal-plastic | up to 95 °C | press fittings | radiator branches |
| Cross-linked polyethylene (PEX) | up to 95 °C | press and crimp | underfloor heating, hidden routes |
| Steel | up to 110 °C | welding and threading | risers, inlets, sections near the boiler |
How we lay pipes in a house
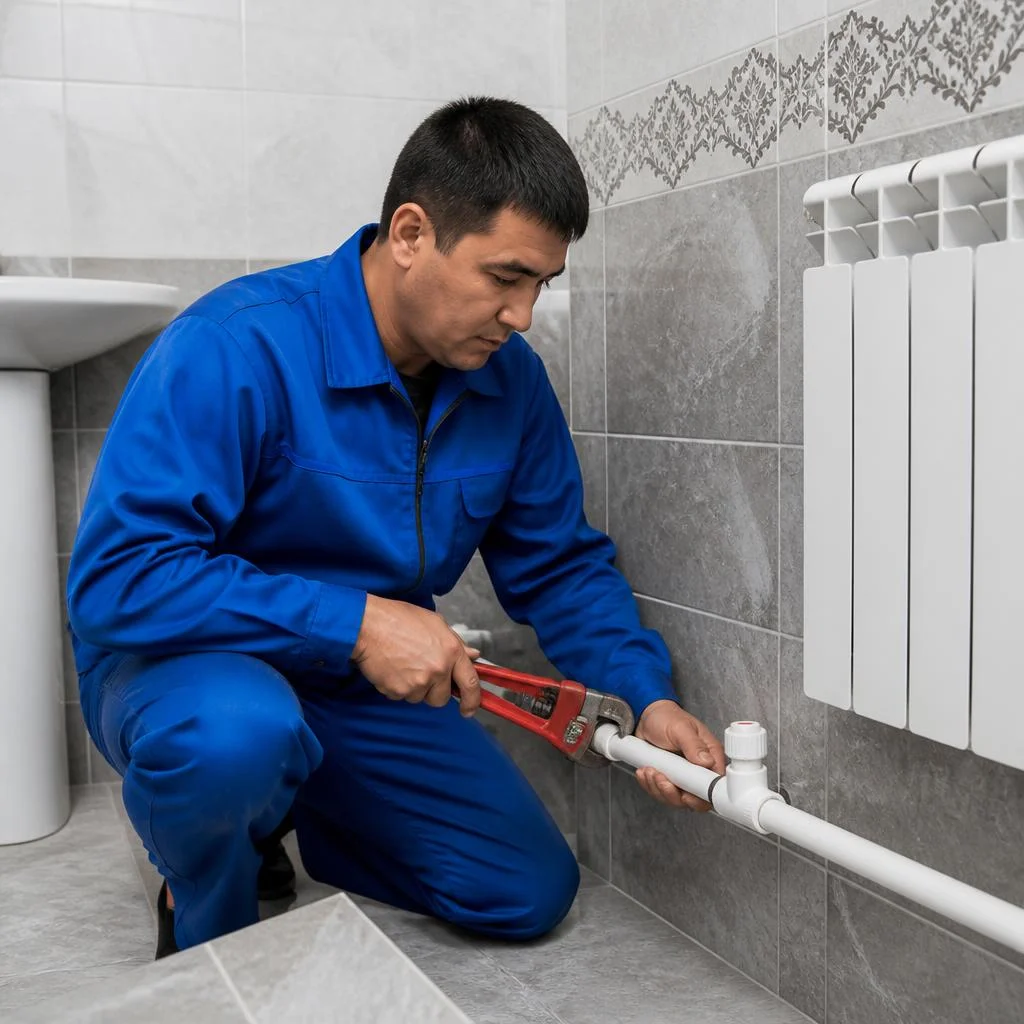
- Route slope: we run the pipe with a slope toward the air vent so that the air pocket escapes into the automatic valve instead of getting stuck in the radiator.
- Fastening: we install clips at a spacing at which the pipe does not sag under its own weight; on horizontals longer than two meters we add an intermediate support.
- Hidden sections: we lay only a solid length without joints into the screed — a fitting under the screed is not visible, and a leak will show up on the ceiling of the floor below.
- Pressure testing: after assembly, we test each circuit with pressure before pouring the screed; a connection defect is visible immediately, not after finishing.
- Fittings: on exposed sections we install press fittings — they do not require soldering and give a smooth joint without beads.
Equipment: boiler, radiators, underfloor heating, water heater
Equipment is selected based on the design capacity and fuel source, not the other way around. Let's break down the key components of the system: the boiler, heating appliances, piping, chimney, and manifold unit.
How to choose a gas boiler for a home
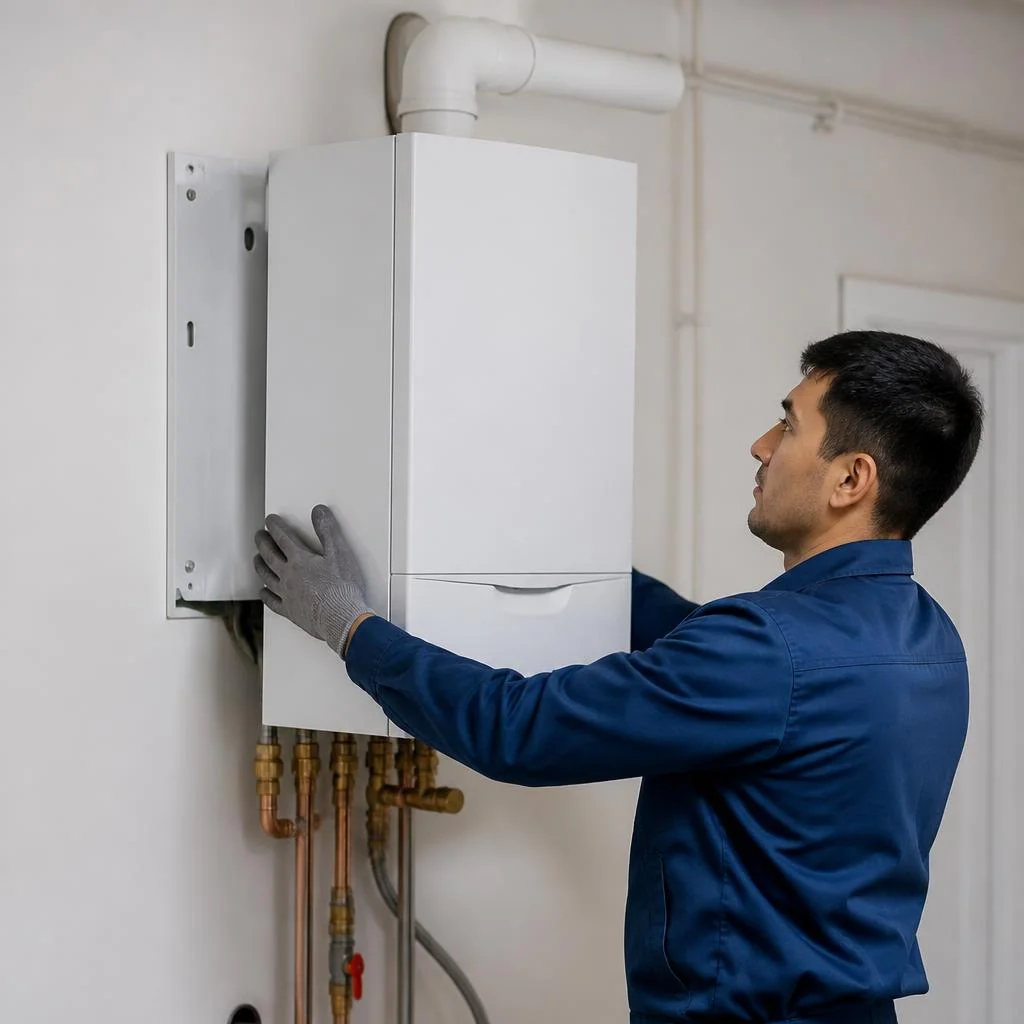
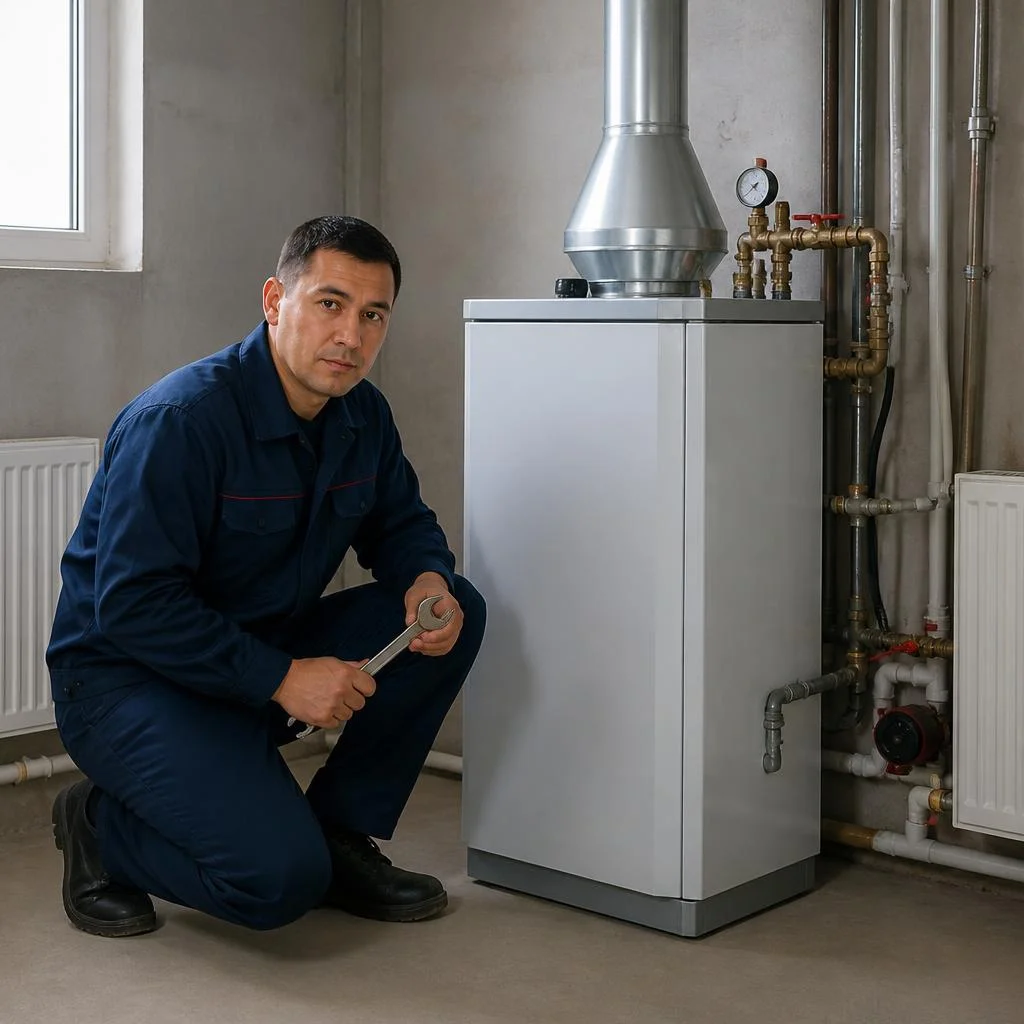
For a private house in Tashkent, we select a wall-mounted gas boiler based on design capacity, and a floor-standing one when cast-iron heat retention and operation with an indirect heating water heater are needed. Wall-mounted models take up less space and more often come with a closed combustion chamber, so they draw air from outside through a coaxial chimney. A floor-standing cast-iron boiler is heavier but retains heat longer and easily heats a 150-200 liter indirect heating water heater. We calculate capacity from area and heat losses: for a 120-150 m² house in the city, 18-24 kW is usually sufficient with a margin for hot water supply. For Uzbekistan's gas, the boiler is adjusted to local pressure and calorific value — factory settings for a different fuel cause incomplete combustion and soot on the heat exchanger. Clients often search for the cost of heating system installation — and end up here, although the estimate is put together only after the boiler is selected. Before startup, ask to measure the inlet pressure and adjust the gas valve to the actual network parameters. At Eco-Service, boiler selection goes together with a heat engineering calculation so that the capacity doesn't turn out to be overstated.
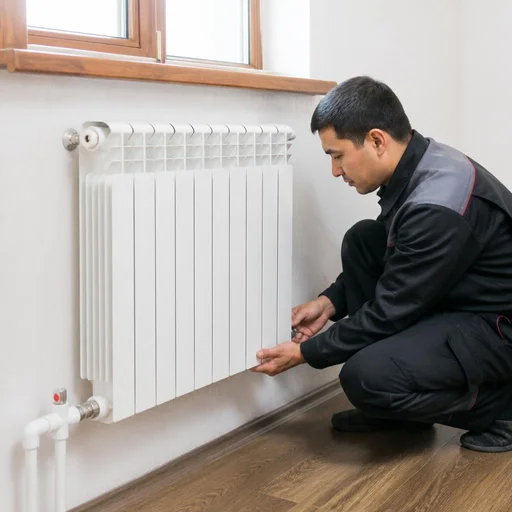
Radiators and convectors: what we install
| Appliance | Heat output | Inertia | Where we install |
|---|---|---|---|
| Steel | high | low | autonomous circuit |
| Bimetallic | high | medium | high pressure |
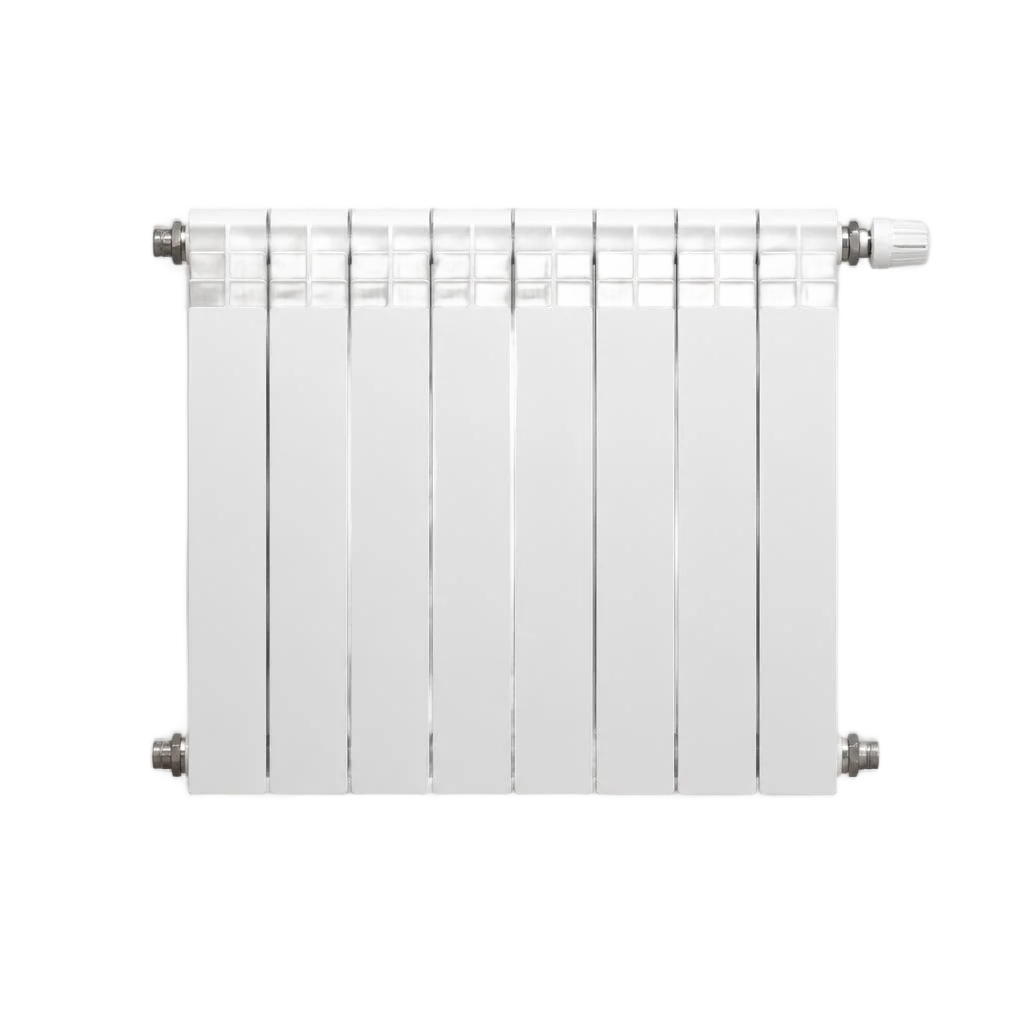
| Aluminum | high | low | autonomous circuit |
| Cast iron | medium | high | long warm-up |
| Convector | medium | low | large windows |
Aluminum is sensitive to pressure surges and water quality: in an autonomous circuit with prepared heat transfer fluid it lasts a long time, while in a central system it corrodes faster. The cost of heating system installation depends on the number of appliances and the type of distribution — a house of the same area with cast-iron sections and with convectors will produce a different estimate.
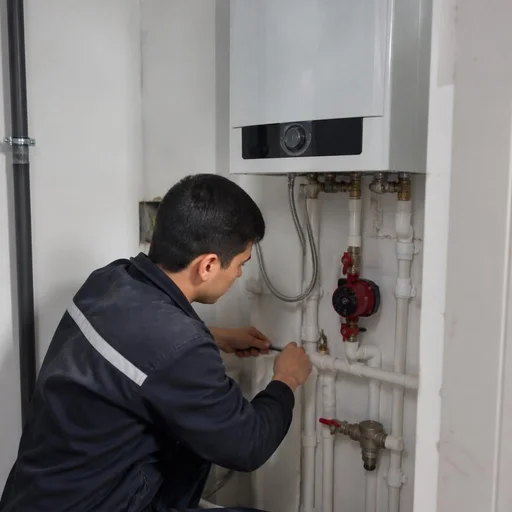
Boiler piping, chimney, and manifold unit
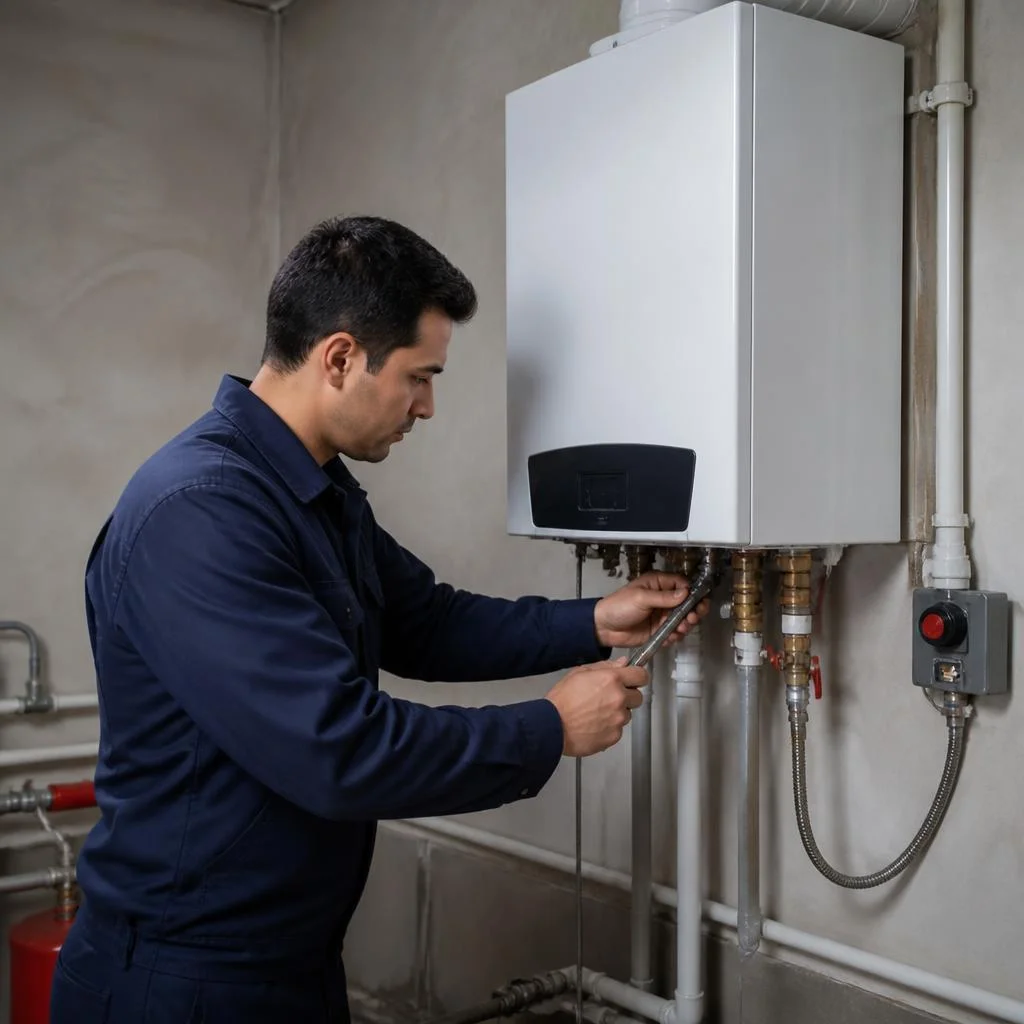
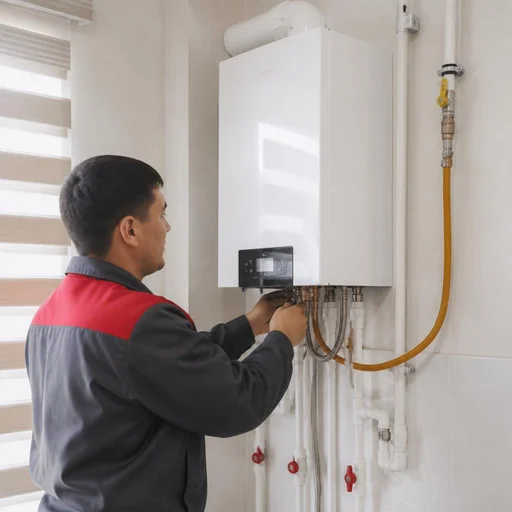
- Boiler piping: we assemble it with a safety group, expansion tank, filter, and shut-off valves — protection against overheating and contamination.
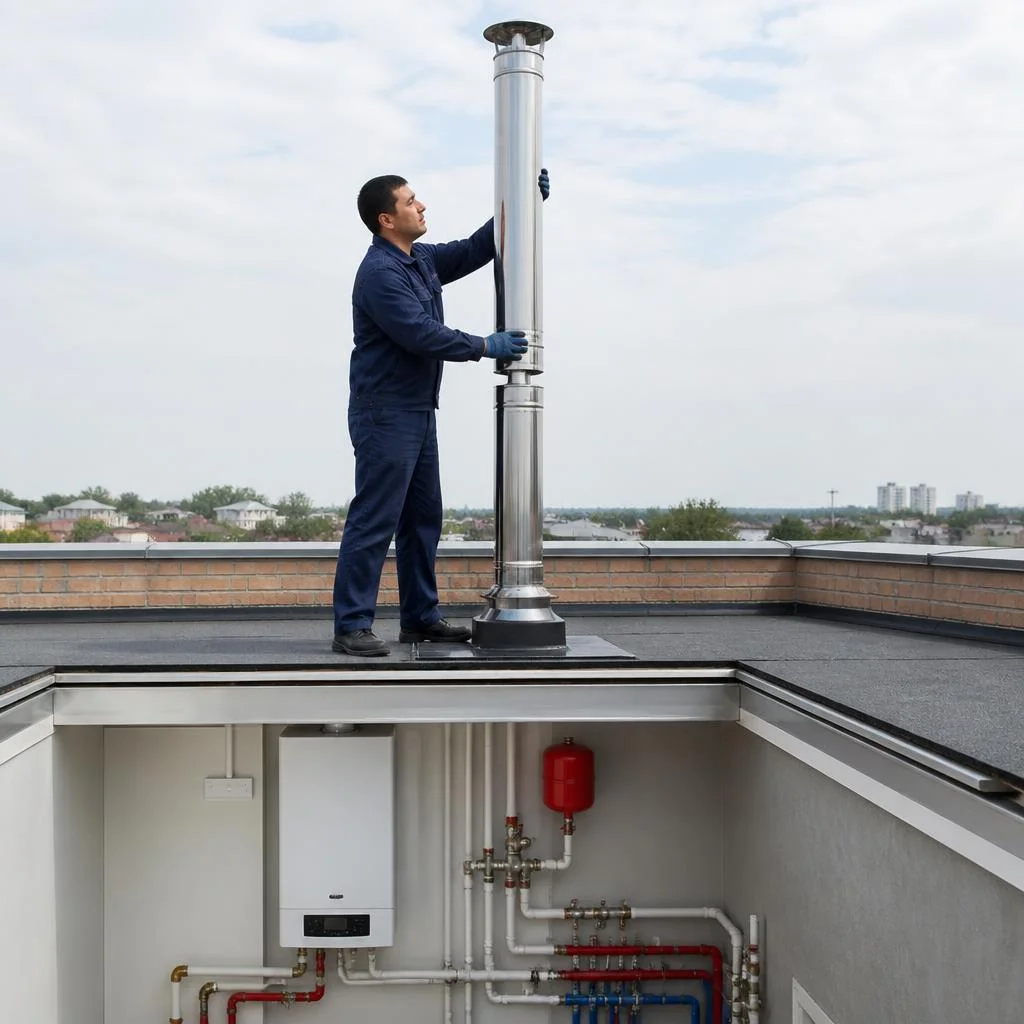
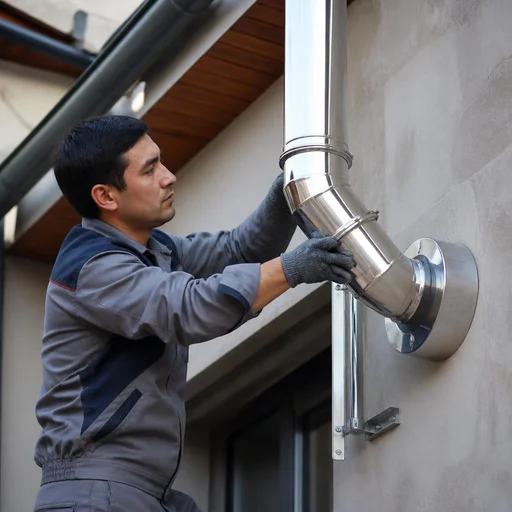
- Chimney installation: we route it in compliance with the slope, height, and clearance from combustible structures according to standards; for wall-mounted boilers we install a coaxial one.
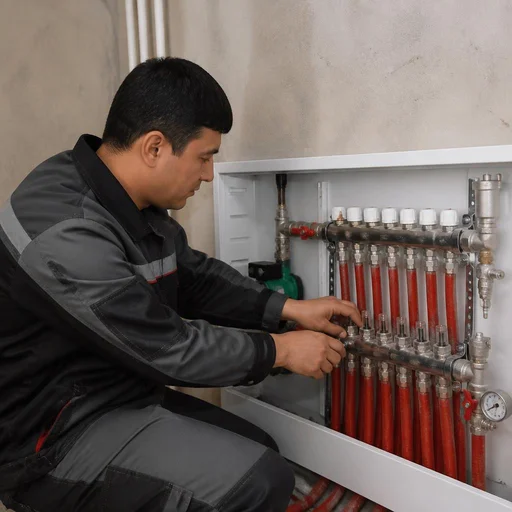
- Manifold unit: we install it on the supply and return with flow meters so that each circuit receives its own volume of heat transfer fluid.
- System balancing: after startup we set the flow rate by circuit — without this, distant radiators heat less than nearby ones.
- Thermostats: we install them on appliances and on the manifold so that rooms maintain temperature independently of each other.
Underfloor heating and water heater: connection to the boiler
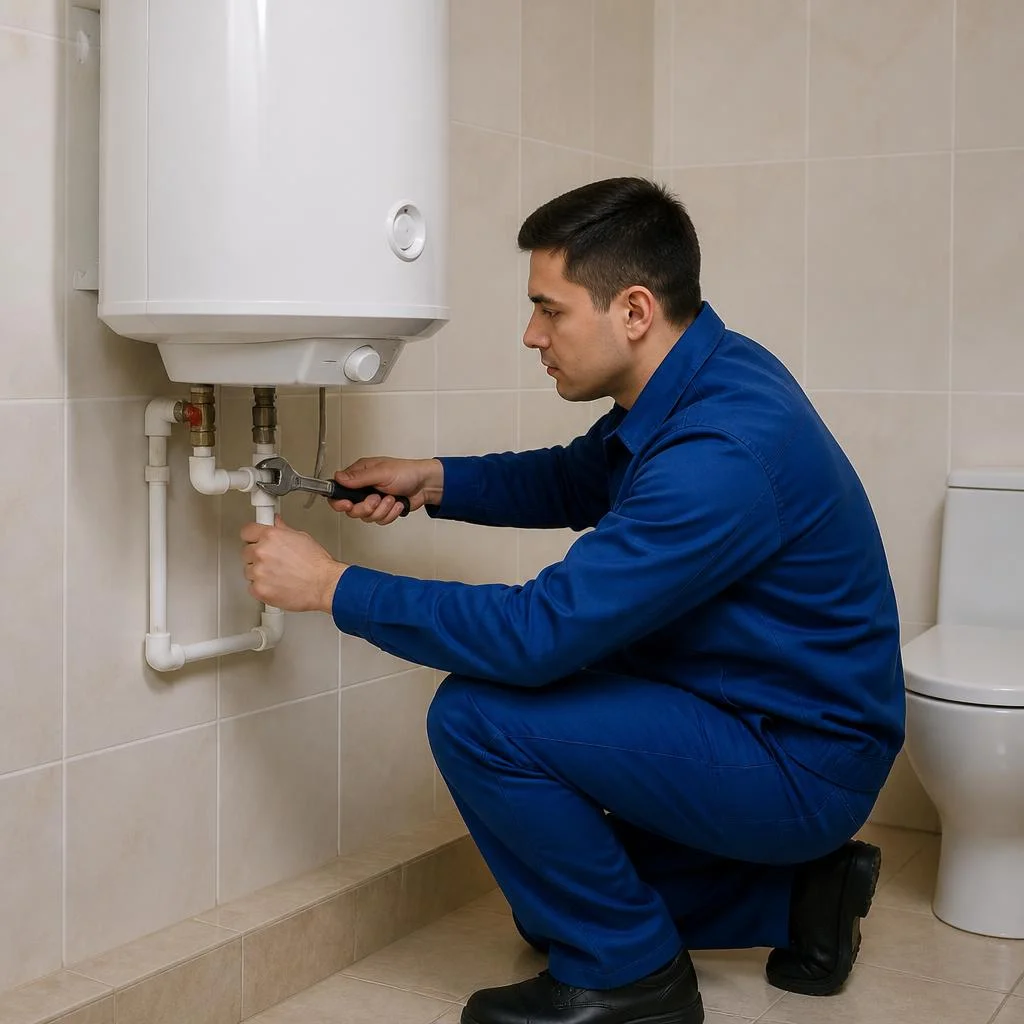
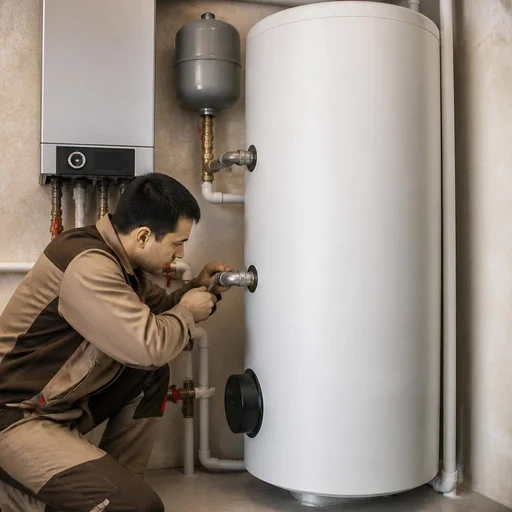
We lay hydronic underfloor heating at the screed stage: PEX pipe is laid at a spacing of 150-200 mm, and the supply temperature in the circuit is maintained at 35-45 °C through a mixing unit. We connect a 150-200 liter indirect heating water heater to the boiler with a separate hot water supply circuit with priority — when hot water is drawn, heating is temporarily paused. The cost of heating work in a house increases if underfloor heating runs across all floors: manifold groups, pump mixing units, and edge insulation tape around the perimeter are added. On wooden floors, instead of a wet screed we install a dry-laid system in the joists — it is lighter and doesn't require 28 days to dry.
How heating installation is carried out: stages and timelines
The work follows a strict sequence — from marking out the runs to commissioning and balancing. Below we'll break down the stages, the real timelines, and how the season affects the schedule.
Stages of work from marking to commissioning
- Marking out runs and risers: we transfer the layout onto the walls and floor, mark the locations of radiators, the manifold unit, and penetrations through the floors.
- Laying pipes and installing units: we install the mains using the chosen material, fit radiators, convectors, or water underfloor heating loops.
- Boiler and chimney piping: we connect the boiler to the circuit, assemble the safety group, install the chimney and the indirect heating boiler.
- Pressure testing the system: we pressurize the circuit above the working pressure and hold it for several hours — this way we find leaks before the screed is poured.
- Commissioning and balancing: we start the boiler, warm up the circuit, adjust the flow across the branches, and set the thermostats.
- Handover of the project: we show the customer how the units work, and hand over the as-built diagram and equipment documents.
Can heating be installed in winter
We carry out this work all year round: in winter, indoors, it doesn't get in the way, and commissioning is done right after the boiler piping. In the cold season, the crew arrives at the site with a finished design and markings, so laying the runs and installing radiators proceed at the same pace as in summer. There is one limitation — water underfloor heating: pouring the screed requires the room to maintain a positive temperature for several days, otherwise the concrete won't gain strength. For this, we use a heat gun or a temporary heating circuit, and we lay the loops after the base has warmed up. Clients often find us with the query heating systems installation — and land on this page, so let us clarify: heating installation in Tashkent and the timelines are fixed in the contract before work begins — this way the customer sees an estimate without surprises after pressure testing. In winter, it's harder to pour the screed for underfloor heating — the room needs to be warmed up, otherwise the loop will lie unevenly.
2-year warranty, service and documents for gas equipment
After installation, the warranty, service and legality of the gas connection are important. Let's break down what you receive in hand and how it works during further operation of the system.
2-year warranty on installation
Eco-Service provides a 2-year warranty on heating installation — it covers the boiler piping, pipe laying, radiator installation and commissioning. The terms are the same for both a wall-mounted Ariston and a floor-standing Ferroli, and for bimetallic sections: the term does not depend on the equipment model or the type of distribution. The warranty is recorded in the acceptance certificate with a list of specific components, rather than a general wording "work has been performed." Clients often search for heating installation in a private house price — and end up here, because the total depends on the area, the number of circuits and the pipe material, not on the price per point. In my view, it is a transparent calculation based on the project that distinguishes work under a contract from verbal promises by private crews. Once a year, it is worth checking the pressure in the circuit and cleaning the coarse filter — the maintenance schedule extends the service life of components and preserves the warranty.
Own service center and gas documents
- Technical project: distribution diagram, equipment specification and calculation of heat losses by room in the house.
- Chimney certificate: confirmation of draft and compliance of the channel with the requirements of the district gas service.
- Boiler certificates: product passport, warranty card and document on verification of the gas meter.
- Certificate of completed work: list of installed components with signatures of the technician and the customer.
- Service contract: schedule of annual maintenance with a specialist visit in Tashkent.
Payment and installments
- Click and Payme: card transfer in a couple of minutes, the receipt arrives in the app immediately after payment.
- Uzcard and Humo: card payment via terminal at the site or in the office, with no commission for the customer.
- Installments: for sites from 100 m² — under a contract with a payment schedule and a fixed down payment.
- Staging: payment is divided into a design payment and an installation payment, the second transfer — after the work is handed over.
- Closing documents: the certificate, invoice and warranty card are issued after signing the acceptance.
Heating installation in Tashkent is often ordered before the heating season, so the schedule and payment are agreed in advance.
Conclusion
We have gathered the main things that determine the result of heating work: from calculation and distribution diagram to pressure testing and gas documents. Below are the conclusions worth keeping in mind before starting.
Main conclusions
- Calculation before work: the heat engineering calculation sets the boiler power and pipe diameters — without it, the system either underheats the far rooms or operates with excessive gas consumption.
- Distribution diagram: a single-pipe one is used for compact houses up to 80 m², two-pipe and manifold — where independent regulation of each radiator is needed.
- Pipe material: polypropylene and metal-plastic are cheaper to lay, cross-linked polyethylene and steel last longer on hidden routes in screed and walls.
- Pressure testing: pressure testing is done before pouring the screed and final finishing — after them, finding a leak costs several times more.
- Gas documents: the service contract and boiler passport are issued before the first start-up — without them, gas services do not give permission for operation.


