








Why joints in Tashkent buildings deteriorate faster
The capital's climate — sharp temperature swings, summer heat up to +45 °C and dusty winds — destroys sealant faster than in temperate latitudes. We explain why joints leak and when joint sealing is needed.
How Uzbekistan's climate destroys sealant
Summer heat up to +45 °C and winter night frosts in Tashkent produce an annual temperature swing of up to 60 °C — ordinary acrylic on a facade cracks within a single season. During the day the panel surface heats up more than the air, cools down by evening, and the joint works like an accordion: now compressing, now stretching. Dusty winds with sand particles further abrade the edge, while spring rains drive moisture into microcracks. In the south — in Samarkand and Bukhara — the amplitude is even higher, and the daily temperature variation is sharper. For external joints in such a climate, only an elastic compound with a deformation range of at least 25 % is suitable — thiokol or polyurethane; rigid mixes tear at the "panel — mortar" interface.
Settlement of a new building and expansion joints
For the first 2–3 years after the building is handed over, active settlement occurs: panels shift by 1–3 mm, and a rigidly filled joint tears along the edge. The load is distributed unevenly — the building's corners and the lower floors, where pressure is higher, suffer most. Expansion joints between blocks are installed at the assembly stage, but when filled with ordinary cement mortar they stop working as compensators. Namangan new buildings on subsiding soils produce additional movement: the building "settles" unevenly, and vertical joints diverge more noticeably than on dense foundations. In Tashkent new buildings, joints are best sealed after the first winter — by then the main settlement has already occurred, and the elastic sealant works on movement rather than rupture.
Signs that a joint needs sealing
- Cracks along the edge: hairline ruptures along the panel joint are the first signal that the compound has lost its elasticity.
- Sealant peeling: the material comes away from the concrete "like a stocking", and moisture and dust accumulate underneath.
- Traces of moisture on the ceiling: dark spots at the internal corner appear after rain or snow melt.
- Freezing of the corner in winter: frost or condensation forms on the internal surface — the joint is letting air through.
- Mould on the internal joint: black spots in the corners of a room indicate constant dampness inside the joint, and if old mortar crumbles out of the joint when tapped, surface filling will not help — full raking out and re-sealing are needed.
Types of joints and what exactly we seal
We divide the work into external (facade, inter-panel joints) and internal (bathroom, sanitary unit, tile joints). Each type has its own technology and its own material. Below is what each type includes.
External joints: inter-panel joints and panel joints
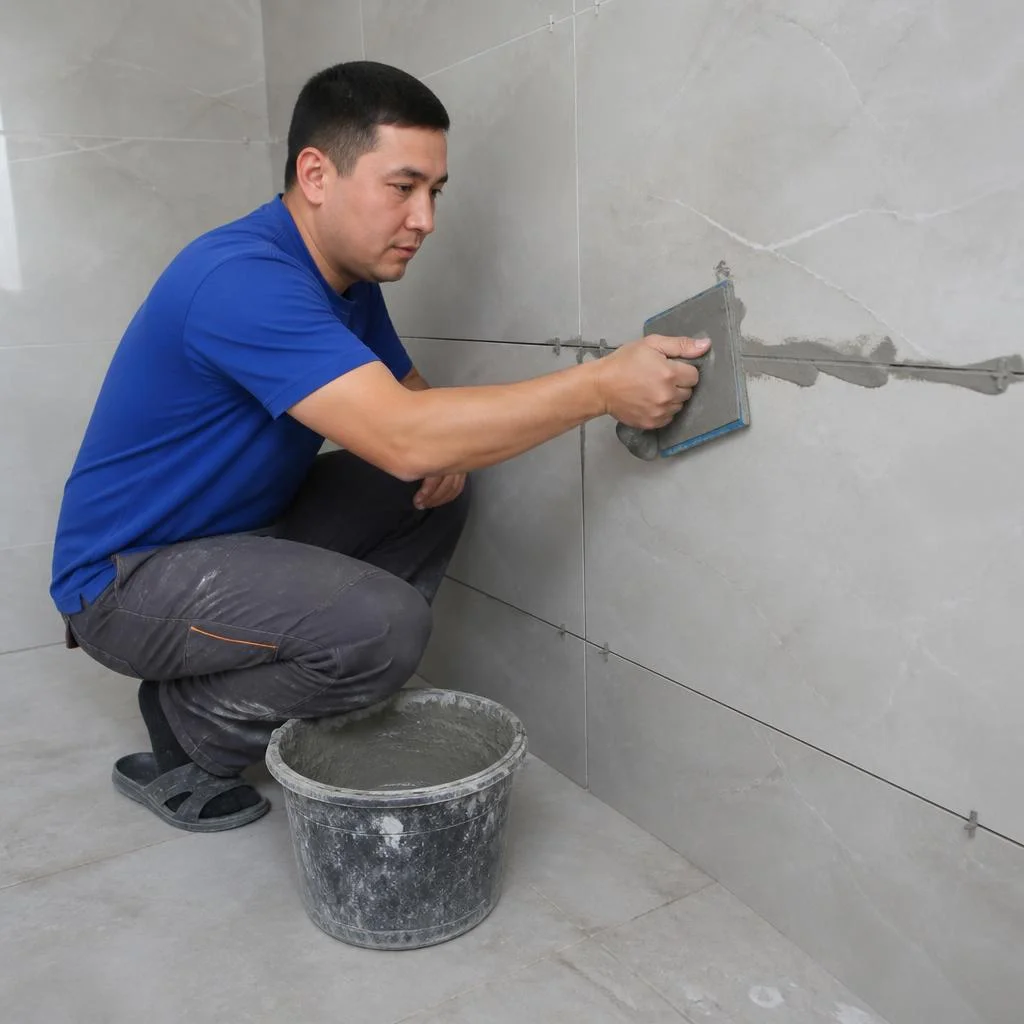
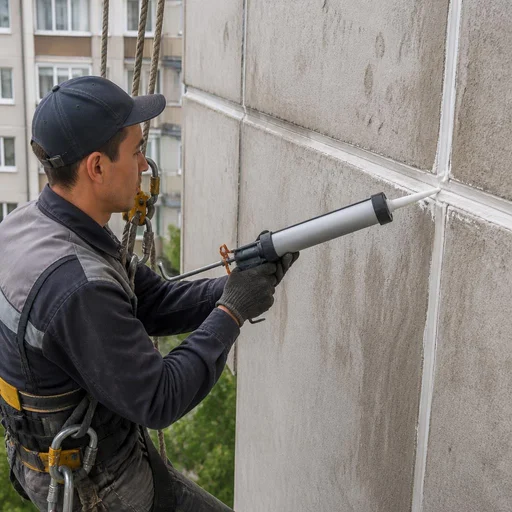
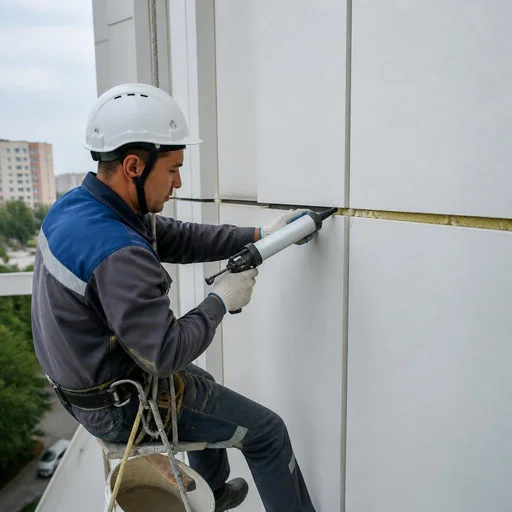
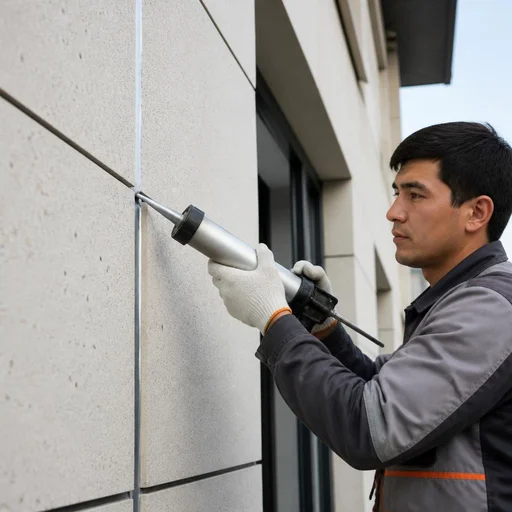
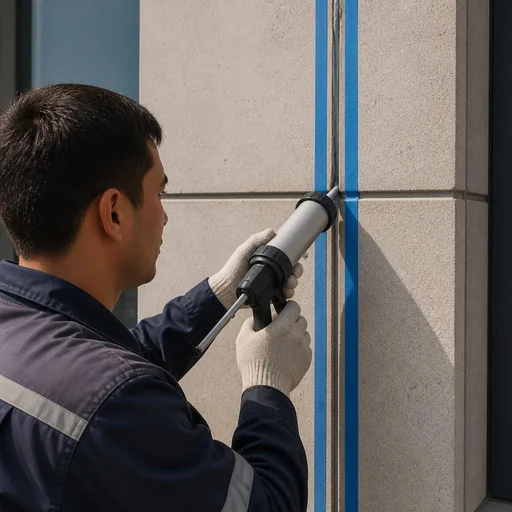
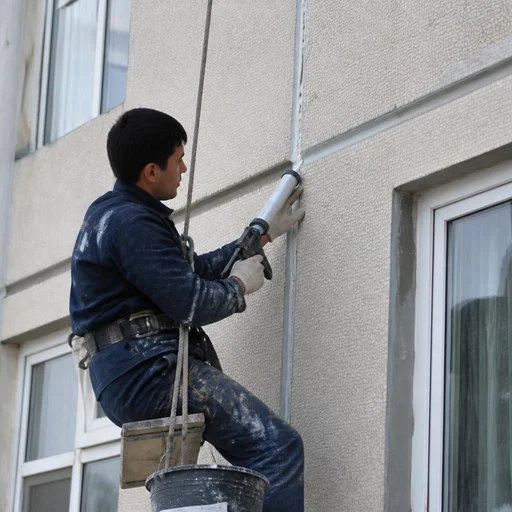
We seal inter-panel joints and panel joints on the outside: we cut out the old mortar, insert vilaterm, treat with primer and apply thiokol or butyl. In Tashkent's panel buildings, the joint between slabs reaches 6-8 cm in depth — such a volume cannot be filled in one pass, so the work proceeds in two stages: first the insulation, then the sealant. We take vilaterm with a diameter 30-40 % larger than the joint width — it compresses and expands the cavity from inside, preventing the compound from sagging through. Thiokol sealant withstands movement up to 25 %, butyl — up to 15 %, so at corners and in expansion joint zones we use thiokol. An external joint works on two fronts — rain from outside and vapor from inside; if a ventilation gap is not left, moisture is trapped in the cavity and destroys the insulation.
Internal joints in the apartment
Inside the apartment we seal internal joints between panels, in corners and along the window perimeter — with an acrylic or polyurethane compound that is not afraid of wall movement. Acrylic stretches 10-15 %, polyurethane — up to 25 %, and both easily withstand a 40-50 °C difference between a heated room and a cold panel. At the "slab-to-slab" junction in the corners of rooms, a crack most often runs along the old mortar — we clean it out to the base, prime it and fill it with polyurethane, because acrylic on a moving corner will come away after a season. Along the window perimeter we work with acrylic: it is vapor-permeable and does not prevent the wooden frame from breathing. A separate matter is sealing joints in the bathroom: clients write this request when the dark joint between the tile and the bathtub starts letting water through to the neighbors below. Here we work with sanitary silicone with anti-fungal additives, not acrylic — acrylic in a wet zone swells and peels off within a couple of months. An internal joint must not be sealed tight on both sides: if it still breathes from outside but is sealed from inside — condensation goes into the wall and dampness appears in the corner.
Comparison of joint types and materials
| Joint type | Material | Where applied | Feature |
|---|---|---|---|
| Inter-panel external | Thiokol / butyl | Facade, panel joints | Elasticity up to 25 % |
| Joint with re-grouting | Primer + sealant | Old panel buildings | Requires preparation |
| Internal dry | Acrylic | Corners, window perimeter | For painting |
| Bathroom and sanitary unit | Sanitary silicone | Wet zones | Mold protection |
| Tile joints | Epoxy grout | Sanitary unit, kitchen | Does not darken |
There is no universal sealant: silicone cannot be painted and does not hold on a facade, acrylic is afraid of water, thiokol is not suitable for a bathroom because of the smell. We select the compound based on the joint type, not on the price of the sealant.
Materials: what we use to seal exterior and interior joints
The material is half the result. We break down what we treat exterior and interior joints with and why a specific compound is chosen for each type: from thiokol and butyl to sanitary silicone.
Thiokol and butyl for exterior joints
We use thiokol compound for exterior joints and butyl for joints with high deformation: both withstand temperature swings and do not crack when panels move. Thiokol works in the range from minus 40 to plus 90 degrees, retains elasticity when the joint moves up to 25% of the joint width, and lasts 15-20 years on inter-panel joints. We use butyl where the panel "breathes": it stretches up to 400% without tearing, but tolerates direct UV worse, so only for joints under a canopy or with a protective coating. On panel buildings in Tashkent we apply thiokol on the south side, butyl on the ends and corners, where the movement amplitude is higher. Thiokol gains strength over 7-10 days, so in hot weather it must not be applied to a scorching-hot panel — adhesion drops, and the joint peels away along the edge by autumn.
Vilaterm, primer and mounting foam
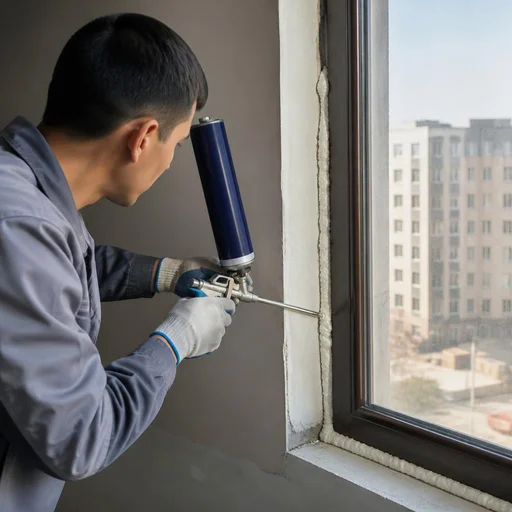
We use Vilaterm as a sealant before applying the compound, treat the joint with primer and fill the cavity with mounting foam — these are three layers that hold the joint from the inside. Vilaterm is a foamed polyethylene cord with a diameter 30-40% larger than the joint width: after insertion it expands the joint and prevents the compound from sagging through. We apply the primer with a brush or roller 30-60 minutes before treatment, consumption is about 150-200 ml per 10 linear meters. Low-expansion mounting foam fills deep cavities up to 10 cm, then we trim it on top and cover it with the compound. Primer and a bonding agent are not the same thing: primer improves adhesion to concrete, the bonding agent strengthens the surface itself; on loose old mortar you need both.
Silicone, acrylic and mastic for interior work
For interior work we use sanitary silicone in wet areas, acrylic in dry ones, and mastic for quick sealing of joints before painting. Sanitary silicone with a biocide additive does not darken and is not covered with mold in a bathroom; the acrylic compound is suitable for wall and ceiling joints because it can be painted and plastered over. Mastic dries in 24 hours and holds a tile joint up to 3 mm; we use it before painting in corridors and in the kitchen. In requests, clients often write in their own words — sealing the joint between the bathtub and the wall — and the technician immediately understands which assembly is meant and which compound will go there. Ordinary silicone yellows from UV and soap — in a bathroom you need specifically sanitary silicone with a biocide additive, otherwise in six months the joint will darken and become covered with mold.
Work technology: from joint raking to acceptance
Proper sealing of joints is not "squeezing a tube into a crack." We break down the sequence of stages, the additional insulation option, and exactly what is checked when the project is handed over.
Stages: raking, preparation, application
- Removal of old sealant: remnants of thiokol, butyl or silicone are cut out with a putty knife and cleaned with a metal brush along the entire length of the joint.
- Raking the joint: the old mortar is removed with a hammer drill or wall chaser to a depth of 15–20 mm — without this, the new compound will lie on dust.
- Surface preparation: dust is blown off with a compressor, the edges are degreased, cracks deeper than 5 mm are caulked with repair mortar.
- Priming: a primer that increases the adhesion of the sealant to concrete and brick is applied to the dry surface with a roller or brush.
- Filling and application: the cavity is filled with vilaterm or expanding foam, the finishing layer of sealant is smoothed with a putty knife, forming an even bead.
Joint insulation as an additional option
We perform joint insulation as an additional option: insulation is placed in the cavity, with vilaterm and sealant on top, and the joint stops freezing through. For Tashkent panel buildings of series 1-464, this is relevant on the north and northwest sides, where in winter condensation appears on the inner surface of the corner. Previously, insulation was done only with mineral wool; now a polyurethane insulation is more often combined with vilaterm — it does not absorb moisture and holds its shape during temperature swings from +40 °C in summer to −10 °C in winter. If the joint is more than 40 mm wide, vilaterm alone is not enough: the cavity is first filled with low-expansion expanding foam, otherwise the insulation will shift when the panel moves. Insulating only makes sense after raking: if insulation is laid over the old mortar, the dew point shifts into the wall and the corner will become even wetter.
How to check quality after repair
- Even joint without breaks: the sealant bead is of uniform thickness along the entire length, without sagging, cracks or peeling at the junction with concrete.
- Adhesion along the entire length: the edge of the sealant does not come away from the panel when pressed with a finger; when cut with a knife, the compound remains on the concrete rather than peeling off as a film.
- No voids: tapping the joint with a wooden mallet produces a dull sound without "drumming" — voids under the sealant layer are unacceptable.
- Color and profile match: the shade matches the approved sample, the bead width corresponds to the design across the entire facade.
Treatment of the bathroom and toilet: wet areas
The bathroom and toilet are a separate story: here the joint works under constant humidity and temperature changes. We break down what wet areas are treated with and how to remove mold from the seams.
What to seal the seams in the bathroom with
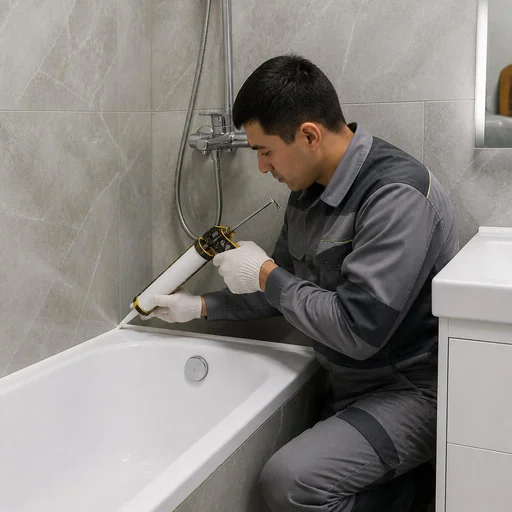
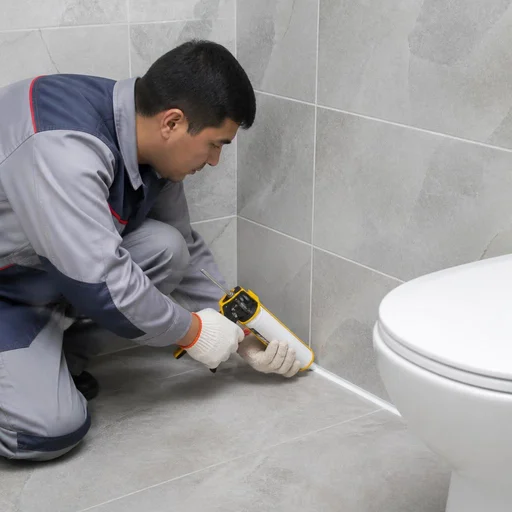
We perform sealing of seams in the bathroom with sanitary silicone with a biocide additive — such a compound does not yellow from soap scum and does not allow mold under constant humidity. We work with acidic and neutral silicones: acidic sets faster and is suitable for glass and ceramics, neutral does not smell of vinegar and does not corrode metal on chrome screens and shower columns. Along the perimeter of the tub and in the corners, the seam is formed with a spatula at 45°: a thin film of the compound 2-3 mm wide lasts longer than a thick bead of 8-10 mm, which peels away at the edge. Before applying the silicone, the surface must be degreased: on soap scum, even sanitary sealant peels away at the edge within 2-3 months. Clients often search for "sealing of seams in the bathroom" — and end up here, so let us clarify: the same sanitary silicone closes both tile abutments and the contour of the tub, but movable joints require a backing cord.
Treatment of seams in the bathroom and the joint between the bathtub and the wall
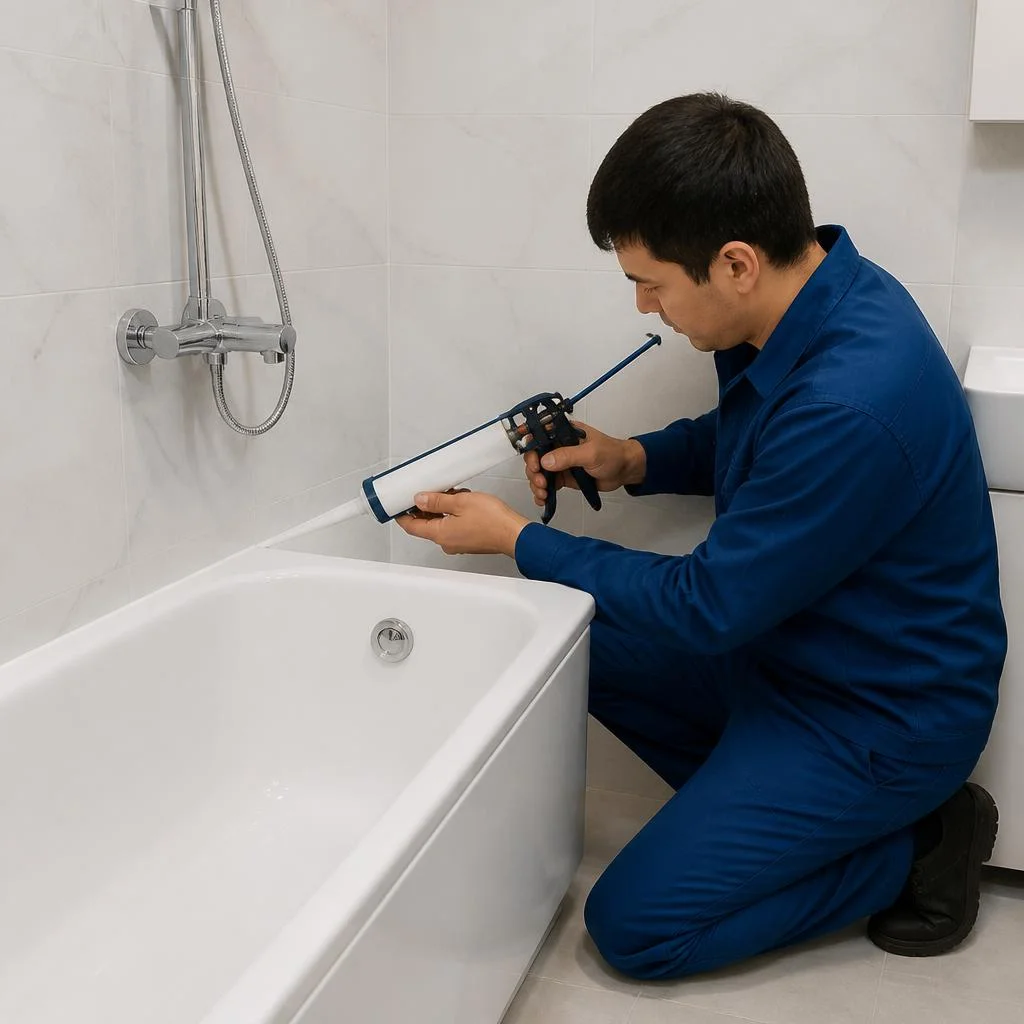
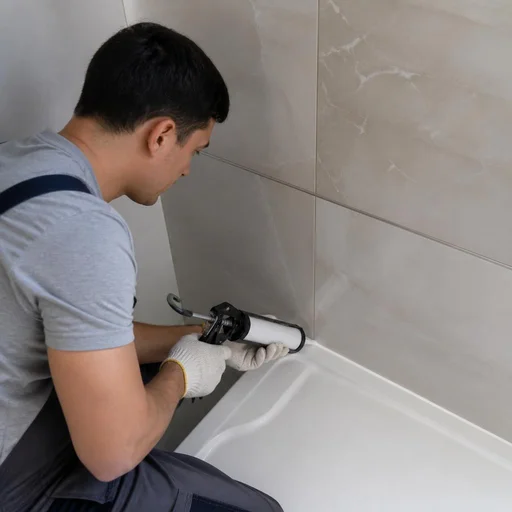
Eco-Service performs treatment of seams in the bathroom and separately the filling of the joint between the bathtub and the wall: the "bathtub — wall" joint is filled with sanitary silicone over a cord so that the seam does not tear when the side moves. The role of the backing is performed by foam cord with a diameter 30-40% larger than the gap — it compresses, pushes the seam apart from the inside and gives the compound the required thickness. Without the cord, the silicone goes deep into the joint and works in tension, not in stretching. A gap of 5-8 mm for an 8-10 mm foam cord; if the gap is wider than 12 mm, mounting foam is laid first, full curing is waited for 24 hours, then the cord and silicone. The joint between the bathtub and the wall cannot be filled solidly without a backing: an acrylic bathtub flexes under the weight of water, and rigid silicone without a cord tears away from the side within one season.
Grouting of seams in the bathroom and tile joints
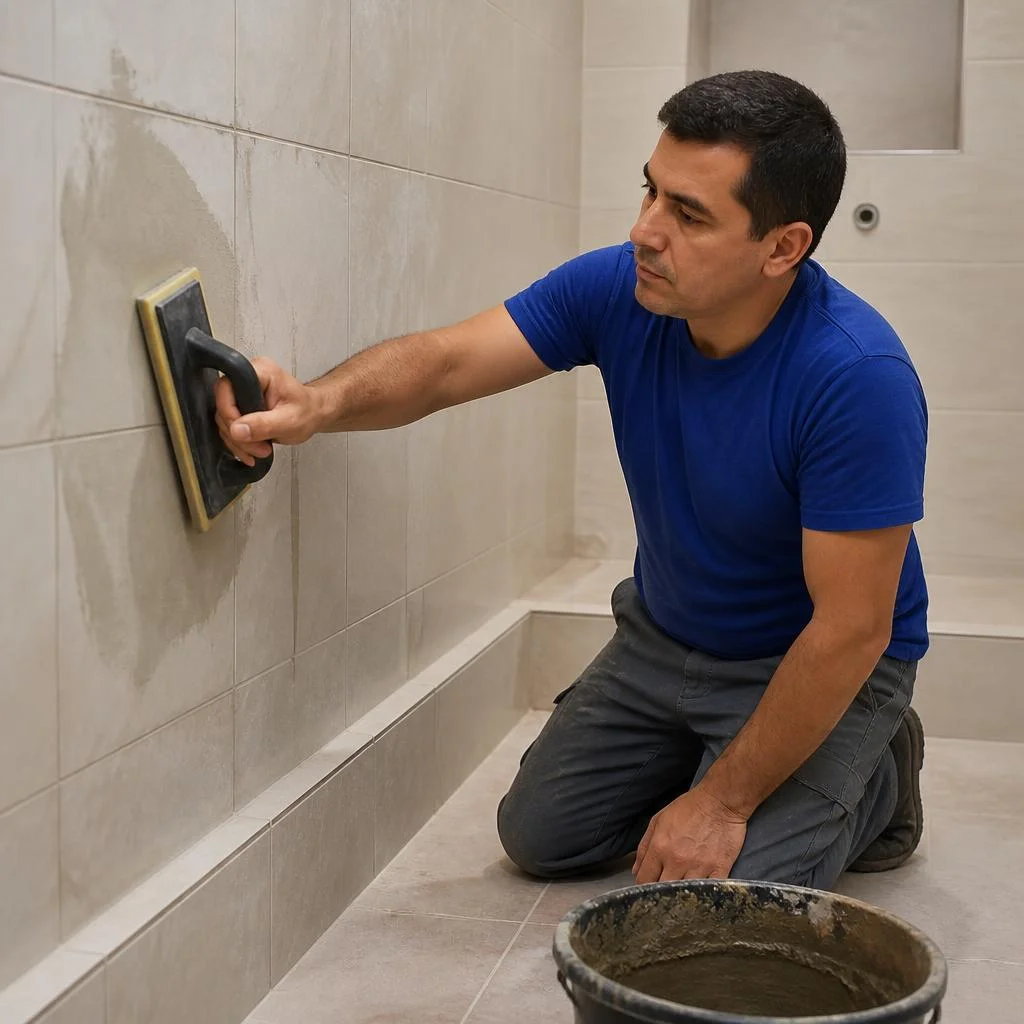
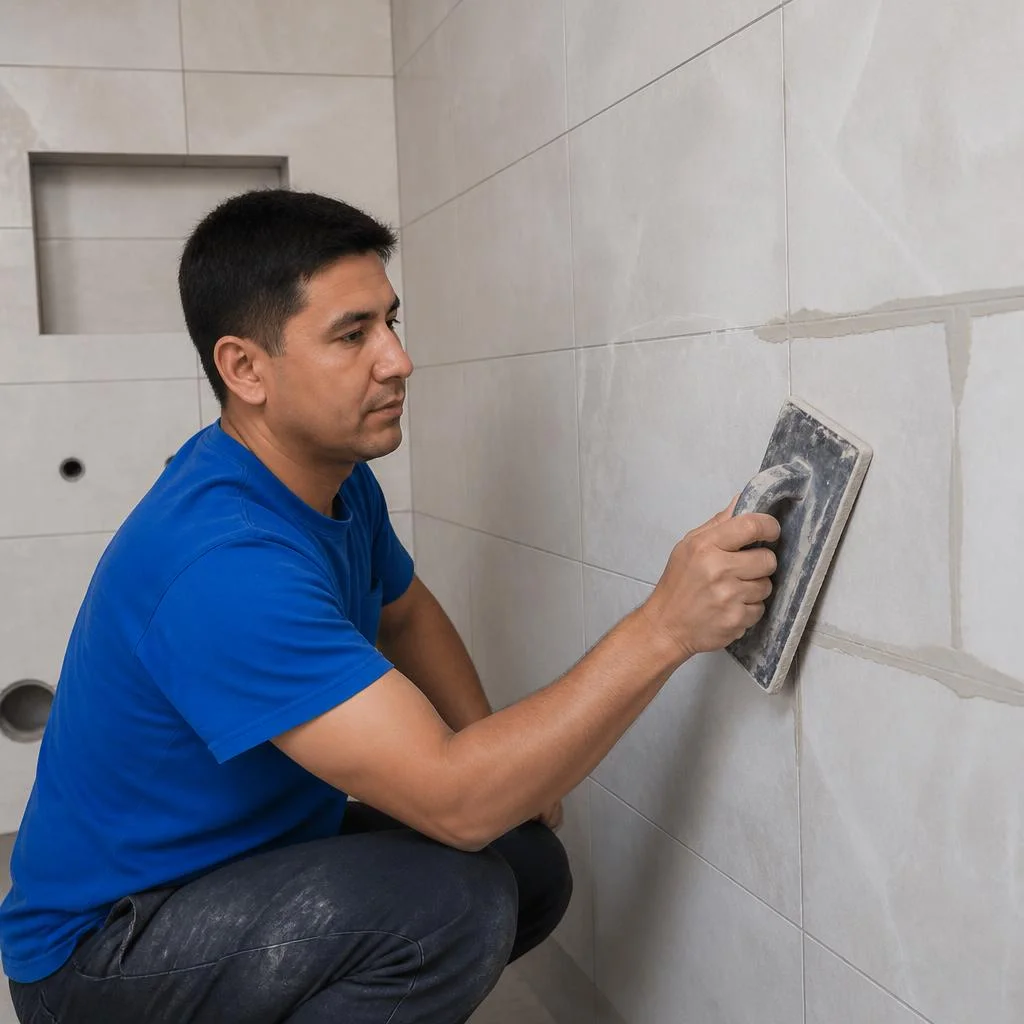
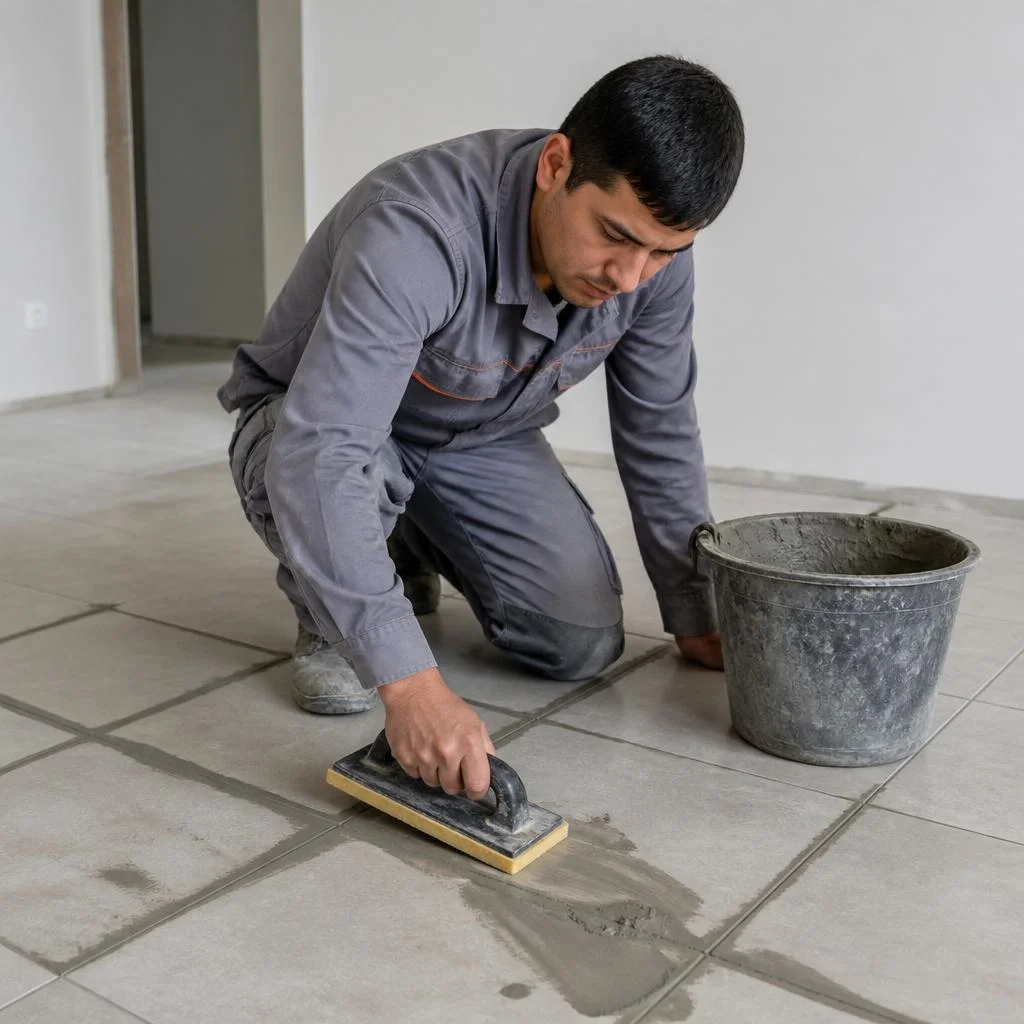
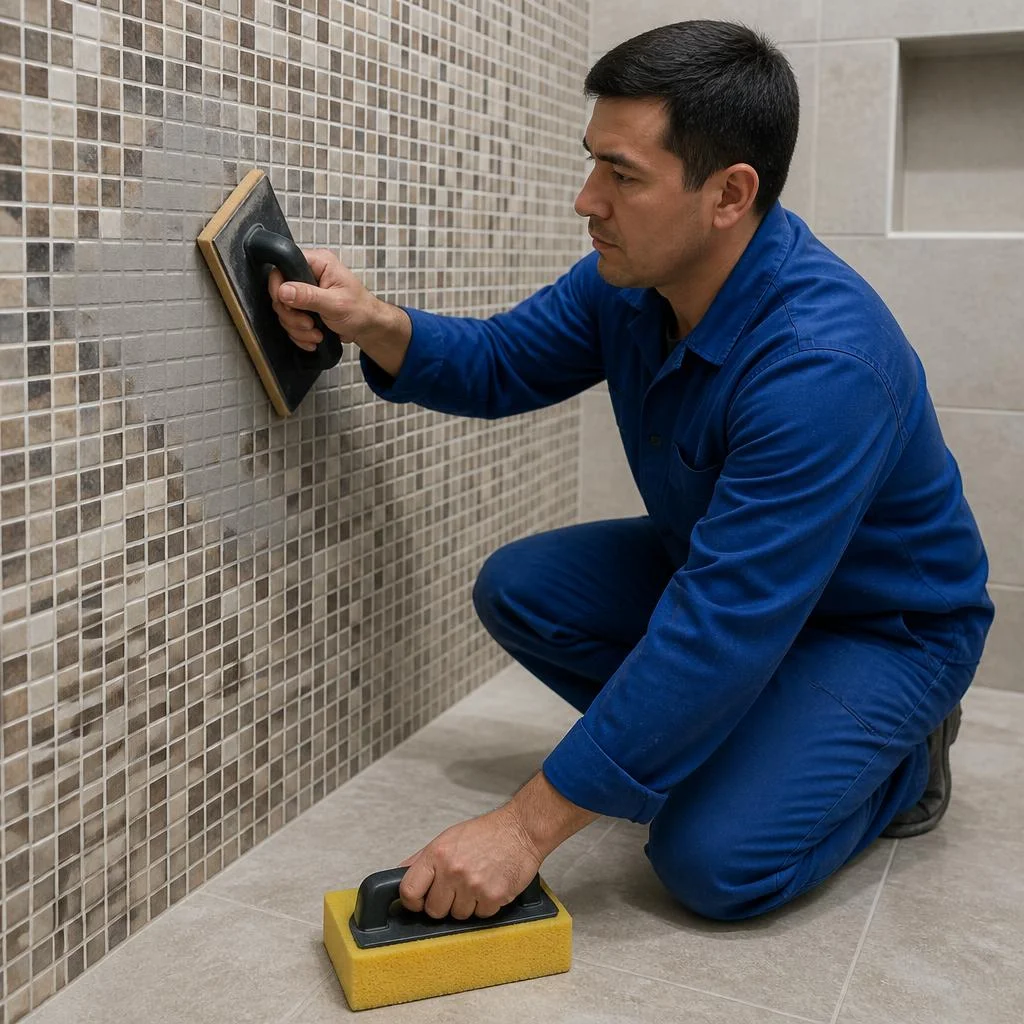
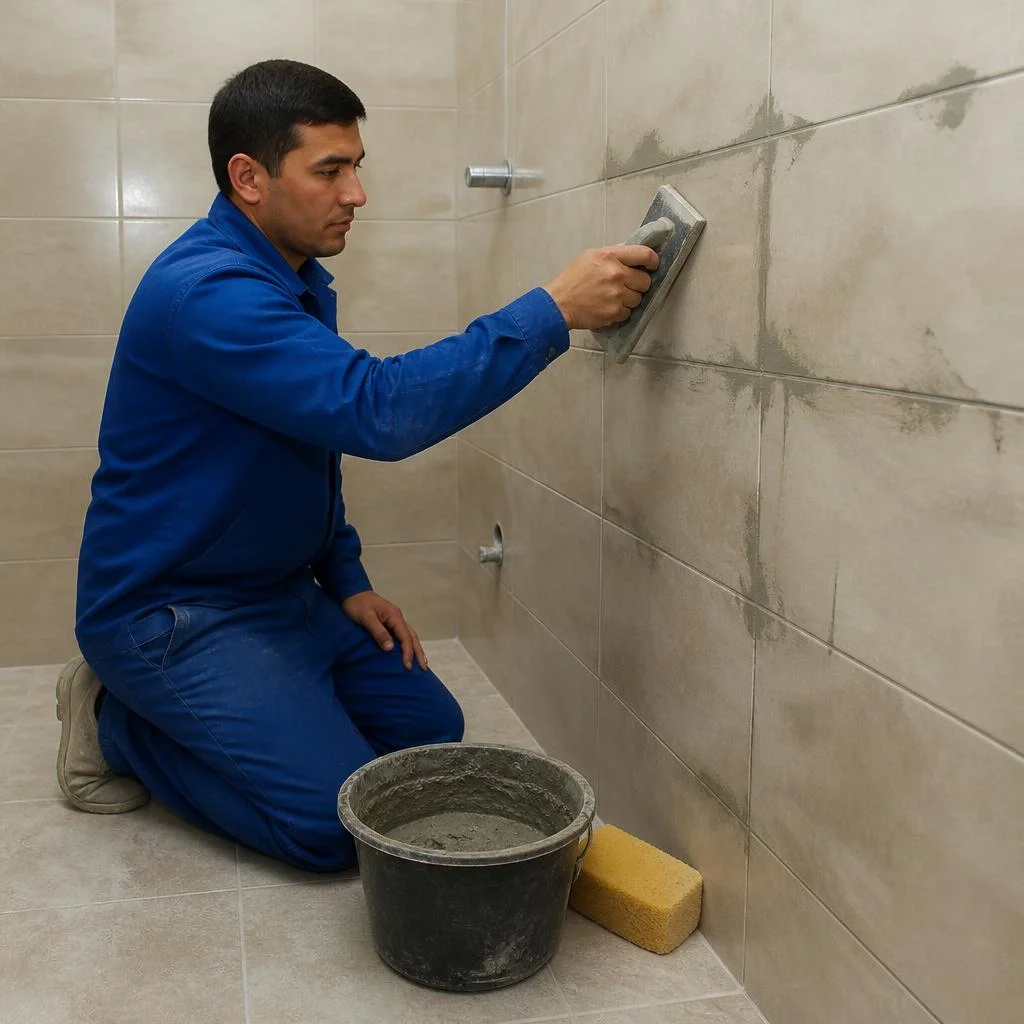
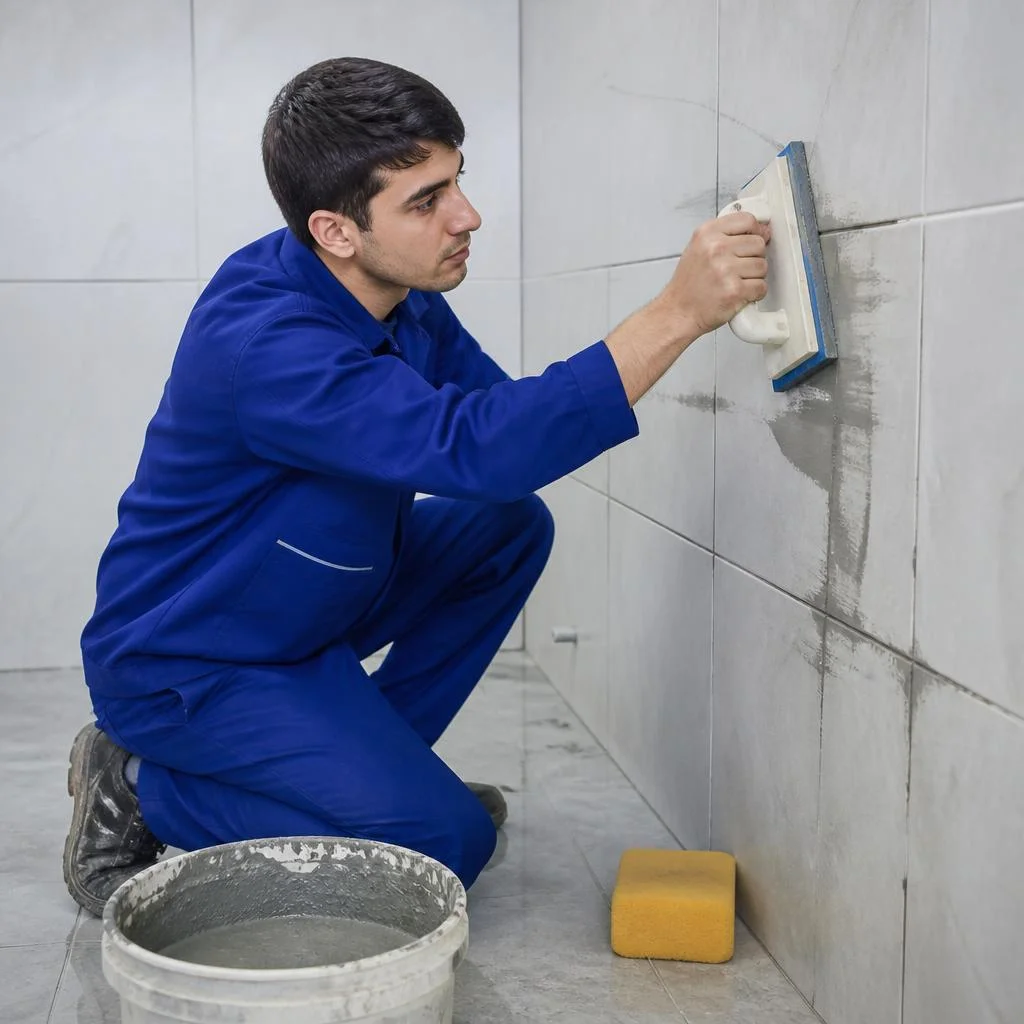
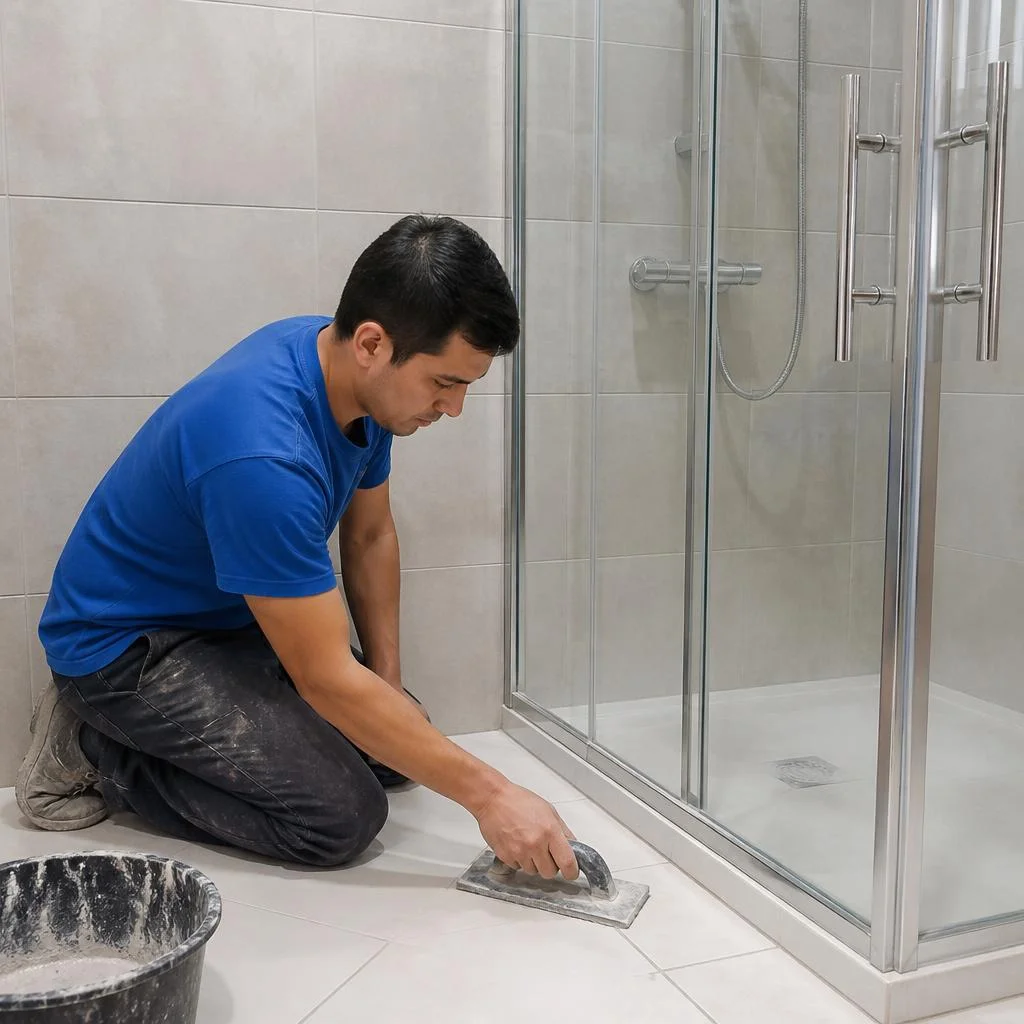
Eco-Service performs grouting of seams in the bathroom with epoxy grout, and we close with sealant where the joint is movable: between the tile and the bathtub, at the side, in the corners. The epoxy compound is laid into the inter-tile seams of 2-3 mm and after polymerization does not absorb water and does not darken; cement grout of the same seam takes on moisture and turns gray within six months. Movable abutments — the vertical "tile — tile" corner, the contour around the tub, pipe outlets — are done with sanitary silicone, because epoxy on a movable joint cracks along the boundary with the tile. Cement grout in the toilet darkens from moisture within six months — epoxy does not absorb water, but requires a perfectly dry surface, otherwise it peels off together with the tile adhesive.
Warranty, Contract and Completion Timeframes
Seam sealing work is formalized by a contract, and a two-year warranty is given on the result. Below we break down exactly what the warranty period covers, who performs the work, and how long the entire cycle takes.
What the 2-year warranty covers
Joint treatment through Eco-Service is covered by a 2-year warranty: if within this period the seam peels away from the panel, cracks along the edge, or begins to let moisture through, the crew returns and redoes the section at its own expense. The contract records the list of treated joints with the length of each indicated — in the event of a claim, the technician verifies the area against the report, not "by eye." The warranty certificate is tied to the address and contract number, so if the apartment is sold, the obligations transfer to the new owner without re-registration. We plan repeat warranty visits in Tashkent within 2–3 business days after the request — usually this is the seasonal peak after spring rains. The warranty is valid subject to compliance with operating conditions: if the seam is opened for air conditioner installation, cut for a cable, or painted over with facade paint without authorization — the case becomes non-warranty.
In-house crew and contract
We perform the work with our own crew without subcontracting: the surveyor, installers, and acceptance technician are staff employees, and the order is formalized by a contract with a fixed estimate. The surveyor's visit is free: the specialist takes the geometry of the seam, calculates linear meters, checks the depth of the joint opening and the condition of the insulation — the consumption of sealant and the number of passes depend on these parameters. In the estimate, separate line items include joint raking, primer application, installation of the backer rod, and application of thiokol or butyl, so the final amount does not increase during the process. Seam sealing — this is how this service is most often searched for, and from such a request we immediately understand the scope of the upcoming work. A private craftsman with an ad on OLX.uz does not provide a contract — in the event of a claim, there is no one to file a complaint against; a contract with a contractor fixes the scope, timeframe, and warranty obligations, and payment goes through Click or Payme with a receipt.
Timeframes: surveyor visit and work execution
We go out for a survey within 1–2 days after the request, and the joint treatment itself in an apartment takes from one day depending on the scope and weather. A standard two-room apartment with 40–60 linear meters of external joints takes one working day; an entire panel building — this is 3–5 days taking into account high-altitude work and raising the cradle. We close internal seams in the bathroom and toilet in 3–4 hours, because there is no need to go up to a height and drying goes faster. External work is planned for dry weather: thiokol sealant and butyl sealant must not be applied to a wet panel or during rain — otherwise the compound will not set and the seam will have to be redone.
Conclusion
We have gathered five practical conclusions that determine the result of joint sealing work at panel and industrial sites in Uzbekistan — from the choice of compound to the processing of documents.
Main conclusions
- Climate decides. The temperature difference in Tashkent reaches 60 °C, so an elastic sealant with deformation of at least 25% is needed — rigid compounds tear within one season.
- The type of seam determines the material. External joints are closed with thiokol and butyl, wet areas — with sanitary silicone, dry internal ones — with acrylic.
- Preparation is more important than application. Without raking and priming, the new compound lays on dust and peels off within a few months.
- The bathroom is a separate zone. The joint between the bathtub and the wall is treated over a cord, otherwise the seam tears when the rim moves.
- Warranty — only under a contract. A private craftsman without a contract is not responsible for the result, while the 2-year warranty is documented.


