






















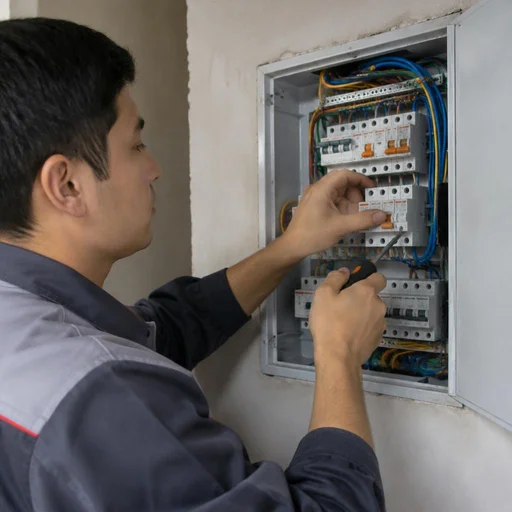

Why an RCD in an apartment and house: what it really protects
An RCD is not a "second circuit breaker", but protection against current leakage to the enclosure and through a person. Let's look at what it catches and what it doesn't, why a circuit breaker won't save you without it, and why the device sometimes trips for no reason.
What an RCD is and how it differs from a circuit breaker
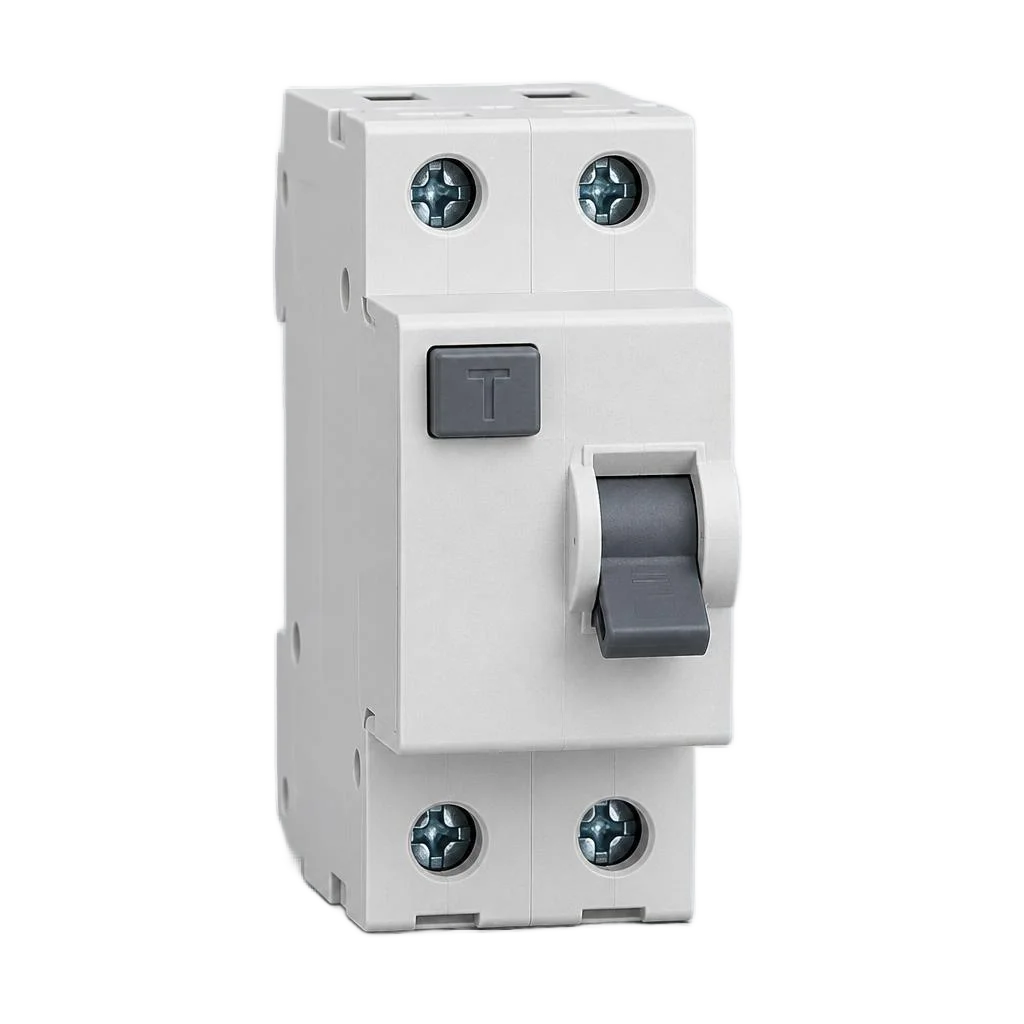
An RCD trips on the difference in currents between phase and neutral — from 10 to 300 mA, whereas a circuit breaker responds only to overload and short circuit. Inside the device there is a differential transformer: it compares the current that went into the load with the current that came back. If the difference exceeds the setpoint, the contacts open within 20-40 milliseconds. A modular circuit breaker is designed differently: the entire line current passes through it, and it trips on a thermal or electromagnetic release at 16-40 amperes. Installing a protective device does not replace a circuit breaker — they are two different devices in one panel. A circuit breaker will not "see" a 30 mA leakage through a person: this current is enough to stop the heart, but not enough to trip short-circuit protection, so during installation, install a "circuit breaker + RCD" pair rather than choosing one of the two.
What an RCD protects against, and what it doesn't
- Protects against leakage to the enclosure: if insulation breaks down to the metal enclosure of a washing machine or water heater, the device will disconnect the line before contact occurs.
- Protects a person: a current of 30 mA is life-threatening, and an RCD with such a setpoint opens the circuit in fractions of a second.
- Protects against leakage to ground: if a cable gets wet or insulation is damaged in a wall, the differential current is detected and the line is disconnected.
- Does not protect against overload: if the total power of the appliances exceeds the rating of the line, the RCD will not respond — the wire will heat up and melt until a fire starts.
- Does not protect against short circuit: in the event of a short circuit, the device will fail before it disconnects the line, which is why in a panel they always work as a pair with a circuit breaker.
Why an RCD trips falsely and how to fix it
When our technician arrives, the first thing he checks is the total leakage current on the line: most often the cause is old wiring, a damp cable, or several RCDs with the same rating in one panel. In Tashkent apartments in old housing stock with aluminum wiring, accumulated leakage through the insulation often reaches 15-20 mA — that is half the setpoint, and any additional appliance "pushes" it up to tripping. A damp cable in the bathroom or kitchen causes leakage spikes in wet weather, and two devices with a 30 mA setpoint in one panel trip one after another for no apparent reason. The RCD connection diagram with grounding also matters: if there is no grounding conductor, the leakage looks for a path through the neutral wire and behaves unstably. If the RCD "trips" without a load, it is almost always accumulated leakage through the insulation, not a failure of the device itself; replacing the RCD will not help here — the line needs to be inspected.
How to choose an RCD for an apartment, house and wet areas
The rating and leakage current are selected for the load and purpose of the line. Below are working combinations that we use in Tashkent apartments and private houses.
Leakage current and rating: what values to set for groups and for the incoming line
| Line / zone | Leakage current | Rating | What it protects |
|---|---|---|---|
| Incoming line to the apartment | 100 mA | 40A | The whole house, selectivity with groups |
| Socket groups | 30 mA | 16A | People and appliances on each line |
| Bathroom, kitchen, boiler | 10 mA | 16A | Wet areas where the risk of contact is high |
| Washing machine | 10 mA | 16A | Pump, heating element, leakage to the body |
| Air conditioner, boiler | 30 mA | 25A | Inverter appliances, heavy load |
We select the rating for the load of each group separately: on the incoming line of a capital apartment with an electric stove and boiler this is more often 40A, while 16A is sufficient for a lighting line. Installing a 30 mA RCD on the incoming line is a typical mistake: at the slightest leakage on any line the entire apartment will trip, not just one group.
Type AC or A: when each is needed
Type AC responds only to alternating leakage current, while type A also responds to pulsating direct current, which is produced by washing machines, inverter air conditioners and appliances with switched-mode power supplies. In apartments with new appliances, type AC is formally permitted by the standards, but switched-mode power supplies create a leakage of the direct component, to which type AC does not respond — the zone remains unprotected. Type A closes this blind spot: it catches the pulsating current from variable-frequency drives, LED drivers and laptop chargers. Installing an RCD on lines with a washing machine, dishwasher or inverter air conditioner pays for itself faster than repairs after a leakage. For lighting groups and simple sockets without powerful electronics, type AC remains a workable option.
RCD or RCBO: what to install in the panel
| Criterion | RCD + circuit breaker | RCBO |
|---|---|---|
| Space on the DIN rail | 3 modules | 2 modules |
| Tripping diagnostics | Visible: leakage or overload | Does not separate the cause |
| Selectivity in a cascade | Configured flexibly | Limited |
| Repairability | One module is replaced | The whole unit is replaced |
We install an RCBO as an alternative to the RCD + circuit breaker combination when there is little space in the panel or there is only one line. For a complex panel with a cascade and several groups, we choose the "RCD + circuit breaker" pair: when it trips, it is immediately clear what happened — leakage or overload — and finding the cause takes minutes, not hours. An RCD circuit breaker connection in a single housing simplifies the circuit but complicates diagnostics — this compromise should be evaluated by the number of groups, not by the price of the device.
Connection diagrams: single-phase network, circuit breaker and grounding
The order of elements in the panel and the neutral connection point determine whether the RCD will trip at all. Let's look at working diagrams for a single-phase network and the specifics of two-wire wiring in old housing stock.
Connecting the RCD and circuit breaker: order in the panel
- Step 1: the main circuit breaker is installed first on the DIN rail — it protects the entire downstream circuit from overload and short circuit.
- Step 2: immediately after the main circuit breaker, the RCD is mounted, to which the phase and working neutral from the meter are connected.
- Step 3: from the RCD output, the neutral goes to a separate neutral busbar that is not connected to the panel's common N busbar.
- Step 4: group circuit breakers are installed after the RCD, each on its own line: sockets, lighting, wet zone.
- Step 5: the PE busbar runs separately from the entire path and is not broken by any device in the panel.
- Step 6: the connection of the circuit breaker and RCD is checked with a tester before applying load, and the neutral after the RCD is never connected to the panel's common neutral.
Connecting an RCD with grounding: TN-C-S and TN-S diagrams
In TN-C-S and TN-S systems, the protective conductor is routed to a separate busbar and does not pass through the device, and its operability after installation is checked with the "T" button. In the TN-C-S diagram, the neutral and protective conductors are separated at the building's service entrance, after which the PE runs as an independent core to sockets and appliance enclosures. In the TN-S system, both conductors are separated along the entire length of the line from the substation, which provides the most stable grounding loop. The "T" test button simulates a leakage and should disconnect the device within fractions of a second — if this does not happen, the circuit is wired incorrectly. The device will also trip without grounding, but only when a person touches a live part, whereas with a PE conductor it will disconnect the line earlier — when insulation breaks down to the appliance enclosure.
What to do in a two-wire network of old housing stock in Tashkent
In homes with a two-wire network without a PE conductor, Eco-Service installs 30 mA RCDs on groups and 100 mA at the service entrance — the device will protect against leakage through a person even if there is no grounding in the apartment. In Tashkent's khrushchyovkas and panel buildings of the 1960s-1980s, there is no grounding conductor in the riser, and it is impossible to restore it without reconstructing the riser. In such a situation, the RCD remains the only working protection: it detects the current difference between phase and neutral and disconnects the line within 0.03 seconds when there is leakage to the appliance enclosure. You must not "borrow" the neutral instead of ground or install a neutral-to-ground jumper in the socket: this does not create protection but makes appliance enclosures dangerous if the neutral breaks — a phase potential appears on them.
Connecting an RCD in a three-phase network
In a three-phase network, Eco-Service installs a four-pole RCD: three phases and neutral pass through it, and the load across the phases must be distributed evenly, otherwise the device will trip for no reason. Phase imbalance above the norm causes false tripping even on a working device, so installing an RCD in a private house with a three-phase service entrance begins with measuring the current on each phase. The technician checks the load distribution before installation and, if necessary, moves groups between phases so that the current difference does not exceed the permissible value.
Several RCDs in a panel: cascade and selectivity
When there is more than one RCD in a panel, it is important that when a leakage occurs on one line, only that line is disconnected. This is selectivity — let's look at how to achieve it.
Why several RCDs are needed and how the cascade works
We install a 100 mA main RCD and 30 mA group devices: when a leakage occurs on one line, only its device trips, rather than the entire apartment being disconnected. The cascade is built as follows: the main device protects the supply line from total leakage, while the group devices protect each line separately. For a kitchen with a wet zone, a washing machine and a boiler, separate 30 mA devices are installed, while lighting and room sockets get their own. In a private house, a line for the yard and a pump station are added, and the number of devices grows along with the number of independent consumers on the DIN rail. Installation in such a panel is not about the number of devices, but about logic: each one protects its own section of the circuit. Without a cascade, a single device for the whole panel turns any minor leakage into a complete shutdown — with a cascade you lose one line, not the lights in the whole house.
Selectivity: how to stagger the ratings by level
| Level | Leakage current | Type | What it disconnects |
|---|---|---|---|
| Main | 100 mA | S (with delay) | The entire apartment or house |
| Group (kitchen, bathroom) | 30 mA | AC or A | One wet line |
| Group (rooms, lighting) | 30 mA | AC | Sockets or lighting |
| Dedicated (boiler, pump) | 10-30 mA | A | Only that appliance |
The rule for staggering is simple: the leakage current of the main device must be at least 3 times higher than that of the group device, and in terms of tripping time the main device is chosen as type S or with a delay. If the main and group devices have the same leakage current, both will trip in the event of a fault — selectivity without staggered ratings does not work, even if there are two devices. This can only be verified by measuring the leakage current on each line before assembling the panel.
Connecting several RCDs in a panel: practical limitations
- Space on the DIN rail: a standard 12-module box holds 4-5 devices together with circuit breakers, so a cascade often requires a 24-module panel.
- Accumulated leakage: each line produces 0.5-2 mA of natural leakage, and with 8-10 groups the total approaches the threshold of the main device.
- Two-wire network: in old housing stock without grounding, a cascade is assembled only after insulation testing, otherwise the devices trip for no reason.
- Insulation audit: on lines older than 15 years, resistance measurement shows which groups cannot be included in a common cascade without repair.
- Distribution across phases: in a three-phase panel, a separate main device is installed for each phase, otherwise load imbalance causes false tripping.
RCD installation: stages of work and what the service includes
Installing a protective device is not "putting a little box on a rail," but diagnosing the panel, selecting the device, installing it, and testing it under load. We show how the process goes from inspection to live testing.
Panel diagnostics before installation
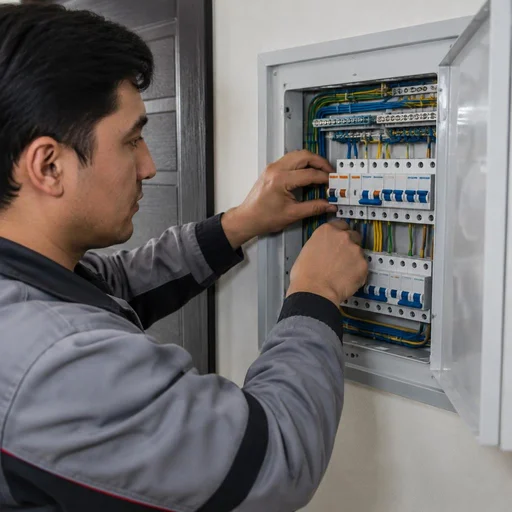
- Network diagram: an Eco-Service technician travels to the site in Tashkent and first of all determines the grounding system — TN-C-S, TN-S, or two-wire — because the correctness of the entire circuit depends on it.
- Insulation: measuring resistance with a megohmmeter reveals background leakage, due to which the new device will start tripping immediately after being switched on.
- Load distribution: we record which groups are powered from the panel, their total current, and cable cross-sections — this is the basis for selecting the rating.
- Busbars and circuit breakers: we assess the condition of the neutral busbar, terminal heating, and free space on the DIN rail for the new module.
- Grounding: we check the ground loop and the quality of the connection — without a working PE, protection of people will not operate.
RCD installation: step-by-step order of work
- Step 1: we shut off the incoming supply and use a tester to make sure the voltage is removed.
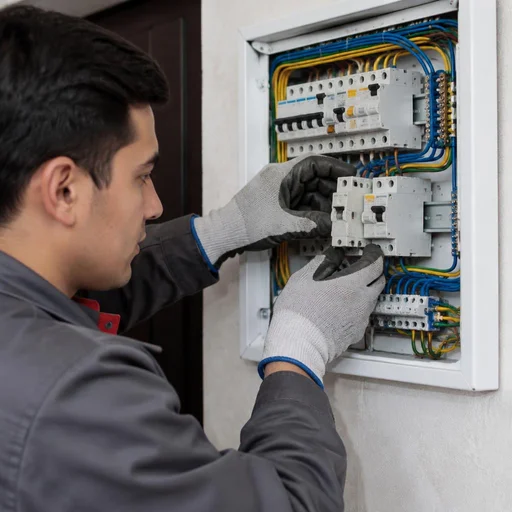
- Step 2: we mount the device on the DIN rail, placing it in a row with the circuit breakers according to the panel diagram.
- Step 3: we connect the device — we route phase and neutral strictly according to the terminal markings, without confusing input and output.
- Step 4: we tighten the terminals to the specified torque with a torque screwdriver, not "by feel."
- Step 5: we apply power and press the "T" test button — the device must trip.
- Step 6: we load the line and repeat the test with a multimeter and clamp meter.
What the service includes and what additional work may be needed
- Included: panel diagnostics, selection of the device rating and type, mounting on the rail, RCD connection, and testing under load.
- Included: marking of the lines and a photo report of the assembled unit for the owner.
- Additional: assembly of the electrical panel if the enclosure is old or there are not enough modules.
- Additional: installation of a main circuit breaker if outdated protection is installed at the incoming supply.
- Additional: cable routing or wall chasing when there is no dedicated line to the panel.
Replacing an old RCD and related work in the panel
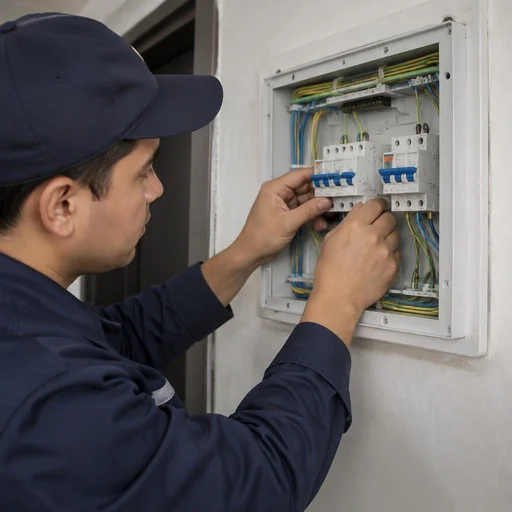
We replace outdated RCDs, as well as install RCBOs, voltage relays, contactors, and meters — work in a single panel is done in one visit. Replacing an RCD without checking the paired circuit breaker and the condition of the neutral busbar is not advisable: the new device will operate in the same circuit as the broken old one and will repeat its behavior at the very first leakage. Before replacement, the technician checks the tightening torque on adjacent terminals and the integrity of the neutral busbar — otherwise tripping will recur on the new module.
Warranty, safety, and why installation is trusted to a professional
A protective device means safety: an installation error does not show up immediately, but it is exactly what determines whether the protection will trip or not. That is why the warranty and the contractor's responsibility matter.
2-year warranty on work and what it covers
Eco-Service provides a 2-year warranty on completed RCD installation and connection work — including the correctness of the circuit, the quality of the contacts, and the operability of the device after installation. The warranty period covers the connection of the RCD and circuit breakers in the panel, tightening of terminals with a torque wrench at the torque specified in the manufacturer's data sheet, and testing with the test button under load. In the work completion certificate we record the initial condition of the wiring: insulation resistance, presence of a grounding conductor, and the condition of the neutral busbar before any intervention. The warranty does not cover false tripping caused by the customer's old wiring — that is why diagnostics before installation are recorded in the certificate, so that there are no disputed situations later.
Own service center in Tashkent and on-site visits by a technician
Eco-Service has its own service center in Tashkent: a technician travels to the site, and device acceptance and panel consultations are done in person, without intermediaries or subcontractors. On site, the master electrician takes measurements with a multimeter and clamp meter, checks the selectivity of the cascade, and tests each device with the "Test" button under working load. The RCD installation is performed by the same specialist who is then responsible under the warranty — not a separate subcontractor crew. The direct provider of the service is fully responsible for the result: in a disputed situation, there is no need to figure out who exactly — the "installer" or the "supplier" — made the error in the circuit.
Typical mistakes of DIY RCD installation
- The neutral after the RCD is connected to the panel's common neutral: the device trips immediately when switched on, and the person considers it faulty.
- The RCD is installed without a paired circuit breaker: in the event of a short circuit, the device fails, and the line remains without protection until replacement.
- Phase and neutral are swapped at the input: the test button does not trip, and the leakage protection does not work at all.
- Terminals are tightened insufficiently: the contact heats up, the insulation melts, leakage current increases, and the protection trips for no reason.
- Grounding is connected to the neutral busbar: the device enclosure ends up energized, and the RCD stops distinguishing real leakage.
Conclusion
We have gathered the main points that determine the outcome of leakage current protection work: selecting the rating, the circuit in the panel, and testing after installation. Below are the conclusions worth keeping in mind before placing an order.
Main conclusions
- Protection against leakage, but not against overload: an RCD responds to the difference in currents between phase and neutral, while protection against overload and short circuit is provided only by the circuit breaker paired with it.
- Rating according to the purpose of the line: 10 mA is installed for wet areas, 30 mA for socket and lighting groups, and 100 mA for the incoming line, and the connection of the RCD with the circuit breaker is selected so that the breaker comes first on the phase.
- A cascade provides selectivity: an incoming device rated 100 mA and group devices rated 30 mA with staggered ratings disconnect a single line rather than the entire apartment at once.
- Two-wire network without PE: the device continues to protect a person from leakage to the enclosure, but using neutral instead of ground is absolutely unacceptable.
- Testing with the "T" button: correct installation is confirmed with the test button under working load — without this check, the work is not considered completed.


