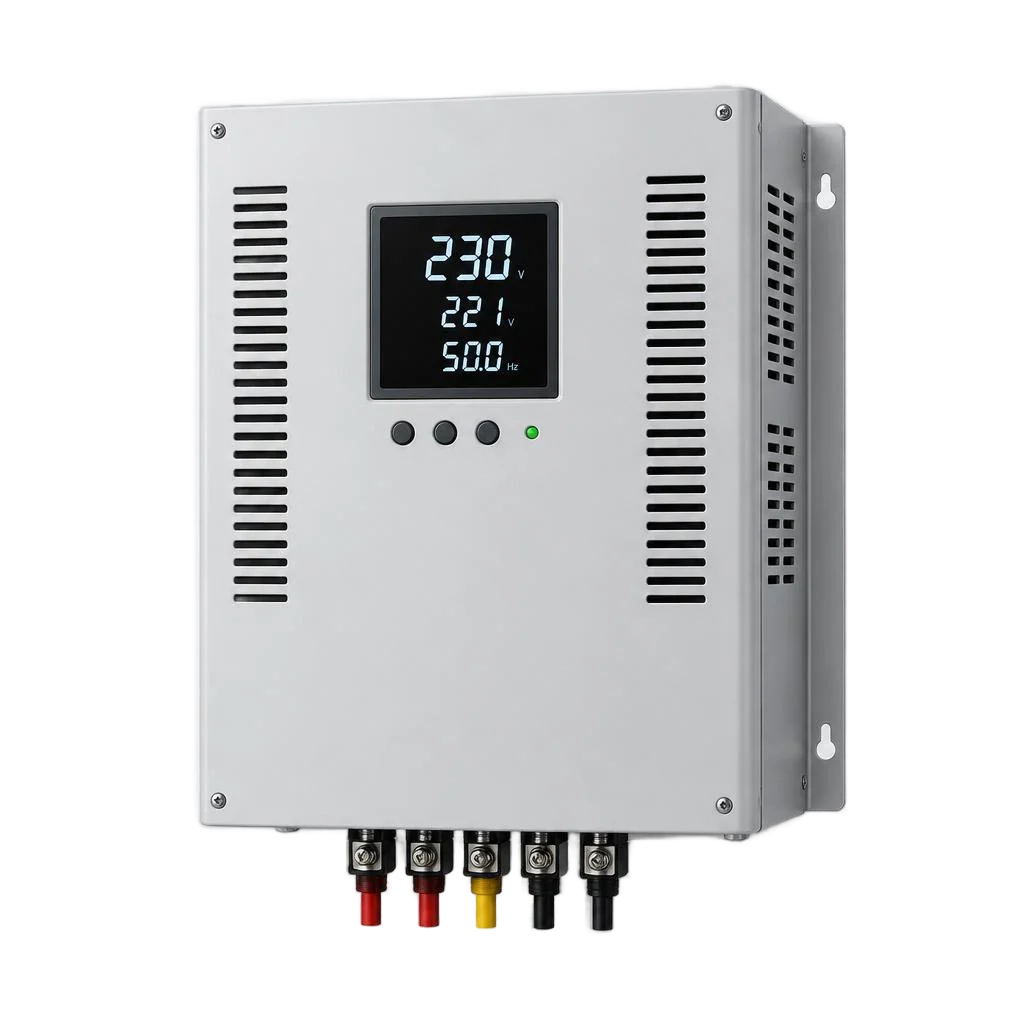

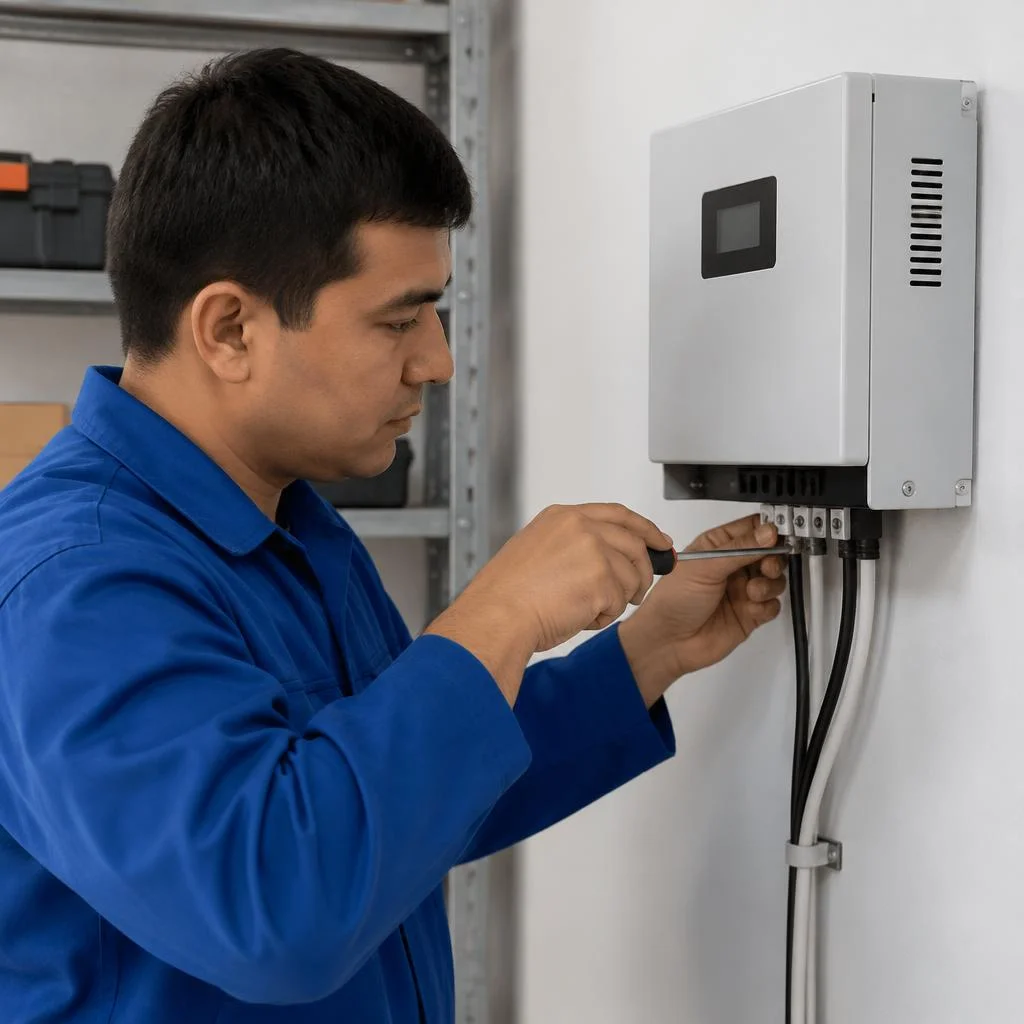
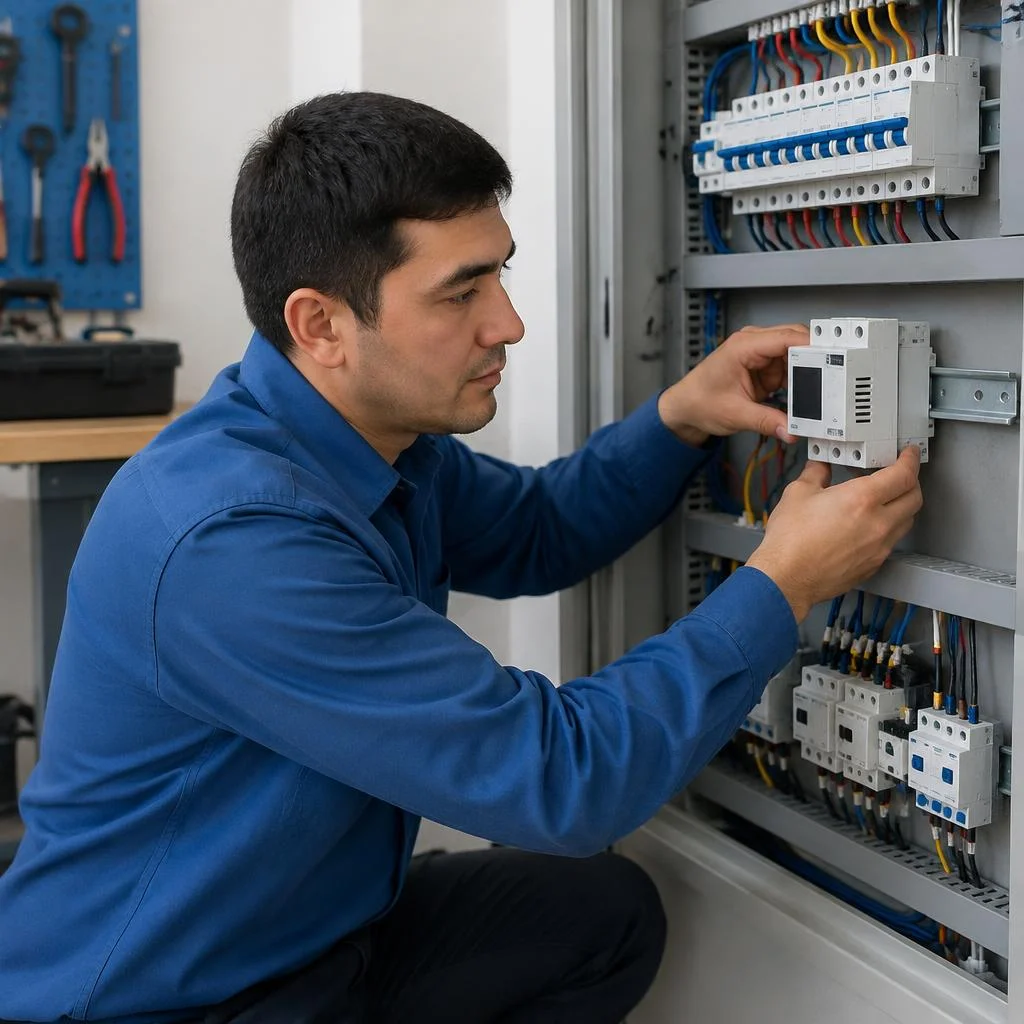
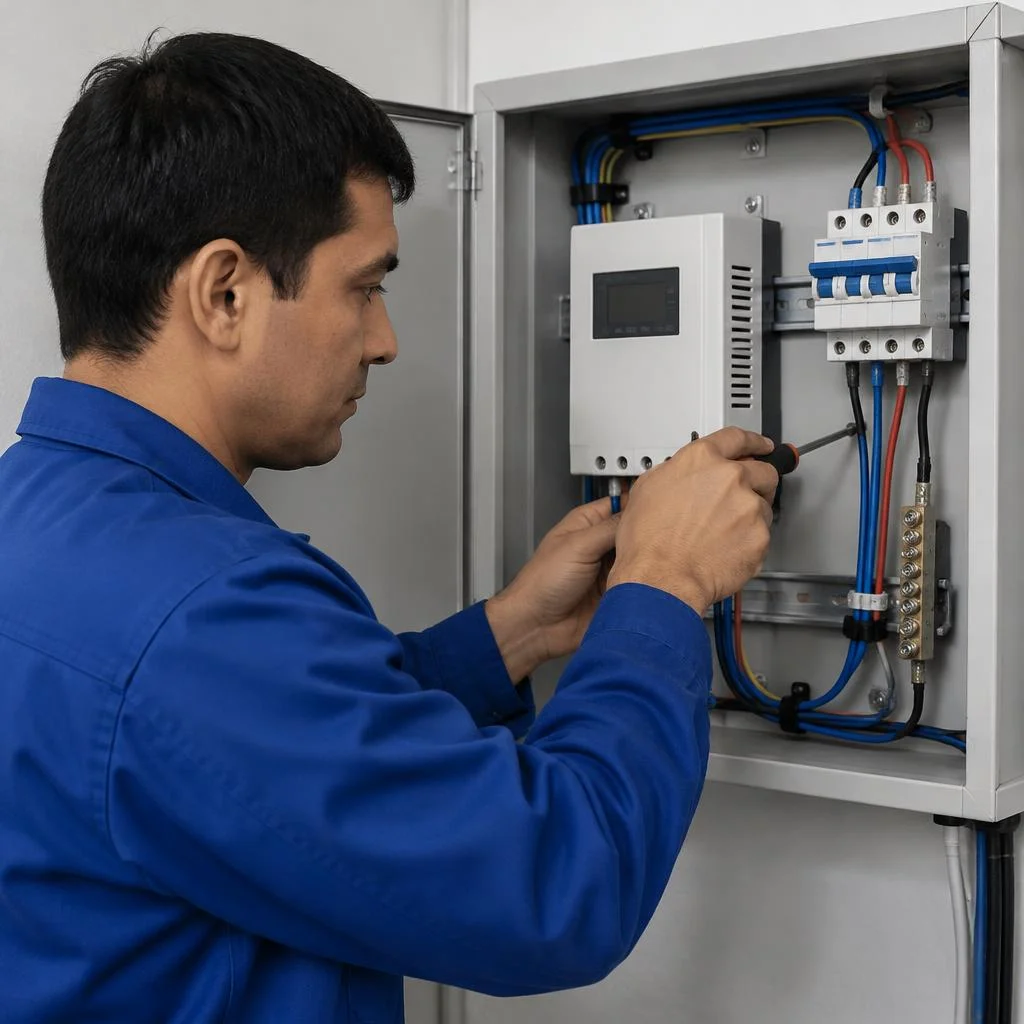








When a stabilizer is needed in the Tashkent grid: signs and consequences of surges
The Tashkent grid operates with a much wider voltage spread than is commonly believed: old aluminium service entries, overloaded substations in makhalla districts and rolling blackouts cause sags and surges that household appliances are not protected against.
How to tell that the voltage in your home is unstable
- Flickering lamps: the light glows brighter or dims without any change in load — a direct sign of sags and surges.
- Humming and clicking appliances: the refrigerator and air conditioner hum louder than usual, the compressor starts in jerks.
- Frequent breakdowns: gas boiler control boards, router and TV power supplies fail for no apparent reason.
- Error on the boiler display: the gas boiler goes into fault mode due to low or high supply voltage.
- Heating of sockets and plugs: the contact gets hot even though the total load on the line has not changed.
- A household test: turn on the kettle and the microwave at the same time — if the light noticeably dims, the grid cannot handle the load.
What fails first during surges
Gas boilers, refrigerators and air conditioners are the first to suffer — their control boards are designed for a narrow input voltage range, usually 198-242 V, and burn out within seconds when it is exceeded. In Tashkent apartment blocks the problem is made worse by phase imbalance: one line in the riser is overloaded, the second is underloaded, and the voltage between them diverges by 15-25 V. When the voltage sags to 180 V, the refrigerator tries to start the compressor, the current rises, the winding heats up — outwardly the appliance works, but its service life is melting away. A circulation pump in a private house stops under the same conditions, and the boiler goes into overheating. Repairing a boiler board is often more expensive than the stabilizer itself, so protection is installed before a failure occurs, not after.
How a single-phase and a three-phase grid differ in a private house
A single-phase grid is 220 V over two wires, a three-phase grid is 380 V over four, and for the latter the phase imbalance between lines is critical. A single-phase stabilizer levels out one line and suits most apartments with a standard service entry. A three-phase one is needed where a boiler, a borehole pump and air conditioners are powered simultaneously: it maintains each phase separately, and models with phase imbalance protection cut off the load if the difference between lines exceeds the permissible value. In the private sector of Tashkent, a three-phase service entry is often installed for the boiler and pumps, but with imbalance one of the lines sags — the stabilizer must be able to compensate for this. Before ordering, clarify the actual service entry scheme: a single-phase unit is not installed on a three-phase line, and universal models cost more than two single-phase ones.
When it is time to call a technician
Voltage stabilizer installation — this is how clients most often phrase the request when the spread in the grid goes beyond 198-242 V and repeats at least twice a day, and a device with min/max memory will record this within a day. A turnkey connection takes 2-3 hours if the panel and the main circuit breaker are already in place, while installation in a separate panel with cable routing will take longer. A cheap multimeter without memory shows only the current value and does not give a real picture — without measuring the spread, selecting the power rating turns into guesswork, so the daily minimum and maximum are recorded first, and only then is the model chosen. In our practice, in Tashkent makhalla districts the daily spread often reaches 40-50 V, and then protection is needed not for a single line but for the entire service entry.
Selecting a stabilizer for a site: apartment, private house, boiler and pumps
We calculate the site's load before installation based on the total power of the consumers and inrush currents, not "by eye" — this determines the choice of a single-phase or three-phase model and the wiring scheme.
How to calculate stabilizer power for a house or apartment
We calculate power based on the sum of consumers with a 20-30% margin and separately account for the inrush currents of pumps and air conditioner compressors. For example, a refrigerator, washing machine, microwave and two air conditioners produce a working load of about 3-4 kVA, but when the air conditioner compressor starts, the peak jumps threefold for 1-2 seconds. A borehole pump and a circulation pump in a private house add their own specifics: the former's inrush current is 3-5 times higher than its working current, the latter's is 2-3 times higher. The stabilizer's power (kVA) is selected so that the peak load does not trip it into protection. A borehole pump's inrush current is 3-5 times higher than its working current — if this is not taken into account, the stabilizer will go into protection every time it is switched on.
Installing a voltage stabilizer in an apartment: specifics of a multi-storey building
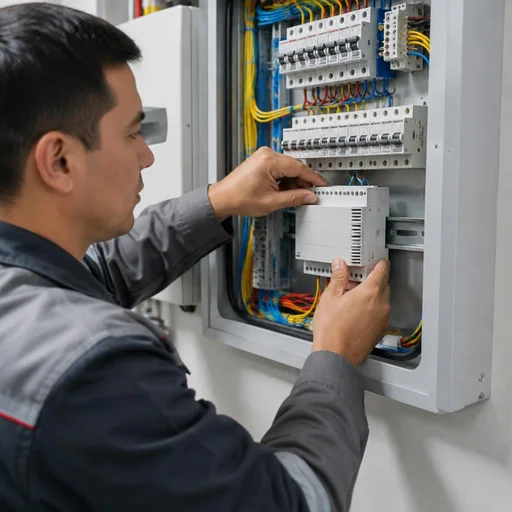
In an apartment, we install a single-phase stabilizer in the distribution board on a DIN rail — there is usually enough space in the board for compact models. In the panel buildings of Chilanzar and Yunusabad, installation most often runs up against not the dimensions but the cross-section of the supply cable: if the incoming cable is aluminium 2.5 mm², it will not be enough for a load of 5-6 kVA and the line will have to be re-laid. In the new buildings of Mingurik and Yashnabad, the incoming cable is usually copper 4-6 mm², so the work is carried out without replacing the cable. In Tashkent's multi-storey buildings, voltage drops most often occur during the evening peak, so network measurements should be taken at that time, not during the day.
What to consider when installing in a private house
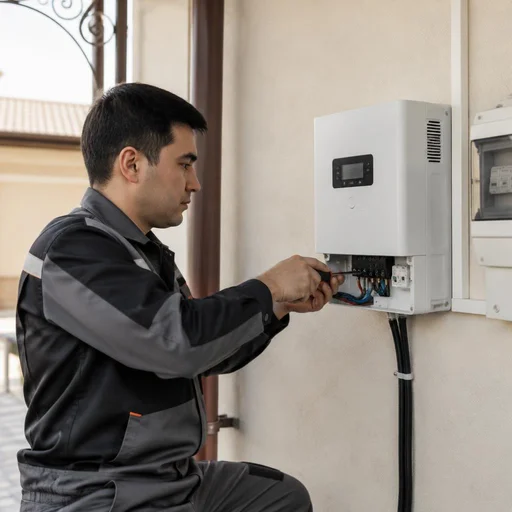
Installing a voltage stabilizer in a private house is more often done with a separate board next to the incoming circuit breaker — this makes it easier to service and add lines. Installation in a private house in the Sergeli and Kuyluk areas usually requires laying a separate cable line from the incoming point to the connection points: the gas boiler, borehole pump and circulation pump are distributed across their own circuit breakers. If the house has a borehole pump and a gas boiler, it is better to run them on separate lines after the stabilizer — then a fault in one does not drag down the other. Installation in a private house with a three-phase incoming supply adds a calculation for phase imbalance, but that is covered in the section on three-phase installation.
Comparison of installation options for different sites
| Site | Stabilizer type | Installation method | What the wiring includes |
|---|---|---|---|
| Apartment | Single-phase | DIN rail in the board | Separate circuit breaker, grounding |
| Private house | Single-phase / three-phase | Separate board | Cable line, circuit breaker, grounding loop |
| Gas boiler | Compact single-phase | Dedicated line | Circuit breaker, RCD |
| Borehole pump | Single-phase / three-phase | Separate board at the incoming point | Inrush current protection, grounding |
| Circulation pump | Compact single-phase | Next to the boiler | Circuit breaker, RCD |
Selection is carried out by the Eco-Service team: a technician visits the site, measures the network and proposes a scheme for the specific set of consumers. The same stabilizer in a board and as a separate unit behaves differently in terms of heating — a closed board requires a ventilation margin.
Installation and connection of a voltage stabilizer: stages of work
We break down the process step by step — from the first measurement at the input to startup under load. This makes it clear at which stage the correct operation of the entire line is established.
Measuring network parameters before installation
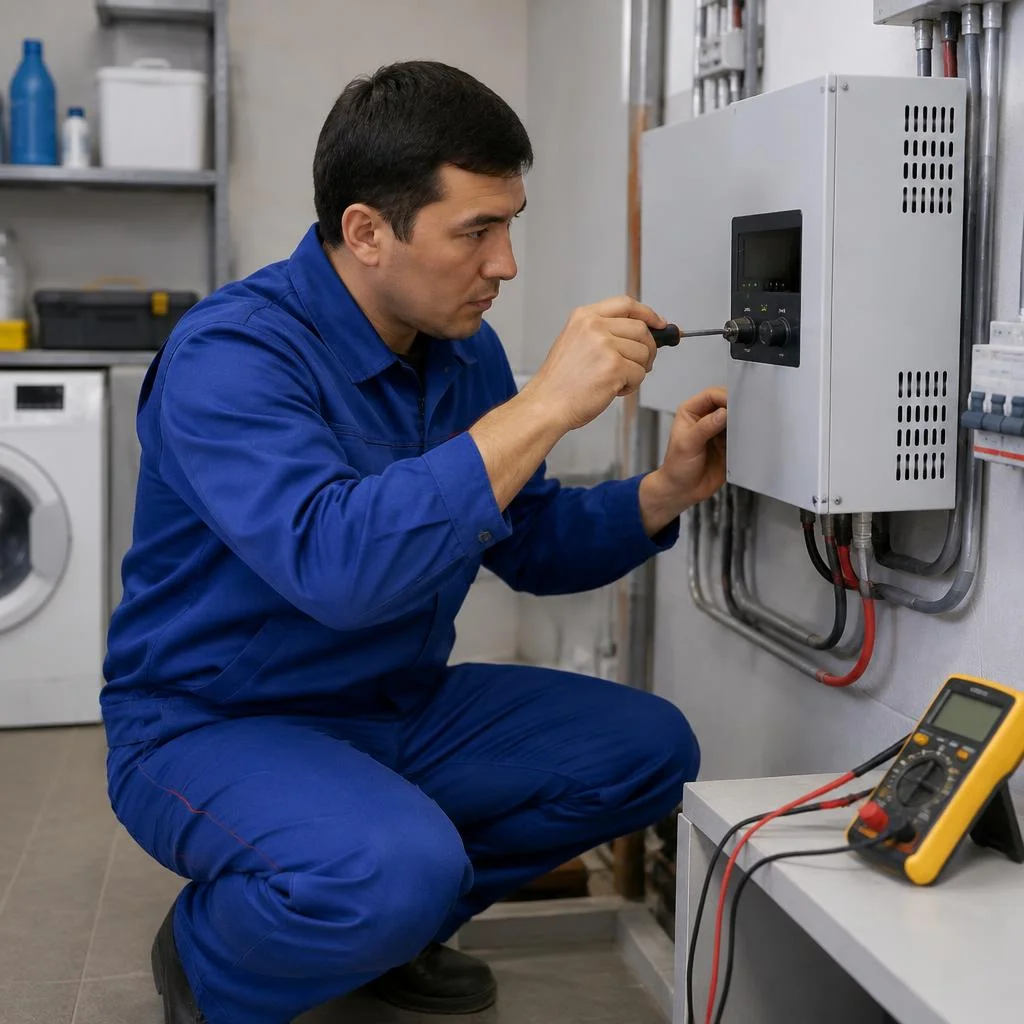
Before installation, we record the voltage at the input at different times of the day — this determines the operating range of the future stabilizer. We take measurements of network parameters before and after installation with a multimeter and a data logger: in the morning during peak hours in the Chilanzar and Yunusabad districts we record a drop to 180 V, and by evening in Sergeli the input rises to 245 V — a spread of 65 V per day. Based on this data, we select a model with a rated range wider than what was measured, otherwise the device will constantly go into protection. If the spread at the input is wider than the model's rated range, the stabilizer will go into protection — it's better to immediately take a device with an extended range.
Mounting on a DIN rail and in a separate panel
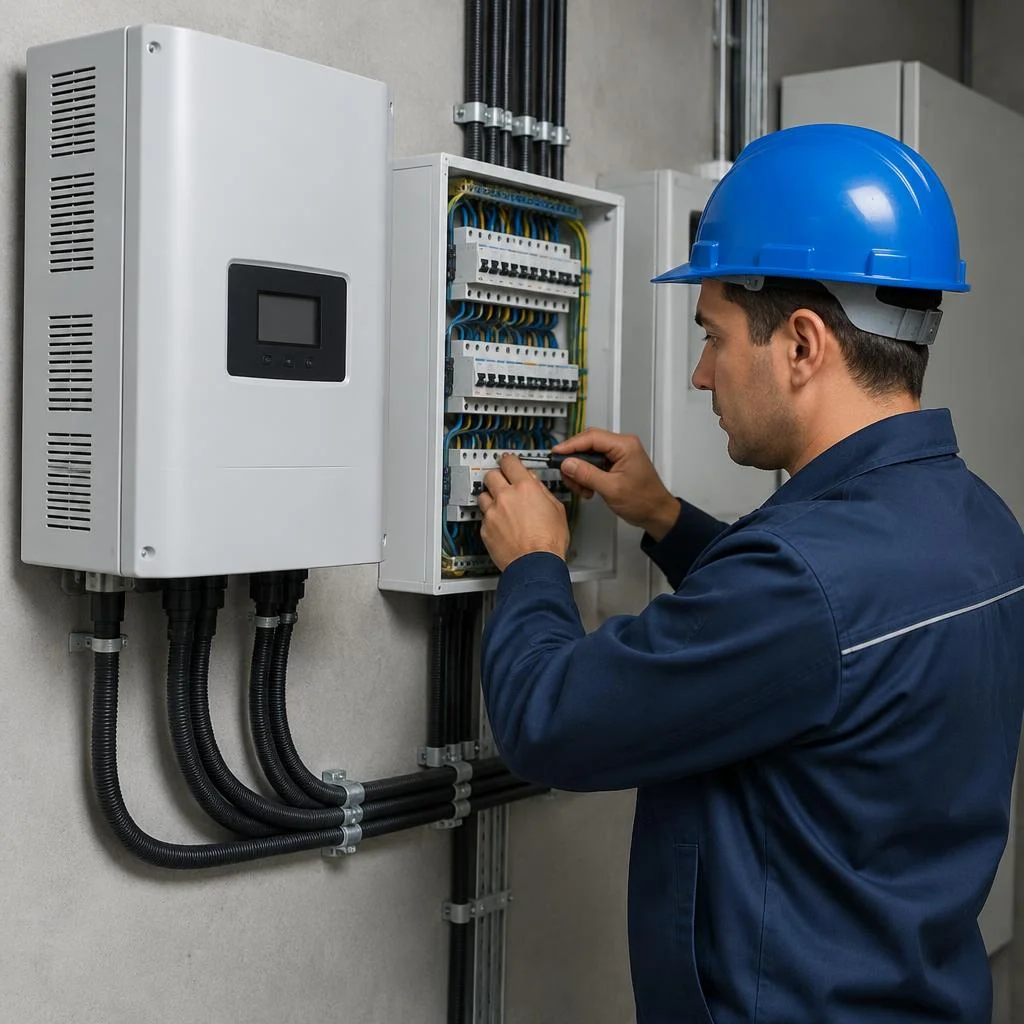
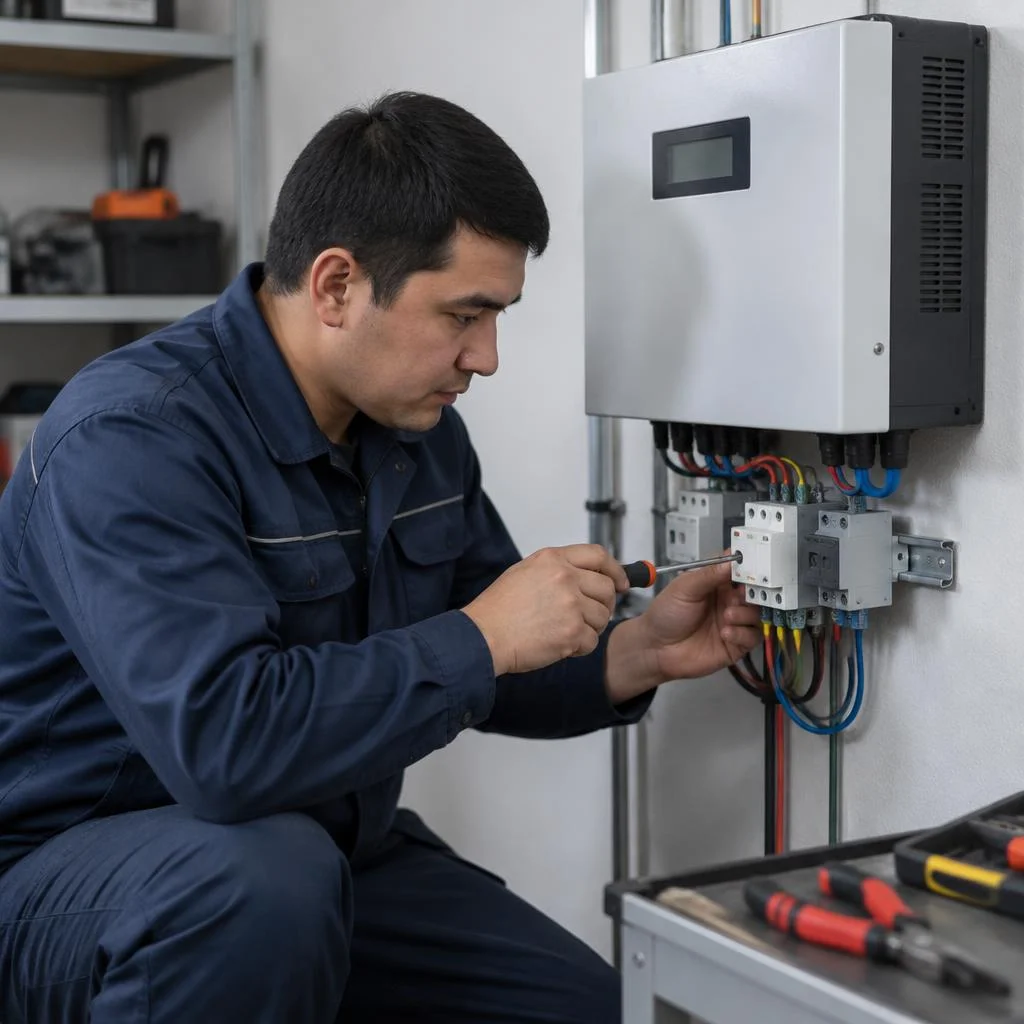
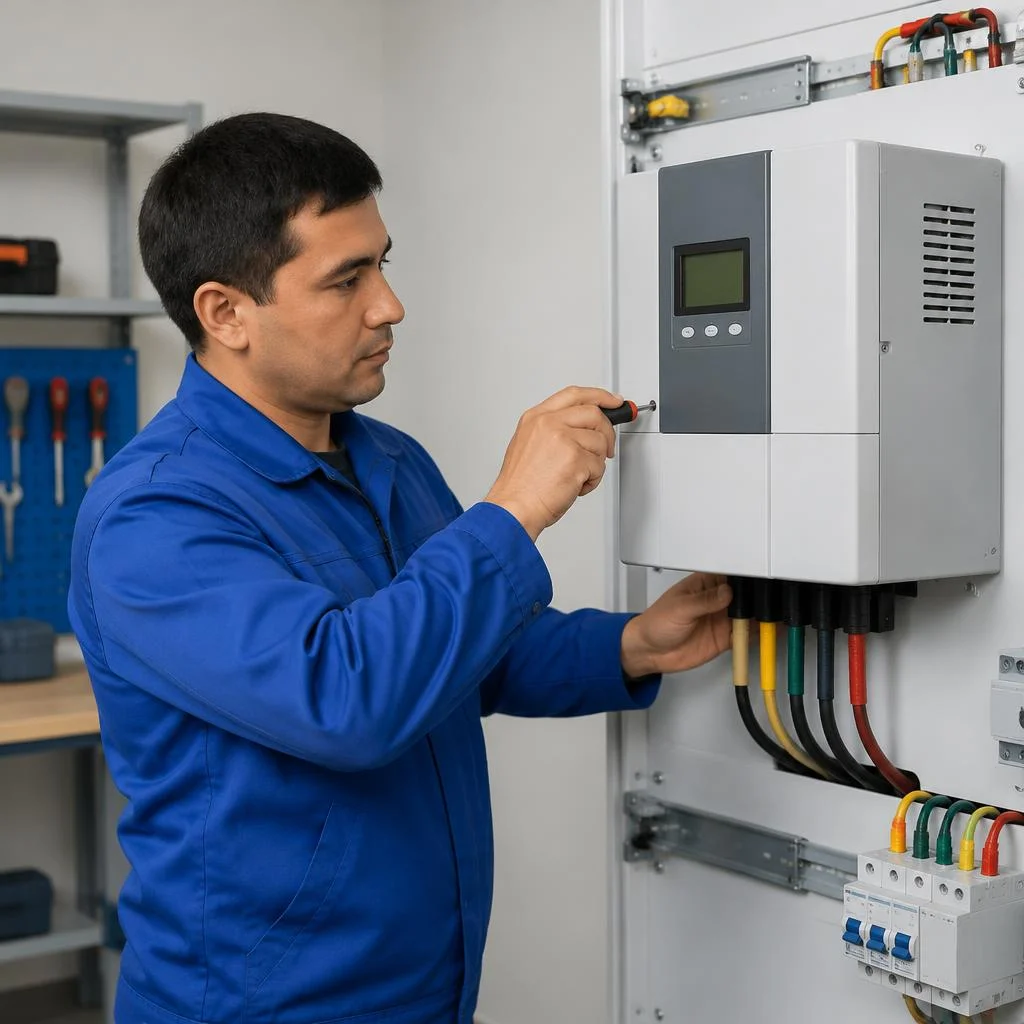
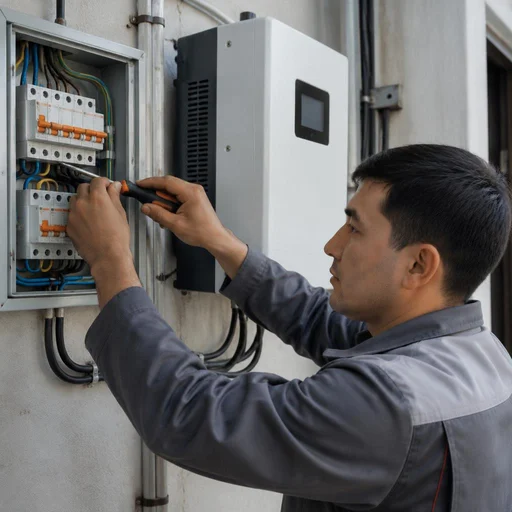
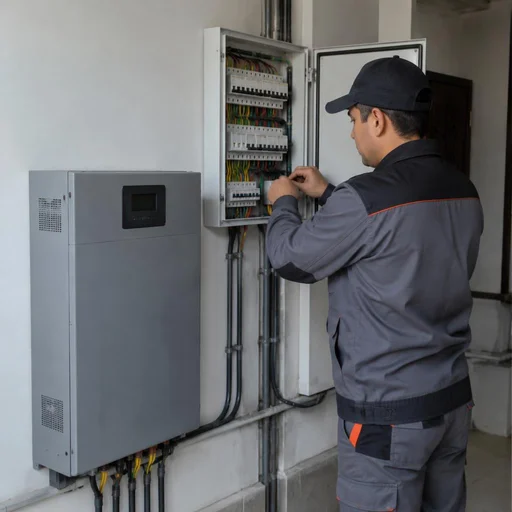
We mount the unit on a DIN rail in an existing panel or assemble a separate distribution panel for it. We hang relay models of 5-10 kVA on the rail next to the input circuit breaker, while electromechanical and three-phase units of 15 kVA and above we place in a separate box — they take up 4-6 modules and require a ventilation gap. We install a separate circuit breaker for the stabilizer in front of the device so it can be de-energized without disassembling the entire assembly. In a shared panel the stabilizer heats up more — leave the neighboring modules free, otherwise the breakers next to it will trip from heat rather than current.
Connecting the stabilizer to the input circuit breaker
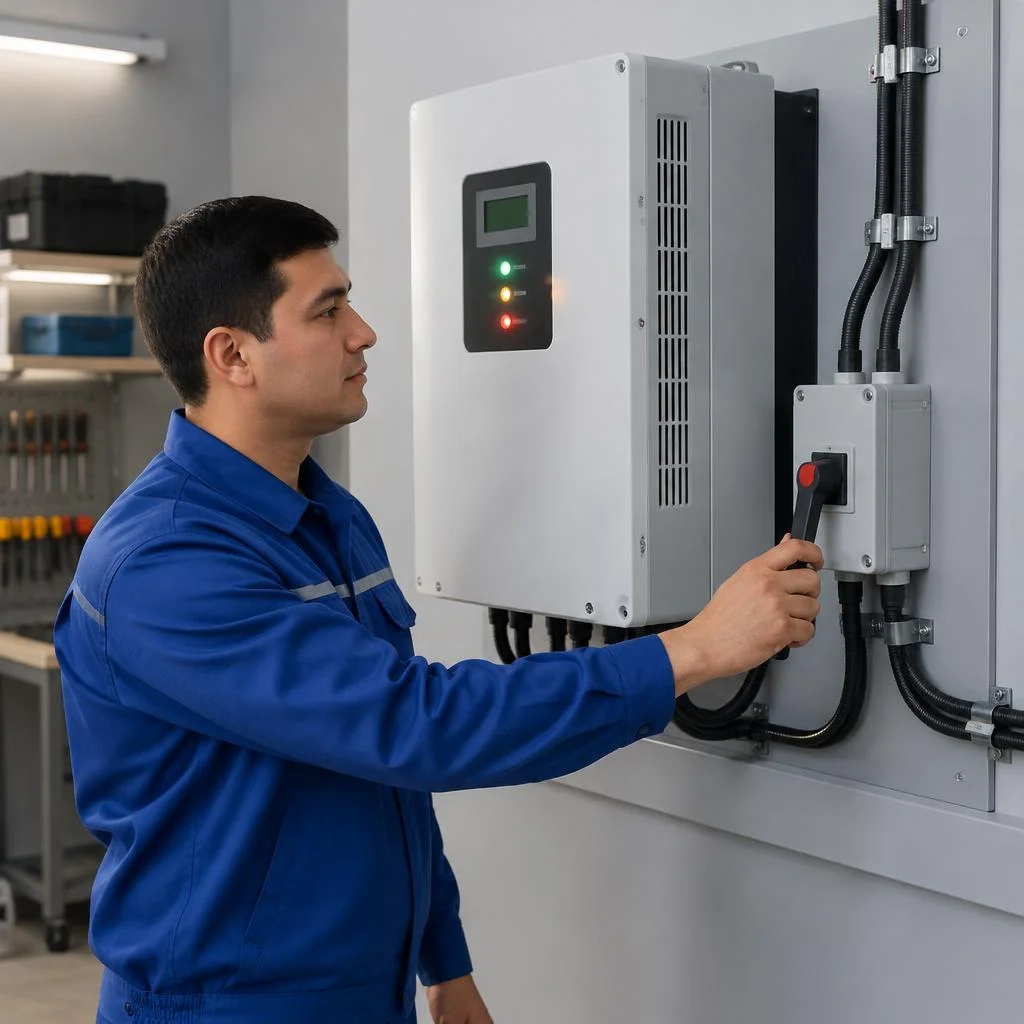
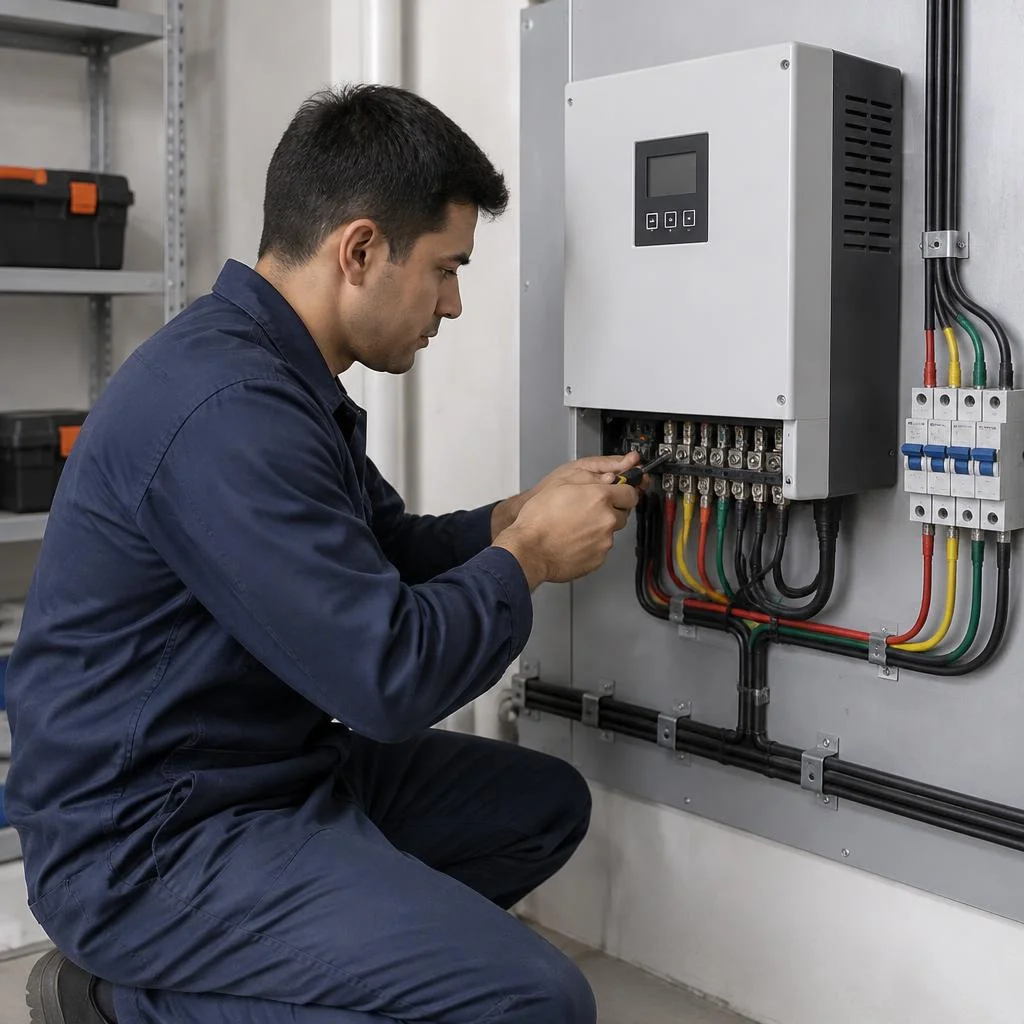
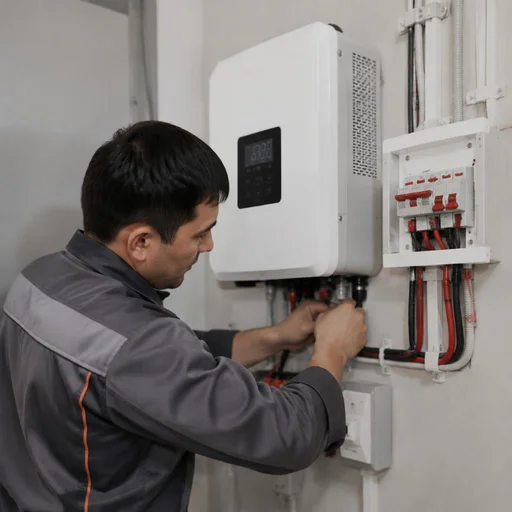
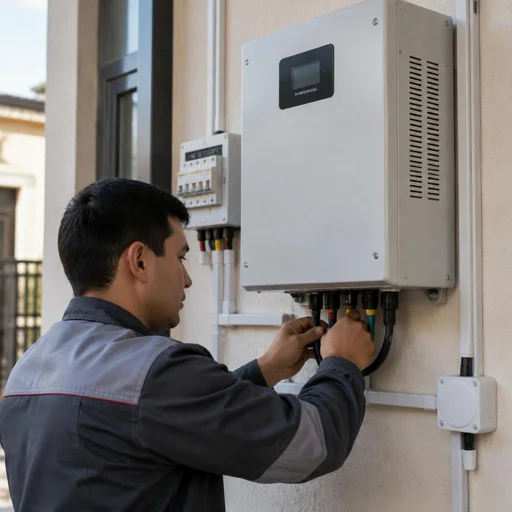
We connect the unit after the input circuit breaker so that the device can be de-energized with a single switch without removing the load from the entire house. The scheme is simple: input circuit breaker → cable line → stabilizer → load. We run a copper cable from the panel to the device; for 10-16 kVA this is 6-10 mm² depending on the route length — over 20 meters from the panel to the boiler room the drop is more noticeable than over 5. The cable cross-section to the stabilizer is selected for its rated current, not for the load power — otherwise on a long line there will be a drop already after stabilization. This is exactly how people often write to the service: connecting the stabilizer to the input circuit breaker — and the technician immediately understands that a full cycle from input to load is needed. At this stage the work takes the most time if the panel is old and requires rebuilding.
Grounding and protection of the stabilizer line
We install a grounding loop and put an RCD on the stabilizer line — without grounding, the device's enclosure may become energized. We make the loop from three rods of 2.5 meters each, connected by a strip, and run it into the distribution panel with a separate conductor; we install a 30 mA RCD after the stabilizer so that the protection does not trip on the pump's inrush currents. In old houses in Tashkent there is often no grounding in the panel at all — the loop has to be made from scratch, and this is a separate stage of work, not a "trifle." Without it the stabilizer works, but if the insulation breaks down to the enclosure, all the equipment in the house becomes energized.
Commissioning and setting the output voltage
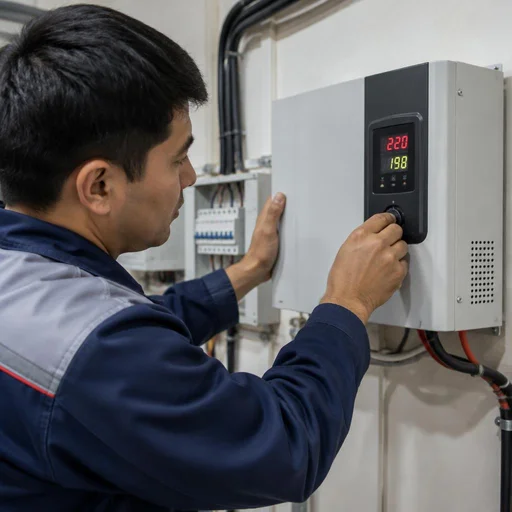
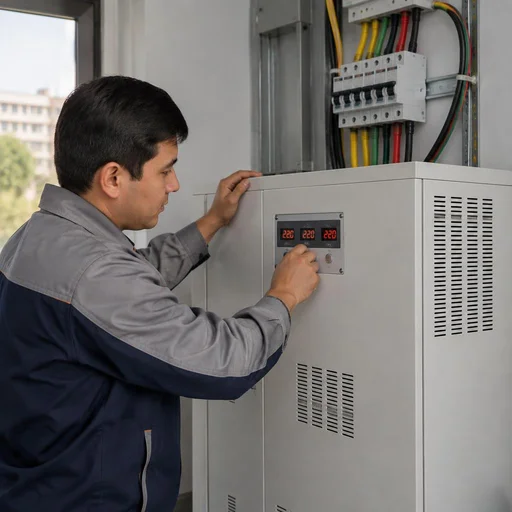
After installation, we start the stabilizer under real load and set the output voltage for the specific equipment. Commissioning under load means powering the boiler, pump, and refrigerator simultaneously: we watch how the device holds 220 V when the input jumps from 190 to 240 V, and adjust the output potentiometer. For a gas boiler we set 220-225 V, for a pump station — 215-220 V, for household electronics 220 V with an accuracy of ±3%. It is better to make the adjustment with the boiler and pump running — at no load the output voltage may differ from the operating mode. Installation of a voltage stabilizer is completed with a control measurement at the output under load: if the stabilization accuracy goes beyond ±5%, we repeat the calibration.
Three-phase installation: phase imbalance, bypass and equipment protection
A three-phase supply differs from a single-phase one not in the number of wires, but in the behaviour of the lines relative to each other. Let's look at why phase imbalance damages equipment and how a bypass and a separate panel protect it.
What phase imbalance is and why it is dangerous
Phase imbalance is a different voltage on the three lines, because of which one of them sags while another rises above the norm. In Tashkent new-builds with a three-phase supply to the basement, imbalance occurs more often than at industrial sites: the phase with air conditioners and boilers sags to 190 V, while the neighbouring one climbs to 250 V. In such a situation, a three-phase motor heats up even with normal supply, and the windings of a borehole pump lose their insulation within months rather than years. Protection against phase imbalance extends the life of pumps and machine tools, and does more than just save you from an accident — a voltage monitoring relay at the supply pays for itself with the very first overheating it prevents.
Installing a three-phase stabiliser and connecting it to the panel
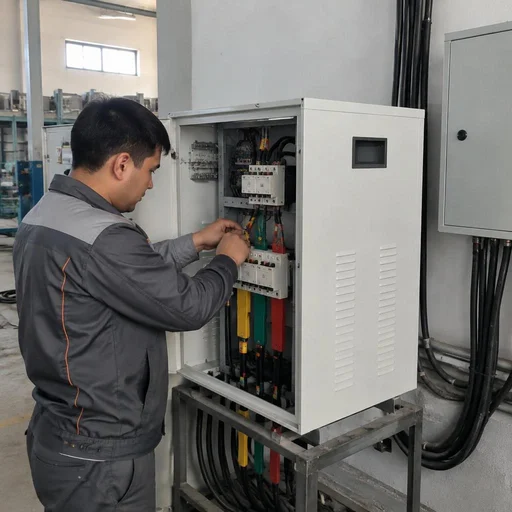
We install a three-phase stabiliser as a separate panel and connect it to the incoming panel with protection against phase imbalance. The order of work: mounting the enclosure on the wall next to the existing distribution panel, running the cable from the incoming circuit breaker, installing the circuit breaker for the stabiliser and the monitoring relay, then wiring the three phases and neutral according to the diagram. In one order in Yunusabad, a 15 kVA stabiliser took up a separate 60×80 cm niche — it did not fit in the standard 12-module panel, and half the circuit breakers had to be moved. Remember: a three-phase stabiliser takes up noticeably more space — it often needs a separate panel rather than a shelf in the existing one. If you are deciding to install a voltage stabiliser, allow space for the enclosure and a 10 cm ventilation gap in advance.
Why a bypass is needed and when it is installed
A bypass is a bypass line that allows the house to be powered directly from the grid while the stabiliser is being serviced or repaired. We install a changeover switch or two circuit breakers with mechanical interlocking: one supplies power through the stabiliser, the second directly from the incoming circuit breaker. At Eco-Service, a bypass is included in the diagram by default for three-phase sites where the stabiliser powers a borehole pump and a gas boiler: without it, every replacement of brushes or a relay leaves the house without water and heat. Installing a voltage stabiliser with a bypass solves the same problem as a 63 A changeover switch, but costs less than calling out an emergency crew again in winter.
Warranty, timelines and service: what happens after installation
After the stabilizer is installed, an equally important part begins: warranty coverage, response times to requests and maintenance of the device. Let's break down exactly what the warranty on the work covers, how long the connection takes and where to turn in case of failures.
Warranty on installation — 2 years
Eco-Service provides a 2-year warranty on installation work — it covers connection to the input circuit breaker, output voltage adjustment and wiring of the panel. A warranty case is processed based on the work completion certificate: it records the cable cross-section, the type of circuit breaker, the grounding scheme and the initial network measurements before and after installation. If the unit failed through our fault — reversed polarity, a loose contact on the terminal, an incorrectly set shutdown threshold — the technician's visit and re-installation are free of charge. The warranty on the work is not the same as the warranty on the device itself — the terms for the stabilizer depend on the manufacturer, and this should be clarified separately at the time of purchase. Keep the certificate: without it, the service center cannot confirm that the connection was performed by our technician and not by a third-party electrician.
How long installation takes
Standard installation of a single-phase stabilizer takes one working day, a three-phase one with a separate panel — up to two. This timeframe includes measuring the network parameters with a multimeter, laying the cable line, installing a separate circuit breaker, connecting to the input circuit breaker, assembling the distribution panel and commissioning under load. At sites in Tashkent districts with a ready grounding loop, we complete the work in 6-8 hours; if there is no loop, the timeframe increases — its installation is a separate stage and requires access to the ground. The question "installation of a voltage stabilizer in a private house price" is usually asked before the visit, but an exact estimate cannot be calculated over the phone: the total depends on the length of the cable line, the number of consumers and the type of stabilizer. Schedule installation for the morning — then you will have time to carry out commissioning under load during daytime voltage, when real network sags are visible.
Eco-Service service center in Tashkent
Tashkent has its own Eco-Service service center — you can bring the device here for diagnostics or call a technician to the site. In-person reception at the center is faster than a site visit: stabilizer diagnostics are done on the spot rather than waiting for a technician with equipment, so for relay and electromechanical models the verdict is issued the same day. The technician checks the input and output voltage, the operation of the switching relay, the integrity of the transformer winding and the condition of the terminal connections; based on the results, they either adjust the tripping thresholds or arrange a replacement. Customer reviews and examples of completed work at Tashkent sites help to understand how the service handles warranty cases. If the stabilizer hums or clicks more often than usual — don't wait for it to fail, bring it in for diagnostics: early relay adjustment costs less than replacing a burnt-out transformer.
Reconnection and replacement of the stabilizer
We reconnect the stabilizer when moving and replace a failed device while keeping the wiring if it is in good condition. When moving, it is cheaper to transport the stabilizer and reconnect it than to buy a new one — the wiring and panel are usually transferred without replacement, and dismantling takes a couple of hours. The query "voltage stabilizer installation price" is often related specifically to re-installation: the client already has the device and wants to understand what its connection at a new address will cost. We remove the stabilizer, label the terminals, transport it together with the circuit breaker and DIN rail and install it at the new site with repeated network measurements. If the device has exceeded its service life and the switching relays are worn out — it is more honest to replace it than to reconnect it: new wiring for an old unit will not extend its life.
Mistakes During DIY Installation and Why It's Better Not to Repeat Them
We analyze situations that most often end with a repeat call to the technician: from incorrect power selection to a cable not rated for the load current.
Can You Connect a Voltage Stabilizer Yourself
Technically, you can connect the device yourself, but without measuring the grid and calculating the power, it often operates in a mode of constant protective shutdowns. Two things need to be checked: the actual input voltage range during peak hours and the total load — boiler, refrigerator, pump, air conditioner. For example, if the grid drops to 170 V and the model is designed to operate from 190 V, the device will go into protection every 20-30 minutes. On paper, the installation looks like two wires and terminals, but in practice, it's selection by kVA with a 25-30% reserve and monitoring parameters with a multimeter before and after the work. This is exactly how people often write to the service: voltage stabilizer installation in a private house — and the technician immediately understands that a site visit with grid measurement is needed. The main difficulty is not in the connection, but in the selection: an error in power or range doesn't manifest immediately, but after weeks of operation.
Typical Mistakes: Cable Cross-Section, Grounding, Circuit Breaker
- Cable cross-section: the line is run with 1.5-2.5 mm² wire for a load of 5-8 kW — the conductor heats up, and the output voltage drops.
- Grounding: the ground loop is not made at all or is connected to neutral, causing the device's housing to be energized.
- Circuit breaker for the stabilizer: a rating "with reserve" of 40-63 A is installed instead of the calculated one — the device is left without protection.
- Connection order: the circuit breaker is installed after the device, not before it, and the line is left without current cutoff.
- Twisted connections instead of terminals: connections at the input oxidize within 3-6 months and cause voltage drops under load.
What Humming and Clicking of the Stabilizer Means
Clicking is normal for relay models when switching windings, while constant humming more often indicates operation at the limit of the operating range. Electromechanical devices hum with a steady background noise from the transformer, and this is expected, whereas relay models are normally almost silent between switchings. If the sound appeared after DIY installation, check the input voltage with a multimeter: at 165-180 V, a model with a range starting from 190 V goes into constant correction and hums without pauses. Another cause is poor contact at the terminals: a burnt twist connection causes vibration and crackling. If the humming appeared after the work and wasn't there before — check the input voltage: it may have gone beyond the model's operating range.
Conclusion
Summary on the topic: briefly about what determines the working result of the installation and what to look at before calling the technician. Below are five points worth keeping in mind.
Main Takeaways
- Power with reserve: the stabilizer is selected based on the total load with a margin and taking into account the starting currents of pumps and compressors.
- Measurement at different times: the input voltage is measured in the morning, afternoon, and evening — this determines the device's operating range.
- Single-phase and three-phase grid: for three-phase, protection against phase imbalance is critical; for single-phase, it's cable cross-section and grounding.
- Bypass: keeps the house powered during maintenance or repair of the stabilizer.
- Warranty on installation work — 2 years, service maintenance is provided in person at the service center.