
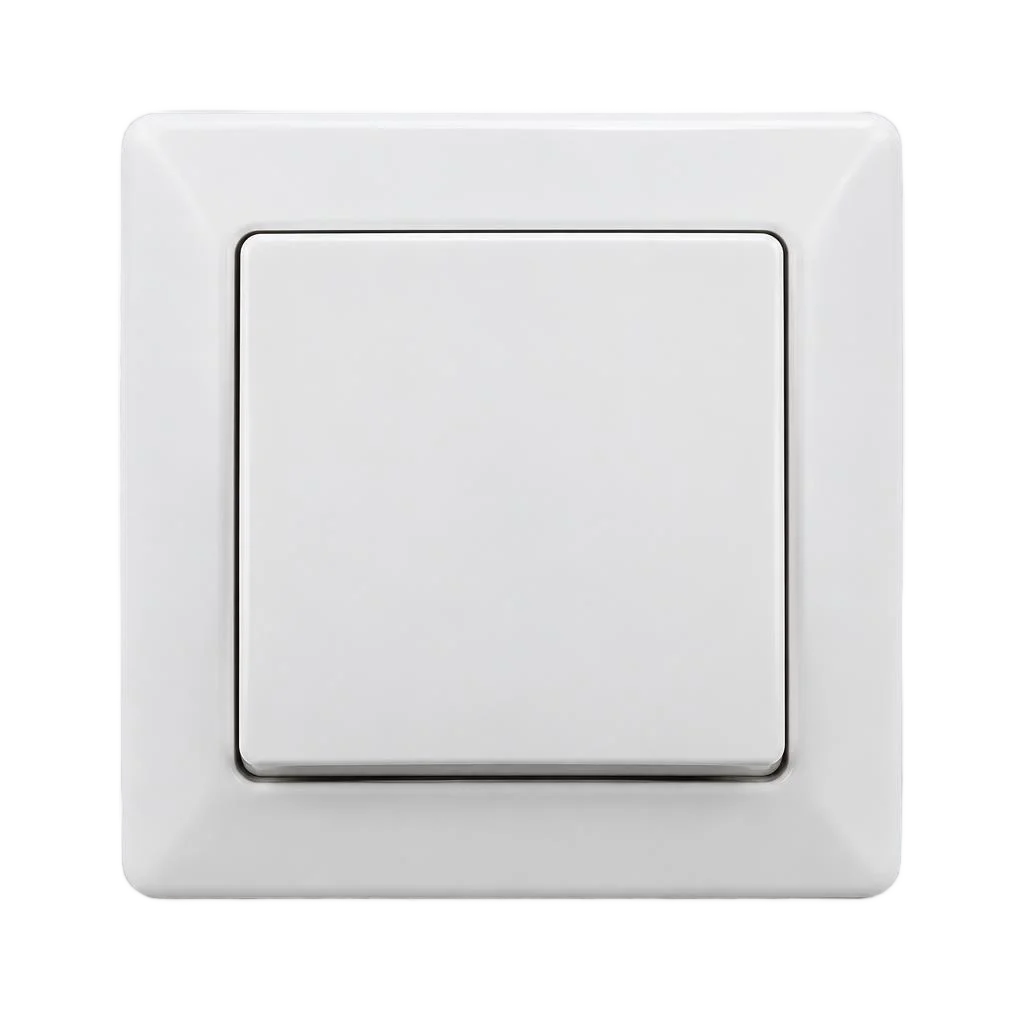













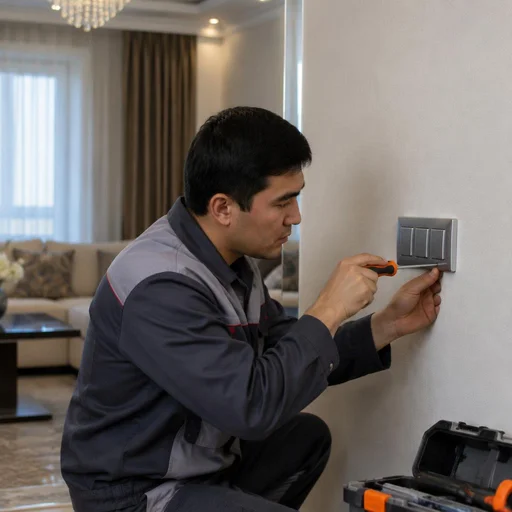
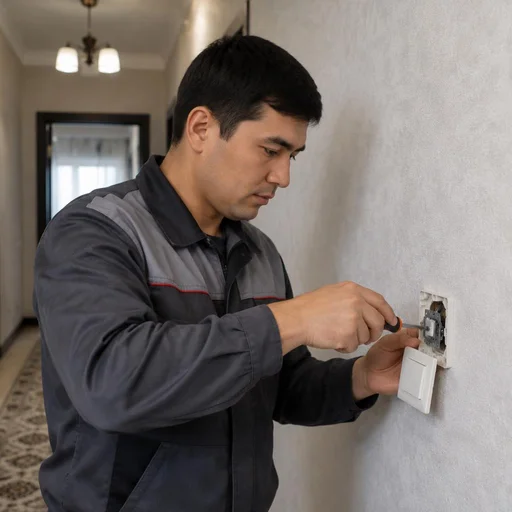
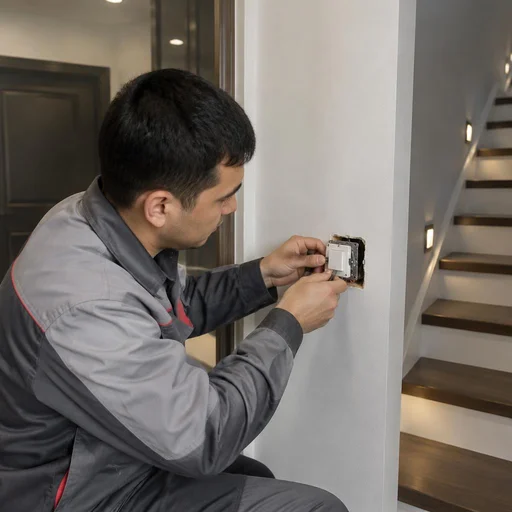
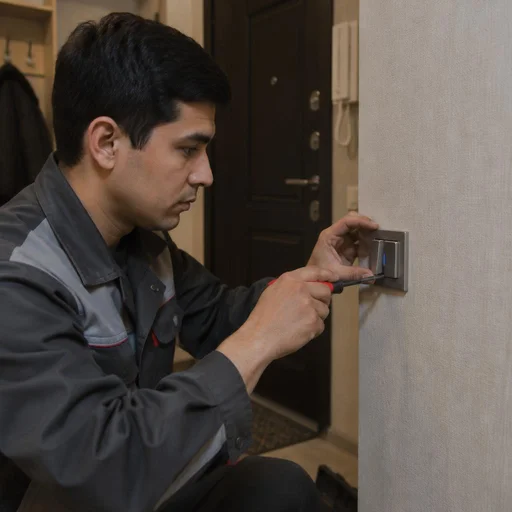
When it's time to replace a switch: signs of malfunction and diagnostics
A switch is a consumable mechanism with a limited contact-group lifespan. When it exhausts its cycle, signals appear that cannot be ignored. Let's break down exactly what indicates wear and what can be safely checked on your own.
Five signs that a switch is worn out and needs replacement
- Sparkling: when turning on and off, a brief electric arc is visible or audible at the rocker — the contact is burning.
- Clicking: a loud dry click with crackling inside the housing means the movable contact is opening with a delay.
- Loose rocker: the rocker wobbles, sinks in or doesn't stay fixed in one position — the retainer is broken or the spring has weakened.
- Housing heating: the plastic feels warm or hot to the touch after 10-15 minutes of operation — a sign of contact overload.
- Dead rocker: one of the rockers of a two-gang or three-gang mechanism doesn't close the circuit — a break inside the mechanism.
Why delayed replacement is dangerous: from a spark to a short circuit
A sparking switch is a circuit break under load, which over time burns through the contact group and creates a risk of wiring fire. Each switching cycle removes a microscopic layer of metal from the contact, the contact area decreases, resistance grows — and heating accelerates avalanche-style. Then there are two scenarios: either the contact welds shut and the rocker stops breaking the circuit, or the arc jumps to an adjacent wire in the back box and causes a short circuit. Replacing a switch at this stage is no longer a matter of convenience but of fire safety. Housing heating is more dangerous than sparking: it can't be seen or heard, but it indicates contact overload that ends in the back box melting.
DIY diagnostics: what you can check before calling a technician
Before calling a technician, only one thing can be safely checked: turn off the breaker in the panel and make sure the rocker isn't mechanically stuck. Remove the rocker from the frame, press the mechanism's rocker arm with your finger — it should move with a clear click and without jamming; if the movement is sluggish or the rocker sinks in, the mechanism has exhausted its lifespan. The second safe step is a visual inspection: darkened plastic, traces of soot on the frame, melted edges of the back box are visible without disassembly. Leave multimeter measurements under voltage and checking phase and neutral with a voltage tester with the rocker removed to a specialist — in Tashkent's old housing stock, where there is often no grounding, such experiments end in electric shock. A voltage tester shows the presence of phase but doesn't show the condition of the contact inside the mechanism — it can't tell you whether the switch is working or not.
Types of switches and what installation is needed in your case
The type of switch determines both the operation and the installation method. Let's go through the range of mechanisms that our technicians work with, and how to choose the right option for a specific room.
One-gang, two-gang and three-gang: the basic range
We replace one-gang, two-gang and three-gang switches — the only difference is the number of switched lines and the wiring diagram. A one-gang switch breaks a single line: a standard option for corridors, storerooms, and bathrooms. A two-gang switch controls two lighting groups — a chandelier with separate shades, or a kitchen area and dining table. A three-gang switch is designed for three independent lines and is more common in living rooms and on stairwell landings. Clients often write briefly in their request: replacement of switches in Tashkent — and the technician already understands that a mechanism needs to be selected by the number of gangs and the back box needs to be checked. Installing any of the three options takes comparable time, but a three-gang switch requires four wires in the back box: a phase and three outgoing wires. When replacing a two-gang switch with a three-gang one, an additional wire in the back box is often required — this is only discovered after removing the old mechanism.
Two-way and intermediate: controlling light from multiple points
A two-way switch controls one lamp from two points, an intermediate switch adds a third and more — we install both circuits with continuity testing of each line. The two-way circuit is in demand in long corridors, on staircases between floors, and in bedrooms with two entrances: the light is turned on at the door and turned off by the bed. The intermediate mechanism is placed in the middle of the chain when there are three, four or five control points — for example, on a span between floors of a private house. The circuit is built on three wires between the mechanisms, and each intermediate contact must be placed strictly in its own position. The two-way circuit does not work if the common and intermediate contacts are mixed up — externally the switch looks functional, but the light does not switch.
Touch, dimmer and backlit: when they are appropriate
We install touch switches and dimmer models in bedrooms, living rooms and children's rooms — where smooth brightness adjustment is important. A touch mechanism responds to touch, has no moving buttons and does not click, which is why it is chosen for children's rooms and bedrooms. A dimmer smoothly changes brightness from minimum to maximum: convenient for evening lighting and night mode in a children's room. Backlit models solve a different problem — the indicator is visible in the dark, and the switch is easy to find by hand without turning on the main light. A dimmer is not compatible with every LED lamp: if incompatible, flickering appears at low brightness, so lamps are selected together with the switch.
Moisture-proof and outdoor: for the bathroom, kitchen and facade
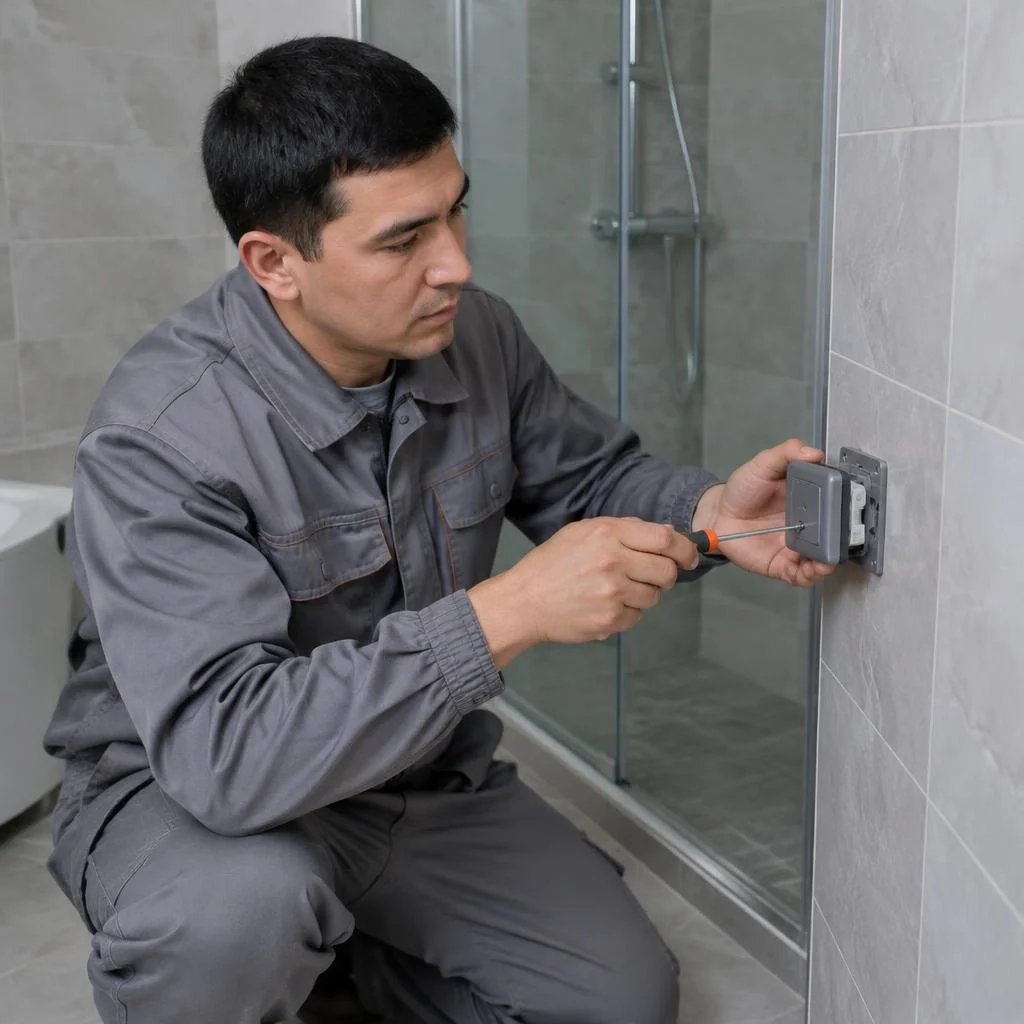
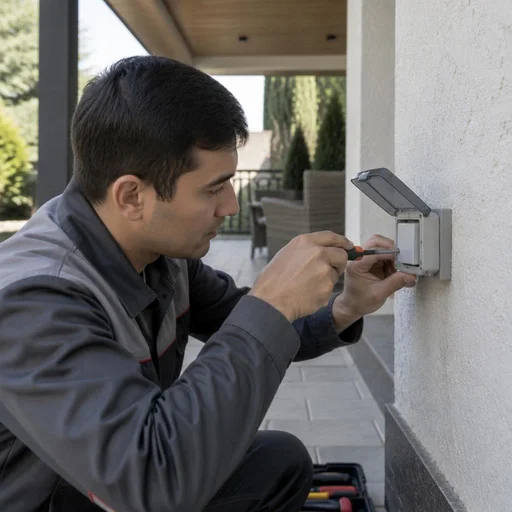
In wet rooms we install switches with a protection rating of IP44 and higher — an ordinary mechanism there fails within a few months. IP44 means protection against splashes and small solid particles: this marking is suitable for bathrooms, shower areas, kitchens near the sink, and for a facade under a canopy. Outdoor models are supplemented with a sealed housing and a protective membrane over the button. A moisture-proof switch protects against splashes, but not against condensation inside the back box — when installing in a bathroom, the mounting seat is sealed separately.
Flush and surface mounting: how the work differs
Flush mounting involves the mechanism inside the wall with a back box, surface mounting involves the housing on top of the wall; Eco-Service performs both options. With flush mounting, there is already a back box in the wall into which the mechanism fits, and only the frame and button are visible outside. The surface option is used on concrete, brick and wooden surfaces where chasing is not possible or not practical: the mechanism is mounted on the wall, and the wire runs in a cable channel. Switching from flush to surface mounting does not require chasing, while the reverse transition does, and this is the most labor-intensive part of the work.
Comparison of switch types by purpose and installation
| Switch type | Purpose | Installation | Compatible brands |
|---|---|---|---|
| Single-gang | one light line | flush-mounted / surface-mounted | Legrand, Schneider Electric, IEK |
| Double-gang | two lines (chandelier, zone) | flush-mounted / surface-mounted | Legrand, Schneider Electric, IEK |
| Triple-gang | three lines | flush-mounted | Legrand, Schneider Electric |
| Two-way | light from two points | flush-mounted | Legrand, Schneider Electric |
| Intermediate | light from three or more points | flush-mounted | Legrand, Schneider Electric |
| Touch | contactless activation | flush-mounted | Schneider Electric |
| With dimmer | brightness adjustment | flush-mounted | Legrand, Schneider Electric |
| Moisture-proof | bathroom, outdoors | surface-mounted | IEK, Schneider Electric |
| With backlight | orientation in the dark | flush-mounted / surface-mounted | Legrand, IEK |
How Eco-Service Replaces a Switch: Stages of Work
Replacing a switch is not "swapping a little box" — it is a sequence of five steps, where skipping any one ruins the result. Let's break down exactly what the technician does on site and why each stage is mandatory.
Five Stages: From Turning Off the Breaker to Testing the Circuit
- Turning off the breaker: the technician de-energizes the line in the panel and checks for absence of voltage with a tester before any work.
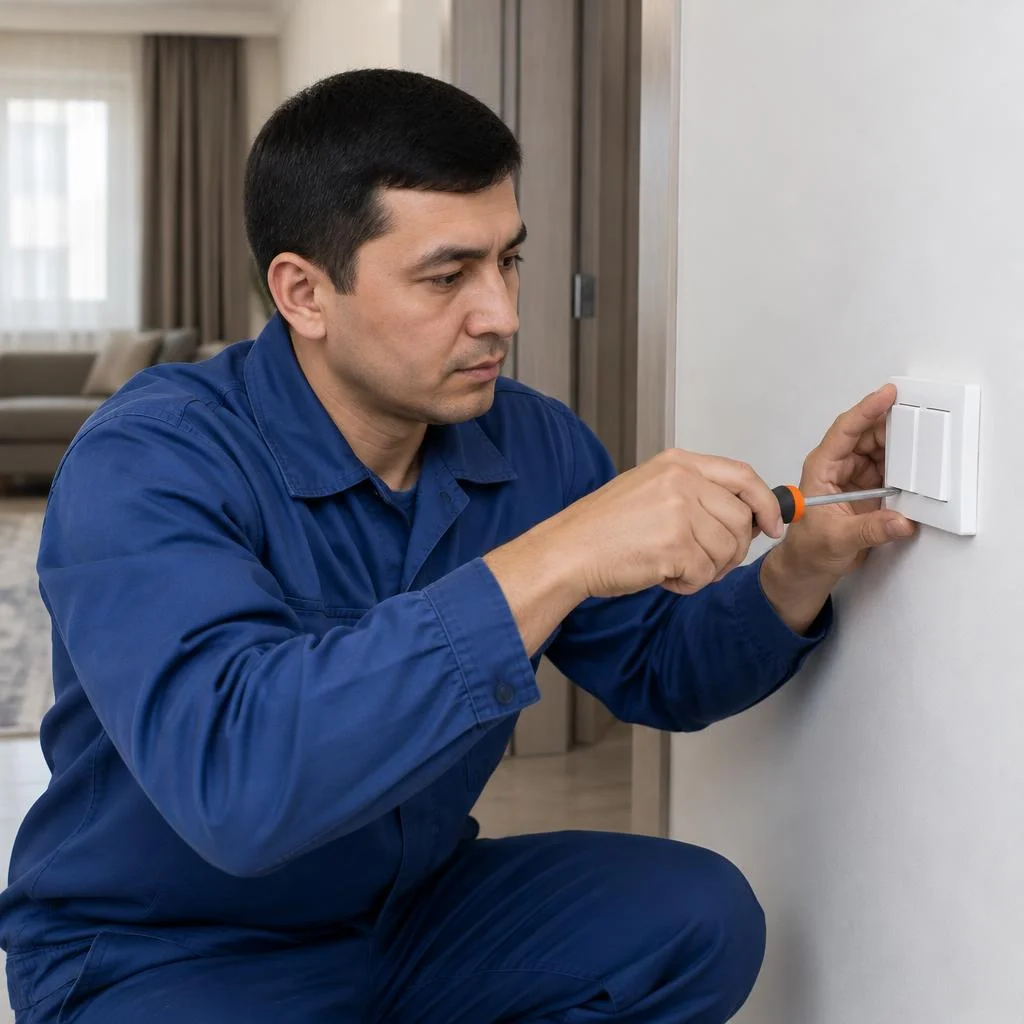
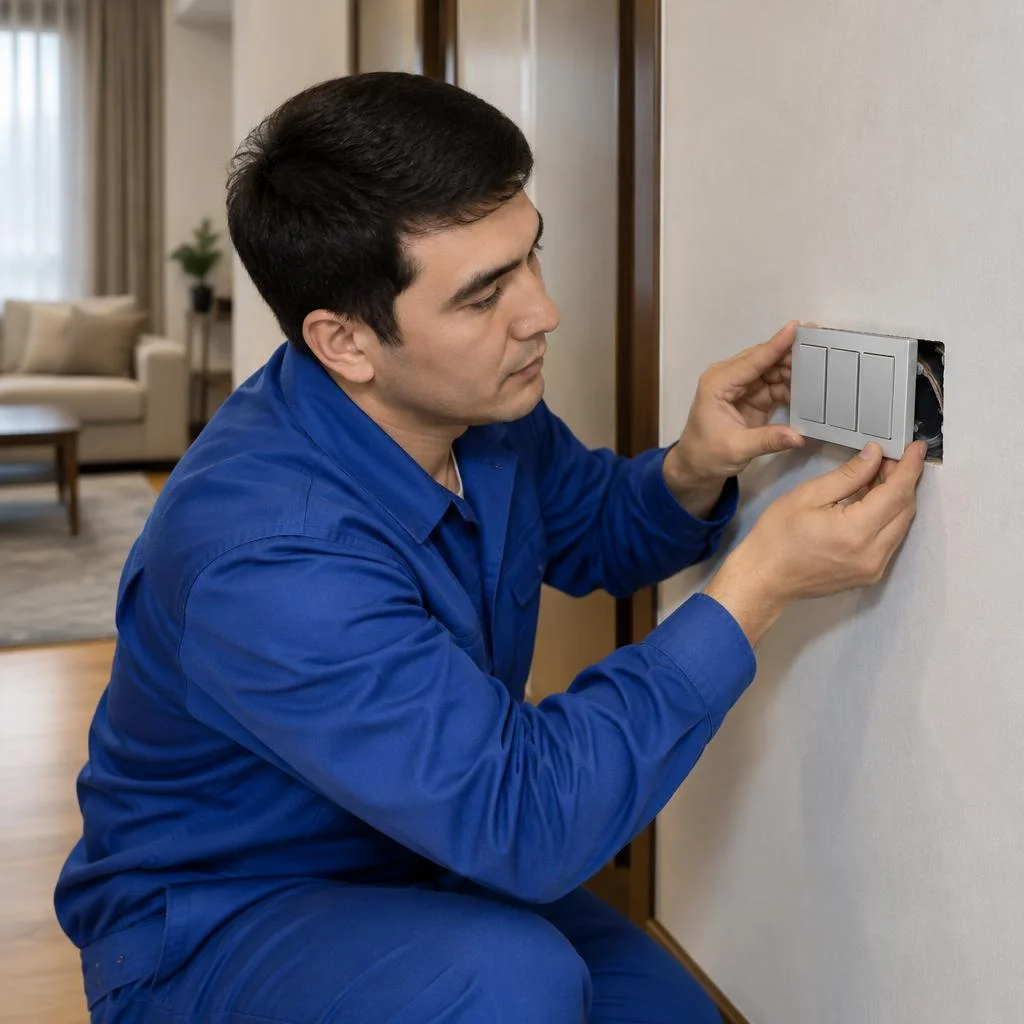
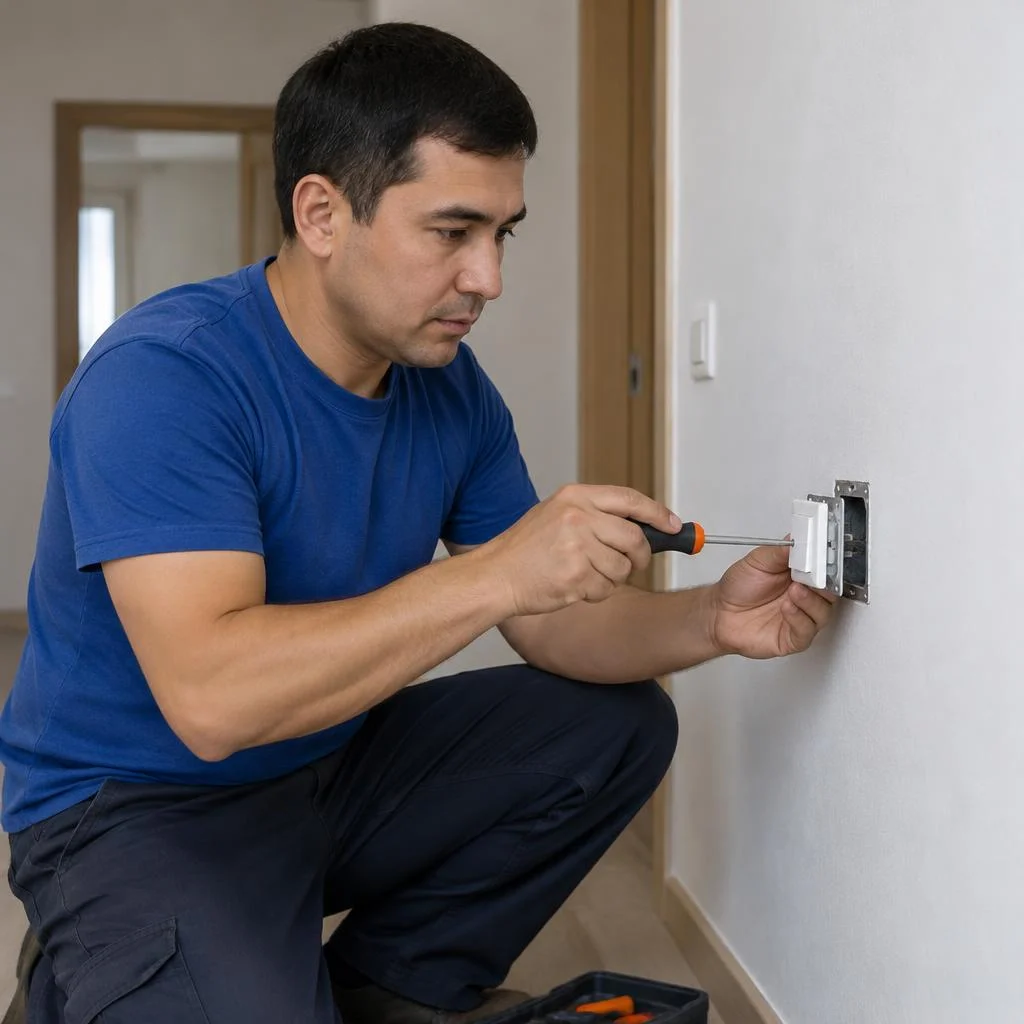
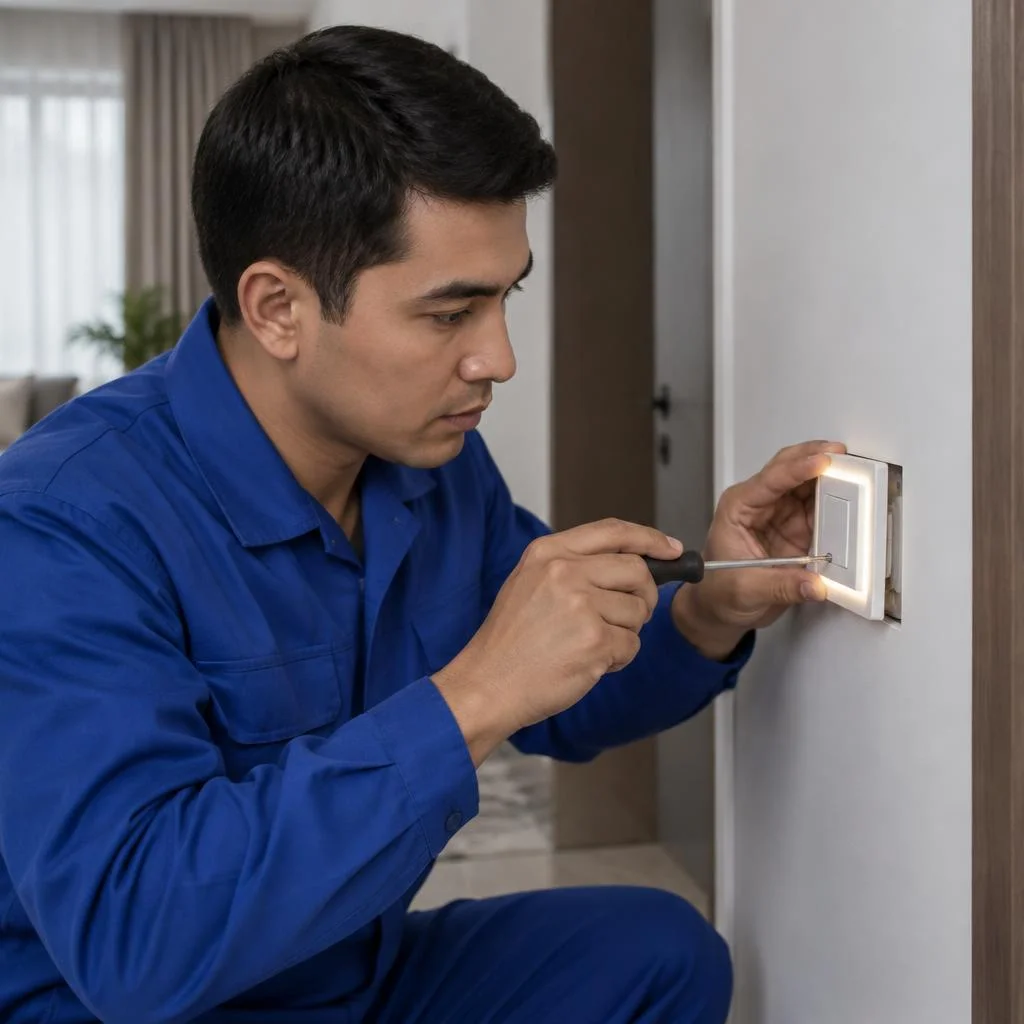
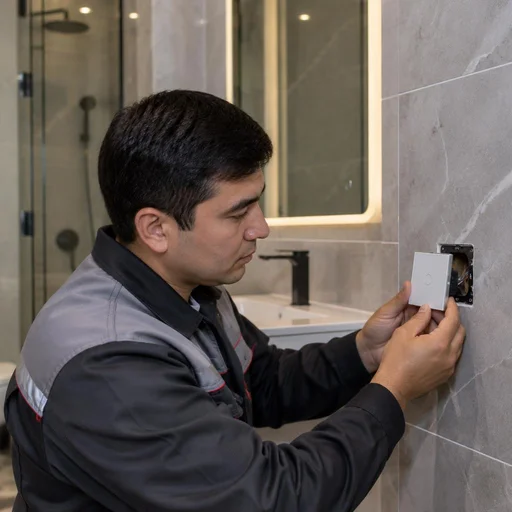
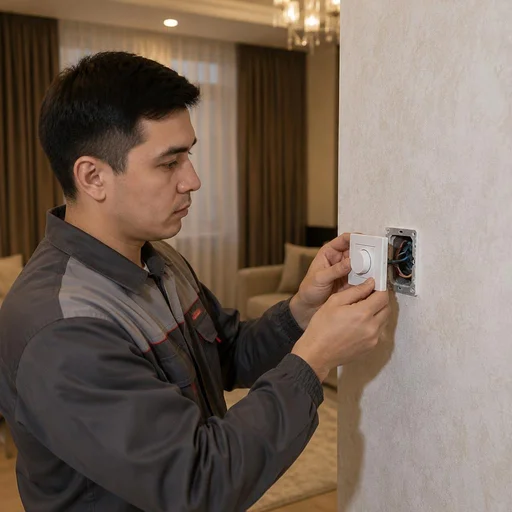
- Dismantling the old mechanism: the rocker is removed, the mounting screws are unscrewed, and the mechanism is carefully pulled out of the mounting box.
- Preparing the mounting seat: the mounting box is cleaned of old plaster, and the fasteners and the integrity of the plastic are checked.
- Connecting the new mechanism: the phase wire is placed on terminal L, the load wire on the load terminal, and the connections are tightened to the specified torque.
- Testing the circuit under load: after power is restored, contact is checked with a multimeter and a test lamp in each position of the rocker.
Replacing the Mounting Box: When the Old One Doesn't Fit the New Mechanism
We replace the mounting box if the mounting size of the new mechanism doesn't match the old one or if the plastic of the mounting seat is destroyed. Standard mounting boxes from Legrand, Schneider Electric, ABB and IEK differ in diameter and depth: a mechanism from one product line sits with a gap in another's socket or doesn't fit at all. Tashkent is a city with dense old housing stock, and the technician first test-fits the new body to the socket, and only then decides whether the base needs to be replaced. A destroyed mounting box is a common reason why a new switch "wobbles" in the wall: the fastener holds not in the mechanism but in the plastic, and within a month the rocker becomes skewed.
Connecting a Switch to a Chandelier and Relocating to a New Spot
We connect a switch to a chandelier when replacing a light fixture and relocate the installation point if the rocker gets in the way of furniture or is inconveniently positioned. When connecting to a chandelier, the technician works out the number of conductors: for two-mode lighting, a two-gang mechanism and three wires from the junction box are needed — a phase and two load wires for different groups of lamps. Clients searching often write briefly: switch replacement Tashkent — and from such a request the technician immediately understands the task. Relocating the point requires chasing the wall for a new line and routing the cable into the junction box. When relocating a switch to a new spot, the old point cannot simply be plastered over — a junction box remains there that needs to be accessible: sealing it shut is prohibited, otherwise the next diagnostics will require opening up the wall.
Who Comes: Technicians and the Eco-Service Center in Tashkent
A staff electrician from Eco-Service comes to the site, and the company's own service center in Tashkent coordinates the work. The technician arrives with his own tools: a voltage tester screwdriver, a multimeter, a set of dielectric gloves, crimping pliers, and a supply of Wago terminals and screw clamps. The request goes through the service center: the dispatcher clarifies the type of mechanism and the address, then schedules the visit. The staff technician is accountable for the work to the service center, not to himself as a private contractor — so any complaint is resolved within the company, without hunting for the contractor. In our practice, switches are most often relocated in bedrooms to accommodate new furniture, and mounting boxes are replaced in old housing stock buildings where the plastic of the mounting seats has already crumbled.
Hidden work and related tasks during replacement
Replacing a switch is rarely an isolated task: a socket, a breaker in the panel, and a section of wiring are often nearby. Let's look at three scenarios that most often expand the scope of work.
Replacing a switch and socket in a single unit
We replace a switch and socket in a single unit in one visit — two separate appointments cost more and stretch across different days. In a standard unit, the mechanisms sit in a shared housing but are powered from different lines: the socket group runs from one breaker, the lighting from another. During installation, the technician cuts the power twice, separately for each line, otherwise there's a risk of shorting the adjacent group when repacking the wires. On Legrand and Schneider Electric units, the terminals are labeled, which speeds up wiring; on budget IEK units, the labeling sometimes has to be verified with a continuity test. In units with a grounding contact, the PE conductor is run separately to the socket part, not to the switch. Before installing the unit, check whether the back box is deep enough for the new mechanism — on models with a dimmer, the housing is 8-10 mm deeper than standard.
When replacing a switch requires work in the panel
We check the breaker in the panel if the new switch trips with a delay or heats up — the cause may not be the mechanism but the circuit protection. A hot housing, clicking under load, and tripping when the chandelier is turned on indicate that the breaker rating doesn't match the actual load. The breaker is selected based on the wire cross-section, not the fixture's wattage: an oversized one won't protect a thin lighting line during a short circuit. For 2.5 mm² aluminum wiring in old Tashkent homes, a 10-16 A protection is installed; for 1.5 mm² copper — 10 A. Before calling a technician, photograph the breaker's labeling and note the cross-section of the incoming cable — this shortens on-site diagnostics. Clients often phrase the request as switch replacement in Tashkent — and for such a request, the technician first inspects the panel itself, not just the mechanism.
Chasing and running a new line during relocation
We chase the wall and run a new line if relocating the switch is impossible using the existing wiring. When the point moves to the opposite side of the opening or below the old back box, extending the conductors is prohibited — a twist splice in the wall is not serviceable and heats up under load. The technician cuts a chase for VVGng-LS cable, lays it in corrugated conduit, and feeds it into the new back box. Chasing in a panel building is limited: horizontal chases in load-bearing walls are prohibited, so the line is run vertically from the ceiling or floor. In Tashkent's brick buildings, a horizontal section of up to 1 meter is allowed. Plan the relocation before finish work — after tiles or wallpaper are installed, the scope of wall restoration increases noticeably.
Warranty, timelines and terms of Eco-Service work
Warranty and timelines are what distinguish a service company from a private handyman off the street. Let's break down exactly what is recorded in the documents, how long a visit takes, and where to find real customer experiences.
2-year warranty on switch replacement
We provide a 2-year warranty on switch replacement — it covers both the technician's work and the installed mechanism. During this period, if the rocker fails, the housing becomes loose, or there is poor contact inside the mounting box, a repeat visit is carried out with no additional charge for labor. The warranty is valid as long as the receipt is retained: it states the mechanism model, installation date, and the technician's name, so a request does not require retelling the whole story. The exception is damage from a voltage surge in the shared network: if the circuit breaker in the panel did not trip and overvoltage reached the line, the mechanism is replaced as new, not under warranty. Switch replacement in the private sector of Tashkent often takes place at properties with unstable power, so a voltage monitoring relay installed before the work preserves both the mechanism itself and the equipment on the line.
How long replacement takes and what the timeframe depends on
Replacing a single switch takes an Eco-Service technician 20-40 minutes; replacing a block or relocating a point takes up to two hours. Most of the time goes not into connecting but into preparation: removing the old mechanism and restoring the mounting box take longer than installing the new one. If the mounting box has crumbled or does not match the new mechanism's mounting size, an additional 20-30 minutes are added to replace it and fit it to drywall or concrete. Relocating a point with a new line in a chase is a separate task of 1.5-2 hours, accounting for cable routing and connection to the chandelier. The technician quotes how much switch replacement costs in a specific case after inspection: the final price depends on the type of mechanism and the condition of the mounting box, not on travel time. Book for the morning — by lunchtime the electrician at the panel will no longer need to shut off power again.
Reviews and reputation: where to find real customer experiences
Reviews of Eco-Service work in Tashkent are collected on Yandex.Maps and Google Maps, as well as in the service center's Telegram channel. On the maps you can see the distribution of ratings over time: recent reviews show how the service operates now, not two years ago. Photo reports from job sites are published on Telegram — they make it clear how the technician lays the wire in the mounting box and whether the line is labeled. Switch replacement price and installation quality are directly linked in the reviews: complaints usually concern not the mechanics but a crookedly fitted frame or a loose rocker. When choosing a contractor, look not at the average rating but at reviews with photos of completed work — they show how the technician handles the wiring.
Payment, booking and preparing for the technician's visit
To make the technician's visit happen in one trip, it's important to decide on the payment method in advance and prepare access to the electrical panel. Below — how to book, how to pay and what to do before the specialist arrives.
How to book: Telegram, phone call and service center
You can book a switch replacement in Tashkent via Telegram, by phone or by contacting the Eco-Service service center. In your request, specify the address, the type of mechanism — rocker, two-way or touch — and a convenient time; the dispatcher confirms the visit within the working day. Via Telegram it's convenient to immediately send a photo of the switch and the mounting box: from the picture the technician determines whether the old box will fit the new mechanism and brings the right model with them — Legrand, Schneider Electric, ABB or IEK. If the device is installed in a block with a socket, add a second photo — this will clarify the scope of work and the time needed for installation. In search, clients often type "switch replacement Tashkent" — and land on our page, so the dispatcher clarifies the details by phone. From the photo of the mounting box the depth of the box is visible, so the technician takes an adapter frame in advance and doesn't make a second trip for it.
Payment methods: Click, Payme, Uzum Bank and cash
- Click: transfer by phone number or via a link from the dispatcher right after the request is closed.
- Payme: payment by QR code or invoice, which arrives in the messenger along with the work report.
- Uzum Bank: transfer from a card or via the bank's app in one click.
- Uzcard and Humo: payment by bank card at the technician's via terminal.
- Cash: accepted after the work, the receipt and work report are issued on site.
What to prepare before the technician arrives
Before the technician arrives, it's enough to clear access to the switch and the electrical panel — you don't need to turn off the power yourself. The specialist will switch off the breaker for the required line before starting work. Keep the space around the switch clear: remove from the windowsill or nearby shelf any items that get in the way of setting up a stepladder. If the mechanism is blocked by a cabinet, mirror or heavy furniture, move it before the visit — the technician works with the wiring and doesn't move furniture. Decide in advance whether you're keeping the old mechanism or installing a new model, so the specialist brings the right rocker and adapter frame.
Conclusion
Installing a new switch is a small job that directly affects the safety of your home. We've gathered the main things worth keeping in mind before calling a technician and during the acceptance of the work.
Key takeaways
- Sparkling and heating: sparks, a warm housing and a loose rocker are signs that mean the work can't be put off for even a day.
- Type and installation: the model of the device determines both the wiring diagram and the installation method — a concealed mounting box or a surface-mounted box.
- Two-way circuits: two-way and intermediate lines require continuity testing of each wire after installation, otherwise the light won't switch from the second point.
- Moving the point: when moving the point, the junction box must remain accessible — otherwise inspecting the connections will require opening up the wall.
- 2-year warranty: valid if the receipt and work report are kept, but does not cover voltage surges in the building's shared network.


