















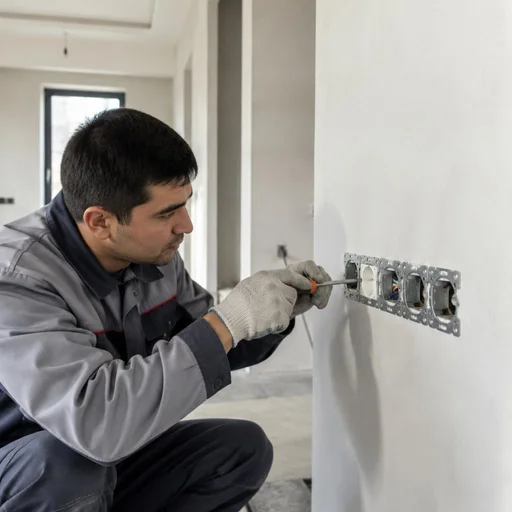
How the full cycle of electrical installation in a house works
Electrical installation is a sequence of six to seven stages, where each subsequent one builds on the previous. Let's break down what happens on site from the first marking line to connecting the lines in the panel.
Where electrical installation begins: route marking and design
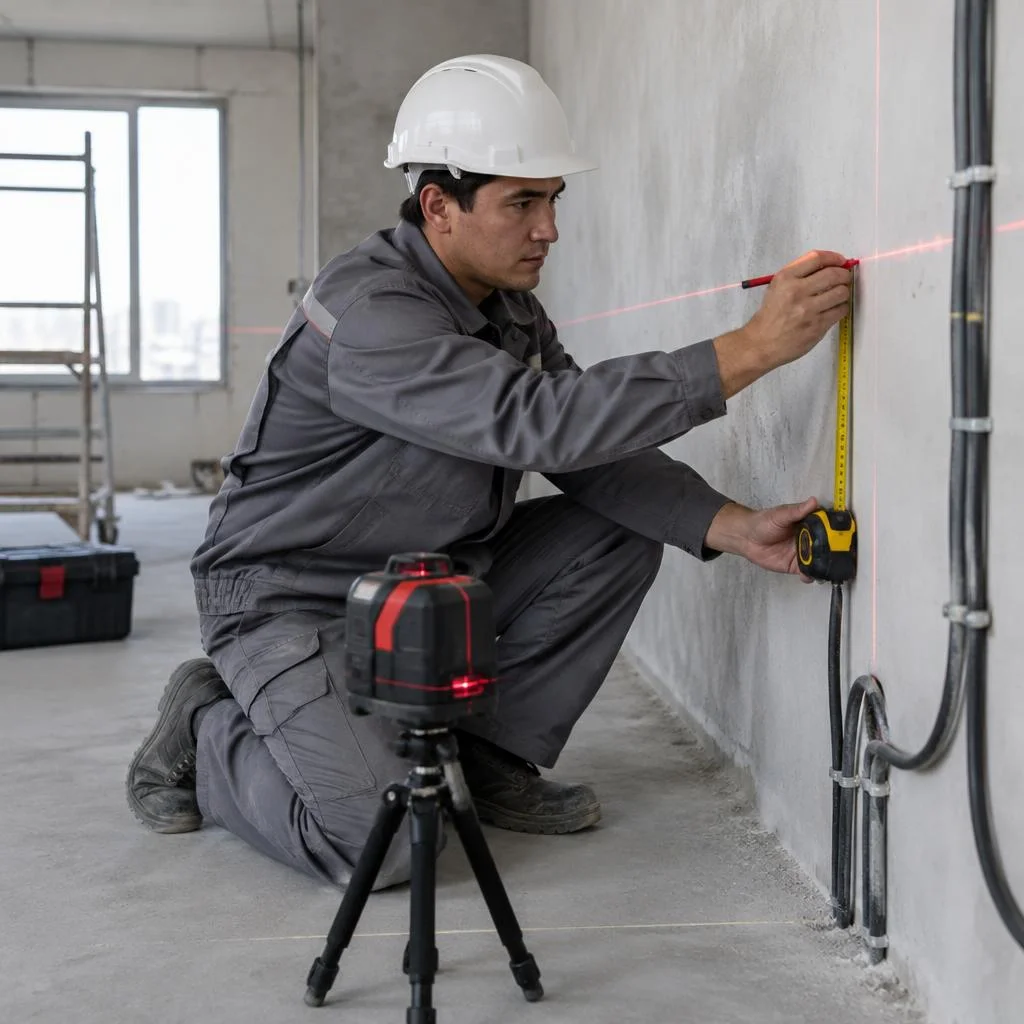
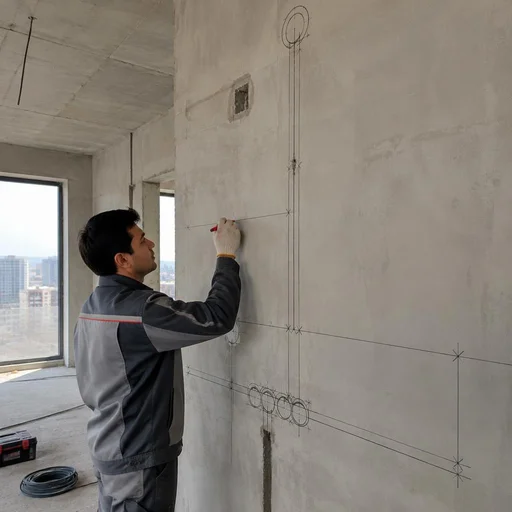
Eco-Service begins work with marking the route for the wiring — we apply lines of future cable routes to the walls and ceiling strictly according to the wiring diagram tied to the room plan. The diagram takes into account the requirements of the Electrical Installation Code (PUE), the placement of furniture, equipment connection points, and the installation height of sockets and switches. On sites in Tashkent, we first walk through the rooms with a laser level, mark the axes for chases, the locations for mounting boxes and junction boxes, and only after coordinating the lines with the client do we start up the tools. Without a wiring design at the marking stage, it's easy to run a cable into a zone where a cabinet or kitchen unit will later stand — redoing it will cost more than the marking itself. If you want to install new wiring in an apartment, route marking becomes the first step where the real scope of work becomes visible.
Chasing walls and ceiling: when it's needed and what it's done with
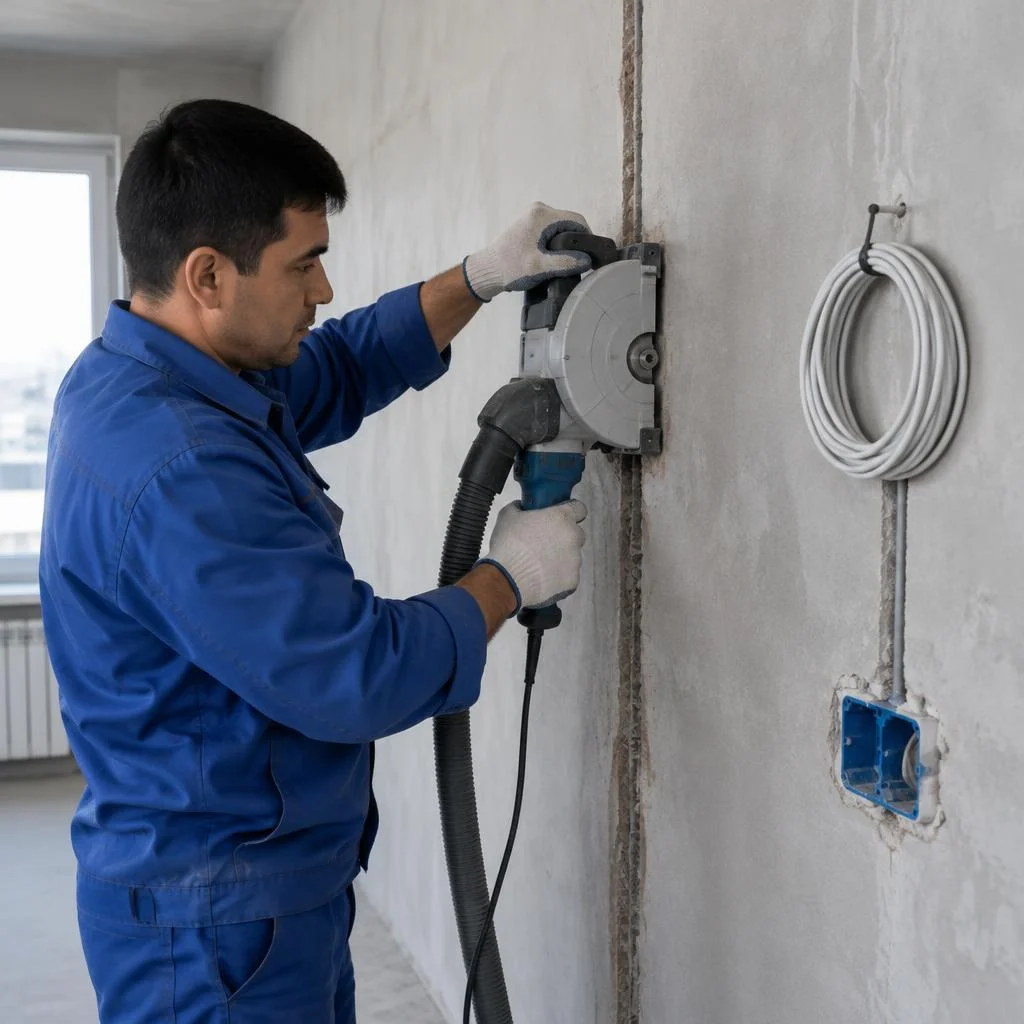
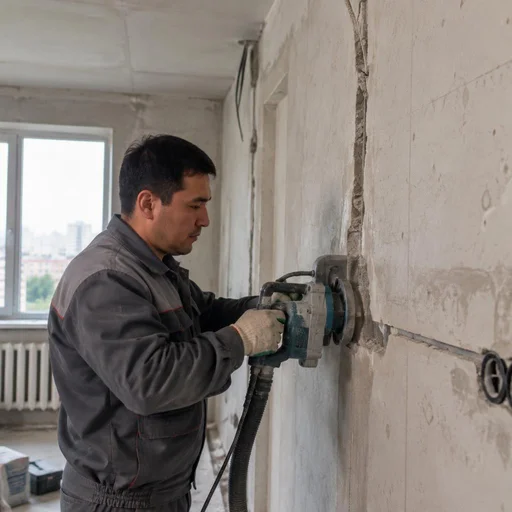
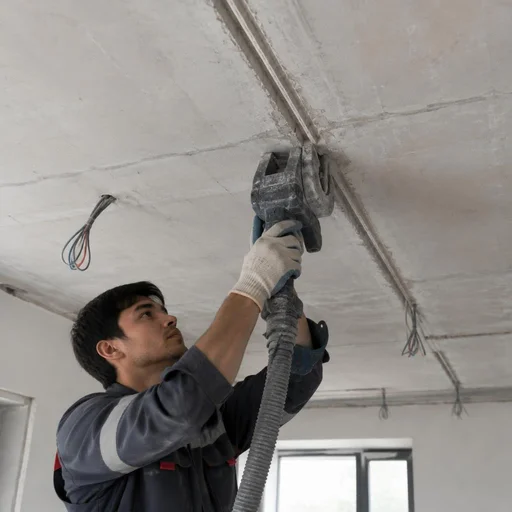
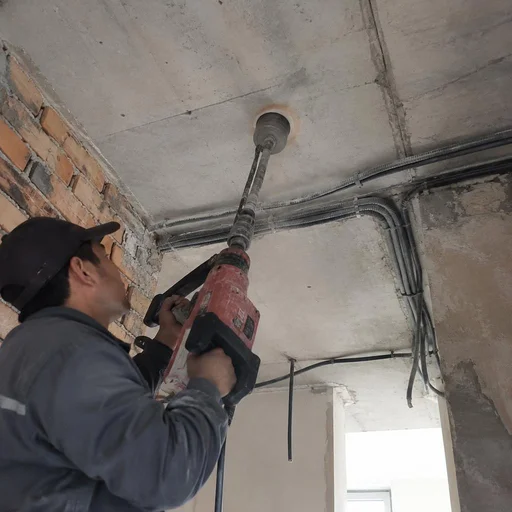
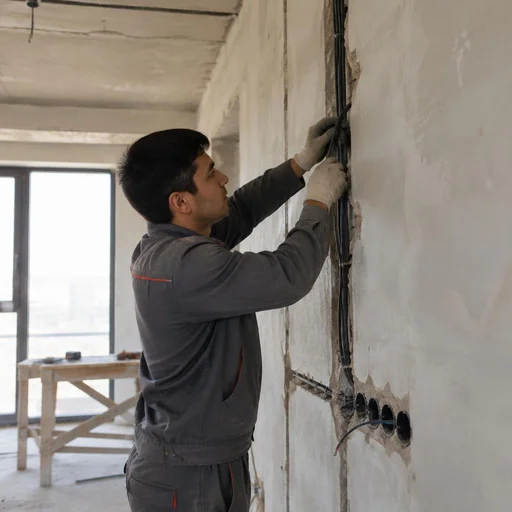
We perform wall chasing for cable with a wall chaser with dust extraction, and ceiling chasing — only where the line runs concealed and doesn't affect load-bearing structures. The depth of the groove for a standard 3×2.5 mm² cable is 25-30 mm, the width — for one or two cables with allowance for plaster. In panel buildings in Tashkent, horizontal chases in load-bearing walls are prohibited — we run the route vertically, and make transitions between walls through the ceiling or floor. In brick and monolithic buildings in Samarkand and Bukhara, horizontal sections are permissible, but no longer than a third of the wall and no deeper than 30 mm. Before chasing, clarify the wall material and the year of construction: in old housing stock with hollow brick, the wall chaser pulls the groove off to the side, and it has to be redone. It is at this stage that the electrical wiring layout in the house becomes clear — how many chases, of what depth, and along which walls.
Cable routing: open method, concealed, in corrugated conduit and flexible metal conduit
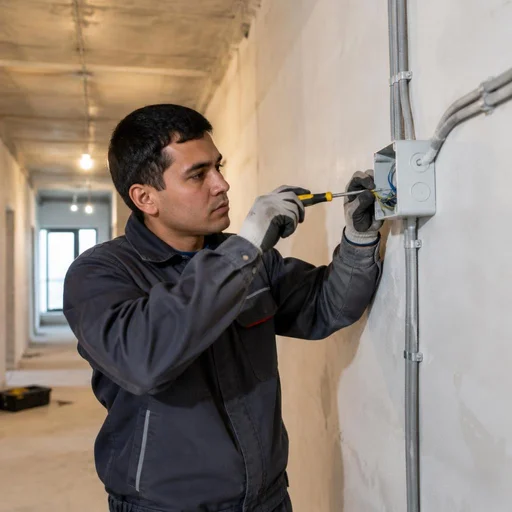
We route cable in an open manner along trays and clips, concealed — in chases under plaster, and in corrugated conduit and flexible metal conduit — where additional protection from mechanical damage is needed. Open routing along cable trays runs through technical rooms, basements and attics, concealed — through living rooms, where a smooth wall surface matters. PVC corrugated conduit with a diameter of 16-20 mm protects the line from abrasion in the screed and under drywall, flexible metal conduit — from sharp edges and rodents. Flexible metal conduit is mandatory for lines in wooden structures and on evacuation routes — corrugated conduit there does not provide the required fire-resistance rating. Clients often describe this task in their own words — electrical wiring throughout the apartment — and both the labor costs and the completion deadline of the site depend on the routing method. Many start the conversation with the question of how much it costs to install wiring in an apartment, and based on the answer they decide which routing method to choose for their budget.
Assembling the distribution panel and connecting the lines
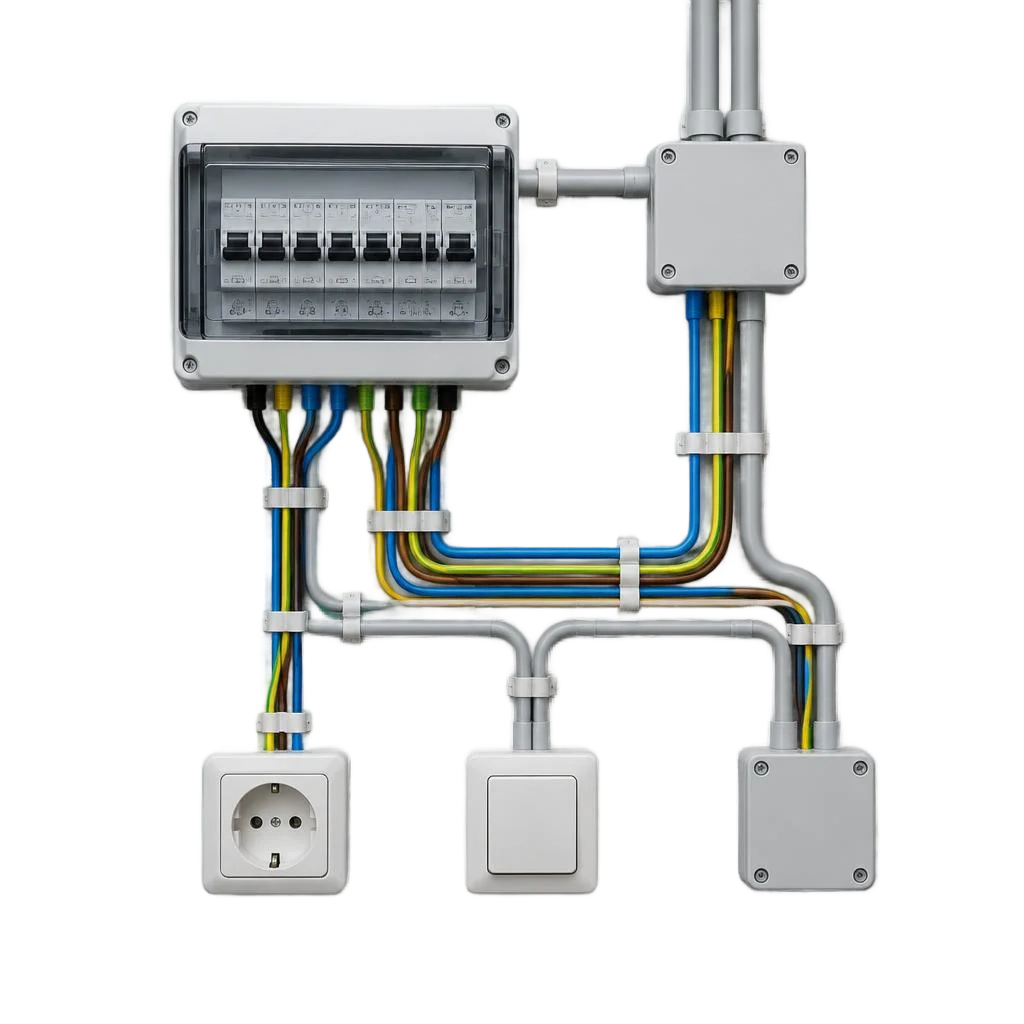
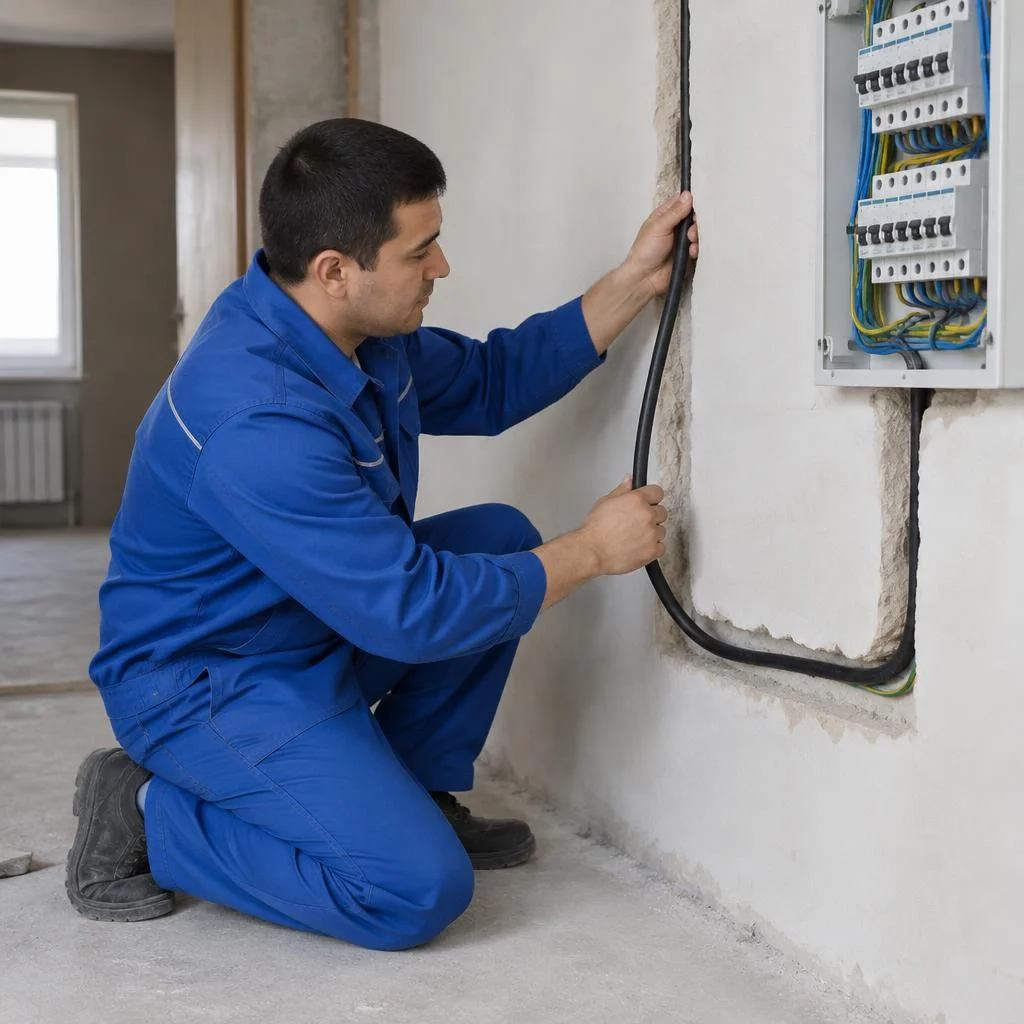
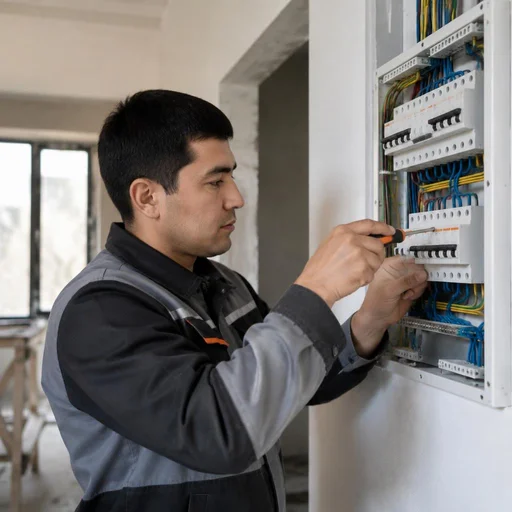
Eco-Service assembles the distribution panel with a full set of protection — from the main incoming module to contactors for heavy loads.
- Main incoming circuit breaker: protects the entire apartment, its rating is selected according to the allocated power and the cross-section of the incoming cable.
- Line circuit breakers: separate modules for socket groups, lighting, kitchen and boiler — one line per group.
- RCDs and RCBOs: installed for wet zones, the washing machine, boiler and outdoor sockets, with a setting of 10-30 mA.
- Voltage relay: cuts off power during surges in the network — a common cause of refrigerators and air conditioners failing.
- Contactors and relays: needed for controlling heavy loads and automatic switching to a generator.
- Line marking: each group is labeled right on the panel — a year later, when adding a new socket, the electrician won't have to ring out the whole house to find the right circuit breaker.
Clients often ask how much it costs to install electricity in an apartment turnkey, and also how much it costs to install electrical wiring in an apartment — the final figure depends on the number of circuits, the footage of chases, and the class of protective devices. Another reference point — to install wiring in an apartment, the price is made up of labor and materials, and installing electrical wiring in a house as a whole is cheaper at the rough finishing stage. It is more convenient to buy materials through Uzum Market, Texnomart or Mediapark, and pay for the work through Click, Payme or Uzum Bank.
Electrical routing: along the floor, along the ceiling, and in different types of apartments
The routing scheme depends on the type of floor slabs, the presence of a screed, and the number of floors. Let's break down how electrical routing in an apartment is done along the floor and along the ceiling and how one-room apartments, new buildings, and private houses differ.
Electrical routing in an apartment along the floor
Electrical routing in an apartment along the floor is done in the screed or in cable channels under the finish flooring — this is convenient when the walls are load-bearing and cannot be chased. In panel buildings in Tashkent of series 1-464 and 1-335, horizontal chases in load-bearing panels are prohibited, so the route is run along the floor slab: VVGng 3×2.5 cable in 20 mm diameter PVC corrugated conduit is laid in a screed at least 40 mm thick, and under laminate and parquet — in a cable channel. Along the floor, lines are run to island outlets in the kitchen, to the underfloor heating in the bathroom, and to the outlet block under the desk. Under the screed, cable is laid only in corrugated conduit or pipe — if VVGng is poured directly into concrete, during repairs the line will have to be opened up together with the floor.
Electrical routing in an apartment along the ceiling
Electrical routing in an apartment along the ceiling runs in the above-ceiling space under a stretch or drywall ceiling — this is the fastest way to install electrical wiring in a house without chasing walls. Under the stretch fabric, the cable is fastened to the base ceiling with clips at a spacing of 40-50 cm, run in PVC corrugated conduit or in flexible metal conduit, and junction boxes are placed on the lighting circuits. 50×50 mm cable trays are convenient in corridors with a drywall ceiling: both power groups and low-voltage lines — internet and television cable — are run in them. Back boxes and switches are mounted in the walls, and only lighting and ventilation lines are brought up to the ceiling. Under a stretch ceiling, the cable must be fastened to the base ceiling with clips — if it is left lying on the fabric, the insulation can easily be damaged during installation of the light fixtures.
Electrical routing in a one-room apartment and in a room
- Lighting group: one 10 A breaker feeds the light in the room, corridor, bathroom, and balcony — if a line breaks, the whole apartment does not go dark.
- Room outlet group: a 16 A breaker and VVGng 3×2.5 cable for 6-8 outlets — power reserve for a TV, computer, and chargers.
- Kitchen line: a separate 16-25 A breaker for an induction cooktop, microwave, and kettle — the most loaded group in a one-room apartment.
- Bathroom: a line through a 10 mA RCD for the washing machine and water heater, outlets only moisture-proof IP44.
- Air conditioner and balcony: a separate 16 A line for the split system; in a studio, electrical routing in the room comes down to a single junction box.
Electrical routing in a new building: from scratch
Electrical routing in a new building is done from scratch: the developer usually leaves only the incoming cable and the panel, and all groups are designed and installed to suit the residents' layout. In Tashkent residential complexes, at the rough finishing stage, VVGng-LS cable is laid for each future zone: air conditioners in the bedrooms and living room, underfloor heating in the bathroom, water heater, dishwasher, separate lines for kitchen appliances. The panel is assembled with 12-18 modules: incoming breaker, voltage relay, RCD for wet groups, breakers for outlets and light. In search, clients most often type "install electrical wiring in an apartment price" — and for this query we explain what the estimate is made up of: the footage of the route, the number of groups, the depth of chasing, and the type of cable. The routing scheme is coordinated with the layout before chasing — after finish finishing, moving an outlet for the TV or a block in the kitchen is no longer possible without opening up the tiles. In new buildings in Tashkent, before finish finishing it is cheaper to immediately lay cable for air conditioners and underfloor heating — after renovation this will already require opening up the walls.
Electrical routing in a private house and throughout the house
Electrical wiring in a private house differs in its service entrance: the cable runs from a pole or from an outdoor panel, and inside the house the lines are distributed into groups with mandatory grounding. The service entrance with 4×16 SIP cable from the support pole goes to an outdoor panel with a main circuit breaker and meter, then 3×6 or 3×10 VVGng cable runs through the house to the internal distribution panel. Grounding is done with a loop of three rods, 2.5-3 m each, connected by a 40×4 mm strip, and routed to the PE bus; wet areas get a 10-30 mA RCD. In a private house, a voltage relay is mandatory — during voltage sags on the outdoor line, it disconnects the service entrance and saves appliances from surges.
Cable, circuit breakers and protection: what to choose for a home
Whether the line can withstand the load and whether the protection will trip in an emergency depends on the cable cross-section and the rating of the circuit breaker. Let's break down the selection by groups and the protective devices.
Which cable to use for wiring in an apartment
| Group | Cable type | Cross-section |
|---|---|---|
| Lighting | VVGng | 3×1.5 mm² |
| Sockets | VVGng | 3×2.5 mm² |
| Service entrance and electric stove | VVGng | 3×6 mm² |
| Water heater, air conditioner | VVGng | 3×4 mm² |
For wiring in an apartment we use VVGng cable: 3×2.5 mm² for socket groups, 3×1.5 mm² for lighting, and 3×6 mm² for the service entrance and stove. A standard two-room apartment uses 80-120 m across all groups, so the question "how much does it cost to install electrical wiring in a house" begins precisely with calculating the meterage. Aluminum wire is cheaper, but in junction boxes it cannot be connected directly to copper: such a twist heats up and oxidizes within a few months. At Eco-Service, VVGng cable is laid out by groups with the meterage calculated for the specific floor plan.
How to choose a circuit breaker for an apartment and what an RCD is
The circuit breaker is selected according to the cable cross-section and the load of the group, while an RCD is installed on wet areas and socket groups — it disconnects the line when there is a current leakage. For a socket group with 2.5 mm² cable, a 16 A breaker is suitable; for lighting with 1.5 mm² — 10 A; for the service entrance and stove with 6 mm² — 32-40 A. An RCD with a 30 mA setting protects a person from electric shock, while 100-300 mA ones are installed at the service entrance for fire protection. An RCD without a breaker does not protect against short circuits, and a breaker without an RCD does not protect against leakage through damaged insulation; for the sockets in a bathroom and kitchen, an RCBO is installed, which combines both functions. If a voltage relay is not installed at the service entrance, a surge in the grid will burn out all household appliances at once — in Tashkent high-rise buildings this happens during switching at the substation. Eco-Service specialists install RCDs and RCBOs on wet areas with the setting verified for each line.
Load calculation and selection of protective devices
- Summing up power: for each group we add up the power of all appliances — kitchen sockets, water heater, washing machine, lighting.
- 20-30% reserve: to the resulting figure we add a margin so that the line operates without overheating when everything is switched on at once.
- Rating matched to the cable: the breaker is selected so that it trips before the wire heats up.
- Service entrance check: the total load of all groups is compared with the allocated power for the apartment.
- Voltage relay: a device is installed at the service entrance that cuts off the power when parameters go beyond the permissible range.
We calculate the load for each group: we sum up the power of the appliances, add a 20-30% reserve, and select the breaker rating to match the cable cross-section. If the breaker rating is higher than the cable can withstand, then during an overload the wiring will burn out rather than the protection tripping — that is why the breaker is always "weaker" than the cable, not the other way around. Clients often ask "how much does it cost to do the electrics in an apartment" even before they have settled on a floor plan — and there is only one correct answer here: first we calculate the groups and the meterage, then we quote a figure. In the search bar, the query do electrics in an apartment price comes up constantly, but without a project and a group diagram any figure will be approximate. Eco-Service calculates the load and selects the breakers before the chasing begins, so that the routes do not have to be redone after installation.
Electrical installation in a private house and new building: specifics
A private house and a new building require a separate approach to the service entrance and backup power. Let's go over the connection from the pole, grounding, surge protection and the generator.
Electrical connection in an apartment and the service entrance in a private house
The electrical connection in an apartment runs from the existing service cable, while in a private house we install the service entrance from the pole: an overhead line, an outdoor panel and a grounding loop. For the overhead line we take a self-supporting insulated wire with a cross-section of 16 mm² with four conductors, fasten it to the facade with anchor clamps, and cover the drop into the house with a metal flexible conduit. At the service entrance we install a two-pole circuit breaker and a voltage relay, followed by a distribution board on a DIN rail. The wiring throughout the house is built from this board in separate lines to the kitchen, the boiler and each room. Documents for the plot and the technical specifications from the power supply organization are needed before work begins — without them the connection from the pole will not be approved, and unauthorized connection risks disconnection and a fine. Before installation, check the allocated power in the technical specifications against the sum of the circuit breaker ratings — a discrepancy of 20-30% forces you to redo the entire service entrance unit.
Grounding and protection against voltage surges
A grounding loop and a voltage relay at the service entrance are the basic protection of a private house: the relay cuts the power when it goes beyond permissible limits and saves your equipment. We make the loop from three vertical rods 3 meters long, connected by a 40×4 mm strip, with a resistance no higher than 4 Ohms for a 380 V network. We set the voltage relay to disconnect at 260 V and reconnect at 220 V — in the Tashkent network, evening sags down to 190 V and surges up to 250 V occur regularly. We install RCDs and RCBOs in wet zones — the bathroom, kitchen, boiler room — with a leakage current of 30 mA; contactors and relays control the boiler and pump on a schedule. In buildings of the old housing stock there is often no grounding conductor in the riser — in that case the loop is made separately, and RCDs are installed only after checking the resistance. Measure the resistance of the loop before connecting the protective devices: if it is above the norm, the RCD will trip falsely.
Generator for the house: when it is needed and how to connect it
A generator for the house is connected through an ATS or a manual changeover switch — it powers the service entrance when the grid goes down and prevents current from flowing back into the city line. For a house of 10-15 kW, a gasoline or diesel generator of 8-12 kW is sufficient, with a 20-30% margin for the starting currents of the pump and refrigerator. We install the generator's input circuit breaker separately from the grid one, and switch the neutral conductor together with the phase — otherwise part of the load will remain on the grid. Clients often phrase the request as: run the electrical wiring in the apartment — and confuse backup power for the house with ordinary wiring through the rooms, although these are different units. Without a changeover switch, the generator will be under grid voltage when turned on — this is dangerous for the crews working on the line and for the equipment itself. Check that the generator's power covers the simultaneous start of the pump and the boiler — otherwise the ATS will trip on every startup.
Documents, timelines and cost of electrical installation in the house
Clients often ask how much it costs to run the electrics in a house, and the cost of electrical installation in a private house depends on the area, the number of lines and the method of laying — we calculate the exact estimate after a visit to the site. How much it costs to do the electrics in a house is determined by the meterage of wall chasing, the number of back boxes and points, the length of the route from the pole and the complexity of the grounding loop. Another frequent request is run the wiring in the house price: it is made up of the same parameters plus the cost of materials, if we take care of the purchase ourselves. Wiring the electrics through the house over an area of 120-150 m² takes from 7 to 12 working days with two technicians: two days for marking and wall chasing, three to four for laying, a day for the board and connection. Wiring in a house made of timber or a frame house is done in an open way in a corrugated conduit or cable duct — you cannot chase load-bearing walls. Wiring through the house in a new building starts before the finishing work: while the walls are bare, the route is laid in the chases and plastered over. Order the marking of the route before buying the cable — that way you definitely won't buy extra meters and won't make a mistake with the cross-section.
How work with Eco-Service proceeds: stages, timelines, warranty
Work is carried out under a contract: a site visit, an estimate by types of operations, installation by our own crew, acceptance according to a checklist. Below is how each stage is structured and what is documented in writing.
Electrician's site visit and assessment of the property
During the visit, an Eco-Service electrician inspects the property, checks the incoming supply and the condition of the existing wiring, and then draws up an estimate by types of work. The engineer records the wall material — brick, drywall, monolithic — and the thickness of the slab: this determines the method of chasing and the choice of fasteners. Separately, they check the condition of the main circuit breaker and the meter, the presence of a grounding loop, and count the future circuits: socket, lighting, lines for kitchen appliances and air conditioners. Clients often phrase the task like this: electrical wiring in a private house price — and during the visit the technician immediately explains what the estimate consists of and which operations it includes. If the house has old aluminum wiring, a partial replacement gives no result — new copper lines in the same chases will have to be connected to aluminum, and that is a weak point.
Electrical installation timelines and acceptance of work
- One-room apartment: doing the electrical work in an apartment up to 40 m² takes 3-4 working days with 6-8 circuits.
- Two- and three-room: 5-7 days if chasing and cable routing proceed in parallel in different rooms.
- Private house: the timeline is calculated by floors and route length, usually 7-10 days including the incoming supply and grounding.
- Acceptance: we check the operation of every socket and switch, insulation resistance, and the tripping of RCDs and RCBOs via the test button.
- Report: we record the measurement results and the list of lines in writing, so that in case of disputes there is something to confirm quality with.
2-year warranty and service center in Tashkent
Eco-Service provides a 2-year warranty on electrical installation work, and its own service center in Tashkent handles warranty claims in person. The center processes claims regarding panels, circuit breakers and lines — most often this is tightening terminals after seasonal voltage fluctuations in the Tashkent grid. The warranty covers installation: the quality of chasing, connections, panel assembly, connection of sockets and switches. Materials purchased by the customer independently are not covered by the warranty — if the cable does not match the cross-section or the breaker is selected incorrectly, responsibility for the line remains with the owner. That is why at the estimate stage we suggest selecting the cable and protection ourselves — it is easier that way to be responsible for the result as a whole.
Payment and order processing
- Contract: we draw up a written contract with a list of types of work, timelines and warranty obligations.
- Advance payment: the first part — for purchasing materials and starting chasing, the second — after acceptance of the completed lines.
- Payment methods: we accept via Click, Payme, Uzcard and Humo — in cash or by card, at the customer's choice.
- Documents: we issue the certificate of completed work and the warranty card in hand after handover of the property.
- Request: if wiring in an apartment is planned before finishing work, the request is placed in advance — the crew arrives within 1-2 days after the estimate is approved.
- Scope: the advance for materials is calculated based on the actual cable footage and number of points, and wiring an entire house can be done in stages — by rooms or by floors.
How to avoid typical mistakes in electrical installation
Most electrical problems in a home are the result of violations of the Electrical Installation Code (PUE) and cutting corners during installation. Let's look at what is most often done incorrectly and how to fix it before an accident occurs.
Why copper and aluminum must not be twisted together
A direct twist of copper and aluminum in a junction box oxidizes and heats up — this is one of the most common causes of fires in old wiring. When two dissimilar metals come into contact, electrochemical corrosion occurs: aluminum degrades faster, contact resistance increases, and under a load of 16 A and above, the connection point heats up to 90-120 °C. The PUE explicitly prohibits direct twisting of copper and aluminum without an intermediate element. At sites in Tashkent and Samarkand, we most often encounter this mistake in older buildings, where aluminum risers were connected to VVGng copper cable during planned wiring replacement. Dissimilar metals may only be connected through terminal blocks or a bolted connection with a washer — then the contact is not destroyed by electrochemical corrosion and lasts for decades. Clients often ask how much it costs to install wiring in a house before they even learn that such twisting is unacceptable — and that is the right order: calculation first, then installation.
What "proper" wiring distribution in an apartment means
- Separate groups: lighting, sockets, kitchen and bathroom run on their own lines, each with its own circuit breaker on the line.
- Protection on each group: wet zones — bathroom, kitchen, washing machine — are connected through RCDs and RCBOs with a leakage current of 30 mA.
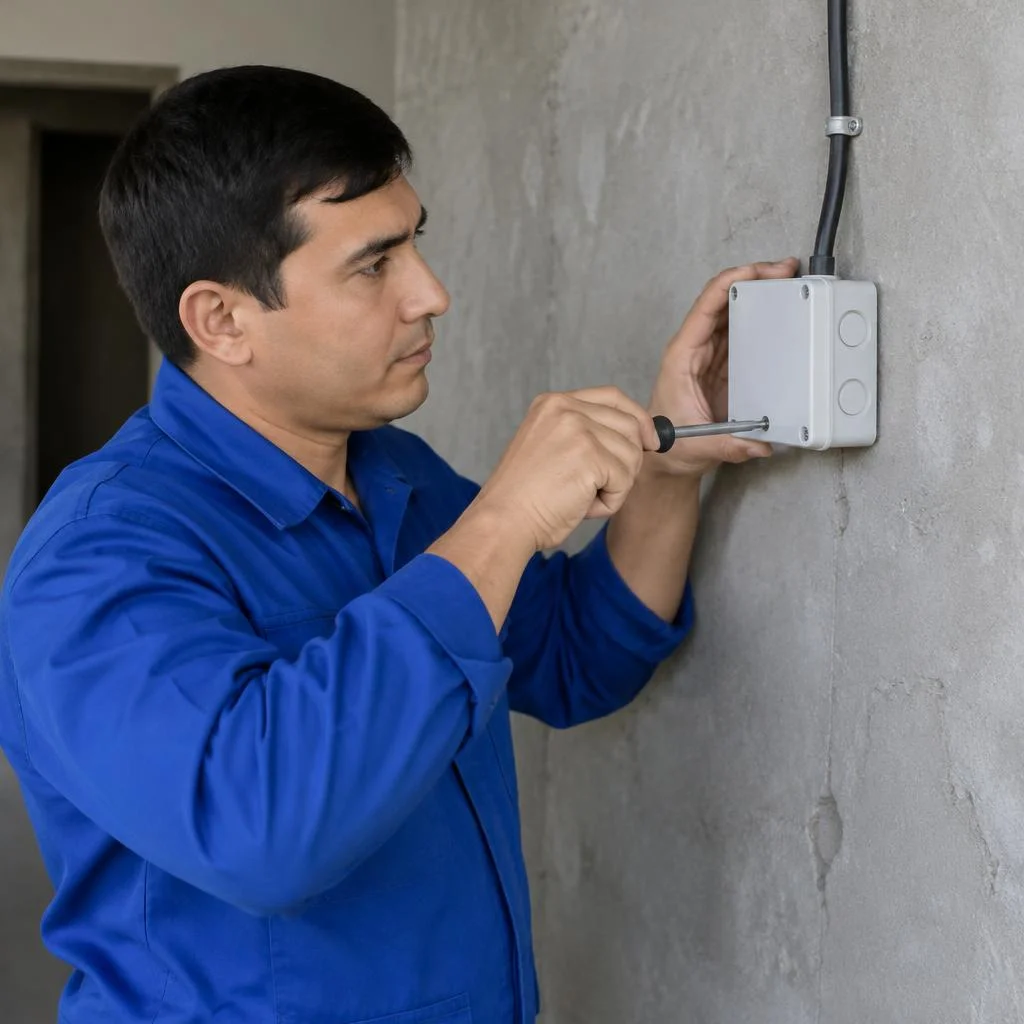
- Accessible connections: all joints are made only in junction boxes that are accessible for inspection.
- Cross-section matched to load: socket groups use 3×2.5 mm² cable, lighting uses 3×1.5 mm², and the apartment's incoming supply is calculated separately.
- No connections in the wall: not a single twist is left walled up in a chase outside a box.
Can wiring in an apartment be done with your own hands
Doing the wiring in an apartment with your own hands is technically possible, but without experience it is difficult to correctly calculate the load, select circuit breakers and provide grounding. Self-installers make three main mistakes: an undersized cable cross-section for the actual power of the appliances, a circuit breaker chosen "by eye" without calculating the load, and the absence of working grounding, which prevents the RCD from tripping when insulation breaks down. Another typical mistake is connecting an aluminum incoming supply to copper wiring without a transition terminal block. Mistakes in electrical installation are not visible immediately — they show up during an accident, when the protection fails to trip; therefore, concealed work is best entrusted to a team with a warranty. Clients often phrase their request as "wiring in an apartment price," and there is logic in that order: first the load calculation and panel diagram, then the chasing and cable. Request a design from a designer before starting your own installation — it is cheaper than redoing finished renovations after acceptance.
Conclusion
Electrical installation relies on sequence and precision: one missed stage leads to redoing the entire line. Below are the takeaways that will be useful before starting work in an apartment or house.
Key takeaways
- Sequence of stages: to install electrical systems in a house means going from marking the route and chasing to laying the cable and assembling the distribution panel, where each step builds on the previous one.
- Layout for the specific property: the wiring distribution is chosen for the type of housing — along the floor or along the ceiling, separately for a new build from scratch and for a private house with an incoming supply.
- Cable matched to load: socket groups use VVGng 3×2.5 mm², lighting uses 3×1.5 mm², and the circuit breaker rating is selected strictly according to the line's cross-section.
- Protection in a private house: a grounding loop and a voltage relay are mandatory, and a generator is connected through a changeover switch that prevents back-feed into the grid.
- Concealed work: it is sensible to entrust it to a team with a contract and a 2-year warranty — a mistake in a chase or a twist does not show up immediately, but at the moment of an accident.


