











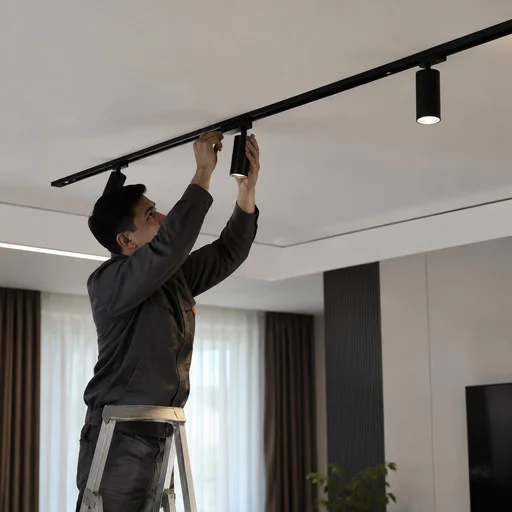
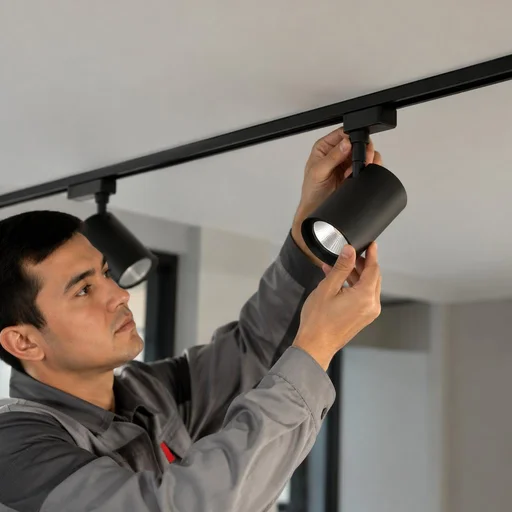
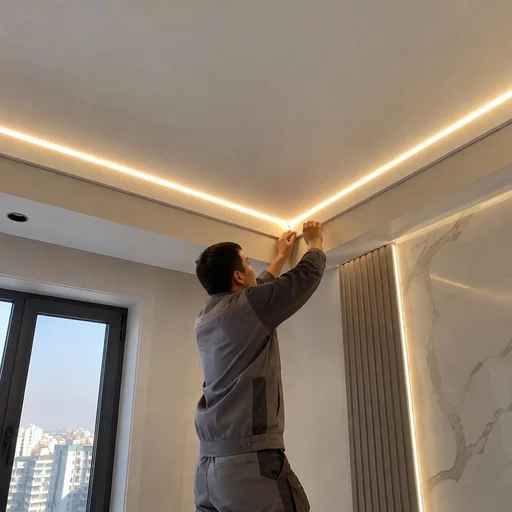

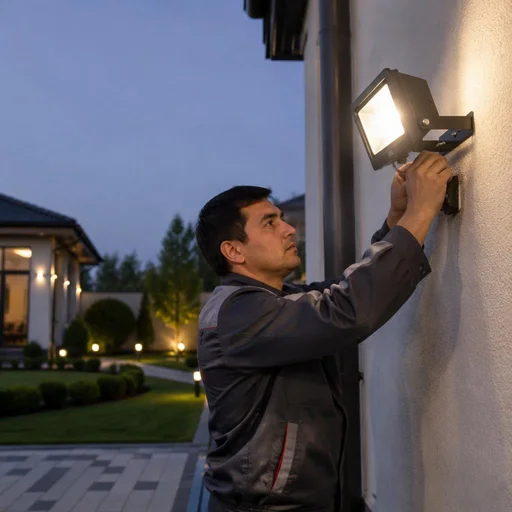
What is included in lighting installation and what work we perform
A full cycle is not just "hanging a chandelier": assembly and connection to the wiring, load calculation, installation of track and linear systems, setup of remotes and outdoor lamps.
Full list of works: from chandelier to track busbar
| Type of light fixture | What we do | Installation specifics |
|---|---|---|
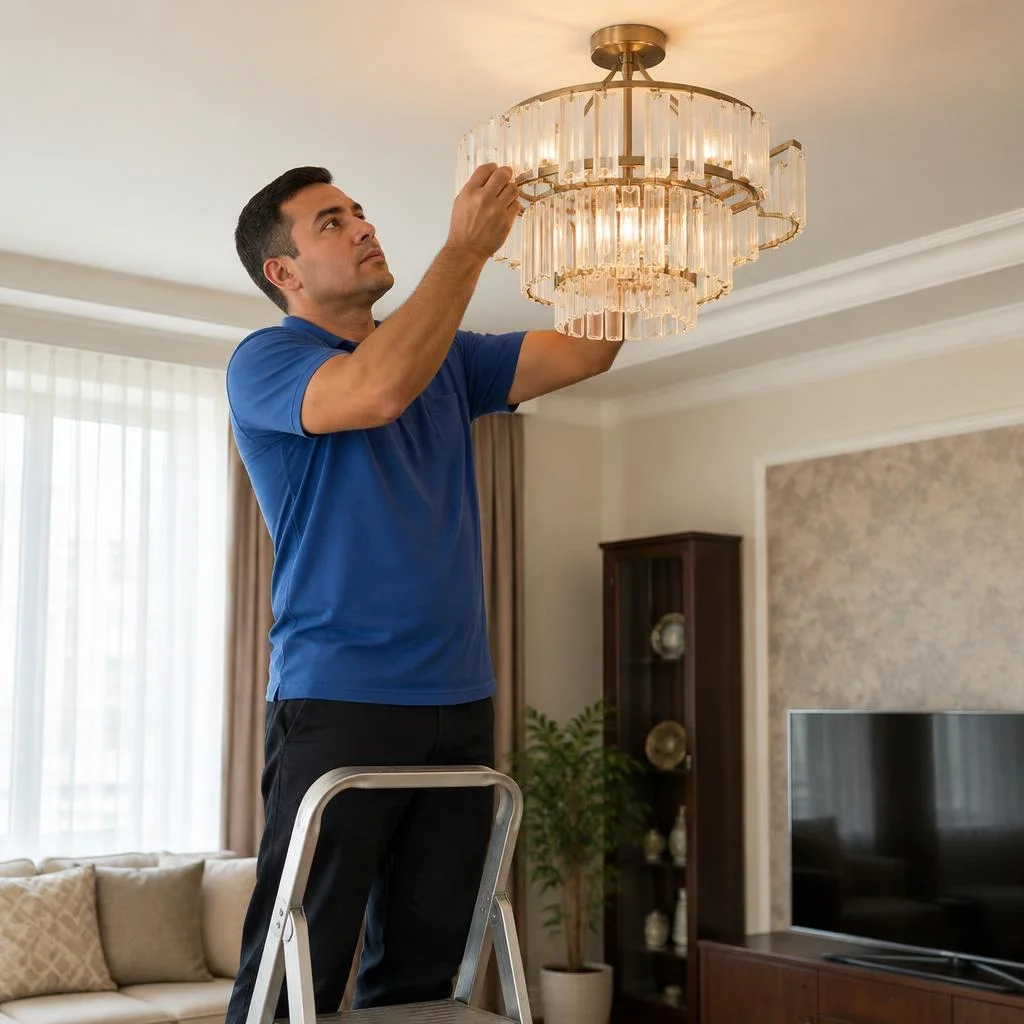
| Ceiling chandelier | We attach to a hook or mounting bar | Checking load-bearing capacity |
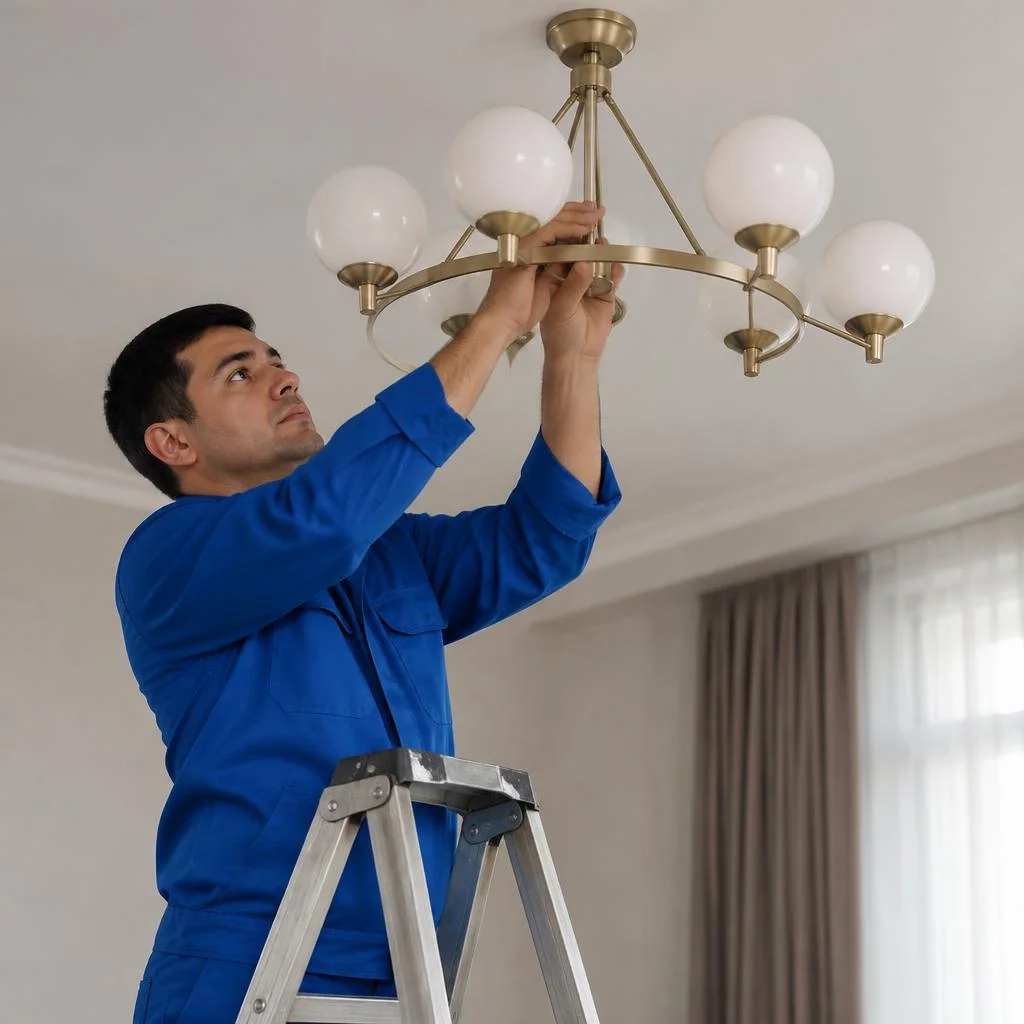
| Chandelier assembly | We assemble the arms and shades | Before installation, on the floor |
| Chandelier connection | We connect to the wiring | Terminal block instead of twisting |
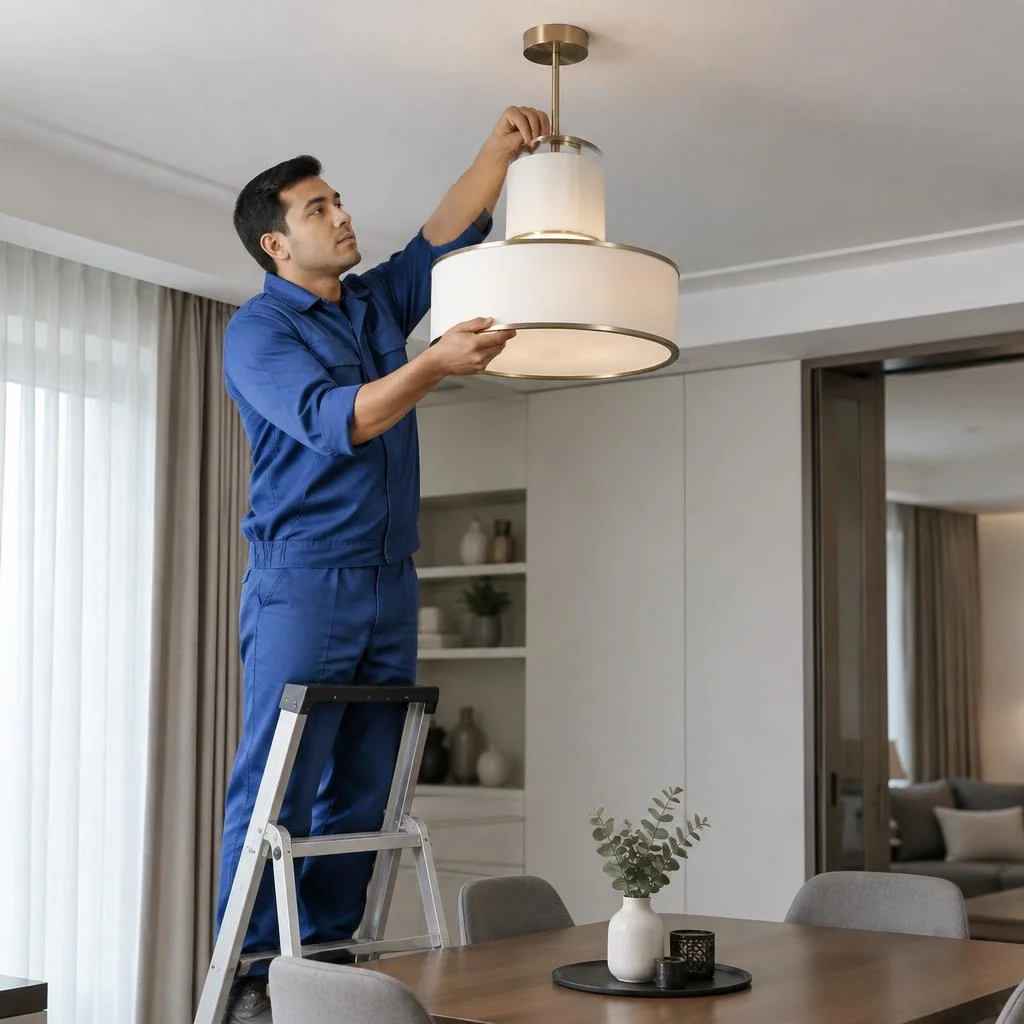
| Pendant light fixture | We hang it on a rod | Height adjustment |
| Chandelier with remote | We install the signal receiver | Compatibility with the line |
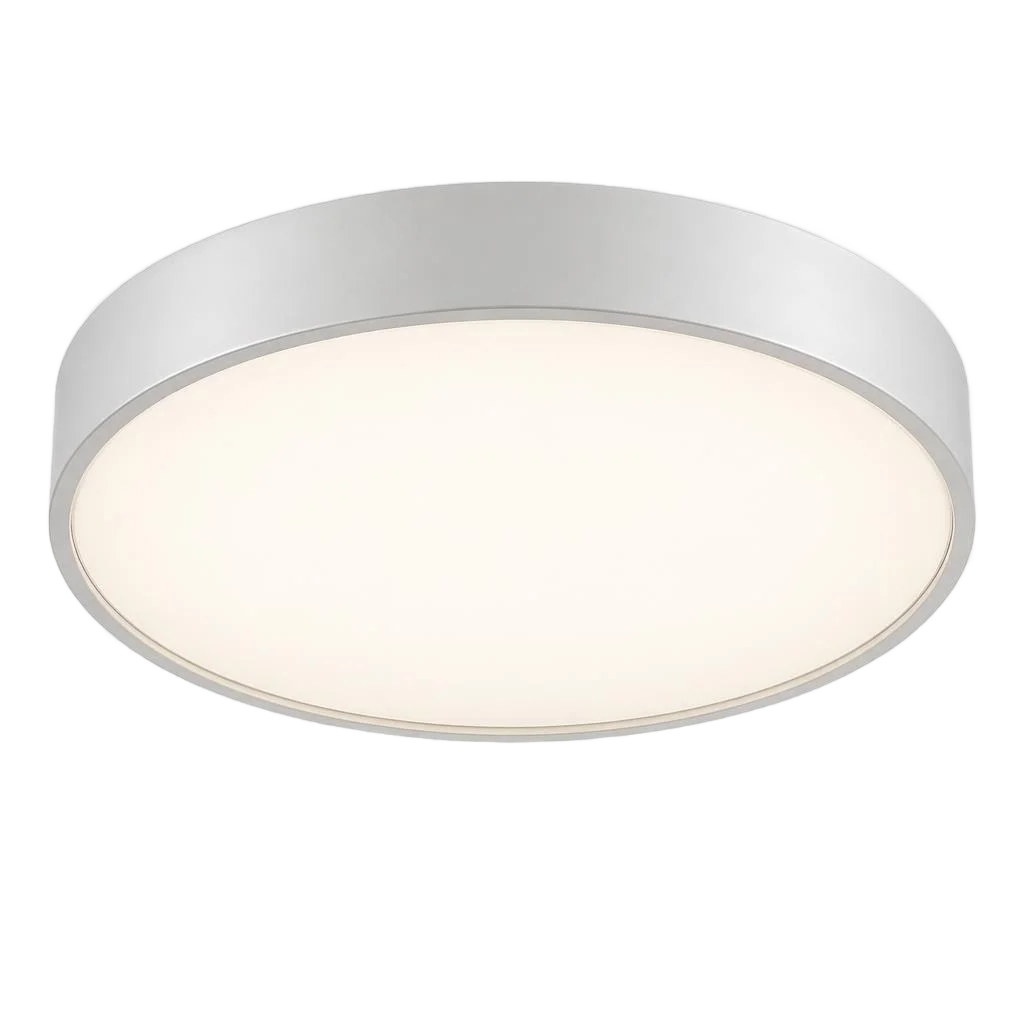
| Recessed spotlight | We cut into the ceiling | Marking according to the plan |
| Recessed spot | We install into the niche | Measuring the mounting depth |
| Adjustable spotlight | We install with alignment | Fixing after adjustment |
| Moisture-resistant light fixture | We seal the joints | Protection from steam and splashes |
| Track busbar | We attach the busbar to the ceiling | Load calculation per meter |
| Track light fixture | We install into the busbar | Adapter for the busbar type |
| LED strip | We glue and connect | Power according to the circuit length |
| Power supply | We install into a hidden niche | Power reserve of 20-30% |
| Controller | We connect and configure | Checking the channels |
| Ceiling lighting | We install the circuit | Hiding the profile in the niche |
| Outdoor lamp | We install on a pole or facade | Separate line |
| Floodlight | We install with a tilt | Moisture protection of connections |
| Garden light fixture | We install on a ground stake | Sealing of the entries |
Chandeliers and pendant light fixtures: assembly, connection, remote
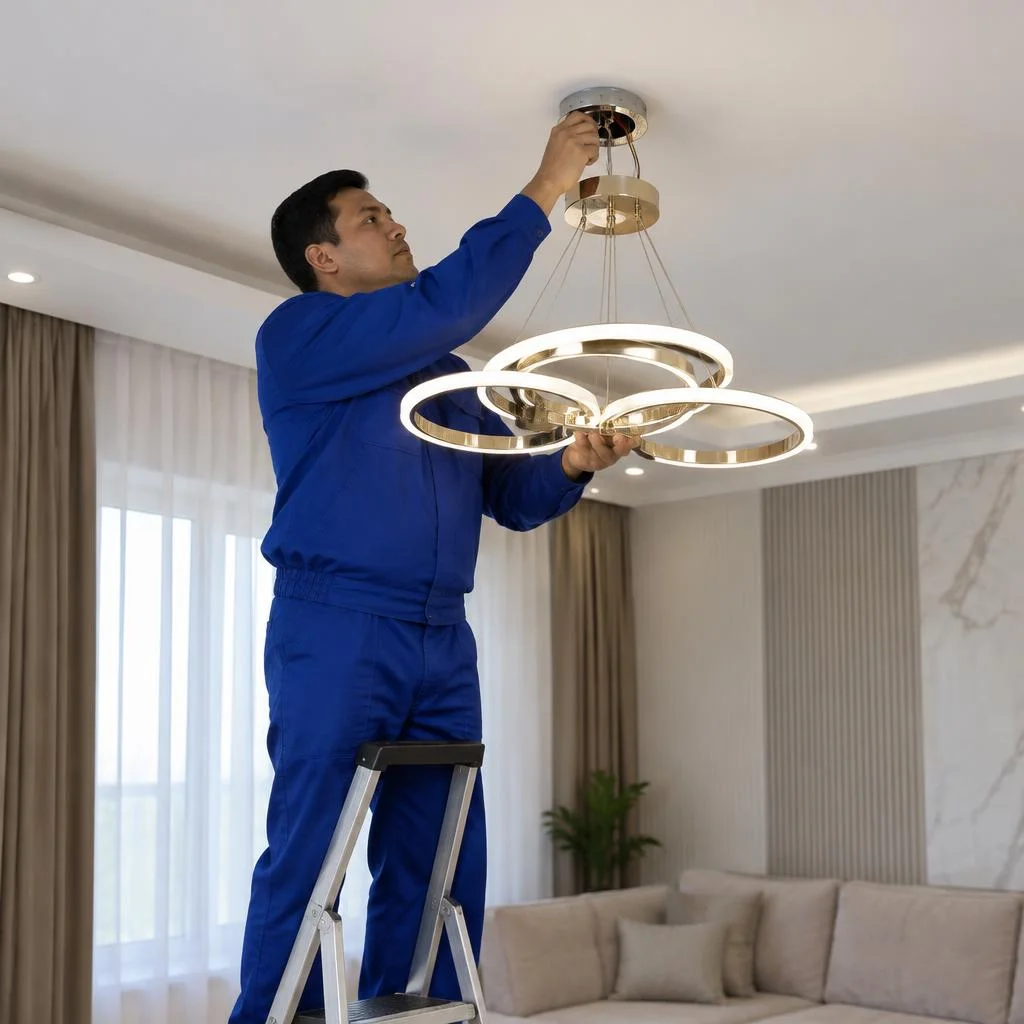
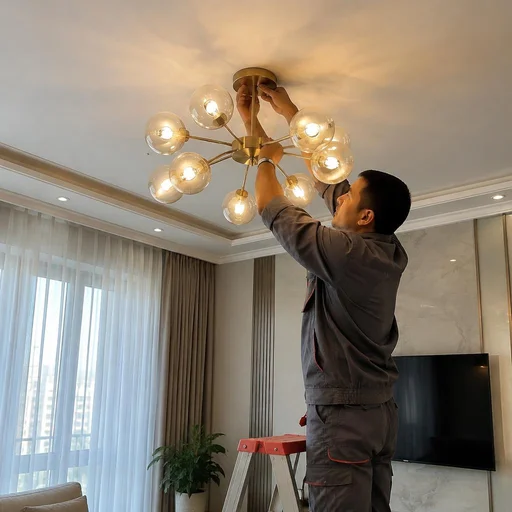
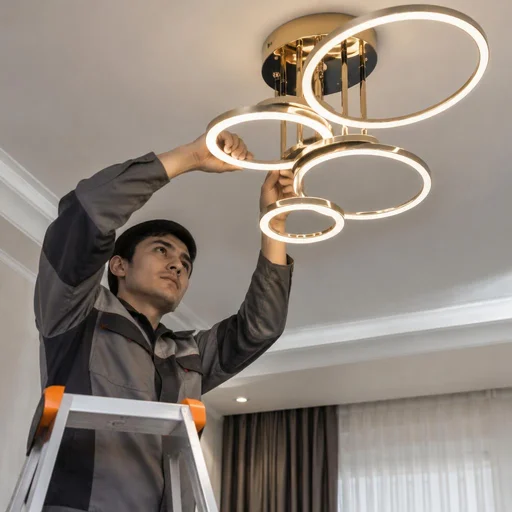
We assemble the chandelier before installation, connect it to the wiring and configure the remote control — all in one visit. Assembly takes more time than the installation itself: multi-arm models with crystal shades are assembled on the floor, and the finished structure is lifted onto a hook or mounting bar. We make the connection through terminal blocks — twists without ferrules heat up under load and oxidize within a season. Chandeliers with a remote require a separate check of the receiver's compatibility with the existing wiring: if the line does not have a neutral in the right place or an old switch is installed, the remote only works intermittently. The receiver is sensitive to the quality of the contact in the junction box — an oxidized twist causes flickering even with functioning electronics.
Recessed, built-in and adjustable light fixtures
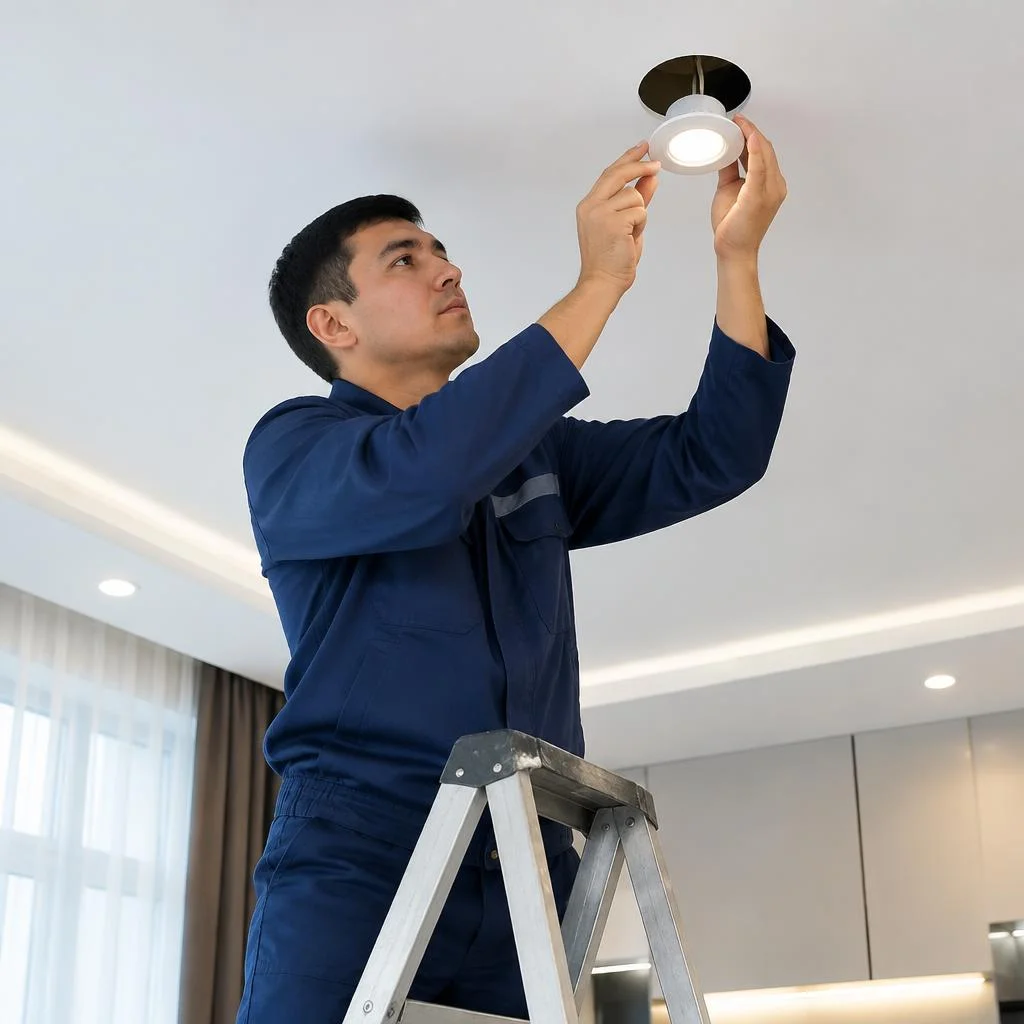
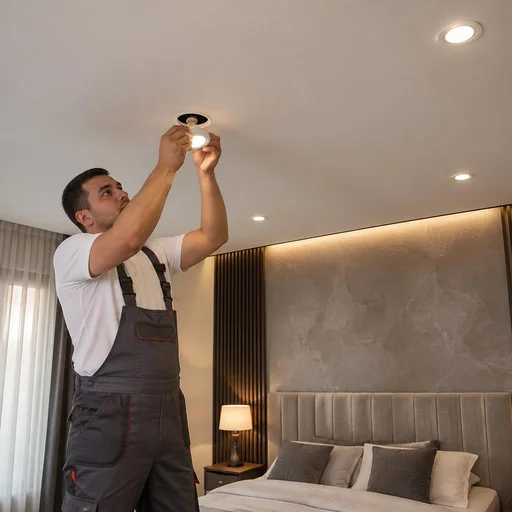
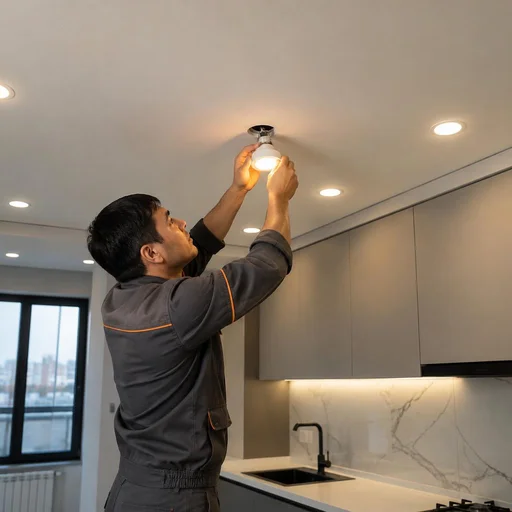
We install recessed, built-in spotlights and adjustable fixtures taking into account the ceiling type — drywall, stretch, or concrete. In drywall, we install a mounting ring for each spotlight so the edge doesn't crumble; in concrete, we cut with a diamond-tipped core bit and run the cable in corrugated conduit. For stretch ceilings, the work is done before the membrane is stretched — after installation, the fixtures can no longer be repositioned without dismantling, so we agree on the layout plan in advance. Adjustable models on a gimbal mount provide up to 30 degrees of tilt: they are installed for accenting paintings, walls, or display cases, not for general light. If you have double-layer drywall, add a backing block — a thin sheet won't support a spotlight with a heavy driver.
Track systems, LED strips, and ceiling lighting
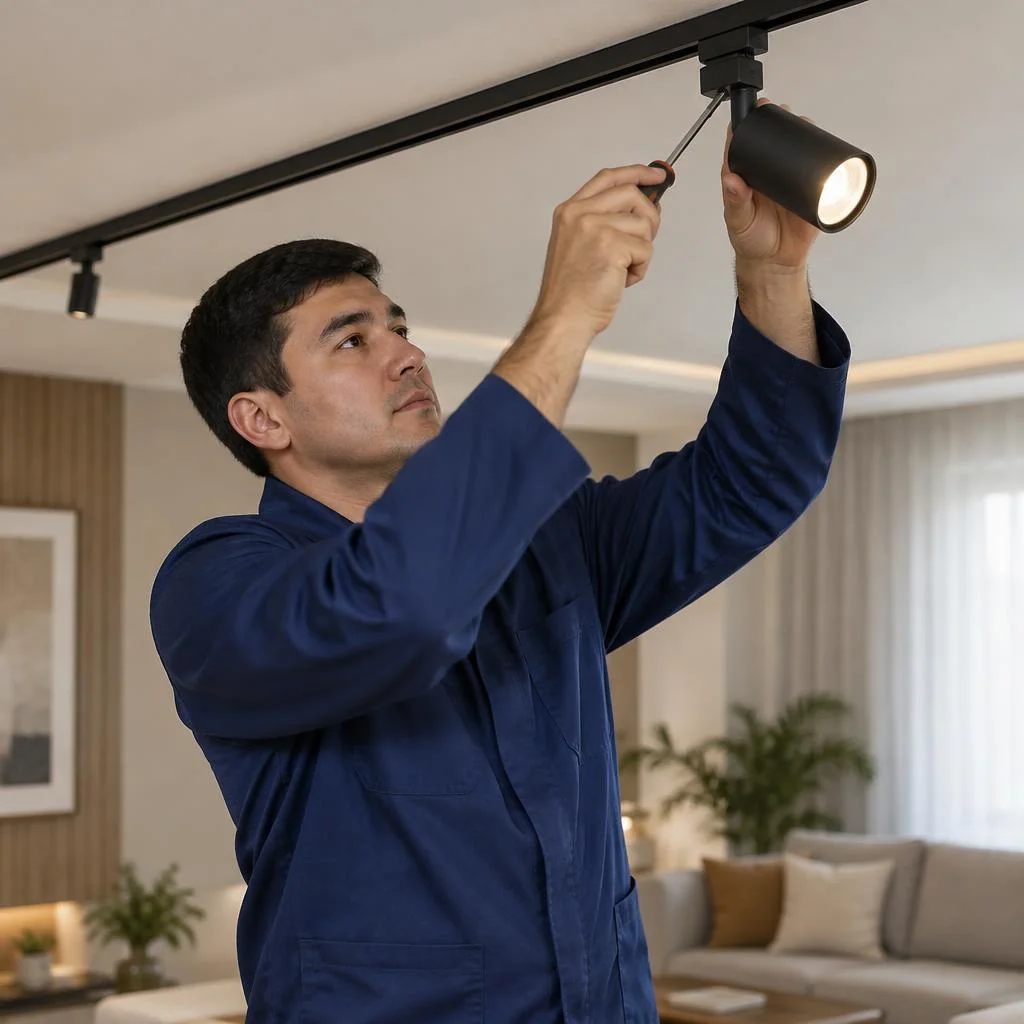
- Track busbar: we mount it to the ceiling with load calculations per meter, extend sections, and bring power to a single point.
- Track fixtures: we install them in the busbar via an adapter, selecting the model for the busbar type and ceiling height.
- LED strip: we glue it along the contour and connect it via a power supply with a power reserve of 20-30% above the calculated value.
- Controller: we configure channels and scenes, check dimming and mode switching.
- Ceiling lighting: we install a contour with the profile concealed in a niche so the light works as reflected light and doesn't glare.
Outdoor lighting: lanterns, floodlights, garden fixtures
We install outdoor lanterns, floodlights, and garden fixtures for private homes and courtyard areas. On facades, we mount brackets for lanterns; on posts, cantilever models with an adjustable tilt angle; for pathways, we use garden fixtures on ground stakes. We seal cable entries, run power on a separate line from the panel rather than from a household outlet. Outdoor fixtures require moisture-proof connections: connecting to household wiring without protection leads to a short circuit after the first rain. Check that all joints have IP-rated cable glands and that the line is protected by a dedicated circuit breaker — installing outdoor lighting without this turns into hunting for a leak after every downpour.
How we plan lighting before work begins
Planning is what distinguishes a professional installation from simply "hanging a light fixture": without a group diagram and load calculation, even an expensive chandelier flickers, heats up the wiring and trips the breaker. Let's break down how the preparation goes before the first hole in the ceiling.
Lighting design: why a diagram is needed for an apartment
We create a lighting diagram for an apartment with each point tied to a group and a switch — this eliminates rework after the final finishing. In a two-room apartment of 62 m² in Chilanzar, we ended up with seven groups: a chandelier in the living room, four spotlights around the perimeter of the kitchen-living room, a track above the dining table, strip lighting in the niche and a wall sconce by the headboard — each on its own switch. In a new build, the diagram is doubly critical: if you don't lay the groups before plastering, you'll later have to chase grooves in the finished walls for VVGng 3×1.5 cable, knock out tiles in the bathroom and restore wallpaper. At the framing stage, the wiring is run along the ceiling in corrugated conduit, and the leads for the light fixtures are left with a 15-20 cm slack. Coordinate the diagram with the electrician before purchasing the light fixtures — a track and strip lighting need separate power lines, not one shared line for the whole room.
Calculating the number of light fixtures and the load on the wiring
We calculate the number of light fixtures based on the area and purpose of the room, and the load based on the total wattage of all points on a single line. For a living room, we take 200-250 lm per m²: for a 14 m² bedroom that's 2800-3500 lm, meaning either a 30 W chandelier plus two wall sconces, or six 7 W spotlights. A kitchen requires 300-400 lm per m² due to dark cabinet fronts and the work area, a bathroom — 250-300 lm. Then the wattage is summed up by group: a 60 W chandelier, a track with four 40 W lamps, 5 m of strip at 14.4 W/m — totaling about 172 W on one line. A 16 A breaker handles no more than 3.5 kW: if you put the chandelier, track and strip on one, it will trip when they're all switched on at once. We split high-power consumers across different breakers and allow a 20-30% margin for future replacement of lamps with brighter ones.
Preparing the site: what needs to be done before the technician arrives
- Clear the installation area: remove furniture and appliances from under the ceiling, take down curtains and the curtain rod — the technician needs access to the mounting point.
- Provide access to the electrical panel: the breakers must be labeled, and the panel must be open so the line can be de-energized before connection.
- Check the light fixture package contents: verify the fasteners, drivers, remote control and instructions — a missing part in the box pushes the work to a second visit.
- Coordinate the renovation stage: installing electric lighting at the rough stage goes faster than after tile laying and wall painting.
Installation technologies for different types of ceilings and surfaces
The method of installing lighting depends on the surface and conditions: concrete, drywall, stretch ceilings and wet areas require different approaches, fasteners and fixtures. We break down the technologies that craftsmen use on sites in Tashkent.
Installation without wall chasing: when it is possible
Eco-Service performs lighting installation without wall chasing in apartments with a finished renovation — via cable ducts, skirting routes and existing back boxes. The bypass route is laid along the joint between the wall and the ceiling, the cable is run into a decorative conduit matched to the finish color or hidden behind a skirting board with a cable duct, and power is taken from the nearest working socket or junction box. Without dust and without dismantling the covering, it is realistically possible to connect spotlights, track busbars and LED lighting if the existing line has enough capacity. Clients often write briefly in the request — light installation — and the craftsman already understands that this is about a finished renovation. But for a new dedicated line for a chandelier, at least one chase from the panel is usually needed — this is discussed during the site measurement before work begins, so that you understand the scope of intervention in the finish.
Installation on stretch ceilings and drywall
| Surface | Fastener type | Weight limit | Specifics |
|---|---|---|---|
| Stretch ceiling | Heat-resistant cup, embedded mount in the slab | Up to 3-4 kg per point | Fixtures are installed before the membrane is stretched |
| Drywall, 1 layer | Butterfly dowel, anchor wedge | Up to 3 kg | Requires reinforcement at the mounting point |
| Drywall, 2 layers | Embedded mount or anchor into the slab | Up to 15 kg | The embedded mount is installed at the frame stage |
| Concrete slab | Anchor bolt, dowel | No strict limit | Support point for heavy chandeliers |
For stretch ceilings we use fixtures with a heat-resistant cup and install them before the membrane is stretched; for drywall — on embedded mounts or with fasteners matched to the weight of the fixture. A heavy chandelier must not be mounted directly into drywall — an embedded mount in the slab is needed, otherwise the ceiling will sag over time and the putty will develop cracks.
Moisture-resistant fixtures for the bathroom and work area
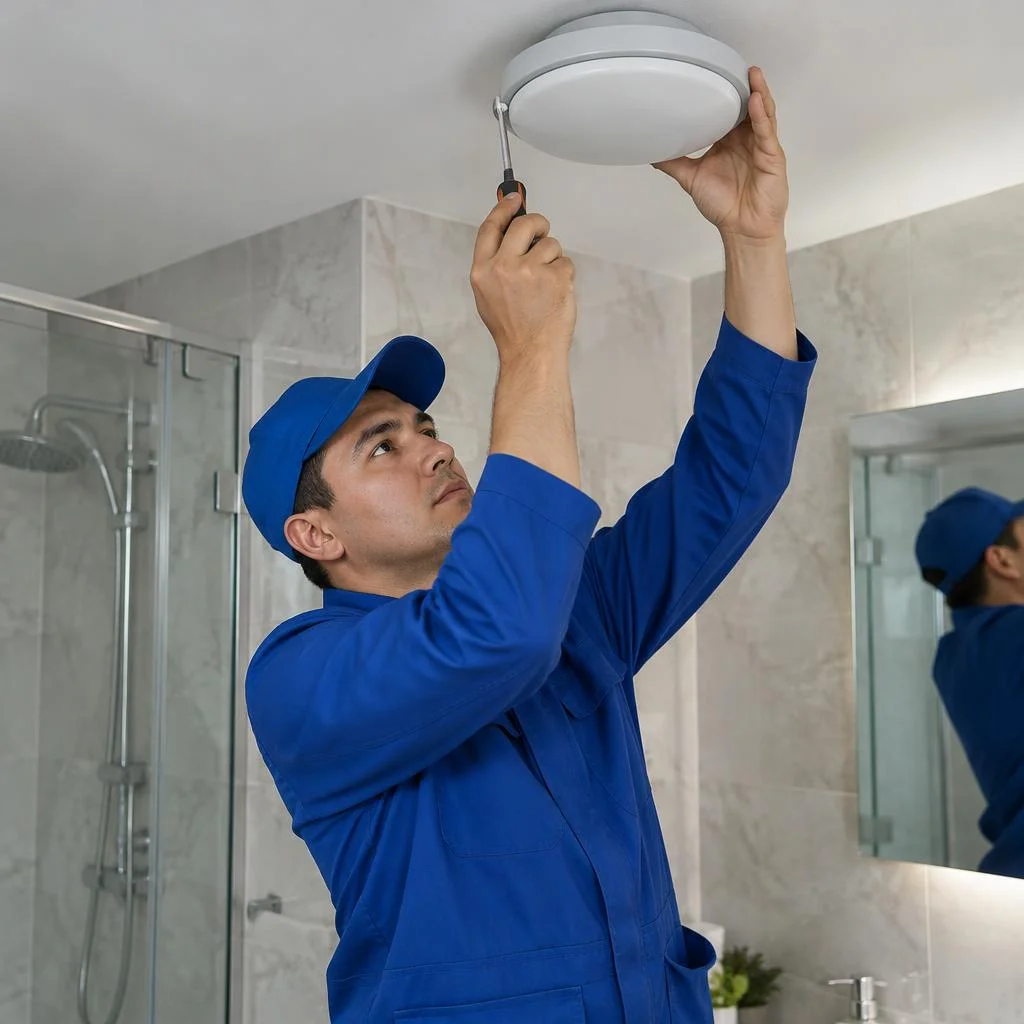
In the bathroom and above the work area we install moisture-resistant fixtures with IP44 protection and higher, with sealed connections. For the shower area, class IP65 is suitable; for the area above the sink and the kitchen countertop, IP44 is sufficient — the difference lies in protection against jets and vapors. Housings with silicone gaskets and drivers in a sealed compartment last longer under conditions of constant humidity and temperature fluctuations. Even a moisture-resistant fixture loses its protection if the connection in the back box is not sealed — we always cover the terminals with heat shrink or sleeves, otherwise condensation on the contacts leads to oxidation and a short circuit.
Lighting scenarios for apartments, houses and commercial properties
The same set of fixtures works differently depending on the property: in an apartment, zone logic matters; in a private house, the street and yard; on a commercial property, uniformity and automation.
Apartment lighting: zones, scenarios, dimming
In an apartment, we separate the lighting into zones — general light, work area, accent lighting — and set up activation scenarios via switches or smart modules. In a standard two-room apartment, that's three to four groups: a chandelier or track busbar for general light, spotlights around the perimeter, LED strip under the wall cabinet in the kitchen, and desk lighting in the study. Each group is wired to its own breaker, and dimming is installed either on a compatible switch or via a smart module with an app. The "evening" scenario turns off the overhead light and leaves warm 2700K at 30%. Clients often state the task briefly — lighting system installation — and from that request we immediately understand the scope: how many groups, where to chase the walls, whether smart modules are needed. In my view, it's more convenient to plan scenarios at the wiring stage: dimming can only be added after renovation to compatible fixtures and switches, otherwise you'll have to replace drivers and run an additional wire.
Outdoor lighting for a private house and yard
For a private house, we install outdoor lanterns, floodlights and garden lights with a separate line and moisture protection. The facade usually gets two or three lanterns with an IP65 rating, along the property perimeter — 40-60 cm bollards with warm light, above the gate — a 30-50 W floodlight, along the paths — low-voltage 12 V garden lights via a transformer. A separate line with a 30 mA RCD is mandatory: the outdoor group operates in conditions of condensation and seasonal precipitation. A floodlight with a motion sensor saves electricity but requires correct orientation of the detection zone — otherwise it triggers on passersby and animals, and the yard stays lit all night.
Lighting for commercial and industrial properties
- Entrances and stairwells: fixtures with a motion sensor and photocell, triggered for 30-60 seconds, saving up to 70% versus constant illumination.
- Sales floors and offices: 4000K linear LED systems with uniformity of at least 0.7, so there are no dark spots between rows.
- Warehouses and workshops: floodlights and industrial fixtures at a height of 6-12 meters, IP54 protection and above, separate lines for each zone, we carry out the work in stages by zone.
- Placement standards: lighting systems are calculated based on illuminance on the work surface — 300 lux in a precision assembly workshop, 200 lux in a warehouse, 75 lux in passage corridors.
Safety and electrical installation of lighting: load, wiring, automation
Lighting is first and foremost electrical work, and here it matters more than aesthetics: the correct wire cross-section, circuit breaker rating and grounding determine whether the system will run for years without overheating and failures.
Wire cross-section and circuit breakers for lighting circuits
| Line type | Cross-section | Circuit breaker | What is connected |
|---|---|---|---|
| Base group | 1.5 mm² | 10 A | Chandeliers, pendant, recessed |
| Extended group | 2.5 mm² | 16 A | LED strips with power supplies |
| Track system | 2.5 mm² | 16 A | Busbar with adapters |
| Outdoor line | 2.5 mm² | 16 A | Lanterns, floodlights, garden |
For lighting circuits we use 1.5 mm² wire and 10 A circuit breakers — this is sufficient for a standard group of fixtures in an apartment. The power of one group rarely exceeds 1.5 kW: six 60 W chandeliers or twelve 10 W spots fit within this margin. Aluminium wiring in old houses of Tashkent districts cannot handle modern LED systems with power supplies — during work we check the wire material and, if necessary, replace the section.
Grounding and short-circuit protection
We connect fixtures with grounding and check the operation of the RCD on the lighting circuit after installation. The protective conductor runs from the PE terminal on the device body to the busbar in the panel, and an RCD with a 30 mA setting trips on leakage before a person feels the current. A metal chandelier body without grounding can "tingle" when touched — this is not a malfunction, but the absence of a protective conductor that needs to be restored. On fluorescent and cheap LED drivers without grounding, potential accumulates on the body, and in humidity it is felt as an electric shock. Check grounding before finish work: after renovation it is harder to reach the busbar in the panel, and restoring the circuit will cost more than laying the conductor at the stage of electrical installation of lighting.
Automation: motion sensors and smart switches
We connect motion sensors, smart switches and lighting control modules — both separately and as part of scenarios. An infrared sensor with a range of 8-12 metres is installed at the entrance, by the stairs or in the corridor, and the trigger threshold is adjusted to the person's height and speed. A motion sensor for lighting in a stairwell should be installed with a switch-off delay of at least one minute — otherwise the light goes out while the person is still on the stairs, and a smart switch without a neutral wire does not work with all LED drivers and causes flickering of the switched-off lamp.
Warranty, timelines, and how the technician's visit works
This section covers the terms we work under: how long the warranty lasts, who exactly performs the work, and how a technician's visit to the site is organized.
2-year warranty on lighting installation
We provide a 2-year warranty on all lighting installation work — it covers connection, mounting, and equipment setup. If after handover the switch stops clicking, the dimmer hums, or the track busbar loses contact at a joint, a warranty visit is arranged based on the completed work report with no additional payment. Eco-Service's practice in Tashkent: in track systems, adapter contacts most often fail; in chandeliers with a remote, the receiver module; and in LED strips, the power supply when it overheats in a closed niche. The warranty is valid if operating conditions are met: if a fixture fails due to a voltage surge in the home, that is no longer a warranty case but a matter of line protection — a voltage stabilizer at the input solves the problem more cheaply than re-repairing the entire circuit.
In-house electricians, no middlemen
We work with our own electricians — orders are not passed to subcontractors, so the service is directly responsible for the result. On staff are technicians certified for work up to and above 1000 V; they also perform insulation resistance measurements, assemble panels, and label lighting circuits, not just hang fixtures. When working through an intermediary, responsibility for defects is blurred between the dispatcher and the crew: the dispatcher points to the contractor, the contractor points to a crooked ceiling or old wiring. A direct contractor is responsible for the work as a whole — from mounting hardware to the final test under load. Clients often search for "lighting installation price" and end up here, so let's be direct: the final cost depends on the number of circuits, ceiling height, and type of fixtures, not on a price per point. If you are comparing installation rates from different contractors, ask who will come to the site: a staff electrician with tools and certification, or a contract crew with no warranty obligations to you.
How the technician's visit works and work timelines
- Request and coordination: you describe the site and type of fixtures, we state the scope of work and the technician's arrival time.
- Visit and measurement: the electrician inspects the ceiling, wiring, and panel, checks the cable cross-section, and proposes a lighting circuit layout.
- Installation: most apartment work — chandeliers, spotlights, strip, track — is completed in a single visit; large sites are divided into stages.
- Handover and test: the technician switches on all circuits under load, checks connection heating, and hands over the site with a warranty card.
Conclusion
Lighting work is a task where the result is visible immediately, but miscalculations make themselves known months later. We have gathered five takeaways that most often determine whether a system will last for years without rework.
Key takeaways
- A full cycle, not a single operation: planning, calculating the load on the circuit, connection, and scene setup affect the result more than the installation of the fixture itself.
- The surface dictates the mounting: stretch ceiling, drywall, and concrete require different preparation — backing, eyelets, anchors — and the method is chosen before purchasing fixtures.
- Each zone is calculated separately: an apartment, a private home's yard, and a commercial hall have different purposes and standards; a single universal scheme does not work here.
- Line safety matters more than aesthetics: wire cross-section, breaker rating, and grounding determine how the system behaves after a year of active use.
- In-house contractors and warranty obligations: these are exactly what distinguish turnkey work from a one-off technician call, after which there is usually no one to hold accountable for the result.


