














Types of wiring: concealed, exposed and combined
The three installation methods differ in labour input, maintainability and applicability to the wall material — panel, monolithic, drywall, wood. We break down where each option works and what limits each one.
Concealed wiring in a chase: where it is appropriate and what limits it
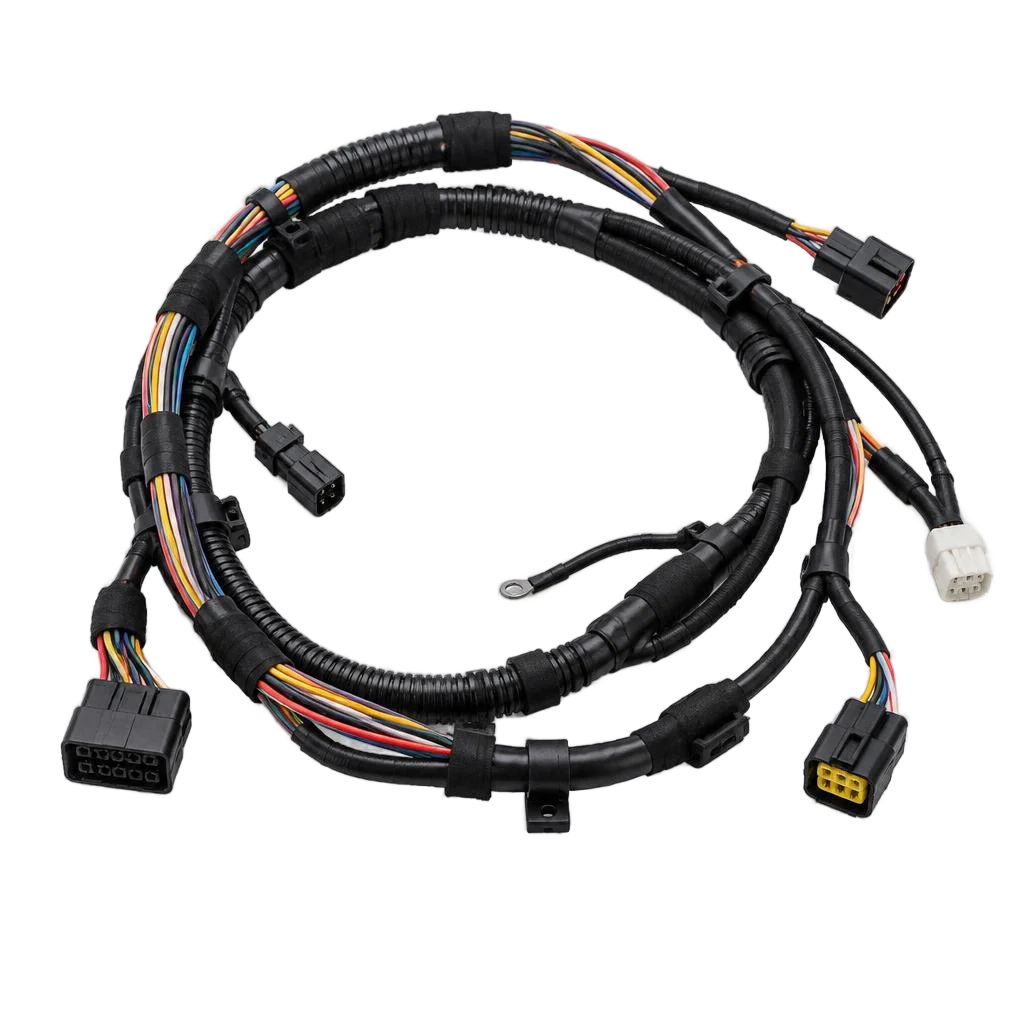
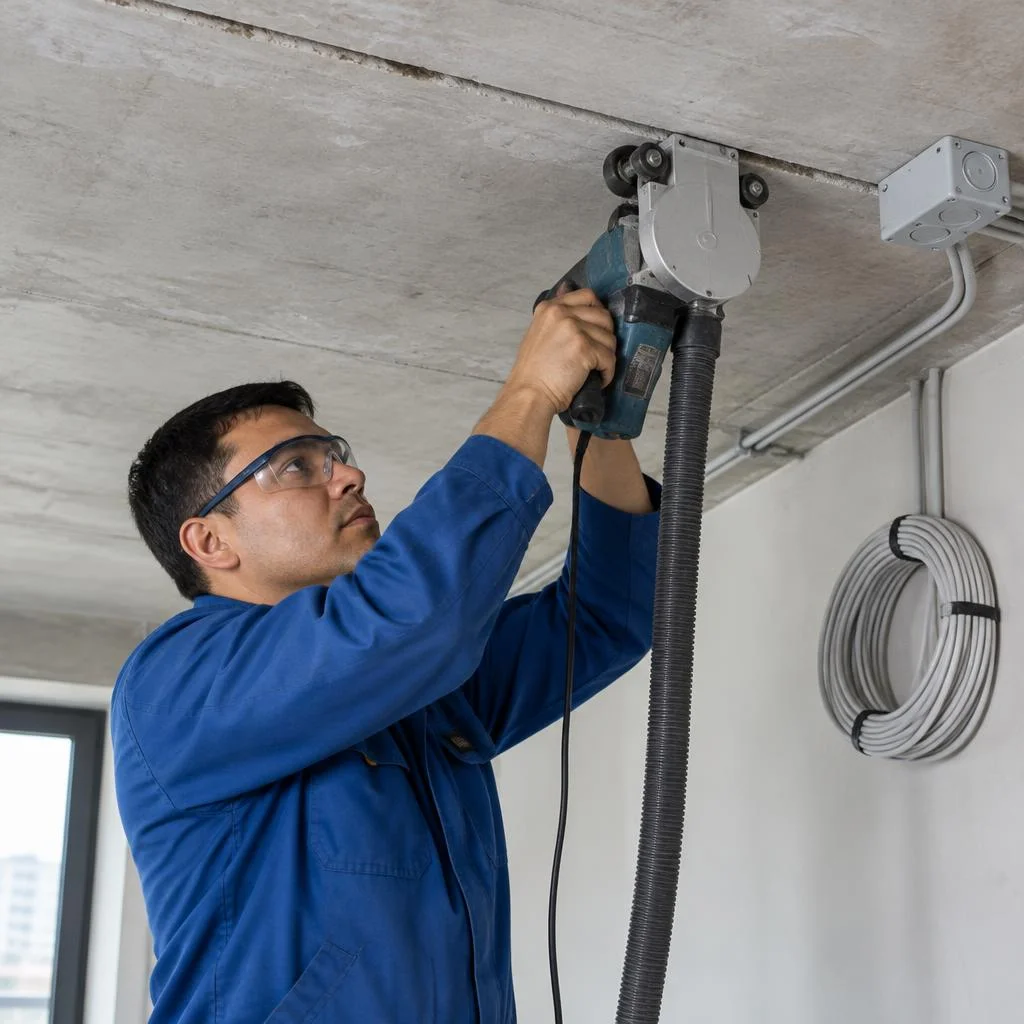
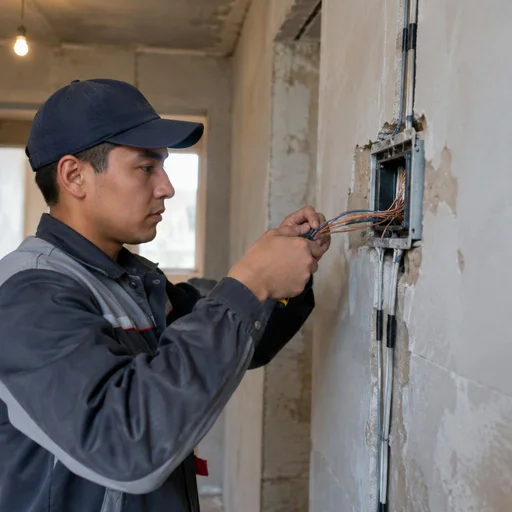
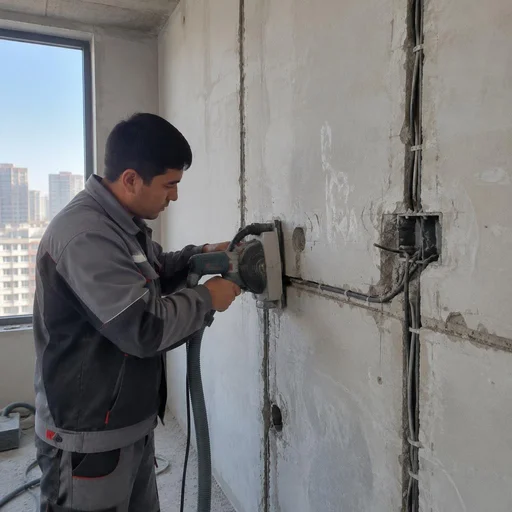
We install concealed wiring at a depth at which the route does not weaken the load-bearing wall, and we close it with plaster flush with the wall. We lay the VVGng-LS cable in a prepared groove, with a mounting box for the mechanism on top, after which the line is plastered and skim-coated for the finish. We cut chases in walls with a wall chaser with dust extraction: in brick and aerated concrete the groove runs evenly, while in monolithic concrete a diamond blade is needed and more time for the pass. In Tashkent properties, panel series are more common — there horizontal chases in load-bearing walls are prohibited: the route is run vertically from the ceiling to the mounting box, and the horizontal transition is made along the floor slab. Electrical wiring installation in a panel building begins with checking the BTI plan and the load-bearing scheme — a single horizontal chase in the slab reduces its permissible load.
Exposed wiring: corrugated conduit, cable trunking and when it is the only option
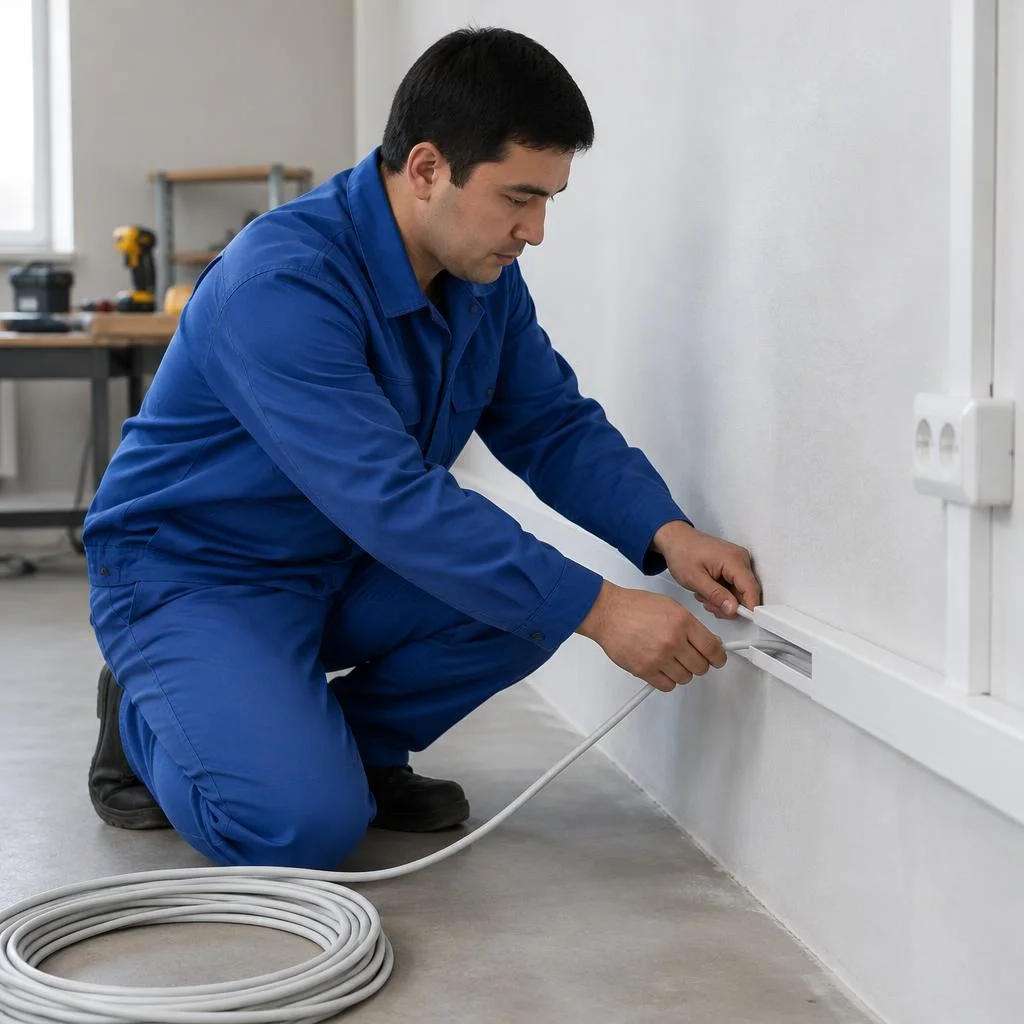
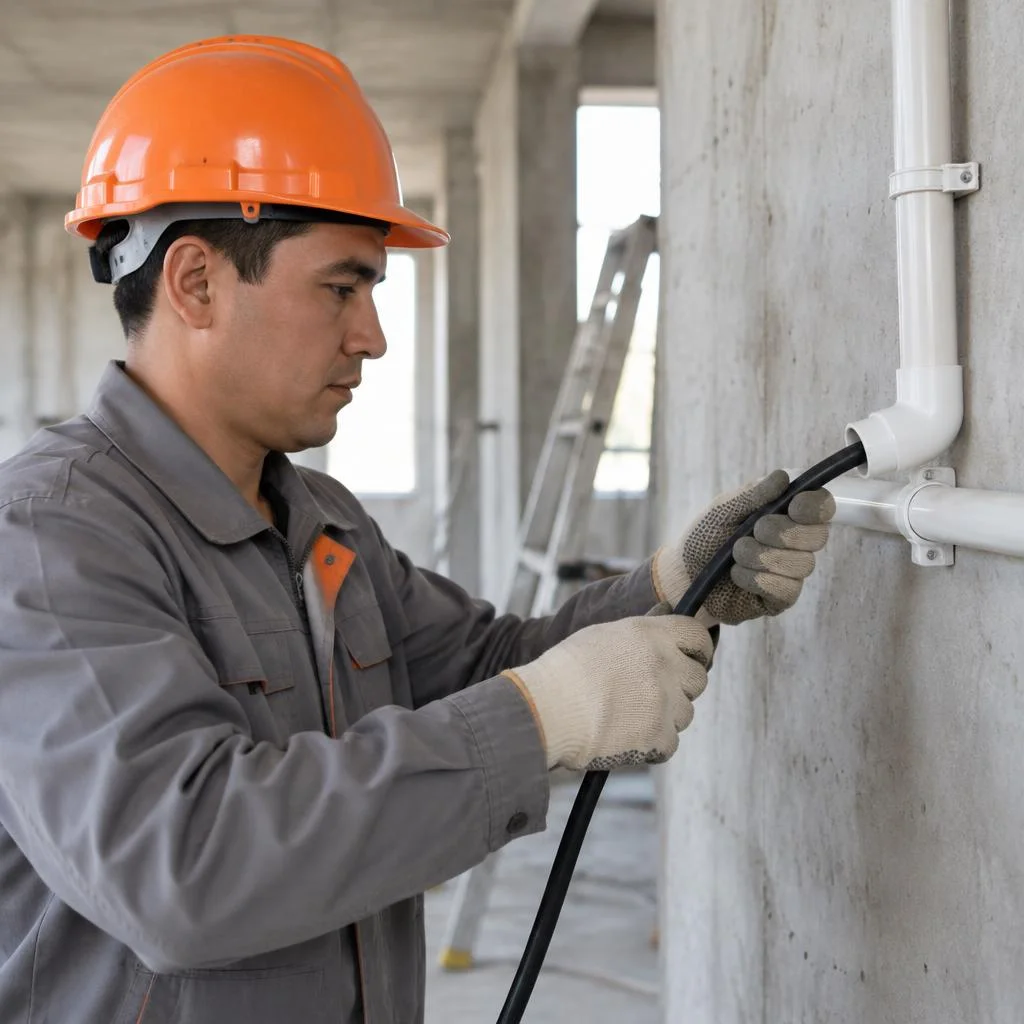
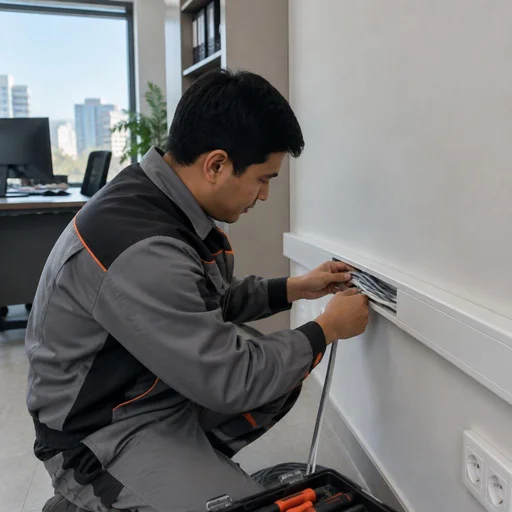
We use the exposed method where chasing is impossible or undesirable: on concrete ceilings, in wooden houses, in rented apartments. Laying cable in an exposed manner in PVC corrugated conduit runs along the wall or ceiling with fastening by clips every 30-40 cm — this is cheaper than chasing and leaves no dust, but the corrugated conduit is exposed to moisture and mechanical damage. Cable trunking covers the line with a box with a lid: replacing a section is done in an hour without opening up the finish, but in the bathroom and kitchen such protection is inferior to corrugated conduit in moisture resistance. In a wooden house, an exposed route is not a compromise but a fire safety requirement: concealed wiring on a combustible base is prohibited. If you are planning to move or are renting housing, choose cable trunking — it can be dismantled without traces on the wall. Turnkey electrical wiring in this format is assembled faster than concealed wiring and does not require rough finishing.
Comparison of installation methods by wall type and tasks
| Method | Wall type | Maintainability | When it is chosen |
|---|---|---|---|
| Concealed in a chase | brick, aerated concrete | low | major renovation |
| Exposed in corrugated conduit | concrete, wood | medium | without chasing |
| Exposed in cable trunking | any | high | rented housing |
| Pulling through pipes | monolithic | high | new build |
| Combined | mixed | medium | partial renovation |
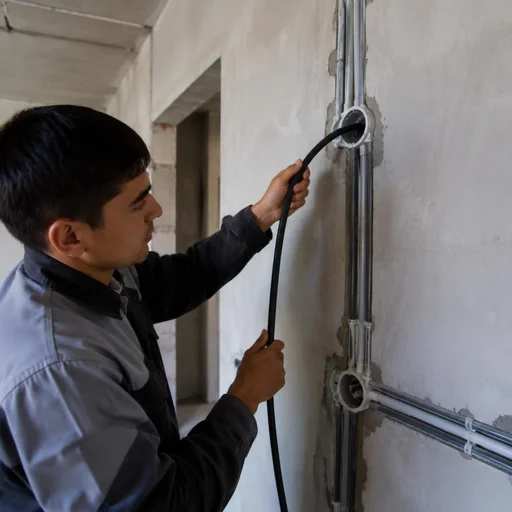
For monolithic concrete, cable pulling through pipes is more often chosen — the line can be replaced without chasing if the pipe was laid at the rough finishing stage. At Eco-Service, the cable is pulled through a corrugated pipe with a pull cord so that after a few years the wire can be replaced without opening up the wall.
Stages of electrical wiring installation: from measurement to continuity testing
The order of work at a site is fixed: measurement and schematic, rough-in operations, routing lines, assembling the panel, final installation and testing. Below is how each stage proceeds and what the customer should monitor.
Measurement, wiring schematic and calculation of consumer groups
Work begins with a site visit by the surveyor: they mark out consumer groups and determine the cable cross-section for each line. Socket groups are run with 2.5 mm² cable, lighting — 1.5 mm²; if a 7 kW cooktop is planned in the kitchen, a separate 6 mm² line from the panel is laid for it. For wet areas — the bathroom, kitchen — a circuit with a 30 mA RCD is designed, while the refrigerator and router are placed on a separate group so that disconnecting one line doesn't cut power to the entire apartment. At Eco-Service, turnkey electrical installation includes developing such a schematic before chasing begins: redoing the wiring after rough-in work is many times more expensive. In my opinion, it's better to lose half a day coordinating the schematic than to open up fresh plaster.
Chasing walls and ceiling, drilling for back boxes
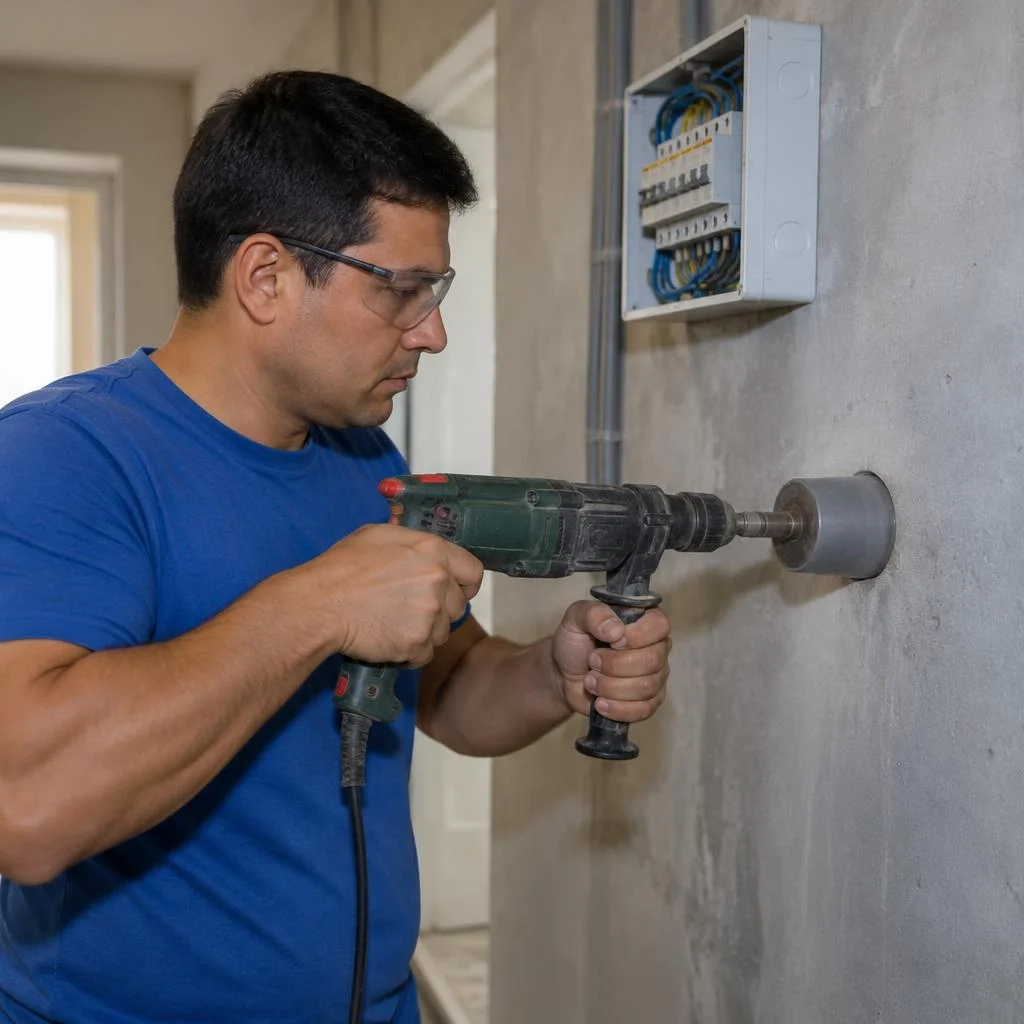
We chase walls for cable and ceilings for wire using a wall chaser with a vacuum, and drill holes for back boxes with a core bit according to the markings. The chase depth for 2.5 mm² cable is 25-30 mm, width — 20 mm, so that the mortar fully covers the line and no voids remain. Ceiling routes are chased less often: usually the wire runs in corrugated conduit under a stretch ceiling structure or through channels in the slab. The vacuum on the wall chaser removes up to 90% of the dust, but furniture in the room is still covered with film — residual airborne dust settles within a radius of several meters. In Tashkent panel buildings, load-bearing walls must not be chased for horizontal lines — only vertical sections from the ceiling to the back box.
Removal of old wiring and preparation of routes
Removal of old wiring is done before chasing: aluminum lines are pulled out of the channels to free up the routes for the new cable. In Tashkent's khrushchyovkas and brezhnevkas, 2.5 mm² aluminum handled a load of up to 3.5 kW; modern appliances require 5-7 kW for a single kitchen line — the old cable is not suitable for it. In old buildings, aluminum is often twisted together with copper in junction boxes — such connections are removed entirely; they must not be left under the new load. At the same time, the condition of the back boxes is checked: concrete ones crumble, plasterboard ones fly out together with the socket — they are replaced with new ones before the cable is laid.
Laying cable and installation in the chase
Cable is laid in corrugated conduit or in a chase with clip fastening, with a fastening spacing of no more than 30 cm horizontally. Electrical wiring installation is done with VVGng-LS cable: the insulation does not propagate fire and produces little smoke, which is critical in wooden floors and on evacuation routes. In the chase, the cable is laid with a length reserve of 10-15 cm at each back box — this allows the socket to be reconnected during replacement without extending the line. Surface-mounted routing is done in corrugated conduit or cable duct if chasing is impossible: concrete load-bearing walls, rented premises, a design with exposed services. The corrugated conduit protects the insulation from contact with concrete and simplifies pulling if the line has to be replaced.
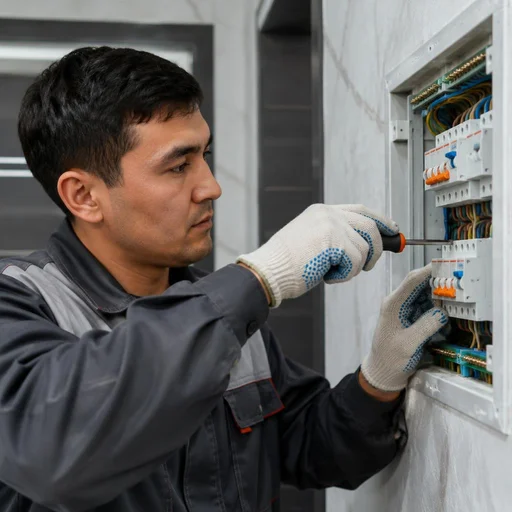
Assembling the electrical panel and installing protective automation
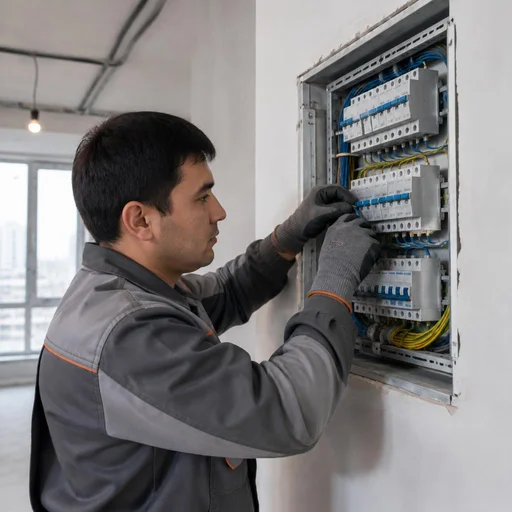
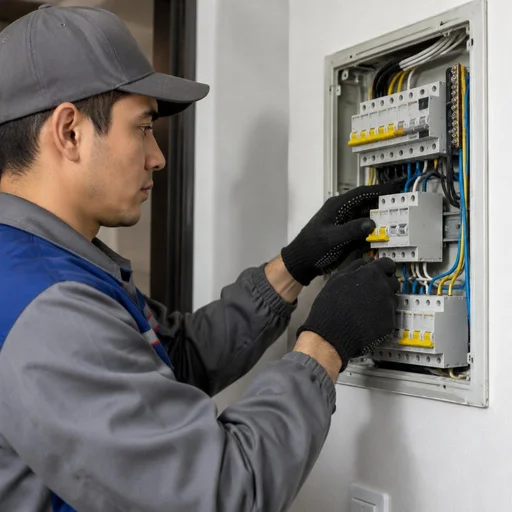
The electrical panel is assembled on a DIN rail: main breaker, C16 group breakers, 30 mA RCDs for wet areas and RCBOs for individual lines. For a single-phase 220 V supply in a Tashkent apartment, a panel of 12-18 modules is sufficient; for a private house with a three-phase 380 V supply — 24-36 modules. Connections are made with WAGO terminals or ferrules: twisted joints heat up and burn under load. The RCD is installed after the group breaker, not instead of it — the breaker protects the cable from overload, the RCD from leakage; one device does not replace the other. The rating of the main breaker is selected according to the allocated power: at 5 kW it's C25, at 10 kW — C40.
Installation of sockets, switches and line continuity testing
After installing sockets and switches, each line is tested for continuity and the RCD is checked with the "Test" button before handing over the project. A multimeter is used to check polarity, insulation resistance and the absence of a short circuit between the conductors; for concealed lines, the integrity of the conductors along their entire length is additionally checked. Continuity testing reveals swapped neutral and phase, which are not visible visually but result in the appliance body being live at the slightest fault. At Eco-Service, before handing over the project, a report with the measurement results is drawn up — the client receives a document that can later be used to make a claim against the contractor if something comes loose.
Turnkey electrical work in an apartment: new build and secondary housing
The scope of work in a new build and in secondary housing differs fundamentally: in the former, the developer's rough-in wiring is more often completed, while in the latter the worn-out network is completely replaced. We break down both scenarios and how the scope is calculated.
Electrical work in a new build: what to keep from the developer
In a new build, we keep the developer's incoming cable and meter if the incoming cross-section matches the apartment's load, and we redo the group wiring. In Tashkent, the developer often installs a single circuit breaker for the entire apartment — during a short circuit in one room, everything loses power; we split the network into at least 6-8 groups. Rough-in wiring in monolithic buildings runs in corrugated conduit along the floor slab, while in panel buildings it is cast into the walls, and its condition is checked by pulling and continuity testing before finishing begins. The cost of work in a new build depends on whether the incoming cable is kept: if the incoming cross-section is less than the calculated one (for an apartment of 60-80 m² this is 6-10 mm² for copper), the main line is replaced, and the scope increases. Before purchasing cable, request the design schematic from the developer — in Tashkent residential complexes it is issued upon written request, and it saves a day on marking out the groups.
Turnkey electrical work in an apartment in secondary housing: complete replacement
In secondary housing, we replace the wiring entirely: aluminium lines cannot withstand modern loads and cannot be extended with copper. Dismantling old wiring in Khrushchyovkas and panel buildings in Tashkent takes up to two days if the runs are cast into the structure, and half a day if the network was run exposed. We run new lines with VVGng-LS cable: three to four groups for the kitchen with a separate line for the hob, one for each room, separate ones for the washing machine and boiler. The final cost is determined by the number of points and the footage of the runs, not by the finishing. If the walls are covered with tiles or plaster without chases, it is cheaper to run exposed wiring in a cable duct along the ceiling than to open up the finishing throughout the apartment.
What turnkey electrical work includes and how the scope is calculated
- Measurement and schematic: site visit by the surveyor, marking out the groups, calculating the cross-section for each line and agreeing on the panel.
- Rough-in work: chasing walls and ceiling, drilling for back boxes, dismantling the old network.
- Installation: VVGng-LS cable in corrugated conduit, a chase or a cable duct according to the chosen method.
- Panel: assembly on a DIN rail, circuit breakers, 30 mA RCDs, RCBOs for individual lines.
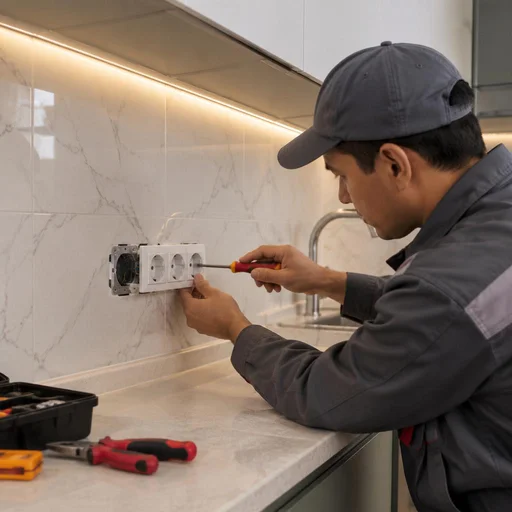
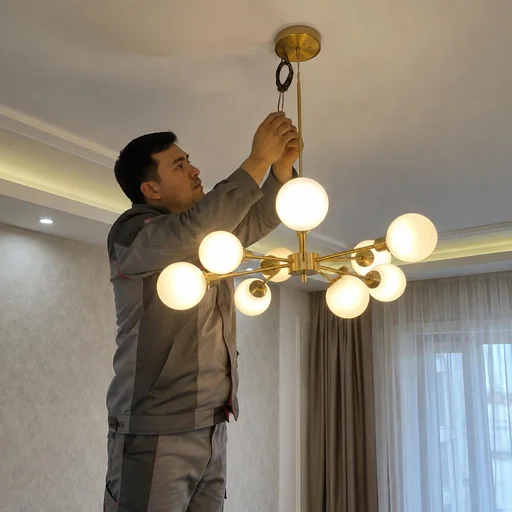
- Final stage: installation of the socket block, mounting of switches and the chandelier, continuity testing of the lines, handover by report.
How the estimate is fixed before work begins
Turnkey electrical renovation is calculated by the number of points and the footage of the runs, not by the area of the apartment — two apartments of the same area can differ in the number of groups by one and a half times. The estimate is tied to points: a socket, a switch, a ceiling light outlet and a line for an appliance are counted separately, while chasing and installation are charged by linear metres. The surveyor's visit is free, and after it the estimate does not change without written agreement. The contract fixes both figures before work begins, so additional payments arise only when new points are added during installation.
Turnkey electrical installation in a private house: service entry, grounding, outdoor loop
A private house differs from an apartment by its service entry from the street, a mandatory grounding loop, and outdoor lighting that is laid during the rough-in stage. We break down how turnkey electrical installation in a house is structured and what to consider before starting to chase walls.
Service entry cable and grounding loop
We bring the service entry into the house with a cable from the street through the main circuit breaker, and we assemble the grounding loop from three rods driven in a triangle to the freezing depth. For an overhead line we use self-supporting insulated wire SIP with a cross-section of 16 mm², for an underground line — armored cable VBbShv in a trench below the freezing level. Inside the house, at the service entry, we install a 40 A circuit breaker and a 30 mA RCD: a leakage through damaged insulation of a boiler or pump disconnects the line in a fraction of a second. Turnkey electrical installation in a private house price depends on the length of the runs and the number of circuits, so we take measurements before starting work. Without a grounding loop, an RCD trips unreliably: during a leakage, the current flows through a person rather than through the ground, and the protection may fail to disconnect the line in time — we check the loop resistance with an instrument before handing over the project.
Circuit distribution diagram and outdoor lighting
In the house we run separate circuits for the kitchen, boiler, pump, and outdoor lighting, so that disconnecting one line does not cut power to the whole house. We protect the kitchen with a C16 circuit breaker, the boiler and pump — with a 16 A RCBO, the socket circuits of the bedroom and living room — with C16 and a 30 mA RCD. We install the electrical panel in the hallway or boiler room: all turnkey electrical installation in a country house converges there, including low-voltage systems and the outdoor loop. For the yard and facade we lay a separate line in corrugated conduit or armored cable. Outdoor lights are powered through a separate circuit breaker with a twilight relay — otherwise the yard lighting works manually and wastes the lamps' service life for nothing.
Turnkey electrical installation in a country house: seasonality and staging
We approach a country house in two stages: rough-in installation before finishing and final — after the finish, so as not to damage the cable during plastering. At the rough-in stage we chase the walls, drill pockets for mounting boxes, pull cable in corrugated conduit along the ceiling, and bring the ends into the panel. At the final stage — we install sockets, switches, circuit breakers, and perform continuity testing. At the frame stage, the runs are laid before insulation: later the cable would have to be run exposed. Earthworks for the grounding loop in the Tashkent region are best planned for spring or autumn: in summer the soil is dried out and the rods are harder to drive, in winter freezing interferes with resistance measurements.
Electrical panel and protective automation: circuit breakers, RCDs, RCBOs
The panel is the node on which it depends whether the protection will trip during an emergency. We break down how a circuit breaker, an RCD and an RCBO differ and how they are correctly combined on a single rail.
Circuit breaker, RCD and RCBO: what is responsible for what
| Device | What it protects | Where it is installed | Feature |
|---|---|---|---|
| C16 circuit breaker | cable from overload | each group | does not react to leakage |
| RCD 30 mA | a person from leakage | wet areas | requires a circuit breaker before it |
| RCBO | cable and person | individual lines | more compact, diagnostics more difficult |
| WAGO terminal block | connection of conductors | junction boxes | instead of twists |
A C16 circuit breaker supports a 2.5 mm² line and disconnects it during a short circuit within fractions of a second. An RCD 30 mA reacts to leakage through the human body — the threshold is chosen so as to trip before a life-threatening current. An RCBO combines both mechanisms in a single housing and saves space on the rail. Eco-Service installs RCDs on groups in wet areas — the bathroom, kitchen, washing machine. With an RCBO, when it trips it is harder to understand the cause: a circuit breaker with a separate RCD is diagnosed faster, which is important when troubleshooting. Clients often formulate the task as assembling a panel — and based on this request we immediately select the circuit breaker rating for the cable cross-section and the number of groups.
Typical mistakes when assembling a panel
- Twists instead of terminals: heating under load, oxidation of copper, risk of fire in the junction box.
- Oversized circuit breaker: a C25 on a 2.5 mm² cable does not protect the line from overload, but merely delays the heating of the insulation.
- No RCD: wet areas and outdoor lines remain without protection against current leakage.
- One circuit breaker for the whole apartment: an emergency in one room cuts power to the entire property and de-energizes the refrigerator.
- No labeling of groups: during repairs it is impossible to understand which breaker is responsible for which room.
- Saving on the WAGO terminal block: cheap analogues lose contact within a year, while the original holds the conductor for decades.
- Panel without spare module capacity: when adding a new line there is nowhere left to install a circuit breaker.
Timelines, Warranty and Acceptance of Work
Timelines depend on the scope and phasing of the work, warranty obligations are fixed in the contract, and acceptance is carried out according to a report with continuity testing of each line. Below is how this works in practice.
Work Timelines by Object Type
A studio apartment is completed within a few working days, while a house with a grounding loop and outdoor lighting takes longer because earthworks and outdoor loop installation are added. A standard two-room apartment in a new building in Tashkent takes 4-6 days for the rough-in stage: wall chasing, drilling for back boxes, cable routing and panel assembly; the finishing stage with sockets, switches and chandeliers takes another 2-3 days. A single-storey house of 120-150 sq. m with an incoming cable from a pole and a grounding loop around the perimeter takes 8-12 working days, of which 2-3 days go solely to earthworks and installing the grounding loop. Electrical wiring installation is prolonged not by the routing itself but by the wait between the rough-in and finishing stages: the cable must settle in the plaster, otherwise the run can be damaged when the finish shrinks. Plan the finishing work at least 7-10 days after plastering — this buffer saves re-chasing.
2-Year Warranty and What It Covers
We provide a 2-year warranty on our work: it covers routing, connections and panel assembly if the fault occurred due to our fault. The warranty period applies to wall chasing and cable routing, pulling through conduits, installing back boxes, assembling the electrical panel, installing circuit breakers, RCDs and RCBOs, connecting sockets and switches. The contract and estimate specify the list of circuits, breaker ratings and the wiring diagram — using these documents, the technician finds the required line in 15 minutes without opening up the entire run. The warranty is void if the customer replaces a breaker themselves or adds a line to the panel — any interference with the assembled unit removes the contractor's liability. If you plan modifications, agree them in advance: the technicians will amend the diagram and preserve the warranty on the remaining circuits.
Acceptance: Continuity Testing, Inspection and Report
We carry out acceptance together with the customer: we test continuity of each line, check RCD tripping with the "Test" button and sign the report. Continuity testing with a multimeter and socket tester takes 30-40 minutes per apartment: we check phase, neutral and ground conformity in each socket, the integrity of each circuit from the panel to the end point, and insulation resistance. Panel inspection is a separate step: we verify the actual breaker ratings against the diagram, check terminal tightening on the incoming and outgoing lines (a loose contact is the cause of 60-70% of fires in panels), and test 30 mA RCDs for tripping. The report listing the circuits and breaker ratings is worth keeping — a year later, when adding appliances, it will save you from re-diagnosing the entire network. If you order turnkey electrical work, the price is fixed in the estimate before work begins, and the wiring installation is handed over under the same report with no extra charges for continuity testing.
Conclusion
Electrical network installation work comes down to five decisions: the routing method, conductor cross-section, panel composition, grounding and the acceptance procedure. Below are brief takeaways worth keeping at hand when planning work in an apartment or house.
Key Takeaways
- The routing method is chosen based on the wall: in panel and monolithic buildings, concealed routing is limited by wall chasing, while open routing in cable trunking is more maintainable and cheaper to rework.
- Cross-section matched to load: socket circuits use 2.5 mm², lighting uses 1.5 mm², while a washing machine, cooktop and boiler require a dedicated line from the panel.
- A panel is not just one breaker: a minimum of 6-8 circuits, 30 mA RCDs for wet areas, RCBOs on dedicated lines with increased requirements.
- Grounding in a private house is mandatory: without an installed loop, protective disconnection trips unreliably, and appliance enclosures remain energised.
- Acceptance by report: continuity testing of lines and RCD trip testing record the result and simplify diagnostics during future renovation or connection of new appliances.


