








What types of electric underfloor heating we install
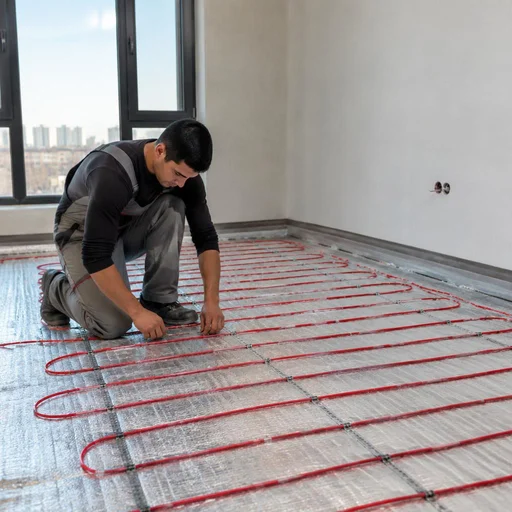
Three systems cover almost all tasks: cable floor in a screed, heating mat under tiles, and film infrared under laminate. I'll explain the principle by which we choose each one for a specific room.
Cable underfloor heating: when we lay it in a screed
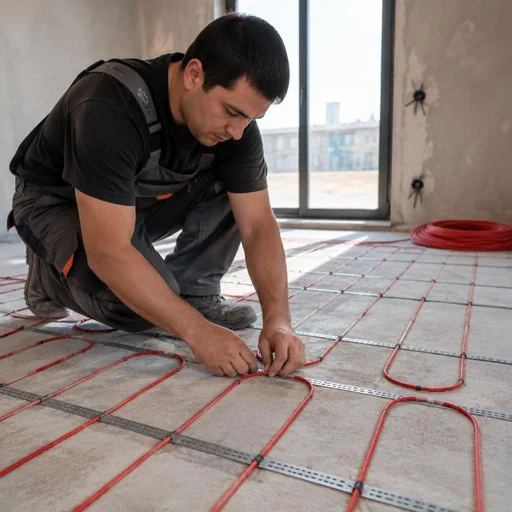
Installation of an electric cable-type underfloor heating is performed where high specific power is needed — from 150 W/m² per square meter. We lay a single-core or twin-core heating cable in a snake pattern on mounting tape with a spacing of 10-15 cm, pour a cement-sand screed 30-50 mm thick, and start the system only after it has fully dried. In corridors, kitchens, and bathrooms in Tashkent, this scheme provides an even thermal contour without cold zones: concrete accumulates heat and releases it gradually, so the temperature holds longer after switching off. For comparison: a mat in the same rooms heats the surface faster but cools down more sharply. Tip: before pouring, be sure to photograph the cable layout with a tape measure in the frame — when drilling walls for a towel warmer, this saves the heating core from damage.
Heating mat: a thin option under tiles
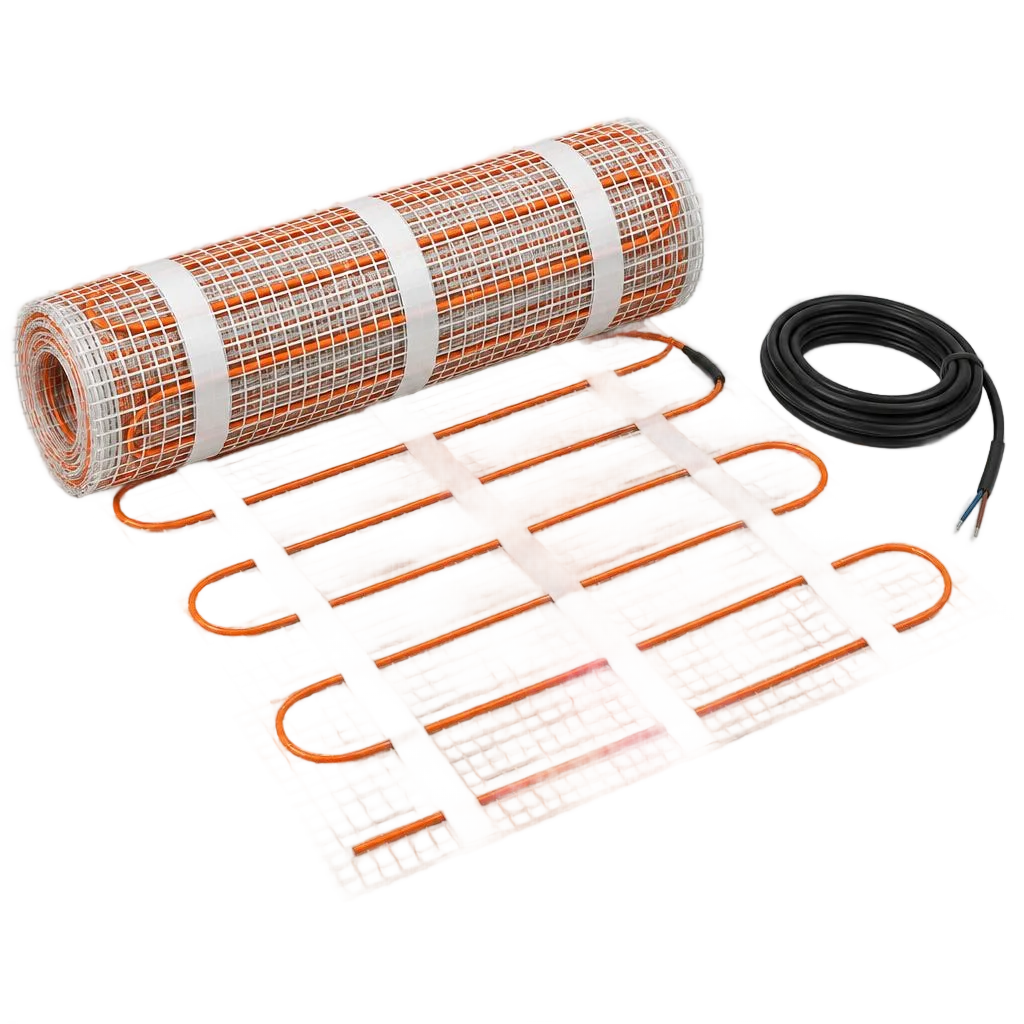
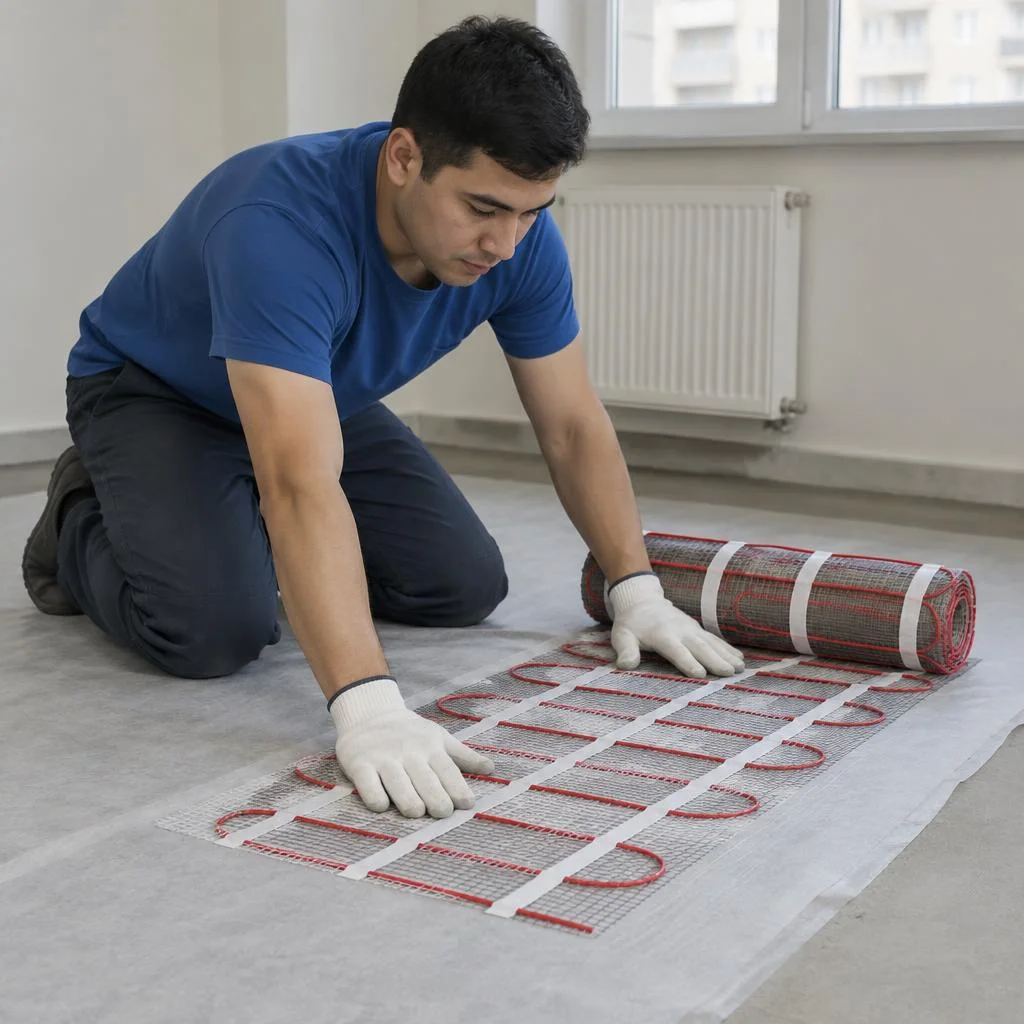
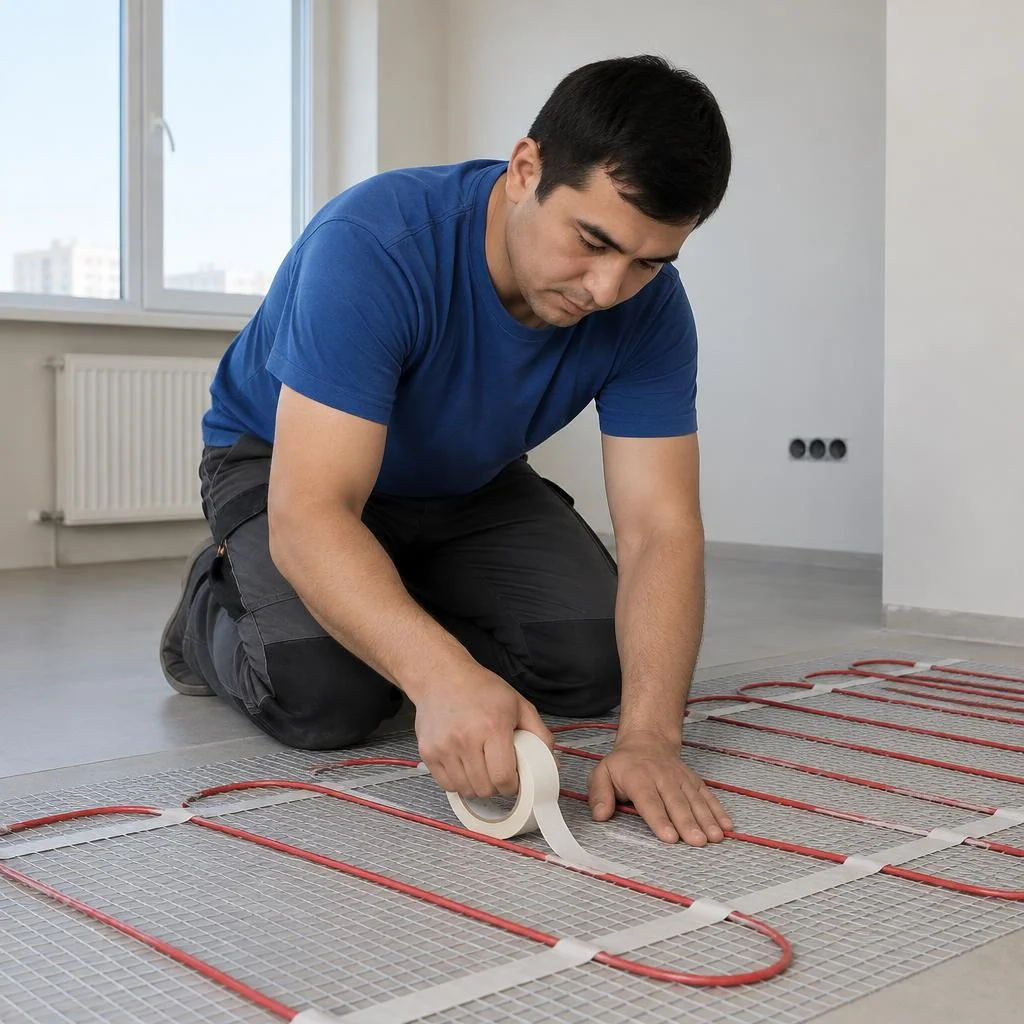
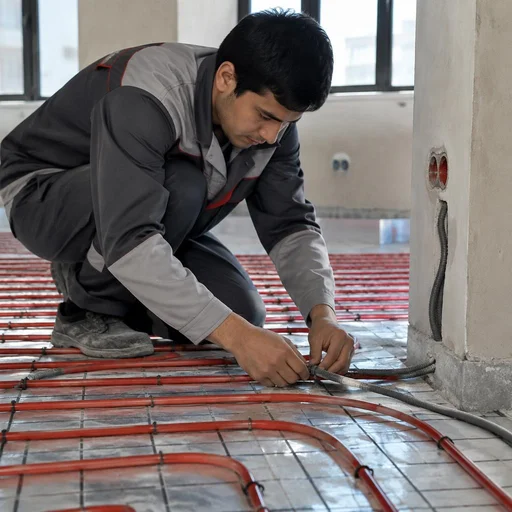
At Eco-Service we lay the heating mat under tiles without pouring a screed — the system thickness is only 3-4 mm, which is critical in Tashkent panel buildings, where every centimeter of height counts. The mat is the same twin-core cable, but already fixed to a fiberglass mesh with a factory spacing of 5-10 cm, so laying takes 2-3 times less time than with cable. Clients often phrase the request as electric underfloor heating installation — and from such phrasing the technician immediately understands that a mat variant on a ready base is needed. Another frequent search query is electric underfloor heating installation cost of work: that's how people look for an estimate for laying, and we calculate it by area and number of circuits. Cutting the mat to size is done only in marked zones — where there is no heating core; an arbitrary cut damages the circuit and voids the warranty. Our experience: in bathrooms up to 6 m², the mat beats cable on timelines by 40-50%, because you don't have to wait 21-28 days for the screed to dry.
Film infrared floor: under laminate and linoleum
We lay film infrared floor under laminate and linoleum — it requires no screed and raises the floor level by only 2-3 mm. We lay carbon strips 50-80 cm wide on a heat-reflecting underlay, connect them with conductive clamps, and connect them to a thermostat via one or several parallel lines. An underlay beneath the film is mandatory: it distributes heat upward rather than into the floor slab, and protects the IR element from point pressure from furniture. In search, such systems are looked up as electric underfloor heating installation — and it's the same film circuit, just named in the client's words. Electric film-type underfloor heating is especially in demand in bedrooms and children's rooms, where laminate is the main covering. Practice: we don't run film under heavy wardrobes and sofas — furniture blocks the heat and creates local overheating, so we plan the layout in advance according to the furniture arrangement plan.
Comparison of the three systems by key parameters
| System type | Finish covering | Layer thickness | Installation feature |
|---|---|---|---|
| Cable | tiles, porcelain stoneware | 30-50 mm with screed | laying cable on mounting tape |
| Heating mat | tiles, porcelain stoneware | 3-4 mm | cutting the mat to size |
| Film | laminate, linoleum | 2-3 mm | insulating the film cut points |
The cable system is chosen with a limited budget per square meter, the mat — when speed matters, the film — when a screed cannot be poured. Electric underfloor heating under porcelain stoneware in a bathroom most often follows the mat scheme, while in living rooms with laminate — the film scheme. If ceiling height is limited, choose a mat or film: the cable system consumes 3-5 cm for the screed and another 1-2 cm for the finish covering.
Preparing the base: where the installation of an electric underfloor heating begins
A level and dry base determines how long the system will last and how evenly the room will heat up. We break down the preparatory work that is part of installing an electric underfloor heating before laying out the heating cable.
Removing the old covering and leveling the base
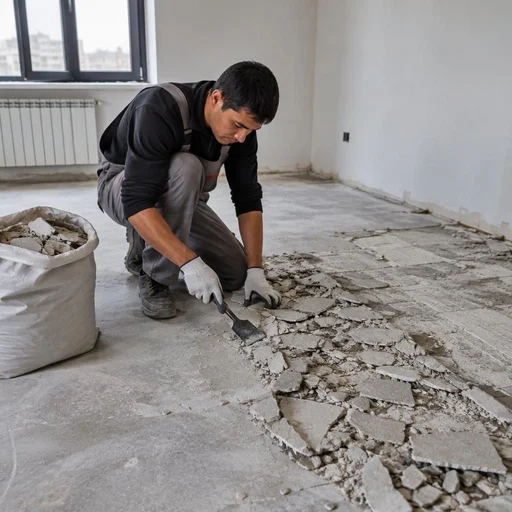
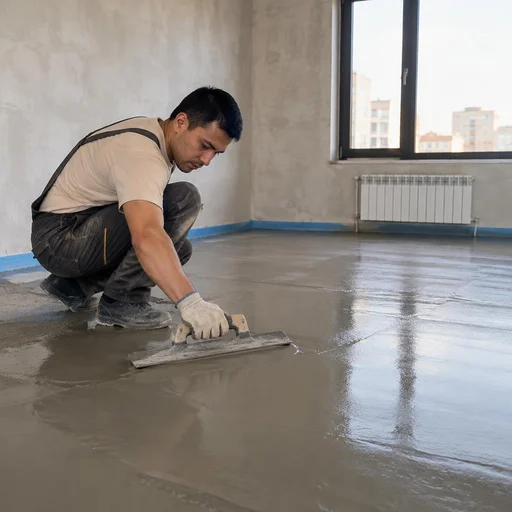
Installing an electric underfloor heating begins with removing the old covering and leveling the base — a height difference of more than 2 mm per meter already causes uneven heating. We remove ceramic tiles, porcelain stoneware, remnants of adhesive and self-leveling layer, then bring the surface to a flat plane using a self-leveling compound or cement-sand mortar, checked with a straightedge. We knock off the tiles with a hammer drill with a chisel attachment, clean the adhesive ridges with a grinder with a diamond cup wheel, widen cracks and potholes and fill them with repair compound. Through Eco-Service, removal and leveling are ordered together with the other stages — this way the technician does not have to redo the work after other trades. You cannot lay on top of an old tile layer without removing it: the adhesive and remnants of the covering create air pockets that cause the cable to overheat locally.
Primer and thermal insulation: why both layers are needed
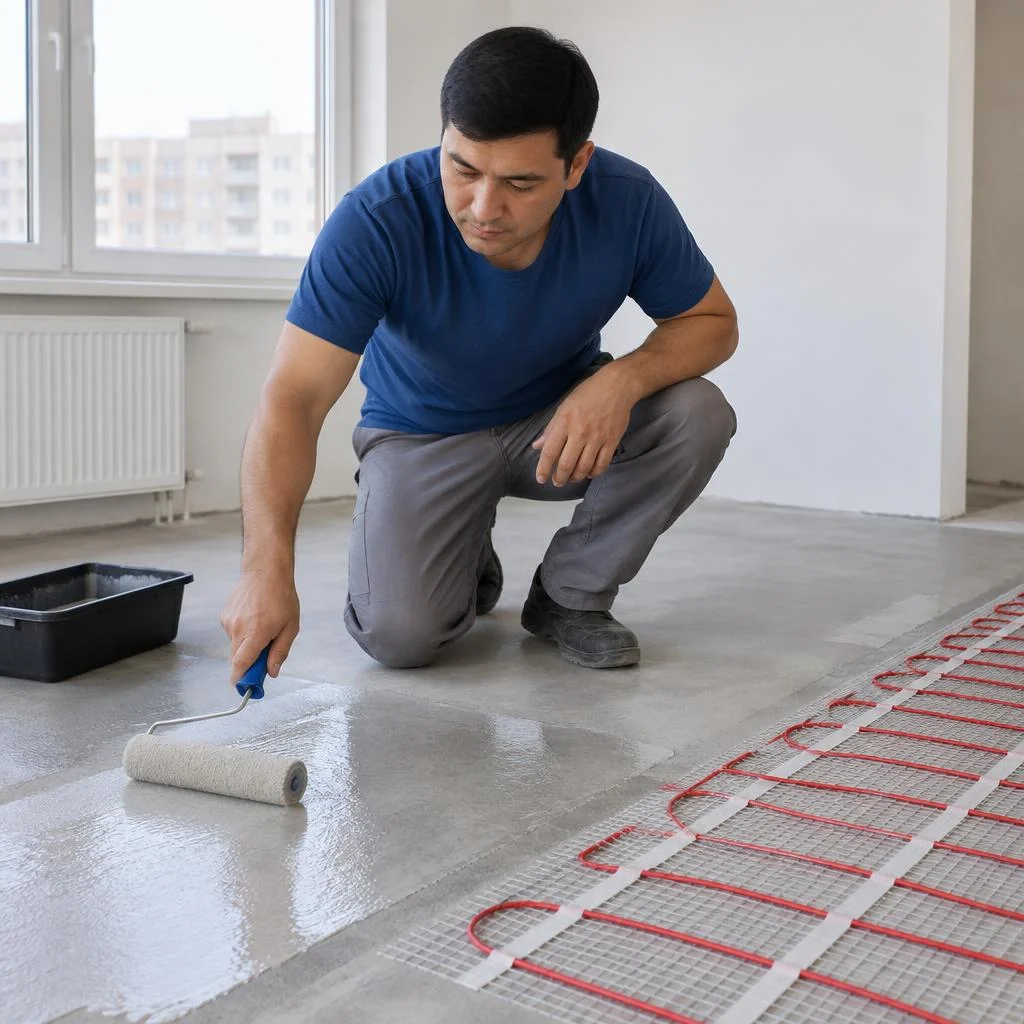
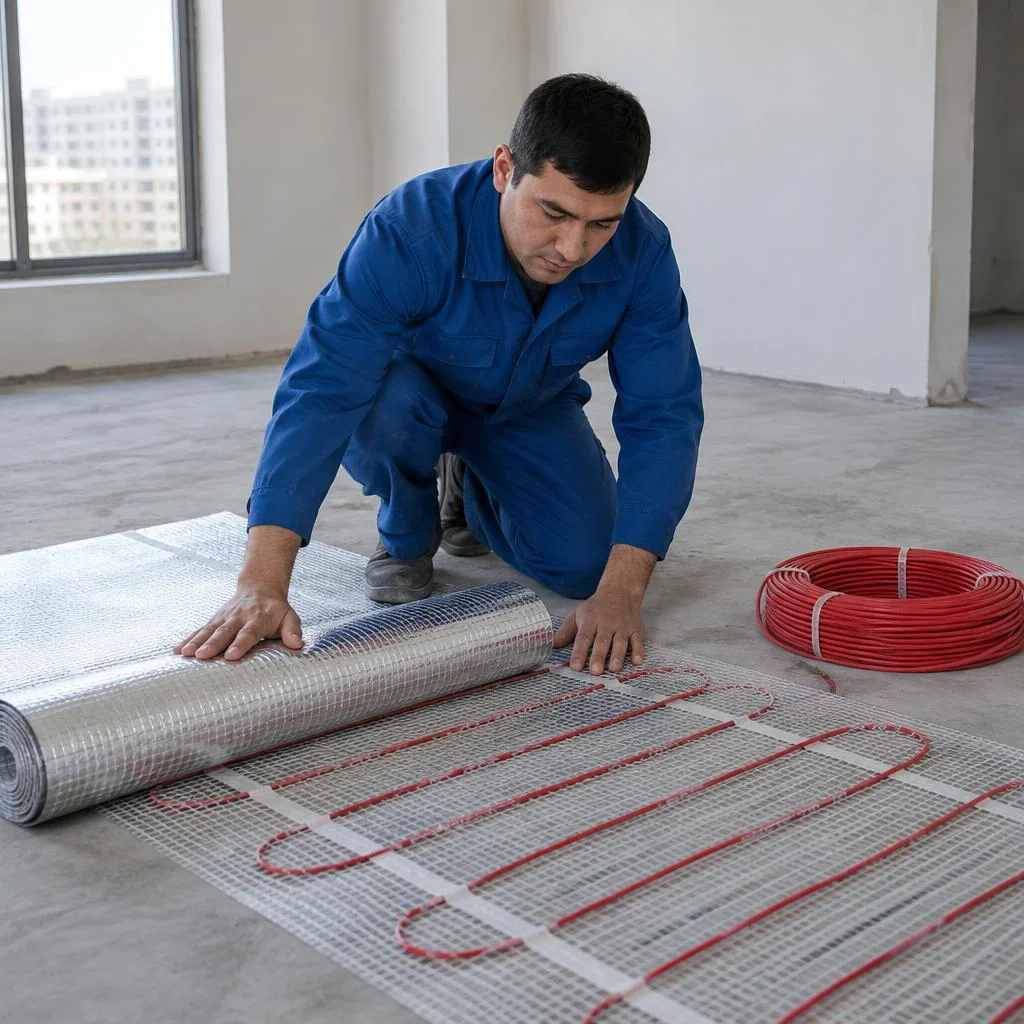
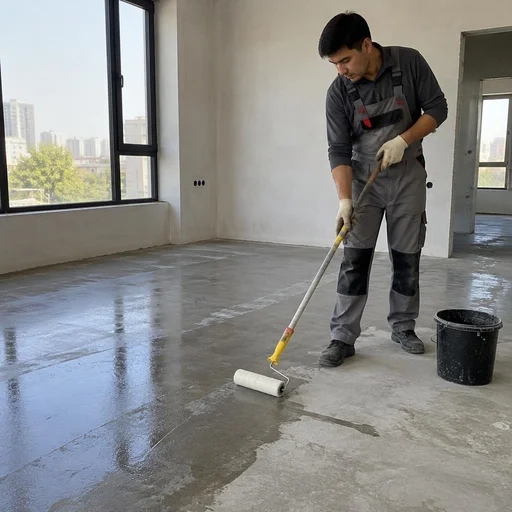
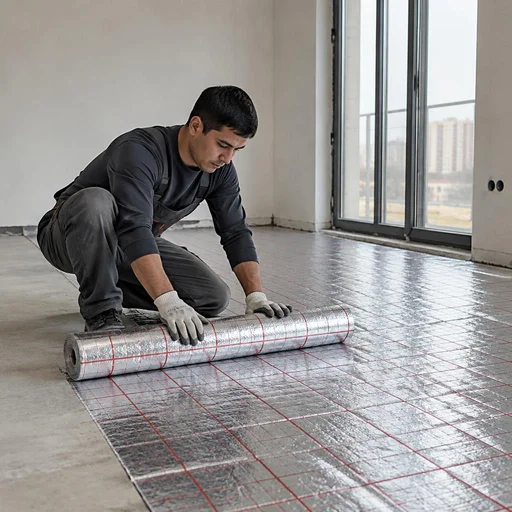
The primer removes dust from the base and improves adhesion, while thermal insulation directs heat upward rather than into the floor slab — without it, up to 30% of the power goes downward. Laying an electric underfloor heating begins with a deep-penetrating primer in two coats: the first dries for 4-6 hours, the second is applied perpendicular to the first. On top we lay extruded polystyrene foam 20-30 mm or a foil mat with markings for the cable spacing, and we tape the joints with aluminum tape to avoid cold bridges. Clients often search for the price of installing an electric underfloor heating — and land on this page, although here we are talking about the preparatory stage, not about the estimate. For a ground floor and rooms above an unheated basement, we take thicker thermal insulation — otherwise the system works "toward the outside."
Edge insulation strip and mounting tape: small details with a big effect
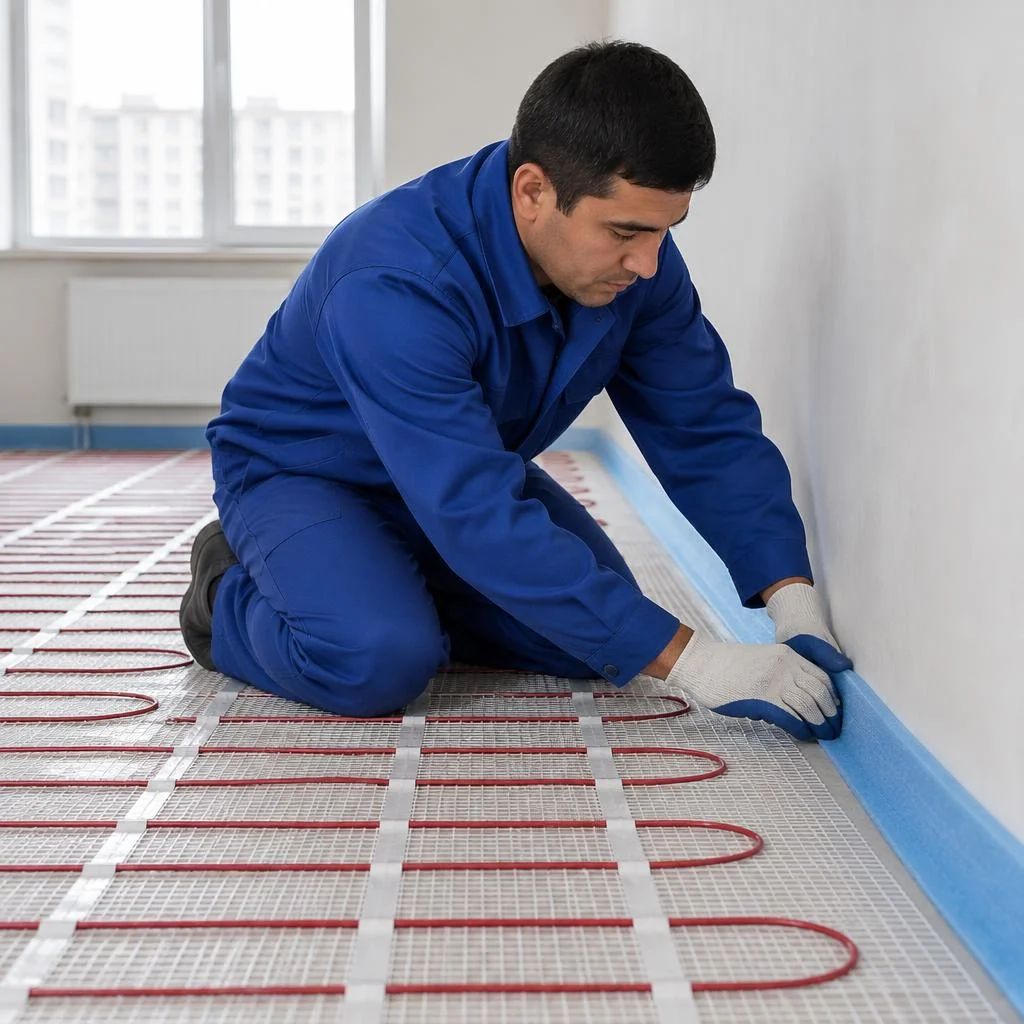
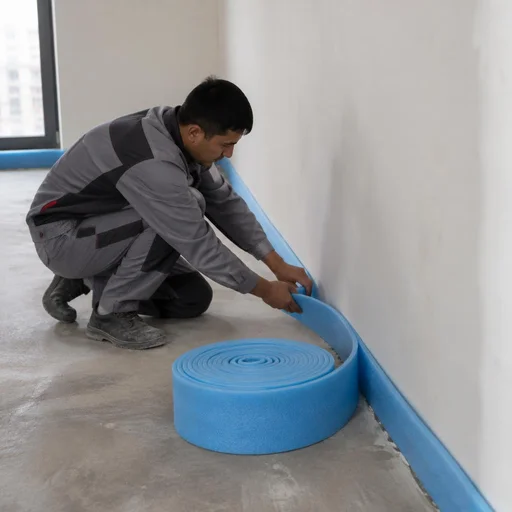
The edge insulation strip around the perimeter compensates for the thermal expansion of the screed, while the mounting tape secures the cable at the specified spacing. Laying an electric underfloor heating without an edge insulation strip around the perimeter is a risk of getting cracks in the corners already in the first heating season: when heated, the screed expands by 0.5-1 mm per meter and presses against the walls. We roll out the mounting tape in parallel strips with a spacing of 50-70 cm and snap the cable between the turns — this way the laying spacing stays even, without shifting during pouring. At Eco-Service, both tapes are included in the standard set of preparatory work. Clients often type "electric floor installation" — and land on this page, although we are talking specifically about the preparatory stage. Without an edge insulation strip, the screed presses against the walls when heated and cracks in the corners — this is the most common reason for a call a year after installation.
Checklist for base readiness before laying out
- Evenness: a difference of no more than 2 mm per 2 meters checked with a straightedge — we check with a two-meter level in four directions.
- Dryness: residual moisture no higher than 5% — we measure with a moisture meter at three points in the room.
- Cleanliness: no dust, oil, remnants of old adhesive — we vacuum the surface before laying.
- Strength: the surface does not crumble under a fingernail — we re-prime and re-level loose areas.
- Tolerance: installing an electric floor and laying an electric underfloor heating begin only after all four points are closed — installing an electric floor on a damp base leads to corrosion and insulation breakdown.
Installation stages: from cable layout to connection to the mains
The sequence of work when installing electric underfloor heating — from securing the heating element to the first switch-on. Let's go through each step with the parameters that determine whether the system starts up correctly.
Laying out the heating cable and fastening with mounting tape
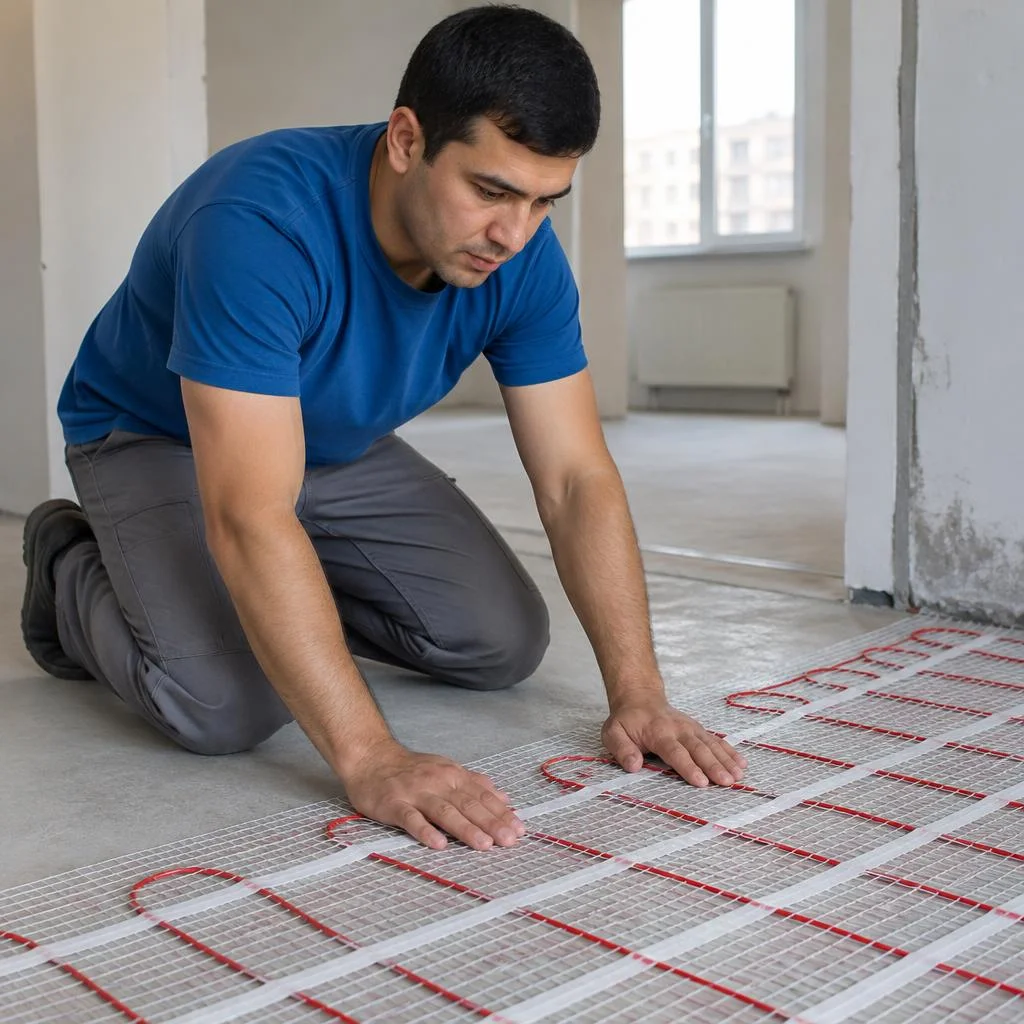
We lay out the heating cable in a snake pattern with a spacing of 8-12 cm, securing each bend with mounting tape so that the loops do not shift during pouring. In bathrooms with an area of 3-4 sq. m we keep the spacing at the lower limit — 8 cm; in corridors and kitchens of 6-8 sq. m we lay it at 10-12 cm intervals; we leave 5-10 cm from the wall to the first loop, and at least 10 cm from plumbing fixtures and risers. At Eco-Service, the layout of the electric underfloor heating is done according to pre-applied markings, not by eye: a 2 cm deviation already results in uneven heating. Clients often phrase the request as installation of electric underfloor heating, and some type in installation of electric underfloor heating price — and in our practice it is precise marking that determines whether the circuit reaches operating mode on the first start-up. The spacing must not be changed on a single section — where the loops are brought closer together, an overheating zone forms, and that is the first place to fail.
Installing the thermostat and temperature sensor
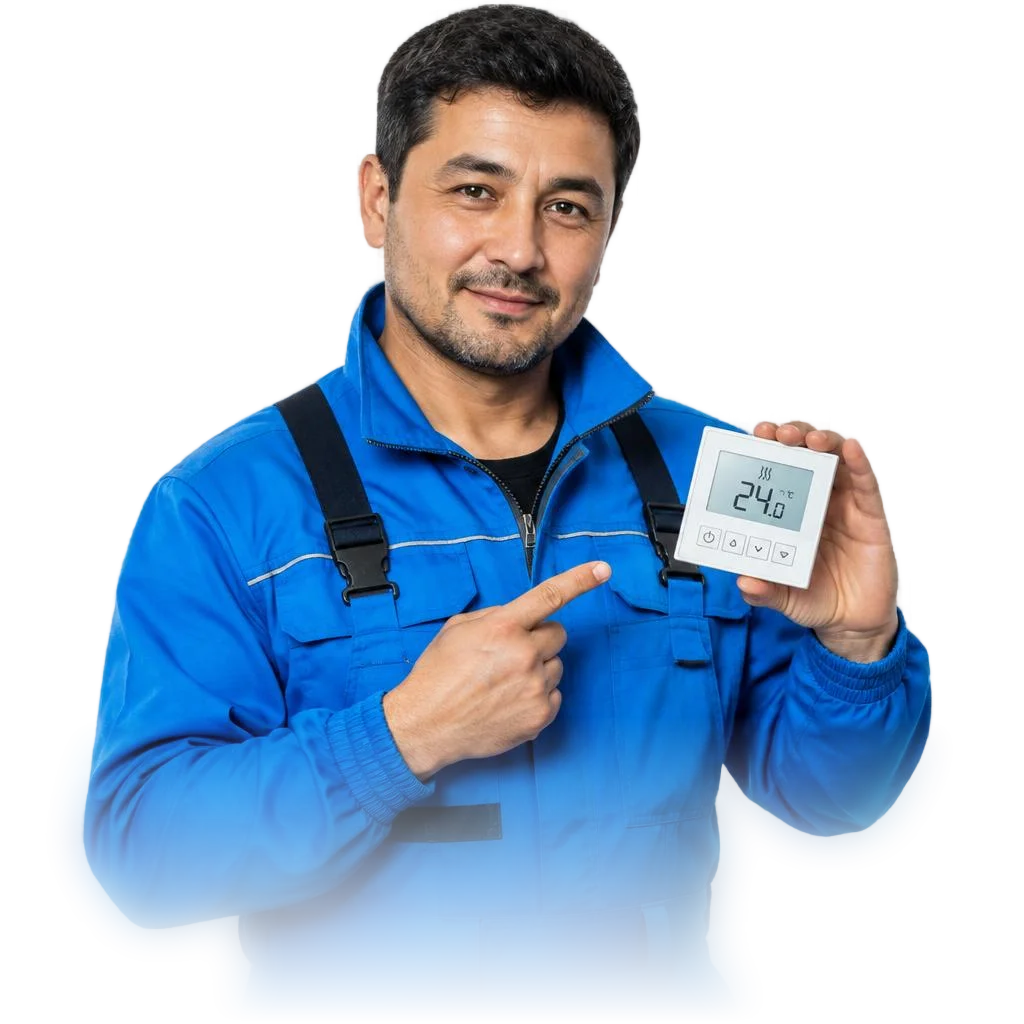
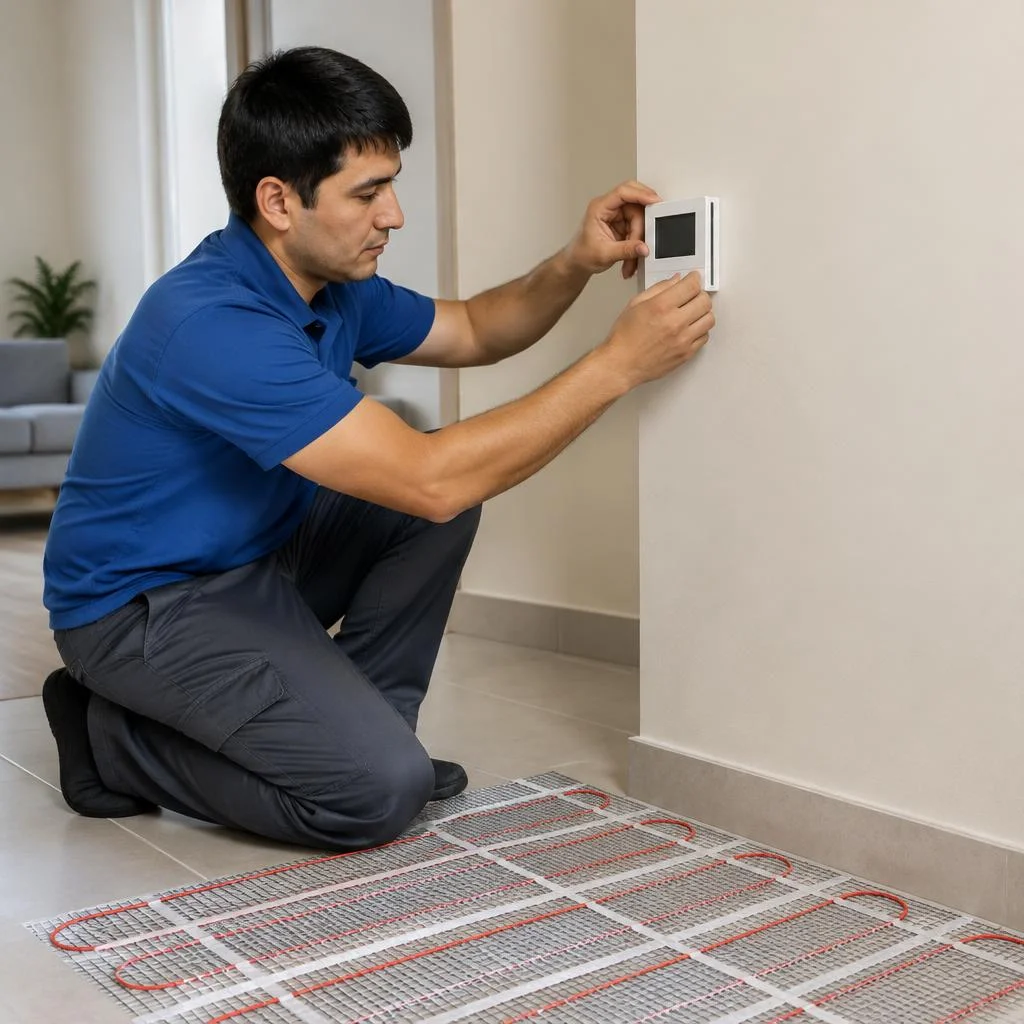
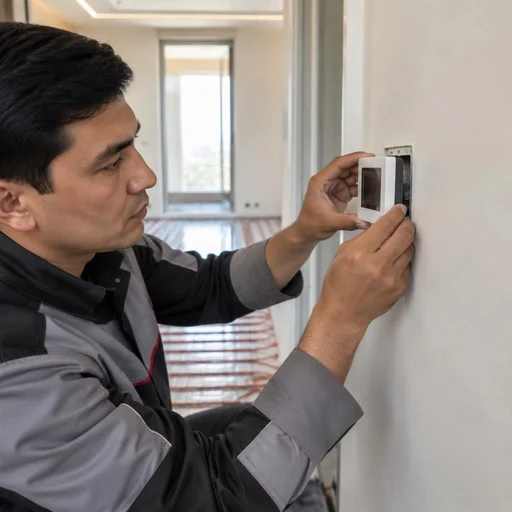
We install the thermostat at a height of 1.2-1.5 m from the floor in an area where it is not exposed to heat from a radiator, and we run the temperature sensor into a corrugated conduit inside the screed. We mount the back box for the device on a solid wall, not on a drywall partition: the sensor and power cable are routed separately, and the installation depth is 45 mm. Installation of electric underfloor heating in a bathroom requires the controller to be placed outside the wet zone — at least 60 cm from the shower. We always place the sensor in a corrugated tube: if it fails, it can be replaced without opening up the floor — this saves a full removal of the flooring.
Connection to the 220V mains and system testing
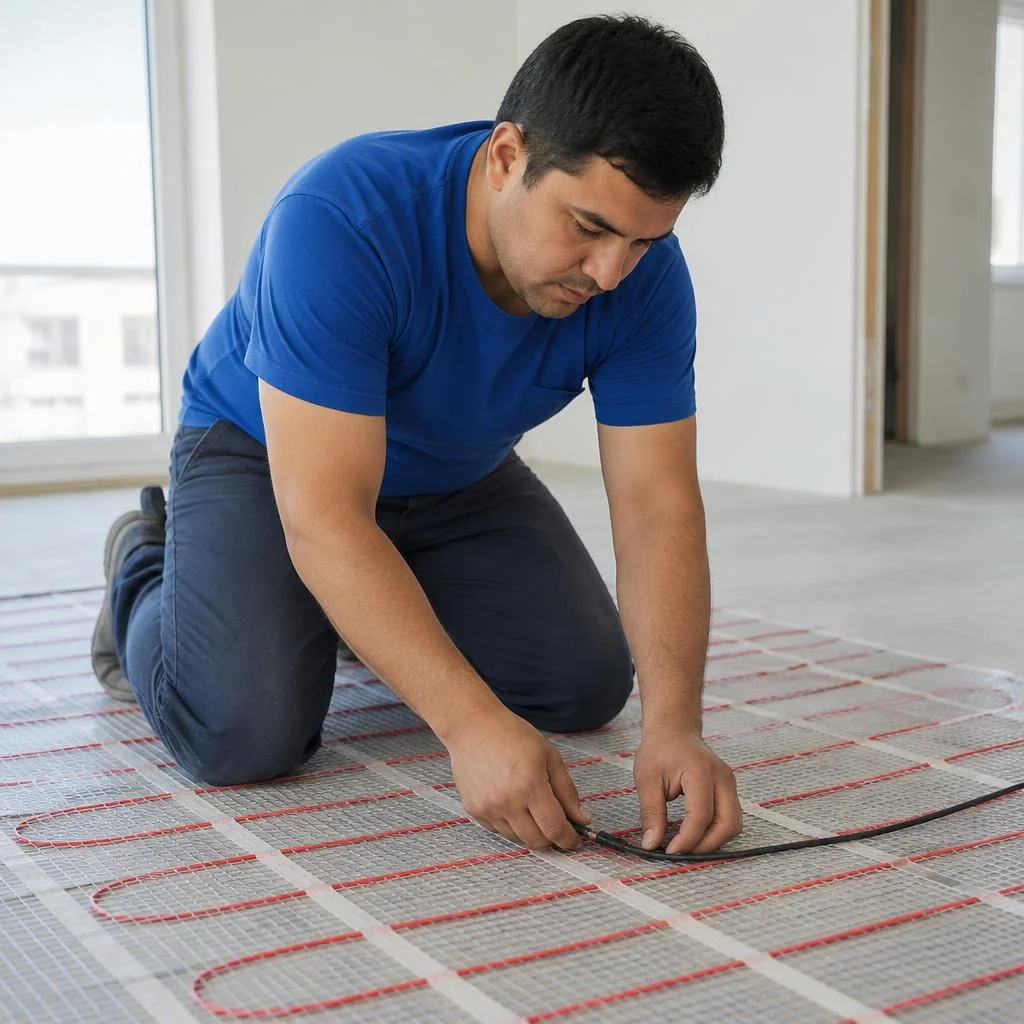
We make the connection to the 220V mains through a dedicated circuit breaker and an RCD, after which we check the circuit resistance with a multimeter before and after pouring. For a circuit with a power of up to 2 kW we install a 10 A breaker, for 2-3.5 kW — a 16 A one; we take the RCD at 30 mA, and select the breaker rating according to the cross-section of the VVGng 3×2.5 cable. Electric underfloor heating installation requires a dedicated line from the distribution board: connection to an existing socket group is not permissible. Measuring resistance before and after the screed is a mandatory procedure: if the values differ, it means the cable is damaged and the system must not be poured.
Order of the installation stages for electric underfloor heating
- Preparation: removal, leveling, priming, thermal insulation of the base for the future circuit.
- Layout: cable or mat according to the design scheme with fastening by mounting tape.
- Connection: thermostat, sensor in a corrugated tube, 220V mains through a breaker and RCD.
- Test: resistance measurement with a multimeter before and after pouring.
- Pouring: screed or finish flooring over the tested circuit.
- Start-up: first heating at reduced power with resistance monitoring.
Installation specifics of film electric underfloor heating
A film circuit differs from a cable one in that it is cut to the size of the room and laid without a screed. Here, particular care is needed when cutting and insulating — mistakes in these two operations lead to a short circuit.
Laying out the film floor and installing the underlay
We lay the film electric underfloor heating in strips with a 5-10 mm gap, having first laid the underlay, which protects the IR element and distributes heat. A 2-3 mm thick foamed polyethylene underlay absorbs the point pressure of the laminate and prevents the infrared film from being pressed into uneven areas of the base. We cut the strips to the length of the room, lay them in parallel with a spacing that is a multiple of the roll width, and secure them to the underlay with mounting tape. Clients often search for "installation and connection of electric underfloor heating" — and land on this page, so let us clarify: strips must not be laid overlapping; overlapping two films creates local overheating and melting.
Insulating cut points and installing conductive clamps
The film floor may only be cut along the marked lines, and we insulate every cut point and install conductive clamps on the copper bus bar. Manufacturers apply dashed marks every 15-25 cm — beyond these lines the copper bus bar is damaged, and the strip becomes unusable. We cut the strip along the mark, strip the bus bar, fit the clamp, and seal it with bitumen or silicone insulation. Poor insulation of the cut is the main cause of short circuits in film systems: moisture from the screed or condensation gets onto the exposed bus bar. In requests this sounds like "installation of film electric underfloor heating," and from this wording the technician immediately understands that film is needed, not cable.
Connecting the mat and film to the thermostat
We connect the mat and film to the thermostat according to the manufacturer's diagram: power wires to the load terminals, sensor to a separate connector. Laying electric underfloor heating requires accounting for total power: film over 15-20 m² produces 2-3 kW, a mat of the same area — 2.2-3.3 kW at a specific power of 150 W/m². We select the wire cross-section for the total power: for 2 kW and above we run a separate line from the panel, not from the nearest outlet. Clients often search for "installation of electric floors" — and land on this page, so let us clarify: before the final pour, ring out each section with a multimeter and record the resistance; in the event of a warranty claim, these figures will show whether the circuit was damaged before or after the flooring was laid.
Sequence of operations when laying an electric floor
- Underlay: we roll it out over the entire area butt-jointed, and tape the seams for tightness.
- Laying out strips: we lay electric floors with a 5-10 mm gap between strips, without overlap.
- Cutting along the mark: we cut the strip only along the manufacturer's dashed line.
- Insulating the cut: we cover the exposed bus bar with bitumen tape or silicone sealant.
- Clamps: we secure the conductive clamps on the copper bus bar and tighten the contact.
- Connection: we carry out electric underfloor heating installation with the power wires brought out to the thermostat terminals.
- Testing: we ring out the circuit before laying the finish flooring and record the resistance.
- First start-up: we complete the electric floor installation with a test warm-up at a minimum setpoint of 20-25 °C.
Finishing coating: tile, laminate and screed pouring
The finishing layer determines how the system behaves when heated. We break down three scenarios — screed over cable, tile and laminate — and explain why the installation technology changes depending on the chosen coating.
Pouring screed over cable: thickness and mortar grade
We pour the screed over the cable at a thickness of 30-50 mm using M150 grade mortar — a thinner layer gives uneven heating and the risk of cracks above the coils. A cement-sand mix in a 1:3 ratio with a plasticizer fills the space between the coils of single-core or twin-core cable, leaving no air pockets that turn into hot spots. With a laying pitch of 10-15 cm and a power of 150-180 W per square meter, such a layer reaches operating temperature in 40-60 minutes. Sometimes customers ask to lay a screed 20 mm thick so as not to raise the floor level — in this case we offer a heating mat or a film system instead of cable. The screed must not be dried with heaters at an accelerated rate: concrete gains strength over 28 days, and switching the floor on ahead of schedule leads to cracking. In search, this is most often phrased as: electric underfloor heating installation — and with such a query the installer immediately sees that it is about cable in screed.
Laying tile on underfloor heating
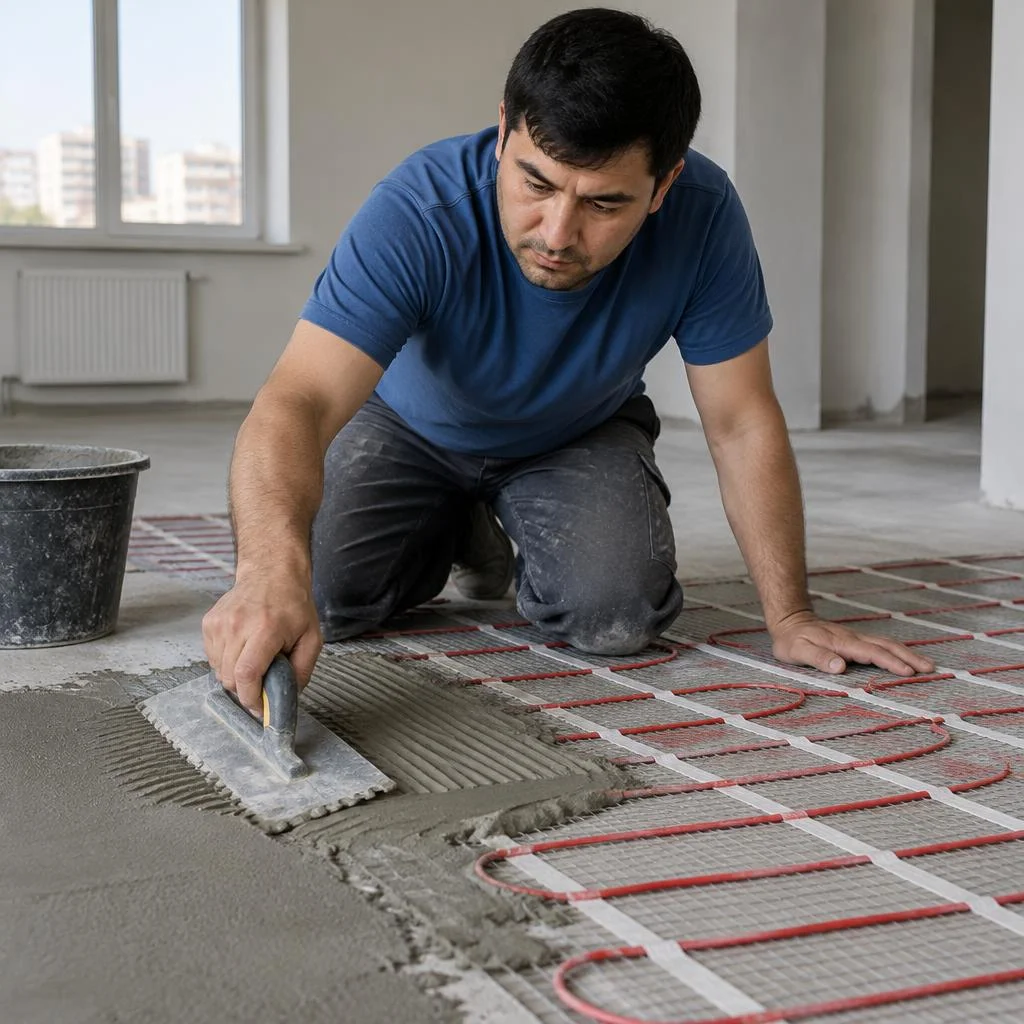
We lay tile on underfloor heating using elastic adhesive, which withstands thermal expansion without detaching from the base. Porcelain stoneware, ceramic and clinker in a 30×30 or 60×60 cm format are laid on an 8-10 mm notched trowel: the adhesive layer fills the micro-relief of the screed and at the same time absorbs linear expansion when heated to 35°C. For a system with cable in the screed, the standard sequence is sufficient, while for a mat over a leveling layer, adhesive is applied both to the base and to the back of the tile — double application eliminates voids. We leave a joint between tiles of at least 2 mm: a rigid joint without allowance leads to chipped corners when heated. Clients often search for electric underfloor heating installation — and land on this page when they specifically need a tile finish over the heating circuit.
Laying laminate on underfloor heating
We lay laminate on underfloor heating only on a film system and with laminate marked "for underfloor heating" — ordinary laminate deforms when heated. The infrared film is laid on a 3-5 mm underlay of foamed polyethylene or cork, and on top — 32 or 33 class laminate with a Click lock, assembled in a floating manner without adhesive connection. Between the film and the planks we leave a gap of 10-15 mm around the perimeter so that the sheets expand freely. Under the laminate we set a heating limit of 27-28°C on the thermostat: above that, the locking joint begins to dry out. In requests, this scenario is described briefly: electric underfloor heating installation price — and the installer immediately understands that a calculation is needed for dry laying without screed.
What affects the cost of work at the finishing stage
The cost of work at the finishing stage depends on the area, the type of coating and the number of preparatory operations. If we compare electric underfloor heating, the price per m2 varies depending on whether the system goes into screed or under film: pouring mortar requires more time and material than dry laying. Laying on tile additionally includes elastic adhesive and work with the notched trowel, while under laminate — assembling the locks and trimming the planks at the walls. Work in rooms with an area of 15 square meters or more costs less per meter, because the preparatory operations are distributed over a larger area. In search, clients phrase this in different ways, and one of the frequent queries sounds like this: electric underfloor heating installation price per m2 — from it the installer immediately understands that a calculation is needed for a specific area and type of finish. We calculate the exact estimate after measurement — the level of the base and the geometry of the room change the layout.
Power calculation, energy consumption and system service life
I break down the parameters that determine how the system works: how I calculate the power for a specific room, how much electricity is used during operation, and what affects the service life of the heating circuit.
How to calculate power per room area
We calculate power based on the usable area: for comfortable heating we take 120-150 W/m², for primary heating — 160-180 W/m². In a 4 m² bathroom, under tiles with no furniture, we lay a mat at 150 W/m² — we get a total load of about 600 W, which a 16 A line handles easily. In a 14 m² bedroom, 4 m² is under the bed and wardrobe, so we lay the heating circuit only over 10 m² and take 130 W/m². Clients often search for "price for installing an electric heated floor" — and land on this page, even though the calculation always starts with measuring the usable area, not the total square footage of the room. From the area we subtract the zones under furniture without legs: you can't heat a wardrobe or sofa — the cable underneath them overheats and fails.
Electricity consumption during operation
In temperature-maintenance mode, the system consumes about 30-40% of its rated power — the thermostat switches off the heating once the set temperature is reached. With a 600 W circuit in a bathroom, the average consumption stays around 200-240 W per hour, and with a programmable mode with a nighttime reduction to +18 °C during the day, the figure drops by another quarter. The costs pay for themselves precisely thanks to correct thermal insulation: a layer of foil material 3-5 mm reflects heat upward rather than into the floor slab. Consumption rises sharply if there is no thermal insulation under the system: the floor heats the slab, and the thermostat runs almost without pauses.
System service life and what shortens it
With proper installation, the system's service life is 20-30 years, and the Eco-Service warranty on the work is 2 years. Manufacturers of heating cables give a lifespan of 50 years, provided that the core temperature does not exceed 65 °C and the insulation resistance remains normal. The cost of the work includes testing the line before pouring — this is a key stage that records the integrity of the circuit before it goes under the screed. Three things shorten the service life: overheating due to furniture without legs, cable damage during pouring, and the absence of an RCD in the power line. I advise requesting a resistance measurement report after laying and before the finish coating — without this document, it is almost impossible to prove a warranty case for a damaged circuit.
How the parameters relate to each other
| Parameter | Comfort heating | Primary heating |
|---|---|---|
| Power | 120-150 W/m² | 160-180 W/m² |
| Usable area | 60-70% of the room | 70-80% of the room |
| Consumption per hour | 30-40% of rated | 50-60% of rated |
| Service life | 20-30 years | 20-30 years |
The price of an electric heated floor for primary heating requires denser laying and mandatory insulation of the base — saving on thermal insulation in this scenario results in the thermostat running constantly without pauses.
Eco-Service Warranty, Service and Support
We explain exactly what the two-year warranty on work covers, how the service center in Tashkent operates, and why a direct contract with the contractor simplifies the resolution of disputed situations.
2-Year Warranty: What It Covers
The Eco-Service warranty on electric underfloor heating is 2 years and covers cable or mat layout, connection to the thermostat, operation of the regulator itself, and the integrity of the screed. The contract records the model of the heating section, the circuit resistance at the time of handover, and the cross-section of the supply cable — these three parameters become the reference point for any claim. If a year after handover the heating circuit stops reaching temperature, the technician compares the current resistance with the design value and uses the discrepancy to determine exactly where the failure occurred — in the cable section, in the sensor, or in the terminal block. The warranty remains valid if the client does not change the connection scheme independently and does not exceed the heating limit established at handover. The cost of work in the estimate is fixed before the start — no additional charges arise for a warranty visit under this clause. Clients often phrase their request as electrical underfloor heating installation — and from this phrase we immediately understand that the person needs not only a calculation but also warranty obligations for an already-laid circuit.
Service Center and Technician Visits
Eco-Service's own service center operates in Tashkent: here there is in-person reception, diagnostics, and technician visits across the Chilanzar, Yunusabad, Mirzo-Ulugbek, Yashnabad, and Sergeli districts. Requests are accepted via Telegram or by phone, the request is registered the same day, and the technician visits the site within one to two business days — for warranty cases the visit is free. The price of installing electric underfloor heating and the cost of laying electric underfloor heating differ among different contractors, but with the service center, post-handover inspection is included in the basic package. When a warranty claim is made, the technician first checks the circuit resistance with a multimeter — this immediately shows whether the cable is damaged or there is a fault in the thermostat, and allows the screed to be opened only when necessary. If the regulator is faulty, it is replaced on site; if the cable is damaged, local repair or replacement of the section is agreed upon. In requests for a technician visit, clients often write electric underfloor heating installation — we accept this wording as a warranty claim for already-completed laying.
Why a Direct Supplier Is Cheaper and More Reliable
Eco-Service is a direct supplier of the service: we do not pass the order to subcontractors, so the same team is responsible for the work as for the warranty. The price of installing electric underfloor heating and the cost of laying electric underfloor heating in this case are calculated once — based on the work actually performed, without a middleman's markup and without additional approvals in the middle of the project. When working through an intermediary, the warranty often splits into two — one for materials and one for work — and when a breakdown occurs, the parties shift responsibility onto each other: the cable supplier points to the installation, the installer points to a defective section. The price of installing electric underfloor heating and the cost of electric underfloor heating installation in a direct contract include a single point of responsibility, so a dispute about who pays for opening the screed does not arise. Measurement, power calculation, and commissioning are performed by the same engineer. When clients search for the cost of installing electric underfloor heating, they usually want to understand whether warranty service is included — in a direct contract it is. Search queries also include this wording: Electric underfloor heating installation — from it we immediately see that the person needs a contractor with their own warranty, not an intermediary who resells someone else's crew.
Conclusion
We have gathered the key points that determine the result of the work: choosing the right system for the covering, the quality of preparation, and control at every stage. Below are five conclusions worth keeping in mind before starting installation.
Key conclusions
- The type of system is chosen for the finishing covering: cable — under a screed, mat — under tiles, film — under laminate.
- Base preparation determines the service life: evenness, dryness, and thermal insulation matter more than the cable grade.
- A resistance test before and after pouring is a mandatory step that protects against having to open up a finished floor.
- Power is calculated based on the usable area without furniture: 120-150 W/m² for comfort, 160-180 W/m² for heating.
- The 2-year warranty remains valid if the heating limit and the factory connection diagram are observed.


