











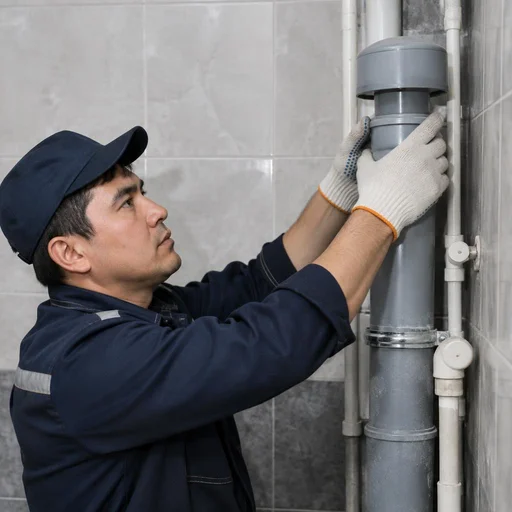
When a sewer needs replacement, not cleaning
Cleaning removes the blockage, but it does not restore the pipe's diameter and tightness. Let's look at the signs by which technicians distinguish a one-off clog from the need to replace an entire section.
Signs that it's time to replace the pipe, not clean it
- Constant clogs: the section clogs more than twice a year — deposits on the cast iron walls have narrowed the bore, and cleaning before replacement gives an effect that lasts 1-2 weeks.
- Fistulas and cracks: rusty streaks, drops on the pipe and damp spots at the joints indicate through corrosion — the wall has lost thickness.
- Leak at the joint: water seeps between the sockets even without a clog, which means the seal is destroyed and sealing will not hold the pressure.
- Smell from the pipes: a persistent smell in the bathroom with a working siphon indicates a crack or a depressurized joint in a hidden part.
- Deformation and sagging: the cast iron pipe has sagged, shifted in the socket or lost its slope — water stagnates, and a new clog will form in the same spot.
Smell and leaks: when urgent repair is needed
Our technicians respond to a smell from the pipes and a leak at the joint as an emergency scenario — most often the cause is a depressurized joint or a crack on a cast iron branch. At Eco-Service such calls are closed on the day of the request: first hydrodynamic diagnostics, then sealing of sewer joints or replacement of the sewer branch if the wall has already lost thickness. Emergency replacement differs from scheduled replacement in that dismantling is local — we open up only the problem unit, not the entire riser. Clients often phrase the request as sewer pipe replacement price — essentially they want to know how much the work will cost, and here it is important to understand: the final cost depends on the length of the section, the material and access to the pipe, not on a price per meter. A constant smell in the bathroom does not always mean a clog: if the sewer siphon is dry or the ventilation of the riser is disrupted, replacing the pipe will not help — first we check the sealing of the joints and the operation of the siphon, because in a third of calls the source of the smell is precisely in the siphon or the ventilation vent pipe.
How replacing a riser, a horizontal run and in-apartment piping differ
| Section | Where it is located | What it affects |
|---|---|---|
| Sewer riser replacement | Vertical pipe through all floors | Apartments along the entire rise, coordination with the management company |
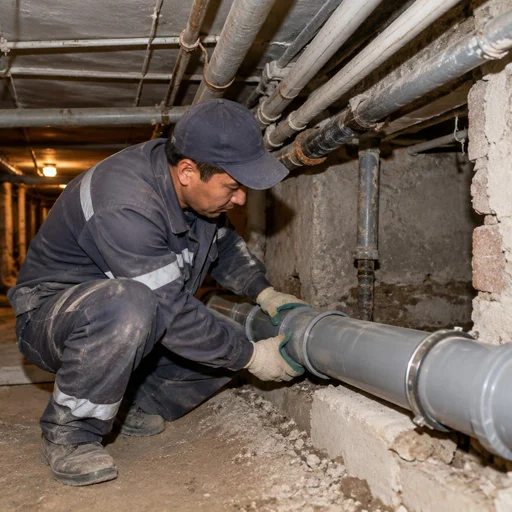
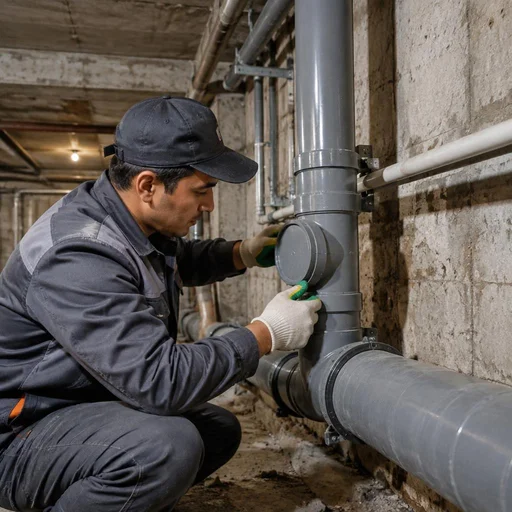
| Sewer horizontal run replacement | Horizontal pipe in the basement or technical floor | Basement and entrance hall, access through common areas |
| In-apartment piping | Pipes inside the apartment up to the toilet, sink, bathtub | Only your apartment, does not affect neighbors |
Replacing a sewer riser affects neighbors along the entire rise, so it is planned in advance and coordinated with the management company, while in-apartment piping can be replaced on any convenient day without warning. When residents decide to replace sewer pipes entirely rather than in sections, they start with the riser: while it is opened up, the piping on the floors is replaced in one go and they do not pay twice for dismantling.
Replacing apartment sewer pipes: cast iron to plastic
In Tashkent's old housing stock, it's most often cast iron that gets replaced with plastic: Khrushchyovka and panel buildings from the 1960s–1980s still have cast iron risers that have outlived their service life. Let's break down which material to choose and how the work is done.
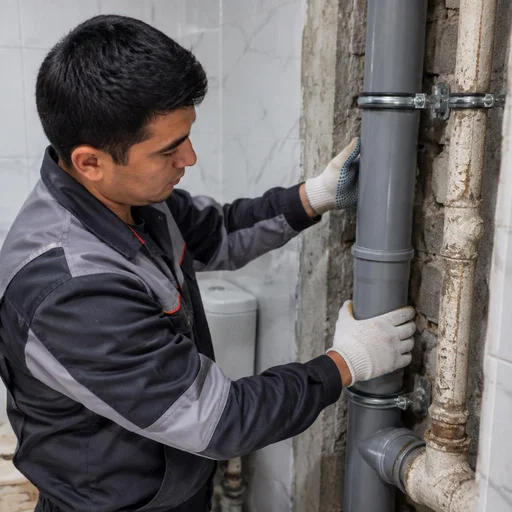
Why cast iron is replaced with plastic: service life and weight
We replace cast iron with plastic because polypropylene and PVC last 50 years versus 20–25 for cast iron, don't become overgrown with deposits, and weigh 5–6 times less — installation goes faster and without heavy equipment. A cast iron pipe with a diameter of 110 mm weighs about 15 kg per linear meter, while a plastic one of the same cross-section weighs around 2.5 kg, so a single technician can lift the riser alone without a winch and without the risk of damaging the finishes. When clients write in a request "replacement of cast iron sewer pipes with plastic," the technician immediately understands the scope: the socket with a rubber ring is assembled by hand, there are no threaded connections, and the work takes less time precisely because of the weight. In Tashkent's Khrushchyovka and panel buildings, cast iron is often replaced not because of a leak, but because of a narrowed bore: over 30+ years the walls become so overgrown that a 110 mm diameter effectively turns into 50–60 mm.
Polypropylene or PVC: what to choose for sewerage
| Material | Where we use it | Installation feature |
|---|---|---|
| PVC, 50 mm | Distribution from sink, bathtub, toilet | Rigid, holds the slope without sagging |
| PVC, 110 mm | Internal riser, horizontal run | Glued or socket connection |
| Polypropylene, 50–110 mm | Risers with hot water, sections near the boiler | Requires a sewer expansion compensator |
| Reinforced polypropylene | Long horizontal sections | Less linear expansion when heated |
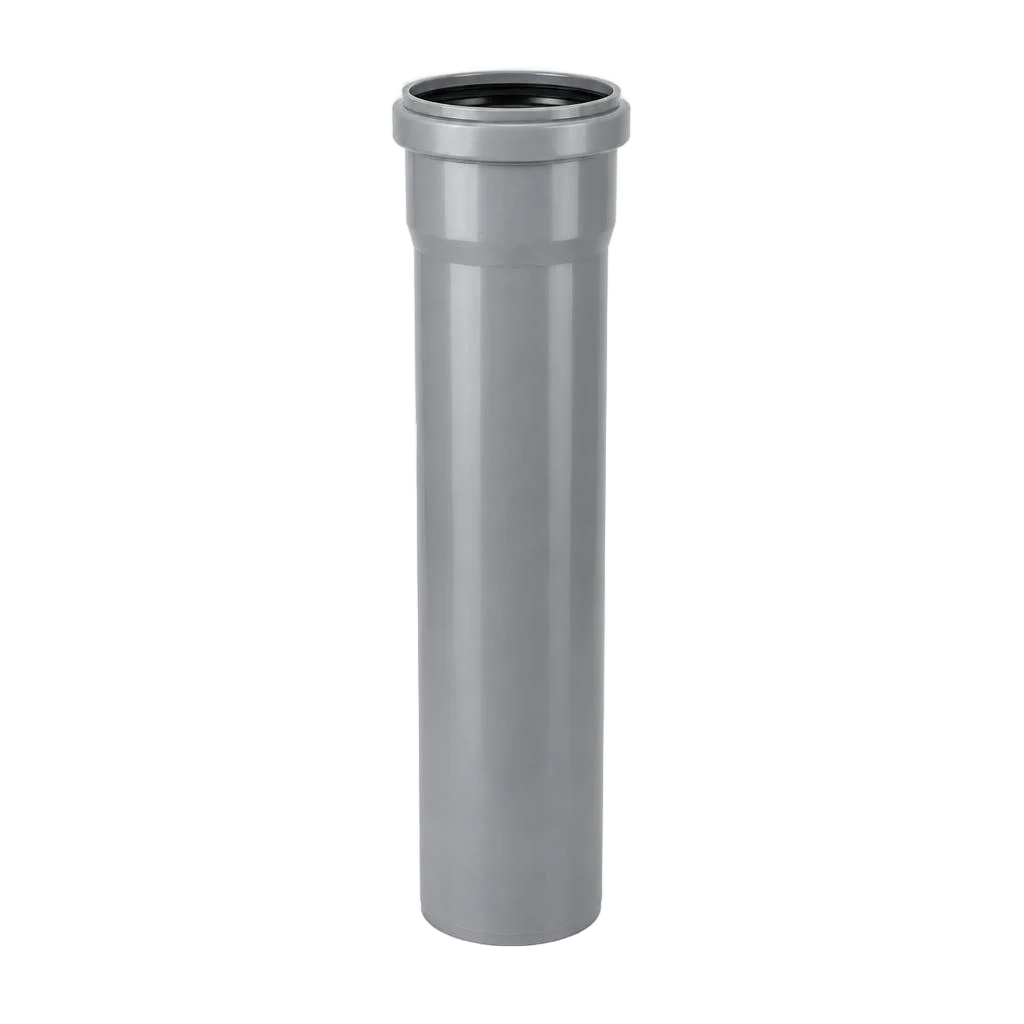
For internal sewerage, Eco-Service installs PVC with diameters of 50 and 110 mm — it's cheaper, more rigid, and holds the slope better; we use polypropylene for sections with hot water and in risers with high load. The main mistake when choosing on your own is to take PP for horizontal distribution: it expands more when heated and requires a compensator, otherwise the joint comes apart after 1–2 seasons.
Installation of sewer pipes in an apartment: stages of work
- Diagnostics and estimate: we inspect the riser, horizontal run, and distribution, measure the slopes, and record the scope of work before demolition begins.
- Demolition of the old sewerage: we remove the cast iron sections, open up only the area around the riser, and try to preserve the tiles in the rest of the bathroom.
- Installation of the new distribution: we assemble PVC or polypropylene, set the slope, and seal the joints via the sewer inspection fitting.
- System check: we run water through all draw-off points, check the connections for leaks under load, and hand over the work with a 2-year warranty.
If the riser and horizontal run are in good condition and only the supply line is leaking, then repairing the sewer pipe in the apartment without replacing the vertical is sufficient — the technician assesses this possibility during the first inspection.
Point work: kitchen, toilet, siphon and drain
A full rework of the piping is not always necessary: sometimes it is enough to replace one section, the siphon or the drain under a specific fixture. Let's break down local work in the kitchen and toilet — where it is appropriate and what it includes.
Replacing the drain pipe in the kitchen and under the sink
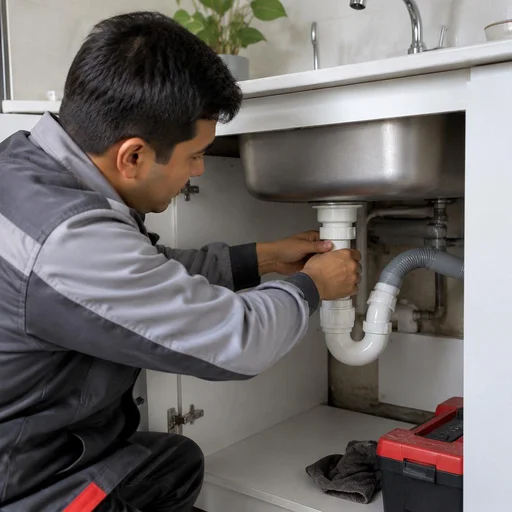
Replacing the drain pipe in the kitchen takes 1–2 hours: we replace the section from the sink to the riser with a diameter of 50 mm, install a new siphon and check the slope. In Tashkent khrushchevkas and panel buildings of Chilanzar and Yunusabad, this piping is most often assembled from black metal with threaded unions — they are dismantled and replaced with polypropylene with socket joints. We connect the drain under the sink with a water trap and a branch for the dishwasher, if it stands nearby. In the kitchen, it is most often not the pipe that leaks, but the siphon and the joint with the sink: if you replace only the pipe and leave the old siphon, the leak will return within a month — check the water trap gasket at every disassembly.
Replacing the toilet drain pipe and branch
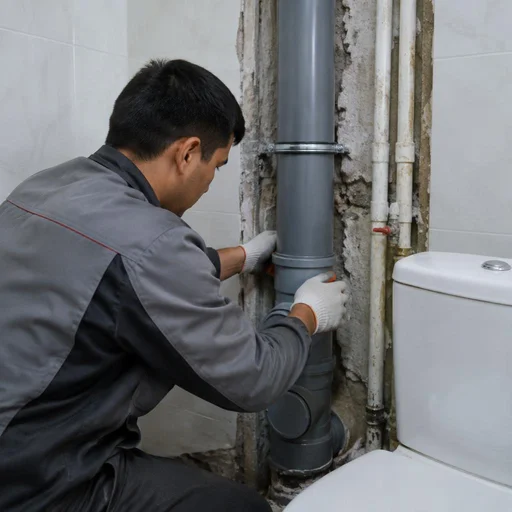
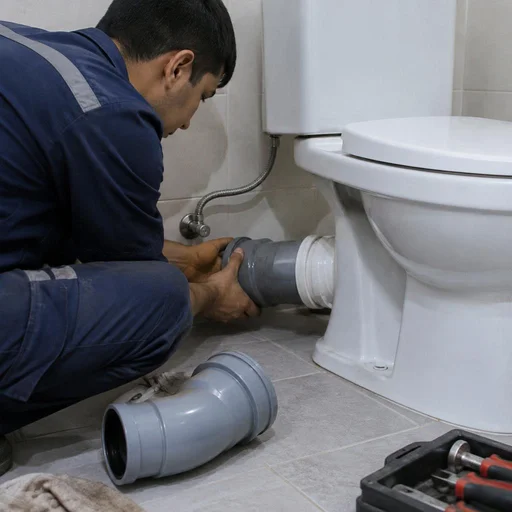
For the toilet we install a branch with a diameter of 110 mm with a slope of 2–3 cm per meter: the work includes dismantling the old branch, installing a new one and sealing the joint with the socket. In buildings of old construction in Sergeli and Almazar, the branch from the fixture to the riser often runs through a cast-iron tee with a narrowed passage — we replace it with a polypropylene one with a full 110 mm cross-section. A corrugated hose is not suitable here: it collects sediment on the ribs and clogs within 8–12 months. If the toilet stands far from the riser, the slope is more important than the diameter: with insufficient slope, the water drains slowly, and with excessive slope, the flush outruns the water and solid sediment remains in the pipe — keep the slope at exactly 2–3 cm per meter, no more.
Replacing the sewer pipe in the toilet: what the work includes
- Dismantling the old section: we remove the branch from the toilet to the riser, and if necessary — the tee and the inspection port, while preserving access to neighboring connections.
- Replacing the tee and inspection port: the sewer tee and the sewer inspection port are replaced first — it is precisely at the joints that sediment accumulates and the first cracks appear.
- Sealing the joints: we seat the sockets on silicone lubricant and sealing rings, and the threaded connections — on flax with sealant.
- Checking by flushing: we run 10–15 liters of water through the fixture and inspect the joints — this is how we detect a leak before closing the box.
Replacing a Cast Iron Pipe with a Plastic One: Technology and Nuances
We break down exactly how the installation of a cast iron pipe to a plastic one is carried out and which technical details determine whether the system will work without clogs and odor.
How the replacement of a cast iron pipe with a plastic one is carried out
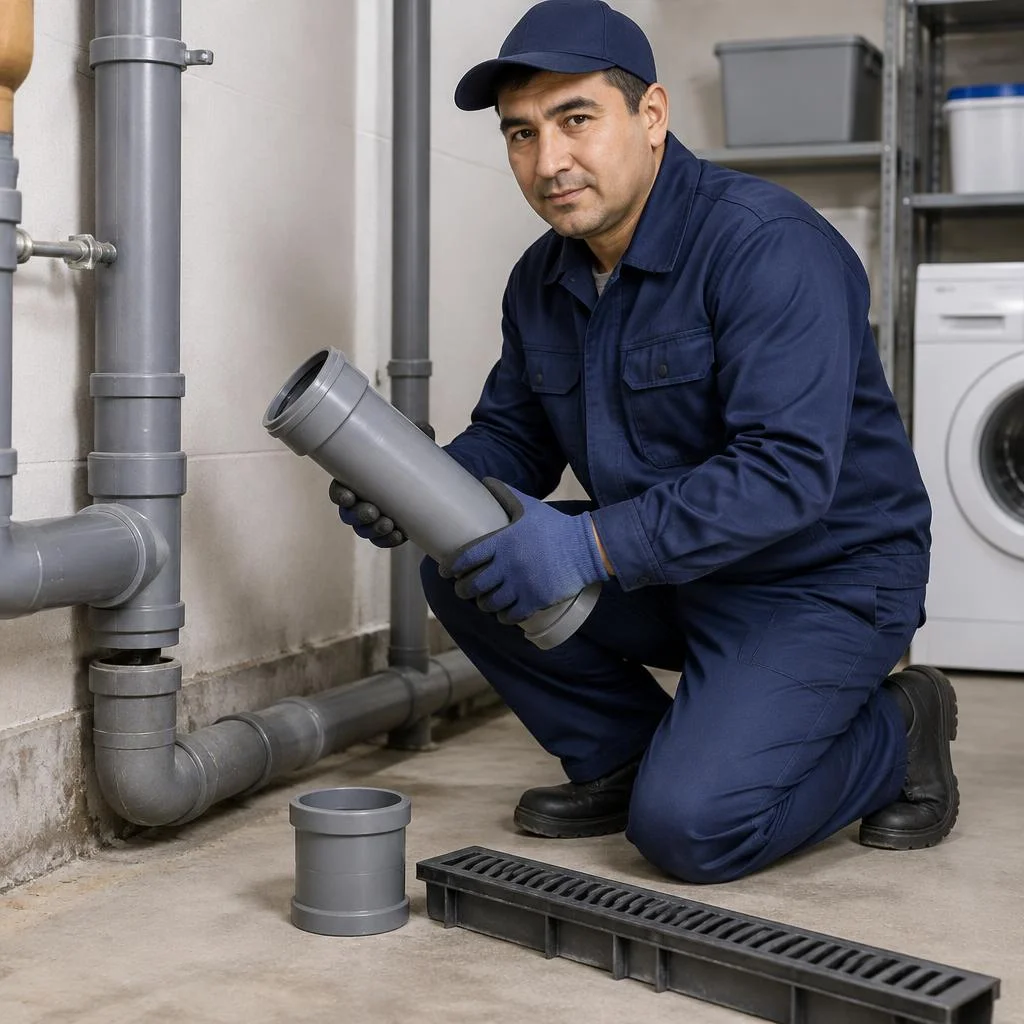
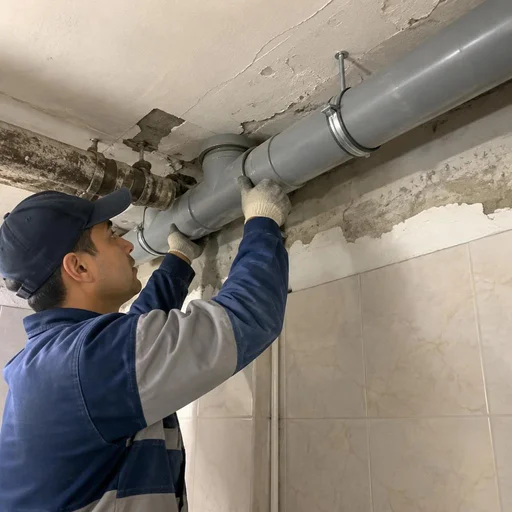
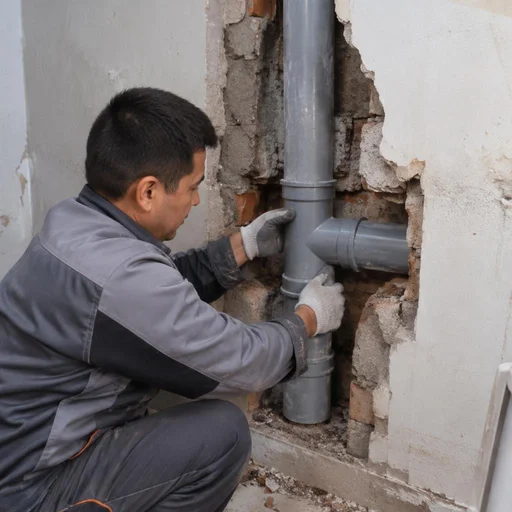
We cut the cast iron with an angle grinder in sections, remove it from the sockets, clean it, and install the plastic through adapters — installation takes from 2 hours per section to a full day for the riser. First we shut off the water on the riser, then we mark the cut line with a 10-15 cm margin from the socket so as not to damage the adjacent segment. A rubber adapter with a metal clamp connects the cast iron head to a 110 mm polypropylene pipe — it fits onto the socket with tension and is secured with two clamps. Dismantling the old sewer line involves cutting: cast iron is joined with caulked lead or cement, it cannot be unscrewed, so the operation is noisy — an angle grinder produces up to 95 dB. Schedule the cutting for daytime: in a panel building the sound travels up the riser for several floors. In our practice, in Tashkent's Khrushchyovka buildings the old head varies in diameter by 3-5 mm, so we select the adapter based on actual measurement. Clients often ask about the cost of replacing a sewer pipe — the total depends on the footage, number of floors, and number of inspection points; the technician calculates the exact estimate after inspection.
Slope, expansion joint, and sealing: what must not be violated
- Pipe slope: we maintain 2-3 cm per meter for a diameter of 110 mm — less causes stagnation, more accelerates the water and leaves solid fractions on the walls.
- Sewer expansion joint: we install it on straight sections longer than 4 meters, otherwise the plastic expands from warm wastewater and presses against the wall.
- Sealing of joints: we seat each socket on silicone lubricant and a sealing ring; a joint without a ring produces odor within 2-3 weeks.
- Sewer inspection point: at turns and long runs we leave a hatch for cleaning — without it, a cable cannot be fed into a clog.
Coordination with neighbors and the management company when replacing a riser
Replacing a riser affects all neighbors on the stack, so Eco-Service helps file a request with the management company and coordinate access to apartments during the work. The process proceeds in three steps: a request to the management company indicating the date and time, written consent from residents for access, then the actual replacement of the sewer riser in one working day along the entire stack. If a neighbor refuses to allow entry into the apartment, the riser is replaced in parts with the installation of inspection points at the boundaries — this is more expensive and takes longer, but allows you not to wait for the consent of all residents. At the boundaries of the sections we install a sewer inspection point: through it we clear a clog in the neighbor's segment without entering their apartment. Replacing sewer pipes in Tashkent's older buildings requires 3-7 days of coordination, and we advise starting with a round of the neighbors before submitting the request — this way there are fewer refusals at the last moment.
Private house and outdoor sewerage: outlet, manhole, trench
In a private house, the sewer system doesn't end at the wall: beyond it come the outlet, the outdoor pipe, manholes and the trench. Let's break down what the outdoor section includes, how it is renewed, and why ground subsidence is more dangerous than wear.
Replacing the sewer outlet and outdoor pipe
The outlet is the section from the foundation to the first manhole, and its renewal by Eco-Service includes digging the trench, dismantling the old segment and laying a new one with slope verification. The outdoor section is assembled from an orange PVC pipe with a diameter of 110 mm and a wall thickness of 3.2 mm — it withstands ground pressure and seasonal movement, unlike the grey indoor pipe. We dig the trench below the freezing depth, lay a 10-15 cm sand cushion on the bottom and compact it layer by layer: without this, the pipe rests unevenly on the ground and works under bending stress. We maintain a slope of 2 cm per linear meter for a 110 mm pipe — with a lower value, water drains slowly; with a higher one, solid fractions overtake the liquid and settle. The outdoor pipe more often ruptures not from wear but from ground subsidence: if the trench is not prepared with a sand cushion, the plastic breaks at the junction with the foundation in the very first winter.
Replacing the pipe in the manhole and laying a new branch
- Manhole inspection: we remove the cover, pump out the water, check the channel and walls for cracks and displacement.
- Section replacement: we dismantle the damaged segment between the inlet and the outlet, install a new one with sealed joints.
- Tee for connection: we connect the new line through a tee at a 45-degree angle — this way the flow is not slowed down.
- Slope of the new branch: we set 2 cm per meter from the connection point to the first manhole, otherwise sediment accumulates at the connection.
- Check valve: we install it when there is a risk of flooding, so that sewage from the manhole does not flow back into the house.
Replacing water pipes in a private house: when we do it together
If the sewer system and the water supply are being replaced at the same time in a private house, we replace the water pipes in a single trench — this is cheaper than digging twice. Combining them is justified when both systems have reached the end of their service life: cast iron and steel last 40-50 years, and if the sewer system is being replaced due to age, the water supply of the same building is usually at the same limit. In a single trench, we route the lines with a gap of 20-30 cm horizontally and 10-15 cm vertically — at crossings, the water supply runs above the sewer system, so that in case of a leak, sewage does not get into the drinking water. A shared trench reduces the volume of earthworks by almost half and preserves the yard: instead of two dug-up strips, only one remains. Before replacing the sewer pipe along the entire section, it is worth assessing the condition of the inlet assembly: if it is still serviceable, it is better not to touch it, so as not to create unnecessary joints in the trench.
Warranty, timelines and acceptance of work
After replacing the pipeline, the client receives not only working drains, but also a written warranty, a work completion certificate and a clear procedure for checking the system. Let's break down exactly what the warranty covers, how long the work takes and how to accept the result without surprises.
2-year warranty and what it covers
Eco-Service provides a 2-year warranty on the replacement — it covers the sealing of joints, compliance with slopes and the quality of installation, but not mechanical damage after the handover of the project. Warranty cases include misalignment of sockets, a leak at a connection, sagging of a section without supports and water stagnation due to a reverse slope. Not covered are chips from impact with a tool during subsequent repairs, blockages from foreign objects and damage during concrete pouring without pipe protection. We issue the warranty card together with the certificate; it states the date, type of work and the article numbers of the parts used — polypropylene or PVC fittings. In search, clients most often type "replacement of sewer pipe price" — and via this query they land on our page, although the final estimate is always calculated after inspecting the riser and connection points. The warranty is only valid if access to the sewer inspection port is maintained: if after the repair the inspection hatch is covered with tiles, it is impossible to fix the problem under warranty without opening it up. Keep the hatch removable and do not wall it up — this will save you from opening the floor at the very first call-out.
Timelines of work: from a section to the riser
| Type of work | Timeline | What affects it |
|---|---|---|
| Installation of a pipe section | 1–2 hours | Access to the pipe, condition of the fittings |
| Wiring in the apartment | One working day | Number of connection points |
| Replacement of the sewer riser | 1–2 days | Coordination of access with neighbours |
| Replacement of the horizontal run | 4–8 hours | Opening of the floor, depth of laying |
| Replacement of the sewer outlet | 1 day | Earthworks, type of soil |
We close out a plumber's diagnostic call-out within 24 hours of the request: the technician inspects the riser, records the connection points and gives an exact timeline. The timeline depends not on the scope, but on access — if the riser passes through several apartments, the actual time of work is determined by how quickly all the neighbours on the riser open their doors. Agree with them in advance, before the crew arrives: this is the only factor that most often shifts the schedule.
How acceptance and system checks are carried out
- Flushing all points: we fill every sink, bathtub and toilet, and watch the speed at which water drains and the absence of backflow at neighbouring connections.
- Checking joints for leaks: we inspect every connection under load, wipe it dry and flush again — the napkin stays dry with high-quality sealing of the joints.
- Odour control: we check whether there is a draught from the inspection port and the siphons — a smell from the sewer after replacement signals a problem with ventilation or a broken water seal.
- Checking the riser ventilation: we inspect the vent outlet, because the smell after replacement often comes not from the new pipe, but from a clogged riser on the roof.
- Signing the certificate: we record the list of works, the article numbers of the parts and the warranty terms; the client signs the document only after a successful check of the system.
Conclusion
We have gathered the key points that determine the outcome of sewer replacement work: from the criteria for when repairs are necessary to the technological nuances that most often affect the durability of the system.
Main takeaways
- Recurring clogs and cracks: a pipe is replaced when there are regular clogs, visible cracks and leaks, not after a single clog that is cleared by snaking.
- Cast iron to plastic: cast iron is dismantled due to the bore becoming overgrown with deposits and its heavy weight, not only after an emergency — preventive installation extends the service life of the riser.
- Material suited to the task: for internal distribution, PVC 50 and 110 mm is used; for hot sections, polypropylene with a compensator that absorbs thermal expansion.
- Slope and joints: a slope of 2–3 cm per meter and high-quality sealing of joints affect the system's performance more than the brand of pipe.
- Approvals and trenching: replacing a riser requires written approval from neighbors and the management company, while outdoor work requires trenches with a sand cushion under the pipe.


