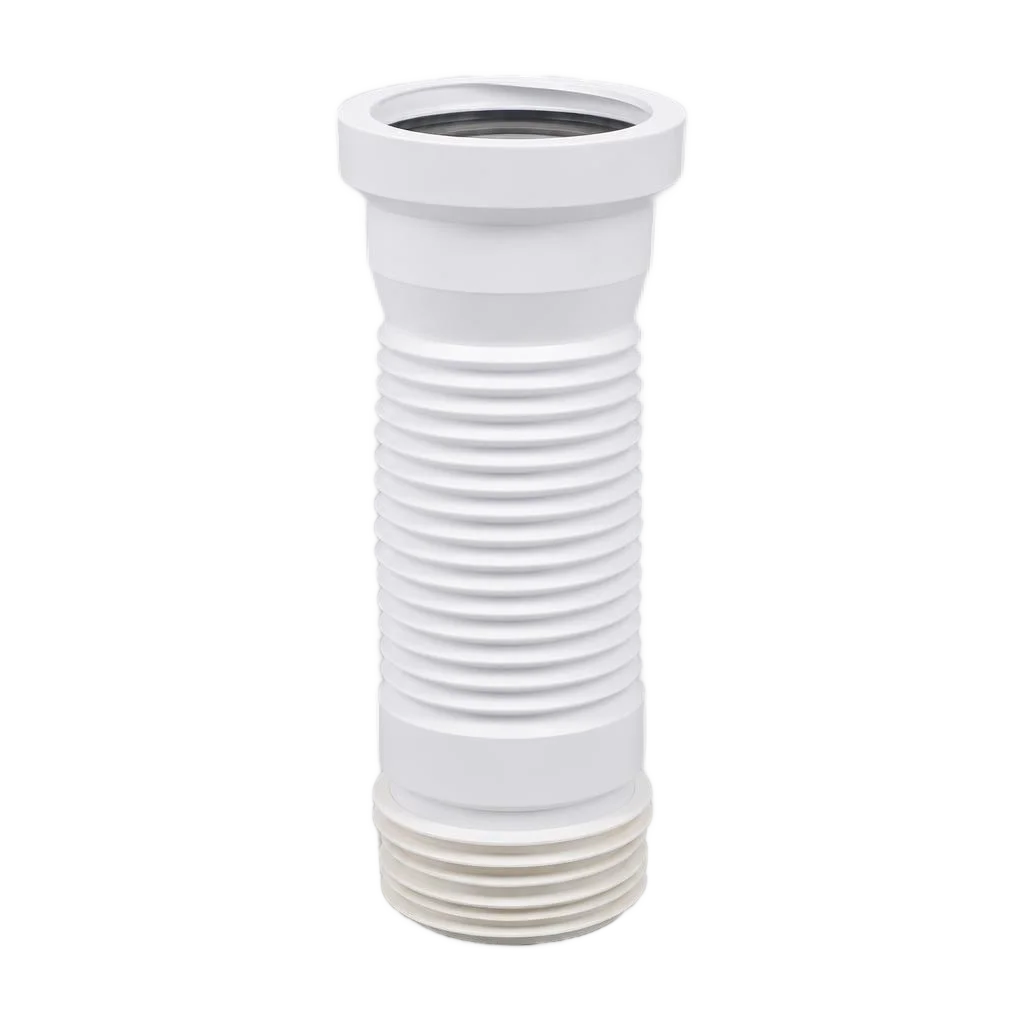
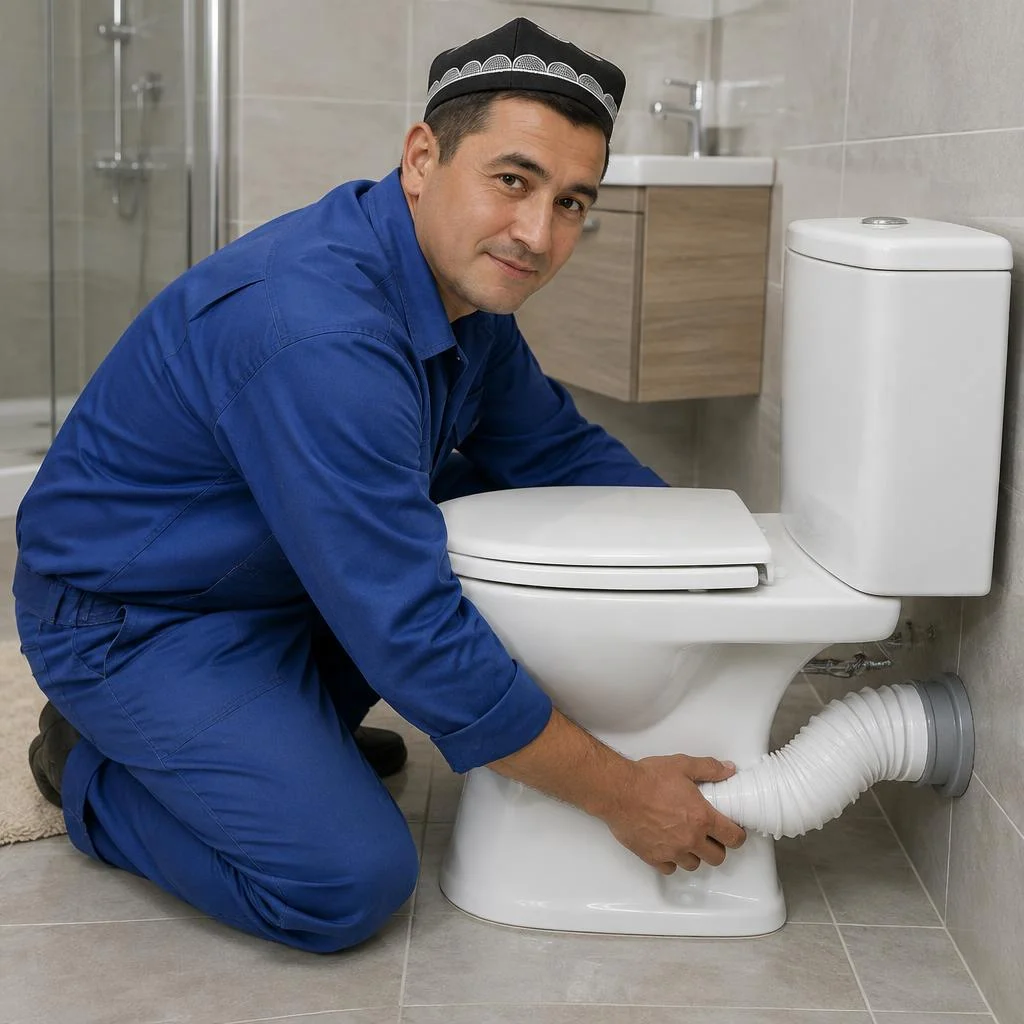
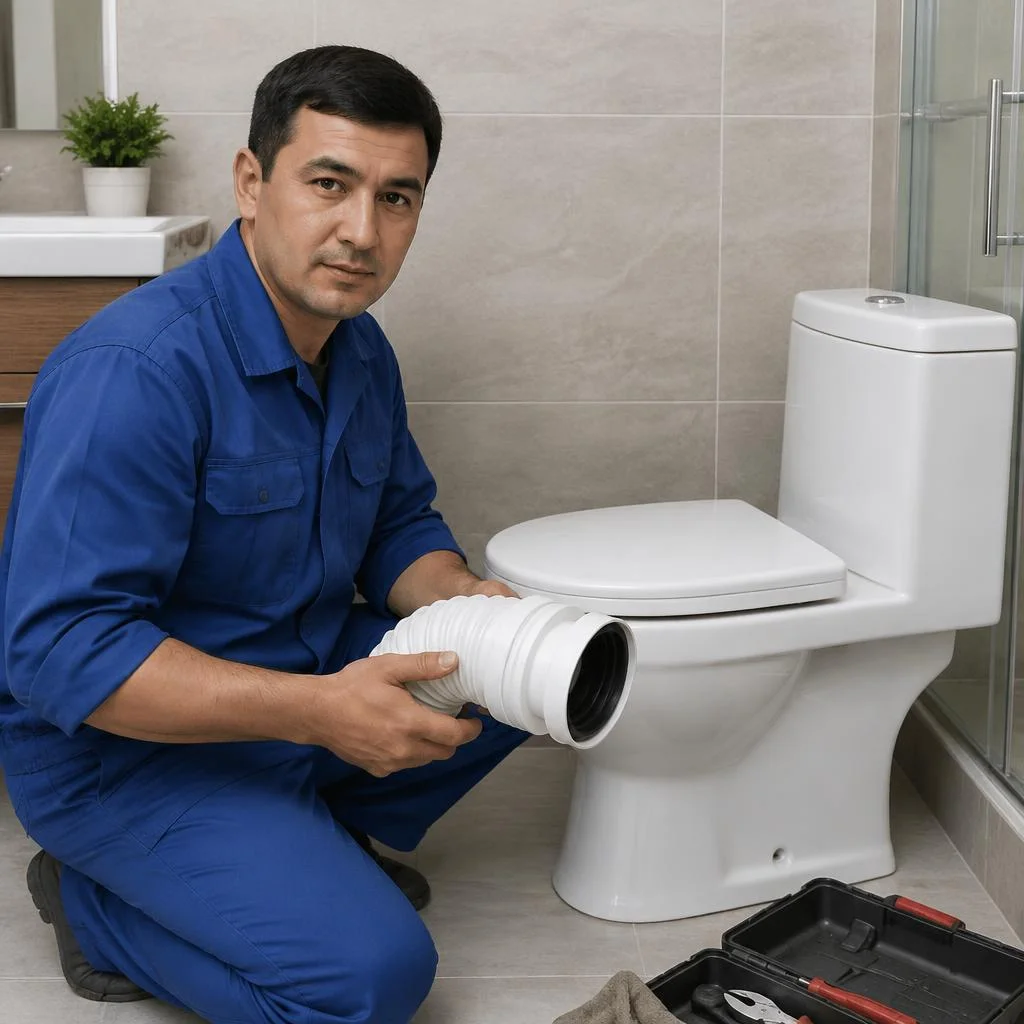
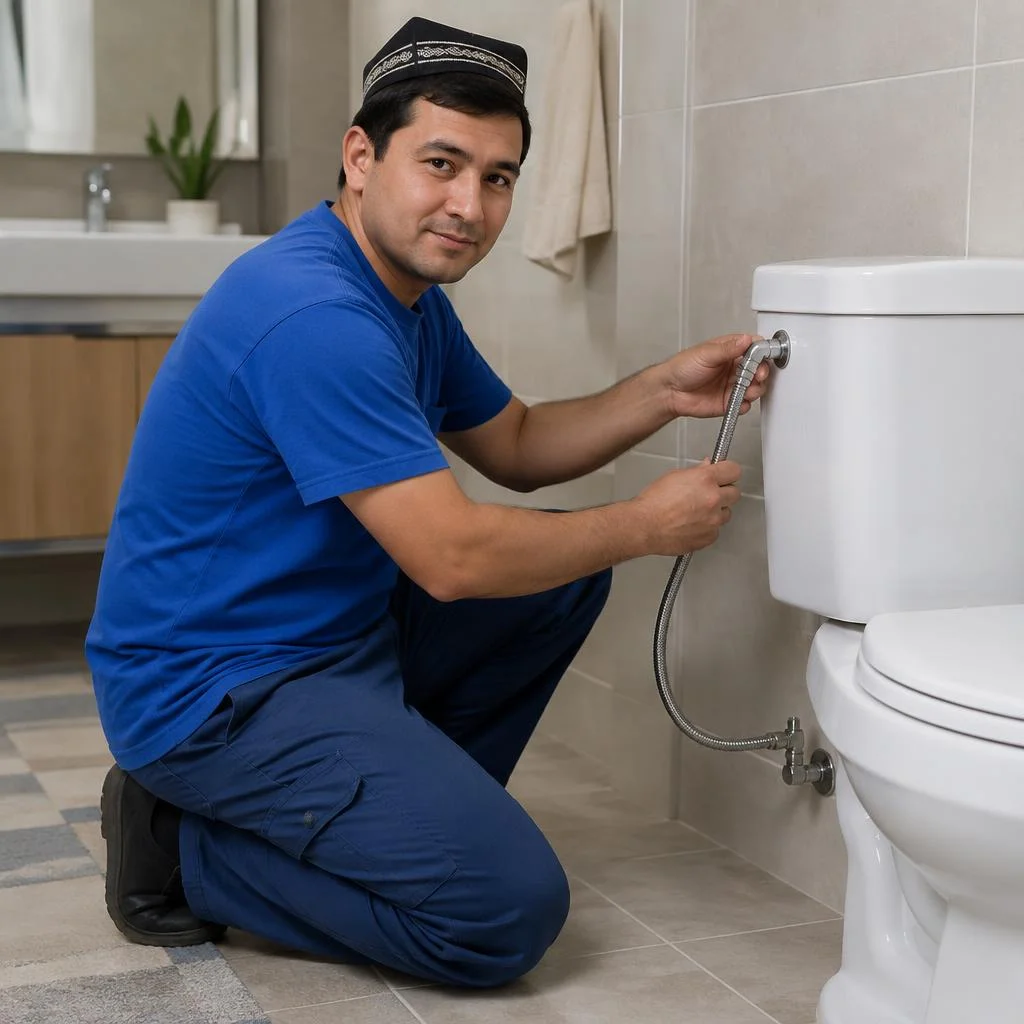
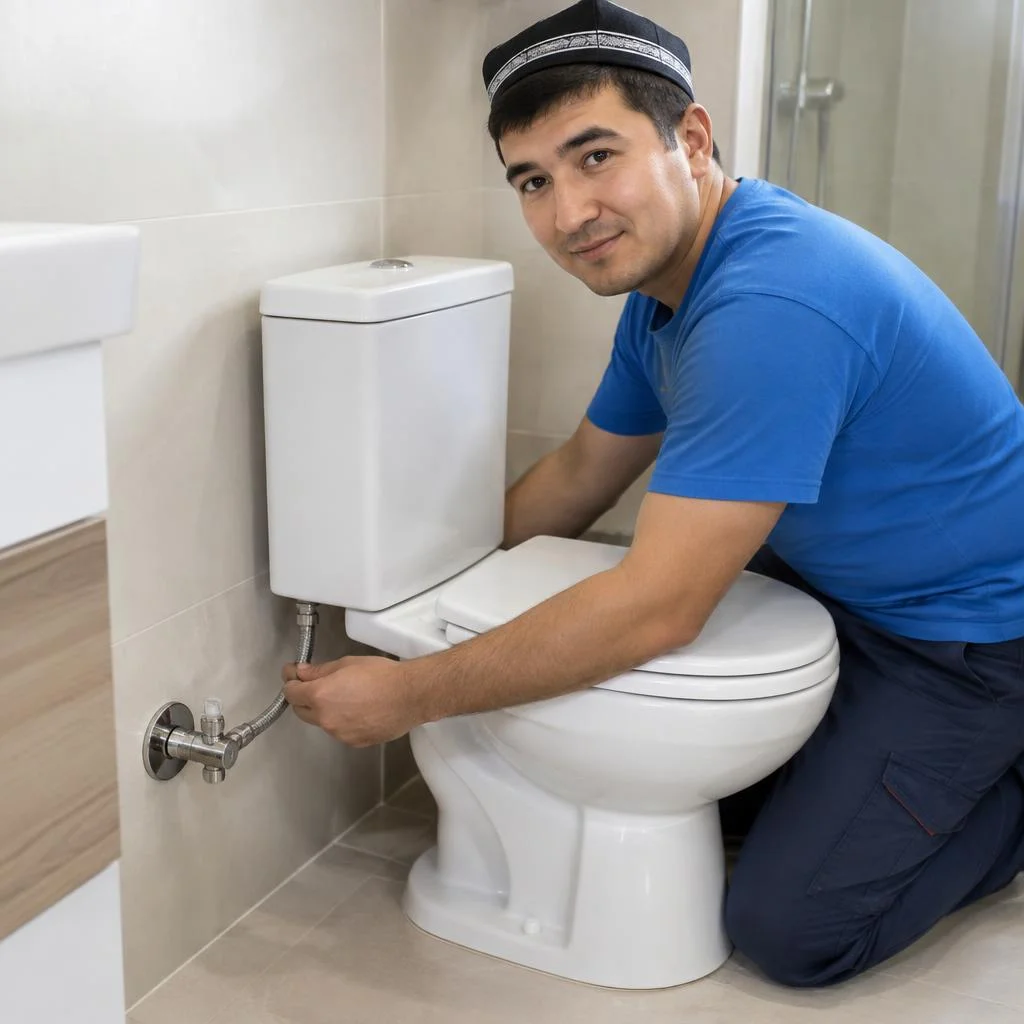








When it's time to replace a toilet corrugated pipe: signs of wear, leaks and odor
The corrugated pipe is a consumable that lasts 3-7 years depending on water hardness and load. Let's look at five signals where postponing replacement is dangerous, and how to tell a leak from a clog.
Five signs that a toilet corrugated pipe is worn out
- Cracks and tears: microcracks appear on the visible part of the corrugated pipe, which expand when flushed and let water through.
- Traces of water under the bowl: a puddle at the base of the toilet after each flush indicates a loss of tightness at the joint.
- Persistent odor: if the bowl smells of sewage even after cleaning, it means the corrugated pipe has lost its elasticity and no longer fits snugly against the outlet.
- Sagging: the part sags under the weight of water, a gap forms between it and the socket, and part of the waste flows into it.
- Crunching when pressed: the rubber gasket has hardened over time and makes a dry sound when touched; the seal is already broken.
- Slow drainage: water drains sluggishly, the level in the bowl rises — this is a sign of an internal clog or a narrowed passage.
Why the toilet smells: corrugated pipe, water trap or ventilation
Odor from the toilet occurs for three reasons: a broken water trap, a loose joint between the corrugated pipe and the outlet, and a clog in the corrugated pipe itself. The water trap is a water plug in the bend of the bowl that blocks sewer gases; if the water level in the bowl is below normal, gases pass through directly. A loose joint between the corrugated pipe and the outlet lets air from the riser through, especially in older buildings of Tashkent — Chilanzar, Yunusabad, Sergeli — where risers are assembled from cast iron and are often clogged. A clog in the corrugated pipe works differently: organic deposits on the walls decompose and produce a persistent ammonia odor that cannot be removed with household chemicals. Before replacing the corrugated pipe, the technician checks the water level in the bowl — if the water trap is intact and the odor remains, the problem is in the joint or the riser ventilation.
Leak along the corrugated pipe vs. clog: how the symptoms differ
A leak along the corrugated pipe means drops at the base of the bowl after flushing, while a clog means slow drainage and a rising level in the bowl. A leak shows up immediately after flushing: a wet spot remains on the floor under the toilet, and over time a white limescale deposit appears at the joint. A clog develops gradually: first the water takes a couple of seconds longer to drain, then a thin film remains in the bowl, and after a week or two the level rises to the rim. A leak is often disguised as a clog: water drains slowly because part of the waste flows out through a crack in the corrugated pipe rather than into the riser. Diagnosis is simple — shut off the water supply, wipe the joint dry and flush a full tank: if after a minute moisture appears at the base of the bowl, the seal is broken and the toilet corrugated pipe needs replacing, not cleaning. If the joint is dry and the water still stands, the cause is a clog in the outlet or the riser.
Which corrugated pipe to choose: plastic, reinforced, siphon and diameter for the outlet
The type of corrugated pipe determines the service life of the assembly and resistance to clogs. Let's look at three design options and the rule for selecting the diameter for the bowl outlet.
Plastic, reinforced and siphon corrugated pipe: comparison
| Type | Feature | Where we install it |
|---|---|---|
| Plastic | Smooth inside, bends by hand | Standard outlet up to 30 cm |
| Reinforced | Rigid rib, holds its shape | Long sections over 40 cm |
| Siphon | Built-in water trap | When there is a smell from the riser |
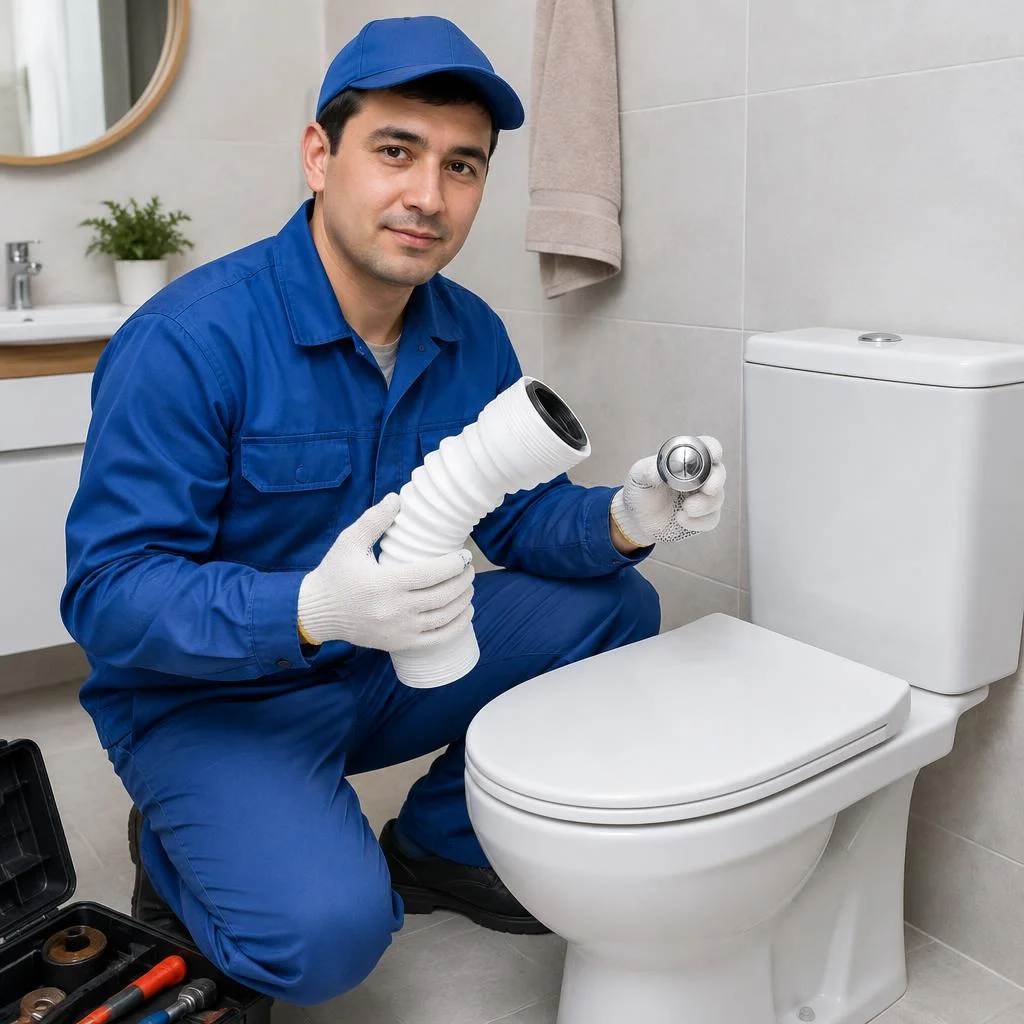
We install three types of corrugated pipe: basic plastic, reinforced for long sections, and siphon with a water trap. On a section longer than 40 cm, it is the reinforced one that does not sag and does not collect clogs in the lower loop — this is confirmed by our experience of service calls to Tashkent apartments.
What diameter of corrugated pipe is needed: 32, 40 or 50 mm
For a toilet in a Tashkent apartment, the standard is 40 mm, 32 mm is used for bidets and urinals, 50 mm is for long horizontal sections to the riser. The diameter is determined by the bowl outlet, not by the diameter of the riser: in most toilet models from Sanita, Cersanit and local assemblies, the outlet is designed for exactly 40 mm, and no adapter is needed here. On bidets and urinals, 32 mm is found — there the flush load is lower, and the narrow channel copes. A section from the bowl to the riser longer than a meter is better run at 50 mm: a wide channel clogs less often with hair and paper. The diameter is selected according to the outlet, not the riser: if you install 32 mm on a toilet, the joint will have to be sealed with an adapter, and this is the first place of a future leak.
Angled and straight outlet: how to select a corrugated pipe for the bowl
With an angled outlet, the corrugated pipe goes back at an angle; with a straight one, vertically downward; the Eco-Service technician determines the type by the bowl before the visit and brings the necessary part with him. An angled outlet is found on floor-standing models with an inclined branch pipe — here the corrugated pipe goes at 45 degrees to the wall and almost does not form loops. A straight outlet is typical for wall-hung bowls and models with an installation frame: the branch pipe faces downward, and the corrugated pipe goes straight into the floor or into the wall. There is also a third option — an outlet into the wall, when the branch pipe is turned horizontally; for it, a corrugated pipe with an extended socket is used. If the outlet type is determined incorrectly, the corrugated pipe has to be bent at an acute angle — at this point it cracks in the first months.
Replacing a toilet corrugated pipe: work stages and sealing the joint
We'll show how installation is done in our practice: from diagnosing the joint to testing under load, and in which cases the bowl is removed and in which it can be done without dismantling.
Step-by-step process of replacing a toilet corrugated pipe
- Shutting off the water and draining the tank: the technician closes the valve on the supply line, drains the remaining water from the tank and places a container under the outlet so as not to flood the floor.
- Inspecting the joint and diagnostics: the condition of the outlet gasket, the bowl's misalignment, cracks on the flange and traces of old sealing are checked.
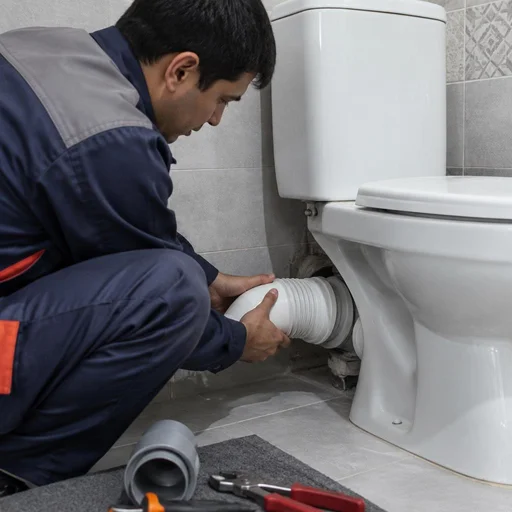
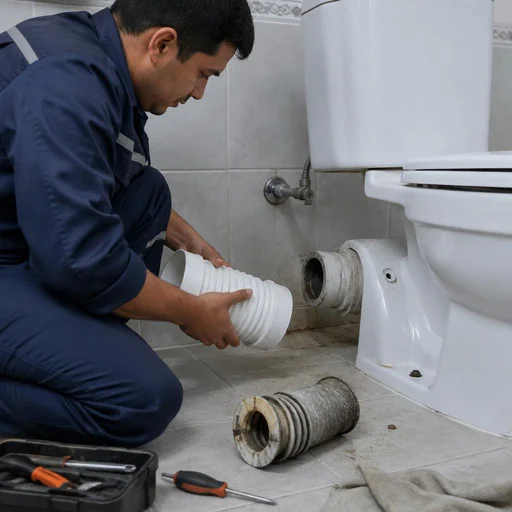
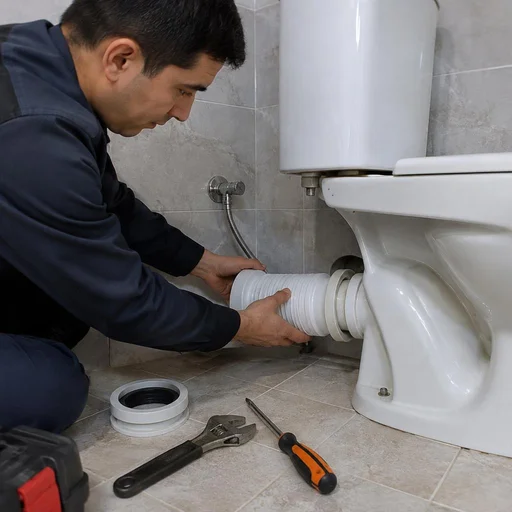
- Disconnecting the old part: the corrugated pipe is removed from the bowl's branch pipe and from the outlet in the wall or floor, and remnants of flax and sealant are cleaned off.
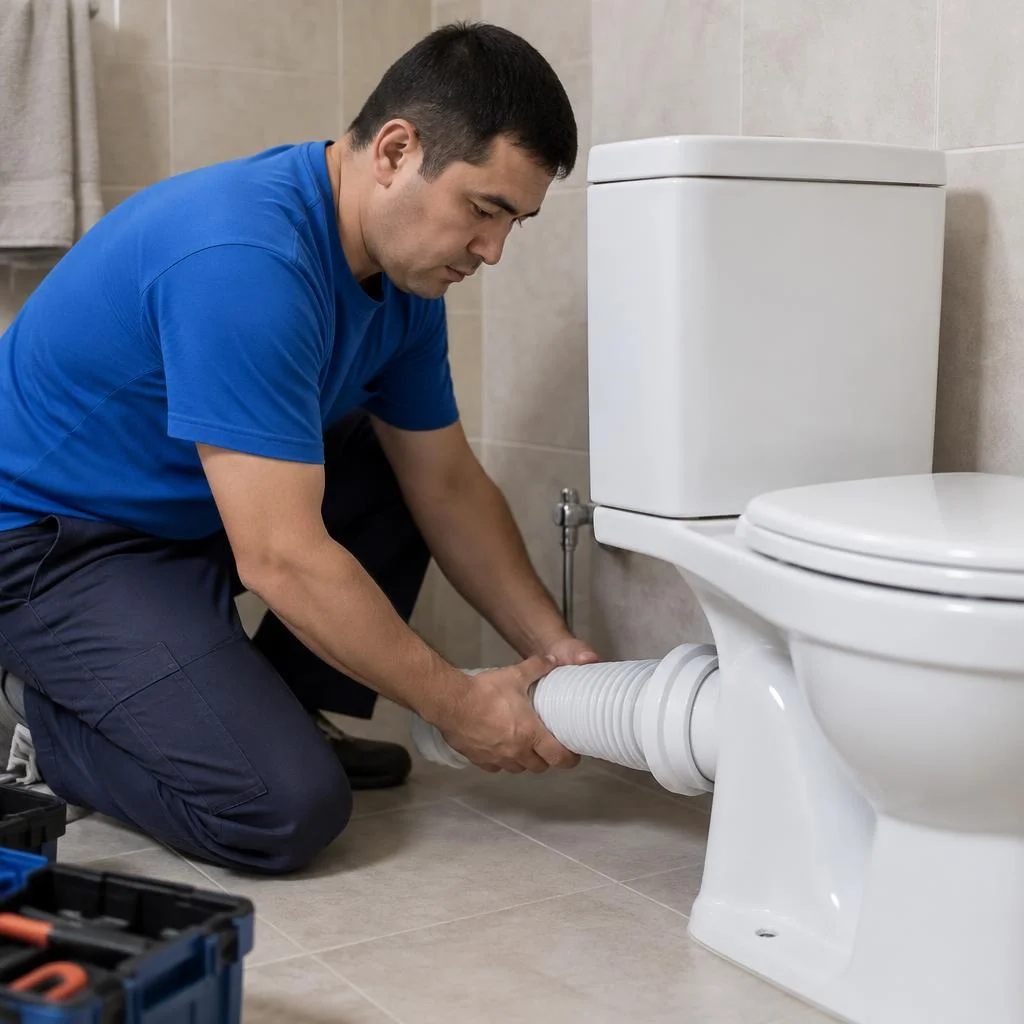
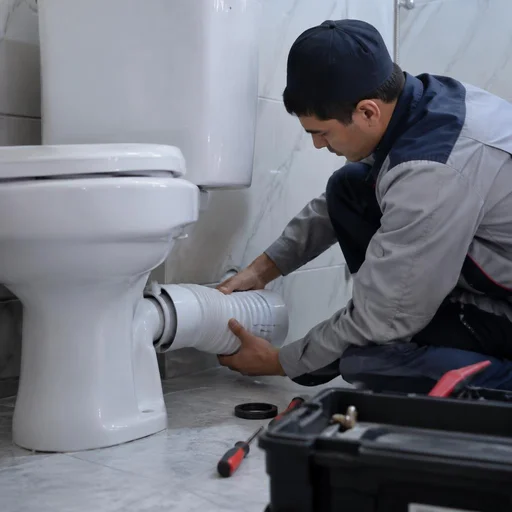
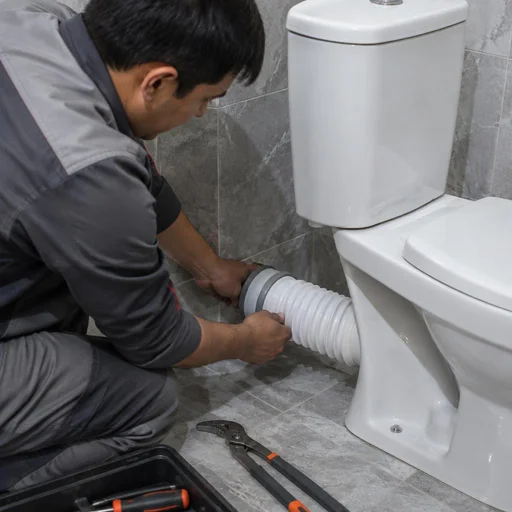
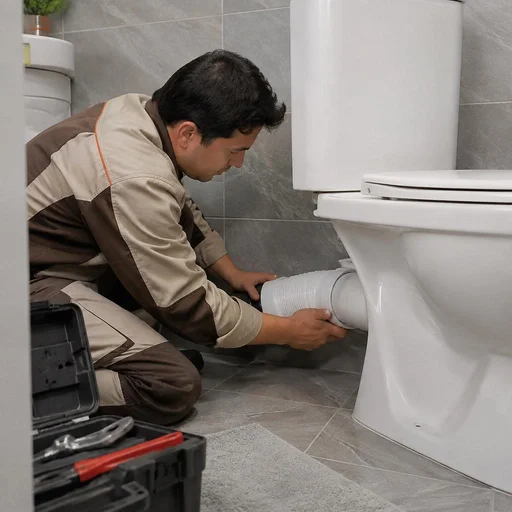
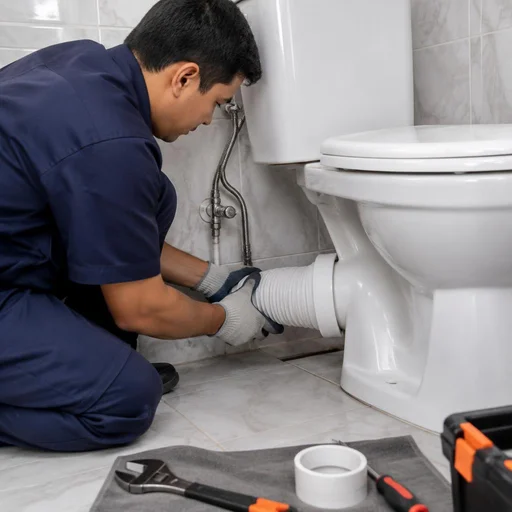
- Installing the new part with a gasket: the rubber gasket is seated on the flange, the corrugated pipe is inserted all the way and secured with a clamp without overtightening.
- Testing under load: three to four consecutive flushes with inspection of the joint — this is how a leak is detected that isn't visible with a single flush.
When the toilet is removed and when the corrugated pipe is replaced without dismantling
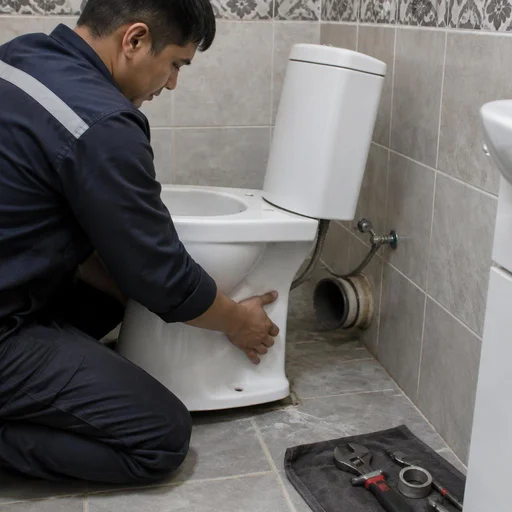
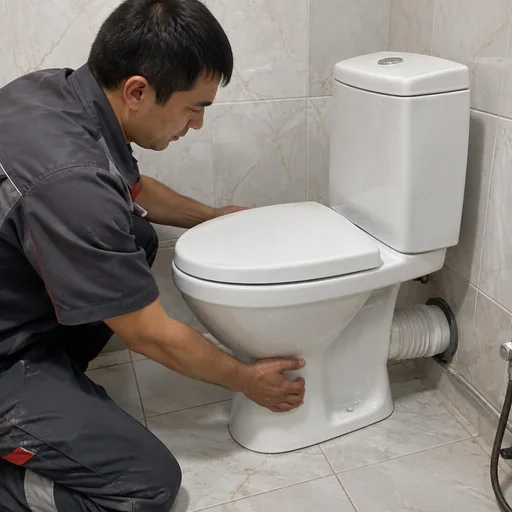
If the outlet is accessible from the side, we replace the corrugated pipe without removing the toilet; dismantling is needed when the fasteners are seized, the outlet is concealed, or the outlet gasket is being replaced. In Tashkent apartments of the old housing stock, the bowl more often sits on two bolts with rubber gaskets — they seize to the ceramic over several years, and it's not always possible to unscrew them without chipping. With a concealed outlet, when the branch pipe goes into the wall behind the bowl, it's impossible to reach the joint from below: first the bowl is removed, then the outlet gasket is replaced, and only then is the new part installed. Unnecessary dismantling increases the risk of damaging the ceramic and fasteners, so we remove the bowl only when access to the joint is blocked.
Sealing the joint: fum tape, flax or sealant
We seal the joint between the corrugated pipe and the outlet with a rubber gasket and plumbing flax on the thread; sealant is used only on permanent connections. The rubber gasket holds the connection through a tight fit on the flange and requires no additional lubrication, while the clamp secures the corrugated pipe against being pushed out during flushing. On threaded transitions, where the corrugated pipe connects to a metal outlet, flax with paste fills irregularities and works as a sealant under pressure. Fum tape on plastic threads gets squeezed out over time — on a toilet outlet, flax with paste is more reliable, it withstands the vibration from flushing. Silicone sealant is applied selectively: on permanent joints where the part is seated for good, otherwise the connection will have to be cut out during the next installation.
Related work: gasket, supply line, valve, flush mechanism
When replacing a toilet corrugated pipe, the technician often identifies adjacent worn components — the gasket, supply line, valve, flush mechanism. We show what we replace in a single visit so you don't have to call a plumber again.
What we replace together with the corrugated pipe: gasket, supply line, valve
| Component | When we replace it | What it provides |
|---|---|---|
| Outlet gasket | Cracks, loss of elasticity, marks at the joint | A tight fit of the bowl to the outlet with no leaks |
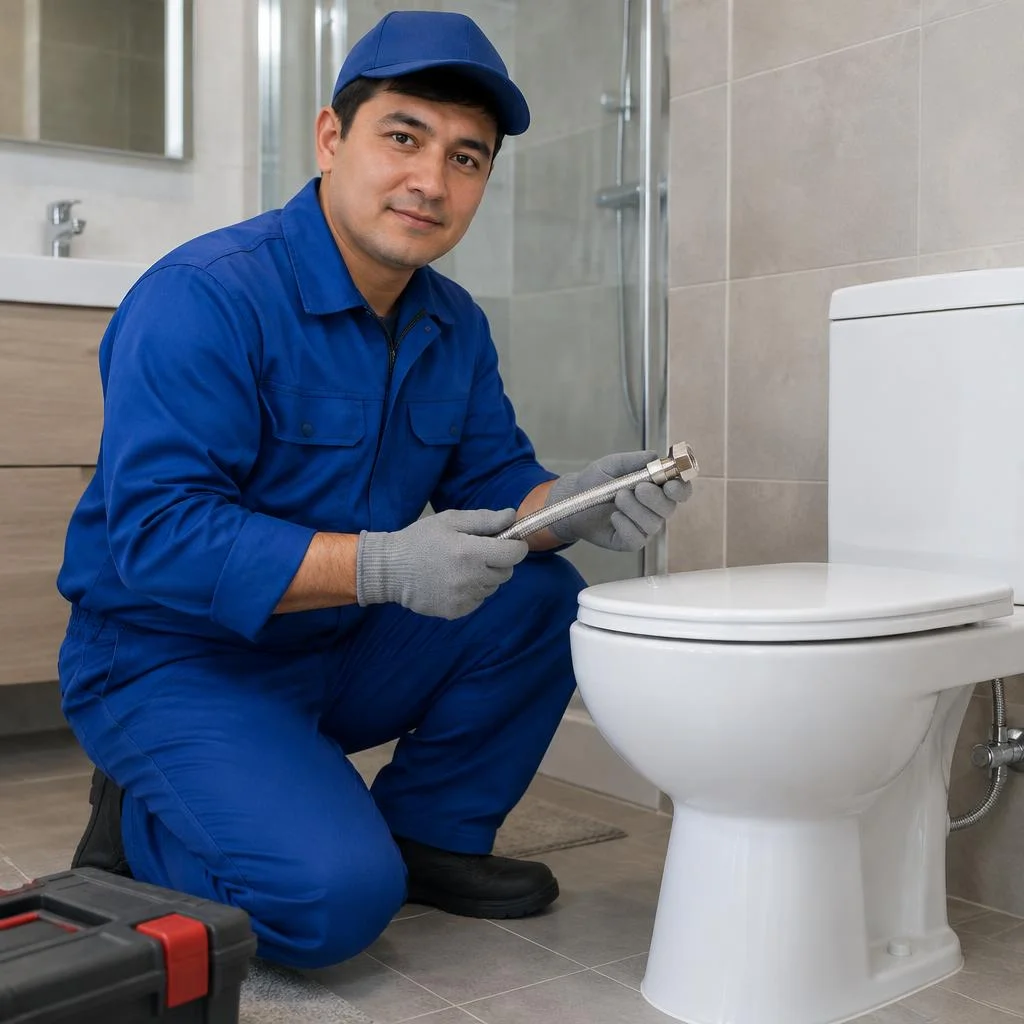
| Flexible supply line | Bulging, rust spots, age over 5 years | Protection against bursting under mains pressure |
| Shut-off valve | Doesn't shut off the water, stem has seized | Emergency shut-off without closing the riser |
| Toilet corrugated pipe | Replacement per the main order | Waste drainage without odor or leaks |
| Gasket + supply line together | Simultaneous wear of components | One visit instead of two call-outs |
The outlet gasket is renewed preventively, even if it looks intact: its cost is incomparable to a repeat call-out for a technician. With us, you can cover the entire list of components in a single visit — without disassembling the toilet piece by piece on different days.
Flush mechanism, button and float: when to touch them
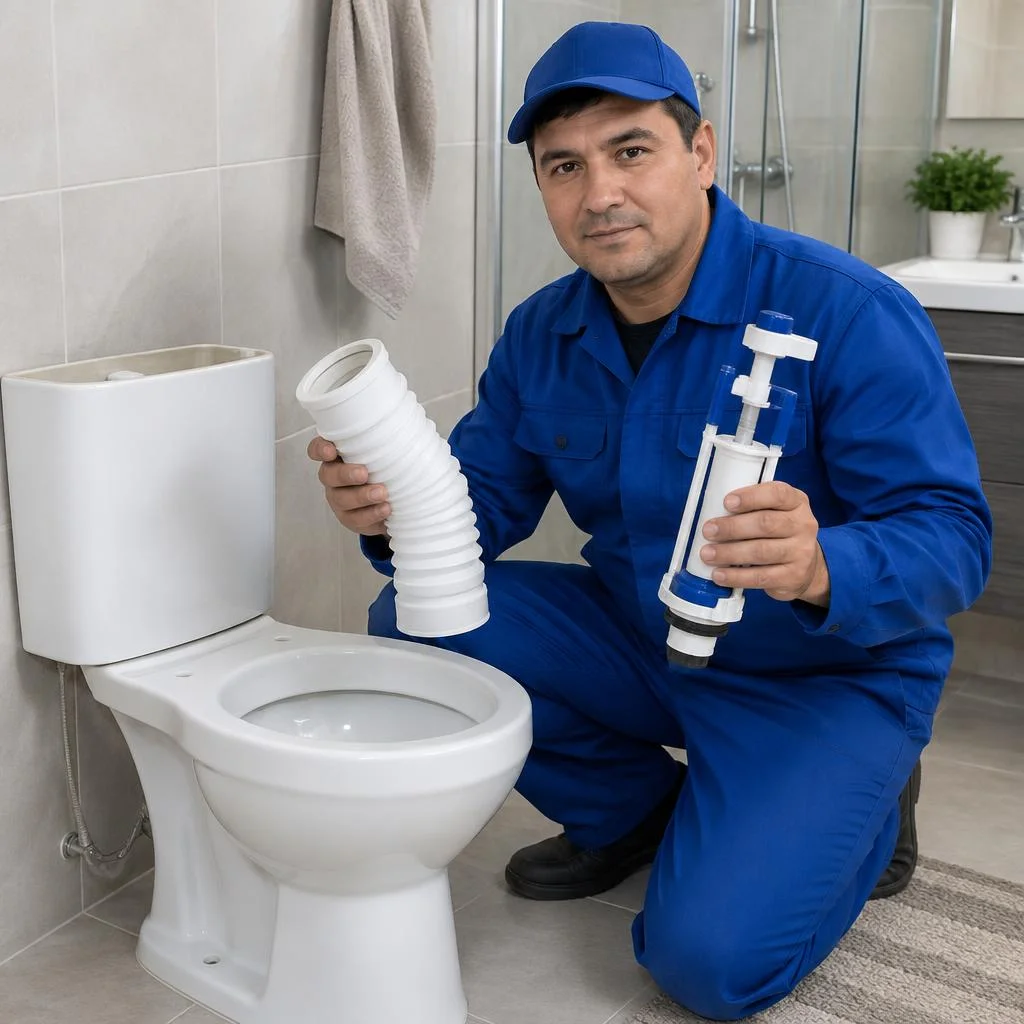
We replace the flush mechanism, flush button and float if the tank leaks into the bowl, the button sticks, or the water doesn't stop after flushing. The shut-off valve is an adjacent component in this list: it regulates the supply, and when the stem has seized, the water makes noise even after the float is renewed. On plastic and reinforced bowl models, wear of the flush group accelerates with hard water: scale on the valve seat prevents the membrane from seating tightly, and the tank leaks constantly. A tank leaking into the bowl looks like "perpetual" water noise — it is often confused with a leak along the corrugated pipe, although the cause is the float or valve. We handle such cases on site: the technician checks the flush group before sealing the joint, so the work doesn't have to be redone.
Clearing the corrugated pipe and outlet: when replacement isn't needed
If the corrugated pipe is intact but the water drains slowly, we clear the corrugated pipe and toilet outlet without replacing the part. A clog in the corrugated pipe usually localizes at the first bend — paper and greasy deposits accumulate there; the outlet clogs deeper, at the entrance to the riser, and requires a cable with an attachment. Clearing the corrugated pipe of a clog and clearing the toilet outlet are different operations with different tools, and they shouldn't be confused. Clearing without a subsequent check of the joint brings the clog back within a month — after the work, the technician checks the tightness of the connection and, if necessary, seals the joint so that the waste doesn't draw in air.
Eliminating leaks and odors: what the technician does after replacement
A new corrugated pipe does not always solve the problem: sometimes a leak or odor remains after installation. We break down what the technician checks additionally and in what sequence the cause is eliminated.
Eliminating leaks along the corrugated pipe after replacement
After installing a new part, the leak does not always go away: if water continues to seep through, the technician checks the fit of the outlet gasket, the angle of the part, and the tightness of the joint with the socket. In our practice, residual leakage after installing a new part in 8 out of 10 cases is explained not by a defect but by misalignment: the corrugated pipe was installed at an angle, the gasket is not pressed along the entire circumference, and water finds a gap at the lower edge. On plastic and reinforced models, misalignment manifests differently — rigid reinforcement holds its shape and leaks at a single point, while soft plastic sags and leaves a blurred trace around the entire circumference. We fix it like this: remove the part, set the outlet axis strictly to level, seat the gasket on sealant, and tighten the clamp evenly from both sides. Before calling the technician again, check the gap between the gasket and the bowl with your finger — if it is more than a millimeter, the problem is in the fit, not in the corrugated pipe itself.
Eliminating odor from the corrugated pipe: water trap and ventilation
We eliminate odor from the corrugated pipe by restoring the water trap, sealing the joint, and checking the stack ventilation. First we look at the water level in the siphon: if it is below normal, sewer gases go directly into the bowl — we add water and check whether the column holds after flushing. Then we inspect the joint between the corrugated pipe and the outlet: a micro-gap of a couple of millimeters lets odor through more than it seems, especially in older buildings in Yunusabad and Chilanzar, where stacks are assembled without a vent pipe. If the water trap is intact and the joint is sealed, but the odor remains, the cause is almost always in the stack ventilation — it is checked before reinstalling the part, otherwise a new corrugated pipe will not help. Our elimination of odor from the corrugated pipe includes checking ventilation and sealing the joint in a single visit. Our recommendation: do not replace the part a second time until you have made sure the stack is breathing and the siphon holds water.
2-Year Warranty, Response Times, and Eco-Service Terms of Work
We'll show you how the warranty works, how long a visit takes, and why the service operates as a direct provider of the service rather than as an aggregator with subcontractors. We'll cover response times by district of Tashkent and the payment procedure.
2-Year Warranty on Toilet Flexible Connector Replacement
Eco-Service provides a 2-year warranty on toilet flexible connector replacement and related work — from sealing the joint to replacing the outlet gasket. The warranty period covers not only the part itself but also the quality of installation: proper seating on the outlet, hose clamp tension, treatment of the joint with PTFE tape or sealant. If a month after the work moisture appears under the bowl or the smell returns, the technician comes back and checks the same assembly — the flexible connector, the gasket, the connection point to the sewer. The warranty also covers a repeat visit if the leak returned due to our fault — the client doesn't pay for diagnostics twice. When contacting us, it's enough to provide the date of the work and the address: the receipt and work order are stored at the service center, no need to restore documents. In my view, this is exactly the point that most often falls through with private technicians: they give a verbal warranty, and on a repeat call they ask for payment again.
How Long Replacement Takes and When the Technician Will Arrive
Toilet flexible connector replacement takes 40-60 minutes, and a technician visit in Tashkent is on the day of request; in Chilanzar and Yunusabad — within 2-3 hours. The standard scenario: the technician removes the bowl, takes out the old flexible connector, installs a new one with a gasket, seals the joint, and checks the drain with two or three flushes. If the outlet is concealed and the bowl needs to be removed, the work stretches to 1.5 hours — it's worth clarifying this when placing the request so you can free up the time. In Mirzo-Ulugbek and Yashnabad districts, visits are usually scheduled for the morning; in Sergeli and Bektemir — closer to noon due to traffic load. The technician arrives with their own tools, a flexible connector of the right diameter, and consumables, so nothing will need to be purchased during the work. Specify the outlet type when placing the request — this affects both the duration and the set of parts the technician brings.
Own Service Center and Payment After the Work
We are a direct provider of the service with our own service center in Tashkent; payment is after checking the work, via Click, Payme, Uzcard, or Humo. The request is taken by the service center dispatcher, who also assigns the technician and maintains the status until the work order is closed. Payment is made after the client has confirmed: water isn't leaking, the smell hasn't returned, the drain works. We accept cash, Click, Payme, Uzcard and Humo cards — whichever is more convenient. A direct provider is responsible for the work itself rather than shifting the claim to a subcontractor technician — that's why the warranty doesn't "expire" when the contractor changes. In our practice, there was a case where a client contacted us six months after a flexible connector replacement in a rented apartment: the previous tenant had moved out, no receipt remained, but the work order was found by address and the repeat visit was done free of charge. If you work with the service center directly, note the work order number — it makes it easier to restore the history.
Conclusion
We've gathered the essentials about toilet flexible connector replacement: when the part is replaced, how it's matched to the outlet, and what to do if a smell or drip remains after the work. Below are brief takeaways that will be useful before calling a technician.
Key Takeaways
- Signs of wear: the flexible connector is replaced when there are cracks, leaks, persistent odor, and sagging — without waiting for a rupture and flooding of neighbors.
- Part selection: the type of flexible connector (plastic, reinforced, siphon) and diameter 32/40/50 mm are matched to the bowl outlet, not "by eye" based on the old sample.
- Work duration: the procedure takes 40-60 minutes; with a concealed outlet — up to 1.5 hours including toilet removal and reinstallation.
- Leak and odor after work: most often related to a misaligned flexible connector, insufficiently tightened joint, or stack ventilation, rather than a defect in the part itself.
- Professional service terms: 2-year warranty, payment after checking the drain, and no imposed extra work — a basic benchmark when choosing a contractor.