








When a cistern needs replacing and why the toilet leaks
A cistern fails gradually: first it makes noise, then it leaks, then the ceramic cracks. We look at the signs that mean repair no longer helps, and examine what exactly breaks inside most often.
Signs that the cistern needs replacing, not repairing
- Constant sound of running water: the fill valve does not shut off the flow, and water runs into the bowl around the clock — over a month this shows up on the meter.
- Drips under the cistern: a wet patch on the floor or rusty streaks on the fasteners indicate that the seal and gasket have lost their elasticity.
- Cracks in the ceramic: even a hairline crack at the base of the cistern widens with temperature changes and can burst under pressure.
- Play in the flush button: the mechanism sinks or jams — meaning the fittings are worn and adjustment no longer holds the level.
- Repairs repeat twice a year: if you have already replaced the valve or gasket and the leak has returned, it is cheaper to install a new cistern than to repair it again.
What breaks in a cistern most often
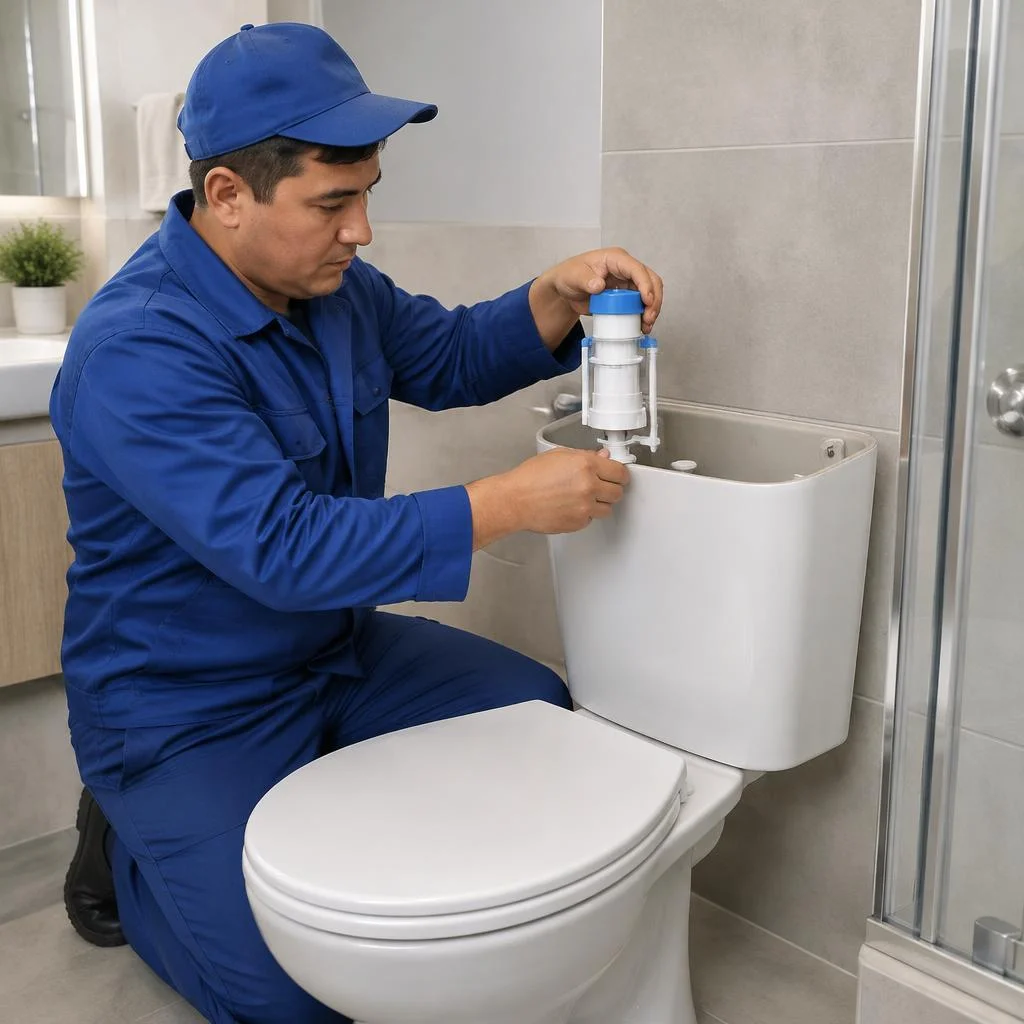
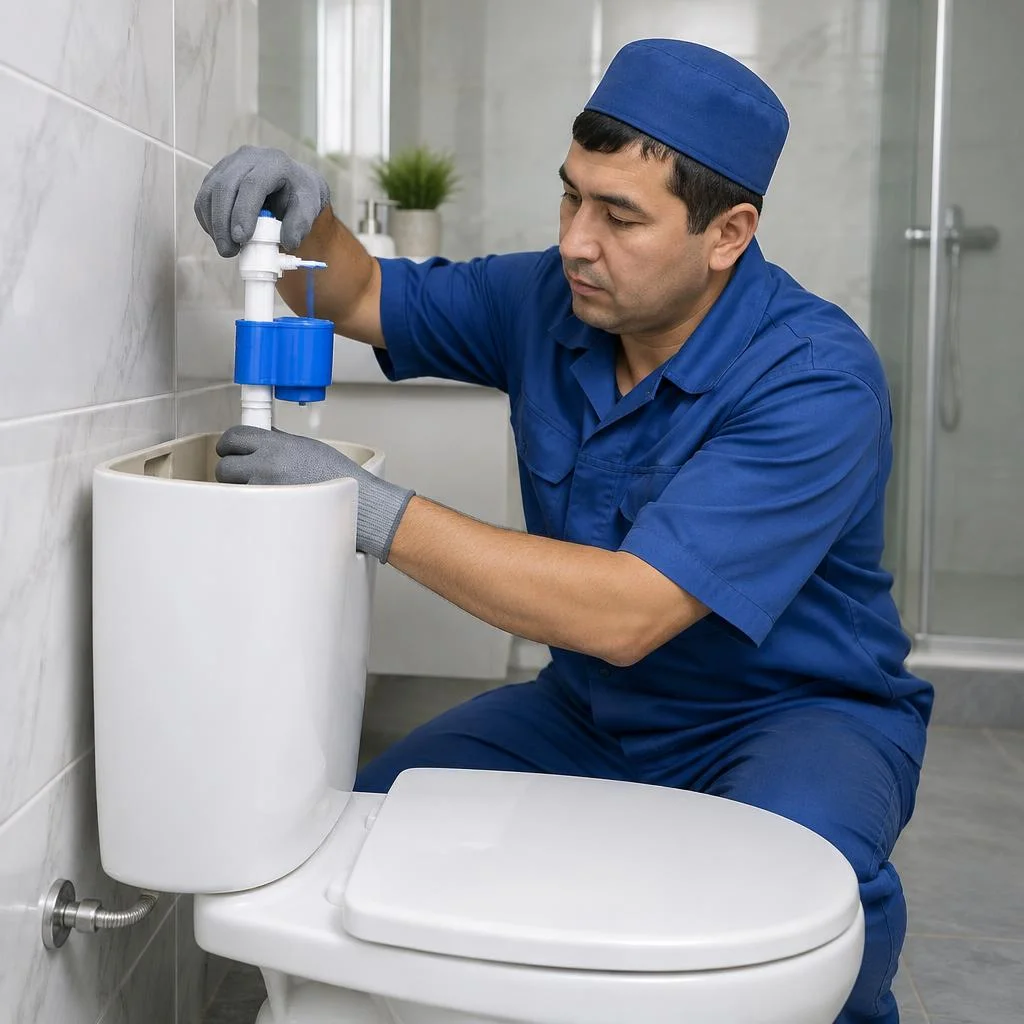
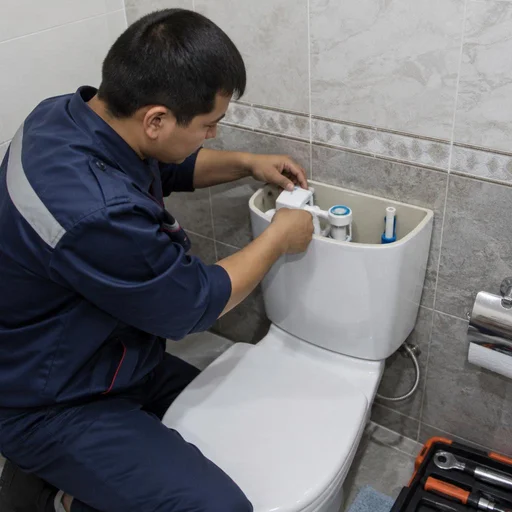
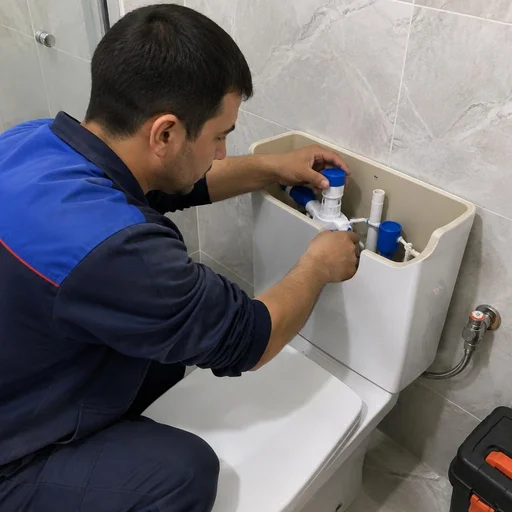
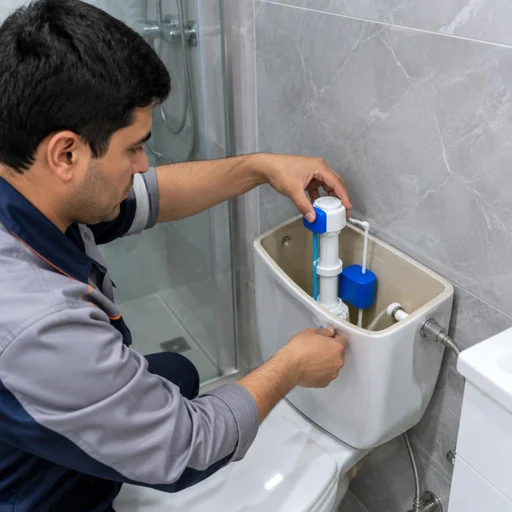
Most often the flush valve, the fill valve and the float mechanism fail — they account for the majority of call-outs. The flush valve wears out first: the rubber seal loses its shape, stops seating tightly on the seat, and water slowly leaks into the bowl. The fill valve and float regulate the filling of water — when the float loses its seal or becomes clogged with limescale, the cistern either hums or overflows over the edge. The gasket between the cistern and the bowl and the flush column seal are consumables that are replaced more often than anything else. Before replacing the whole cistern, check the gasket and seal — sometimes the problem is only with them, and this changes the scope of the work.
Can you replace only the cistern without changing the toilet
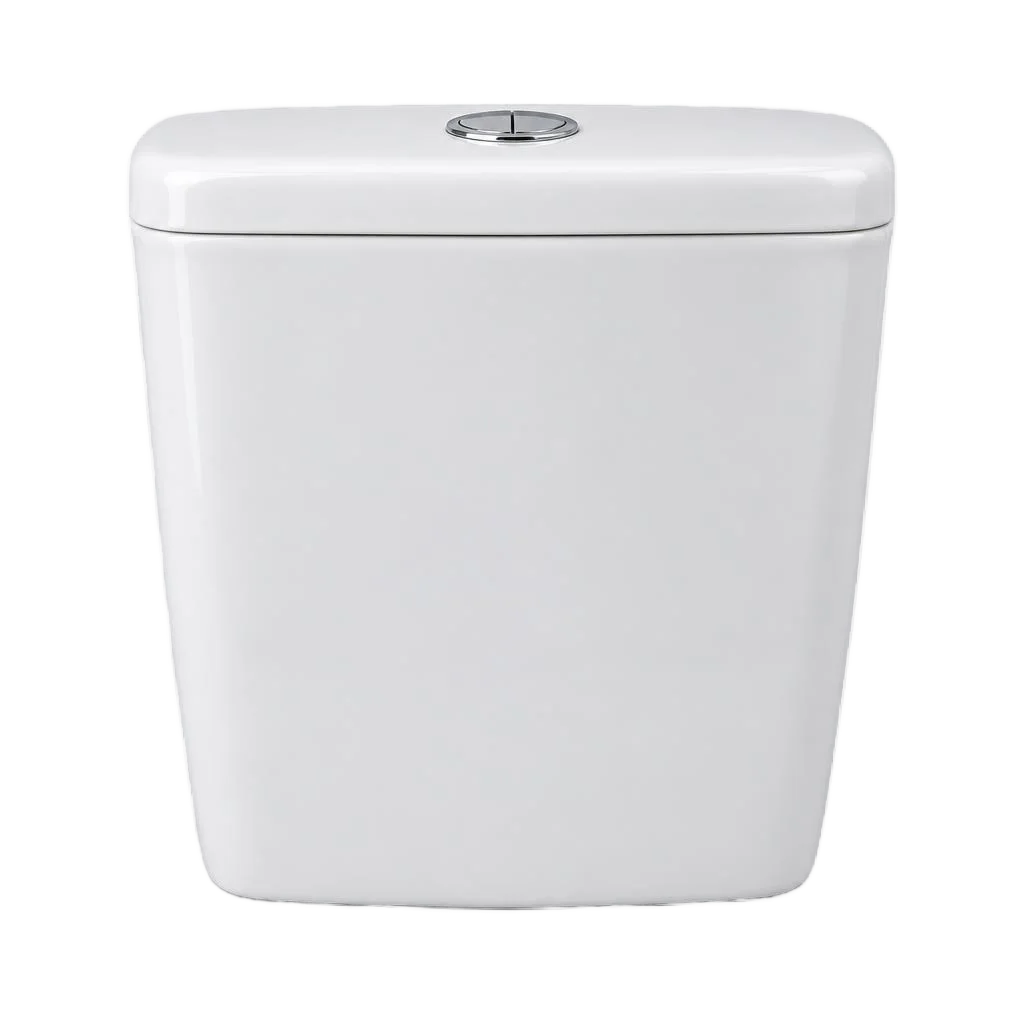
Yes — in most cases we replace only the cistern, leaving the toilet bowl in place, if the fasteners and the mounting point are intact. The price of a separate toilet cistern replacement depends on the type of connection and the model of fittings, so the technician first inspects the fasteners. Compatibility is determined by the centre-to-centre distance of the bolts and the side of the supply pipe — bottom or side. Through Eco-Service you can select a cistern for a specific bowl model, including close-coupled units with a bottom connection and classic models with a side connection. Compatibility depends on the centre-to-centre distance of the fasteners and the type of connection — the technician checks this on site before starting work.
Types of cisterns and how to choose the right one
Three types of cisterns — classic, compact and built-in — differ in installation, repairability and compatibility with the bowl. We break down which one suits your plumbing layout and bathroom layout.
Classic, compact and built-in: comparison of types
| Type | Installation | Repairability | Compatibility |
|---|---|---|---|
| Classic ceramic | Wall-mounted, separate from the bowl | High: access to the fittings from outside | Universal, fits any bowl |
| Compact | A single unit with the bowl | High: the lid can be removed in a minute | Requires matching mounting holes |
| Built-in (installation frame) | Hidden in the wall, frame in a niche | Low: access through a hatch or by opening up the tiles | Only for a specific installation frame |
For rented apartments in Tashkent, a compact is more often chosen — when moving, it can be removed and transported without opening up the tiles, whereas dismantling a built-in installation means repairing the wall.
Bottom and side connection: which suits your toilet
We select a cistern to match your toilet's connection type — a bottom connection requires a cistern with a corresponding outlet pipe, a side connection requires one with a flexible supply hose. With the bottom option, water enters through a pipe at the bottom of the bowl; with the side option, through a hose at the side, and they cannot be mixed up: the mounting holes and seating points differ between models. In new-build properties in Tashkent, a bottom connection is more common; in older housing stock, a side connection. Through Eco-Service you can order a toilet cistern replacement with the pipe selected to match your plumbing. If the connection does not match, the technician uses an adapter or changes the outlet pipe — this is resolved on site, without replacing the bowl.
What to look at when choosing: fittings, button, fasteners
When choosing, we look at three components that determine the service life:
- Fittings: flush and fill valves made of brass or reinforced plastic last longer than cheap analogues and leak less often.
- Flush button: a dual-flush one saves water but requires a properly working mechanism; a single-flush one is simpler to repair.
- Fasteners: stainless steel bolts and gaskets do not rust and do not damage the ceramic when tightened, unlike ordinary steel.
- Mounting holes: must match the bowl, otherwise the cistern will not fit without an adapter plate.
Toilet cistern replacement: how not to make the wrong choice
Toilet cistern replacement is not just about the ceramic: the service life is determined by the fittings, not the body. In Tashkent practice, the plastic fill valves of the budget segment fail most often — they are replaced just a year to a year and a half after installation, whereas brass fittings last noticeably longer. When choosing a new cistern, check three parameters: the diameter of the outlet pipe, the distance between the mounting holes and the side of the supply connection. At Eco-Service, the kit is selected for the specific bowl model, so as not to drill the ceramic or install adapter plates. If you are unsure between models, take a cistern with metal fittings: the difference in price is offset by not having to call the technician out again.
How a toilet tank replacement is done: stages of work
A tank replacement fits into a single technician visit — from shutting off the water to the final flush test. Below we go through each stage in order, with the tools and nuances that affect the time.
Removing the old tank and preparation
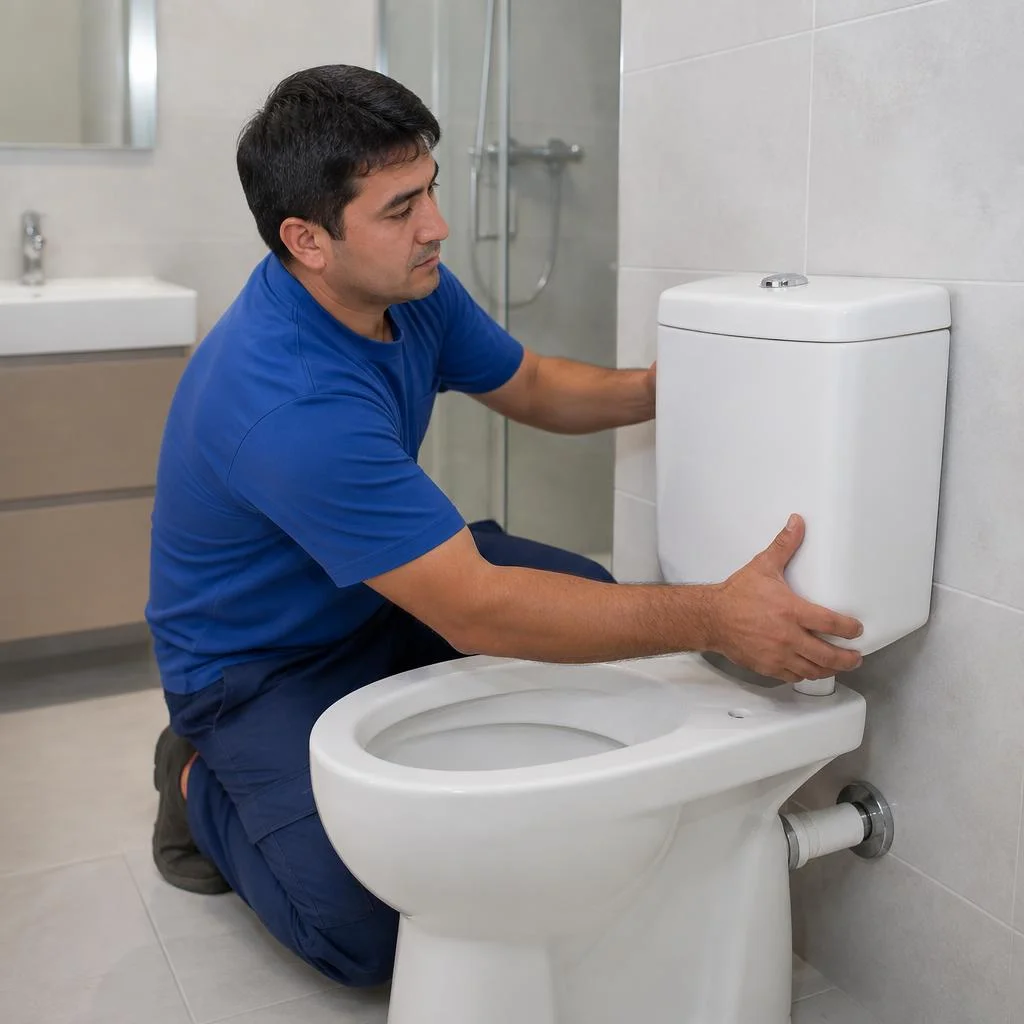
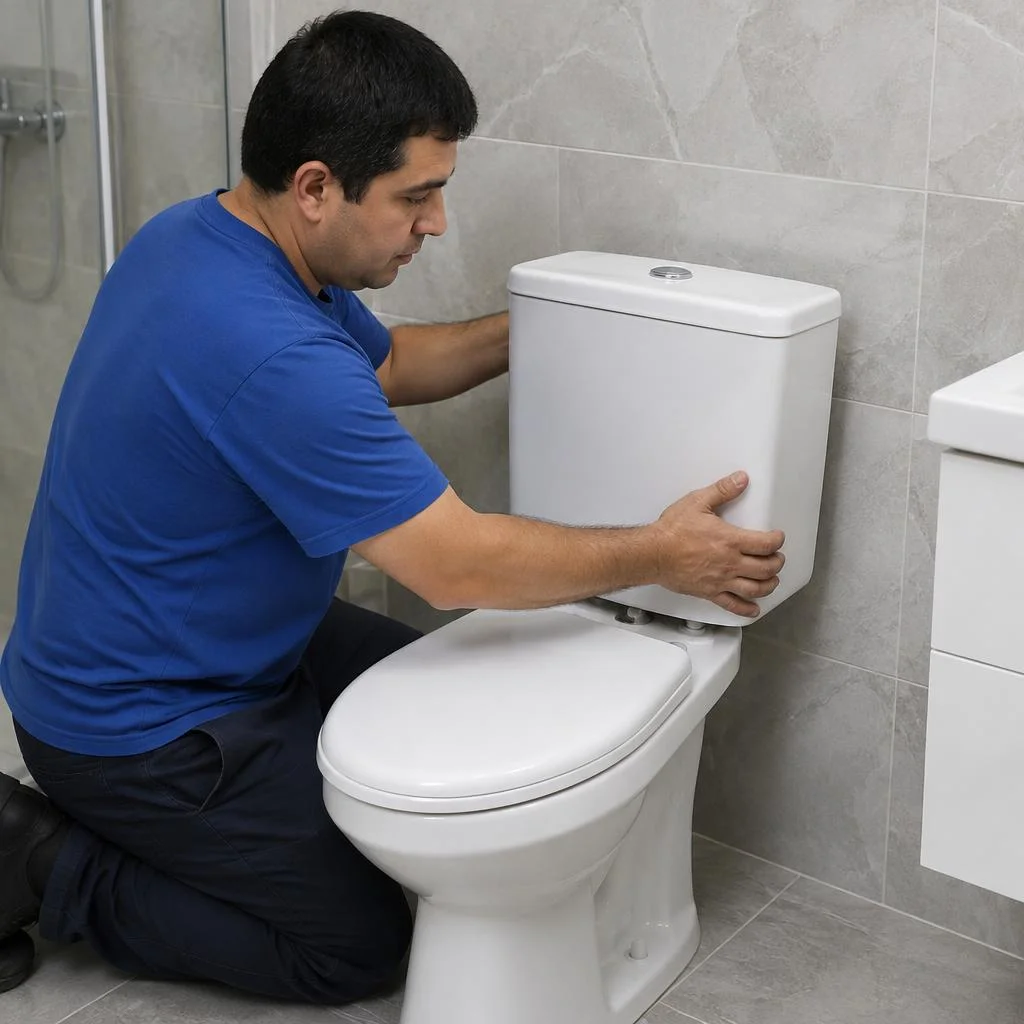
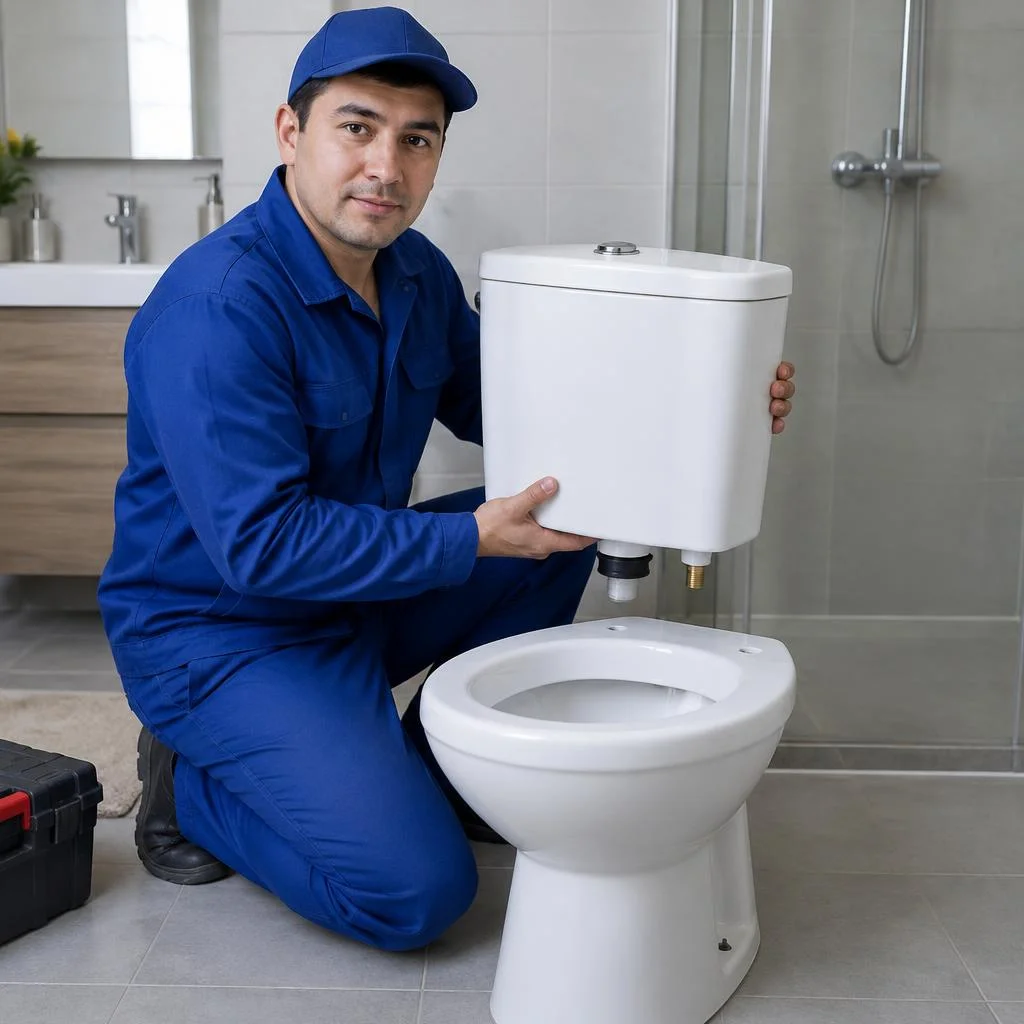
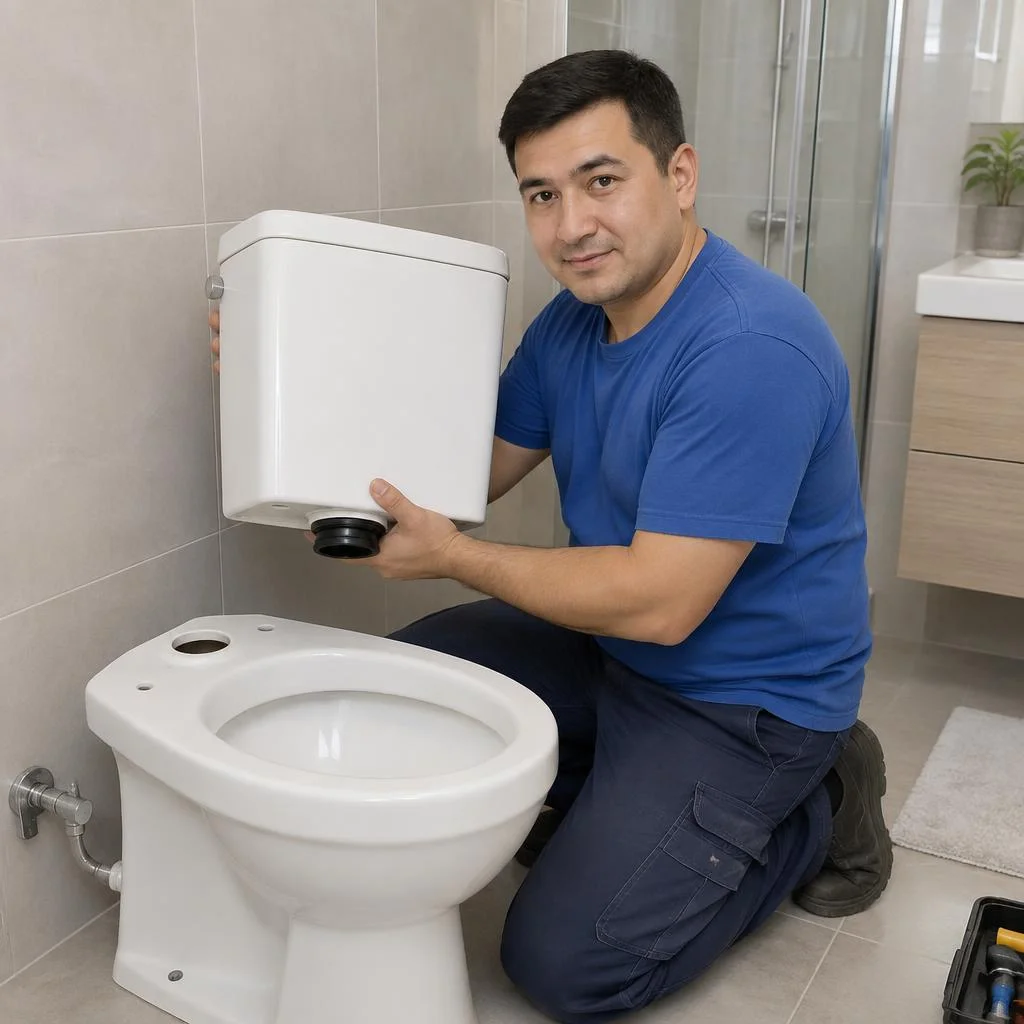
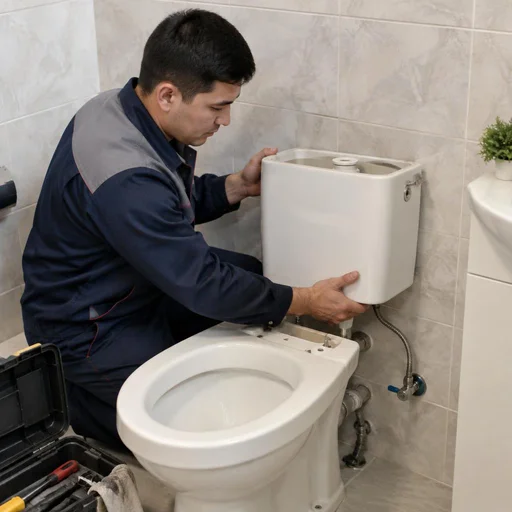
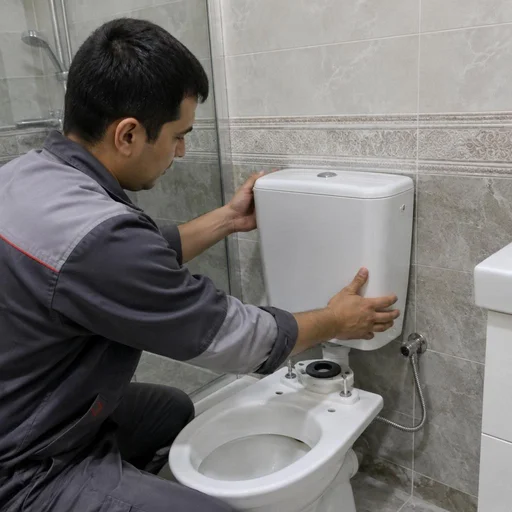
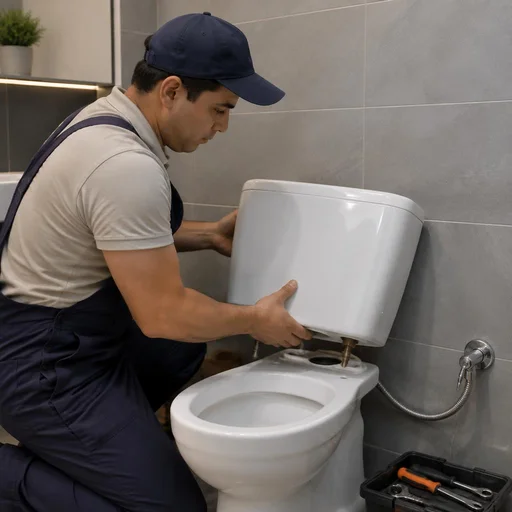
The technician shuts off the water, drains the remaining water from the tank, disconnects the supply line and removes the fasteners — removal takes 15-20 minutes. First, the shut-off valve on the inlet is closed and the water is flushed out with the button, then the flexible supply line is disconnected from the fill valve with a 12 mm wrench, the two bolts fastening the tank to the bowl are unscrewed, and the body is removed. Seized nuts are treated with penetrating lubricant so as not to strip the threads on the ceramic. We remove the old tank before installing the new one and take the removed part away at the client's request. Before removal, it is important to drain the water completely — otherwise, when the body is tilted, the remaining water will spill onto the floor and damage the surface.
Installing the new tank and sealing the connections
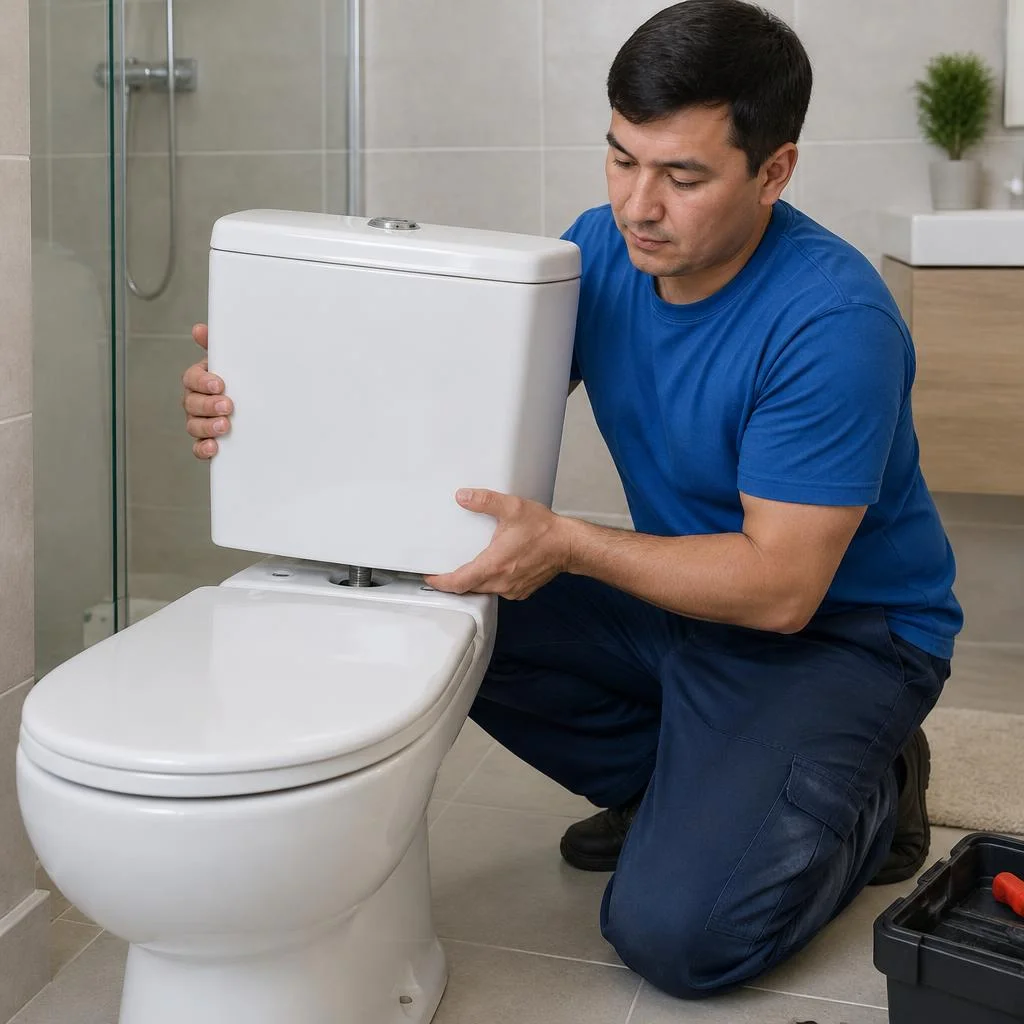
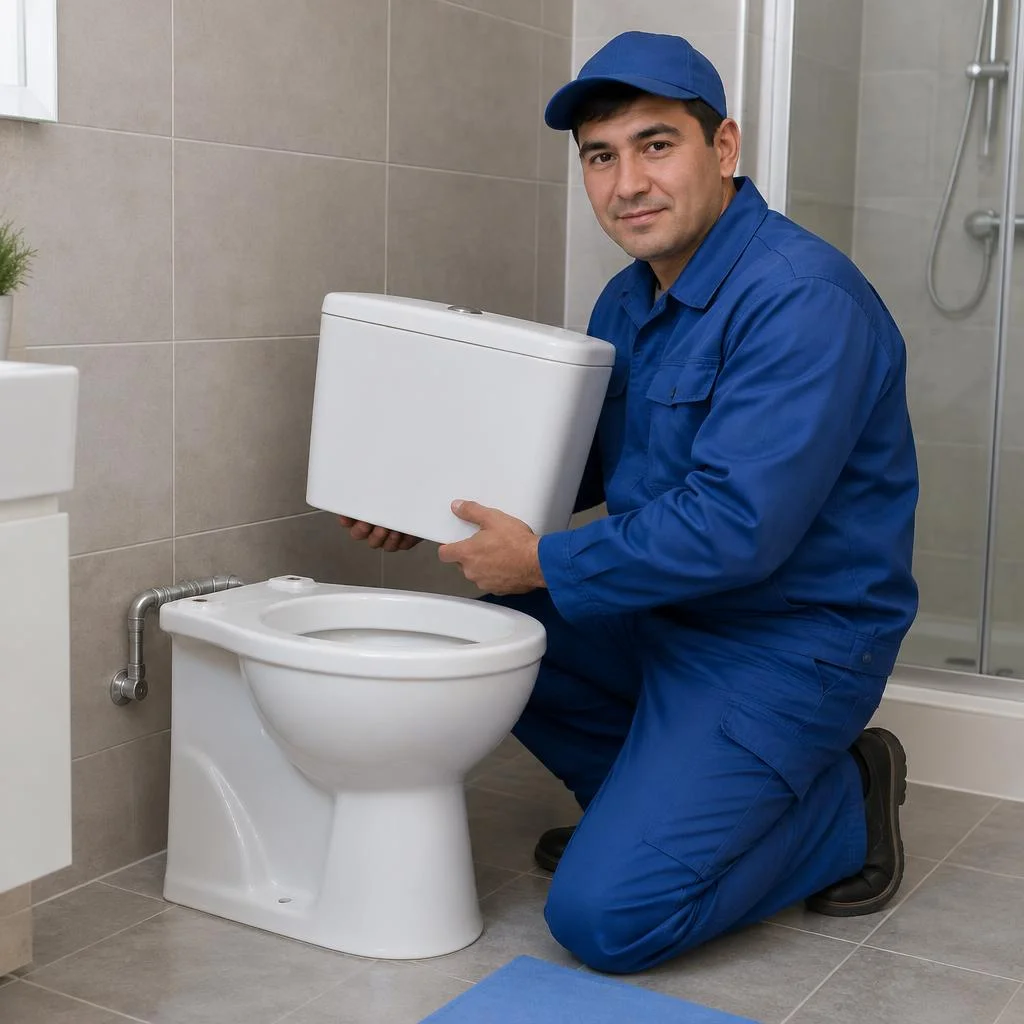
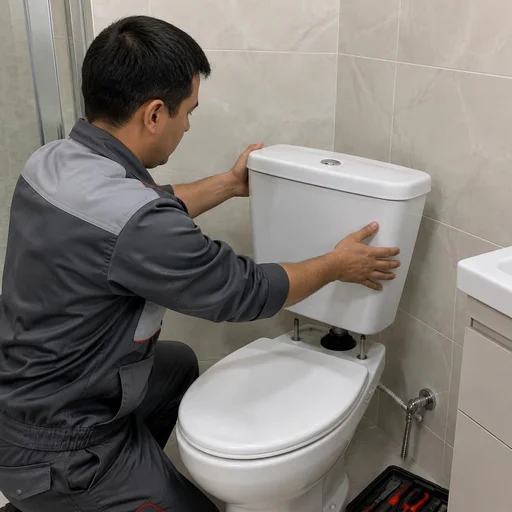
We install the new tank, level it, seal the connections with PTFE tape or flax, and connect it to the water supply. The threads of the fill valve are wrapped with 6-8 turns of PTFE tape clockwise; plumbing flax is used on cast-iron and steel inlets with paste applied. Plumbing sealant is applied to the seating surfaces between the tank and the bowl — in a thin layer, without excess. We seal the connections when hooking up to the water supply and check the tightness of the fasteners with a torque wrench so as not to overtighten the plastic. Sealant is applied only to threaded connections — excess inside the tank leads to a clog and a repeat leak.
Checking operation and adjusting the water level
- Filling with water: open the valve, wait for it to fill and see where the float stops — the norm is 2-3 cm below the overflow tube.
- Flushing: press the button 3-4 times in a row, check that the flush is complete and that the valve returns to its place without jamming.
- Adjustment: turn the screw of the float mechanism if the level is above or below the norm, and repeat the test.
- Joints: wipe the connections dry and observe for 5 minutes — there should be no drips on the supply line or at the base.
How long a tank replacement takes
A standard replacement takes 40-60 minutes; when replacing together with the bowl or installing from scratch — up to 1.5-2 hours. The technician travels to the client's home in Tashkent with a full set of consumables: PTFE tape, flax, gaskets, seals, flexible supply line. Replacing the tank together with the bowl adds time for disconnecting the toilet from the outlet and installing the new pair; installing a tank from scratch adds time for marking out and connecting to the water supply. The time depends on the condition of the old fasteners: seized bolts have to be cut off, and this adds 15-20 minutes to the work.
What is included in a cistern replacement: fittings, valves, components
A cistern is not a single unit, but a set of assemblies: fittings, seals, supply line, fasteners and a button. Some parts are replaced separately, others only together with the body. Let's break down exactly what and in which cases.
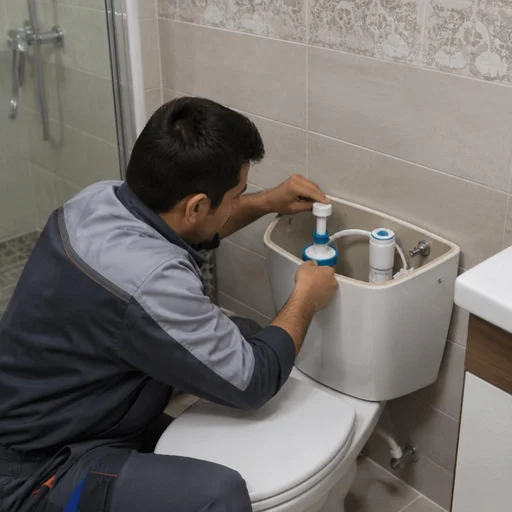
Cistern fittings: valves and float
- Flush valve: responsible for releasing water into the bowl; when worn, it lets water through constantly — it can be replaced without removing the cistern.
- Fill valve: regulates the supply from the water main; when it breaks, the cistern hums or overflows.
- Float mechanism: sets the water level; when it sticks, the flush is weak or continuous.
- Gasket and seal: seal the joints of the fittings; when valves are renewed, they are replaced in the same visit.
Gaskets, seals, O-rings: consumables
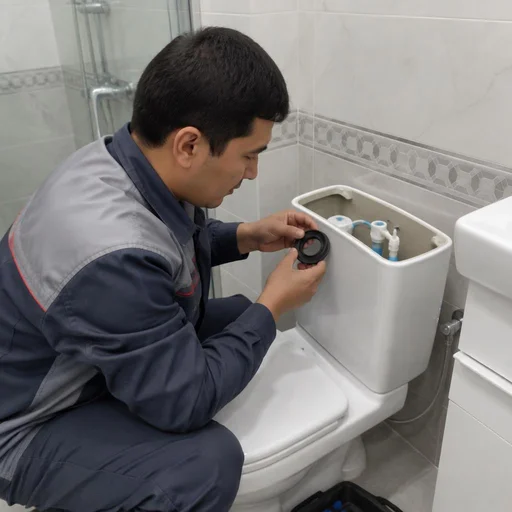
A gasket, seal and O-ring are consumables that we renew with every cistern or fittings replacement: they ensure the tightness of the connections between the body, fittings and bowl. The rubber is in constant contact with water; limescale and chlorine accelerate its wear, so even a seal that looks intact holds worse after disassembly than a new one. In Tashkent's water with increased hardness, the flush seal stiffens faster — our experience shows that replacing the flush assembly without renewing the consumables ends with a repeat call a couple of months later. Rubber seals lose their elasticity in 2-3 years — if the cistern is old, replacing them one by one is pointless; it's cheaper to do the whole set at once.
Supply line, hoses, pipes and fasteners
- Flexible supply line: connects the cistern to the water main; when replacing, we install a new one — the old one often already has microcracks.
- Inlet hose: supplies water into the cistern, replaced together with the fill valve.
- Cistern corrugated pipe: drains water into the bowl; over time it cracks along the folds and leaks.
- Outlet pipe: connects the cistern and the bowl; when worn, it causes a leak at the base.
- Cistern fasteners: bolts and washers that have seized over the years break during removal — we install new ones.
Flush button and lid: replace or repair
We either repair or replace the flush button — the choice depends on the condition of the mechanism; we replace the cistern lid if there are cracks or chips. The plastic push rod wears down over time, the spring loses its elasticity, and the button sinks or sticks — in half the cases it's enough to disassemble the assembly, clean off the limescale and replace the spring. The lid suffers from impacts: a crack along the edge spreads from hot water, and a chip on the visible part can no longer be sanded out. You can order a flush button or lid separately for a specific body model — the mounting dimensions differ between manufacturers. If the button sticks but the mechanism is intact, the repair costs less than a replacement — the technician determines this on site after disassembly.
Replacing a tank with a bowl and installing from scratch: when full installation is needed
It's not always enough to replace a single part — sometimes only the tank is replaced, and sometimes the entire set along with the bowl, or the plumbing fixtures are installed in a new location. The difference lies in the scope of work and the reason.
When the tank is replaced together with the bowl
The tank is replaced together with the bowl if a crack has developed in the toilet body, the fasteners don't match the new tank, or the bowl itself is outdated and doesn't fit modern fittings. A crack in the ceramic isn't visible immediately: it starts at the base and shows up as a leak weeks later. On old Soviet-style models, the bolt holes don't match modern standards — in that case, finding a separate tank simply isn't possible. When working with the bowl, the technician checks the condition of the floor outlet: if there's an old tank corrugated connector there, it's replaced too, otherwise the new bowl will be installed with a leak at the joint. At Eco-Service, this work is classified as replacing the tank with the bowl — complete dismantling of the old set and installation of a new one.
Installing a tank from scratch: what this means
- Marking and drilling: the technician sets the height using a level, marks the holes for the tank fasteners, and drills into the wall or bowl.
- Fastening: the tank is mounted on bolts with gaskets, leveled horizontally so that water is distributed evenly.
- Connection to the water supply: a flexible supply line, fill valve, and float mechanism are installed, and the tightness of threaded connections is checked.
- Connection to the sewer: the outlet pipe is routed into the bowl or directly into the riser with a seal.
- Checking the wall type: drywall requires special anchors, otherwise the tank will sag under the weight of the water.
Can you replace the tank yourself
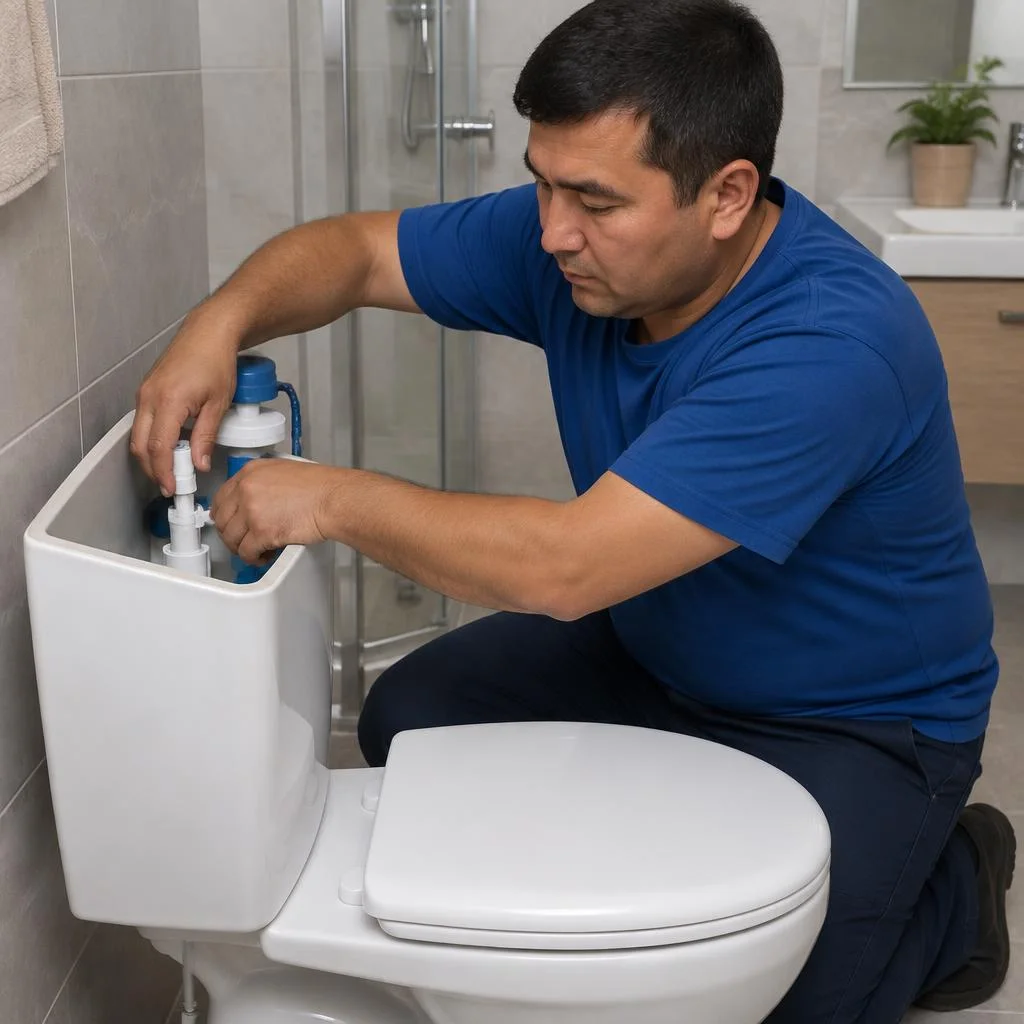
Replacing the tank yourself is feasible if you have an adjustable wrench, a screwdriver, PTFE tape, and basic skills — but without experience, it's easy to damage the ceramic or connect the supply line without a proper seal. The tools needed for the job are minimal: an adjustable wrench of 300-400 mm for the supply line nuts, a Phillips screwdriver for the fasteners, PTFE tape or a flax strand with paste for the threads, and a knife for trimming the seal. The flush and fill valves come with the new tank, but the gasket and flapper are often purchased separately — the old ones don't always fit the new model. Requests often state it briefly: toilet tank replacement — and the technician immediately understands that the old assembly needs to be dismantled and compatible fittings selected. If you decide to replace the toilet tank yourself, allow 2-3 hours for the job, not 40 minutes like a technician would take. The main mistake in DIY work is overtightened fasteners: the ceramic doesn't crack immediately, but a few days after installation.
Warranty, payment and Eco-Service service in Tashkent
Warranty obligations, payment methods and having your own service center — three things that distinguish a direct service provider from an intermediary who passes requests on to contractors.
2-year warranty on cistern replacement
Eco-Service provides a 2-year warranty on toilet cistern replacement and all related work — from replacing the fittings to connecting to the water supply and sealing the joints. The warranty card is issued on site: it records the model of the installed cistern, the type of fill and flush valve, the installation date and the technician's name. If within two years a leak appears at the seal, the flush button jams or the water level in the bowl drops, the warranty visit is free. In our practice, warranty claims most often concern the fill valve — with hard water it clogs with limescale faster than the other components. The warranty is valid subject to the operating conditions: if the cistern is mechanically damaged or opened by an outside technician, the warranty case is not registered.
Own service center and technician visits
Eco-Service has its own service center in Tashkent — the technician makes house calls, devices are accepted in person, without passing the work on to contractors. The visit is scheduled for a specific time: the technician arrives with his own tools (adjustable wrench, set of gaskets, rubber seals, flexible supply hose, silicone sealant), so a standard replacement takes a single visit. We work across Tashkent and the suburbs — Yunusabad, Chilanzar, Mirzo-Ulugbek district, Sergeli, Yashnabad. A direct provider means that the same company that performs the work is responsible for it — in the event of a warranty case, you won't have to look for the contractor and prove that the leak was not your fault.
How to pay: Click, Payme, Uzcard, Humo
- Click and Payme: transfer from a card or wallet after the work is completed — the technician sends a payment link, and the receipt arrives in the app.
- Uzcard and Humo: card payment directly to the technician via terminal or transfer to the service center's account.
- Cash: accepted on site if it is more convenient to pay after checking.
- Bank transfer: for organizations and residential complexes — invoice and certificate of completed work; payment after acceptance protects the client, because you first check that the cistern is not leaking and the button works, and then pay.
How to order cistern replacement in Tashkent
- Request on the website: leave your address, toilet type and description of the fault — the technician will call back and arrange a time.
- Telegram: write to the service chat, attach a photo of the cistern and the connection — this way the technician will immediately understand whether a cistern replacement is needed or repairing the fittings will suffice.
- Phone: for urgent cases — a leak onto the floor, the flush valve won't close, the lid is cracked.
- In-person acceptance: at the Eco-Service service center in Tashkent you can bring the cistern for diagnostics and selection of components; before the visit, the technician clarifies the type of cistern and connection so as to take the necessary parts right away and not make repeat trips for them.
Conclusion
We have gathered the essentials about toilet cistern replacement: when repair no longer helps, what determines the complexity of installation and what to look for when choosing a contractor. Below are brief takeaways that will save you time and money.
Key takeaways
- When to replace rather than repair: cracks in the ceramic, constant leaking and worn fittings — repair gives a temporary effect, and here the price of replacing a toilet cistern becomes secondary compared to constant leaks.
- The type determines the installation: classic, compact and built-in cisterns differ in installation complexity and repairability — a built-in one requires access to the wall.
- Timing: replacement takes 40-60 minutes, a full replacement with the bowl — up to 2 hours.
- Partial replacement: valves, float, gaskets, supply hose and fasteners are replaced separately — it is not necessary to replace the entire cistern.
- Choosing a technician: look at the warranty, the availability of a service center and the option to pay after acceptance of the work.