

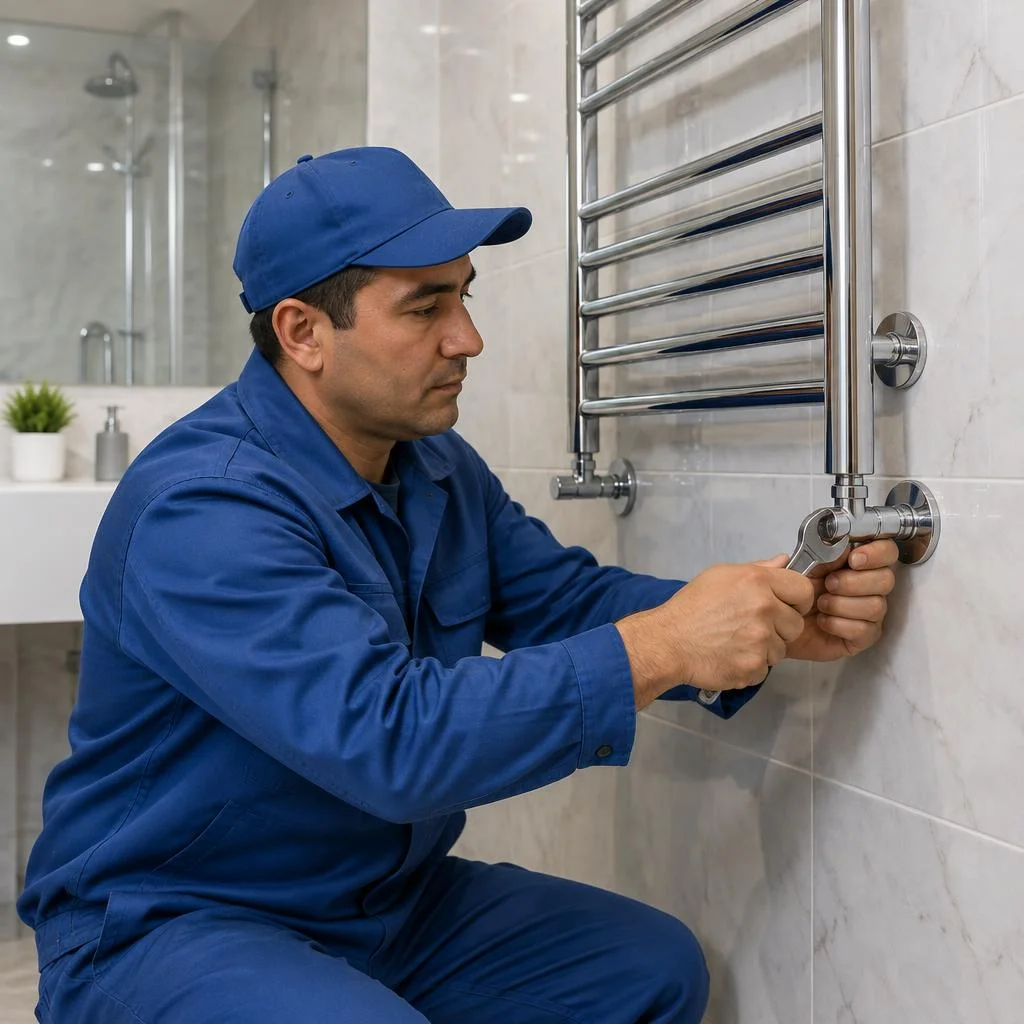
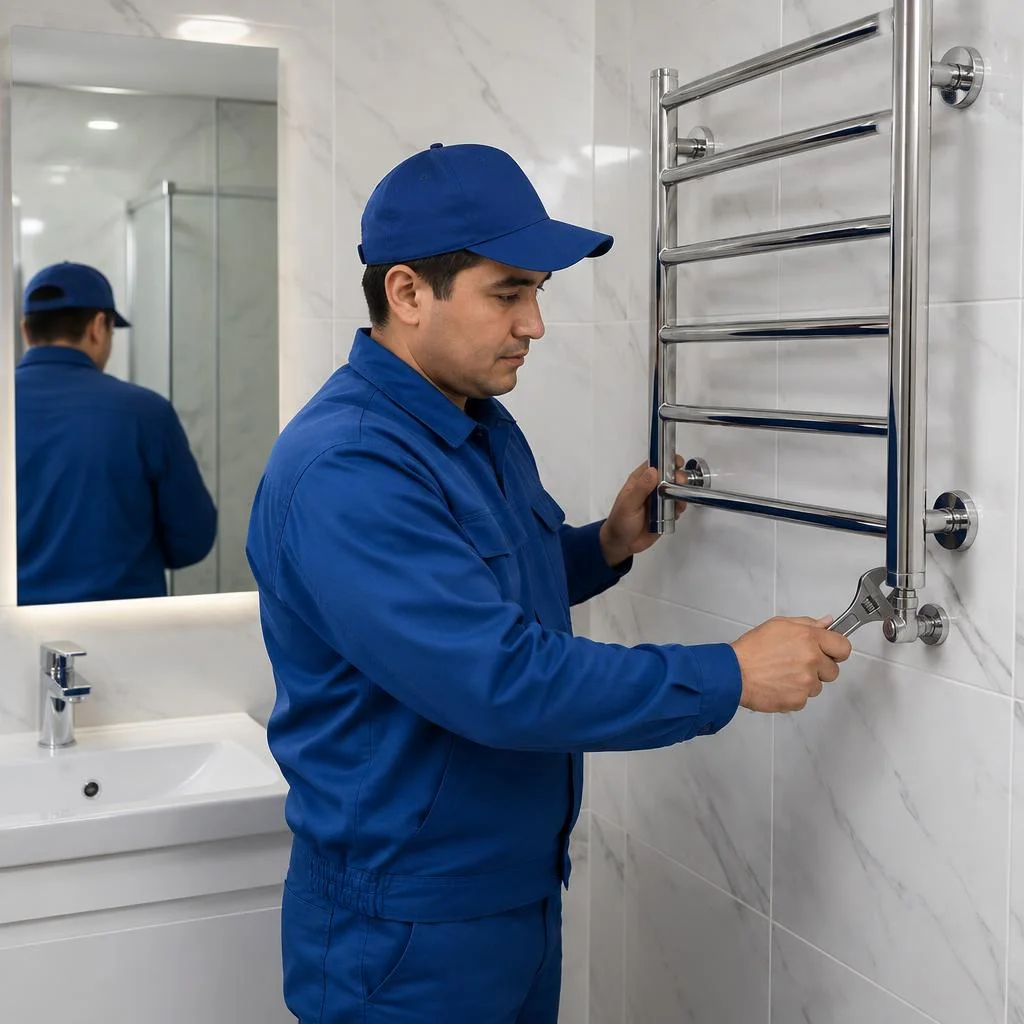
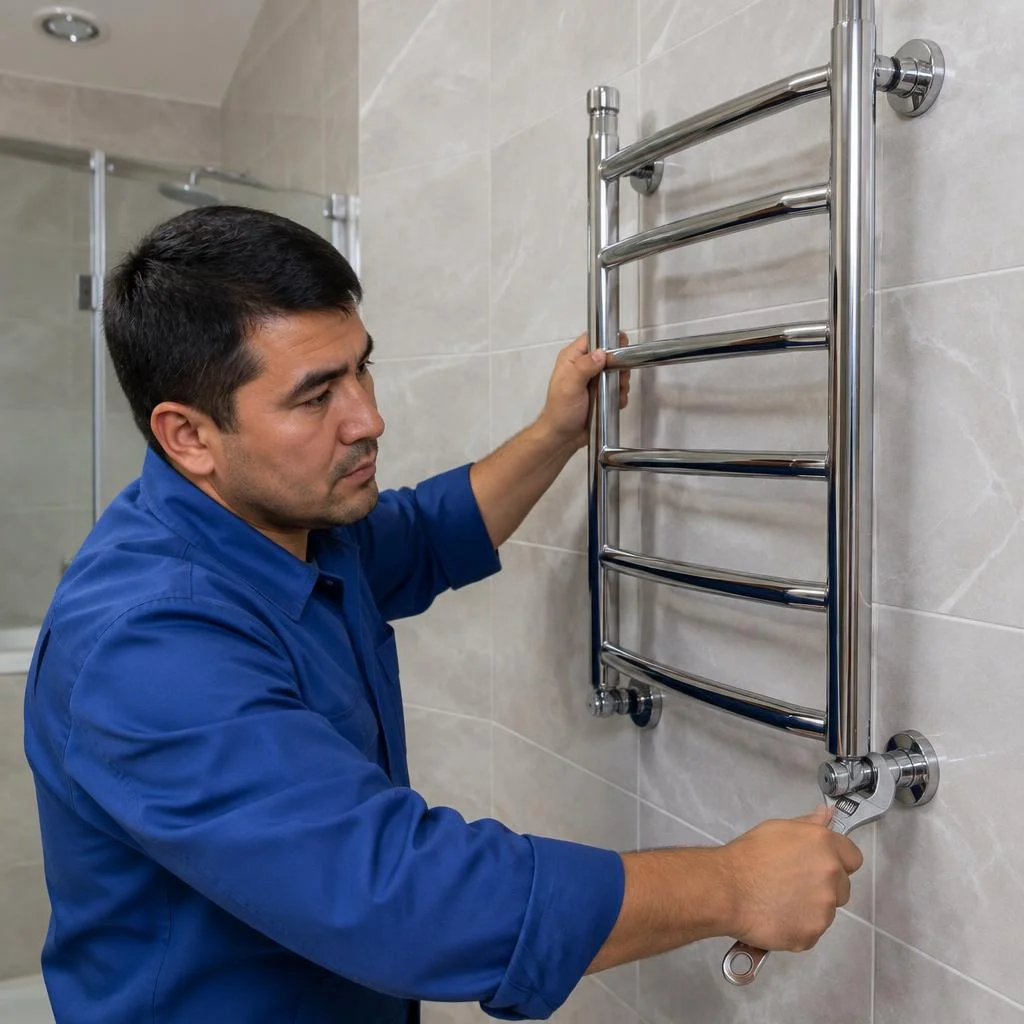
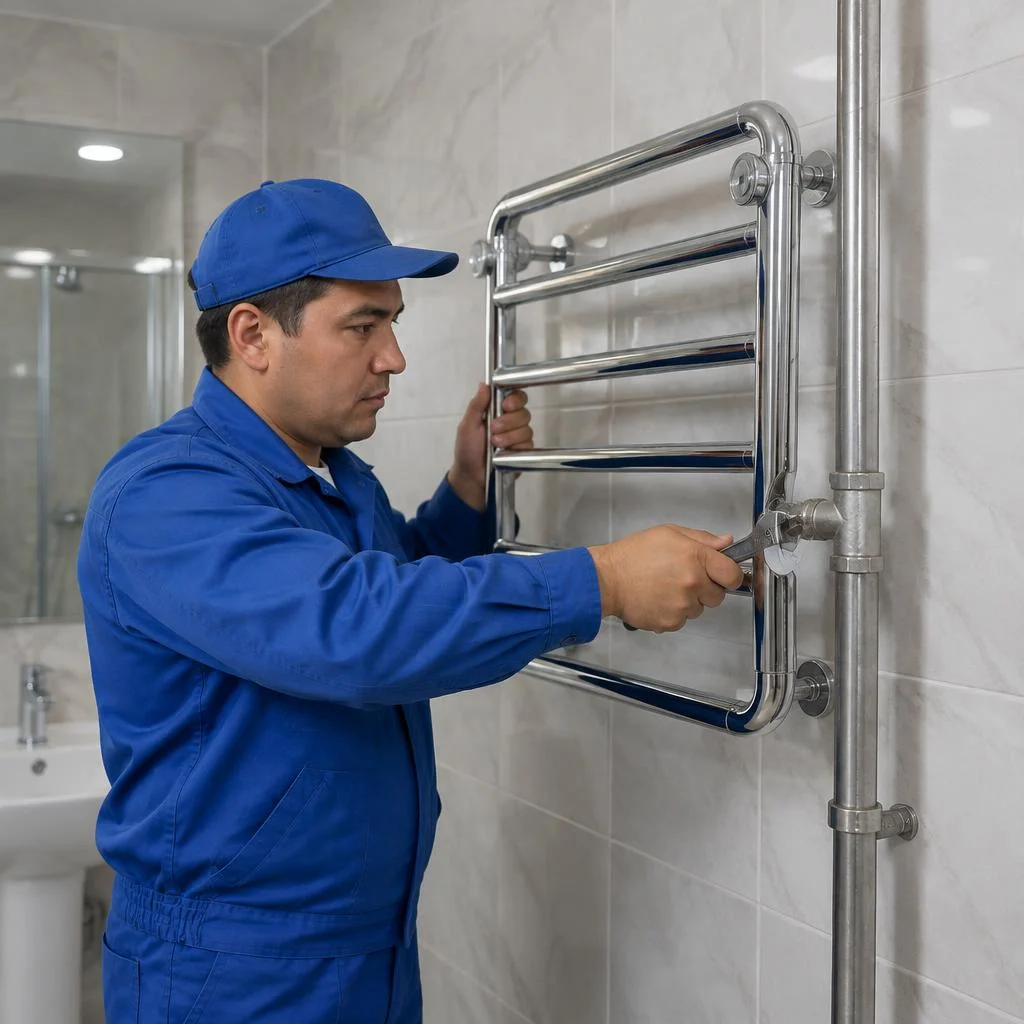








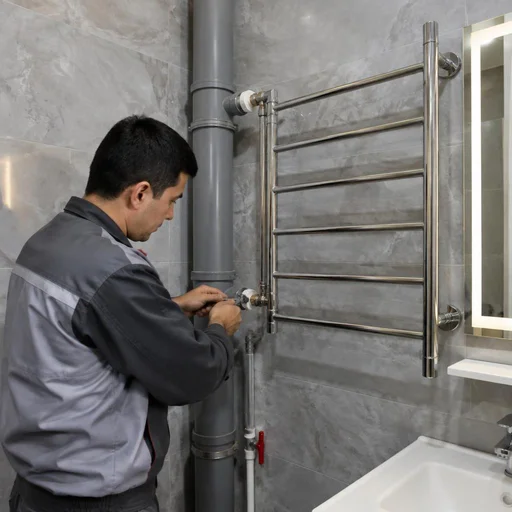
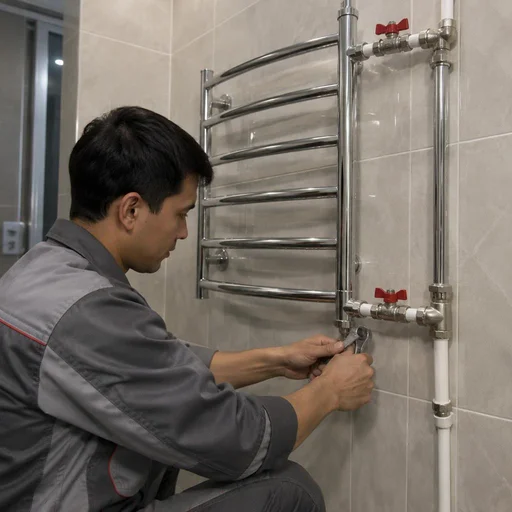
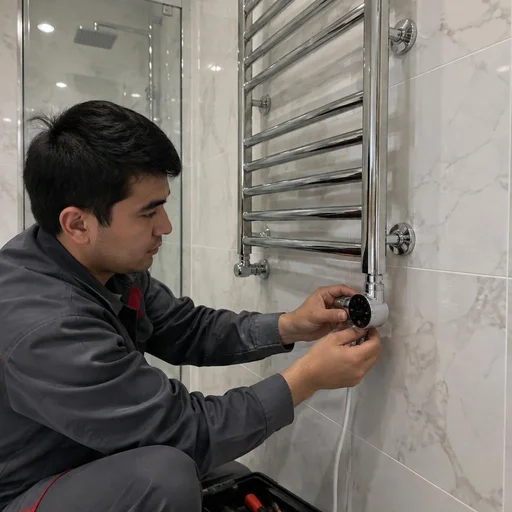
Water and electric towel warmers: what Eco-Service installs
The type of towel warmer determines the connection method, the set of valves and the duration of the work. Water models are tapped into the hot water riser, electric ones are powered from the mains, and combined ones use both circuits. Let's break down how the installation of each type differs.
How installing a water towel warmer differs from an electric one
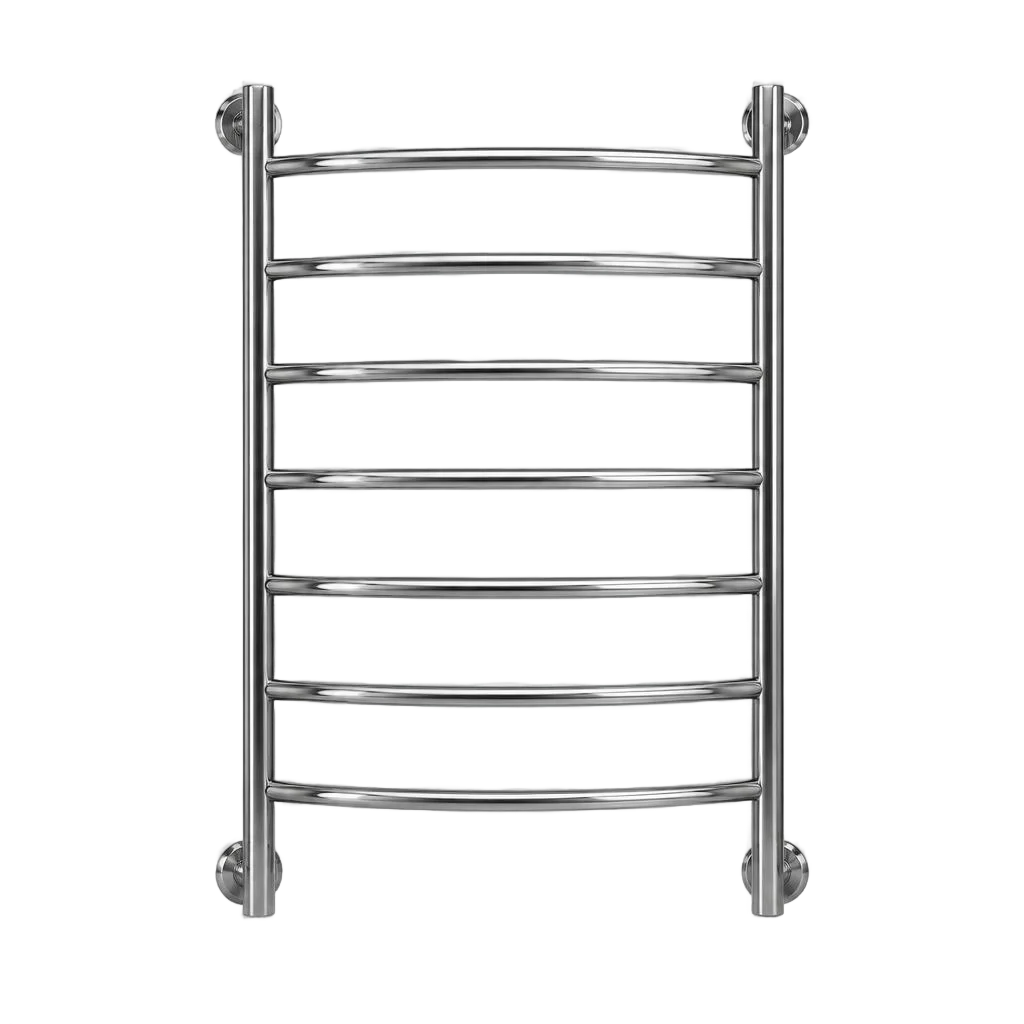
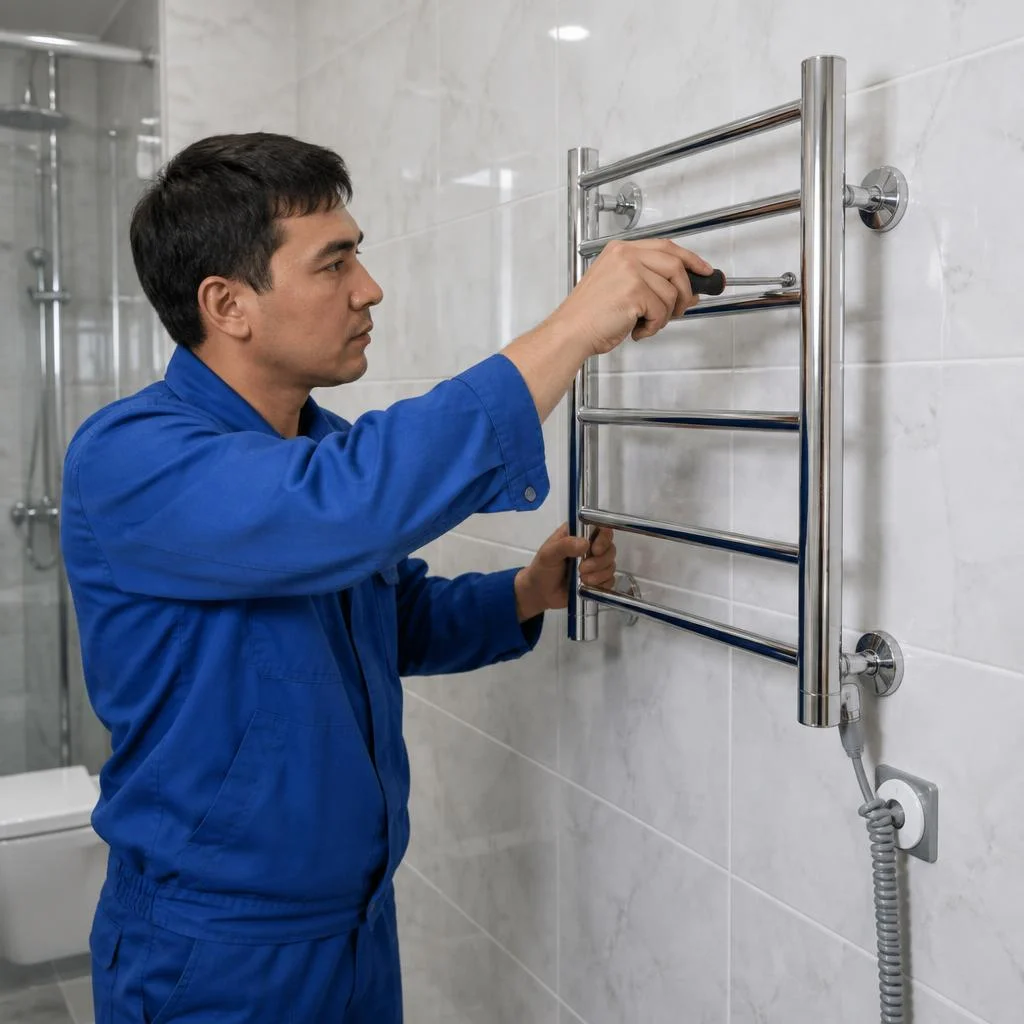
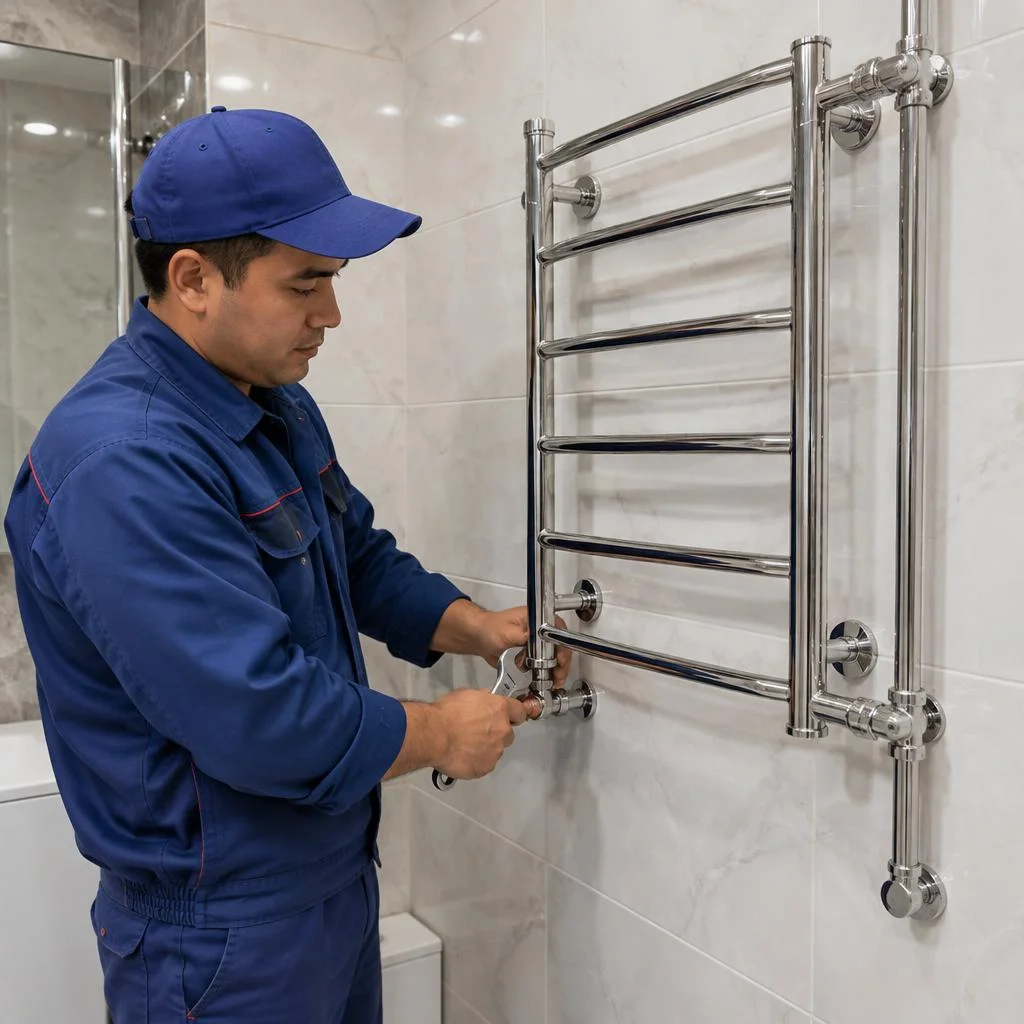
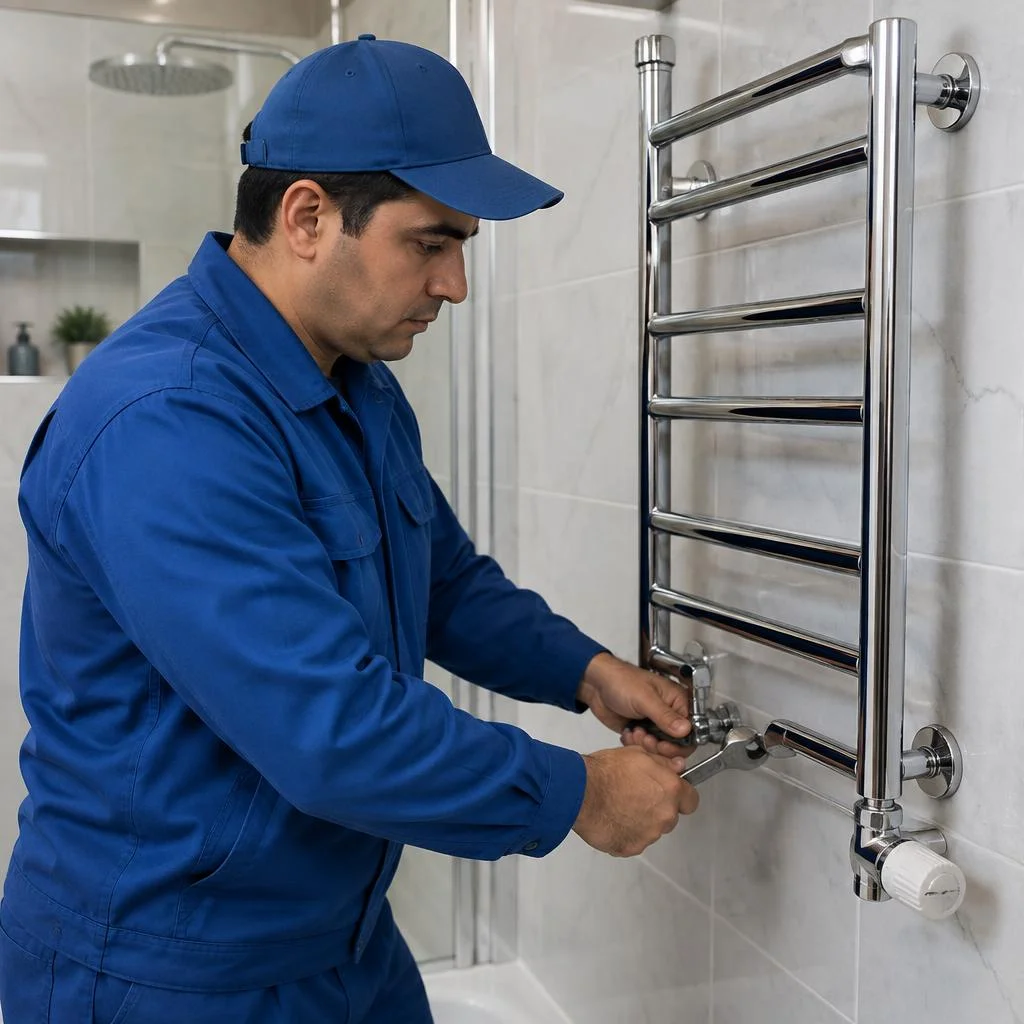
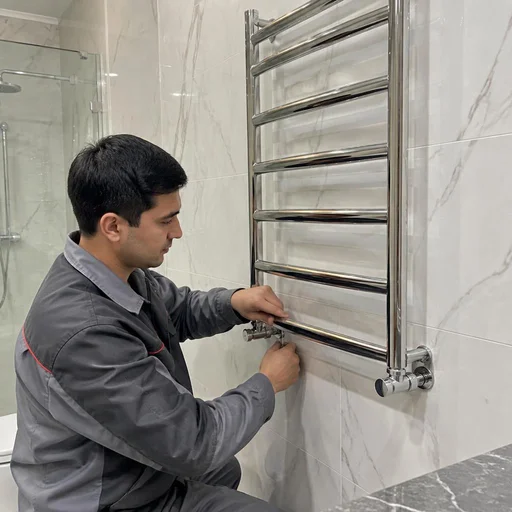
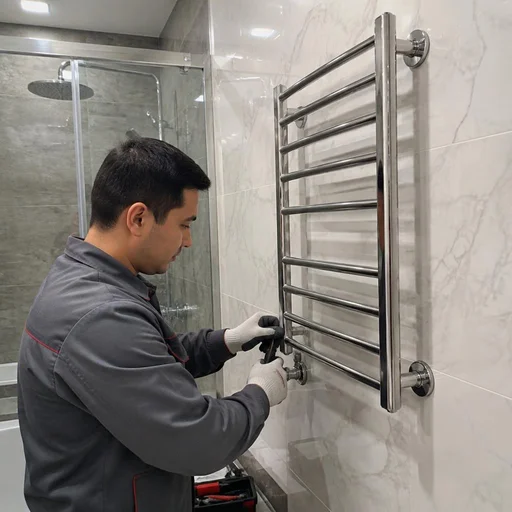
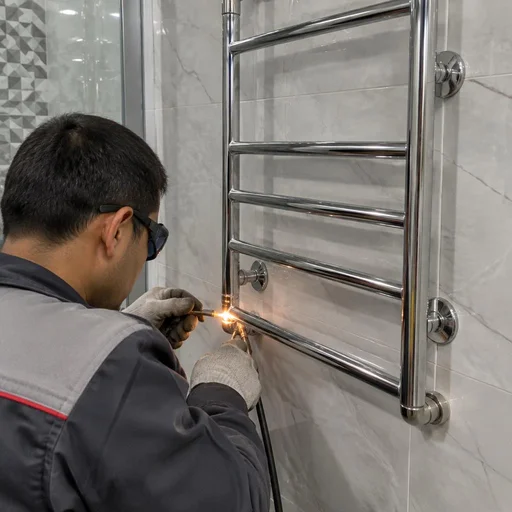
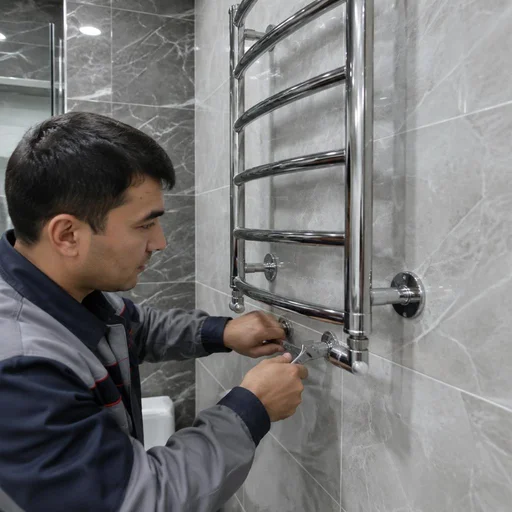
A water towel warmer is connected to the hot water riser via a tap-in, while an electric one is connected to a 220 V mains with grounding; we install both types with a 2-year warranty. For a water model, the technician cuts out a section of the riser, welds in branches or installs threaded tees, assembles a unit of ball valves and a bypass, then performs pressure testing. The electric option is simpler hydraulically: holes are drilled for the brackets, the body is mounted, and a separate line is run with an RCD and a grounding loop — in Tashkent's new buildings this is a standard scheme. Installing water-type towel warmers is critical to the tightness of threaded connections and pressure testing — a mistake at this stage doesn't show up immediately, but after weeks of operation.
Combined models and towel warmers with a thermostat
A combined towel warmer runs on both hot water and the mains — Eco-Service installs it with a dual connection and a thermostat for precise temperature control. The design of such a device has two independent circuits: a water coil and a heating element, so installation includes tapping into the riser, running a cable with grounding and installing a thermostat on the supply pipe. A thermostat is also installed on ordinary water models — it limits the surface temperature to 50-60 °C and protects against burns in families with children. A thermostat pays for itself on combined models: in summer, when the hot water riser is shut off for maintenance, you switch to electric heating without dismantling.
Comparison of towel warmer types by installation conditions
| Type | Connection | Key valves | Installation condition |
|---|---|---|---|
| Water | Tapping into the hot water riser | Ball valves, bypass | Access to the riser |
| Electric | 220 V mains | Grounding, RCD | Socket nearby |
| Combined | Hot water + mains | Bypass, thermostat | Access to the riser + mains |
| With thermostat | According to the base type | Thermostat | Even surface |
Before ordering, check the type of riser in your building — in Tashkent's panel series, the diameter and location of the hot water supply differ, and this affects the choice of fasteners. Installation of towel warmers in each case begins with an inspection: the technician checks the wall material, the tap-in point and the presence of grounding before agreeing on the estimate.
Installation methods: welding, threading, tapping into the riser and bypass
We break down how the connection methods differ and when each is used: from threading on new pipes to welding on steel risers. Separately — tapping into the hot water riser and the bypass.
Tapping into the hot water riser: stages and requirements
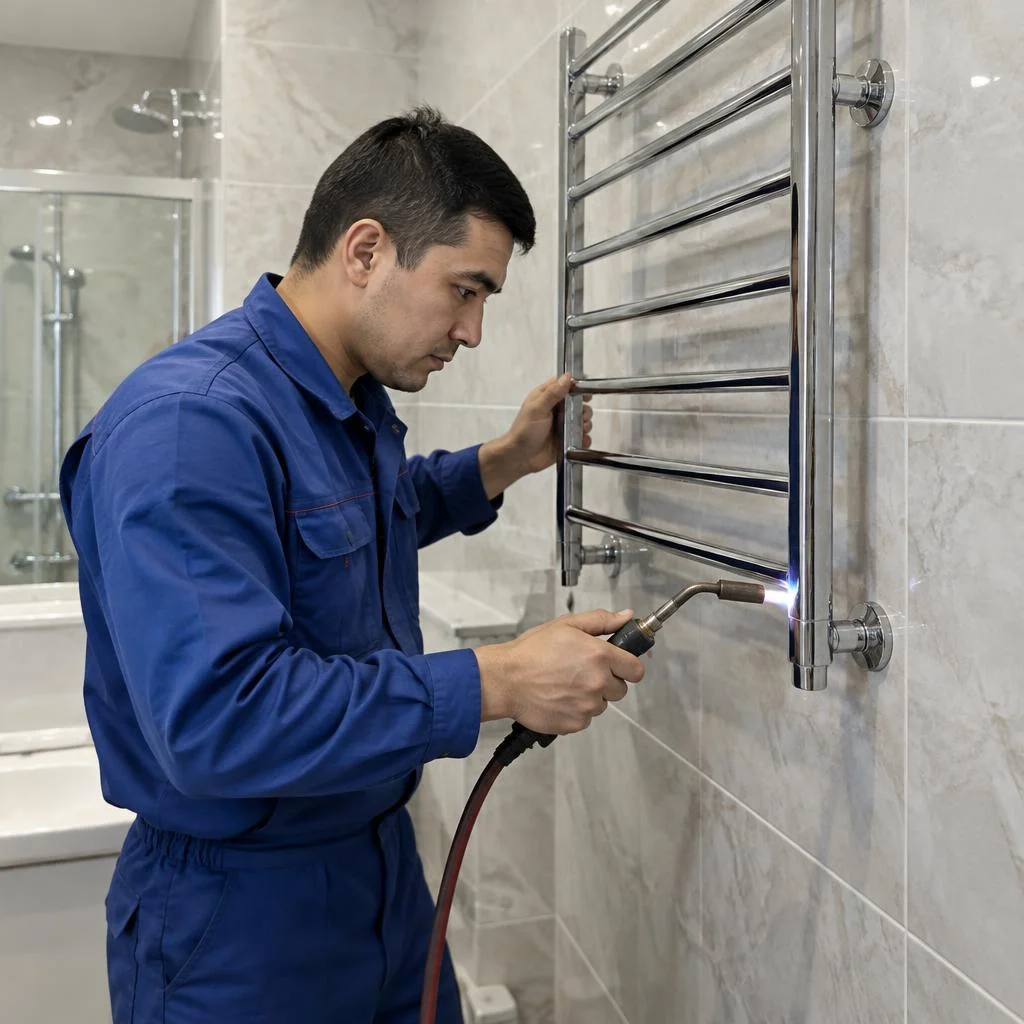
Eco-Service performs tapping into the hot water riser with the riser shut off, in coordination with the management company — this stage takes 1-2 hours and requires access to the pipe. First, the technician coordinates the shutdown with the management company and notifies the neighbors on the riser, then drains the remaining water, cuts out the section of pipe for the tap, and welds or screws in two branches for ball valves. In a panel building with a steel riser of 25-32 mm, the tap is done by welding; in a new building with metal-plastic, it is done via press fittings or compression tees without open flame. Installing heated towel rails with tapping into the riser requires separate coordination: the management company records the date and time of the shutdown, and the technician arrives on site with a ready set of branches and fittings. Tapping cannot be done "on the fly" under pressure — if a technician suggests such an option without shutting off the riser, it is a risk of leakage and complaints from neighbors.
Welding or threaded connection: what to choose
Welding gives a monolithic connection on steel pipes, threading — a detachable and repairable one; Eco-Service selects the method based on the riser material and the type of heated towel rail. On a steel riser of 25-40 mm with a wall thickness of 3-4 mm, welding holds the pressure in the hot water system of 6-10 bar without seals or gaskets, whereas a threaded connection requires flax or anaerobic sealant and periodic tightening. On metal-plastic and polypropylene, welding is not applicable — there, press fittings, compression couplings, or polypropylene soldering are used. With threading, the connection can be reworked when replacing a valve without dismantling the entire assembly — with welding, the pipe would have to be cut for this.
Why a bypass is needed and how it works
A bypass is a bypass loop that allows shutting off the heated towel rail for repair or flushing without stopping the riser and without draining water from the neighbors. The scheme is simple: two tees on the riser, between them a jumper made of the same pipe, ball valves at the inlet and outlet of the heated towel rail, and another one on the jumper. In operating mode, the heated towel rail valves are open, the bypass one is closed; for maintenance, we close the appliance valves and open the bypass one — the water flows past. Clients often search for heated towel rail installation cost — and this query hides the main question: whether the installation of the bypass loop is included in the estimate or is considered a separate item. The bypass is especially important in buildings where one riser serves several apartments: without it, any valve replacement turns into coordination with neighbors and the management company.
Comparison of installation methods by complexity and conditions
| Method | Riser material | Detachability | Additional stage |
|---|---|---|---|
| Welding | Steel | No | Pressure testing |
| Threading | Steel, metal-plastic | Yes | Sealing |
| Tapping into the riser | Any | Depends | Riser shutdown |
| With bypass | Any | Yes | Installation of the bypass loop |
The installation method depends on the riser material, the type of heated towel rail, and the presence of a bypass — the table shows the differences by conditions and stages. If the riser is steel and has not been replaced for a long time, welding is more reliable than threading — but it requires that the technician knows how to work with thin-walled pipes without burning through.
Installation on tile, drywall and in a niche: working with surfaces
The type of wall determines the fastening, the reinforcement method and the permissible weight of the model. We break down how towel warmers are installed on tile, drywall and in a niche — with load calculation and access to the fittings.
Fastening to tile: how not to damage the facing
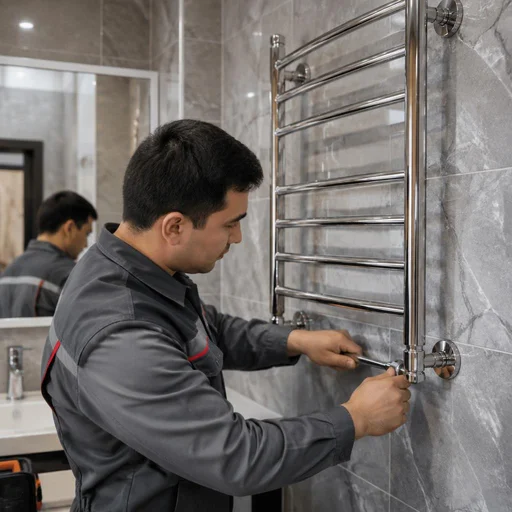
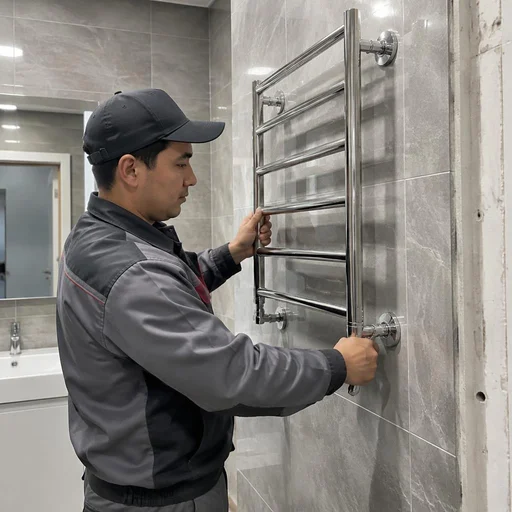
Eco-Service fastens the towel warmer to tile through a dowel anchor into the load-bearing wall — drilling goes through the joint or the body of the tile without chipping when the correct drill bit is used. Installation of towel warmers on porcelain stoneware is done with a diamond core bit with water cooling, on glazed ceramic — with a carbide-tipped drill bit with a centering point, keeping the speed within 400-600 rpm without hammer mode. The point is marked out according to the mounting bracket: first the joint is center-punched, then drilling is done to the anchor depth of 60-80 mm, without touching the waterproofing. If there is drywall under the tile, the anchor will not hold the weight of a water towel warmer filled with water — a backing element is needed or a switch to an electric model. Installation on porcelain stoneware facing 8-10 mm thick goes without cracks only in the absence of impact mode — this parameter is worth checking with the installer before starting work.
Installation on drywall: reinforcement and backings
Eco-Service installs on drywall through a backing or a special anchor for hollow structures — a water towel warmer must not be hung without reinforcement. Standard drywall 12.5 mm thick on a CD-profile frame holds a point load of up to 15-20 kg, whereas a water appliance with water and fittings produces 40-60 kg at two points. Working solutions: 50×50 mm timber or a 4-5 mm steel plate secured between the frame studs at a spacing of 400-600 mm, or a chemical anchor M8-M10 with a drywall dowel for an electric model weighing up to 10 kg. It is better to install the backing during the renovation stage, before the facing: after the tile is laid, opening up the wall is more expensive than providing for the fastening point in advance. If the renovation is already complete, the installer selects a model with the load distributed over four points — this halves the pressure on each anchor.
Installation in a niche: advantages and limitations
Installation in a niche saves space and hides the utilities, but requires access to the riser and a depth allowance for the fittings and bypass. The minimum niche depth for a water appliance with ball valves and a bypass is 180-200 mm from the wall plane to the front panel, otherwise the thermostatic valve and shut-off fittings rest against the facing and block the stem travel. The niche width is calculated as the model's dimensions plus 40-60 mm for the installation clearance on each side, the height — according to the lowest drain point with a slope of 2-3 degrees. In a niche, servicing the assembly is more difficult: before installation, check that access to the ball valves remains for shutting off without dismantling the facing. A practical compromise is to leave a removable decorative panel on magnets or concealed screws: tapping into the hot water riser and pressure testing then proceed without opening up the tile.
Replacement, Relocation and Dismantling: When the Old Towel Radiator Gets in the Way
We explain in which cases replacement or relocation of the unit is needed, and how the dismantling of an old towel radiator is carried out without damaging the finish or the riser.
Towel Radiator Replacement: Stages and What the Work Includes
Eco-Service carries out towel radiator replacement with dismantling of the old unit, checking the condition of the riser and installing a new one with a 2-year warranty. The work proceeds in four steps: shutting off the hot water supply riser, draining water from the circuit, removing the old model, installing the new one with connection to the network. On a threaded connection, the technician replaces the ball valves and gaskets; on a welded one, he cuts out the old unit with an angle grinder and welds a new circuit. After installation, the circuit is filled with water and undergoes pressure testing at 1.5-2 bar to eliminate leaks at the threads and welded seams. When replacing, it is worth checking the condition of the ball valves and the threads on the riser: if they are worn, replacing only the towel radiator will lead to another call-out of the technician a month later.
Towel Radiator Relocation: When It Is Justified
Relocation is justified during bathroom remodeling, installation of a shower cabin or washing machine — Eco-Service relocates the unit with a new tie-in or extension of the circuit. A typical reason: the old location blocks the installation area for furniture or a shower tray, and dismantling the riser for the sake of relocation is not needed. The technician assesses the distance from the current point to the hot water supply riser: if the new position is closer, it is handled by re-soldering the circuit with welding; if farther, he extends the pipe and installs an additional threaded connection. In new buildings, relocation is more often required: the developer brings the riser out into an inconvenient niche, and owners relocate the unit closer to the shower area. Clients in search formulate the task simply — towel radiator installation in Tashkent, and the technician immediately understands what is meant. Relocation without changing the tie-in point to the riser is cheaper and simpler: if the new point is closer to the riser, it can be handled by re-soldering the circuit without shutting off the water again.
Dismantling the Old Towel Radiator: Preparation and Nuances
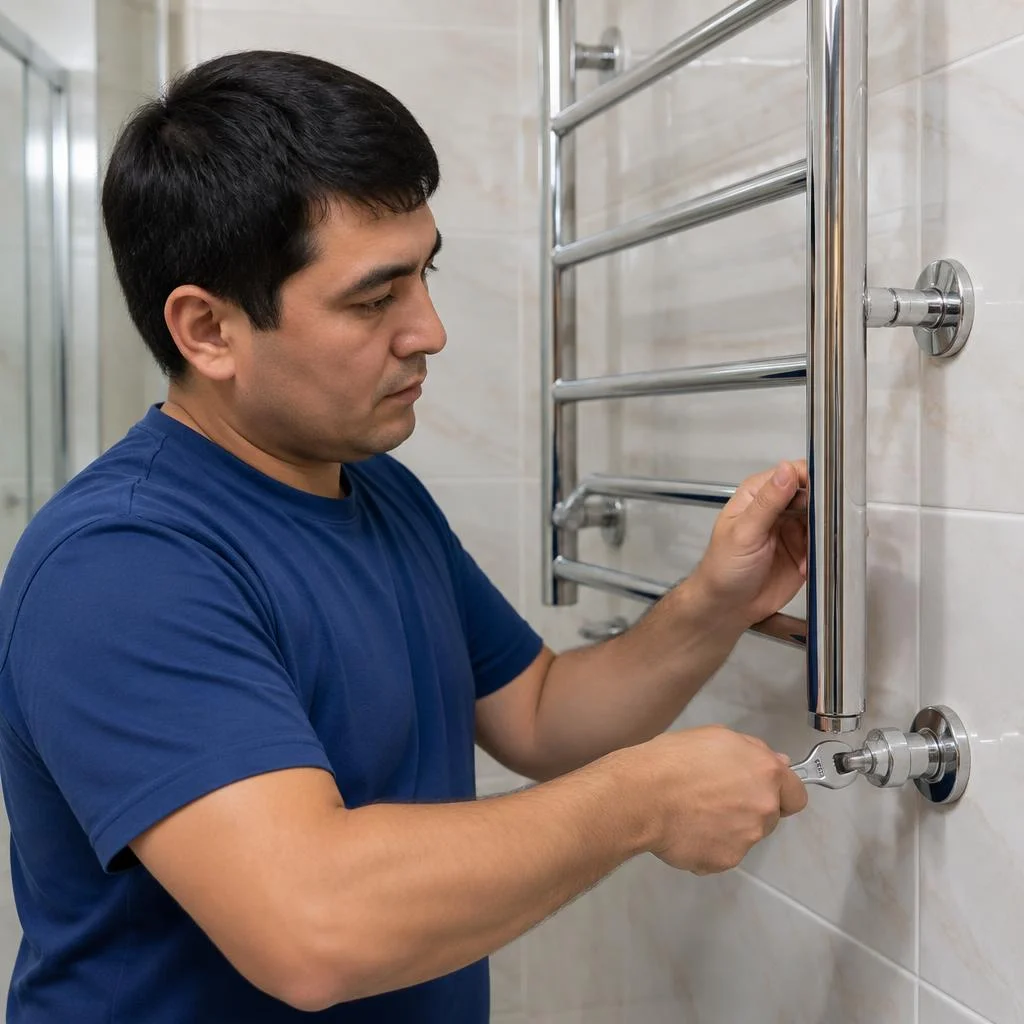
Eco-Service performs dismantling of the old towel radiator with shutting off the riser and draining water from the circuit — this stage takes 30-60 minutes. Before removal, the technician closes the ball valves and shut-off valves, drains the remaining water into a basin, unscrews the threaded connections with a wrench or cuts off the welded unit. Welded towel radiator installation requires prior shut-off of the riser in coordination with the management company — the technician arranges this procedure in advance. Cast-iron and steel models weighing 15-25 kg are removed by two people to avoid damaging the tiles and the bathroom screen. Before dismantling, photograph the connection diagram and the position of the valves: this will come in handy if the new unit is installed in the same place and the threads on the riser turn out to be damaged.
Maintenance: pressure testing, flushing and valve replacement
A towel warmer requires maintenance no less often than any plumbing fixture: we break down what the schedule includes, when it's time to call a technician, and which works are performed without dismantling the unit.
Pressure testing: checking for leaks after installation
Eco-Service performs pressure testing after every installation — the unit is checked under pressure higher than the working pressure to rule out leaks at threaded joints and welds. The test is carried out with a pressure tester with a manometer: the circuit is filled with water, the pressure is raised to one and a half times the working pressure and held for 15-20 minutes while watching the gauge needle and the joints. A threaded connection with flax or anaerobic sealant gives way more often than a welded seam — that is precisely what is checked first, and after testing the unit is covered by a 2-year warranty. Before the heating season begins, pressure testing should be repeated: the pressure in the riser increases, and a weak connection shows itself precisely at that moment, when it is no longer possible to shut off the entire riser without the neighbors.
Descaling flush: why and how often
Flushing removes scale and sludge from the circuit — Eco-Service recommends doing it once every 2-3 years or when the heating temperature noticeably drops. Tashkent water has a lot of hardness salts: without flushing, the bore of the tubes narrows, and the towel warmer heats unevenly — the top is hot, the bottom cold. The procedure is done without removing the unit: the valves are shut off, pressure is released through the bypass, the flushing compound is poured in for 30-40 minutes and run through the circuit, carrying the suspended particles out. For cast-iron and steel Laris models, acid flushing is suitable; for Terma and Zehnder stainless steel — alkaline, so as not to affect the protective layer. If after flushing the heating has not evened out, the riser is checked for airlock: an air pocket in the upper manifold produces the same symptom.
Replacing the valve and thermostat: when it's needed
Eco-Service replaces ball valves and thermostats without dismantling the towel warmer — if a bypass is present, the work takes 30-40 minutes. The shut-off valves wear out faster than the unit itself: the valve starts leaking at the stem, and the thermostat jams in the open or closed position. When replacing, the technicians install brass ball valves with Teflon seals and a thermostatic head with a remote sensor — this way the adjustment works more precisely than with a built-in valve. The thermostat fails more often than the valves: if it jams in the open position, the towel warmer heats constantly and dries out the air in the bathroom. Clients often search for towel warmer installation price — and with such a query the technician immediately understands that a calculation for a specific unit is needed, not a general price list. The cost of installation and the price of the work depend on the type of valves and the presence of a bypass — the technician clarifies these parameters before the visit.
2-Year Warranty, Timelines, and Our Own Service Center in Tashkent
We break down three things that matter before placing an order: what exactly the warranty covers, how long installation takes, and why it matters who shows up on a service call. Below are the specifics on timelines, areas of responsibility, and in-person reception.
What the 2-year warranty covers
Eco-Service provides a 2-year warranty on installation work — it covers the leak-tightness of threaded and welded connections, the correct operation of ball valves and the thermostatic regulator, and the correct connection to the hot water riser. The warranty period also covers the result of pressure testing: if after handover of the assembly a leak appears at a joint we assembled, the technician's visit and the repair are at our expense. The warranty applies to the work, not to the fixture itself: factory defects of the towel warmer are handled with the seller under their terms. The warranty is void if you interfere with the assembly yourself: if you tightened a valve or removed the thermostatic regulator yourself, you cannot file a claim for a leak. Before calling a technician, photograph the assembly and do not touch the fittings — this way the warranty case is processed faster and without disputes.
Installation timelines: how long installation takes
Standard installation of a towel warmer takes 2-4 hours, replacement with dismantling of the old one — up to 5 hours, tapping into the hot water riser with a bypass — up to 6 hours. The time is affected not by the model of the fixture, but by access to the riser: in panel buildings in Tashkent, the piping is often hidden in a box, and the technician spends 40-60 minutes just on careful access without damaging the tiles. If you ask in advance how much installation of a towel warmer costs, provide not only the model but also the type of building, wall material, and connection method — with this data the timeline is estimated more accurately. The timeline depends not on the model but on the condition of the riser: if the thread is damaged or the pipe is thin-walled, the technician will spend time restoring the mounting point. Schedule installation for the first half of the day — if a section of pipe unexpectedly needs replacing, there will be a buffer before the scheduled water shutoff.
Our own service center: what it gives the client
Eco-Service is a direct provider of the service with its own service center in Tashkent: the technician comes from us, not from an aggregator, and is responsible under the 2-year warranty. Installation of towel warmers through an intermediary looks the same on paper, but the contractor is assigned from available subcontractors — the same assembly may be installed by different people, and the warranty visit depends on the workload of a third-party crew. In search, clients often type "towel warmer installation Tashkent" — and reach a direct contractor rather than a dispatcher who merely forwards the request. In-person reception at the service center is convenient when you need to show the fittings, bring in a removed thermostatic regulator, or discuss relocating the assembly using photos of the floor plan. When contacting an aggregator, there is no one to file a warranty claim with — the contractor changes, and the platform is only responsible for matching. With a direct provider, the answer is always the same: the one who installed it also handles the warranty case. Keep the certificate of completed work — it makes it easier to prove that our crew assembled the unit, not an outside technician.
Conclusion
Towel warmer installation comes down to four decisions: the type of fixture, the connection method, the fasteners for the surface, and regular maintenance. Below is a short summary to help you plan the work and avoid rework.
Key takeaways
- Type of fixture: a water-based towel warmer requires tapping into the hot water riser, while an electric one only needs a connection to the power supply — this determines all subsequent installation.
- Connection method: welding produces a monolithic seam that lasts for decades, while threading with hemp or anaerobic sealant allows the fixture to be removed without an angle grinder.
- Bypass: on a shared riser it is mandatory — without a bypass line, closing the valve stops the water for neighbors on the riser.
- Wall fasteners: for drywall, a backing block or reinforced profile is used; for tiles, an anchor that goes into the load-bearing wall, not into the facing.
- Maintenance: flushing and pressure testing once every 2-3 years maintain even heating and extend the service life of the assembly.


