







When a shower tray needs repair rather than replacement
A tray does not fail suddenly: first a crack or chip appears, then a leak along the joint, then creaking under load. We break down six typical signs where restoration is cheaper and faster than replacement, and explain why this is especially relevant in Tashkent.
Crack, chip, leak, creak: 6 signs that it's time to restore your tray
- Tray crack: a hairline or through-and-through line on the basin that grows with every step and lets water through.
- Tray chip: a knocked-off section of enamel or acrylic with the base exposed, where water and detergent get in.
- Tray leak: a dark spot or dampness along the joint where the basin meets the cabin wall, siphon or drain.
- Tray creak: a dry creak under load — a sign of a sagging base or loosened fastening.
- Tray wobble: play in the basin when stepping on it, which loosens the drain connection and destroys the sealant.
- Coating wear: matte spots, a network of microcracks, loss of gloss — the coating stops holding back water.
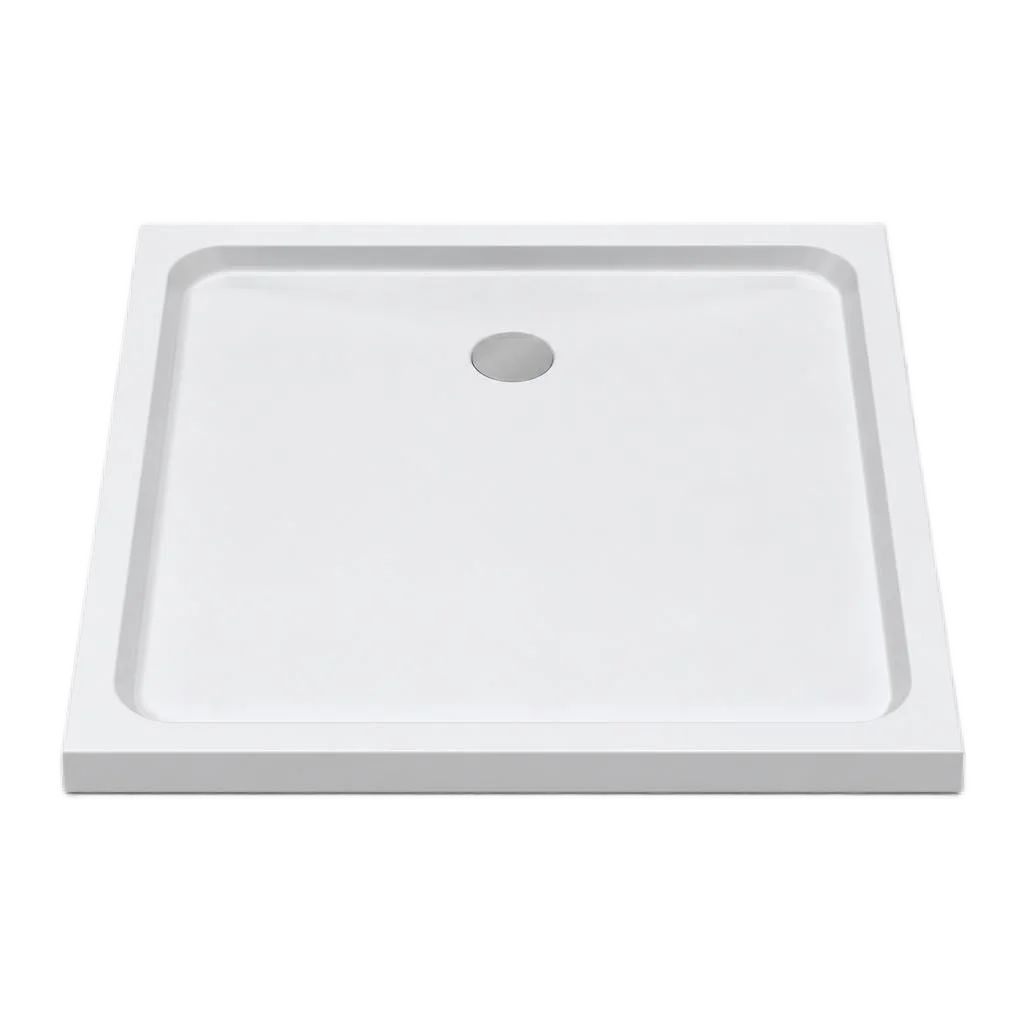
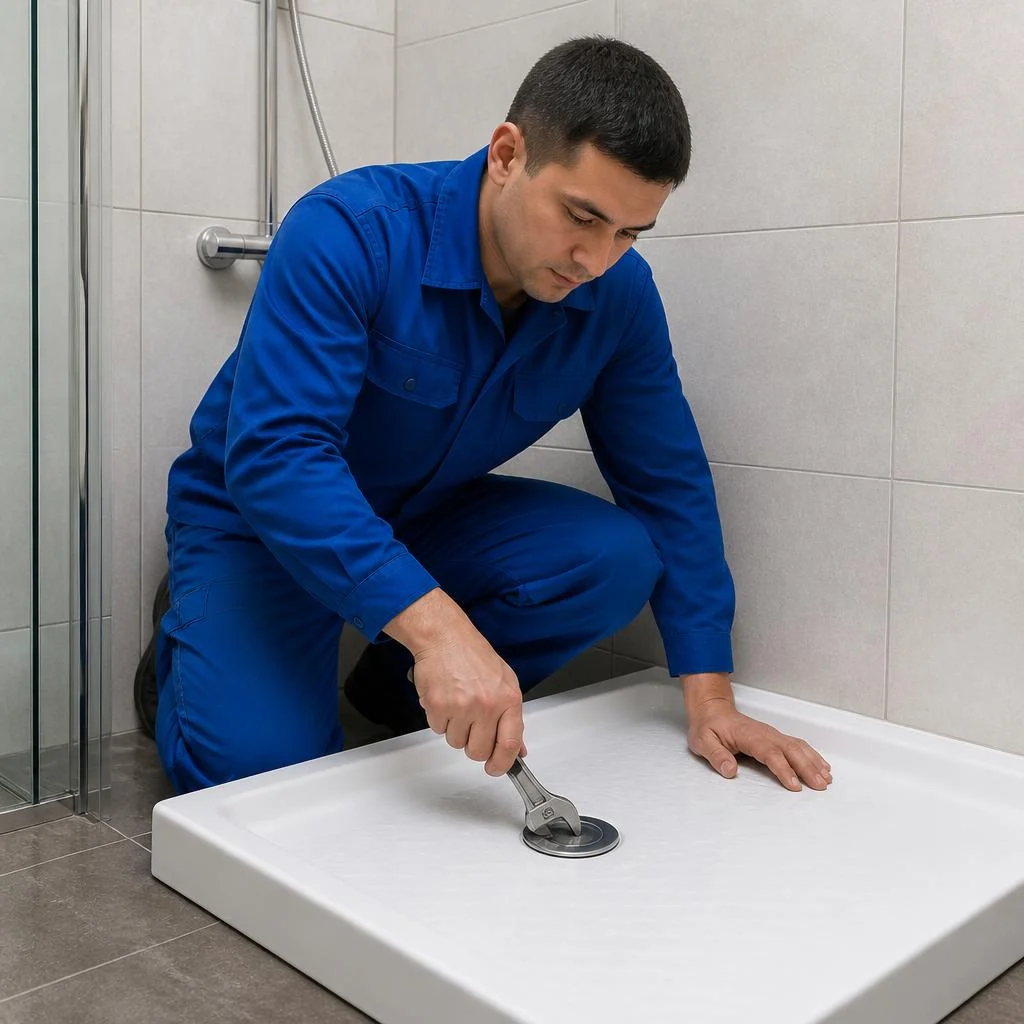
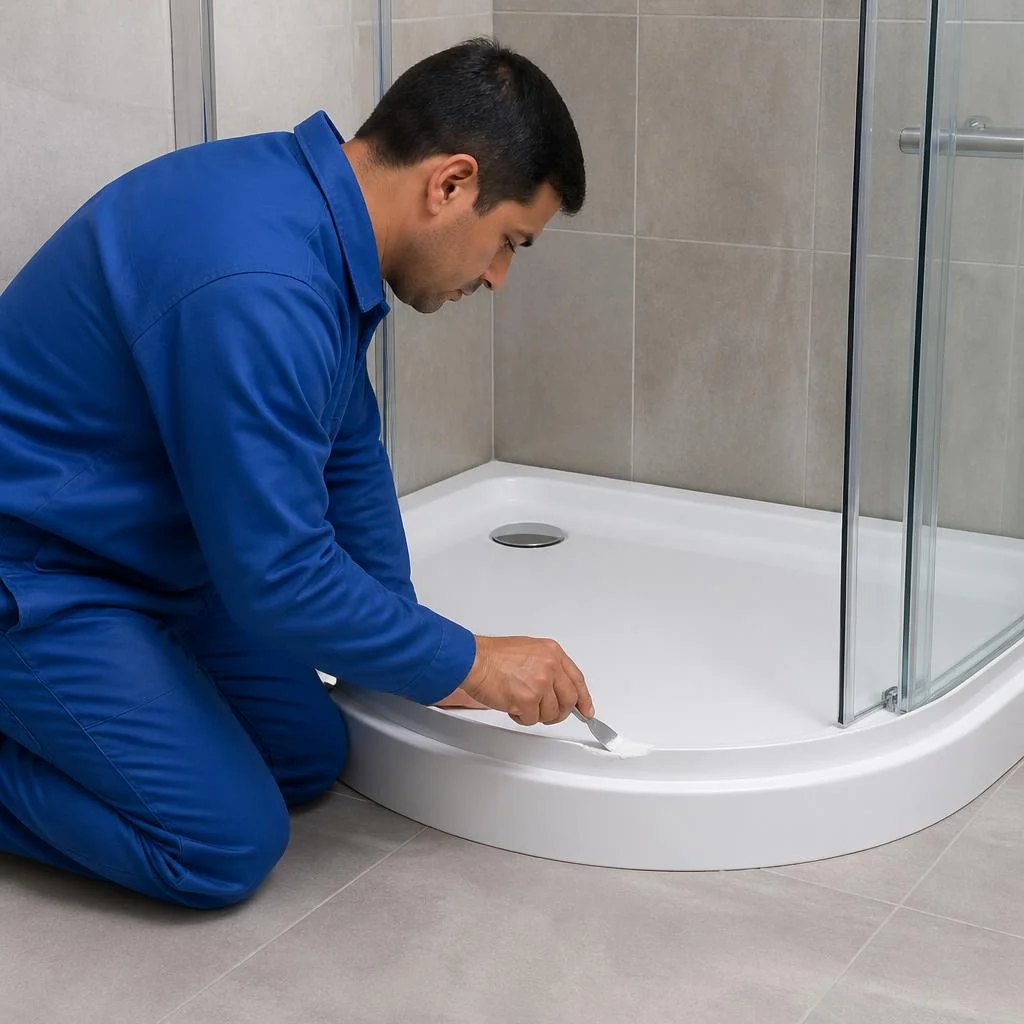
- Shower tray repair: for any of these signs, the technician first checks whether the basin is intact, and only then chooses the restoration method.
Repair or replace the tray: how to choose based on the condition of the basin
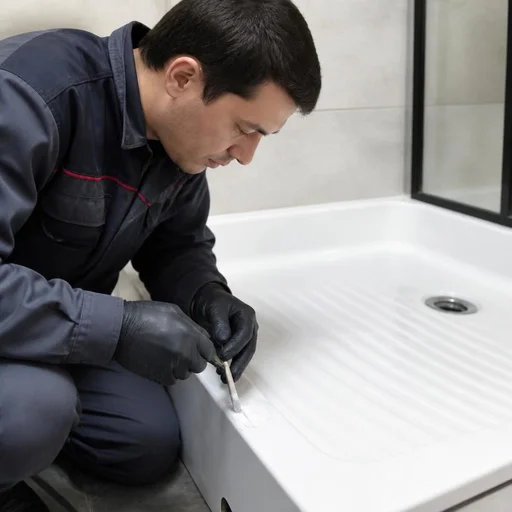
We recommend restoration if the coating or a local area of the basin is damaged, while replacement is needed for a through-and-through crack along the entire length and destruction of the base. The inspection takes 20–30 minutes: the technician checks the integrity of the basin, the condition of the joint, fastenings and supports, the depth of the crack and the area of enamel detachment. Local restoration of a shower tray fixes chips, hairline cracks, leaks along the joint and wobble — the basin stays in place. A full replacement is justified when the crack runs through the entire basin, the composite has delaminated, or the base has sagged so much that levelling does not help. Restoration preserves the geometry of the basin and the connection to the existing drain — it is cheaper and faster than dismantling the cabin and reinstalling it. At Eco-Service, on-site diagnostics are free when you order the work. Before deciding, take a look under the tray: if the base is dry and free of mould, restoration of shower trays almost always proceeds without removing the basin. Clients often phrase the request as repair of a plastic shower cabin tray — and the technician immediately understands what is meant. Another wording also appears in requests — shower tray repair — and from that too the technician immediately sees the essence of the problem.
Why trays crack more often in Tashkent: hard water and temperature swings
Hard water and seasonal temperature swings accelerate coating wear and microcracks in acrylic and enamel. Tashkent water has a high concentration of calcium and magnesium salts: after every shower a deposit remains on the surface, which clogs microcracks and acts like a wedge — as the basin heats and cools it expands and contracts, and the crack lengthens. An acrylic tray with a thin layer of acrylic reacts faster than a cast one: budget models have a weak reinforcing layer, and the basin flexes under weight. An enamelled tray lasts longer, but a chip in the enamel exposes the steel, and corrosion spreads under the coating. Coating wear is accelerated by abrasive cleaning products — they strip the protective layer in a single season. Preventive polishing of the tray once every 1–2 years extends the service life of the coating and reduces the risk of deep cracks. In requests this most often sounds like shower tray repair — that is how clients describe the problem when they get in touch.
Which trays we repair: acrylic, enamel, ceramic, composite
The method of restoring the basin depends on the material: acrylic is reinforced from the inside, enamel and ceramic are restored with a pourable compound, composite is restored point by point, and thin plastic is more often replaced. Let's break down what we work with and why the approaches differ.
Acrylic trays: repairing cracks and restoring the gloss
We restore the acrylic basin of a shower enclosure without removing it: we reinforce the crack with fiberglass cloth, pour in epoxy resin and polish until the gloss returns. This sequence preserves the geometry — dismantling is not needed here if the crack does not cross the drain hole and does not run from corner to corner. A technician's visit in Tashkent takes from one day, reinforcement and curing of the layer — about another day, polishing restores the shine on an area of up to 30 cm. Work through Eco-Service includes matching the shade to the original so the patch does not stand out in the light. Acrylic is sensitive to abrasives — after treatment, the basin must not be cleaned with powders, otherwise the restored area will become cloudy faster than the rest of the coating.
Enameled and ceramic trays: chips and coating restoration
On enameled and ceramic trays we fill chips and perform coating restoration with pourable acrylic or acrylic enamel while masking the defect. Enamel is a steel basin with a sprayed coating, ceramic is vitreous china or porcelain; in both cases the damage exposes the base, and restoring a chip begins with cleaning the edge and degreasing, not with painting. Pourable acrylic goes on in a layer that follows the curvature of the basin, so the transition to the factory coating is not visible at an angle. Coating restoration through Eco-Service is done with masking according to the RAL catalog — white, ivory and light beige are covered without a visible spot. A chip in enamel is dangerous not because of its appearance but because it exposes the metal — without sealing, corrosion quickly begins in that spot.
Comparison of tray materials: what can be repaired and what gets replaced
| Material | Typical damage | Method | What is included |
|---|---|---|---|
| Acrylic | Crack, clouding | Reinforcement, polishing | Fiberglass cloth, resin, gloss restoration |
| Enameled | Chip, rust spot | Coating restoration | Cleaning, pourable acrylic, masking |
| Ceramic | Chip, crack in the glaze | Coating restoration | Primer, acrylic enamel, edge polishing |
| Composite | Crack, loose fastening | Local repair | Reinforcement, resealing of the joint |
| Plastic | Crack along the rim | More often replacement of the basin | Dismantling, installation of a new tray |
For thin-walled plastic, a local patch does not hold for long — the technician will honestly say when the work is not advisable. Restoring a plastic shower enclosure basin only makes sense when the damage is in the thickness of the rim, and not along the drain line, where the load on the fracture is at its maximum.
Shower tray repair: cracks, chips, leaks
We break down three scenarios — a crack, a chip, a leak — and show what stages the technician's work at home consists of: from reinforcing the tray to leveling it.
How we fix a shower tray crack without removing the tray
- Cleaning and degreasing: the technician removes soap scum and limescale along the crack, opens up the edges so the compound bonds to clean material rather than to a film of hard water.
- Reinforcement with fiberglass cloth: strips are laid across the crack in two or three layers — they take on the load from body weight that was previously borne by the tray alone.
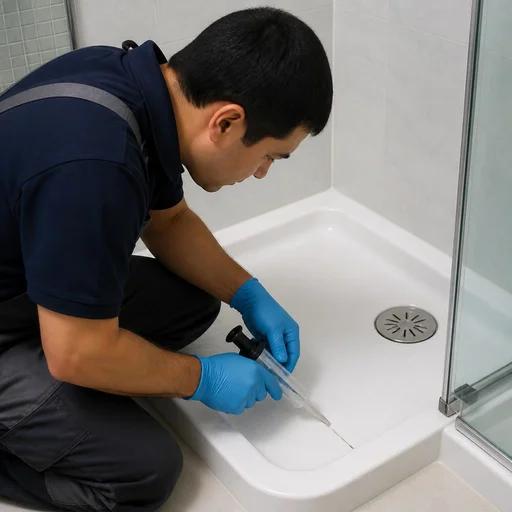
- Pouring epoxy resin: the compound fills the cavity of the crack and saturates the fiberglass cloth; after polymerization the seam is harder than the tray's acrylic itself.
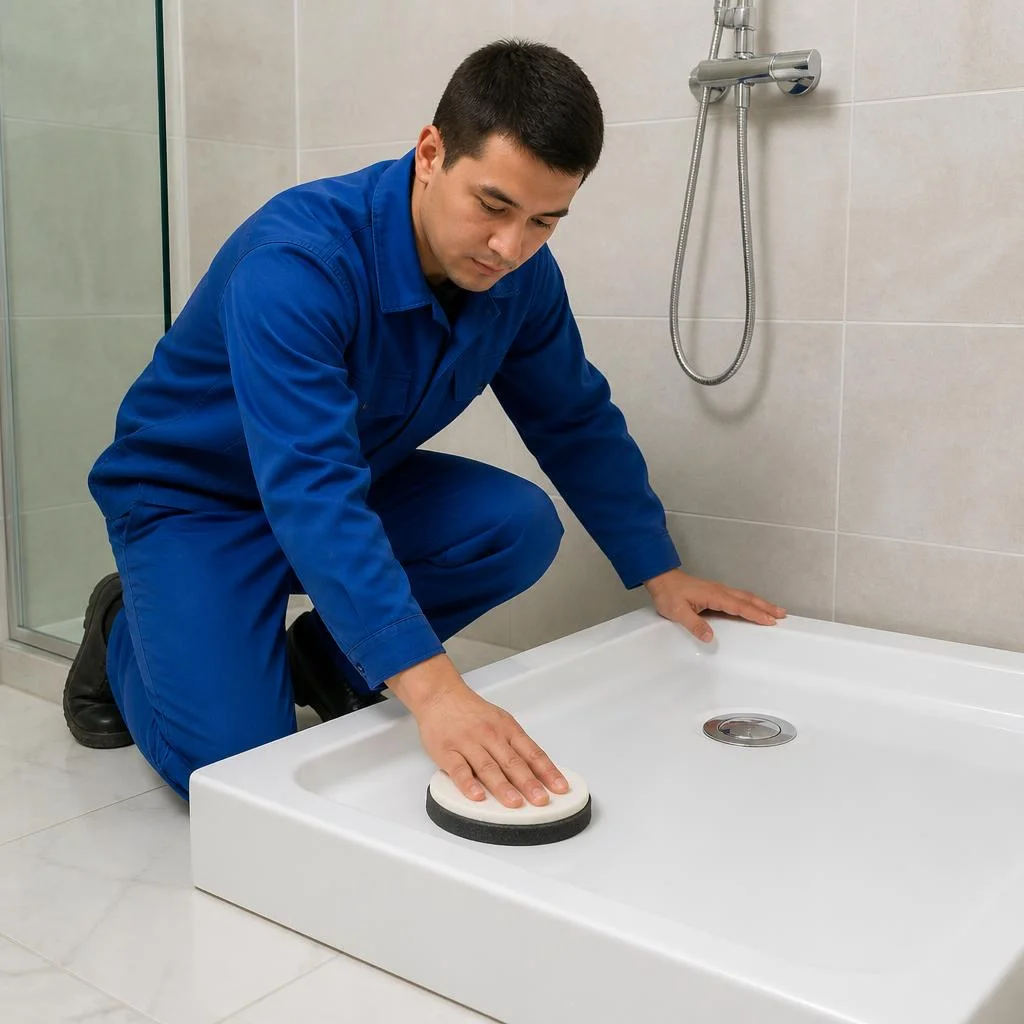
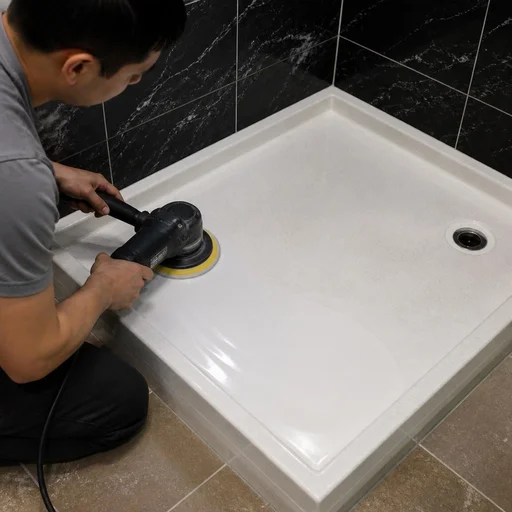
- Sanding and polishing the tray: the seam, brought flush, is sanded with progressively finer grit, then polished with paste to match the tray's matte or glossy finish.
- Checking the tray's mounting: if the crack runs from the drain hole, we first check the tray's mounting — otherwise, after the repair, the crack will return in the same spot.
Filling a chip and restoring the coating: pour-on acrylic and enamel
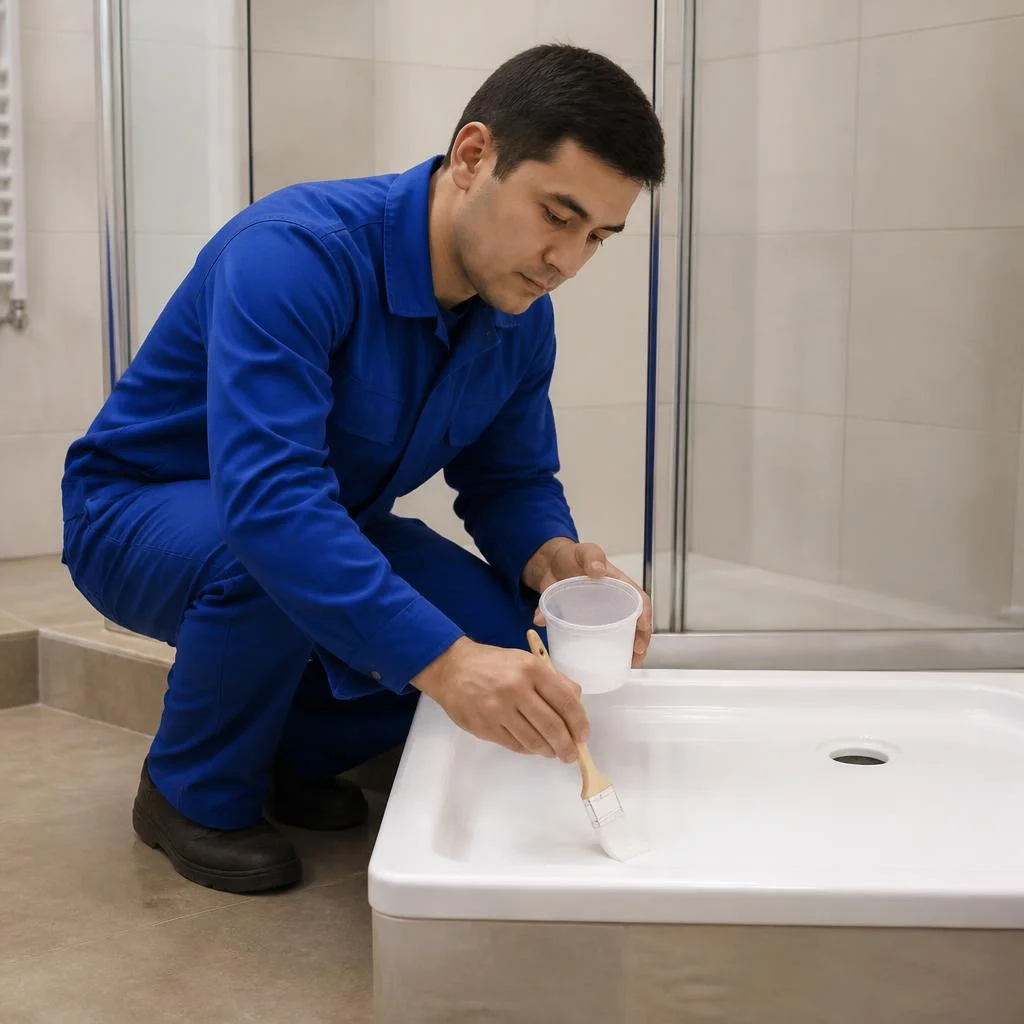
We restore the tray's coating with pour-on acrylic or acrylic enamel — the compound fills the chip and, after polymerization, does not differ in color from the rest of the tray. Pour-on acrylic gives a 3-4 mm layer and withstands impact better than factory enamel; acrylic enamel goes on thinner and is suitable for damage up to 2 mm deep. A chip on an enameled tray is first treated with a rust converter: under the chip the metal is exposed, and without treatment corrosion will spread beneath the new layer. We match the shade by the manufacturer's color number (Roca, Jacob Delafon, Cersanit) or by a test application on a hidden area of the tray. Full polymerization takes up to 24 hours — during this time the tray cannot be used, so we schedule the work with a time margin.
Resealing the joint and waterproofing the base
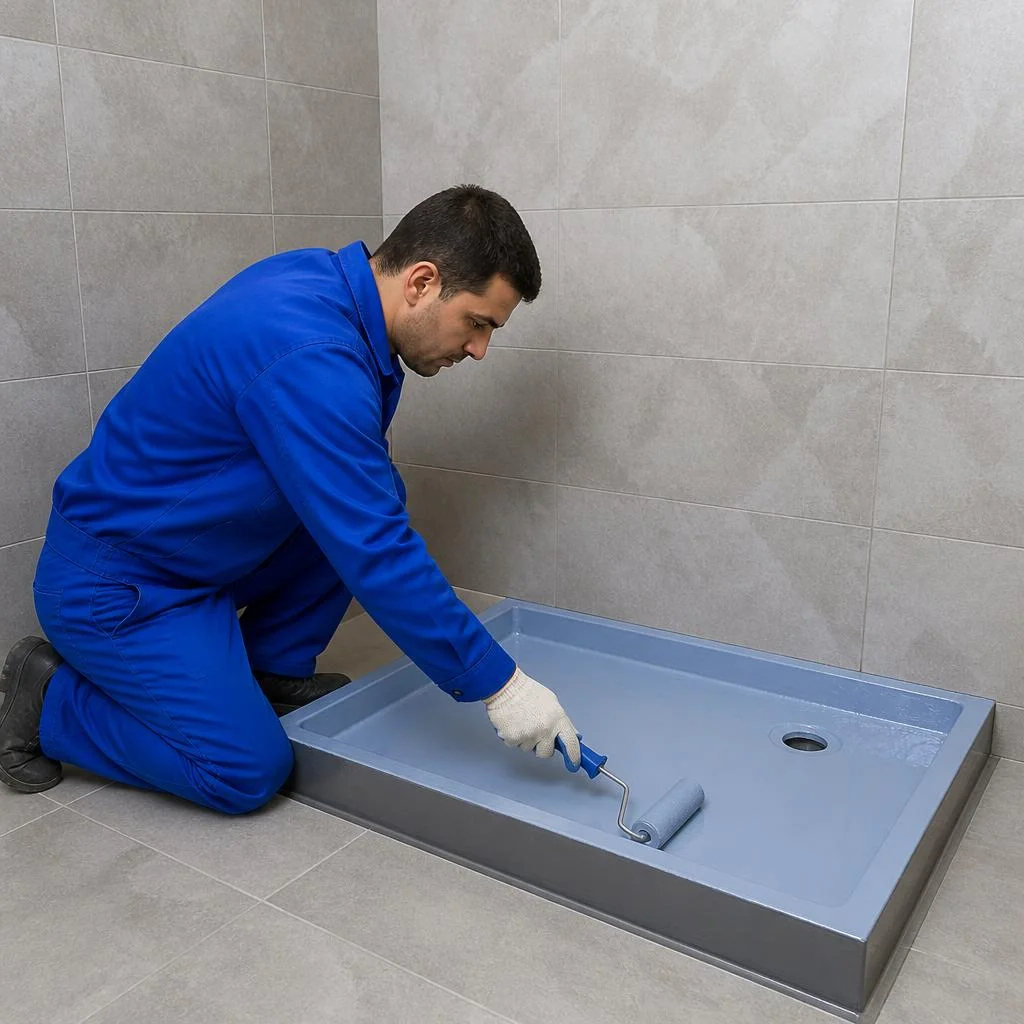
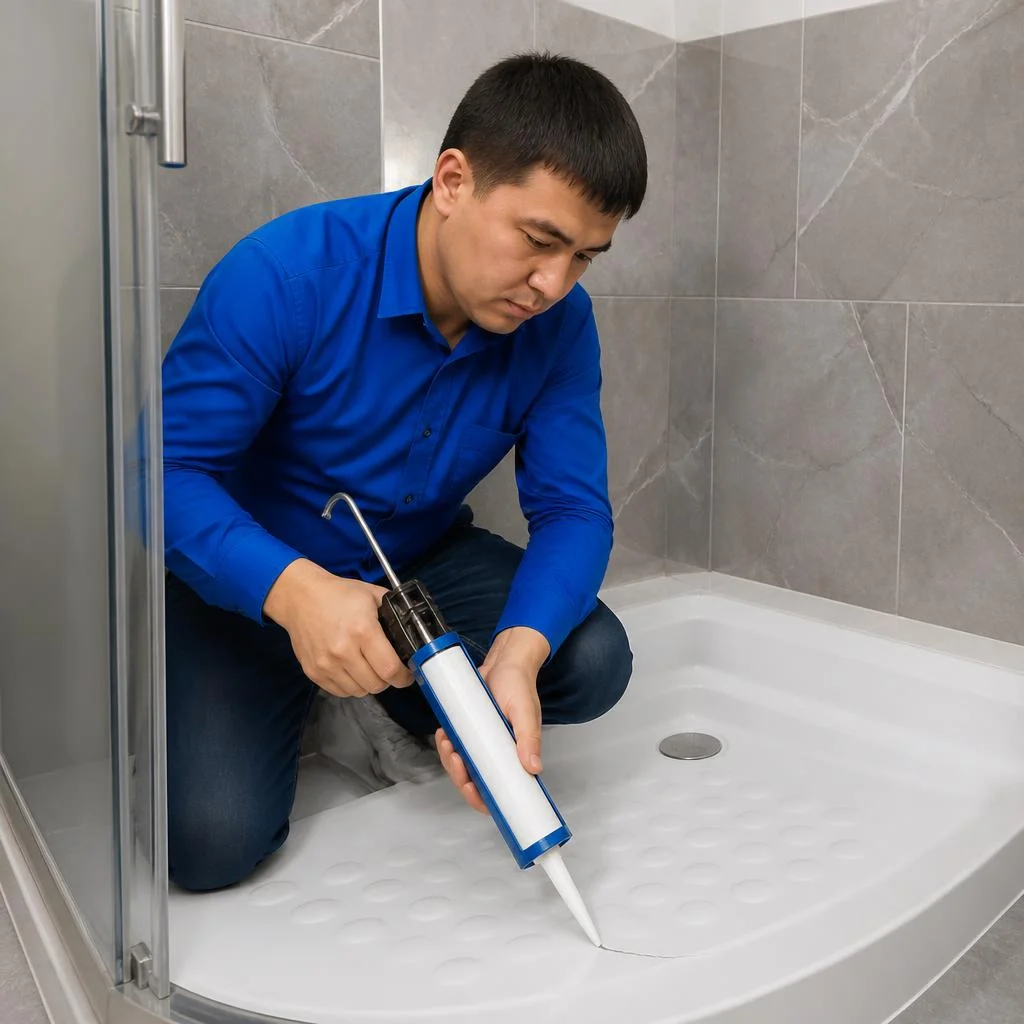
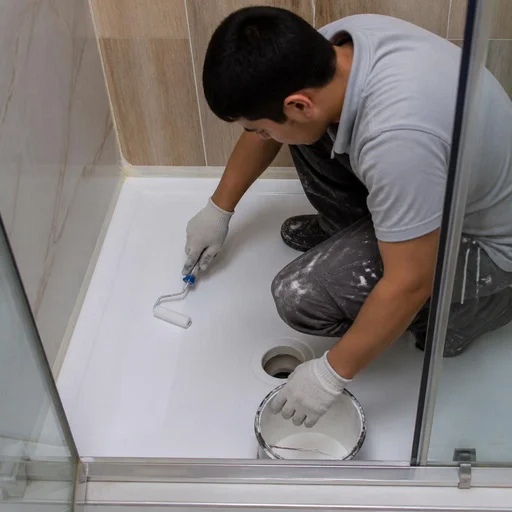
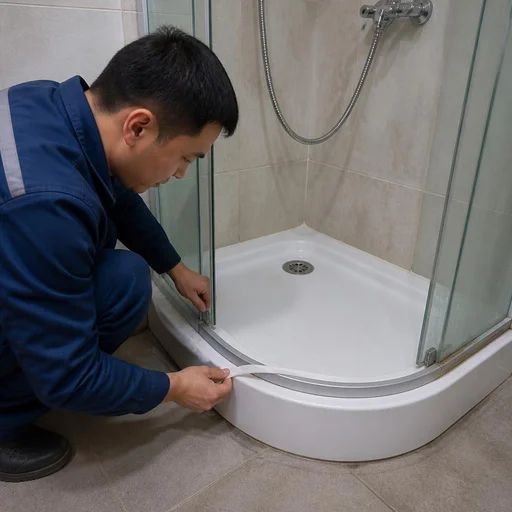
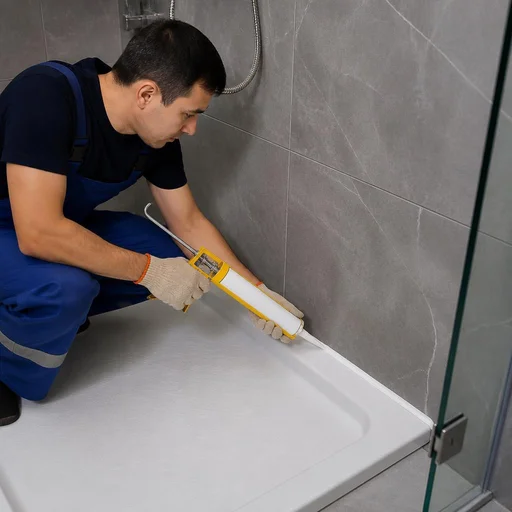
We reseal the joint between the tray and the wall with sanitary sealant and, if necessary, waterproof the base under the tray. A tray leak more often occurs not through the tray but along the joint: old silicone peels away from acrylic within 2-3 years, water gets under the tray and soaks the screed. The technician chooses a sealant for the tray with antifungal additives — ordinary acid silicone adheres to acrylic worse and darkens within a season. We treat the base under the tray with two coats of coating waterproofing, extending 15-20 cm onto the walls. Old sealant must not be applied over new — the joint is fully cleaned out, otherwise adhesion will be weak and the leak will return within 2-3 months.
Repairing the mounting and legs, and leveling the tray
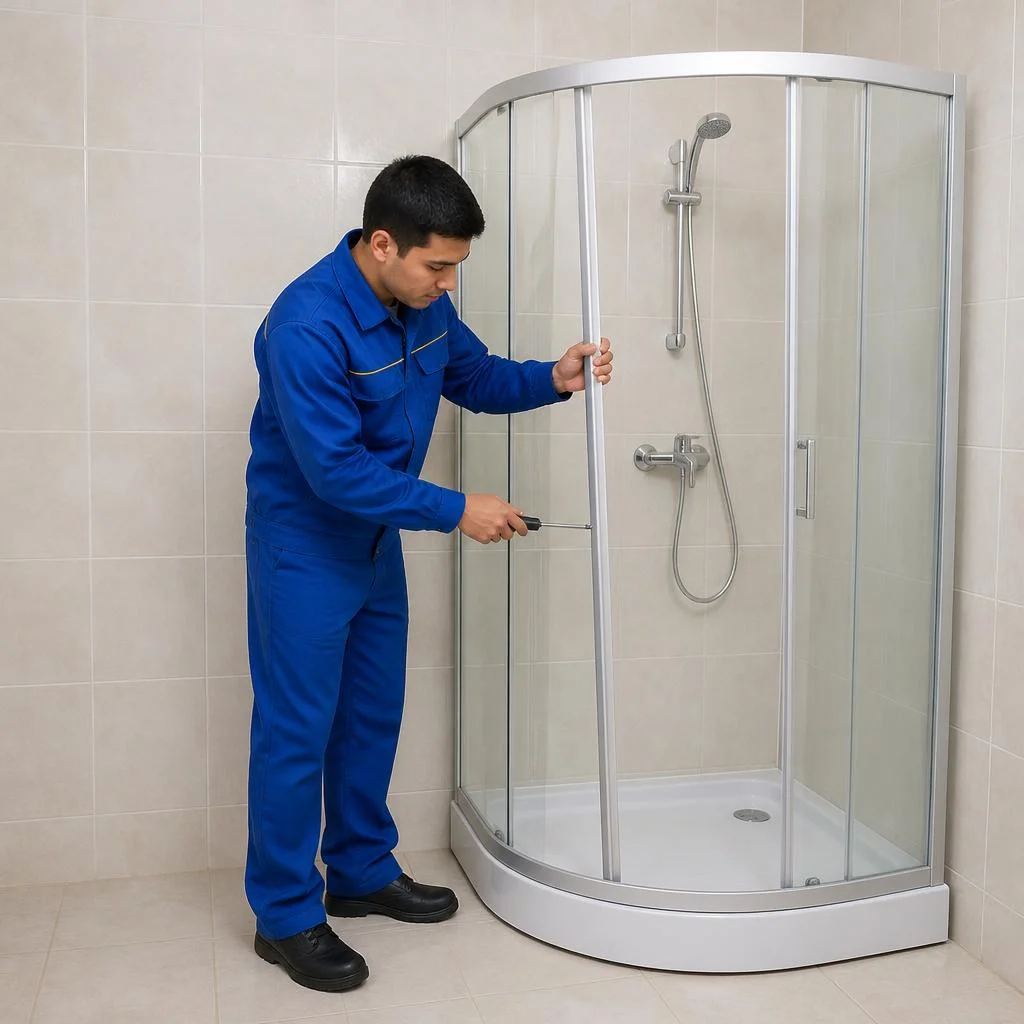
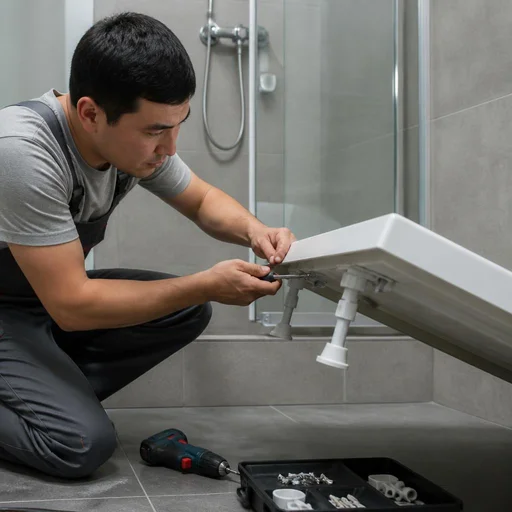
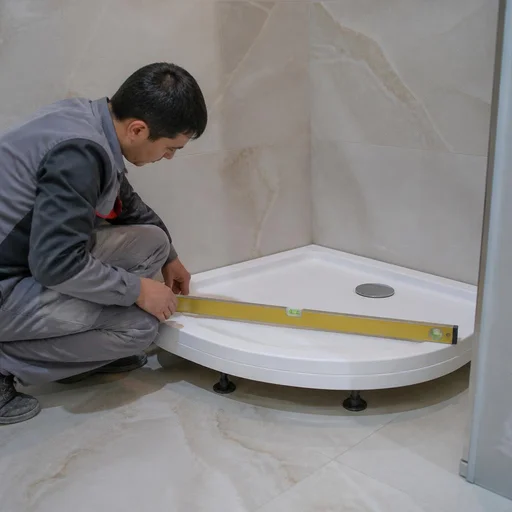
We repair the tray's mounting, replace the legs and level the tray, eliminating squeaking and wobbling. Tray squeaking and wobbling are signs of a loosened mounting to the shower enclosure frame or sagging adjustable supports: under load the tray flexes, and microcracks along the seams spread. We level the tray using a spirit level with a 1-2 degree slope toward the drain — with a reverse slope, water stands at the rim and seeps into the joint. We replace the tray's legs with reinforced metal ones with rubber pads: the standard plastic supports on composite trays crack under a weight of 100 kg or more. In search, clients often type "shower tray repair" — and land here, although the cause of the squeaking is usually not the tray itself but a loosened mounting to the shower enclosure frame: without tightening it, any crack repair will be temporary, and the work will have to be repeated.
Replacing the siphon, drain valve and pan seal
Some breakdowns are solved by replacing components rather than restoring the basin. We show which parts we replace and how to tell that the cause lies in them and not in the pan itself.
Replacing the siphon, drain valve and drain corrugated hose
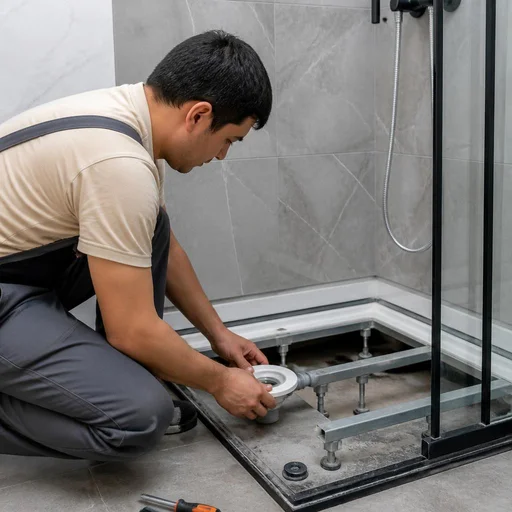
We replace the pan siphon, drain valve and drain corrugated hose with original components — this eliminates leakage under the basin and the unpleasant smell from the drain. A siphon with a bottle-type water seal collects hair and soap scum in the lower chamber, so once every 8-12 months it is removed and the gaskets are replaced. A drain valve with a silicone membrane loses its seal due to scale: salts deposit on the seat, and the membrane stops fitting tightly. We replace the drain corrugated hose when there is a kink or a crack on a rib — even a micro-tear causes a leak onto the cabin floor after every shower. Before ordering a part, the technician checks the seat diameter: it differs between series, and a universal corrugated hose often does not fit without an adapter. If the smell remains after replacing the siphon, the cause is usually the water seal drying out or a clog deeper down — then the drain needs to be cleaned, not the part replaced again.
Replacing the drain pump and shower drain
We replace the drain pump in cabins with forced drainage and install a shower drain instead of the old drain. Forced drainage is installed where the pan lies below the level of the sewer riser — in Tashkent apartments with a remodeled bathroom this is a common story. The pump impeller gets clogged with hair and soap film, and less often the motor winding fails: according to our statistics of service requests, roughly every fifth breakdown involves electrics, the rest are mechanical clogs. We replace the shower drain in cases of systematic clogs and smell, when the siphon basin can no longer cope with the volume of water. The pump fails more often because of hair and soap in the impeller than because of electrics — regular filter cleaning extends its service life many times over.
Replacing the seal and shower mixer
We replace the pan seal and shower mixer — this eliminates leaking along the perimeter of the basin and regulates the water pressure. The seal along the pan rim is a rubber or silicone strip that hardens over time and pulls away from the edge; then water gets into the joint between the basin and the cabin wall. We replace the mixer when the cartridge is jammed, there is a constant leak from the spout, or temperature regulation is absent — on models with a thermostat the cartridge fails faster due to scale. Before replacing the mixer, the technician checks the condition of the supply line and threaded connections: if the hose is cracked, it is replaced together with the fixture, otherwise the leak will reappear within a month. The seal ages faster in hard water — if it has hardened, sealant along the joint will not help, the part itself needs to be replaced. Service requests often read exactly like this: repair of acrylic shower cabin pans — and the technician immediately understands what is meant, even if in fact only one gasket along the rim is needed.
Parts table: what we replace and when
| Part | Symptom | What we do |
|---|---|---|
| Pan siphon | Smell from the drain, leak under the basin | Replace the siphon and gaskets |
| Drain valve | Water does not drain, valve is jammed | Install a new valve |
| Drain pump | Drain does not work, motor hums | Clean or replace the pump |
| Drain corrugated hose | Leak on the floor after a shower | Replace the corrugated hose by diameter |
| Shower drain | Frequent clogs, smell | Install a drain instead of the drain pipe |
| Pan seal | Leaking along the rim perimeter | Replace the strip, seal the joint |
| Shower mixer | Leak from the spout, no regulation | Replace the cartridge or the fixture |
Assembling a Triton shower tray and similar models requires matching seating dimensions: if you install a valve from another series, the assembly will have to be redone. Original components last longer than universal ones — when replacing, we install parts compatible with the specific cabin model.
Tray restoration and painting: technologies and materials
Restoration renews the coating over the entire surface of the basin, whereas local repair covers a single defect. We break down the technologies, compounds and cases where each approach is appropriate.
How restoration differs from local repair: when the entire coating is renewed
Local repair covers a specific defect, while shower tray restoration renews the coating over the entire surface of the basin — this is justified when there are multiple damages and general wear. The technician assesses the thickness of the working layer, the number of chips and the depth of clouding: if there are more than five defects or a network of microcracks covers a third of the basin, spot repair produces a patchy appearance and does not last long. At Eco-Service, restoration of a shower cabin tray begins with complete removal of the old layer, sanding of the base and application of a new compound — the procedure takes one visit and covers the sides, bottom and the area around the drain. In the case of through cracks, structural repair of the basin is needed first, otherwise the fresh layer will crack along the same lines within a few weeks of use.
Painting a shower cabin tray: pour-on acrylic and enamel
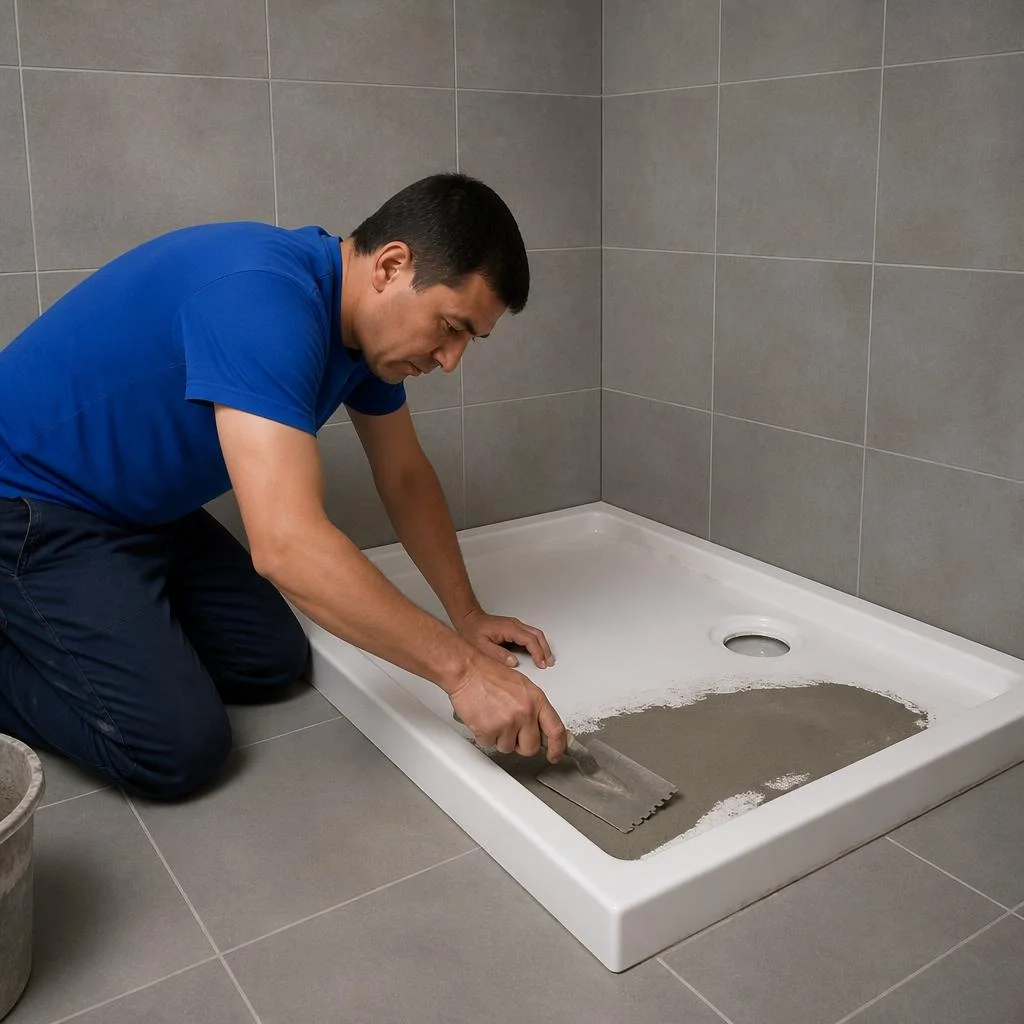
Painting a shower cabin tray is done with pour-on acrylic or acrylic enamel — both compounds produce a durable coating resistant to water and household chemicals. Pour-on acrylic is applied in a 3-4 mm layer: it spreads across the basin by gravity, fills the micro-relief and hides minor scratches without prior filling. Enamel goes on thinner — about 0.5 mm — and dries faster, so it is more often chosen when the tray is needed by the evening of the same day. Before application, we degrease the base, dry it and reinforce the areas around the drain, where the load is greatest. The choice of compound depends on the condition of the basin and the timeframe: if the base is loose or there is movement, the enamel will sag, whereas pour-on acrylic compensates for unevenness through its own thickness.
Polishing a tray: restoring the gloss without painting
Polishing a tray restores the gloss if the coating has become cloudy but there is no structural damage. We work with pastes of varying abrasiveness: first we remove limescale and the matte film, then we bring the surface to a mirror shine. Polishing removes hard water marks, light scratches from sponges and darkening from regular contact with soap. In Tashkent the water is hard — limescale accumulates over 8-12 months and, without care, becomes ingrained in the acrylic, so it makes sense to repeat polishing once every year to a year and a half. Polishing removes the top worn layer: if the coating has thinned down to the base, polishing is not an option — restoration of shower trays with a complete renewal of the layer is needed. This is often exactly how people write to the service: Shower tray repair — and the technician immediately understands what is meant, because behind this wording lies either replacement of the basin or restoration of the coating followed by polishing, which costs less than a full replacement and preserves the geometry of the drain.
How we work: technician visit, timelines and a 2-year warranty
We show how the work is structured from request to warranty service, and why having our own service center in Tashkent directly affects the timelines and quality of tray restoration.
Technician visit and on-site diagnostics
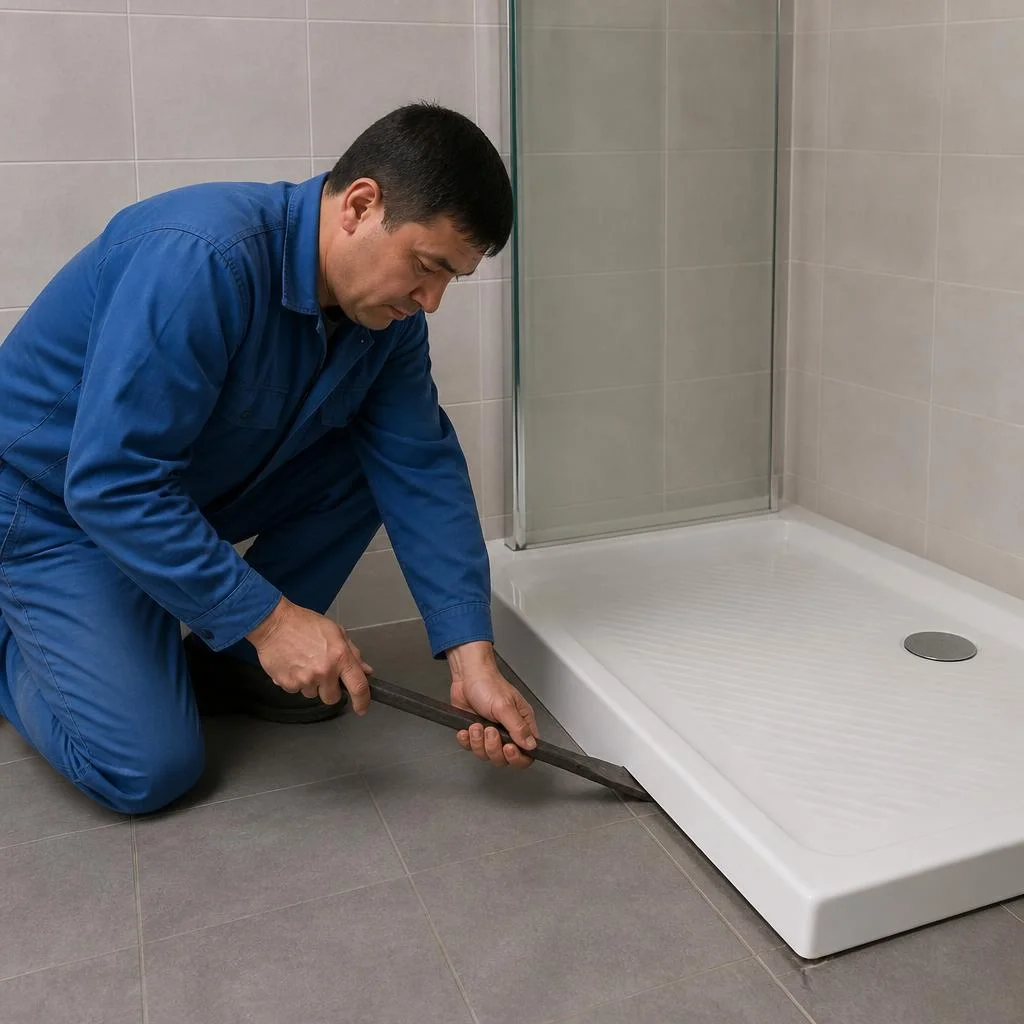
An Eco-Service technician comes to your home, performs diagnostics of the basin and base, and on the spot names the repair method, the necessary spare parts and the timelines. The inspection takes 20-30 minutes: the specialist checks the integrity of the acrylic or enamel, the condition of the drain assembly, the fastening and the slope, and taps the base under the basin. This can't be done from a photo or video — the camera doesn't convey how the joint behaves under load, and a crack often extends under the rim, into an area that is only visible with the drain grate removed. This is exactly how people often write to the service: acrylic shower tray repair — and the technician immediately understands what is meant. On-site diagnostics are more important than a phone consultation precisely for this reason: the condition of the fastening and the base determines whether the crack will come back in a month. If the basin is removable and it's more convenient to inspect it in the workshop, the technician takes the tray and brings it back after the work.
Timelines: how long repair and restoration take
Local elimination of a crack or chip takes one visit, coating restoration takes two, accounting for the time needed for the compound to cure. Work on a tray crack with reinforcement and sanding fits within 2-3 hours, replacing a siphon or drain valve takes 1-1.5 hours, resealing a joint takes 40-60 minutes. Pour-on acrylic and enamel gain strength layer by layer: each layer dries from 4 to 8 hours, and the final polishing is done the next day. Plan restoration in advance — the basin can't be used on the day of the work, and you can't speed up curing with heat: the coating will blister and peel at the edges. If the bathroom is the only one, let the technician know — we'll arrange a schedule so that the downtime is minimal.
2-year warranty and original spare parts
Eco-Service provides a 2-year warranty on the work and tray restoration and uses original spare parts when replacing components. In our work we use siphons and drain valves specific to the particular basin model — cheap universal equivalents don't seat tightly and start leaking at the threads within 2-3 months. The warranty covers the work performed: if a leak returns through our fault, the technician will come again at no extra charge. We collect customer reviews after acrylic and enamel restoration on Telegram and Yandex.Maps — they show how the coating holds up after a year and two. When making a warranty claim, bring the work completion certificate and the receipt: the technician will use them to verify the date and scope.
Tray care after repair: how to make the result last
- No abrasives: powders with coarse particles and stiff brushes strip the restored layer and open up microcracks within 2-3 months.
- No acids or chlorine: products with aggressive chemicals destroy the sealant at the joint and dull the gloss of the pour-on acrylic.
- Gentle product and a sponge: for daily cleaning, liquid soap or a gel without abrasives is enough — the coating keeps its gloss for years.
- Drying after a shower: wipe the basin and leave the door open — standing water at the drain accelerates wear on the seal and seams.
- Preventive polishing: once every 1-2 years it's worth refreshing the gloss — it's cheaper than re-restoring the coating. If there's a drain instead of a basin — as in the layout for a shower in an apartment without a tray — care centers on the grate and waterproofing: it needs to be cleaned more often, and once a year the seam around the perimeter should be checked.
Conclusion
The bottom line on shower tray restoration comes down to five practical conclusions: when to repair and when to replace, how the method depends on the material, and what to check first when there is a leak.
Key takeaways
- Repair instead of replacement: if the basin is intact and only the coating or a localized area is damaged, restoration is cheaper and faster than a full tray replacement.
- Method by material: acrylic and composite are restored locally, while enamel and ceramic require refinishing the coating over the entire surface.
- Joint and squeaking: a leak along the seam and squeaking are more often related to the mounting and the sealant rather than the basin itself — these are checked first.
- Refinishing for wear: renewing the coating is justified for general surface wear, not for a single chip or scratch.
- Care after the work: no abrasives or acids, with preventive polishing once every 1-2 years — this way the result lasts longer.