








Which underfloor heating systems Eco-Service installs
We work with four types of systems — water-based, cable, mat, and infrared. The choice depends on the room, the finish flooring, and the heat source.
Water underfloor heating: loop, manifold, connection to the boiler
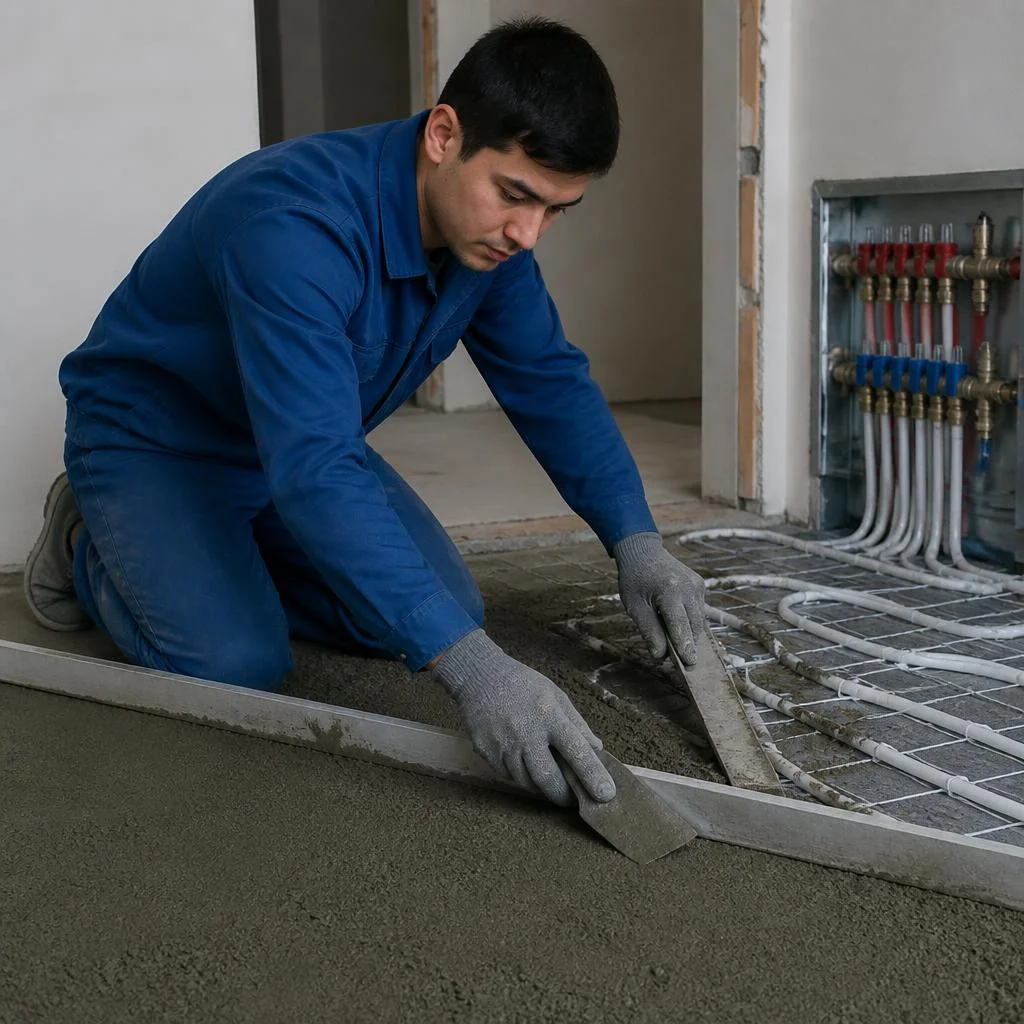
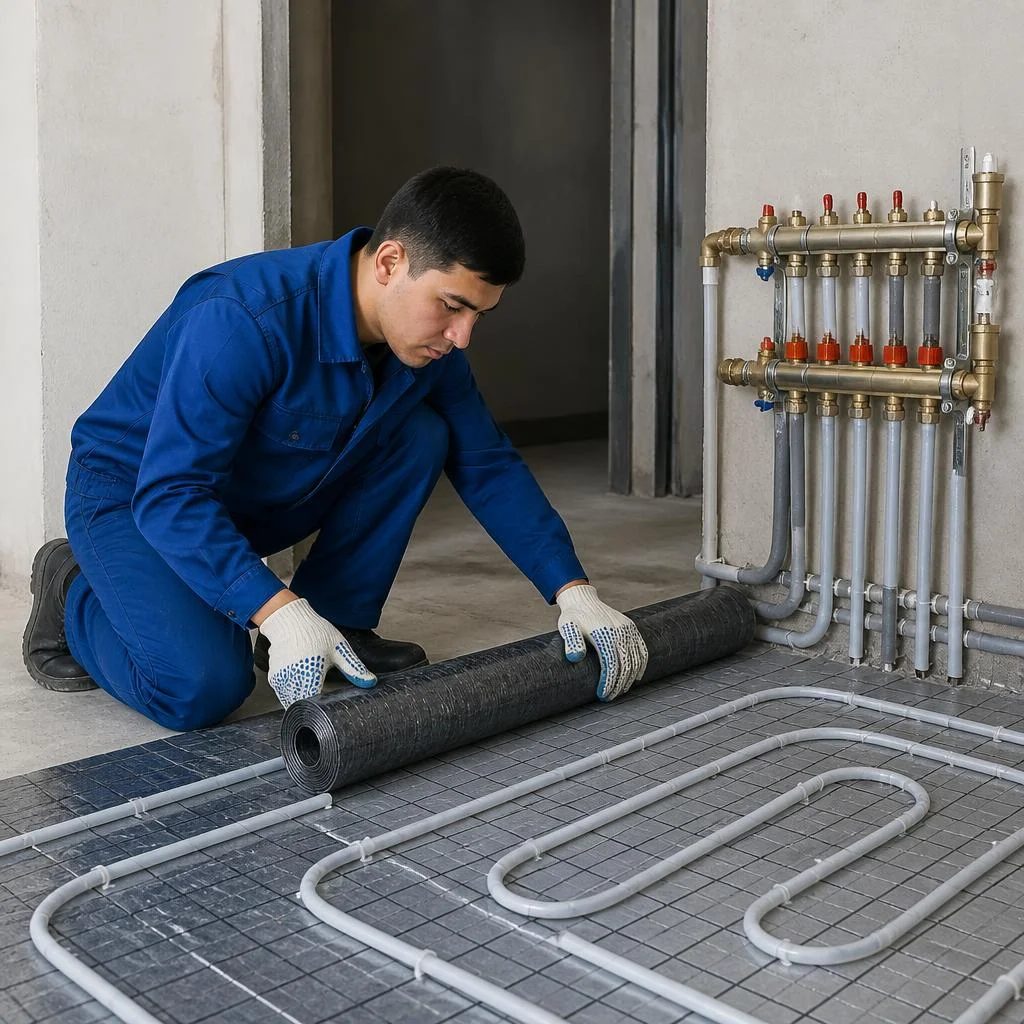
Eco-Service installs a water loop with pipes laid out at the calculated spacing, installation of a manifold unit, and connection to the boiler. In a private house, pipes are laid at a spacing of 150-200 mm in living rooms and 100-150 mm in bathrooms and the kitchen, covered with a 50-70 mm screed, and routed to a manifold with flow meters for each loop. For an area of 80-120 m², this usually results in 6-9 loops, which are balanced with each other so that distant rooms do not remain cold. In apartments in multi-unit buildings, water underfloor heating is connected to central heating only with permission — otherwise the pressure in the riser drops. Clients often ask about the cost of turnkey underfloor heating — and receive a quote after measurement, because the total depends on the number of loops, the square footage, and the thickness of the screed. Turnkey underfloor heating installation on a water system costs more than cable due to the manifold unit and screed, but for an area of 60 m² or more, it pays for itself in 4-6 heating seasons. Many people search for underfloor heating installation price — and via this phrase land on our page with the calculation procedure.
Electric cable floor and heating mats
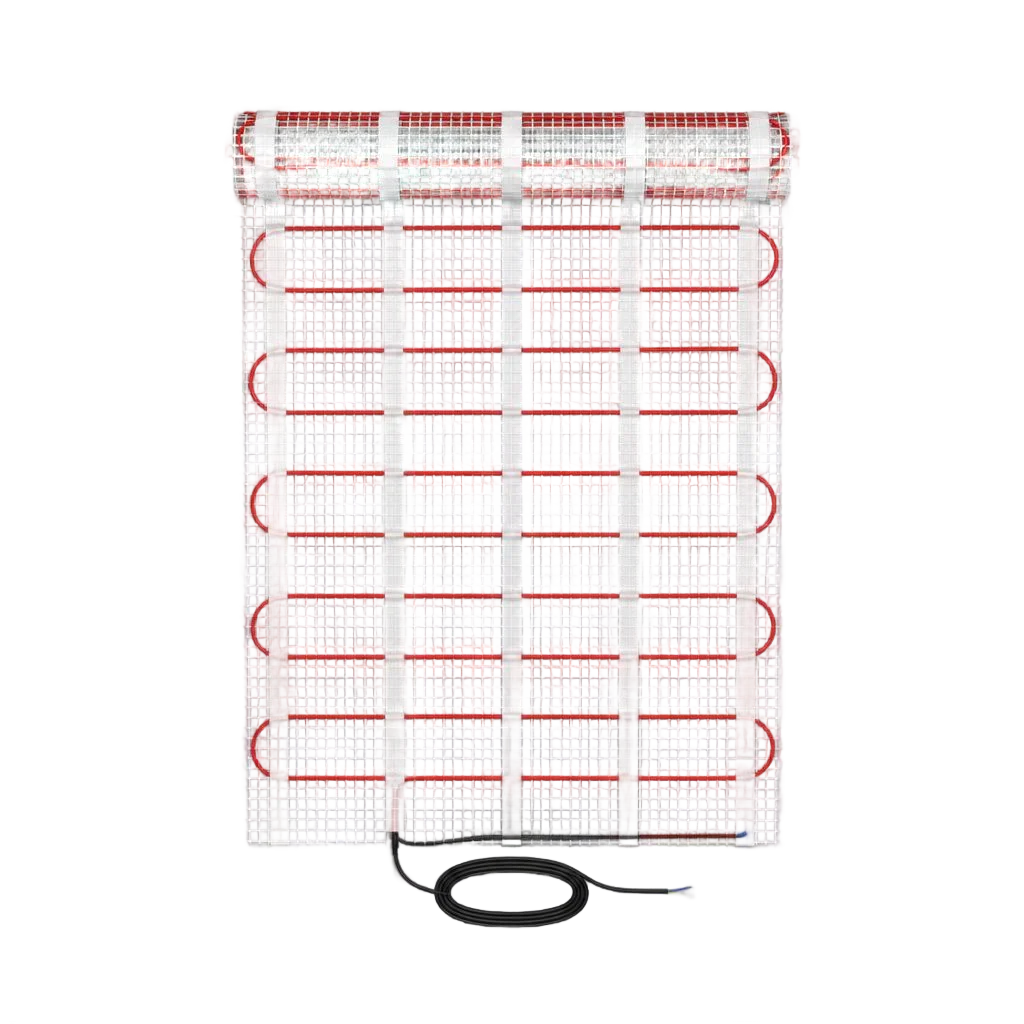
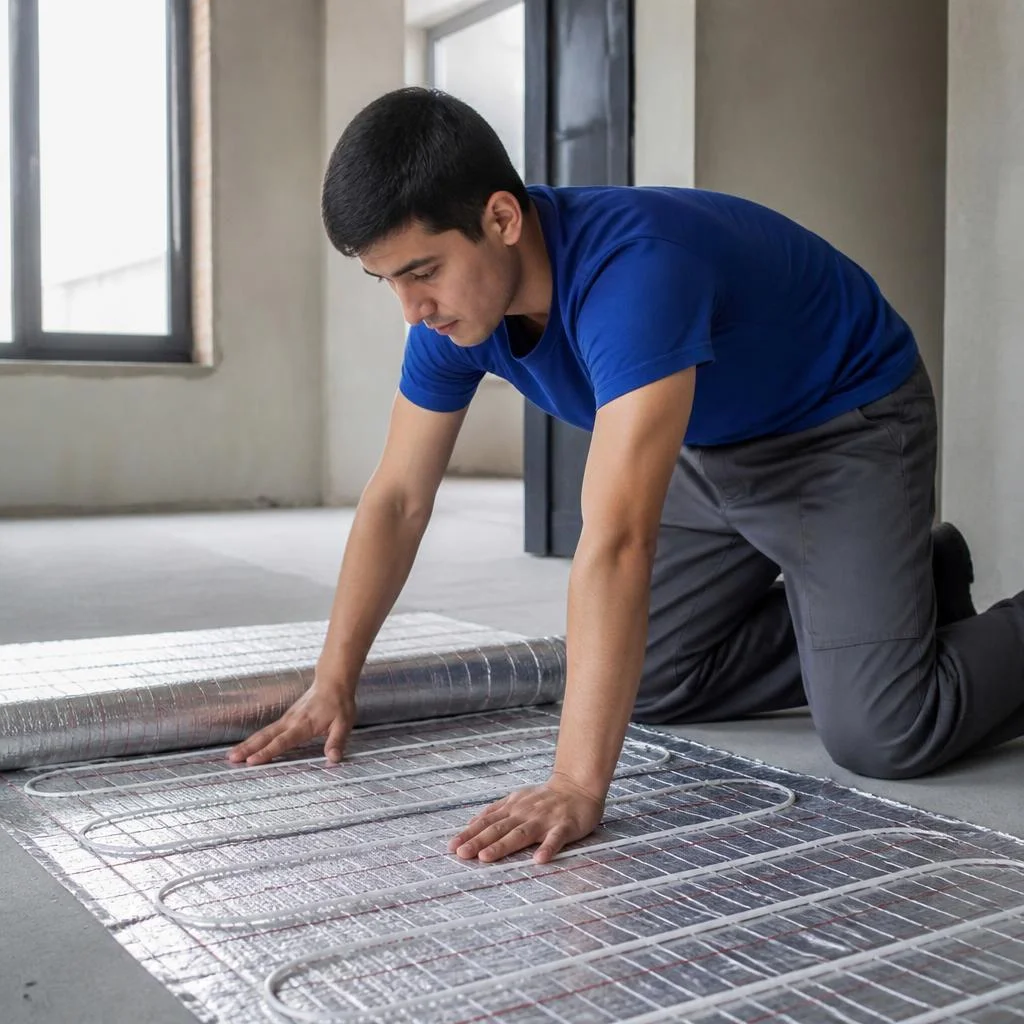
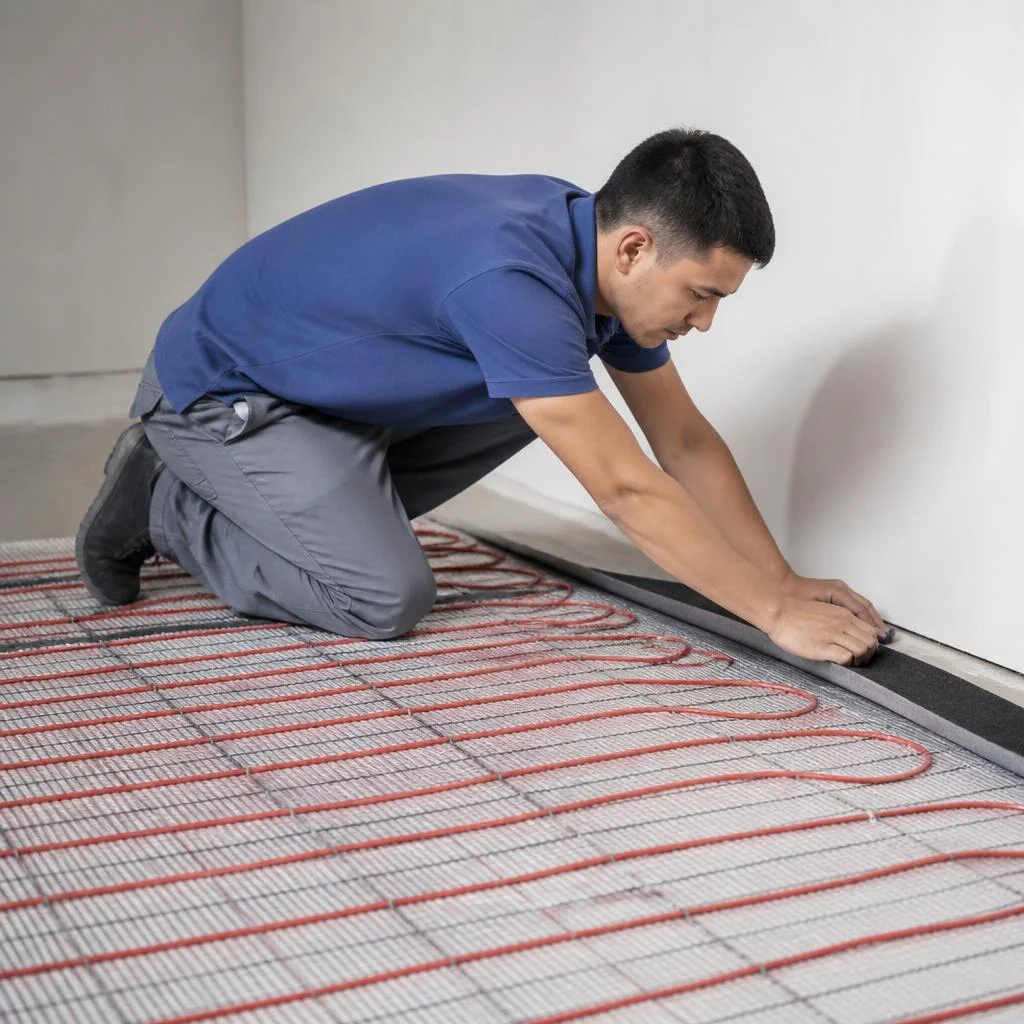
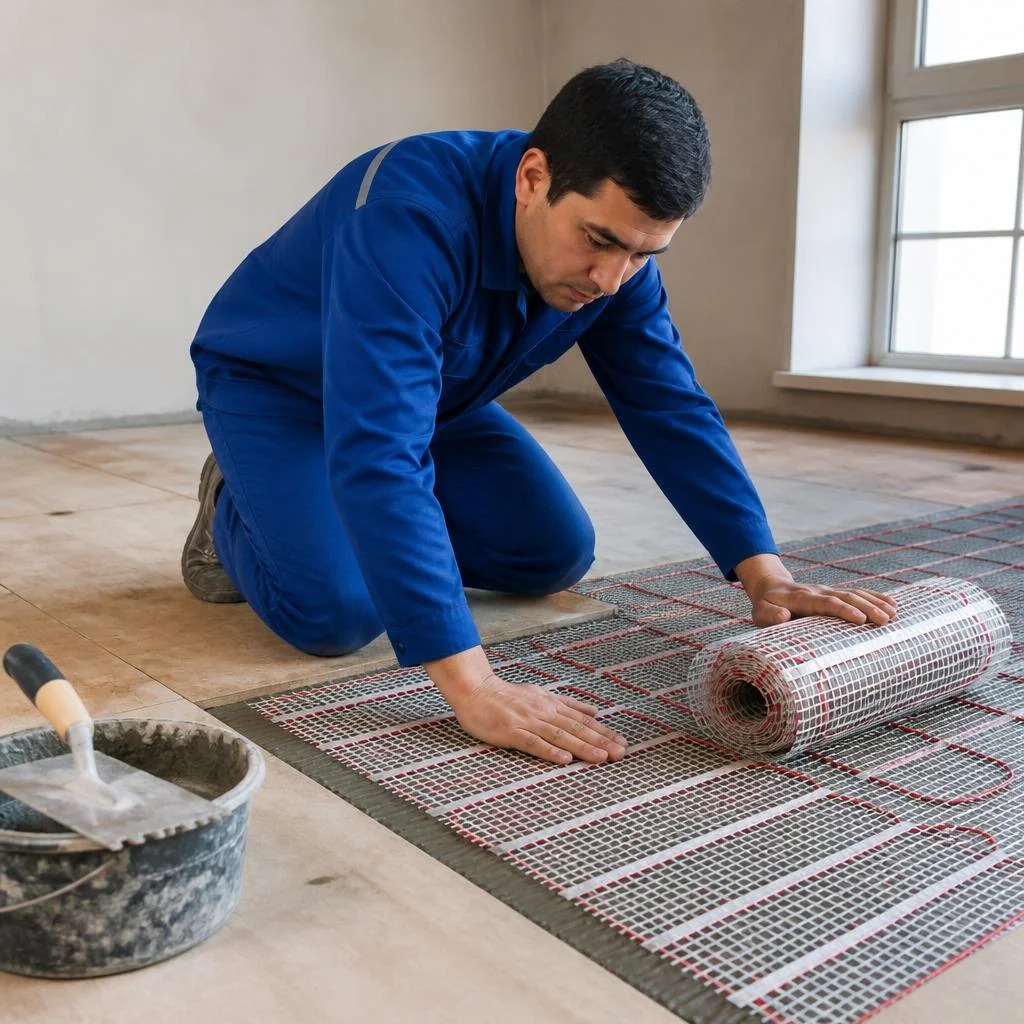
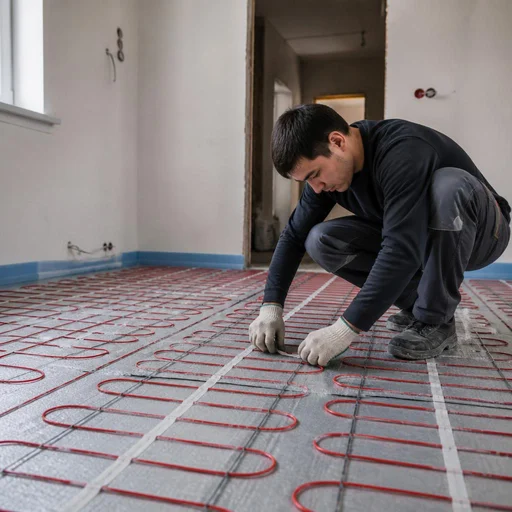
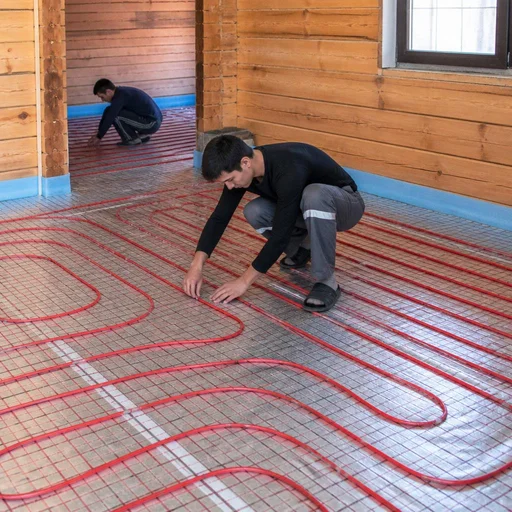
Eco-Service lays the cable floor at the calculated spacing with a check of the loop's resistance before pouring the screed. A two-core cable of 10-20 W/m is laid at a spacing of 100-150 mm and fastened with mounting tape to the thermal insulation, and on complex sections — to the reinforcing mesh. Heating mats come at a fixed power of 150 W/m² and are unrolled without calculating spacing, so the underfloor heating installation price per m² on mats is calculated by the area of the roll. Mats are more convenient in rooms of complex shape — they do not need to be calculated by spacing, but their power per m² is higher than that of cable. Customers often search for underfloor heating installation price — and via this phrase land on our page, where the calculation procedure is indicated. Before pouring, the resistance of each section must be measured with an ohmmeter: a deviation from the nameplate value of more than 10% indicates damage during laying, and such a section is relaid before the screed. Many formulate the query as underfloor heating installation price — and receive a quote after measuring the room.
Infrared film: where it is appropriate and where it is not
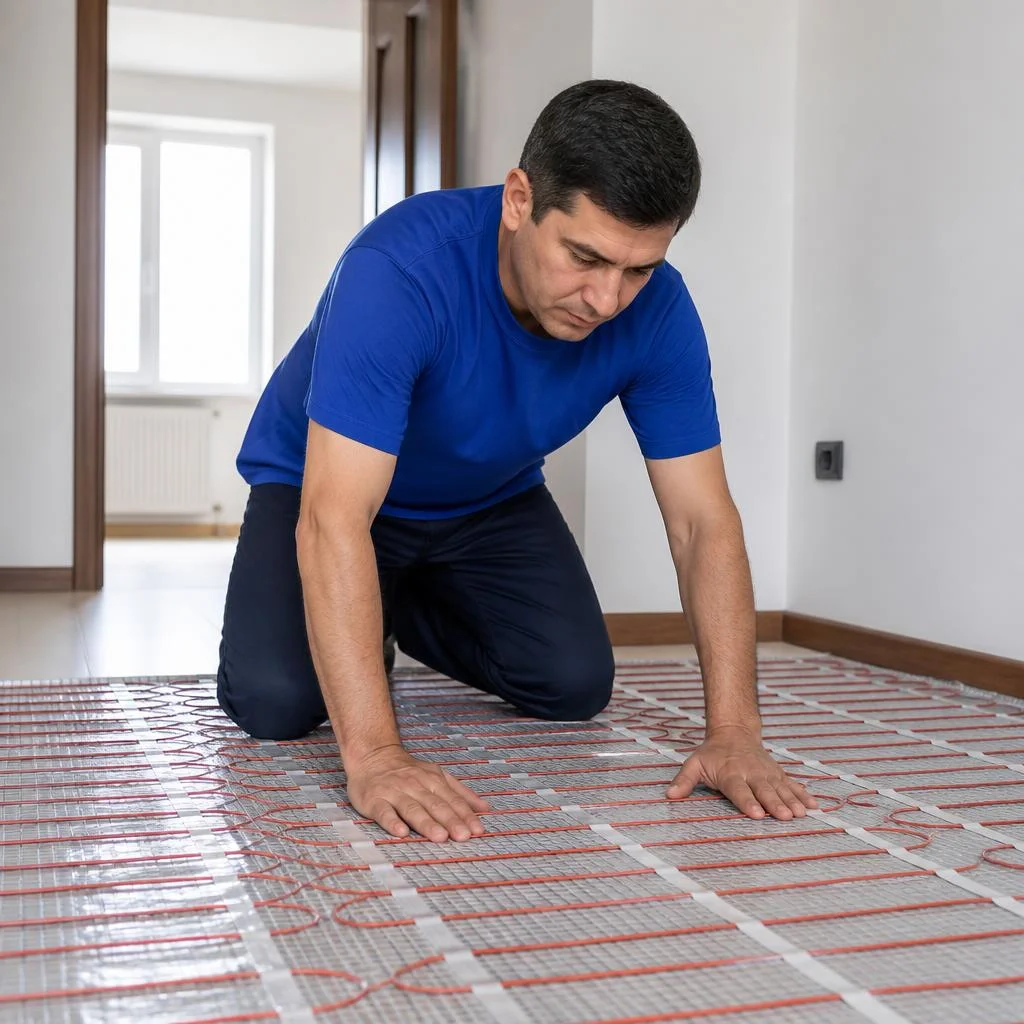
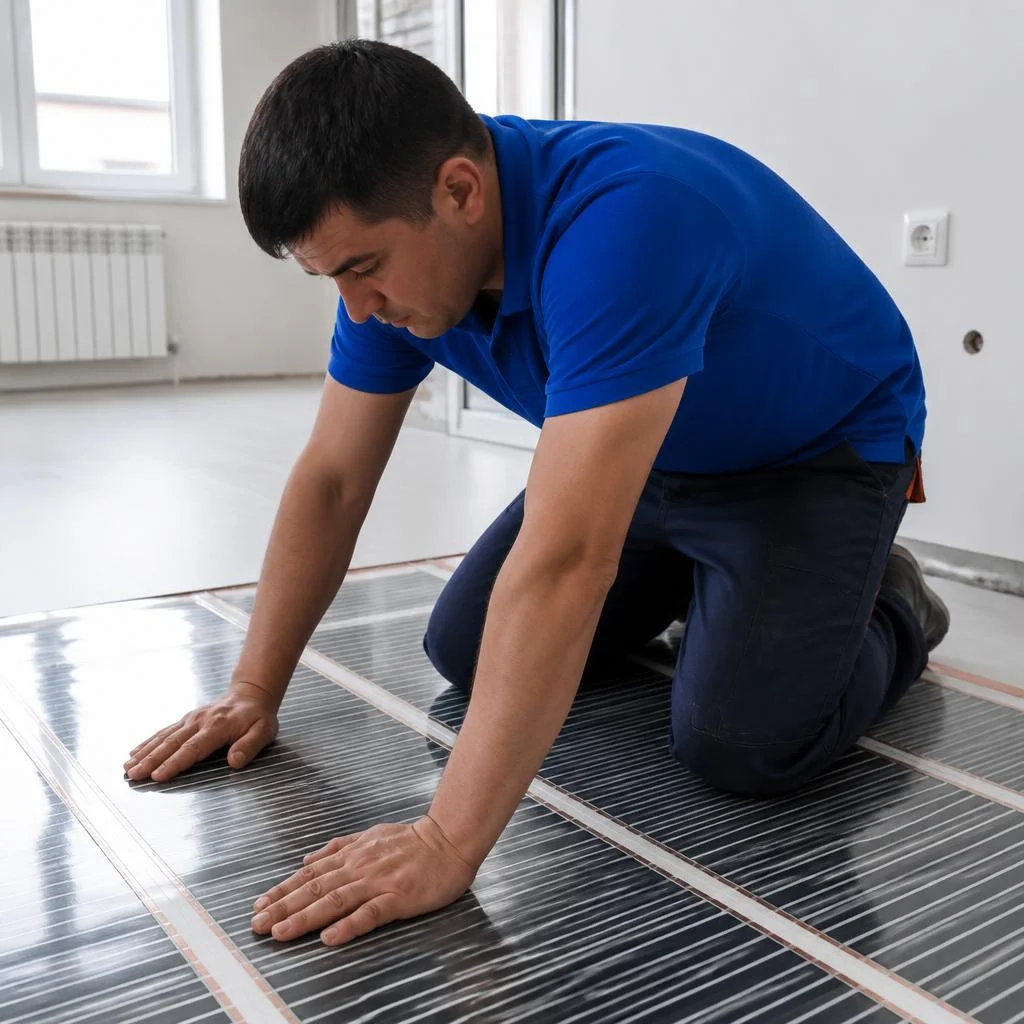
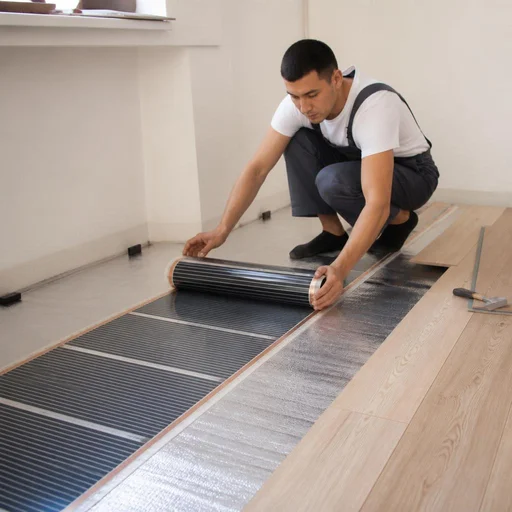
We install IR film under laminate and other dry coverings — without screed, laid on thermal insulation. Installation of IR underfloor heating is done in sections 50-80 cm wide, a gap of 10-20 mm is left between strips, and on top a 2-3 mm underlay and laminate are laid — without glue or wet processes, so the covering is ready for load immediately. Film is not suitable under tile: glue and screed overheat it and shorten its service life. If comparing, the turnkey underfloor heating price for the film option will be lower than cable due to the absence of screed, and the work takes one day for a room of 15-18 m². Many formulate the query as underfloor heating installation price — and this is precisely about film systems, where no screed or manifold is needed. Film must not be placed under furniture and carpets — overheating leads to local failure of the section, so the layout is planned based on the free area. Clients often write underfloor heating installation cost — and via this phrase land on our page with the calculation.
Comparison of systems by room and covering
| System | Under which covering | Screed needed | Heat source |
|---|---|---|---|
| Water loop | tile, porcelain stoneware | yes | boiler |
| Cable floor | tile, porcelain stoneware | yes | electrical grid |
| Heating mats | tile | yes (thin) | electrical grid |
| IR film | laminate, parquet | no | electrical grid |
How to choose a system for tile, laminate and room type
The covering determines the type of system and the installation technology. Tile requires a screed, laminate requires a dry method on film. We break down the scenarios for each covering and room type.
Underfloor heating installation under tile: screed and adhesive
For tile, Eco-Service pours the system into the screed — the cable or mats are poured over with mortar, and the tile is laid on adhesive on top. This kind of assembly provides even heating and withstands the load from porcelain stoneware. Tile is laid over the heating after the screed has fully dried, otherwise the adhesive will peel off and the joints will separate. For bathrooms and kitchens we use a cable with a spacing of 10-15 cm; for large halls — mats. The adhesive is chosen to be elastic, marked for underfloor heating: ordinary cement-based adhesive loses adhesion when heated. Clients often search for underfloor heating installation under tile price — and receive an estimate after measuring the area and the type of circuit. In exactly the same way they enter underfloor heating installation under tile price when comparing estimates from several contractors — and here what matters is not the figure, but the scope of work: dismantling, leveling, waterproofing. Without a screed, only mats in a thin layer of adhesive can be used under tile — but this reduces power and is not suitable for large areas. If the base is old, we level it first, otherwise a difference of 3-4 mm will cause cracks in the tile.
Underfloor heating installation under laminate: dry installation
For laminate, Eco-Service lays IR film on thermal insulation — without a screed, with the installation of a thermostat and sensor. This dry method allows the system to be started the same day: the film goes on the underlay, and the laminate on top. We place the thermostat in a wall box by the wall, and run the temperature sensor into the heating zone. We use film at 150-220 W/m²; for a room of 15-18 m² this is more than enough. Clients enter the query underfloor heating dry installation when they don't want to raise the floor level with a screed. The laminate must be marked for underfloor heating — ordinary laminate deforms when heated above 27 °C, the locks separate, and the covering will have to be relaid. Check the marking on the packaging before purchase: the "for underfloor heating" icon or a note in the instructions is a mandatory condition. Clients check the estimate against the line underfloor heating installation cost, and with us it is always tied to the area and type of circuit, not to a fixed figure from an advertisement.
What to choose for a bathroom, kitchen and living room
In a bathroom, Eco-Service installs a cable floor or mats under tile with mandatory waterproofing of the base. Wet areas require protection against leaks: waterproofing is laid on the leveled base, the sensor and cable couplings are sealed, and the joints between walls and floor are taped. In the kitchen, under tile we install 150 W/m² mats — fast heating and simple layout by zones. In a living room, under laminate, film is more advantageous: it doesn't raise the floor level and doesn't require a screed. A frequent question from clients is underfloor heating installation in a bathroom: the temperature sensor is placed in a corrugated conduit, otherwise when replacing the thermostat the tile will have to be opened up. The conduit is embedded in the screed during the work stage, and the sensor can be replaced without dismantling the covering. Clients type in underfloor heating installation — and land on this page, although essentially it's about the same circuit, just with a different covering on top. They also ask separately about underfloor heating installation price — and here it's important to understand that the total depends on the area and the thickness of the assembly, not on a price per square meter.
Restrictions by type of building and covering
- Panel buildings and Khrushchevka buildings: water-based floor heating in an apartment is prohibited without permission — the floor slabs are not designed for additional load and connection into the riser.
- Permission for water-based floor heating in apartment buildings: it is arranged through a project and approval with the management company; without the document the work is considered unauthorized.
- Old covering: before installing the system, linoleum, carpet and parquet are dismantled — they don't let heat through and ruin the heating.
- Condition of the screed: cracks and voids require leveling the base before installing the system, otherwise the heating circuit will deform.
- Thickness of the assembly: under tile the layer grows by 8-10 cm, under film — by 2-3 cm; this affects the height of doors and thresholds.
Installation stages: from marking to first start-up
The work proceeds in stages: preparing the base, laying the system, connecting and testing. Each stage is recorded in a report, and concealed work is photographed before pouring. Below is exactly what is done on site and in what order.
Marking the laying zones and leveling the base
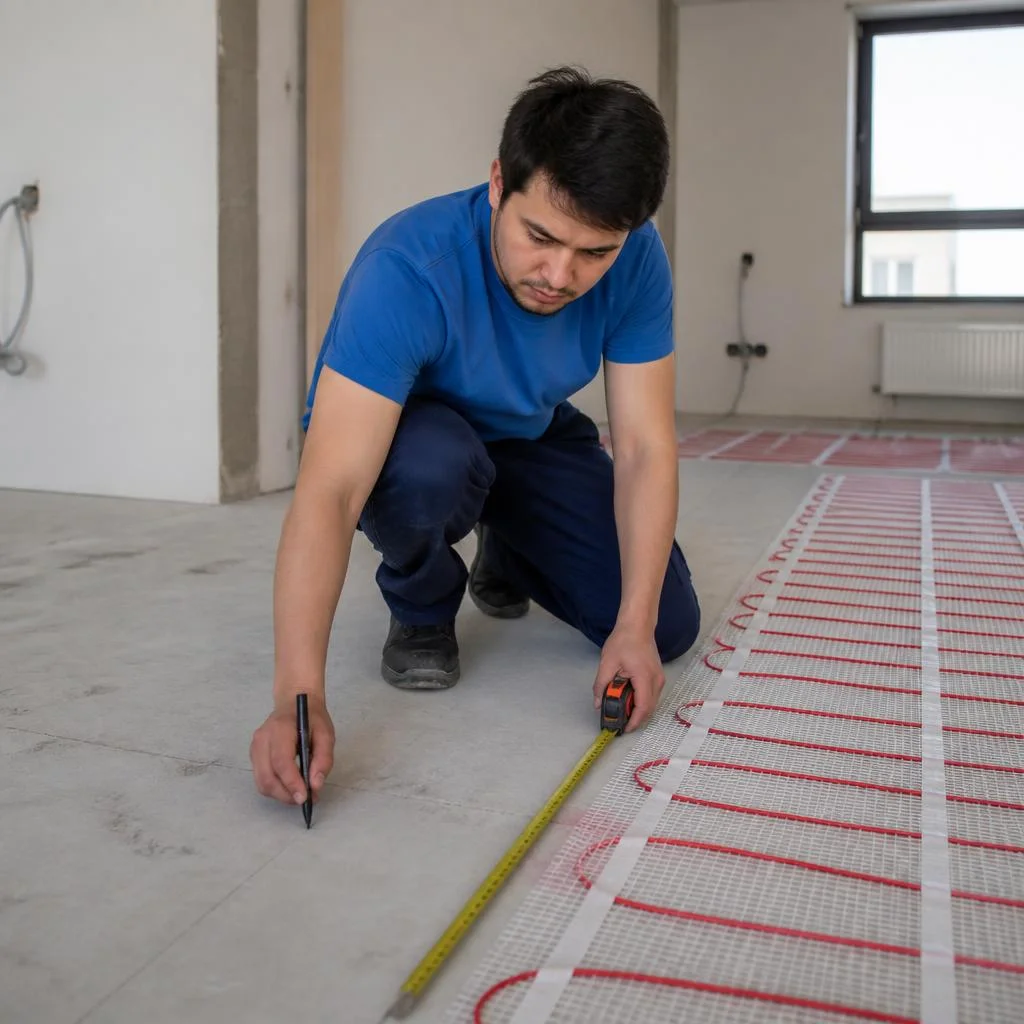
The price for installing a heated floor under tile at Eco-Service is calculated after the technician visits the site, because marking the zones and leveling the base directly affect the final estimate — a deviation of more than 5 mm per meter will lead to uneven heating and local overheating above the protrusions. First, the technician marks the contours with a 100-150 mm offset from the walls and 200 mm from plumbing fixtures, bypasses the areas under built-in cabinets, the shower and the toilet, then brings the base up to level with a straightedge: cracks are widened, dust is removed, primer is applied in two coats, and a self-leveling compound 3-5 mm thick is poured. On a wooden base, instead of the compound, plywood is laid in two layers with staggered seams. Marking is done taking furniture into account: the contour is not laid under cabinets and appliances, otherwise overheating occurs — a built-in oven or washing machine completely blocks heat dissipation, and the sensor goes into emergency mode.
Waterproofing and thermal insulation: order of layers
Eco-Service lays the base waterproofing first, then the thermal insulation — this order protects the system from moisture from below and directs heat upward rather than into the floor slab. For a water circuit, a rolled bitumen membrane is used with a 150-200 mm overlap onto the walls; for electric cable and mats, a cement-polymer coating waterproofing is applied in two layers. On top goes extruded polystyrene foam 20-50 mm for interfloor slabs and 50-100 mm for the ground floor or a slab over a basement, the seams are taped with aluminum tape, and an 8-10 mm expansion strip is placed around the perimeter. Without thermal insulation, up to 30% of heat escapes into the floor slab — especially critical on ground floors and over an unheated basement, where losses rise to 40%.
Laying out the cable, mats and circuit pipes
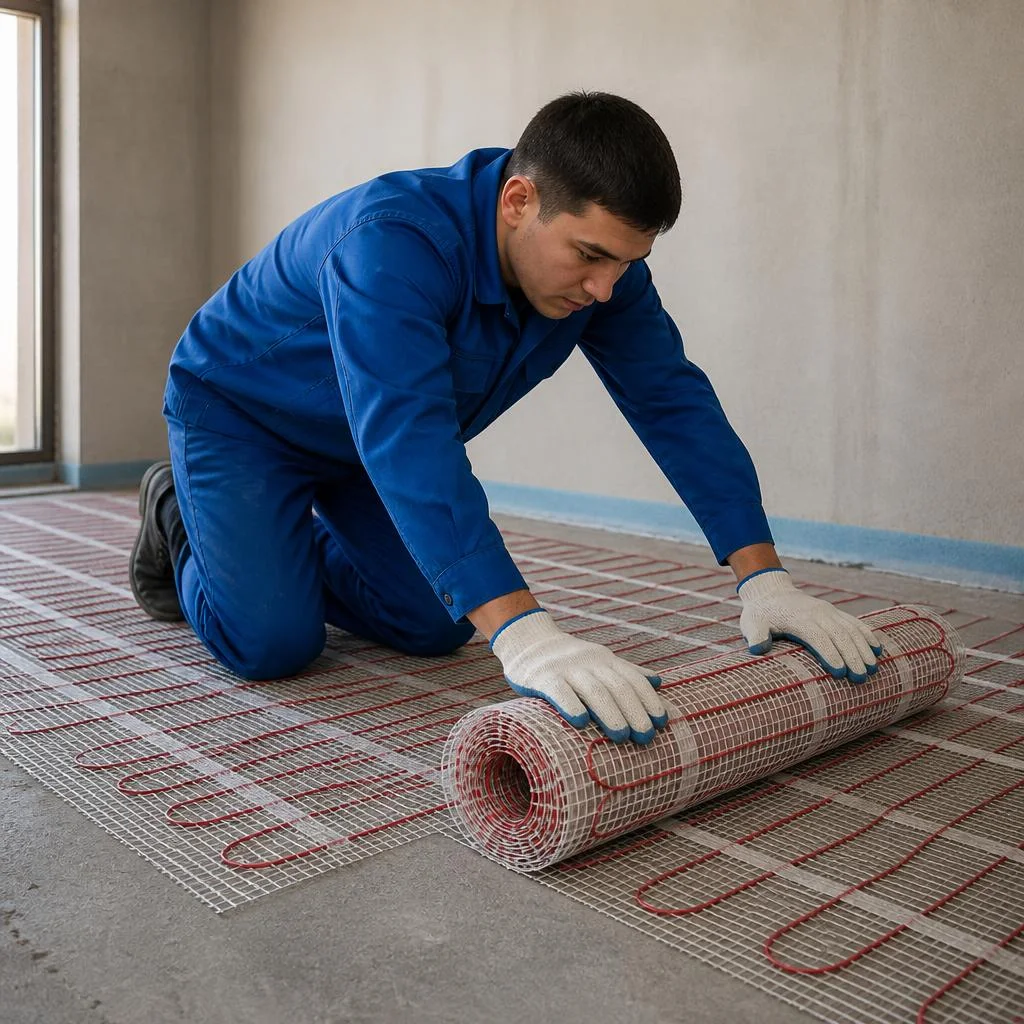
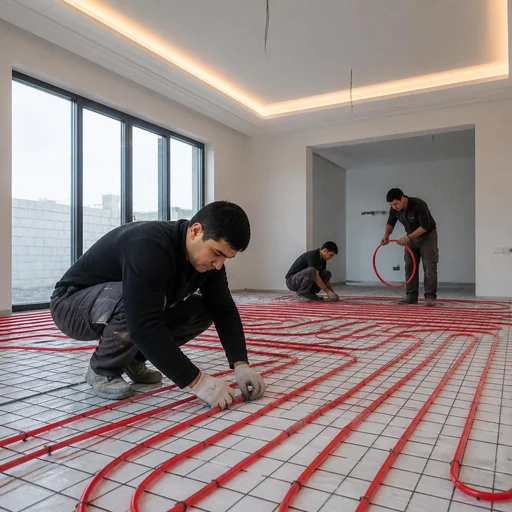
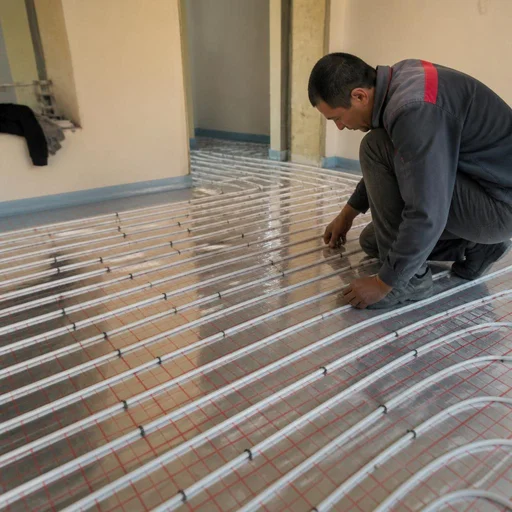
The heated floor layout is carried out according to a preliminary design: for cable, a spacing of 100 mm near exterior walls and 150-200 mm in the center; for pipes, 150 mm in heat-loss zones and 200-250 mm over the remaining area. Eco-Service lays out the heating cable at the calculated spacing, installs the mats and lays out the circuit pipes with fastening to the reinforcing mesh. The unrolling is done from the manifold in one continuous loop without joints under the screed, while the mat version takes less time: the mat is unrolled in strips with a 180-degree turn, and the cable is already secured to the mesh at a fixed spacing. The laying spacing depends on the room's heat losses: near windows and exterior walls it is reduced, in the center it is increased, and the pipe bend radius must not be less than five times its diameter. Clients often find us with the query heated floor installation price — and from that wording the technician immediately understands that a spacing and footage calculation is needed for a specific area.
Installing the manifold assembly and connecting to the boiler
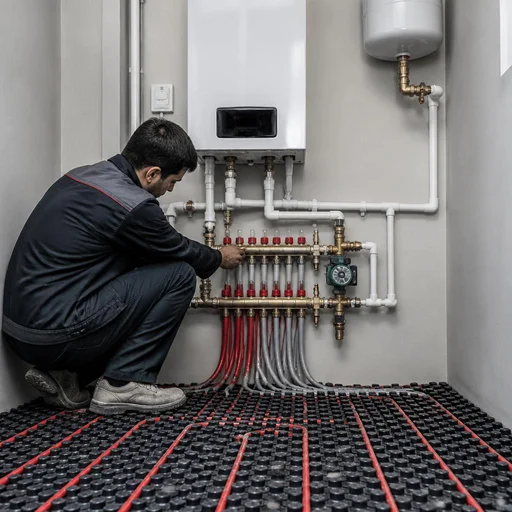
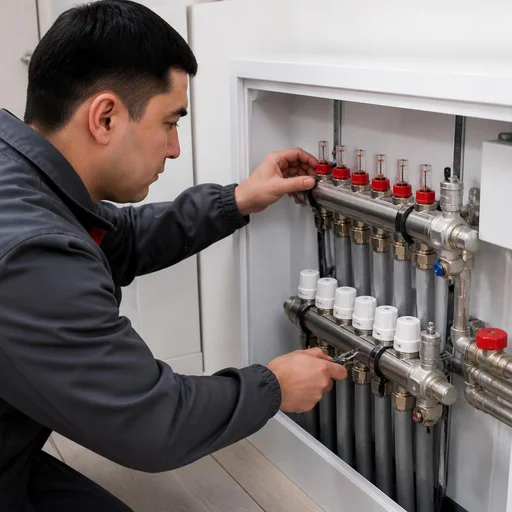
The installation of heated floors is completed by assembling the manifold assembly with flow meters and connecting the circuits to the boiler — each circuit gets a separate outlet on the supply manifold. The assembly is placed in a cabinet at a height of 500-800 mm from the floor, balancing valves with thermostatic heads are assembled on the return manifold, and an air vent and drain valve are connected. Supply and return pipelines in thermal insulation are run from the boiler to the manifold; for a circuit with antifreeze, a pump and mixing unit is added if the boiler does not maintain a low supply temperature. The manifold is placed in an accessible location with a cabinet: balancing the circuits will also be needed after installation, when the heating mode changes, so do not seal the assembly permanently into a wall or box without an inspection hatch.
Pressure testing, resistance testing and pouring the screed
Installing underfloor heating before pouring the screed includes pressure-testing the system and checking the circuit resistance — the system must hold pressure without dropping. The water circuit is pressure-tested at 1.5 times the working pressure, but not less than 6 bar, and held under it for 24 hours: a drop of more than 0.1 bar during this time means a leak, and the circuit is reassembled. For electric cable and mats, instead of pressure, the circuit resistance is checked with a multimeter and the insulation resistance is measured with a megohmmeter; the readings are compared with the nameplate values, and a deviation of more than 10% is unacceptable. The screed dries for 21-28 days, but the system cannot be switched on earlier — rapid heating will lead to cracks, so the hydrostatic test is left under pressure during the setting period as well. In requests this sounds like underfloor heating system installation — and after pressure testing we record the readings in the concealed works report.
First start-up and thermostat setup
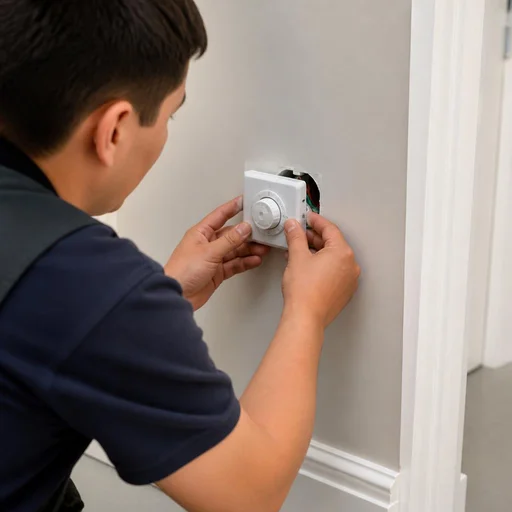
The installation of underfloor heating is completed by installing a thermostat with a temperature sensor in a mounting box at a height of 1.2-1.5 m from the floor; the sensor is laid in a corrugated conduit between the turns of the cable or pipes at an equal distance from them. The first start-up of the system is carried out in stages: on the first day, the temperature is supplied at 5°C above room temperature, then raised by 5°C every 24 hours up to the operating mode — such a schedule brings the screed to the operating mode without thermal shock. For the water circuit, the servo drive on the manifold is adjusted and the temperature difference between supply and return is checked. A programmable thermostat saves up to 30% of electricity — heating on a schedule instead of continuous operation, and for a water floor, reducing the night supply gives a similar effect without loss of comfort in the morning. Some clients come with a request for underfloor heating without installation — we ship them a kit with a layout plan and connection diagram, and they do the assembly themselves. Others ask about the price for underfloor heating installation — and from this wording the technician immediately understands that a full turnkey cycle with start-up is needed.
Installation of underfloor heating in the bathroom, on the balcony and in a private house
Wet and unheated rooms require a different technology: reinforced waterproofing, moisture protection and a power reserve. We break down how the scenarios differ for a bathroom, loggia, private house and sauna.
Installation in the bathroom: waterproofing and protection
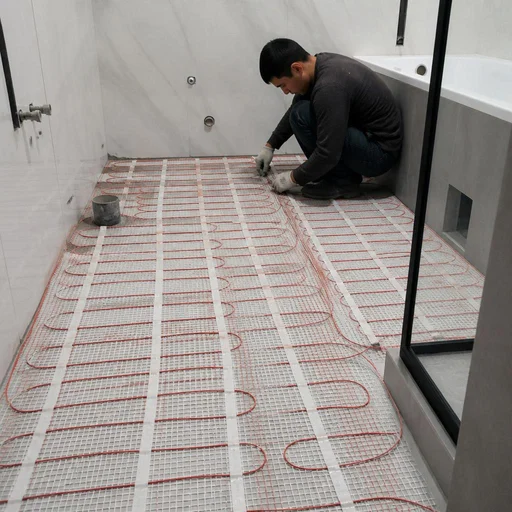
In the bathroom, Eco-Service installs a cable floor or mats with double waterproofing — under the system and on top of the screed. Work begins with a coating layer on the floor slab, then come the mats or cable, the sensor in a corrugated sleeve and the screed, and on top of it — a second waterproofing layer under the tile adhesive. Installation under tiles is more convenient with mats: together with the screed they do not raise the level of the finished floor by more than 3-5 cm, whereas a cable in the screed adds up to 8 cm. In the bathroom, the thermostat is placed outside the wet zone — usually in the hallway or on the wall by the entrance, so that splashes and condensation do not get onto the device's housing. Clients often phrase the request as installation of underfloor heating in the bathroom — and the technician immediately understands which room is meant. Even before work begins, we calculate the cost of installing underfloor heating by area and type of system, so that the customer sees the estimate in advance. In requests for a bathroom, this wording also appears: installation of underfloor heating in the bathroom — by it the dispatcher identifies the site from the first word. A separate category of inquiries is underfloor heating price with installation: this is written by those who want to see the final estimate in full, and not just the technician's work.
Installation on the balcony: insulation and power
On the balcony, Eco-Service lays reinforced thermal insulation and installs a system with a power reserve — heat loss here is higher than in a room. Work is usually carried out with electric mats: the circuit does not draw from the heating riser, and tiles or porcelain stoneware are laid directly on the heating layer. Extruded polystyrene foam boards 30-50 mm thick are laid under the system, otherwise the heat escapes into the concrete slab and outside. If the balcony is not glazed, the heating runs idle — first glazing and insulation, then installation. In residents' requests this sounds like installation of underfloor heating on the balcony — by this wording the dispatcher immediately sees the type of site. We separately clarify whether unrolling of the underfloor heating is needed over the entire area of the loggia or only on the working section by the window. Clients who look for a contractor in advance type underfloor heating installation — and by this query they land on our page. For a loggia with laminate, we calculate installation of underfloor heating under laminate price — the choice of a thin mat instead of a cable in the screed depends on it.
Installation in a private house and sauna
In a private house, Eco-Service more often installs a water circuit connected to the boiler — over large areas such heating is cheaper to operate. The work covers the kitchen, bathrooms, hallways and living rooms, and the circuits are brought together on a manifold with flow meters and balancing valves so that the rooms warm up evenly. In a sauna, the system is run only in the washing room and the changing room: in the steam room it overheats and fails, so heating there is done by other means. Customers from the private sector write briefly: installation of underfloor heating in a sauna — and we select a moisture-resistant cable with overheating protection. For large areas in a house, clients separately request installation of underfloor heating under screed — this way the assembly retains heat longer and is not afraid of point loads from furniture. In searches for the service, the query laying out of underfloor heating also appears — by it the customer has usually already decided on the type of system and is looking for a contractor to lay the circuit. If the previous circuit has failed, we carry out removal of the underfloor heating and only after that pour a new assembly.
Specifics for new buildings and secondary housing
- New building: the screed is level, work goes faster, and no removal is needed — the system is installed on a prepared base.
- Secondary housing: first removal of the old covering, then leveling of the base — differences in panel buildings reach 2-3 cm per meter.
- Khrushchevka: low ceilings and thin floor slabs limit the height of the assembly; mats or film are more often chosen instead of a cable in the screed.
- Panel building: chasing for the cable is limited — load-bearing walls must not be touched, the wiring is run along the floor.
- Wooden floor slabs: a wet screed is not poured; dry installation on joists with film or mat heating is used.
Calculation of power, laying spacing and material consumption
The calculation determines the system power, laying spacing and material consumption. An error in the calculation leads to underheating or excessive electricity consumption, so we calculate before purchase, not after.
How to calculate underfloor heating power for a room
Eco-Service calculates power based on heat loss: for living rooms 120-150 W/m², for a bathroom and balcony — 150-180 W/m². The base value is taken from the room's heat loss: for a brick house with insulation it is 60-80 W/m², for a panel building without insulation — 90-110 W/m², for a glazed balcony — up to 130 W/m². The result is influenced by ceiling height, glazing area, window orientation and the supply temperature from the boiler. The laying calculation begins with measuring the free area — without furniture and appliances. Clients often find us by searching for "underfloor heating installation in a private house" — and that makes sense: it is in the private sector that area and heat loss are calculated individually. Power is calculated specifically for the free area: if the cable is laid under a wardrobe or bathtub, the system overheats under the obstruction and fails.
Cable and pipe laying spacing: how to choose
Eco-Service chooses the laying spacing based on power: for cable, 10-15 cm in heat loss zones and 20-25 cm in the center of the room. Near windows, external walls and the entrance door the loops are laid more densely — losses there are 30-40% higher, while in the middle of the room, where the load is minimal, the spacing is widened. For water circuit pipes the working range is 15-30 cm: at 15 cm about 90 W/m² is drawn per meter, at 30 cm — approximately 50 W/m². In search this is phrased briefly: underfloor heating layout — and the installer immediately understands that a loop diagram for a specific room is needed. Reducing the spacing increases power but raises cable consumption — it is more cost-effective to densify selectively near windows rather than run the minimum spacing across the whole room.
Consumption of pipe, cable and components
Eco-Service calculates material consumption based on area and laying spacing — purchasing is done with a 10% reserve for cutting and corners. At a spacing of 20 cm, about 5 linear meters of cable or pipe are used per square meter, at 15 cm — approximately 6.7 meters, at 10 cm — 10 meters. To this are added damping tape around the perimeter, fastening hardware, corrugated conduit for the sensor and the thermostat itself. The cost of laying work is calculated separately from materials — by area and number of circuits. Each water underfloor circuit gets its own manifold outlet — more than 8 circuits per manifold unit is not recommended, otherwise the pump will not push through the far loops. In the search bar this is typed as underfloor heating installation — and lands on a page with consumption calculations, not on general advertising.
How much electricity an underfloor heating system consumes
An electric floor consumes 0.1-0.15 kWh per m² per hour at full power, but operates in cycles — the average consumption is lower. A cable system at 150 W/m² in a 15 m² room reaches its peak only during the first warm-up; after that the thermostat maintains the temperature with 10-15 minute on-cycles. Real monthly consumption depends on insulation, outdoor temperature and the set mode. A thermostat with programming reduces consumption: heating only during hours of presence, not around the clock. At sites with good thermal insulation and nighttime temperature reduction, savings reach up to 30% compared to constant mode. Clients type "underfloor heating installation" into search — and land on a page with calculations, not on general advertising.
How to calculate the cost of laying work
The cost of work is made up of the area, the type of system and the number of circuits — the price list on the page is broken down by operations. Marking, leveling, waterproofing, laying insulation and fastening the damper tape are listed as separate lines, as are the layout of cable, mats, film or pipes. The total depends on whether it is a water circuit or an electric one: for a water one, a manifold unit, pressure testing, connection to the boiler and balancing are added. Ordering a calculation before purchasing materials is more advantageous: recalculating the spacing at the design stage saves money, whereas redoing the screed after pouring does not. Clients search for us like this: cost of work for laying underfloor heating, price for laying underfloor heating, price of installing underfloor heating, price list for underfloor heating installation, turnkey underfloor heating price, underfloor heating laying — all these queries lead to one thing: an estimate by operations is needed, not a single figure per meter. Another frequent query is the cost of installing underfloor heating: behind it is the desire to see the estimate as a whole, not a rate per square meter. Alongside these, people type price for underfloor heating installation and underfloor heating installation cost of work — essentially this is the same question about a transparent estimate by operations.
Installation mistakes and how to avoid them
Most underfloor heating problems are the result of mistakes made during installation. Let's break down what most often goes wrong: from premature start-up to incorrect power calculation.
Why you can't turn on the system before the screed dries
Turning on the system before the screed has fully dried leads to cracks and delamination of the covering — you need to wait 21-28 days. Wet concrete expands unevenly when heated: the top layer sets faster than the bottom one, and internal stresses form inside that tear the slab apart. In a bathroom with tiles, this shows up as chipped grout lines; under laminate, as squeaking and waves at the joints. The first start-up is done gradually: the temperature is raised by 5 °C per day, not immediately to maximum. This schedule lets the screed gain strength without a sudden jolt. In my opinion, rushing the start-up is the most expensive mistake: redoing the screed over the loop costs more than waiting two or three weeks. Clients often find us with the query underfloor heating installation, but the point is the same — first the dry screed, then the start-up. In search results you also come across something like underfloor heating installation price — and almost always behind it is the desire to start the system as early as possible, without waiting the required period.
Mistakes in waterproofing and thermal insulation
The absence of waterproofing in a bathroom leads to the thermal insulation getting wet and loss of power — the system heats worse. Water from the shower and washing machine seeps through the tiles and grout, the insulation absorbs moisture, its thermal conductivity increases, and the loop runs idle. Worst of all, the defect isn't visible from the outside: the floor simply stops reaching the set temperature. The damper tape around the perimeter isn't installed "for show": without it, the screed presses against the walls when heated and cracks. Tape 8-10 mm thick compensates for the expansion of the slab. Check that it protrudes one centimeter above the screed level — later this edge will be trimmed under the finish covering. In search results this sounds like underfloor heating installation — and almost always it's about the hidden layers under the screed. Clients type underfloor heating installation — and land on this page, even though their problem is in the waterproofing, not in the loop itself.
Incorrect calculation of power and laying spacing
Underestimated power won't heat the room during frosts, while overestimated power wastes electricity and overheats the covering. For a living room in Tashkent with a ceiling height of 2.7 m, 120-140 W/m² is sufficient; for a bathroom — 150-160 W/m²; for a glazed balcony — 180-200 W/m². The cable laying spacing is directly related to power: the tighter the coils, the higher the specific heat output per square meter. The calculation is done based on the heat losses of the specific room, not by area: a corner room loses more heat than an interior one. That's why the same square footage on the first and middle floors requires different power — otherwise one floor will work with a reserve, and the second will underheat. This is exactly where people most often ask for underfloor heating laying calculation — and get a number that later doesn't match reality. Clients phrase it differently: underfloor heating routing, underfloor heating laying, underfloor heating laying price — but the question is always the same: will the power be enough for their square footage. Separately, it's worth breaking down underfloor heating installation price — behind this query is usually an attempt to compare an estimate by square footage, without accounting for the heat losses of the specific room. In search results you also come across underfloor heating installation price — that's how those who want to understand what the work will cost type it, and almost always they need a recalculation based on heat losses, not square footage.
What to check before pouring the screed
- Checking loop resistance: Eco-Service measures the resistance of each loop and compares it with the nameplate value — a deviation signals cable damage or a poor contact.
- Pressure testing the system: the water loop is filled under pressure and held for several hours — a drop in the gauge needle shows a leak before pouring.
- Photo documentation of the layout: the loop diagram and connection points are photographed — this is a reference for drilling walls in the future.
- Inspection report: the measurement and pressure test results are recorded in a report with photos — a cable defect or pipe leak after the screed cannot be fixed without opening the floor.
- Sensor integrity: the temperature sensor in the conduit is checked for resistance and the lead is labeled — replacement is only possible if the sleeve is intact.
Warranty, timelines and service support
Warranty obligations, realistic work timelines and the acceptance procedure — what the customer checks before signing the contract. We explain how service support is structured after the heating system is installed.
2-year warranty on work: what it covers
Eco-Service provides a 2-year warranty on work — it covers defects in circuit layout, connection to the power supply or boiler, and system pressure testing. Warranty cases include damage to the heating cable due to installation errors, leaks at manifold unit connections, and thermostat failure caused by the installer. Heating mats, cable and film retain the manufacturer's factory warranty, while circuit pipes are checked for tightness by repeated pressure testing. The warranty remains valid if operating conditions are observed: overheating above the design temperature voids obligations, as does independently relaying the circuit or replacing the thermostat without approval. Clients often search for "underfloor heating installation price" and "underfloor heating installation cost" — behind these queries is the same question: how much will turnkey work cost and what exactly is included in the estimate. Record the temperature regime in the system passport — in a dispute, this is the first thing the service department requests.
Timelines for work in one room and the entire property
Eco-Service installs the system in one room in 1-2 days, not counting screed drying time — a whole apartment takes 4-7 days depending on the area and number of circuits. A water circuit in a 15-18 m² room with pipe layout and connection to the manifold takes a full working day, an electric cable floor or mats — 4-6 hours, infrared film under laminate — 3-4 hours. Timelines depend on the readiness of the base: if removal of the old covering and leveling are needed, add 1-2 days, and pouring screed over the system requires another 7-28 days of curing before the first start-up. Plan underfloor heating installation in Tashkent in advance of the finish work — pouring and drying the screed cannot be combined with tile laying on the same day. When a client types "underfloor heating installation under laminate price," they have usually already chosen the covering and want to understand whether the film is laid directly under the board or a underlay is needed. Searches also include queries such as underfloor heating installation Tashkent — for these we immediately clarify the property area and base type.
Own service center in Tashkent
Eco-Service operates through its own service center in Tashkent — the site visit, measurement and work are performed by an in-house crew, not an outside contractor. This means that heat calculation, circuit layout and commissioning are carried out by the same specialists who are then responsible for the result. For a warranty request, the technician comes from the same center — there is no need to look for the installer who did the work and prove that the defect was not the customer's fault. Diagnostics take one visit: the circuit resistance, the condition of the manifold unit and the operation of the automation are checked. In our practice, the query "IR underfloor heating installation" most often means infrared film under the finish covering — and for such a query we immediately clarify the base type. Another frequent search query is underfloor heating laying: behind it is the desire to understand who exactly will come to the property and how quickly. Clients type "underfloor heating installation price list" — and land here, although this refers to the work estimate, not the cost of equipment. Keep the service center number from the contract at hand — if the system fails in winter, speed of response matters more than formalities.
How work acceptance is carried out
- Circuit resistance check: a multimeter measures the resistance of each cable section and compares it with the manufacturer's passport values.
- System pressure testing: the water circuit is held at 1.5-2 bar for at least 24 hours before pouring the screed.
- First system start-up: the thermostat is configured in the client's presence, the time to reach operating temperature and heat distribution across zones are recorded.
- Circuit layout diagram: the client receives a plan with pipe and cable references to walls and the manifold unit.
- Price list for underfloor heating installation: an estimate with line items is issued before work begins so the client can compare each line with their budget.
Conclusion
We have gathered the key points that determine the result of underfloor heating installation: choosing the right system for the floor covering, correct heat calculation, mandatory insulation layers, and circuit testing before pouring the screed.
Key takeaways
- System for the floor covering: for tiles, a cable floor or mats are laid into the screed; for laminate, an infrared film is used in a dry assembly.
- Heat calculation based on losses: the power output and laying spacing are calculated based on the heat losses of the specific room, not the total area of the apartment.
- Insulation is mandatory: without waterproofing and thermal insulation, the system loses power and fails in the first season.
- Testing before the screed: the circuit resistance is measured and the system is pressure-tested before pouring — after the screed is laid, a defect cannot be fixed.
- Gradual start-up: the screed dries for 21-28 days, and the temperature is raised gradually, no more than 5 °C per day.
- Warranty and service: the work is covered by a 2-year warranty, and acceptance is documented with a report containing resistance measurements and pressure test results.