
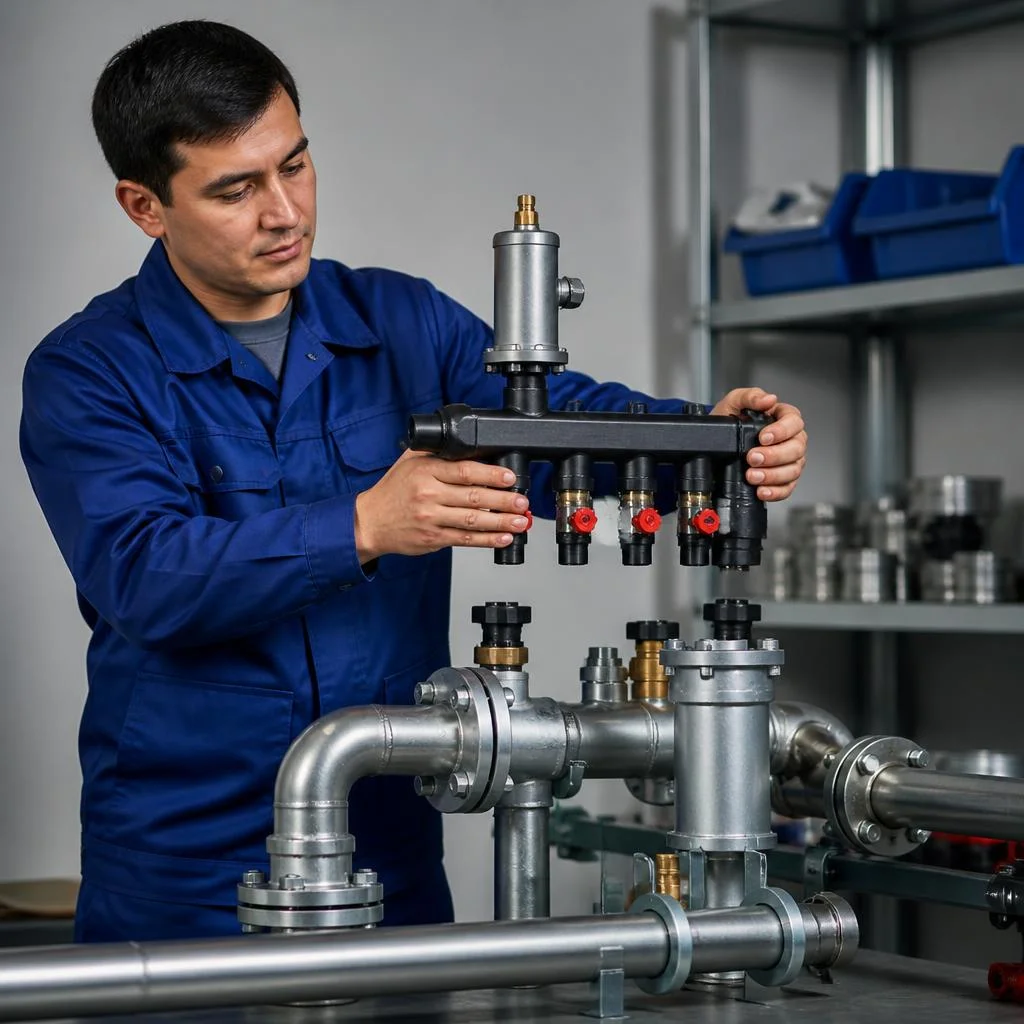
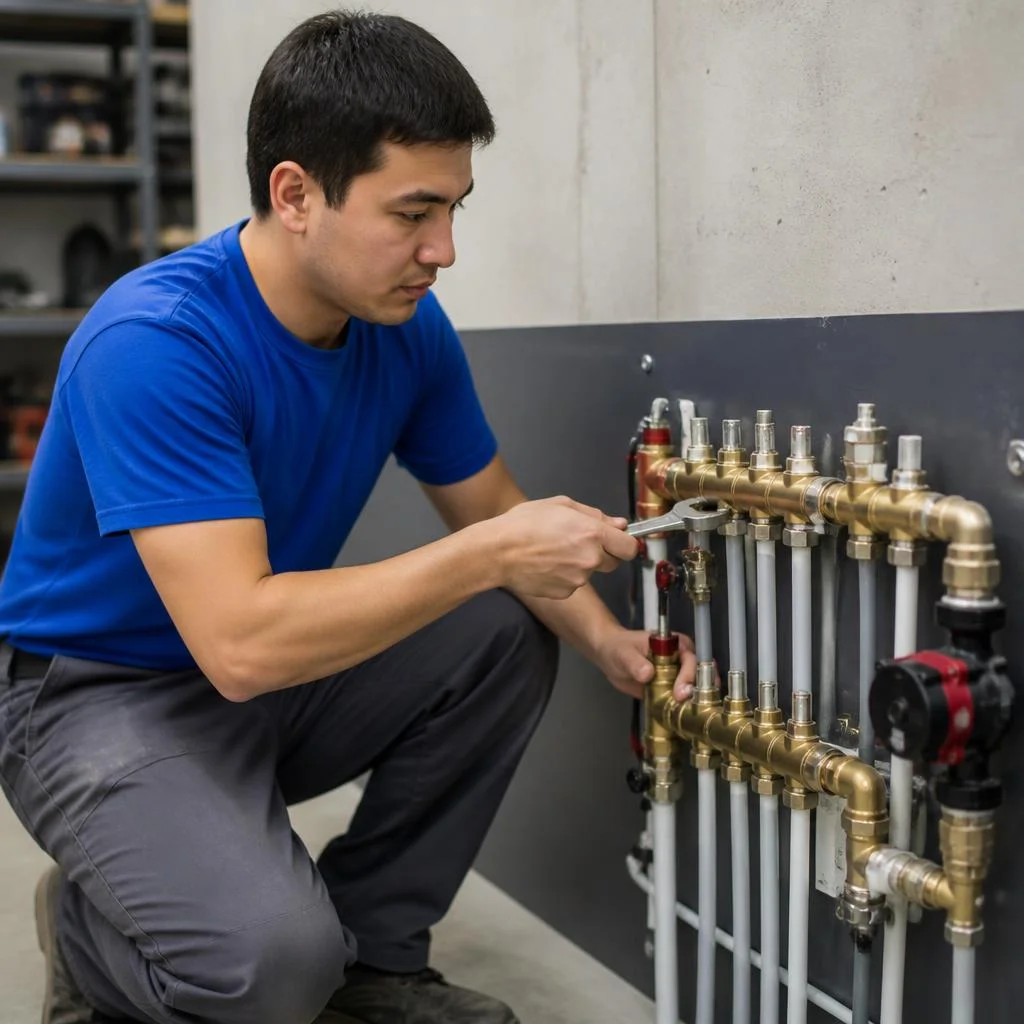
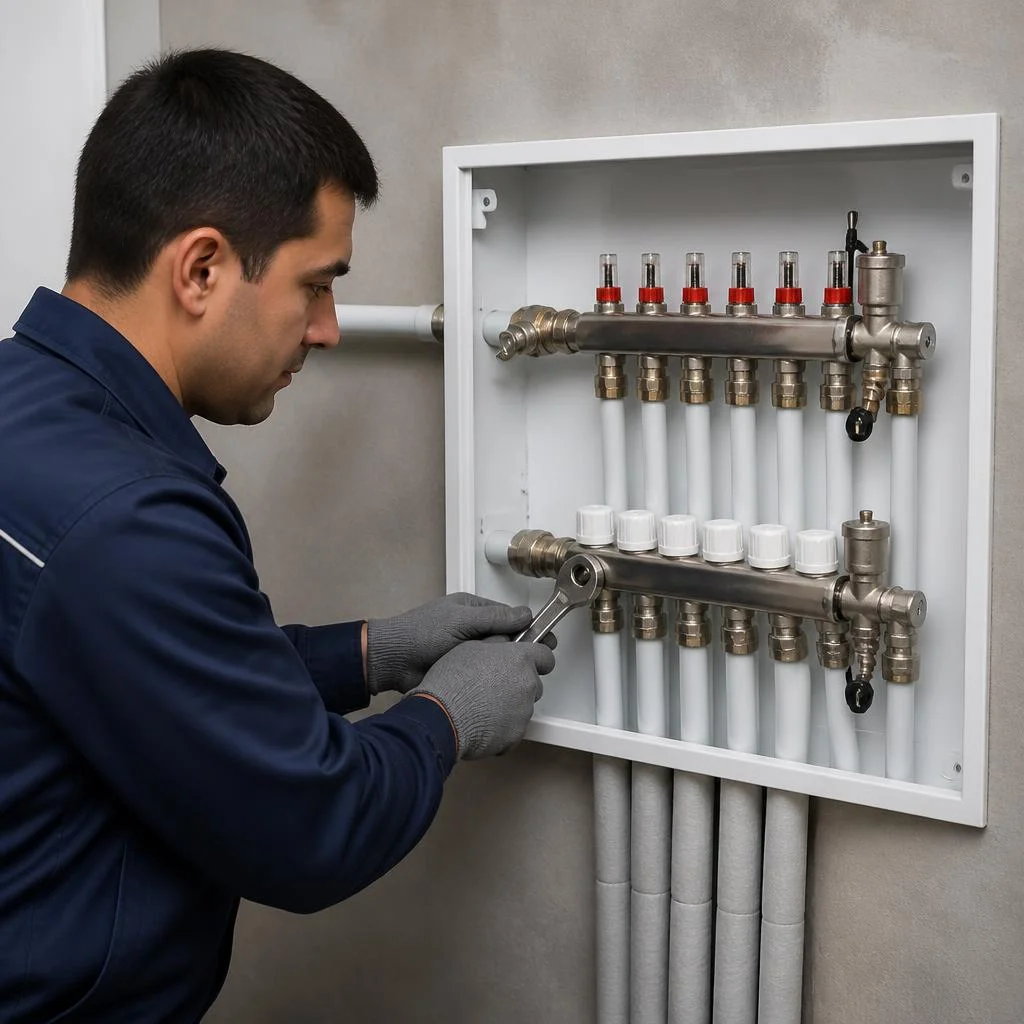








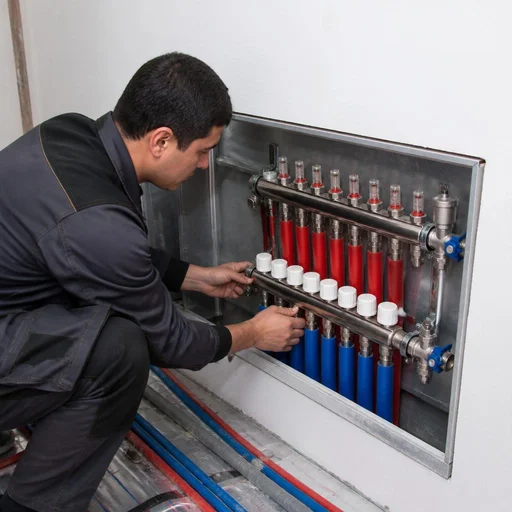
What manifold assemblies Eco-Service builds
The manifold group is selected for the type of system — heating, DHW, underfloor heating or radiators. Below we break down which options we install and how they differ in temperature, material and configuration.
Heating and DHW manifold assembly: what's the difference
We build heating and DHW manifold assemblies as separate systems: the heating one operates on a closed loop with a heat carrier, the DHW one operates on running water under pressure. The heating manifold is designed for the circulation of the same water for years, so it is assembled from LS59 brass with a nickel coating and installed on the supply and return as paired blocks. The DHW assembly is constantly in contact with fresh water from the water supply, and here the manifold is taken with a higher grade of brass — hard water in Tashkent wears out cheap alloys faster. For DHW we install manifolds with an enlarged flow cross-section and detachable fittings, so that scale can be removed without dismantling the entire assembly. DHW manifold assemblies are most often ordered because of scale: at a hardness above 7 mg-eq/l, change the seals every 2 years — otherwise the threaded connections start to leak before the manifold itself wears out.
Underfloor heating and radiator assembly: how they differ
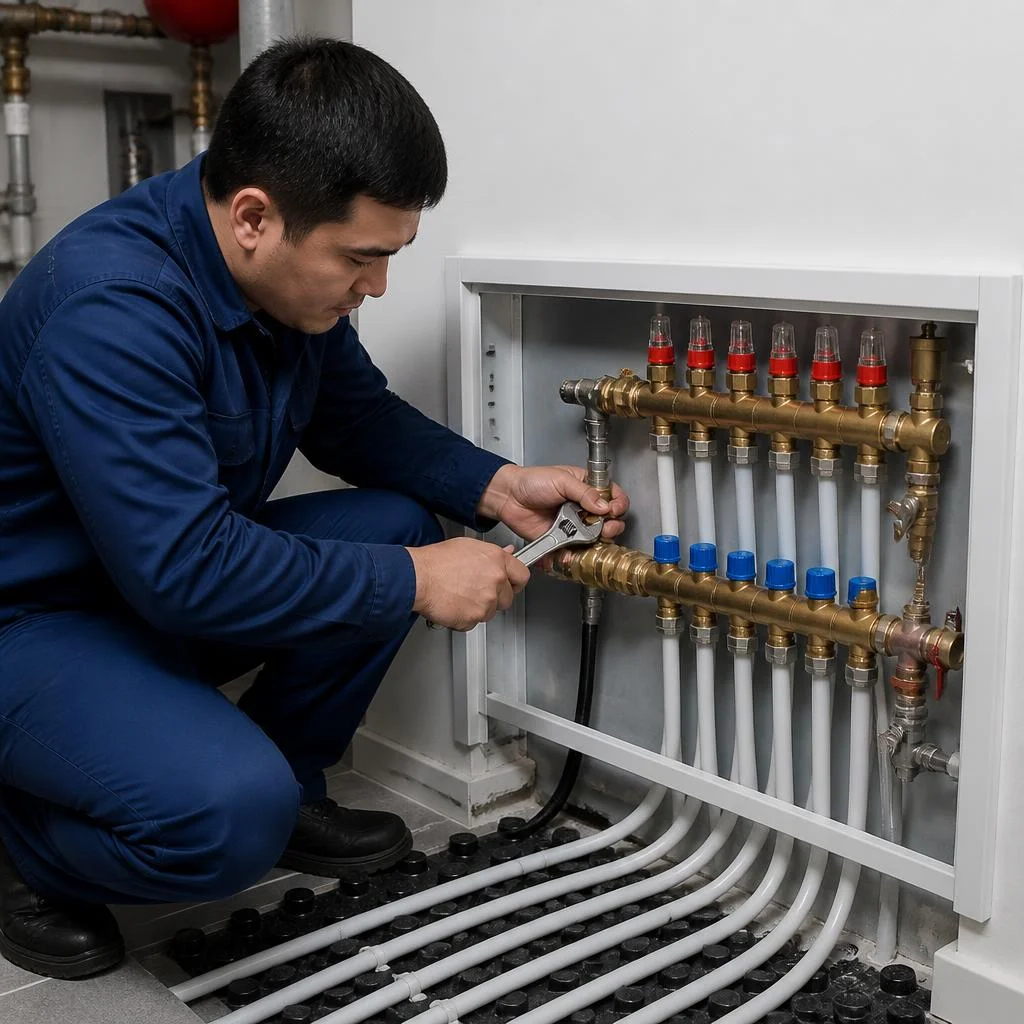
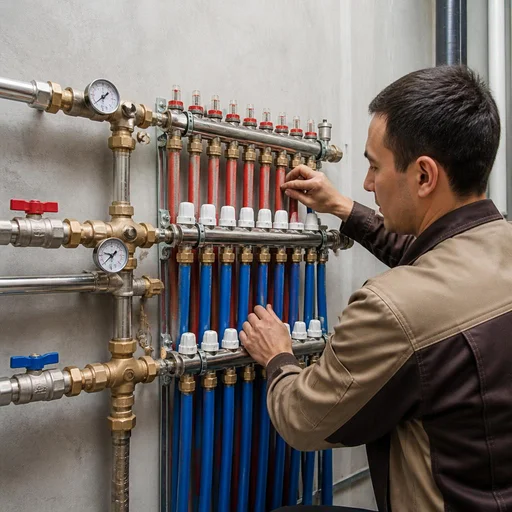
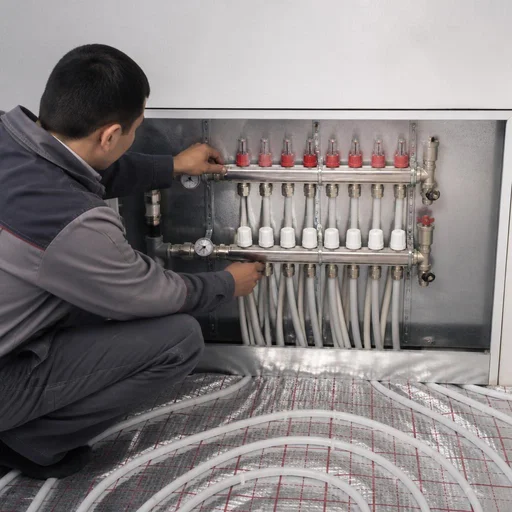
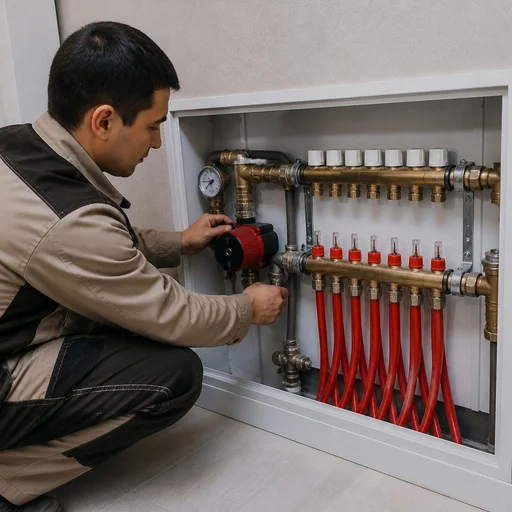
The underfloor heating assembly is designed for low temperature (35–45 °C) and is equipped with a pump mixing unit, while the radiator one operates at 70–90 °C without mixing. The mixing unit mixes the cooled heat carrier from the return with the hot one from the boiler and keeps a constant 40 °C at the supply of the loop — without it, the screed receives water at 80 °C and cracks. The radiator manifold is simpler: a pair of manifolds, shut-off valves, sometimes thermostatic heads on each outlet. In our projects, for underfloor heating we install mixing units with a three-way valve and a thermostatic head, and for radiators — conventional distribution manifolds with balancing valves. If you install a radiator assembly on underfloor heating without a mixing unit, the screed overheats and the flooring deforms already in the first season.
Configuration options: flow meters, pump, thermostatic heads, antifreeze
| Assembly option | What it's for | Key component | When it's chosen |
|---|---|---|---|
| With flow meters | balancing by flow rate | flow meter on each loop | systems with 5 or more loops |
| With a pump | forced circulation | circulation pump | long loops, 2+ floors |
| With thermostatic heads | temperature control | thermostatic head | room-by-room adjustment |
| With antifreeze | non-freezing heat carrier | antifreeze | country houses, unheated properties |
Flow meters pay for themselves on systems with 5 or more loops — without them, balancing is done manually and gets thrown off with every intervention. A pump is chosen when natural circulation is insufficient: a loop longer than 60 meters or a two-story house with distribution via risers. Thermostatic heads are installed in bedrooms and children's rooms, where a separate temperature is needed, and antifreeze is poured in at properties without permanent heating — we select the concentration for the design winter temperature.
How many loops a manifold can handle
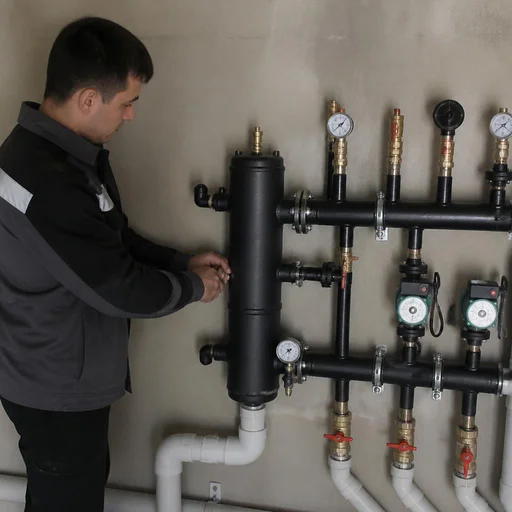
A standard manifold is assembled for 3–12 loops; with a larger number, we install two manifolds or an assembly with a hydraulic separator. The throughput capacity of one manifold is limited by the diameter of the body and the cross-section of the outlets: at 1/2 inch, up to 8 loops work comfortably, at 3/4 — up to 12. When there are 14–16 loops, two manifolds are distributed across floors or across the wings of the house, and a hydraulic separator is installed between them, which equalizes pressure and temperature. Assembling 16-loop units with a single manifold is technically possible, but exceeding the number of loops results in uneven flow — distant loops are underheated, even if the pump is powerful.
How we assemble and install a manifold unit
Assembling a manifold group goes from calculation to commissioning: each stage is recorded in a report, and the system is handed over under pressure. Below is how the process works from the inside, step by step.
Hydraulic calculation and selection of the unit for the site
Before assembly, we perform a hydraulic calculation: we calculate heat losses, the number of circuits and the required flow rate, and based on that we select the manifold, pump and pipe diameter. For a house with five radiators and underfloor heating of 80 m², the calculation yields, for example, six circuits with a flow rate of 0.4–0.6 m³/h per loop and a circulation pump head of about 4–5 m — this is enough for both branches without throttling. We calculate according to the SP methodology with a correction for the local climate: the winter supply air temperature in Tashkent is milder than in Moscow, but we still allow a 15% margin for peak loads on the unit. You can order the calculation separately from the installation — sometimes it is commissioned to check a contractor's design. Installation of manifold units without calculation is done "by eye" — and then the pump runs at its limit, while the far radiators are still cold.
Assembling the unit and installing the heating manifold
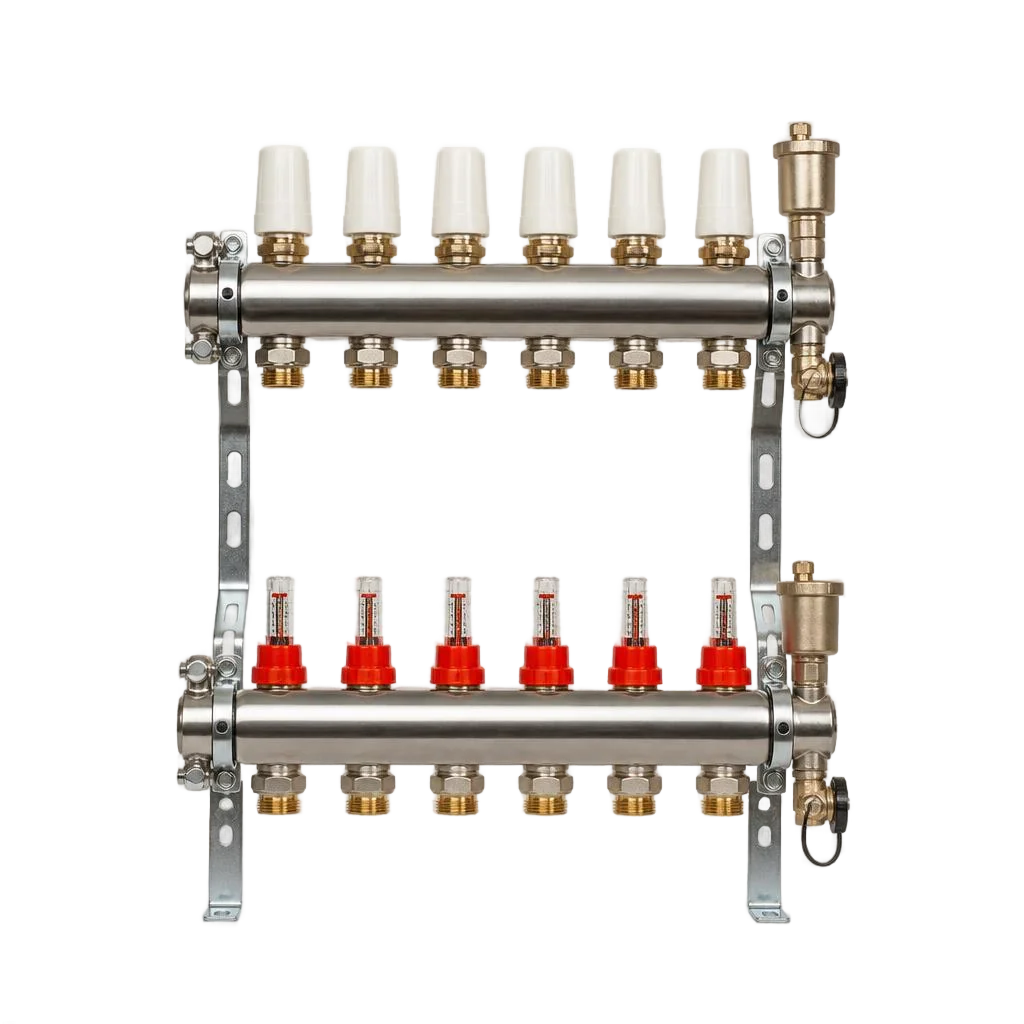
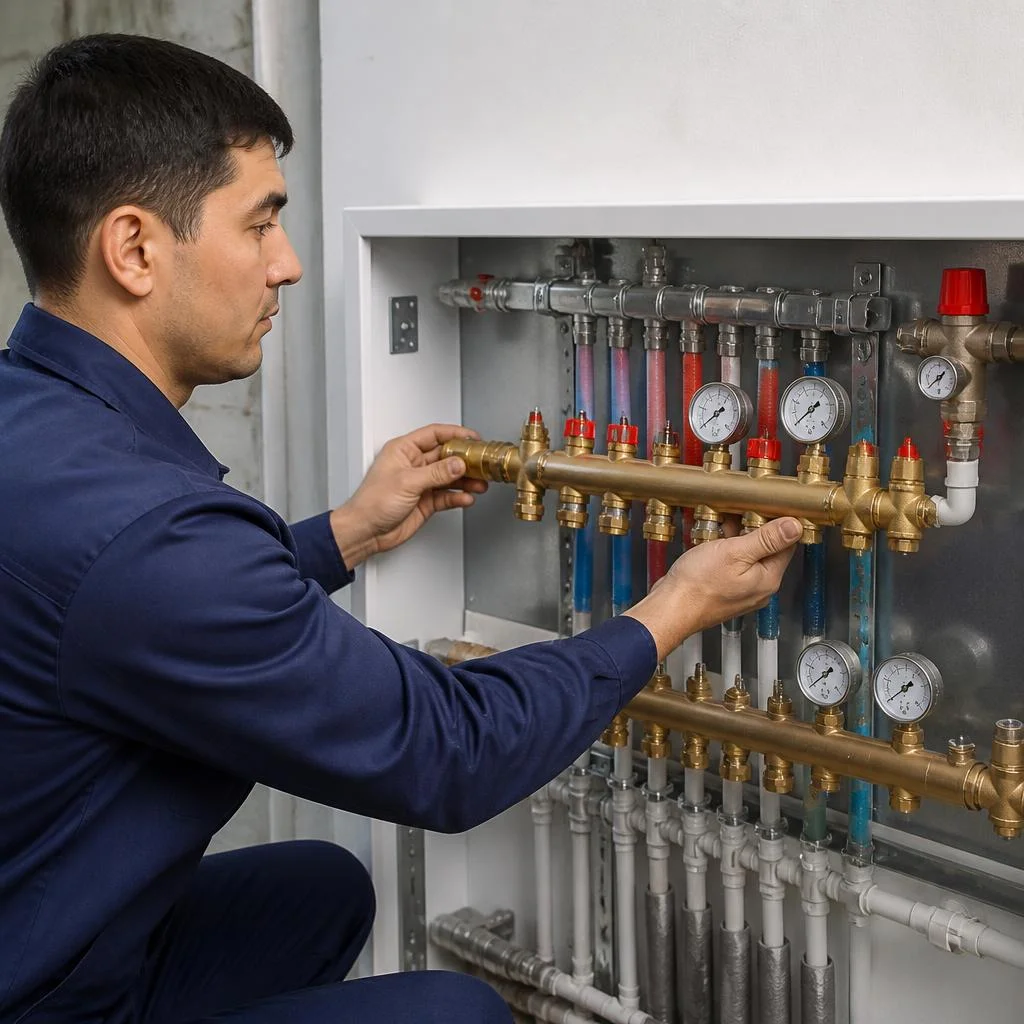
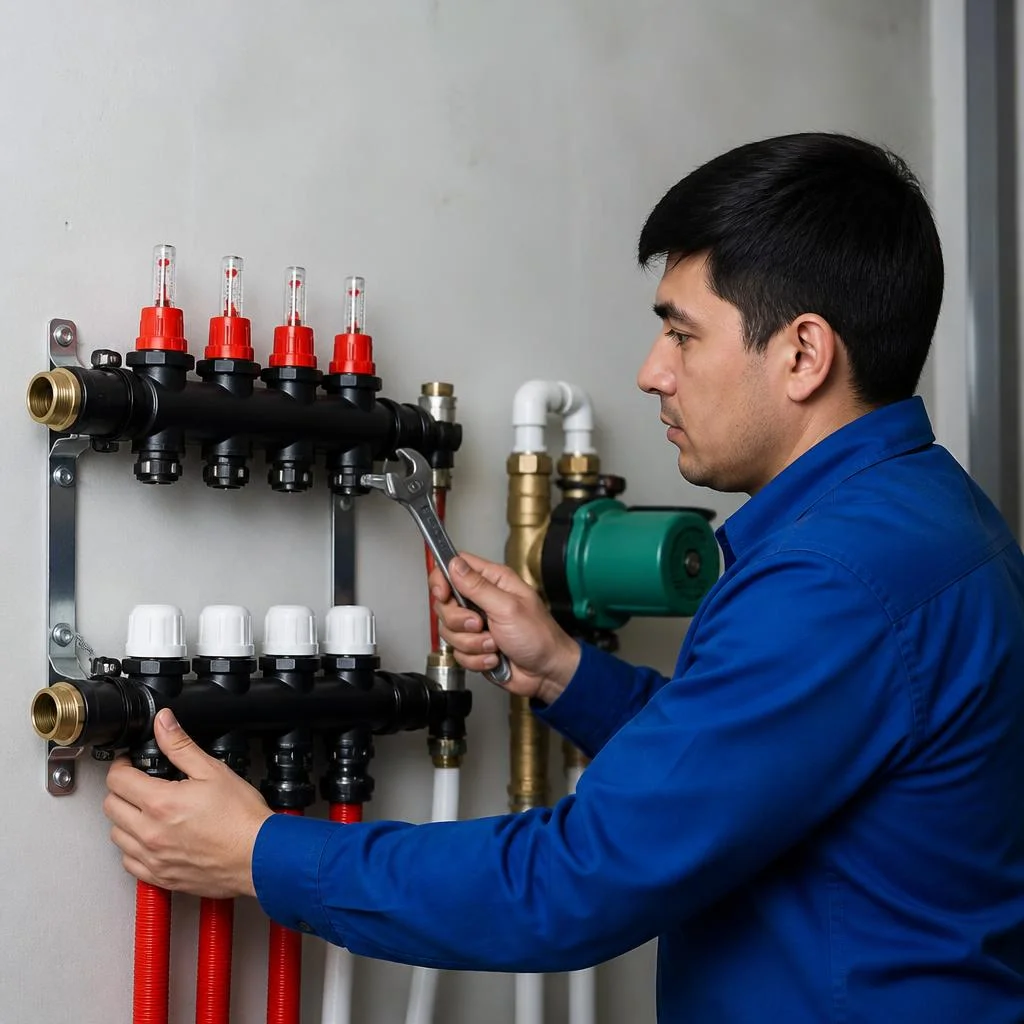
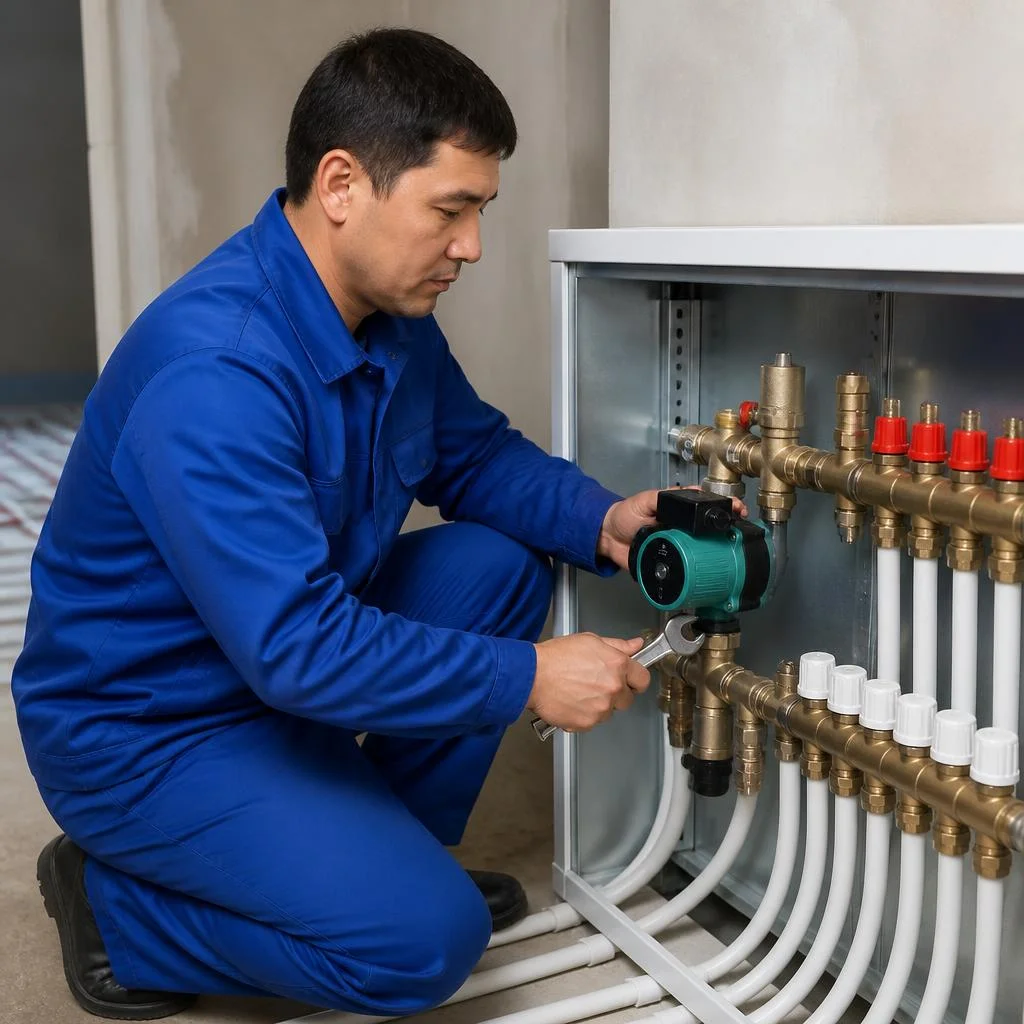
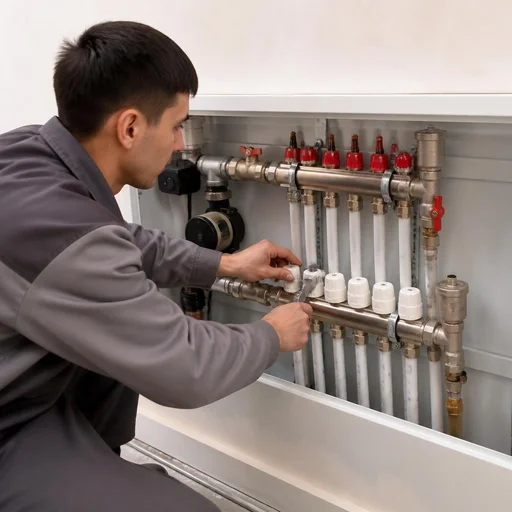
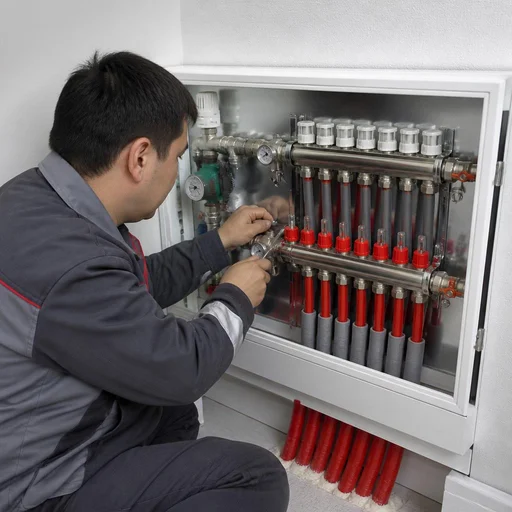
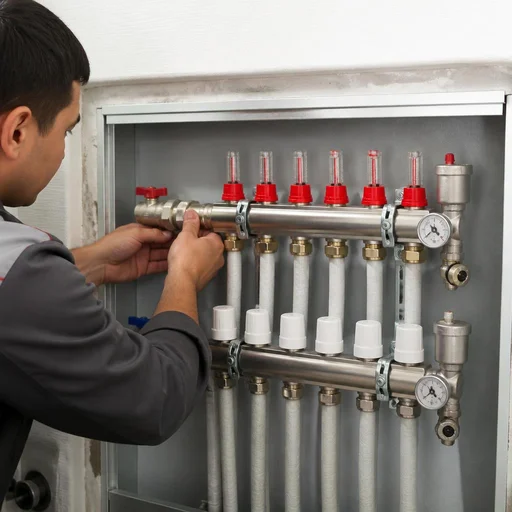
We install the heating manifold at a prepared location in the cabinet: we mount the manifold, balancing valves, flow meters and thermostatic heads, then connect the circuits. We fasten the distribution manifold to brackets, and orient the inlet and outlet according to the "supply on top, return on bottom" scheme — this way the flow meters are readable from the front panel, and service access to the valves remains unobstructed. We select the cabinet based on the manifold dimensions plus 15 cm of clearance for the thermostatic heads and pump group; for a six-circuit unit this is a standard wall-mounted box of 670×450 mm. We assemble the unit on site, not in the workshop: bringing a ready-made manifold is risky — the balancing settings get knocked off during transport. The manifold is set strictly level — a tilt causes air pockets in the upper circuits that do not escape through the automatic air vent.
Connecting the manifold to the boiler and commissioning
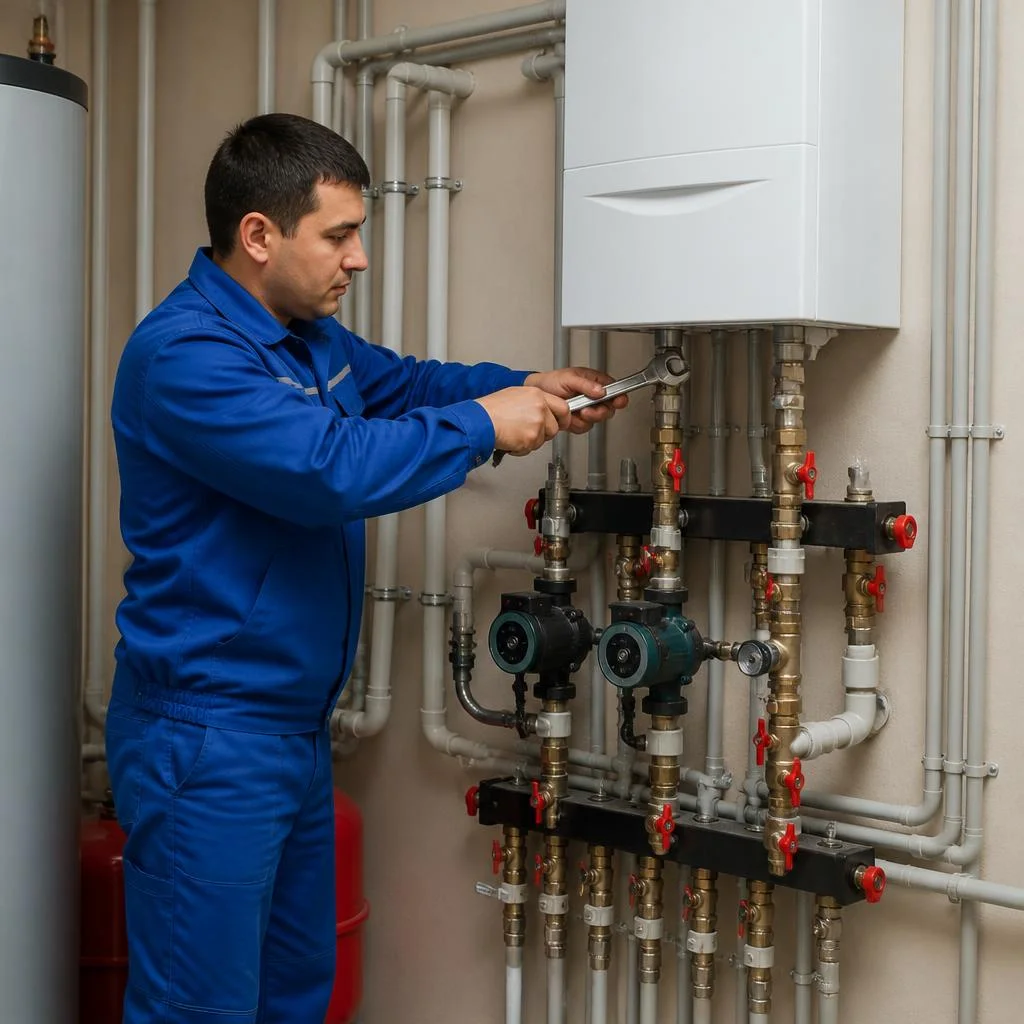
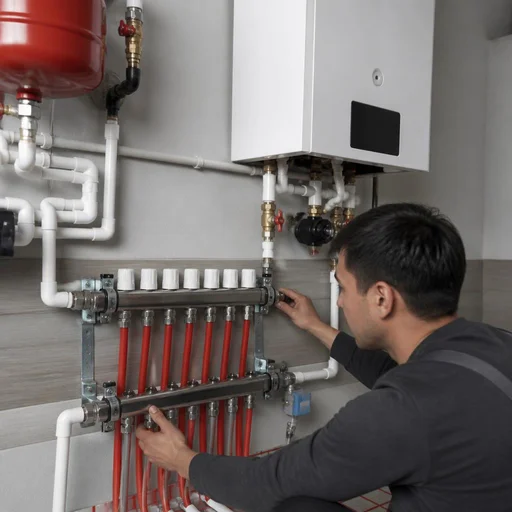
We connect the manifold to the boiler through a hydraulic separator or directly, then perform commissioning: fill the system, purge the air, and set the flow rate per circuit. With Baxi and wall-mounted boilers of a similar class, we more often install a hydraulic separator: it decouples the boiler circuits and the heating branch, so the flow rates do not conflict. With a direct connection, the primary circuit goes through a three-way valve with weather-compensated automation, but this option only works if the boiler flow rate matches the sum of the loop flow rates — otherwise a bypass is needed. Commissioning of a manifold group takes 2–3 hours: we fill the heat transfer fluid, run the pump at maximum speed, bleed air through the Mayevsky valves and air vents, then set the flow meters to the design values. With a direct connection without a separator, the boiler and circuit flow rates conflict — the boiler short-cycles, and the room temperature "fluctuates."
Pressure testing and balancing of circuits
After assembly, we pressure-test the unit at a pressure above the working pressure and balance the circuits using the flow meters — the system is handed over only after a successful pressure test. The pressure tester raises the pressure to 1.5 times the working pressure, holds it for 15 minutes and records the manometer readings: a drop of more than 0.1 bar means a leak at the fittings or threaded connections. We balance using the flow meters of each loop — on a six-circuit unit this takes 20–30 minutes to set up, plus the same amount of time for a re-check after warm-up. Balancing is repeated after the first heating season — the settling-in of the fittings changes the flow rate, and the settings drift.
Installation of a heating manifold: materials, pipes and equipment brands
Assembling a manifold unit depends on two decisions: the material of the pipes for the circuits and the class of the manifold bar with fittings. We break down what we install at sites in Tashkent and why exactly that way.
PPR and PEX-a pipes: what to choose for distribution
For manifold distribution we use PEX-a with press fittings and PPR with polyfusion welding: PEX-a is more flexible, holds a bend without an elbow and is more repairable, PPR is cheaper and stiffer, but requires a welding machine and straight chases. PEX-a is assembled with press tongs in 5-7 seconds per connection, withstands working pressure up to 10 bar and temperature up to 95 °C, and a brass manifold for it is taken with a euroconus. PPR is welded at 260 °C, the seam comes out monolithic, but if the heating is done wrong the ring seats unevenly and the connection leaks during pressure testing. For assembling manifold units at Eco-Service, PEX-a is more often chosen: in Tashkent water with above-average hardness, PPR fittings become overgrown with salts in 4-6 seasons, while brass press sleeves on PEX-a keep the flow rate even on DHW.
Manifold and pump brands: Valtec, Rehau, Uponor, Grundfos
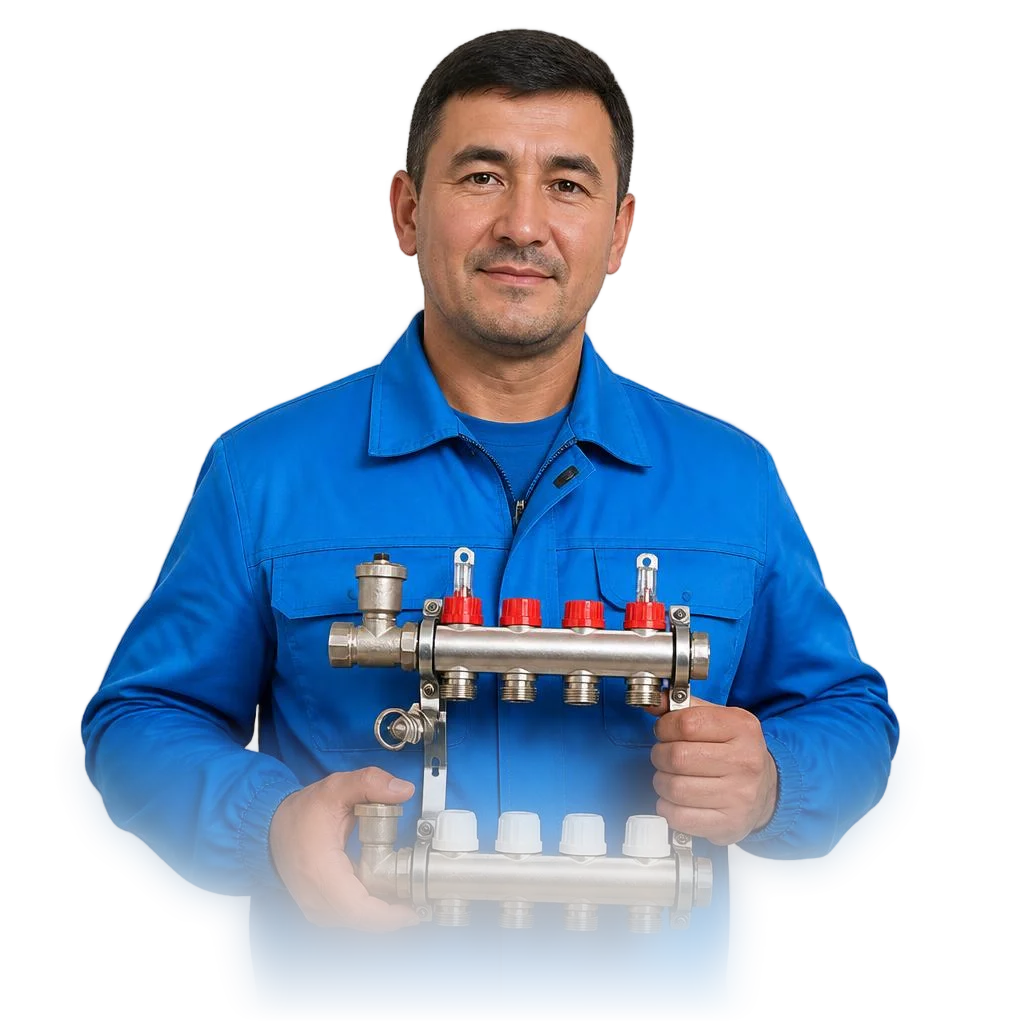
We assemble units on Valtec, Rehau and Uponor, and install Grundfos pumps — for each brand we have consumables and press tooling. The Valtec manifold bar comes with flow meters and balancing valves included, the brass is rated for 10 bar, and the euroconuses are compatible with PEX-a and metal-plastic. Rehau and Uponor are assembled on their own press profiles: Rautitan works with RAUTOOL tooling, Uponor with S-Press press tongs, and a third-party profile physically does not fit them. Grundfos in the unit means the UPS and ALPHA circulation series with a wet rotor; for underfloor heating we install them with frequency control matched to the circuit flow rate. Mixing brands in one unit is possible, but fittings and the manifold bar are taken from the same line — otherwise the press profile does not match and the connection is not leak-tight.
What is included in the installation of a manifold unit
- Site preparation: marking the wall and installing the manifold cabinet with clearance for the pipe bundle.
- Removal of the old manifold: careful removal of the manifold bar without damaging the circuits and shut-off valves.
- Assembly of the unit: manifold bar, balancing valves, flow meters, thermostatic heads, air vents.
- Connection to the boiler: coupling directly or through a hydraulic separator with a pump mixing group.
- Pressure testing: checking with pressure above the working pressure and holding according to the protocol.
- Balancing and commissioning: setting the flow rate for each circuit and handing over the unit under load.
- Pressure test report: the customer should demand a document with the pressure and holding time — it is used to file claims if the unit leaks.
Installation of heating manifolds in apartments, houses and country homes
Assembling manifold units differs by site: an apartment in a multi-storey building, a private house with several floors, and a country home without permanent heating require different components, piping layouts and heat transfer fluid.
Unit for an apartment: assembling a heating manifold in a multi-storey building
Assembling a heating manifold in an apartment of 100 sq.m takes 1–2 working days: we place the unit in a manifold cabinet, and route the circuits along the screed or along the walls in chases. For such an area there are usually 5–7 circuits: three or four for radiators and two or three for underfloor heating, if present. We equip the radiator manifold unit in an apartment with flow meters and balancing valves — without them, the circuits at the far wall heat up less. In panel buildings in Tashkent, the riser is often enclosed in the wall, so we locate the tie-in point according to the building's design documentation, not at random. In a multi-storey building, coordinate the connection to the riser with the management company — unauthorized interference in the building-wide system risks a fine and disconnection from heating.
Unit for a private house: number of floors and circuits
In a private house with 2 floors, we install a separate manifold unit on each floor, or one unit with a hydraulic separator and a pump. A typical task is 5 radiators and underfloor heating: that is 6–8 circuits, which we divide into two groups by floor. We choose a manifold unit with a pump when the boiler cannot push through both floors with its built-in pump, and we supplement the radiator manifold unit upstairs with thermostatic heads for room-by-room control. For two floors, a single unit without a separator works unstably: the upper floor heats up last, and the temperature difference between the first and second reaches 8–10 °C. Check the boiler's head before purchasing valves — if it is below the rated value, a separator and a second pump are cheaper than redoing the piping in winter.
Country homes and unheated sites: unit with antifreeze
For country homes and sites without permanent heating, we assemble a unit with antifreeze: the heat transfer fluid does not freeze at sub-zero temperatures and does not burst pipes during winter downtime. We equip the antifreeze manifold unit for a specific composition — propylene glycol and ethylene glycol behave differently with PEX-a and brass valves, and we select the seals for the medium. The maintenance schedule here is stricter than with water: flushing the manifold unit after the season is mandatory, otherwise sediment clogs the flow meters and valves. Antifreeze must not be mixed with water or topped up "by eye" — dilution degrades its properties, and some manufacturers void the warranty on the heat transfer fluid afterwards. Keep a canister of the same composition at the site for make-up — topping up with a "similar" antifreeze of a different color produces flakes in the circuits.
Maintenance, repair and overhaul of the manifold assembly
The manifold group requires maintenance, like any hydraulic system. We explain how often to flush the manifold, when an overhaul is needed, and what is done when replacing an old assembly.
How often to flush the manifold assembly
We recommend flushing the manifold assembly once every 2–3 years, and in Tashkent with hard water — every 2 seasons. Flushing the manifold assembly removes scale and sludge from the internal channels of the manifold and valve seats: in Tashkent water, hardness stays at 6–8 °dH, so deposits on brass build up noticeably faster than in regions with soft water. We monitor the result using two instruments — the flow meter and the pressure gauge: if the difference between supply and return temperatures has increased by 5 °C or more at the same flow rate, it's time to clean the circuits. Through Eco-Service, flushing is done with disassembly of the manifold and separate flushing of each circuit — this removes sludge not only in the manifold but also in the supply lines. Record the flow meter readings after each flush: this log shows when the interval between flushes has started to shorten.
Overhaul and repair of the assembly: when they are needed
We perform an overhaul of the manifold assembly when there is a leak along the threads, a stuck valve, or a failed flow meter — we replace the component without replacing the entire manifold. The symptoms vary, and each one is caused by its own failed element: dripping along the fitting threads — a seal or a crack in the section body, a stuck stem — a balancing valve, fluctuating flow — a flow meter, a motionless head — a thermostatic head. Most often it's the thermostatic heads and balancing valves that fail — they are kept in stock so as not to shut down the system for a week. We perform the overhaul replacing only the faulty assembly: we don't touch a brass manifold from Valtec or Rehau with an intact body, we install a new thermostatic head or valve and rebalance the circuits. Photograph the markings on the manifold and flow meters before the overhaul — they are used to select compatible spare parts without shutting down the heating for the entire season.
Replacing an old manifold and preparing the space
When replacing an old manifold, we first dismantle the assembly, then prepare the space for the new cabinet, and only after that install the manifold. Dismantling the old manifold is carried out with the pressure released and the coolant drained — otherwise the circuits become airlocked and startup is delayed by days. Preparing the space for the manifold includes marking out for the manifold cabinet, chasing for the supply lines, and leveling the surface: in Tashkent's panel buildings, walls often have a 10–15 mm difference, and without leveling the cabinet sits crooked, and the manifold ends up at an angle to the supply lines. In our practice, assembling manifold assemblies always comes after pressure-testing the old piping and recalculating the flow by circuit, because the old system almost always requires new balancing. Check the cabinet depth before dismantling: for a manifold with flow meters and a pump-mixing unit, a body of at least 120 mm is needed; a standard shallow cabinet won't close such an assembly.
Warranty, timelines, and why manifold assemblies are trusted to Eco-Service
The work is carried out by our own specialists, not third-party contractors, so we take direct responsibility for assembly quality. Below are the warranty terms, the team composition, and how the finished assembly is handed over.
2-year warranty on manifold assembly
Eco-Service provides a 2-year warranty on manifold assembly — it covers the manifold, all threaded and press connections, the boiler connection, and commissioning. If after six months a supply connection starts leaking or a balancing valve stops holding, we handle the visit and rework under warranty, at no separate charge. In the warranty certificate we record the manifold model, the number of circuits, the pipe type — PPR, PEX-a, or metal-plastic — and the pressure test value. The warranty remains valid if the assembly is serviced by our specialists: third-party intervention in the manifold — replacing flow meters, independently tightening connections under pressure — voids it. In my opinion, it's more honest to warn about this upfront than to later sort out who stripped the thread.
Our own specialists and a service center in Tashkent
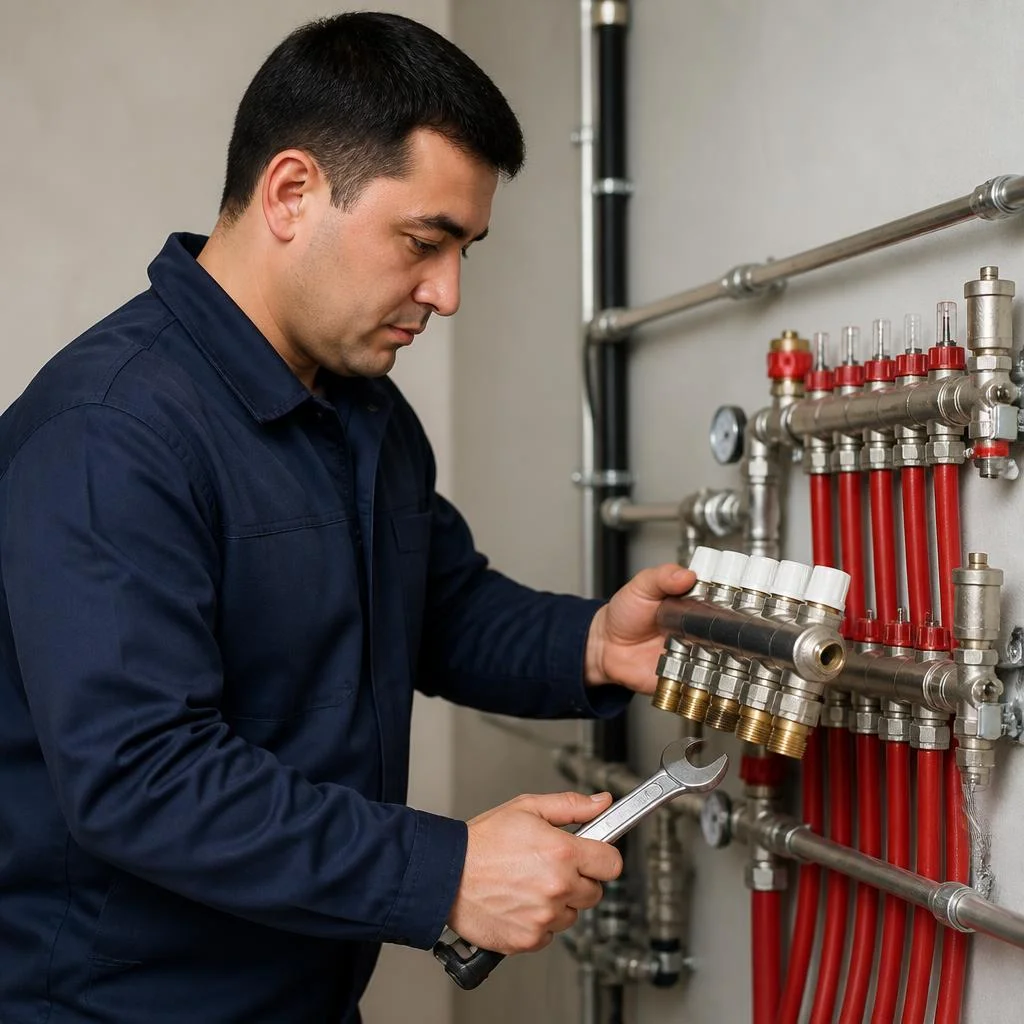
The assembly is performed by our own specialists, and the work is coordinated by the Eco-Service service center in Tashkent — requests and visits are handled in person, without a chain of intermediaries. The crew arrives with its own tools: press tongs for PEX-a and metal-plastic, wrenches for brass fittings, a pressure tester, and pressure gauges. The coordinator logs the site in the system — address, floor, number of circuits — so on a repeat request there's no need to explain again what's in your cabinet. It's easier to call our own specialists for a warranty case: there's no need to find the contractor who built the assembly and prove to them that the defect wasn't the customer's fault. In our practice, resolving a warranty claim takes one business day.
Work timelines and how handover takes place
We complete a standard assembly in 1–2 days; complex systems with a hydraulic separator and distribution across several floors — up to 3–4 days. On the first day we install the cabinet and manifold; on the second — we connect the circuits, the pump mixing unit, and the thermostatic heads. Handover is done with a certificate and a pressure test report: the customer receives a document with the pressure and hold time, not just verbal assurances. In our practice, manifold assembly installation almost always fits this schedule, because the crew arrives at the site with a ready distribution plan and doesn't spend the first day on measurements. Before signing the certificate, we run commissioning of the manifold group — we check the flow on each circuit and the operation of the balancing valves. Advice: don't accept the work before pressure testing at operating pressure — that's what shows whether the connections hold, and only after that does it make sense to pour the screed.
Conclusion
Manifold assembly rests on four pillars: precise calculation, correct components for the system type, materials suited to water quality, and regular maintenance. Below are brief takeaways worth keeping at hand when accepting the work.
Key takeaways
- The assembly type determines the components: heating, hot water supply, underfloor heating, and radiators are assembled differently, and there's no universal scheme here.
- Calculation matters more than assembly: without hydraulics, the system runs unstably, even if assembled from expensive Valtec or Rehau components.
- Materials are selected for the water: hard water in Tashkent and the regions accelerates wear on cheap brass alloys, so saving on fittings results in frequent rework.
- Maintenance extends service life: flushing once every two seasons preserves circuit flow and even heating of the premises.
- Documents at handover are mandatory: a pressure test certificate with the recorded pressure is the basis for warranty claims and recalculation of work.


