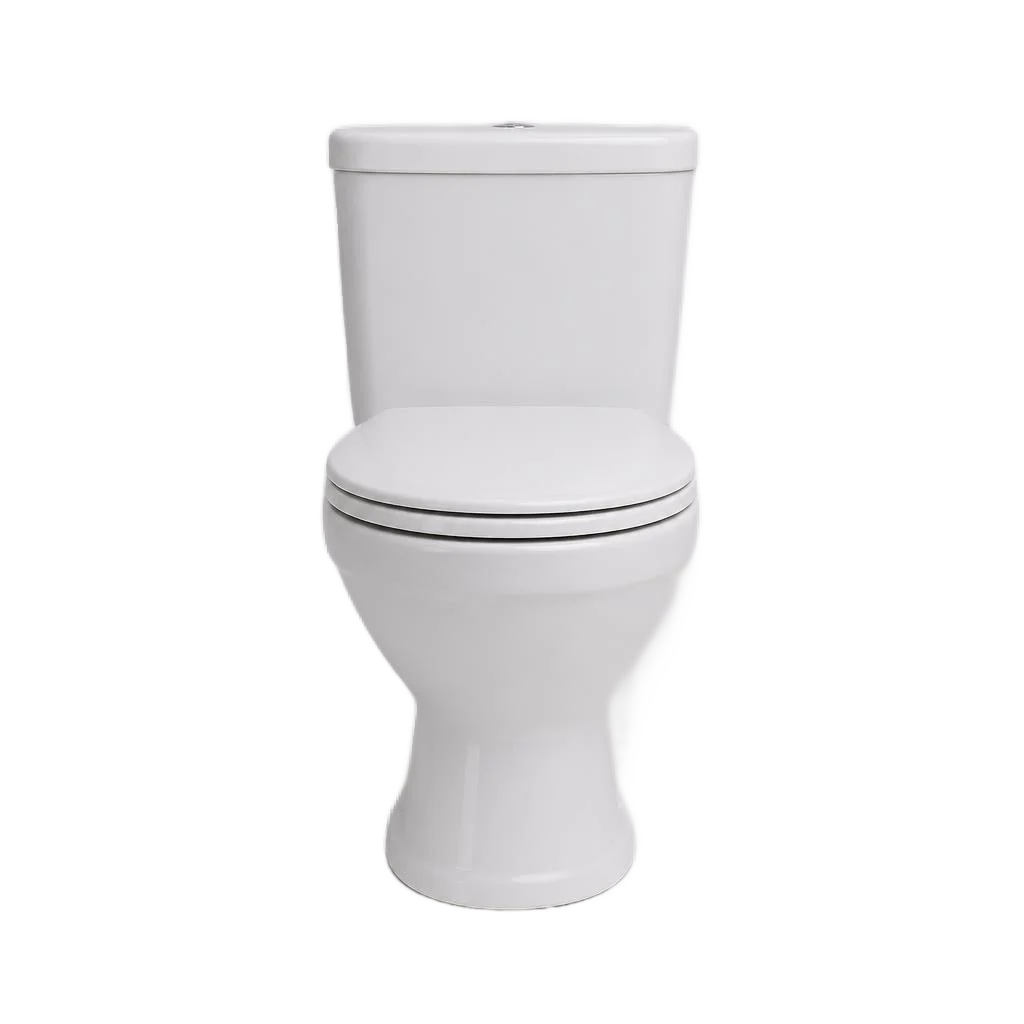

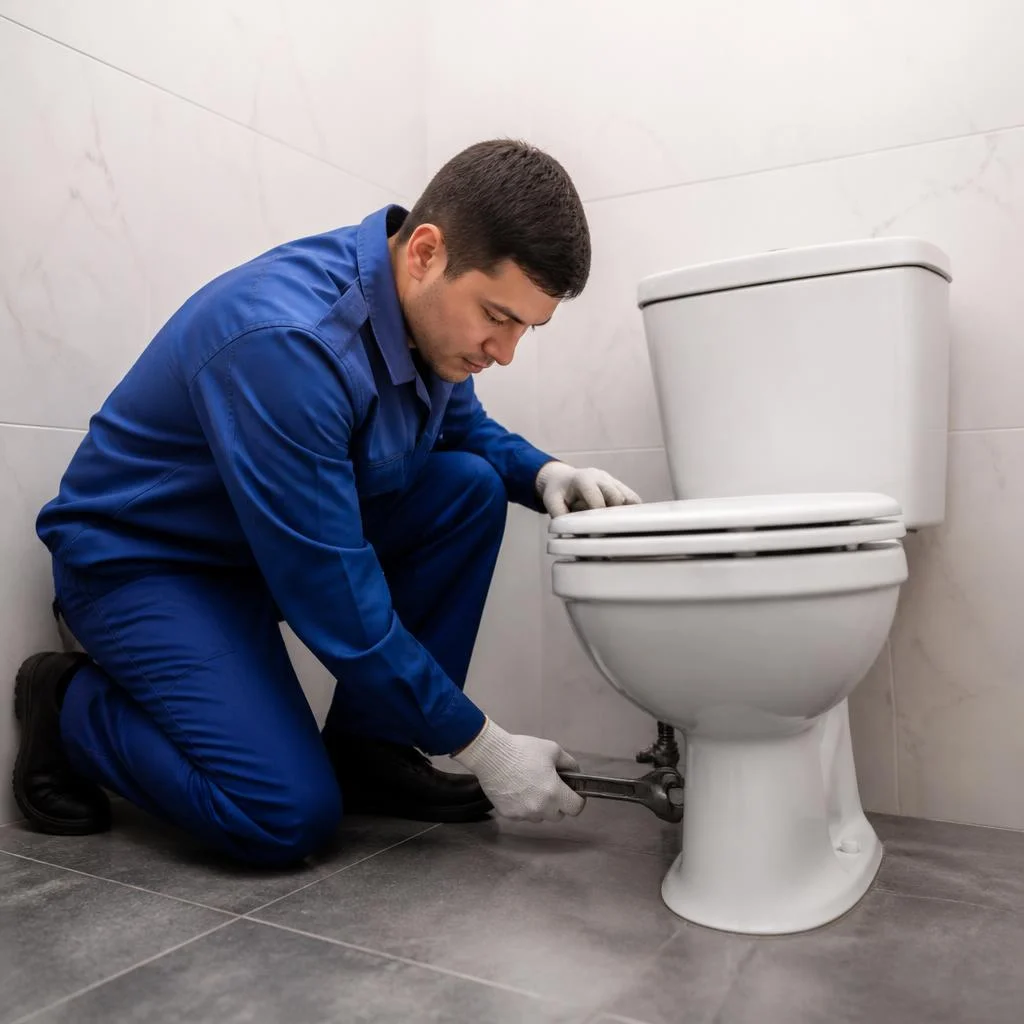
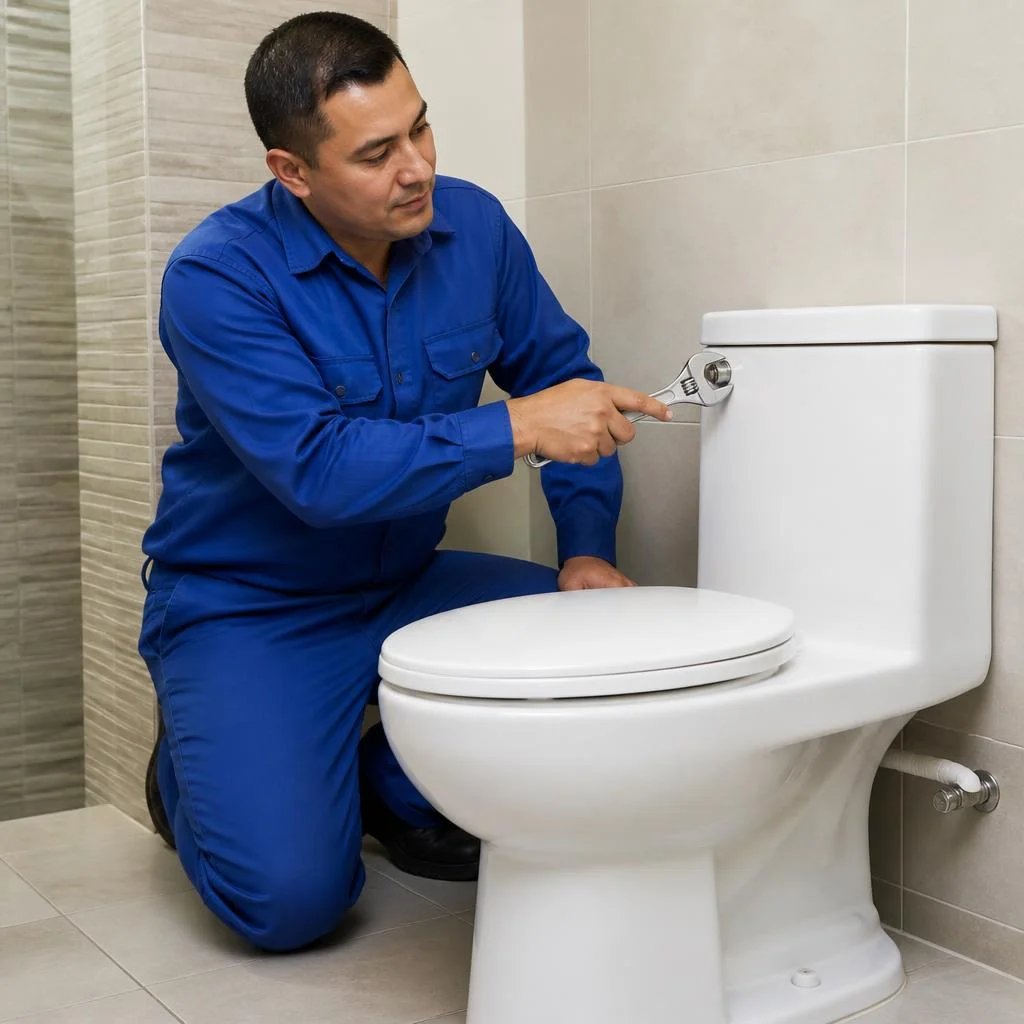
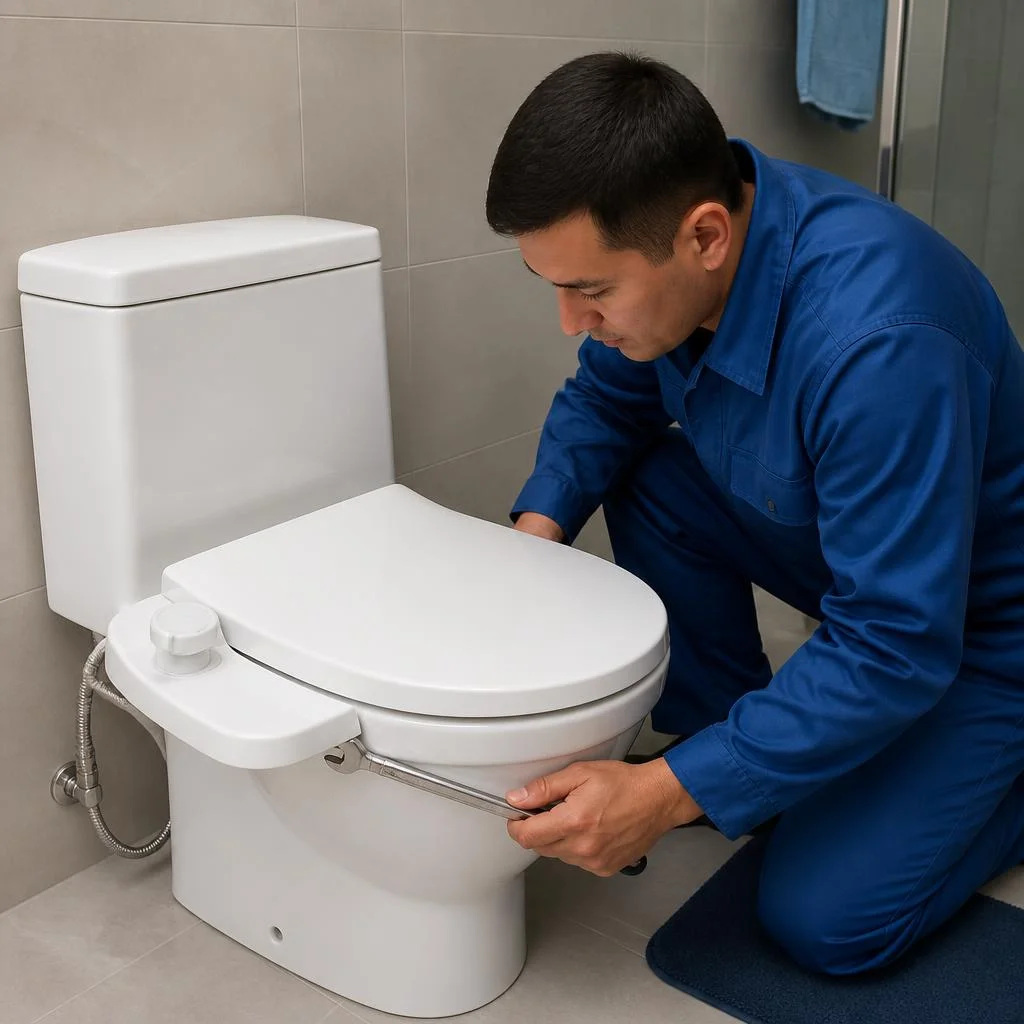








When toilet dismantling is needed and what work it includes
Dismantling a bathroom is not just removing the bowl: in some cases a single fixture is replaced, in others the bathroom is prepared for a full renovation. Let's break down the situations, the full list of work and the difference between a targeted and a comprehensive task.
In what cases a toilet and plumbing fixtures are dismantled
- Replacing plumbing fixtures: the old bowl has cracked, the tank is leaking, or the entire line of fixtures is being changed to new models — they need to be removed before installation.
- Major bathroom renovation: a complete replacement of tiles, screed and pipe routing requires clearing the room of fixtures and base layers.
- Reconfiguration: combining the bathroom with the lavatory, relocating the wet zone or demolishing the partition between the toilet and the hallway.
- Preparation for new finishing: laying tiles of a different format, pouring screed, installing underfloor heating — all of this is done on bare walls and floors.
- Emergency situations: a riser burst or a leak into the floor slab, when fixtures must be urgently removed and the pipes plugged.
- Replacing the riser in old housing stock: cast-iron pipes in houses of Chilanzar and Yunusabad are changed together with the fixtures, otherwise new plumbing will sit on worn-out outlets.
What toilet dismantling includes: full list of items
- Toilet and tank: removing the bowl, the flush tank, disconnecting the supply line and plugging the outlet.
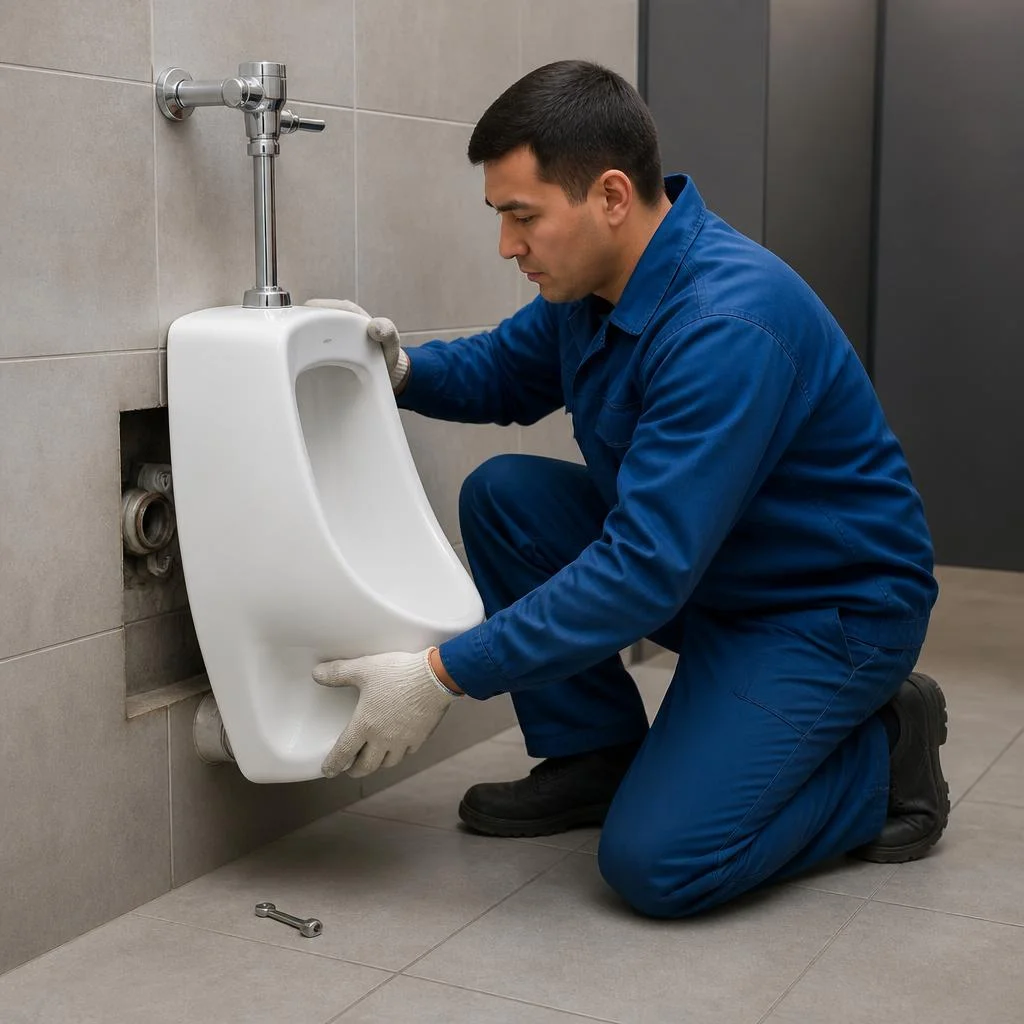
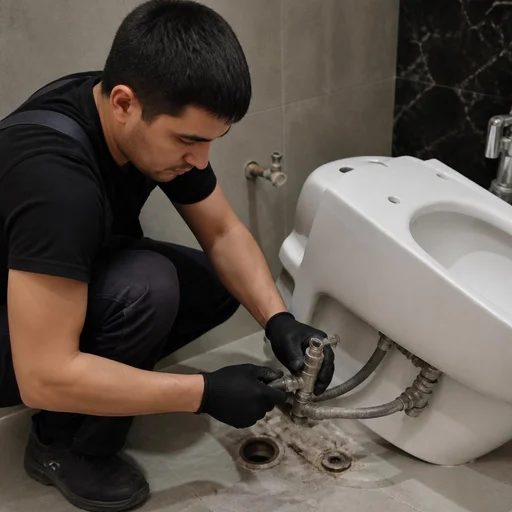
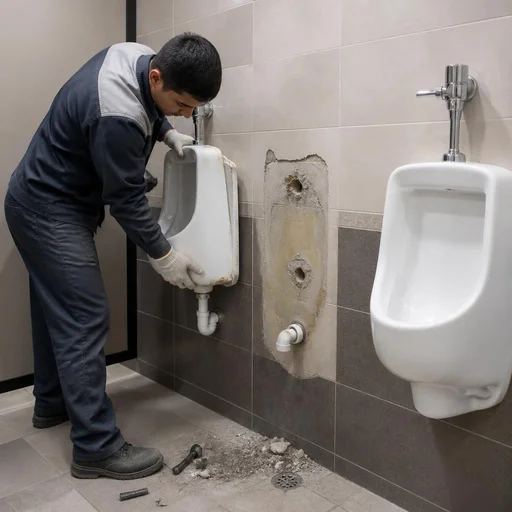
- Bidet and urinal: dismantling the fixtures together with the fasteners, siphon and water supply.
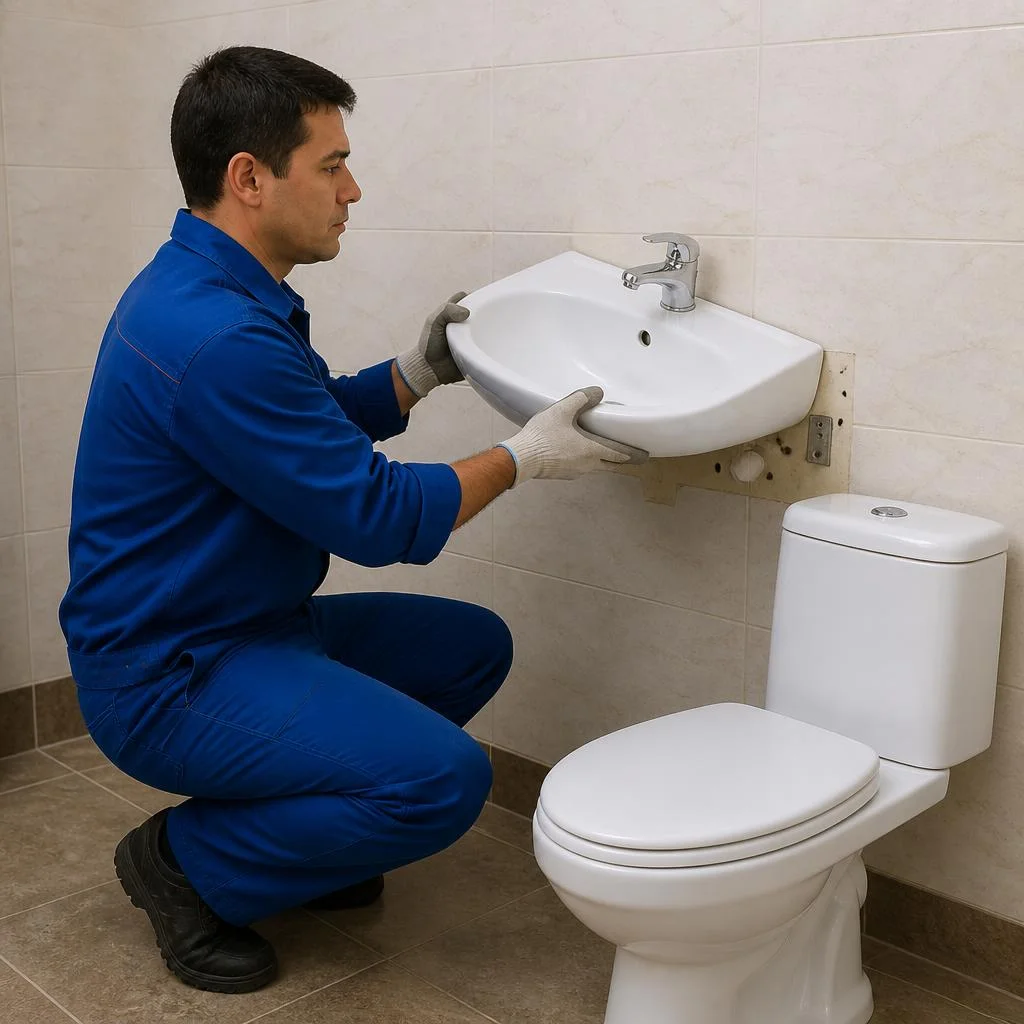
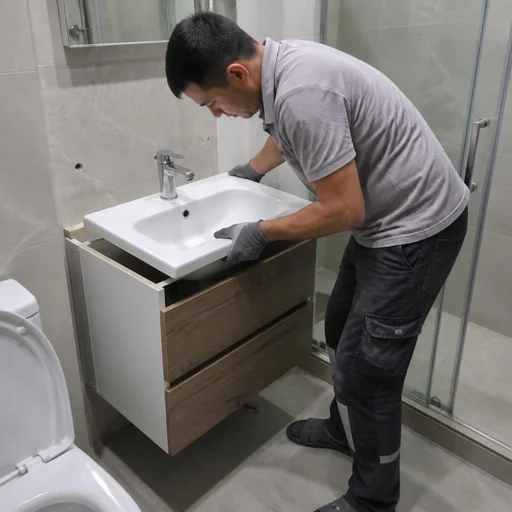
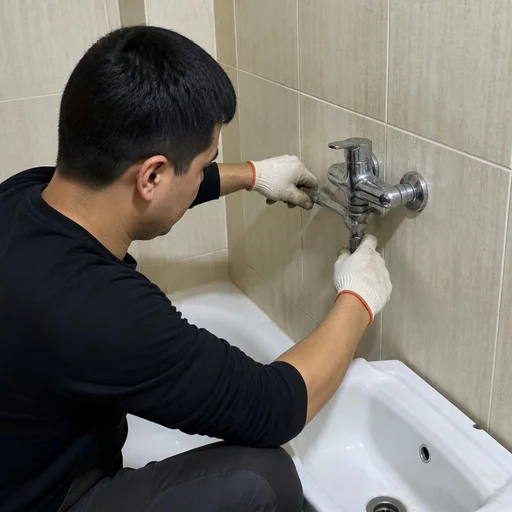
- Sink and faucet: removing the sink basin, the vanity unit and the faucet with disconnection of the flexible hoses.
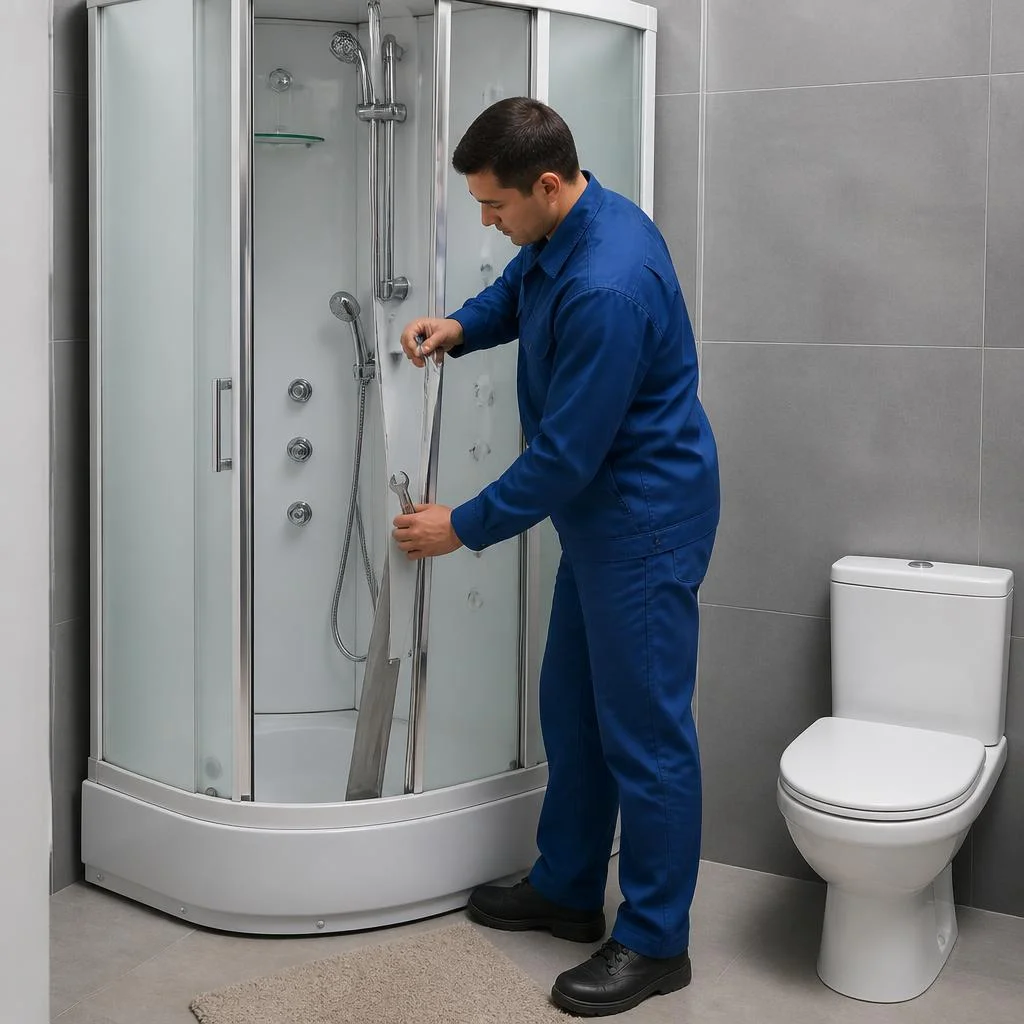
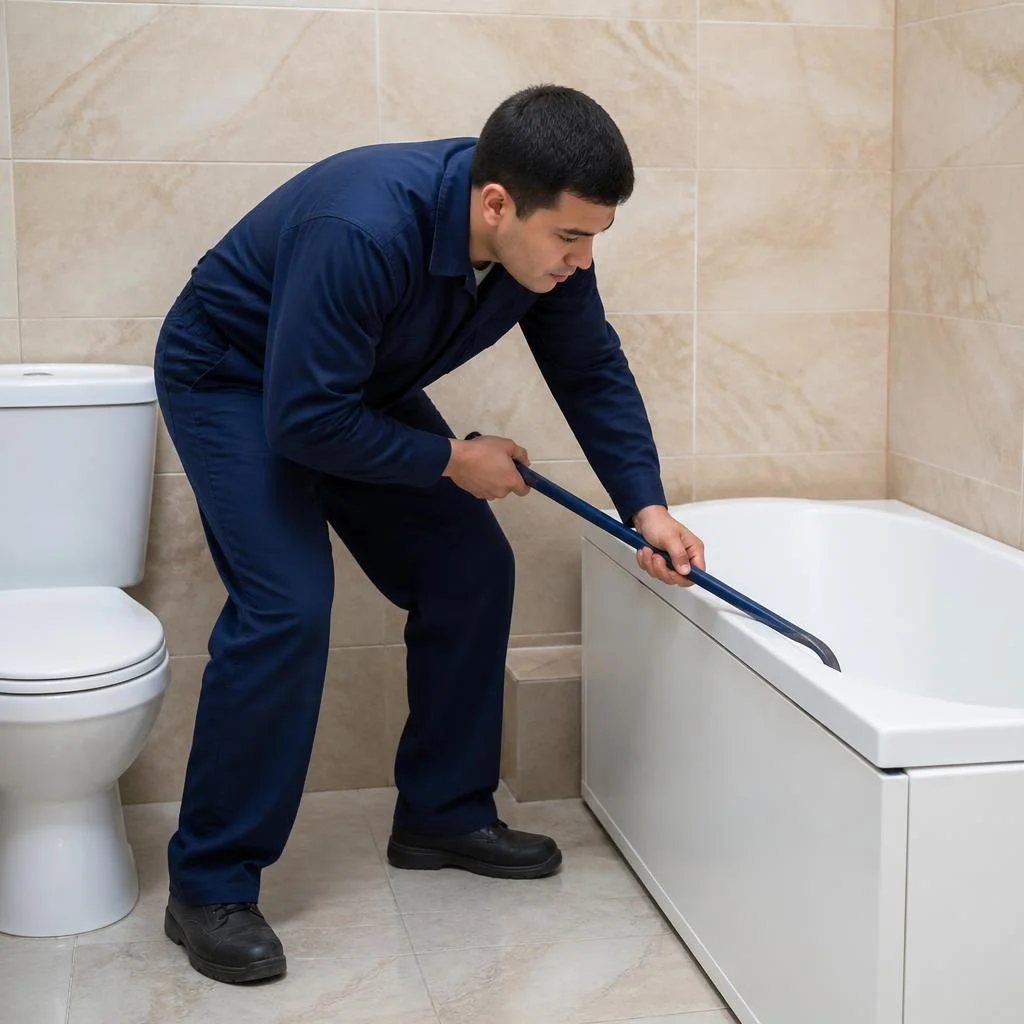
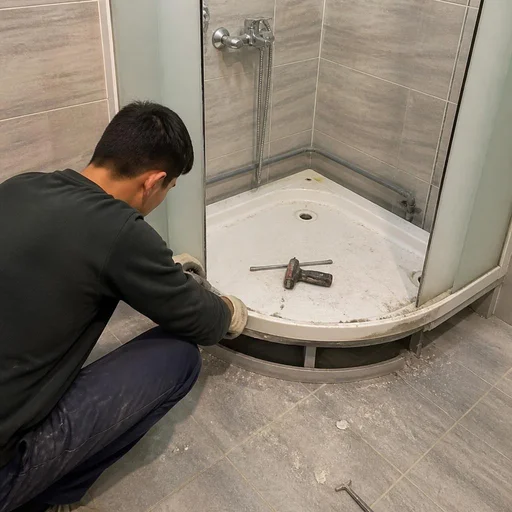
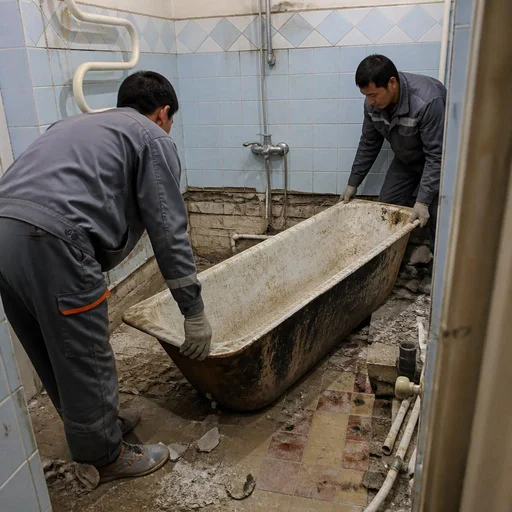
- Shower cabin and bathtub: disassembling the cabin section by section, removing the bathtub, dismantling the bathtub screen.
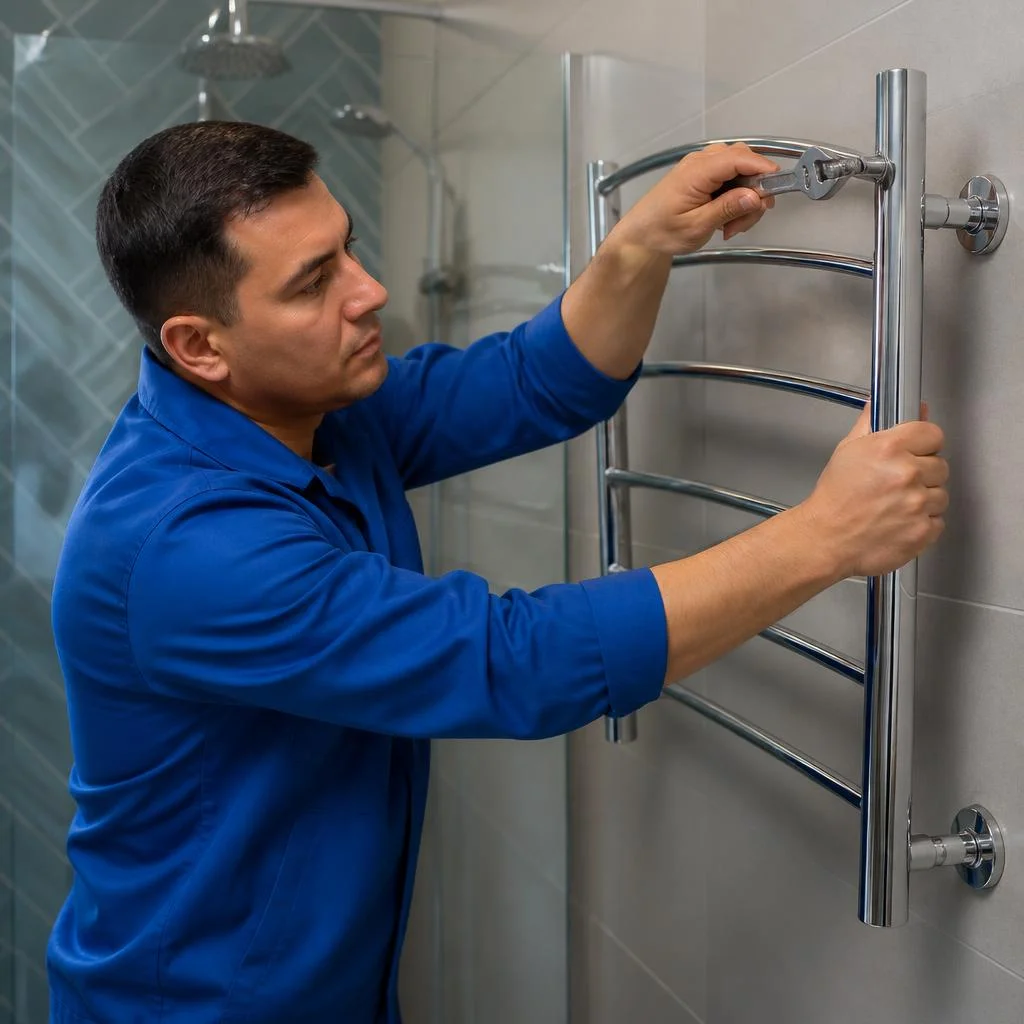
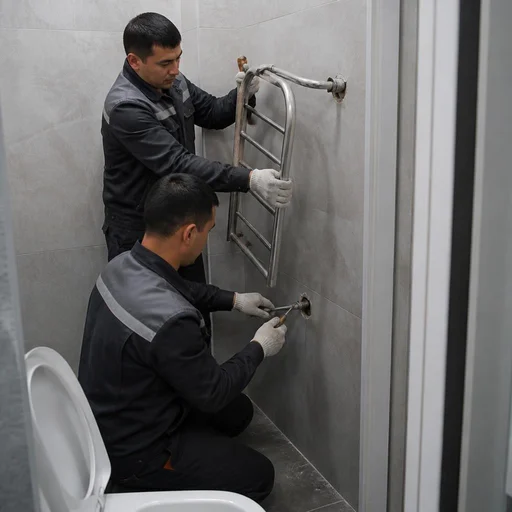
- Towel warmer: disconnecting from the hot water riser, removing from the brackets, plugging the outlets.
- Base layers: dismantling ceramic tiles, tile adhesive, floor screed, plaster and drywall.
- Other: dismantling the ventilation grille, the door unit, a brick partition and the old riser.
How toilet dismantling differs from dismantling the entire toilet room
Toilet dismantling is a targeted operation: the specialist removes the bowl and tank, disconnects the supply line, installs a plug, and the work is finished. Dismantling the entire toilet room means also covering the adjacent plumbing fixtures (sink, bidet, bathtub, towel warmer) and the base layers: tiles, screed, plaster. In new buildings in Tashkent, such a task is ordered when the entire routing is being replaced for finish finishing. Removing the old fixture and installing a new one on a prepared base is a combination of two operations. Combining them in a single visit is more convenient when the new model has already been purchased and is on site. If new cladding is planned after removing the bowl, it is more advantageous to do the base work right away — otherwise the tiles will have to be opened up again, which means another crew visit and another purchase of materials.
How toilet removal is carried out: stages and technology
We break down the sequence of operations — from shutting off the water to capping the outlet. The focus is on preserving the tiles, protecting the riser, and safely working with seized fasteners in old housing stock.
Preparation: shutting off the water and disconnecting the supply line
The technician shuts off the water at the inlet to the bathroom, drains the remaining water from the tank, and disconnects the flexible supply line, placing a container under the residual water. The valve is closed counterclockwise 1-2 turns until it stops, then the flush button is pressed and you wait until the container empties. The flexible supply line is disconnected with a 12-14 mm wrench, placing a basin or plastic container under the threaded connection — up to 200-300 ml of water flows out of the hose. If the inlet valve is seized, it is unscrewed not by force, but by heating it with a construction heat gun to 60-80 °C — otherwise the thread strips and the assembly must be replaced with disassembly of a section of the pipeline.
Removing the tank and bowl: how to dismantle a toilet
- Disconnecting the tank: shut off the water, disconnect the supply line, and remove the lid to gain access to the fittings and fasteners.
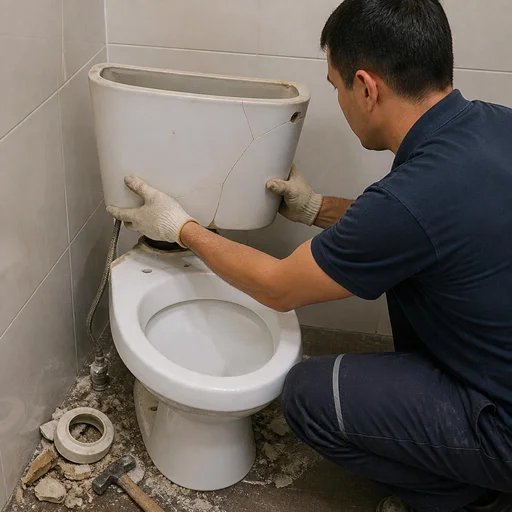
- Removing the tank: unscrew the bolts fastening it to the bowl shelf with a 12 mm wrench, remove the tank, and carry it out separately from the bowl.
- Removing the bowl: unscrew the fasteners to the floor or to the installation frame, and cut the layer of sealant around the perimeter of the base with a knife.
- Extracting the ceramic: the bowl is removed by two people, without jerking, keeping it vertical so as not to hit the tiles and baseboard.
- Seized fasteners: the bolts are treated with penetrating lubricant for 10-15 minutes and removed without jerking — a sudden force cracks the ceramic and damages the facing.
Removal of a wall-hung toilet and the in-wall installation frame
Eco-Service removes a wall-hung toilet from the installation frame's mounting studs, and dismantles the installation frame itself only when opening up the box or wall. The bowl is disconnected from the two M12 studs with a ratchet wrench, the decorative caps are removed, and the ceramic is pulled forward along the guides. Access to the installation frame is opened through the inspection hatch, or the flush button and protective panel are removed. Clients often write briefly in their requests — toilet removal installation — and the technician immediately understands that a full cycle is needed: remove the old model and prepare the connections for the new one. If the box is tiled, it is opened along the seam — this way the facing can be preserved for reuse. Work with an installation frame takes more time than with a floor-standing model: just carefully opening the box takes 40-60 minutes.
What to do with the opening and the siphon after removal
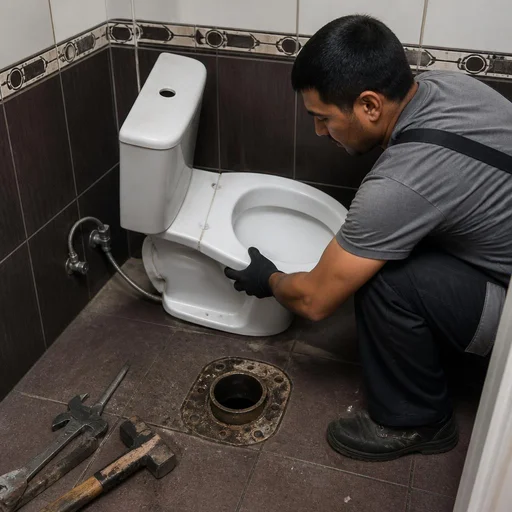
After removing the bowl, we close the outlet with a cap or a tight plug so that odors and sewer gases do not enter the room before the new toilet is installed. The opening in the floor or wall is cleaned of old sealant, the socket is inspected for chips and cracks, and the sealing ring is replaced if necessary. The rubber or plastic cap is selected according to the outlet diameter — the standard is 110 mm, less often 50 mm for a sink siphon. The cap is put in place even during the time between removal and installation — an open outlet in old housing stock quickly produces odors and attracts insects. Leaving the outlet without sealing is not allowed: after a day of downtime in the bathroom, a persistent sewage smell appears.
Difficult cases: old housing stock, cast iron and glued-on ceramics
Tashkent's old housing stock brings its own difficulties — cast-iron risers, seized fasteners, ceramics on sealant. We break down how the crew handles each of these cases without accidents or damage to the facing.
Removing an old toilet with a cast-iron riser
We remove an old toilet with a cast-iron riser without impact loads on the pipe: the outlet is freed carefully, and the riser itself is replaced as a separate line item if necessary. This is exactly how people often write to the service: removal of an old toilet and installation of a new one — and the technician immediately understands what is meant. First, he assesses the condition of the pipe in the section from the socket to the floor slab — in Khrushchyovkas and Stalinkas of the Makhalla-era development, cast iron serves 50-60 years and is already covered with longitudinal cracks. Then the bowl is separated from the outlet with a smooth rocking motion, without jerking, and the freed socket is temporarily closed with a plug. If the tail piece is broken off flush with the floor, it is cut out from the inside with a reamer and a polypropylene adapter is installed. A cast-iron riser in an old building is brittle in bending — a sharp jerk when removing the bowl causes a crack and a leak to the neighbors below, so work begins with assessing the pipe, not with unscrewing the bolts.
How to remove a toilet glued to the tile with sealant
Eco-Service frees a bowl glued to the tile by cutting the silicone seam and gently prying it up — without striking the ceramics or the facing. The technician runs a thin blade or wire along the perimeter of the base, breaking the sealant's bond with the tile, and then pries up the bowl with a crowbar through a wooden spacer. The silicone seam is cut along the entire contour rather than pulling the bowl upward — otherwise the tile comes away together with the toilet. Residues of old sealant are removed from the facing with a scraper and solvent so that the new fixture sits on a level base. In our practice, a common cause of such a mounting is a previous renovation where the ceramics were glued with silicone instead of being fastened. On 600×600 mm porcelain stoneware the bond is stronger than on 200×300 mm tiles, and the cutting is done in two passes. The fixture can be removed from sealant without dismantling the tile — if the seam is cut completely, the bowl comes out freely.
Seized fasteners and other non-standard situations
- Penetrating lubricant: seized bolts are soaked in a compound for 15-20 minutes so that the rust softens in the threads.
- Heating: the fastener is heated with a heat gun to 80-100 °C — the metal expands and separates from the base.
- Careful unscrewing: the bolt is turned with force but without jerking, so as not to strip the head's edges.
- Drilling out: a stripped or broken bolt is drilled out with a metal drill bit using a guide bushing.
- Base repair: the hole after drilling is cleaned and restored with an epoxy compound.
Dismantling a bathroom in old housing stock almost always includes at least one non-standard component — a seized fastener, a broken tail piece or a cracked riser. If a bolt is broken off flush, it is drilled out with a guide — an attempt to unscrew the remainder with an extractor more often strips the thread in the base.
What tools and materials the technician uses
The crew arrives at the site with its own tools and a full set of consumables — the client doesn't need to prepare anything in advance. Let's break down exactly what's included in the kit and why each item is needed.
Crew's tools: wrenches, pliers, level
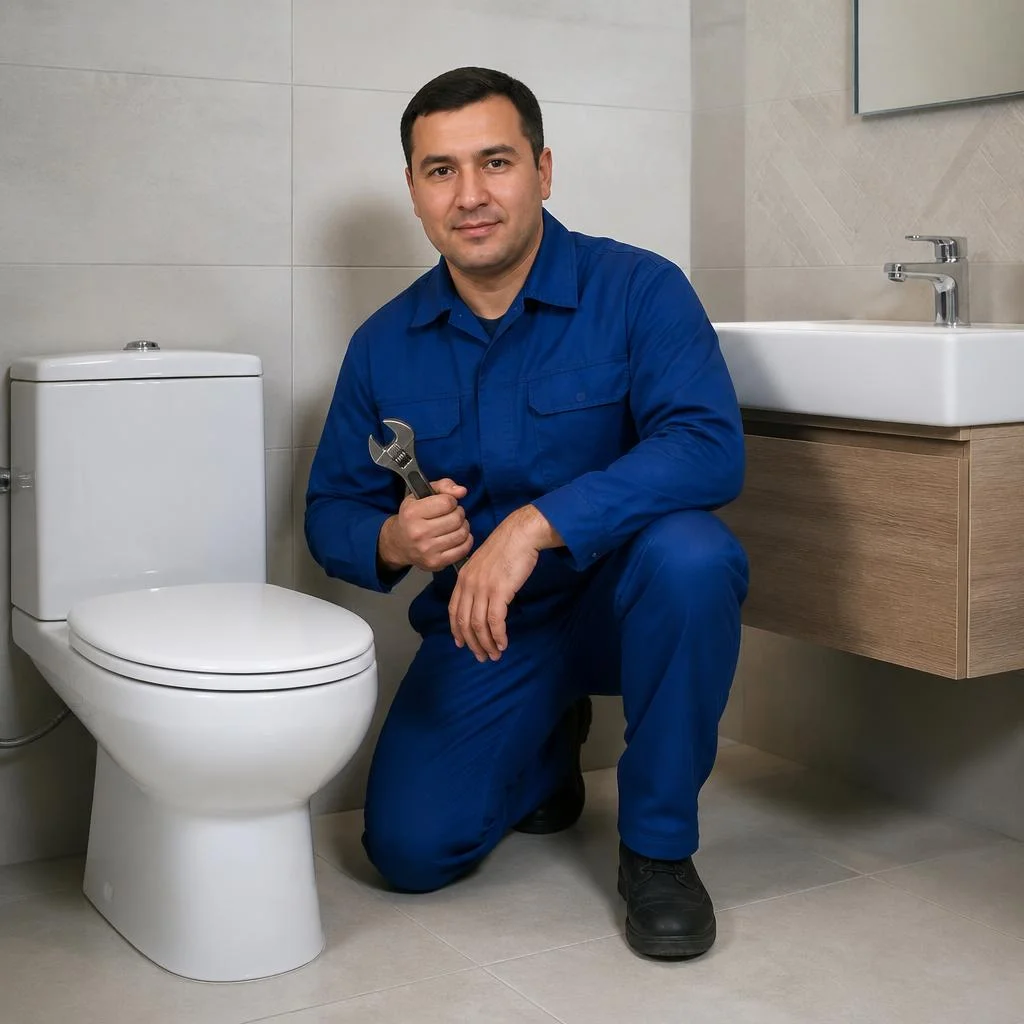
- Adjustable wrench: removes seized nuts on the supply line and bowl fasteners without stripping the edges on old studs.
- Pliers and combination pliers: unscrew the studs fastening the bowl to the floor or to the installation frame when the slot is clogged with limescale.
- Bit set: selected to match the slots of Soviet-era fasteners and modern Torx on wall-hung models.
- Level: used to check the horizontality of the base after removing the bowl, so the new plumbing sits without skewing.
- Penetrating lubricant: applied to the threads 10-15 minutes before unscrewing — reduces the risk of snapping a stud in a cast-iron outlet.
Consumables: sealant, plugs, supply line
- Silicone sealant: cuts the seam between the bowl and the tile, and after removing the fixture it seals the installation spot for the new one.
- Outlet plugs: close the opening in the floor or wall before installing the new plumbing, so the smell from the riser doesn't enter the apartment.
- Flexible supply line: replaced on every removal if it's more than five years old — old rubber cracks and leaks within the first month.
- Outlet gasket: seals the joint between the bowl and the sewer pipe and protects against thread leaks when changing the fixture.
Types of toilets and specifics of their dismantling
Floor-mounted, wall-hung and close-coupled toilets are removed differently — the mounting method determines the work time and the risk of damaging the finish. Let's go through each type separately.
Comparison of toilet types by removal difficulty
| Toilet type | Mounting | What is dismantled | Specifics |
|---|---|---|---|
| Floor-mounted | bolts to the floor | bowl and tank | seized fasteners |
| Wall-hung | installation frame studs | bowl and installation frame | opening the duct |
| Close-coupled | to the outlet and wall | bowl and tank | care with the outlet |
Eco-Service removes all three types, but a wall-hung one requires access to the installation frame, and a close-coupled one requires careful disconnection from the outlet. A wall-hung toilet is removed faster than a floor-mounted one as far as the bowl goes, but takes longer for the installation frame — the total work time is comparable. A close-coupled model is removed together with the tank, without disconnecting it from the bowl, if the fasteners aren't seized.
What's important to know before removing a wall-hung toilet
Before removing a wall-hung toilet, Eco-Service checks the condition of the installation frame: if the frame is corroded, it's replaced together with the bowl. The studs on the frame are inspected for play — loose ones are tightened or cut off so as not to strip the threads in the concrete. The installation frame in the duct is inspected through the inspection hatch — if there's no hatch, one is made during the work so as not to open up the tile entirely. The bowl is removed from the frame after shutting off the supply line and draining the water from the tank, otherwise the remaining water will flood the duct. Clients often search for toilet removal price — and land on this page, where we break down what the estimate consists of: access to the installation frame, condition of the fasteners, need to replace the frame. If the installation frame is being replaced, the old frame is cut out with an angle grinder at the posts and carried out through the doorway — it won't fit through assembled. The decision to replace the frame is made before removing the bowl, so as not to mount a new installation frame on damaged studs.
Removal of debris, timelines and warranty on work
After dismantling a bathroom, old plumbing fixtures, broken ceramics and construction waste remain. We explain how removal is handled, how long the work takes and what the warranty covers.
Removal of the old toilet and construction debris
Eco-Service removes the old toilet, broken ceramics and construction waste after dismantling a bathroom — the client does not need to find transport and loaders separately. The crew packs the cast-iron bowl, the earthenware cistern, tile fragments and pieces of screed into bags and rigid containers, carries everything down from the floor via the stairs or the freight elevator and loads it into the vehicle. Standard jobs produce from three to eight bags of ceramics and concrete — the volume depends on whether only the bowl with the cistern is removed or the tiles and screed are also opened up. The cast-iron bowl and broken tiles are removed separately from household waste — they cannot be left in the MSW container, as the servicing organization fines for this. People often type a query about the cost of removal into the search bar — that is how the request is placed, and the technician immediately understands the scope.
Completion timelines: same day
Eco-Service performs the work on the day of the request: the crew travels across Tashkent, and a standard scope takes from one to three hours. Requests are accepted in the morning — by lunchtime the technician is already on site, and evening calls are closed out by the end of the day. If only the bowl with the cistern is removed, the work fits into an hour — the comprehensive option with tiles and screed is scheduled for half a day, because removing the adhesive and the leveling layer is added. In new buildings in Chilanzar and Yunusabad with plastic pipes and drywall screens, the crew gets through the site faster than in old housing stock with cast-iron risers and seized fasteners. People often type toilet dismantling and installation price into the search bar — that is how the request is placed, and the technician immediately understands the scope. The estimate is fixed in writing before the visit, and the final cost depends on the scope: removing one bowl is calculated differently than dismantling tiles and screed in a bathroom.
2-year warranty and payment after acceptance
- Warranty period: 2 years on all dismantling work — from removing the bowl to dismantling the screed.
- What it covers: damage caused by the crew — chipped tiles, a cracked base, a nicked supply line.
- What is not included: hidden defects of the riser and pipe wear discovered before work begins.
- Payment: after completion and inspection — via Click, Payme, Uzcard or Humo.
- Documents: acceptance report and warranty card handed over on the day of work.
- Estimate: toilet installation and dismantling price is fixed in writing before the crew's visit.
Conclusion
Dismantling a bathroom is work with several layers: from the bowl and supply lines to tiles, screed and waste removal. Below are the main takeaways worth keeping in mind before starting.
Main takeaways
- It is a comprehensive job: besides removing the bowl, adjacent plumbing fixtures, tiles and screed are removed, and construction waste is hauled away.
- The technique depends on the type of toilet: floor-mounted, wall-hung and back-to-wall models are removed differently, and the sequence of operations is different for each.
- Old housing stock requires care: a cast-iron riser and seized fasteners do not tolerate impact loads — only smooth pressure and penetrating compounds.
- A plug on the outlet is mandatory: without it, odors and sewer gases go straight into the room after the bowl is removed.
- Removal of the old toilet and debris is part of the service: it is not a separate task for the client, but a stage that the crew handles.