








Why bathtub installation is not just "screwing on the legs": what the full cycle includes
Installing a tub is 6-8 sequential operations, not just one: from dismantling the old tub to sealing the joints. Skipping any stage results in a leak, misalignment, or the rim pulling away from the wall within the first few months.
What the full cycle consists of: 8 stages from dismantling to sealing
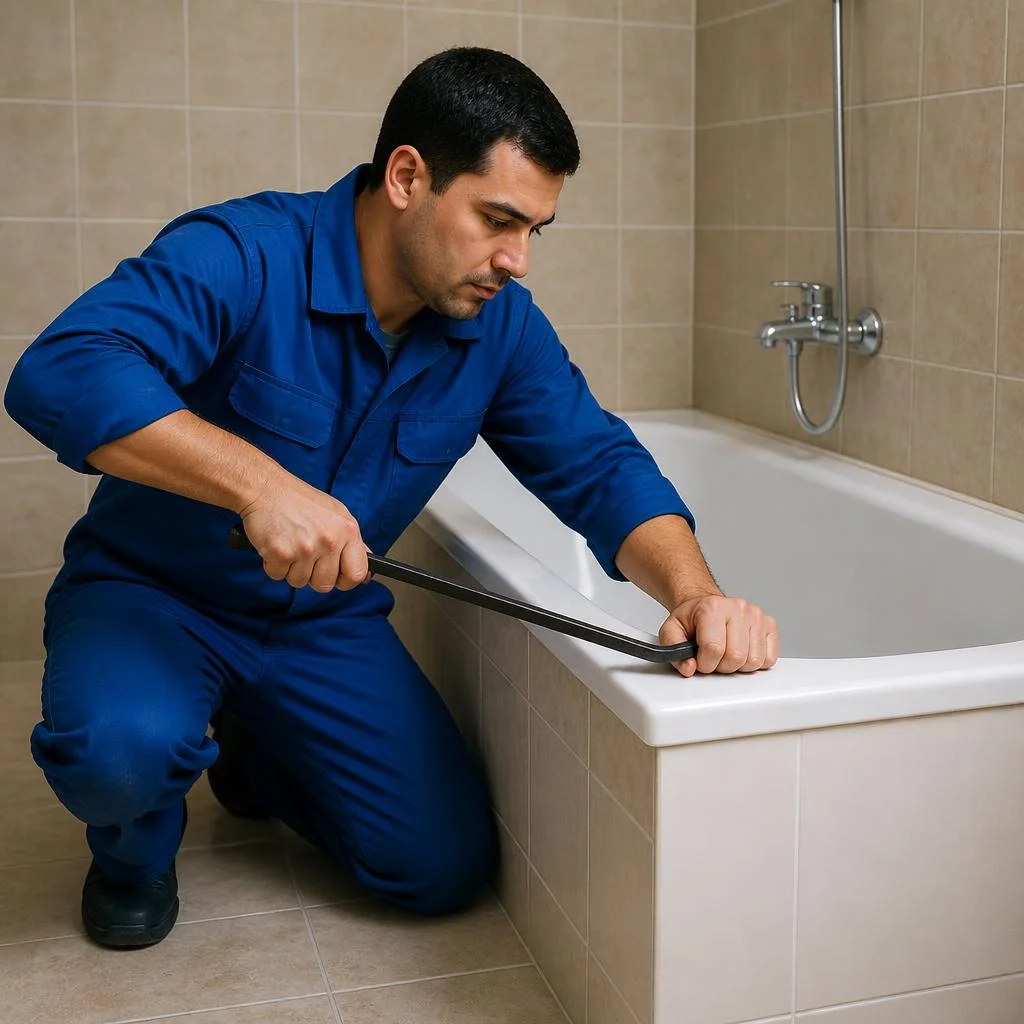
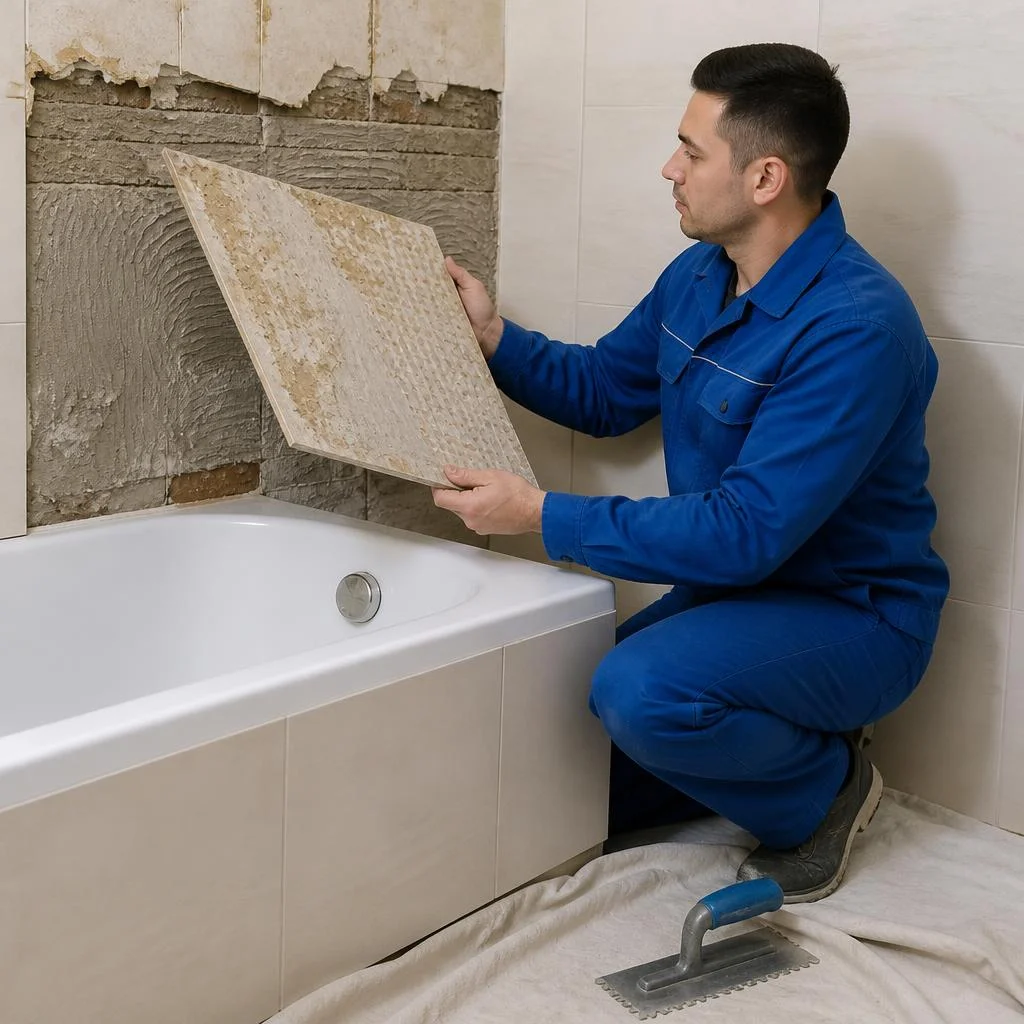
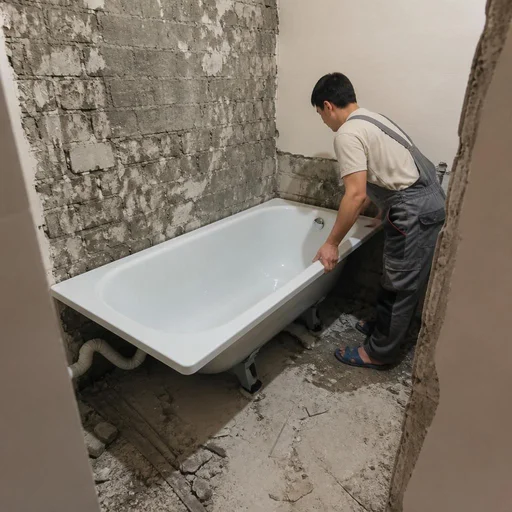
- Dismantling the old bathtub: removing the tub from its supports, disconnecting it from the siphon and overflow, inspecting the condition of the sewer outlet.
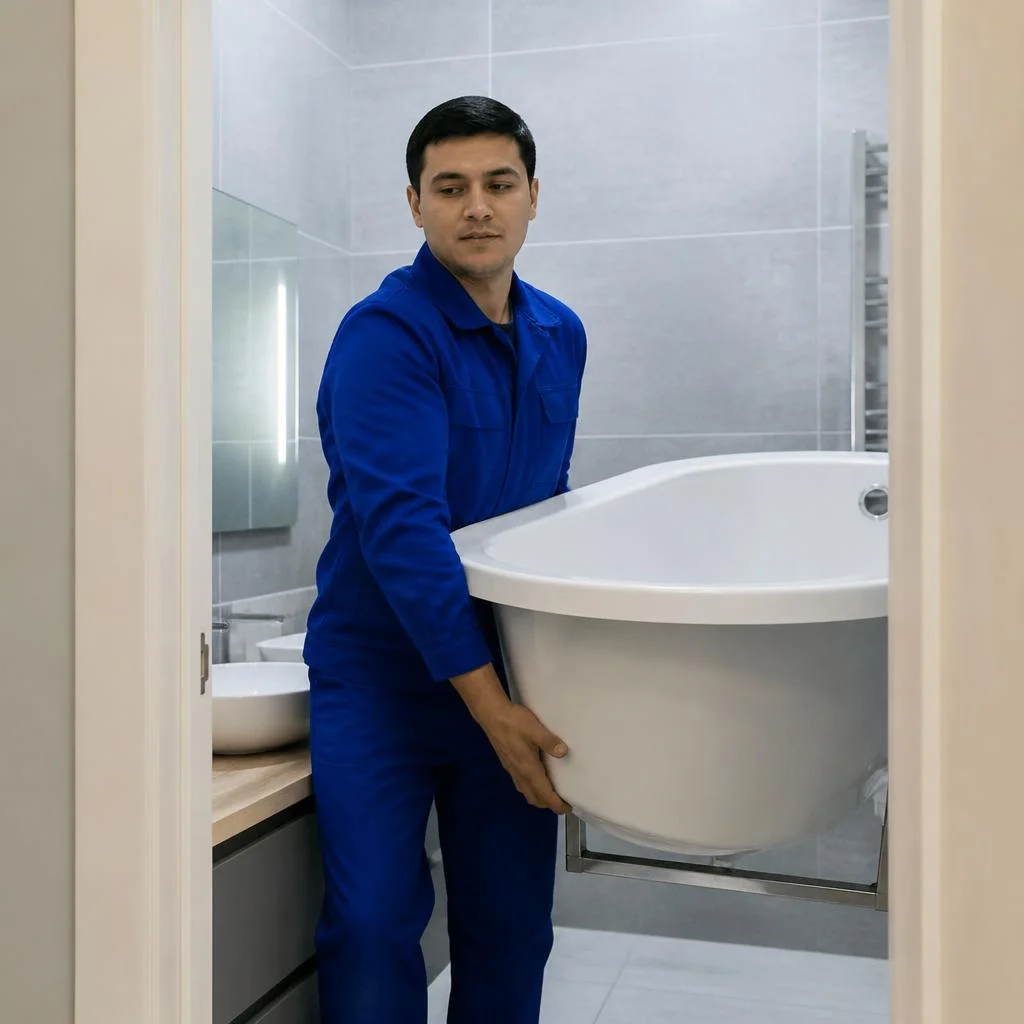
- Removal and haul-away: an old cast-iron tub weighs 80-120 kg — it is carried out by two people and hauled away together with the construction debris.
- Dismantling the cladding: the tiles and the old layer of tile adhesive are removed in the area where the bathtub meets the wall.
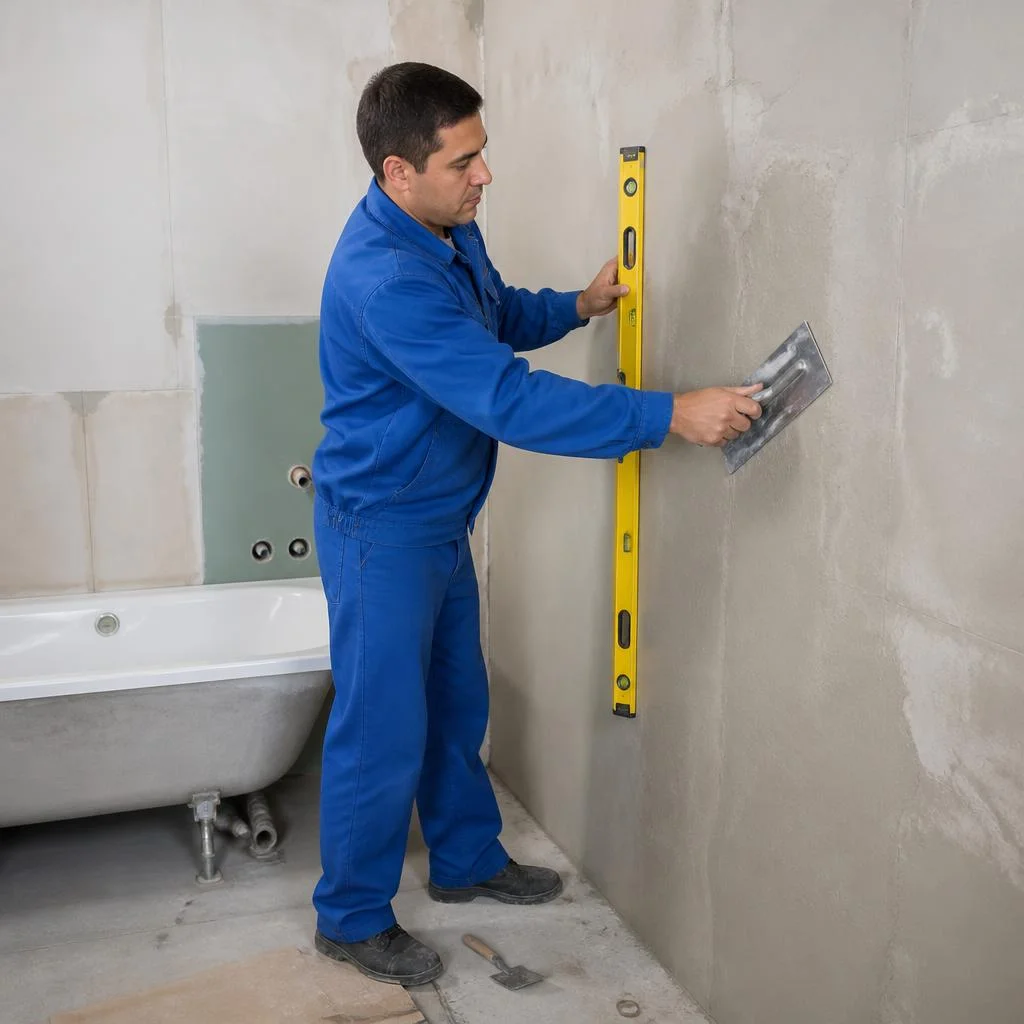
- Leveling the walls: plaster or a drywall panel brings the plane under the rim into alignment so that the gap is uniform along the entire length.
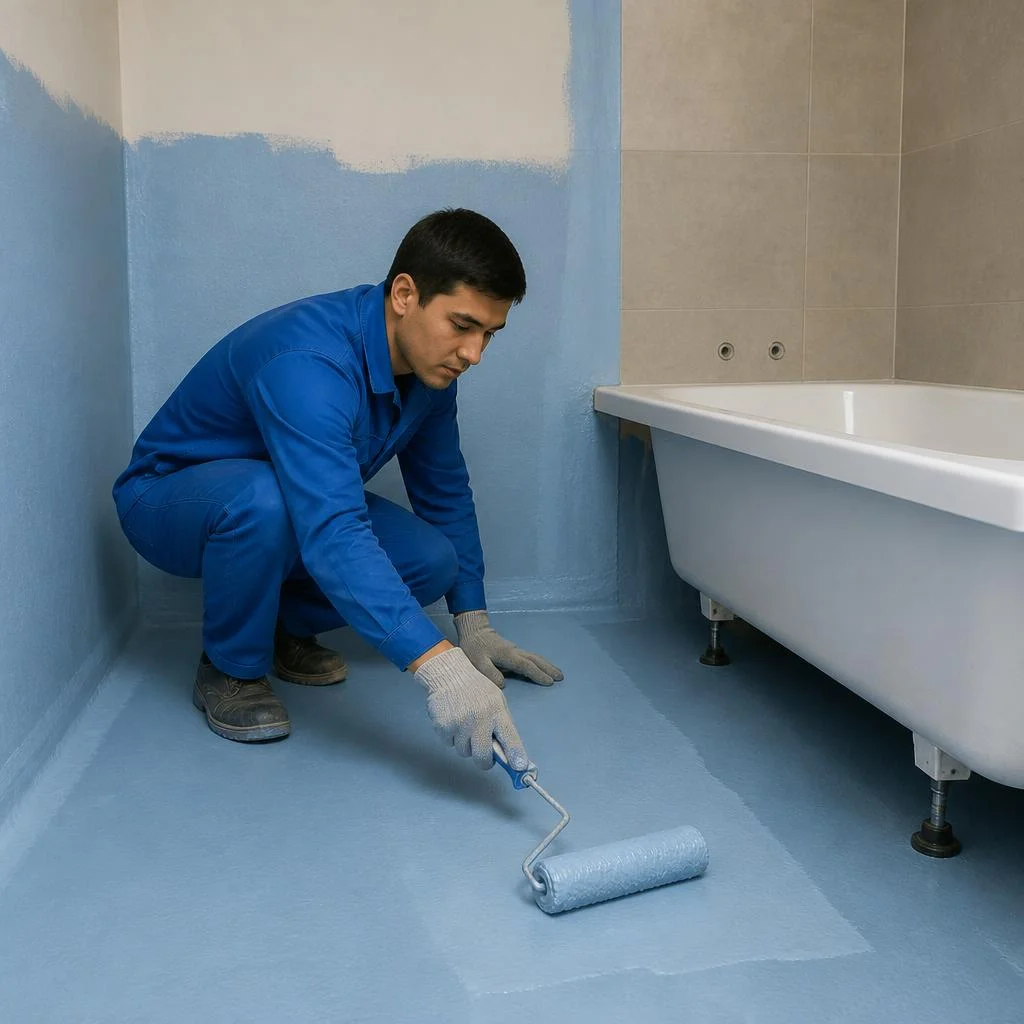
- Waterproofing: a coating compound is applied to the walls and floor in the bathtub area, extending 15-20 cm above the rim.
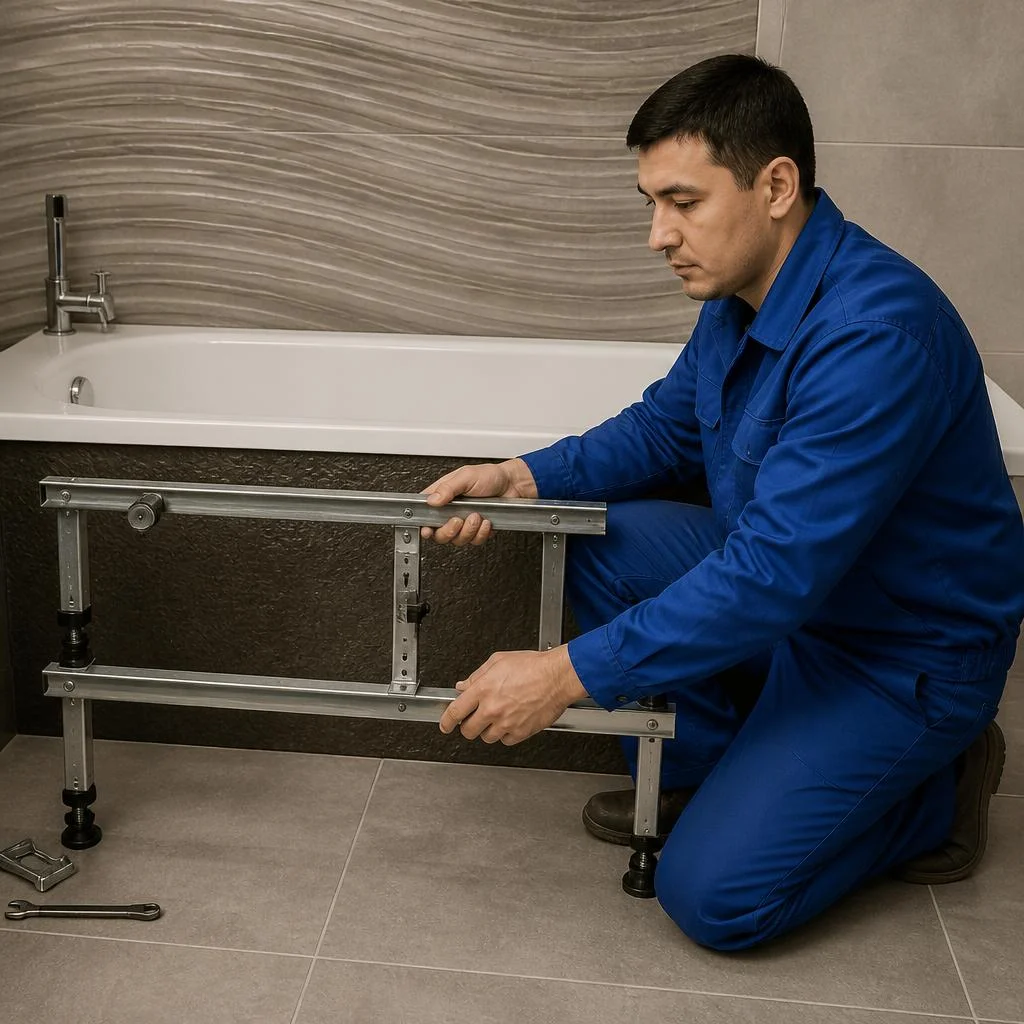
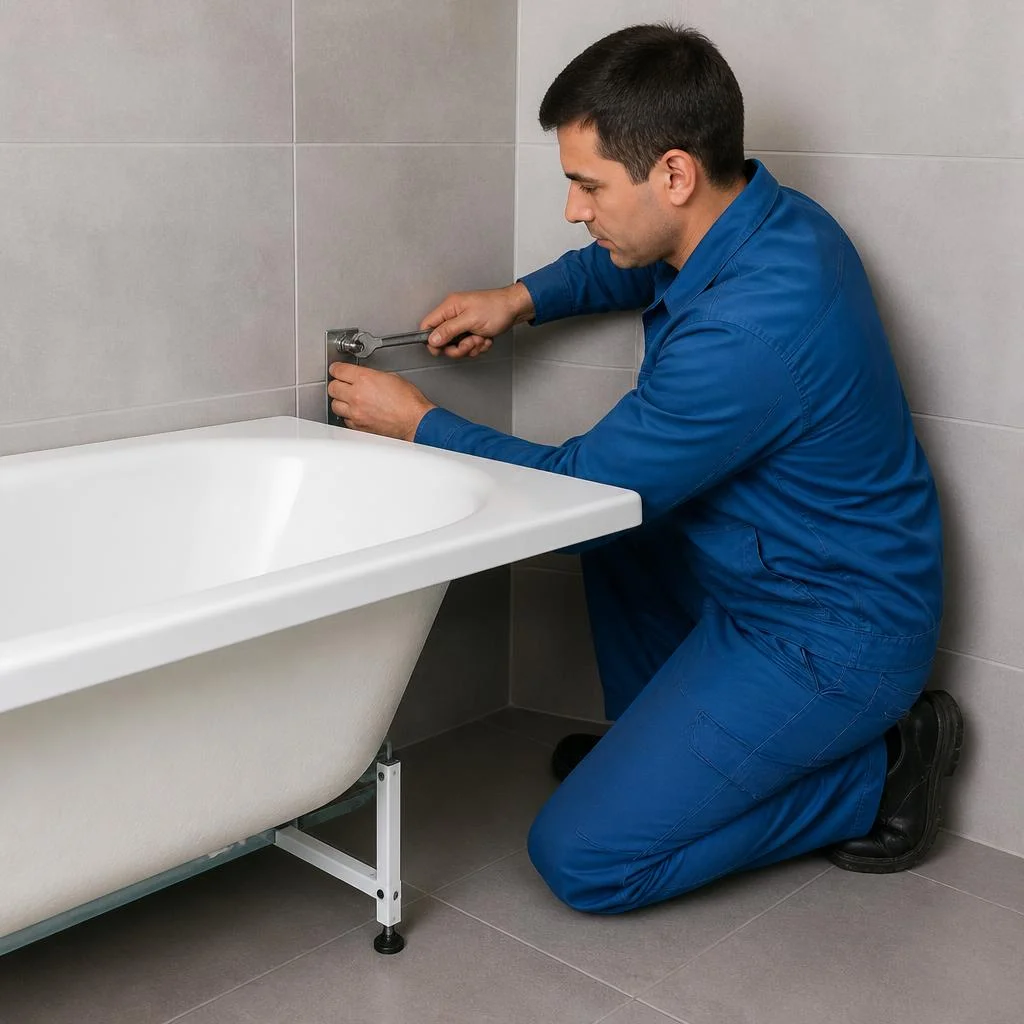
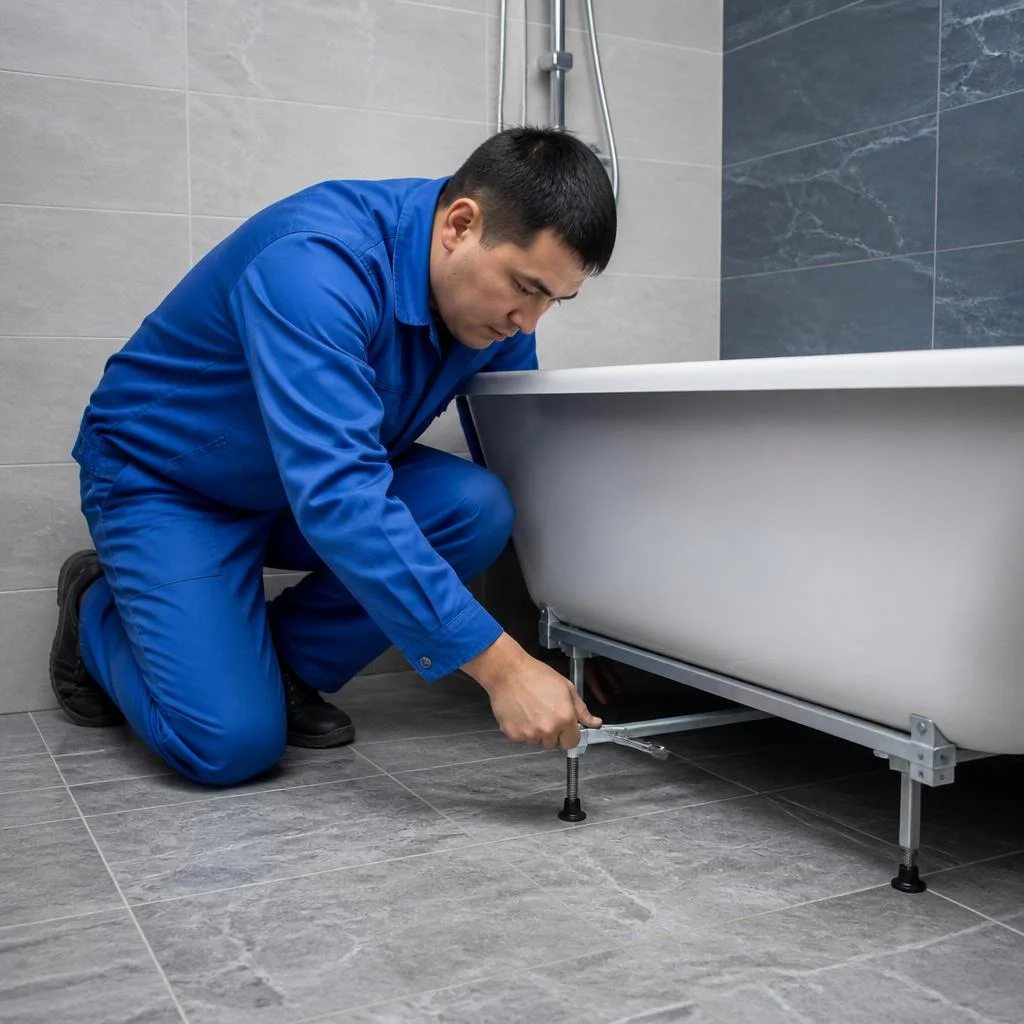
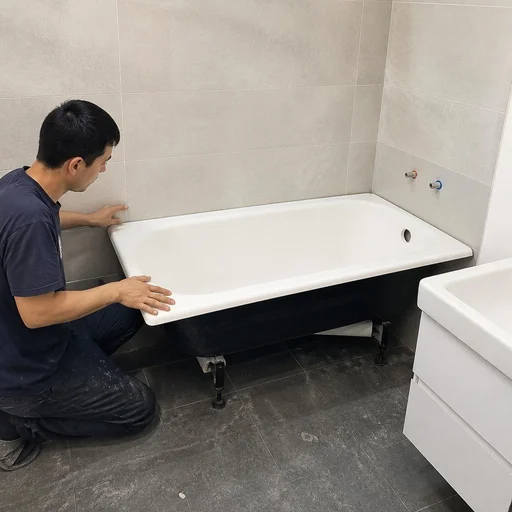
- Frame installation: a welded or prefabricated support for a freestanding or corner model, adjusted by level.
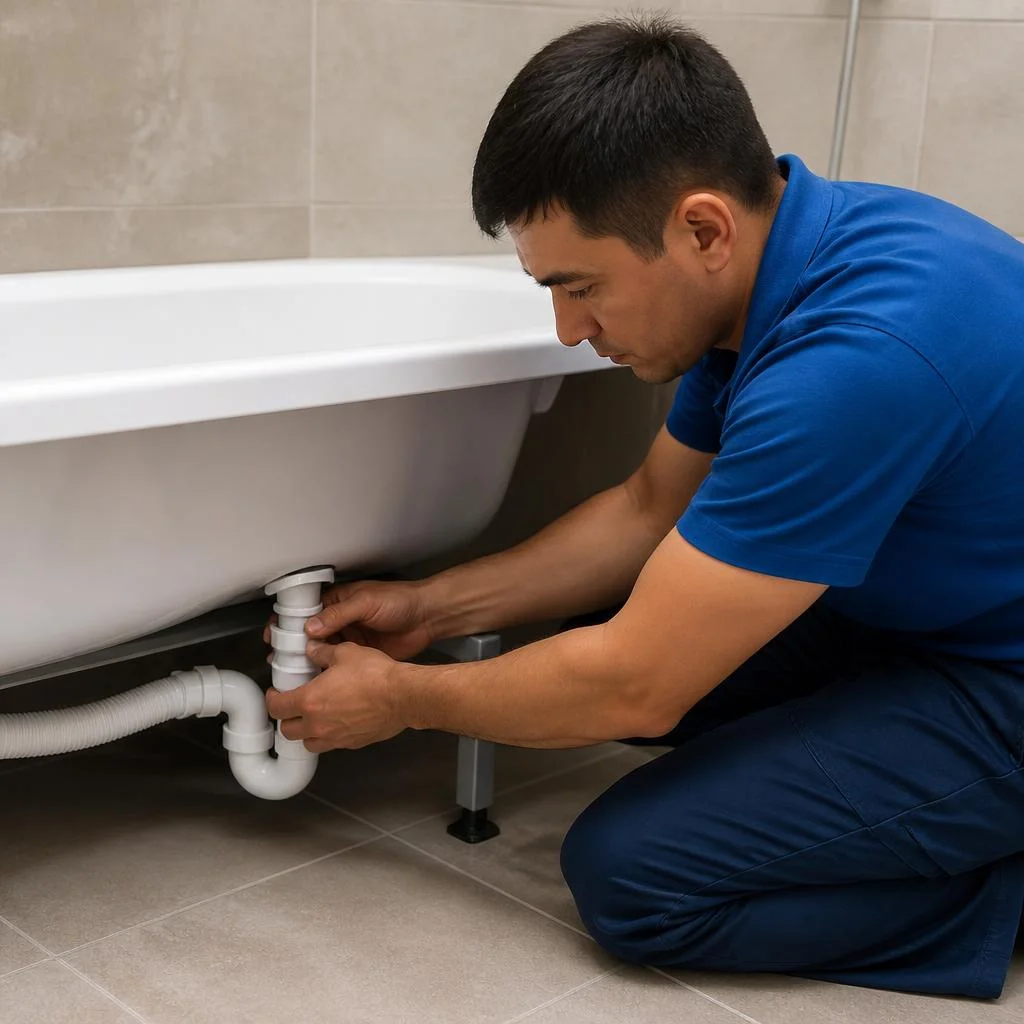
- Connecting the siphon and overflow: assembling the drain unit, checking the slope from the tub to the riser, and a flow test.
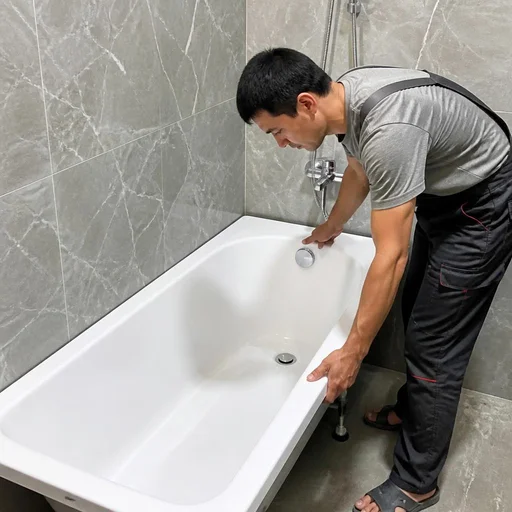
- Sealing the joints: sanitary silicone along the rim and floor, installing the screen and the faucet on the rim.
What "bathtub installation" means in a panel building and in a new development
In the panel buildings of Tashkent, the walls under the tub almost always have a deviation of 1-3 cm, so leveling and waterproofing are mandatory, and in new developments the dismantling of the developer's temporary cladding is added. In older housing stock — Chilanzar, Yunusabad, Sergeli — the sewer riser is often offset relative to the center of the tub, and this is discovered during the measurement before installation, not during the process. In the new residential complexes of Mirzo-Ulugbek and Yashnabad districts, the walls are straighter, but the developer leaves a thin screed that cannot be drilled for the frame fasteners without reinforcement. Eco-Service levels the walls under the bathtub before installation, rather than fitting the tub to a crooked plane with silicone. During the measurement, ask to check the floor slope toward the drain — a difference of more than 5 mm per meter will force you to redo the base.
Can you install a bathtub yourself
Technically, you can install a tub with your own hands, but without experience, three points most often suffer: connecting the siphon to the sewer, sealing the joint between the bathtub and the wall, and setting the level on the legs. A siphon on a dry assembly does not leak, but under the load of water it produces drop after drop at the connection to the outlet — this only becomes visible a day after the first fill. Silicone applied to a wet surface peels off in a strip within 2-3 weeks, and the gap opens up exactly where shower water pours onto it. Legs without locknuts sink under the weight of water and a person, and the rim pulls away from the wall. The main mistake of DIY installation is skimping on waterproofing: on the outside everything looks dry, but the first flood at the neighbors below shows up after 3-6 months, when the entire cladding will already have to be opened up.
What the installation price depends on
Clients often phrase the request as bathtub installation price — and this is an accurate description of what the estimate is made up of: a set of operations, not a single line item "install the tub." Dismantling, haul-away, leveling, waterproofing, the frame, connection, and sealing are calculated separately. The total depends on the tub material, the condition of the walls and floor, the need to reinforce the base, and the scope of dismantling work. The estimate is calculated after the measurement: on site it is clear whether a frame is needed, how many layers of waterproofing will be applied, and whether the sewer outlet will need to be relocated. It is more advantageous for the customer to receive a full estimate before work begins than to agree on "extras" during the process, when the bathroom has already been torn apart. In our practice, two factors most often make a project more expensive — an offset riser and crooked walls: they are identified during the measurement, not in the middle of the work.
Types of bathtubs and their installation specifics: steel, cast iron, acrylic, hydromassage
The type of bathtub determines the support method, the need for a frame, and the set of connections — the installation time and the scope of preparatory work depend on this. We break down how the installation of different models differs.
How the installation of a steel, cast iron, and acrylic bathtub differs
| Bathtub type | Support method | Frame needed | Installation specifics |
|---|---|---|---|
| Steel | Legs + wall mounting | Yes, if the rim flexes | Sound insulation and fixing to the wall |
| Cast iron | Its own weight + legs | No | Placed on a solid base |
| Acrylic | Frame or reinforced legs | Often yes | Mandatory sealing of the joint between the bathtub and the floor |
| Hydromassage | Frame + separate line | Yes | Connection to the power grid via an RCD |
A steel bathtub requires a frame and wall mounting due to the "hollowness" of thin metal, a cast iron one stands on its own weight and legs, an acrylic one rests on a frame or reinforced legs with mandatory sealing of the joint between the bathtub and the floor. We handle the installation of steel, cast iron, and acrylic models in Tashkent. A cast iron bathtub is 3-4 times heavier than an acrylic one — if the floor slabs are weak or the bathroom is on the second floor of a private house, this is taken into account before ordering.
Hydromassage bathtub: what is added to the installation
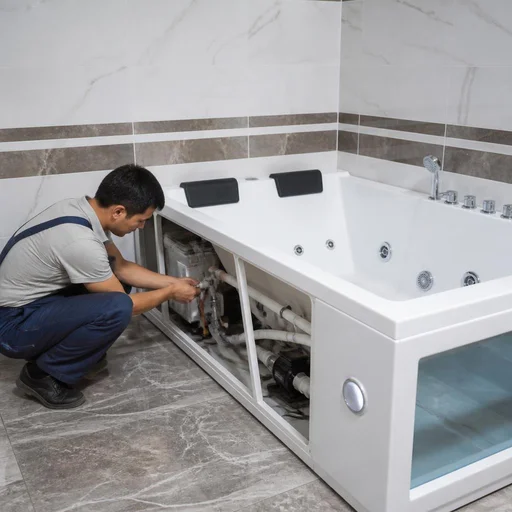
Installing a hydromassage bathtub additionally requires connection to the power grid via a separate line with an RCD and checking the compressor and jets before filling with water. To the standard set — frame, siphon, overflow, sealing — are added wall chasing for the cable, a lead-out to a circuit breaker in the panel, and a test run of the pump. Specialists first check the operation of the jets and compressor dry, then fill the tub. It is better to lay the power line for the hydromassage before the final cladding — after the tiles are laid, chasing the wall will be more expensive and messier.
Corner and freestanding bathtub: nuances of geometry and frame
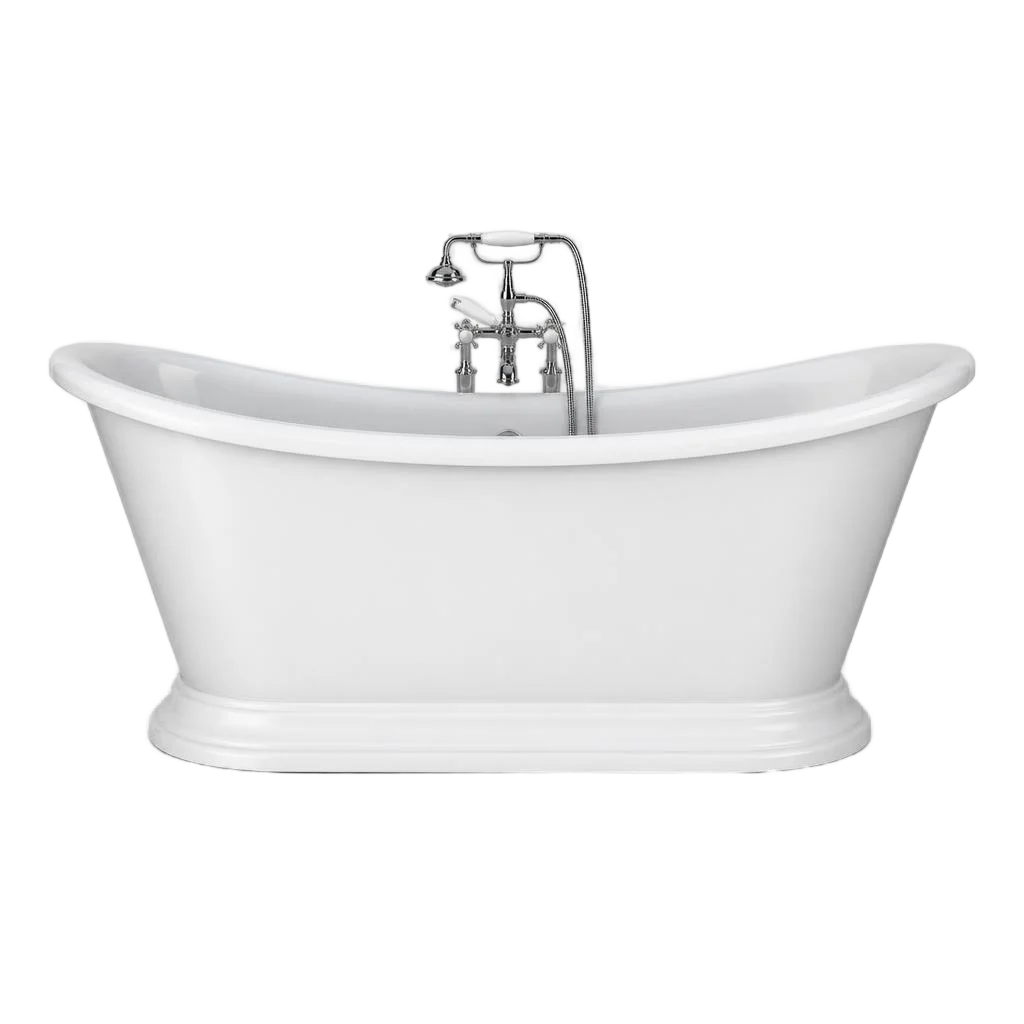
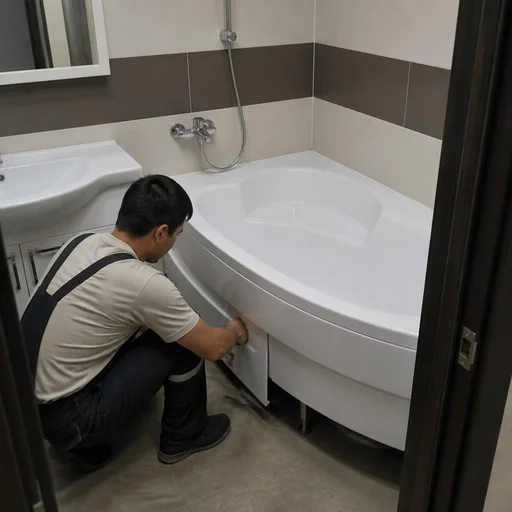
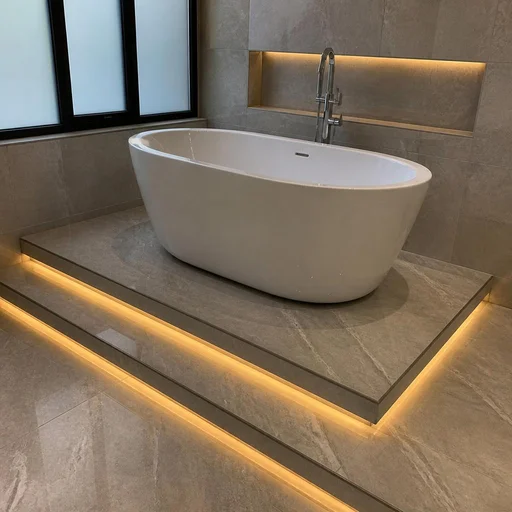
A corner bathtub is installed in the junction of two walls with mandatory sealing on two sides, while a freestanding one is placed on the floor without adjoining the walls — for it, a level base and hidden plumbing are critical. Corner models 140×140 or 150×150 cm require precise marking: a 5 mm skew produces a gap on one of the sides that cannot be closed with sealant. Freestanding tubs are installed on a leveled floor with a slope of no more than 2 mm per meter, otherwise the legs will be adjusted endlessly. We install corner and freestanding bathtubs with level checking on both axes. On a freestanding bathtub, the siphon and drain are visible, so the plumbing is hidden in the floor or a decorative box — this is planned at the measuring stage.
Which bathtub to choose for your bathroom
- Standard bathroom 4-6 m²: acrylic or steel bathtub 150-170 cm — compact geometry; the installation cost is calculated after measuring.
- Spacious bathroom from 8 m²: corner or freestanding model — takes up a corner or the center, leaves a free passage.
- House with strong floor slabs: cast iron bathtub — retains heat, doesn't make noise, doesn't bend under weight.
- Weak floor slabs or second floor: acrylic — 3-4 times lighter than cast iron, the load on the base is minimal.
Preparing the base: leveling, waterproofing, frame
Preparing the base is a stage that is not visible after installation. It is precisely this that determines whether the tub will stand level, whether it will begin to sag under the weight of the water, and whether moisture will leak over the side to the neighbors below.
Why level the walls under the bathtub
Leveling the walls under the bathtub is needed so that the rim fits tightly against the surface with no gap larger than 2-3 mm — otherwise the sealant will not hold the joint and water will escape behind the bathtub. In the panel buildings of Tashkent, walls are often "out of plumb" by 1-2 cm over their height: the deviation is detected with a straightedge and level already during the measurement, before dismantling the old cladding. If the deviation is up to 3 cm, the wall is brought to level with plaster or tile adhesive along the beacons; with a greater skew, plaster will not help — cladding or moving the bathtub rim outward is needed. Through Eco-Service you can order leveling of the walls under the bathtub before installation — the technician takes the geometry and states the exact scope of work. If the wall is "out of plumb" by more than 3 cm, leveling with plaster will not help — cladding or moving the rim outward is needed, and this is decided during the measurement.
Waterproofing of walls and floor in the bathtub area
Waterproofing of the walls and floor in the bathtub area protects the neighbors below from leaks: the joint between the bathtub and the wall, the joint between the bathtub and the floor, and the junction with the riser are treated. In the khrushchevkas and panel series of Tashkent, the riser runs right up against the rim — the coating membrane is applied in two layers, extending onto the wall at least 20 cm above the level of the bathtub and onto the floor 30-40 cm around the drain. Pipe joints and corners are reinforced with tape, otherwise the coating tears when the riser shifts. Eco-Service performs waterproofing of the walls and floor in the bathtub area before laying the tiles — this way moisture does not get into the floor slab between stories. Waterproofing cannot be done over old tiles — the coating will lie unevenly and peel off; the old cladding in the bathtub area is dismantled.
When a frame under the bathtub is needed
A frame under the bathtub is needed for steel and acrylic models without a rigid base: it takes the load off the rims, eliminates sagging and the "hollowness" when water is being run. A standard steel bathtub 150-170 cm without a frame "flexes" under the weight of 200 liters of water — a galvanized steel profile 40×40 mm with a post spacing of 50 cm distributes the load onto the floor and holds the geometry. Acrylic models are mounted on adjustable legs plus a frame around the perimeter: without it, the tub sags and cracks at the corners after 1-2 seasons. Eco-Service installs a frame under the bathtub to reinforce the support — taking into account the material of the tub and the type of floor slab. The profile frame is sheathed with a moisture-resistant material and closed with a screen — this is not only support, but also access to the siphon for maintenance.
What affects how much bathtub installation costs
- Condition of the walls: a skew of up to 3 cm is covered with plaster, a greater one requires cladding or moving the rim outward — the scope of work changes severalfold.
- Type of waterproofing: a single-layer coating membrane is cheaper than a two-layer one with tape reinforcement at the corners and at the riser.
- Material of the tub: steel, acrylic, cast iron and hydromassage require different preparation of the base and different support.
- Presence of a frame: a factory frame comes included, while a welded one made of profile is fabricated on site to the size of the bathroom.
- Dismantling of the old bathtub and cladding: removal and hauling away of the old tub and taking down the tiles in the installation area add separate line items.
Connection and sealing: siphon, overflow, joints
Connection and sealing is the final stage, where mistakes show up fastest: a leak or a peeled seam becomes visible in the first weeks. Let's break down the assemblies that are most often done in a hurry.
Connecting the siphon, drain and overflow
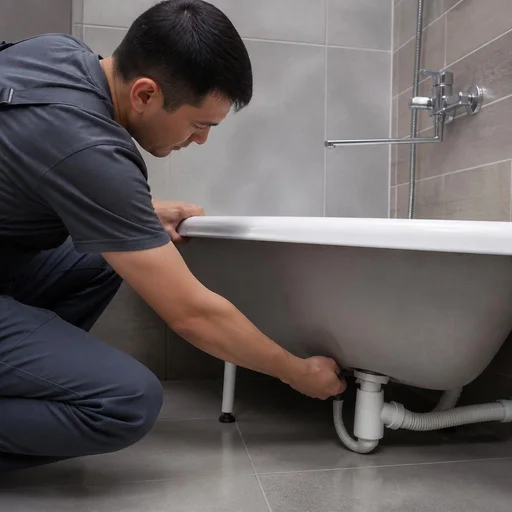
Eco-Service connects the siphon and drain to the sewer system and installs an overflow to protect against overfilling — both assemblies are checked for tightness before the final sealing. On steel and cast-iron tubs, the siphon is attached through the outlet with a rubber gasket and a locknut; on acrylic ones, through the standard drain-overflow with a flexible corrugated hose or a rigid 40 mm pipe, and for freestanding models the sewer outlet is routed into the floor. The overflow is connected to the main drain with a flexible hose at a slope of at least 3 cm per meter, otherwise water stands in the tub and drains slowly. The overflow is often ignored during DIY installation — without it, when the drain is closed, water goes over the edge onto the floor instead of into the sewer. Check both assemblies with a full tub: filling water up to the overflow hole will reveal a leak immediately.
How to seal the joint between the bathtub and the wall
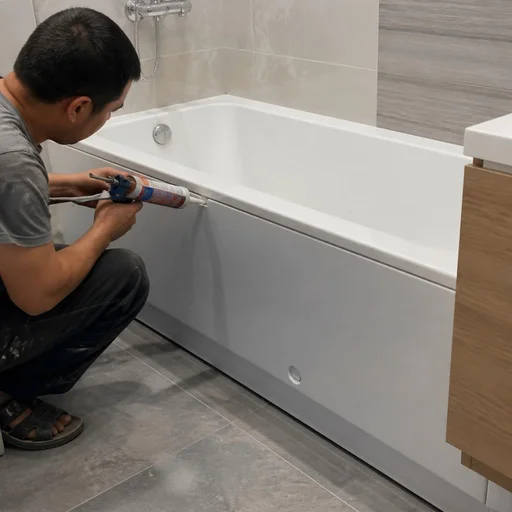
The joint between the tub and the wall is sealed with sanitary silicone after the tub is completely filled with water — then under the weight of the water the rim won't drop and the seam won't come apart. Before applying, the edge is degreased, the seam is taped off with masking tape on both sides, and the sealant itself is smoothed with a spatula with soapy solution in one pass. For acrylic models, use neutral silicone without vinegar — acidic silicone corrodes acrylic and leaves matte spots along the rim. In Tashkent panel buildings, the gap between the tub and the wall often reaches 15-20 mm due to the curvature of the panels; such a seam is closed not only with silicone but also with border tape. Silicone is applied to a dry, degreased surface; if the joint is wet or dusty, the sealant will come away after 2-3 weeks.
Sealing the joint between the bathtub and the floor and installing the screen
The joint between the tub and the floor is sealed with sealant or a border, and the screen under the bathtub is installed at the final stage — it covers the space under the tub and access to the utilities. Eco-Service first checks the slope and the operation of the siphon, then screws the screen to the frame or the tub using clips, and seats the bottom edge on sanitary sealant — this way, water doesn't seep under the rim when washing the floor. The gap between the floor and the rim of 5-8 mm is filled with the same neutral silicone as the upper joint, so the seams match in color. It's better to choose a removable screen or one with clips: when servicing the siphon, it won't have to be dismantled along with the tiles. Installation with sealing of the bottom joint takes 30-40 minutes longer than without it, but fixing a leak costs several times more.
Installing the faucet on the bathtub rim
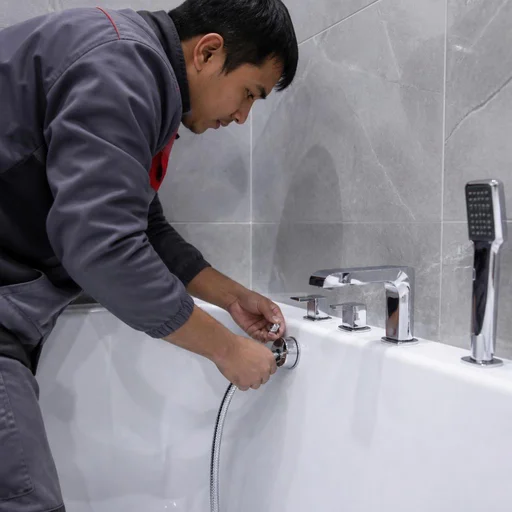
The faucet on the tub rim is installed after the bathtub is installed and the water is connected: a hole is drilled according to the template, gaskets are placed, and it is checked for leaks under pressure. Clients often search for "bathtub and toilet installation price" — this query combines two plumbing assemblies, and from it the technician immediately understands the scope of work. Another frequent search query is bathtub installation in Tashkent: this is how those who need tub installation with connection to utilities search, and from this wording it's immediately clear that it's about a full cycle, not just mounting the faucet. Eco-Service drills the rim with a hole saw of the required diameter strictly according to the markings from the faucet kit, and on cast-iron and steel models first center-punches the point so the drill doesn't wander off. A rubber and paronite gasket is placed under the flange, the nut underneath is tightened without over-tightening — an over-tightened nut cracks acrylic along the radius. Connection to flexible supply lines is done through angle valves, so water can be shut off locally without draining the riser. Check the assembly at operating pressure for at least 15 minutes: a slow drip at the flange doesn't show up immediately, but the day after installation.
Timelines, stages and acceptance of work
The installation time for a bathtub depends on the type of model and the condition of the base, and acceptance is not "looking it over with your eyes" but checking against a list. We break down the timing of the stages and the inspection procedure.
How long bathtub installation takes
Installing a bathtub in a standard bathroom takes one working day if no removal of the tiling and wall leveling are required; with base preparation the cycle stretches to 2-3 days. Removing a cast-iron bathtub takes 1.5-2 hours, carrying it out — another hour, leveling the walls under the rim — half a day, waterproofing and tile laying add a day with pauses. Eco-Service performs the full cycle in 1-3 days depending on the scope of preparation. Waterproofing needs a technological pause to dry before tile laying — if the installer suggests "pour it and lay right away," the coating will not gain strength, and in six months the seam under the rim will start letting water through to the neighbors below.
Checklist for accepting an installed bathtub
- Stability: the bathtub stands without wobbling — press on the rim at the head end and at the drain, any play is unacceptable.
- Joint between bathtub and wall: the sealant is applied in an even bead without gaps, the fit is tight along the entire length.
- Trap and overflow: under the drain and around the overflow opening it is dry after 10 minutes of water running.
- Drainage: water drains without stagnation, no puddle remains at the bottom, the drain does not gurgle.
- Panel: secured rigidly, does not pull away from the rim when pressed, the gap to the floor is even.
- Faucet: stays on the rim without movement, the stream runs evenly, switching to the shower does not leak.
Bathtub and toilet installation: can they be ordered together
Eco-Service performs bathtub and toilet installation in a single visit — this saves the installer's time and the cost of the visit if both fixtures are being replaced as part of a single bathroom renovation. Bathtub and toilet installation price is calculated by two price-list items, not at a higher rate for a combined order: removing the old toilet takes 40-60 minutes, installing the new one — 1-1.5 hours, connection to the sewer and water is checked separately from the bathtub. Clients often search for bathtub installation prices — and land on our page, where the estimate is made up of standard price-list lines without a markup for a combo order. With a combo order, the bathtub is installed first, then the toilet: this way the installer does not risk touching the already installed fixture while working with the rim and joints, and the final check of both units is done in one pass.
2-Year Warranty and Eco-Service Service Center in Tashkent
A warranty and an in-house service center are what distinguish a direct service provider from a private handyman with an ad. Let's break down exactly what the two-year warranty covers, how the center works, and how payment is handled.
What the 2-year installation warranty covers
Eco-Service provides a 2-year warranty on installation: it covers the sealing of joints, the connection of the siphon and overflow, the stability of the bathtub, and the performance of the frame. The warranty list includes sealing the joint between the bathtub and the wall, sealing the joint between the bathtub and the floor, adjusting the legs, and mounting to the wall — all the components that determine whether water will leak under the tub or whether it will start to wobble. For hydromassage models, the warranty covers the connection but not the pump and jets themselves — that is the manufacturer's responsibility. The warranty is void if the product was dismantled or moved by the customer after installation: the fastening and sealing are compromised, and this is visible upon inspection.
In-house service center in Tashkent: what it provides
Eco-Service has its own service center in Tashkent: requests are accepted in person, the technician dispatches from the center, and for warranty cases the same contractor arrives, not a third-party crew. The center works with cast iron, steel, acrylic, and hydromassage models, so the technician on site knows the typical components of a specific tub and brings the necessary consumables — siphon, gaskets, sealant. If the installation was performed in a new building with uneven walls, the report documents how the base was leveled and what frame was installed. When making a warranty claim, it is important to keep the acceptance report — it shows the center what work was performed and in what configuration.
How to pay for the bathtub installation service
Payment for installation at Eco-Service can be made via Click, Payme, Uzcard, and Humo — in cash or by card, after signing the work acceptance report. Bathtub installation Tashkent price depends on the type of tub, the scope of preparatory work, and the condition of the base, so the estimate is agreed upon before installation begins, and the final amount is fixed in the report. Payment is accepted both online and on site: a receipt is given to the courier or technician, and a copy of the report remains with the customer. Bathtub installation Tashkent price consists of dismantling the old tub, leveling the walls, waterproofing, installing the frame, and connecting the siphon with overflow. The receipt and acceptance report are the only documents by which a warranty claim is later processed; without them, the center will not confirm the fact and date of installation.
Conclusion
Bathtub installation is a process where the result is determined by invisible stages: base preparation, sealing, and the correct selection of fasteners for a specific type of tub. Below are five takeaways worth keeping in mind before starting work.
Key takeaways
- The type of bathtub determines the installation method: steel and acrylic are placed on a frame or adjustable legs, cast iron is held by its own weight on a prepared base.
- The base is the invisible stage: leveling, waterproofing, and the frame determine whether leaks will appear a year or two after installation.
- The joint between the tub and the wall is sealed with the bathtub filled: an empty tub will sag under the weight of water, and the seam will separate.
- Work time is 1 day without base preparation and 2-3 days with dismantling, waterproofing, and pouring.
- Acceptance by checklist and the work report are the documents that protect you in a warranty claim for a leak or seam separation.


