








Why lightning protection is needed and which objects in Tashkent it protects
In the climate of Uzbekistan, lightning is not a theoretical risk: thunderstorms occur from April to October, and a strike hits both private houses and warehouses with production facilities. Let's break down whom the system protects and why the objects differ.
How lightning damages buildings and what exactly the system protects
A strike carries a current of up to 200 kA and damages a structure through three channels — a direct strike, potential transfer through utilities, and impulse overvoltage in the network. On a direct hit, the current travels along the path of lightning arrester — down conductor — grounding device, and if this path is broken, the discharge goes through the roof, rafters and rebar, burning through them and igniting the insulation. Potential transfer is more dangerous because it comes from outside: through pipes, communication cables, overhead lines, and strikes equipment inside, even though the building itself remains intact. The third channel is impulse overvoltage: induction from a discharge 300–500 m away disables electronics, boilers, pumps and smart home systems, so protection without SPD covers only part of the risk. Installing lightning protection without a grounding device with standardized resistance and a cascade of SPDs at the input leaves the system incomplete — practice shows this on every second object.
Which objects in Tashkent are protected from lightning
- Private houses and cottages: category III–IV at a height of up to 10 m, usually a rod lightning arrester and one grounding loop are sufficient.
- Commercial buildings and offices: category II–III, the roof, input panels and server rooms are protected, SPDs are installed at every input.
- Warehouses and production: category I–II when flammable materials are stored, a reinforced loop and a lightning mast for high spans.
- Objects with solar panels: category II with separate grounding of the frames and DC SPDs, otherwise the impulse burns out the inverter.
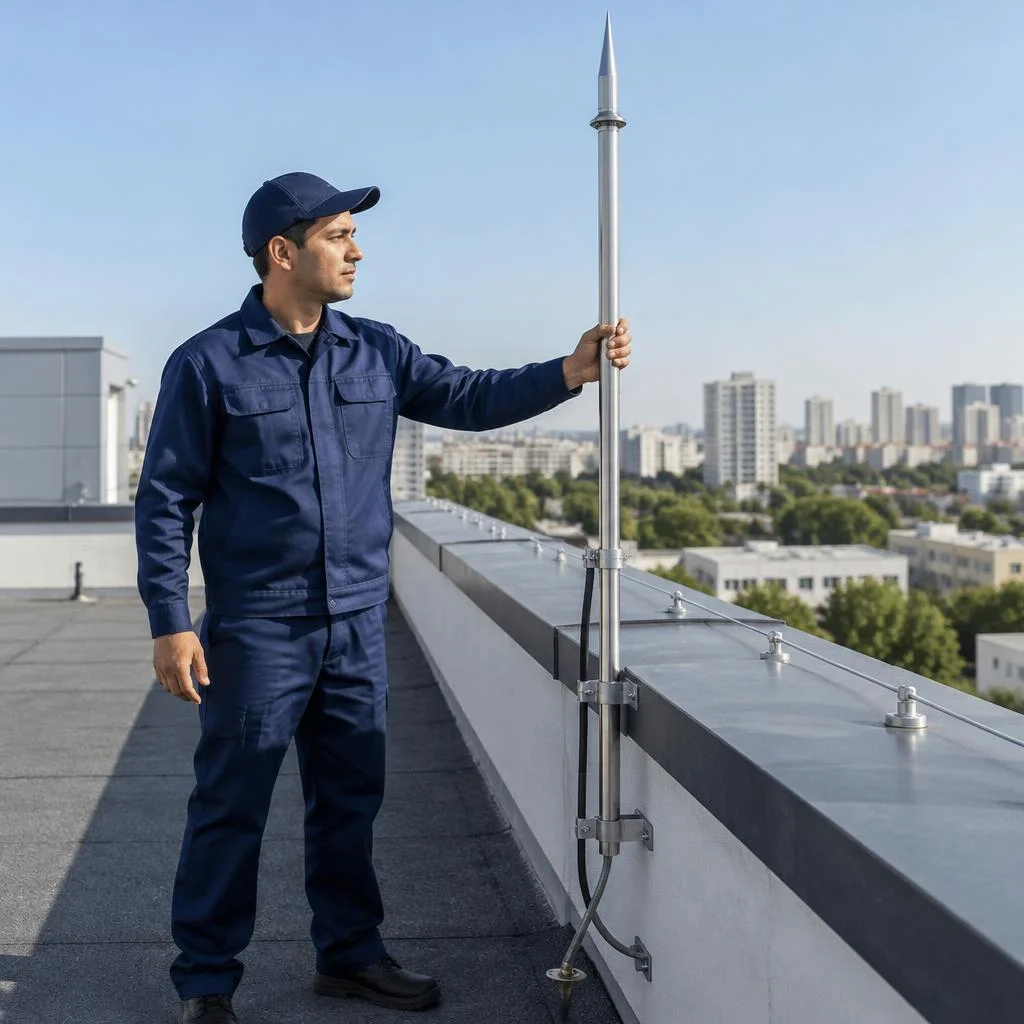
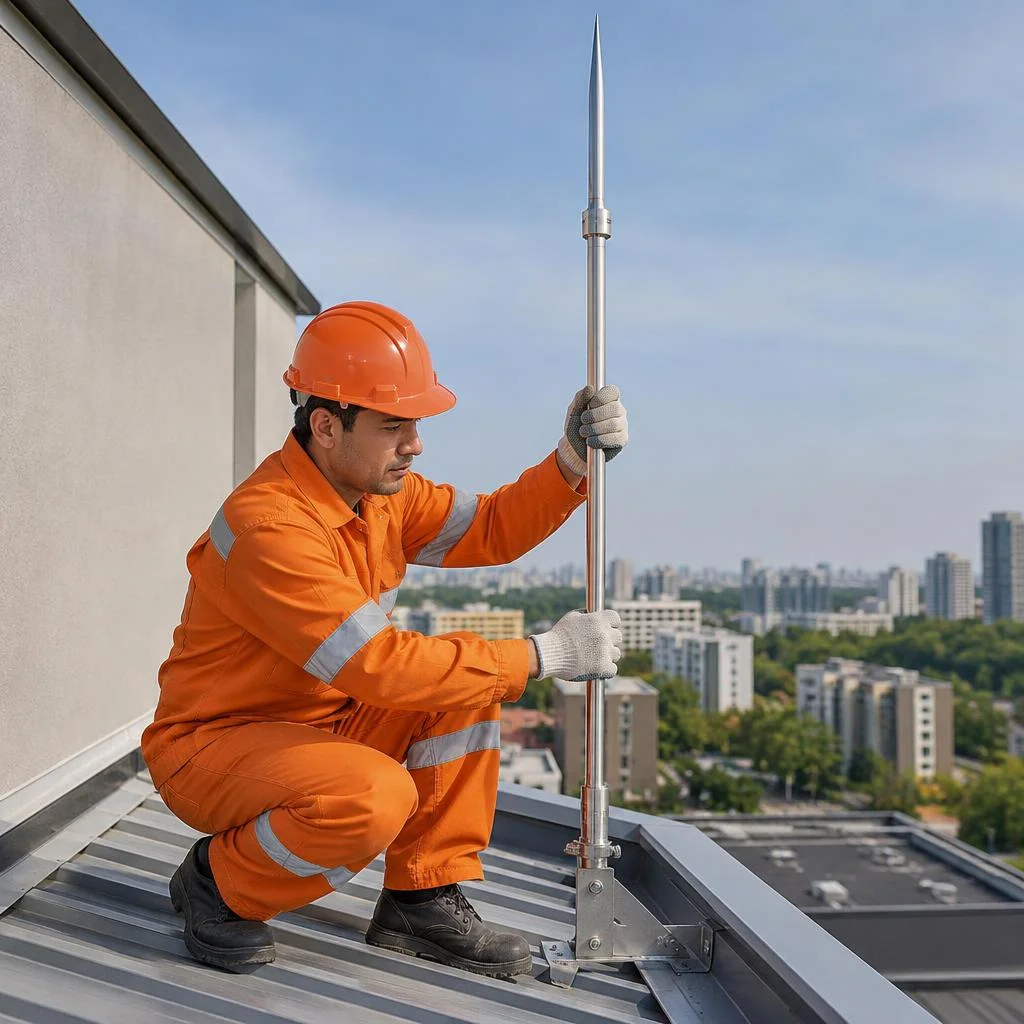
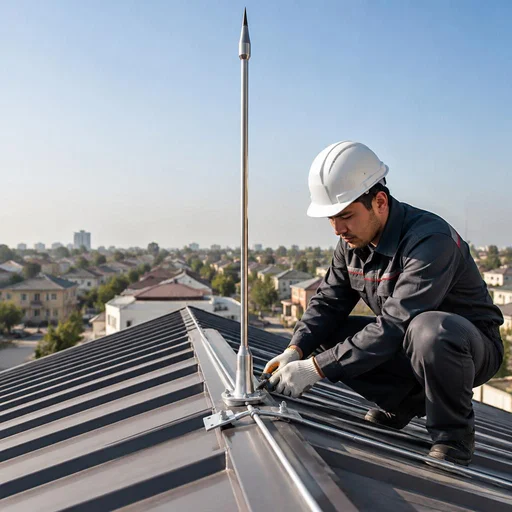
- Buildings with metal roofing: the roof itself often takes on the role of the arrester, and we supplement the system with down conductors along the facade and clamps.
How the climate and development of Tashkent influence the choice of system
Tashkent is dominated by clay and loamy soils with high resistivity, and dense development increases the risk of potential transfer between neighboring buildings. Clay at a depth of 1.5–3 m holds moisture unevenly: in summer the top layer dries out, and the resistance of a single electrode jumps 2–3 times compared to winter measurements. In mahallas and new neighborhoods, houses stand close together, overhead lines and pipes link neighboring structures into a common network, so a discharge 100–150 m away easily enters a neighbor's equipment through a cable. The second factor is height: high-rises and minarets in the center attract strikes, while low houses nearby receive induction rather than direct hits. On clay, a single rod often does not provide the standard 10 ohms — one has to use modular rod grounding made of several electrodes or a deep grounding electrode.
Types of lightning arresters: rod, cable, mesh and mast
The type of lightning arrester determines the protection zone, material consumption and installation complexity. Let's look at four solutions that we install at sites in Tashkent, and show the parameters by which they are selected.
Rod lightning arrester — when a single rod is enough
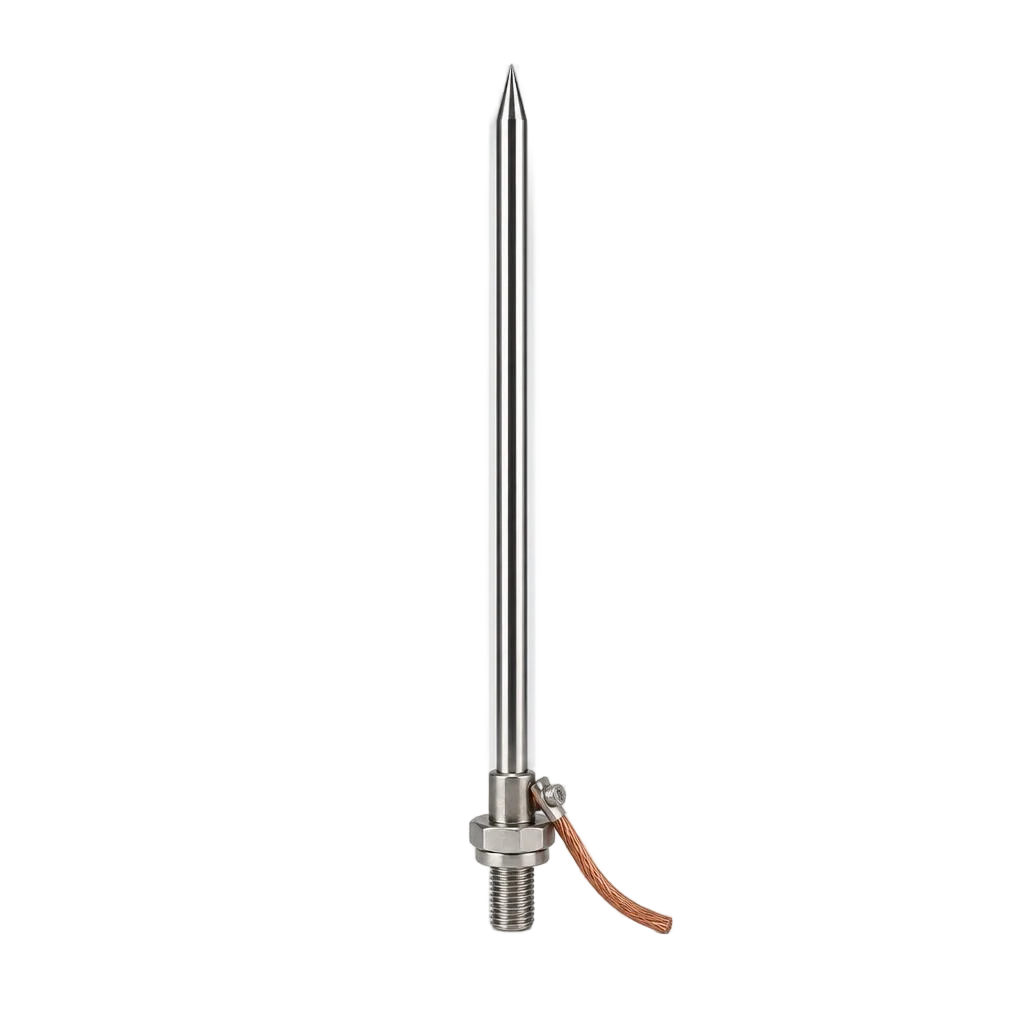
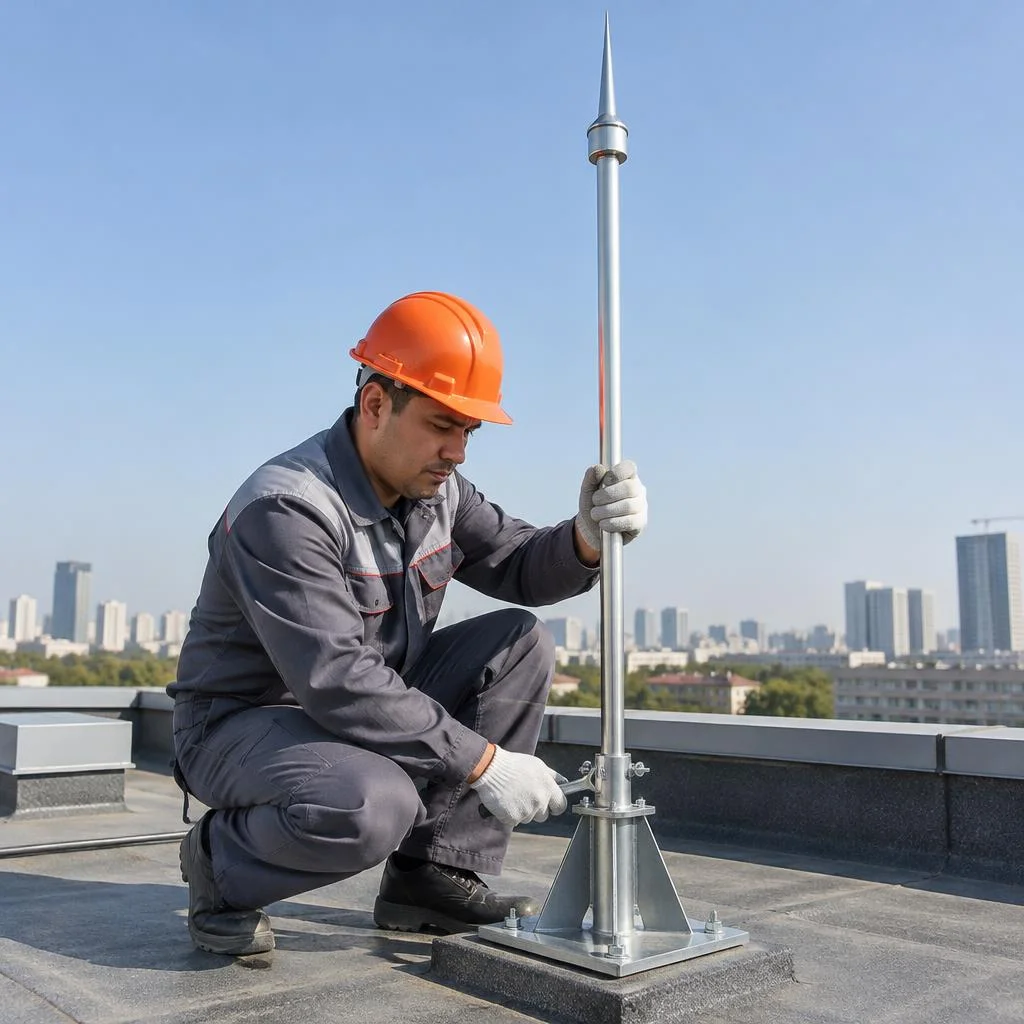
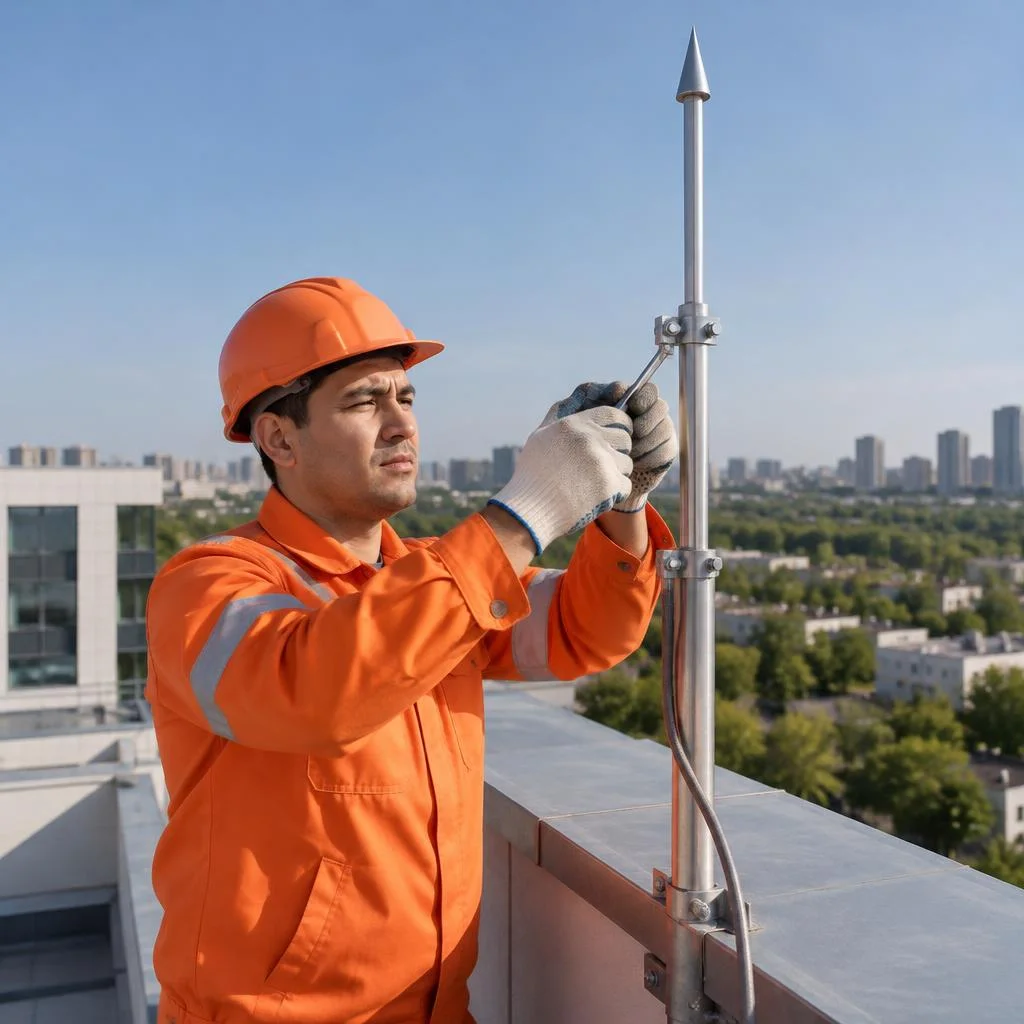
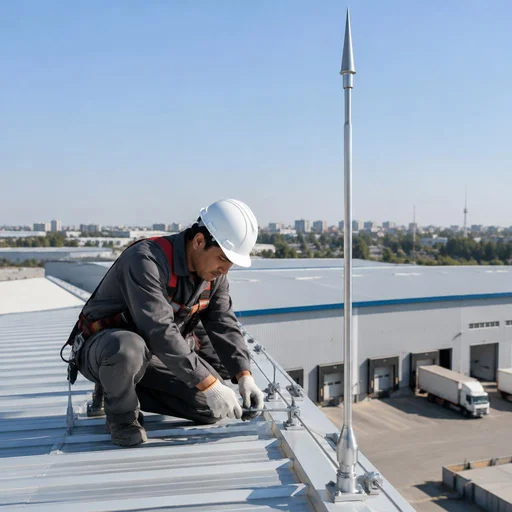
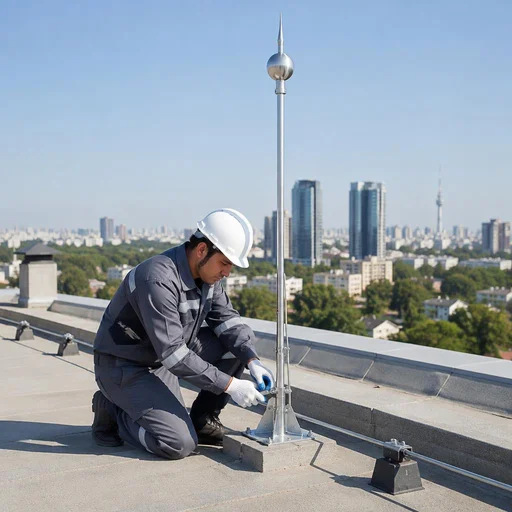
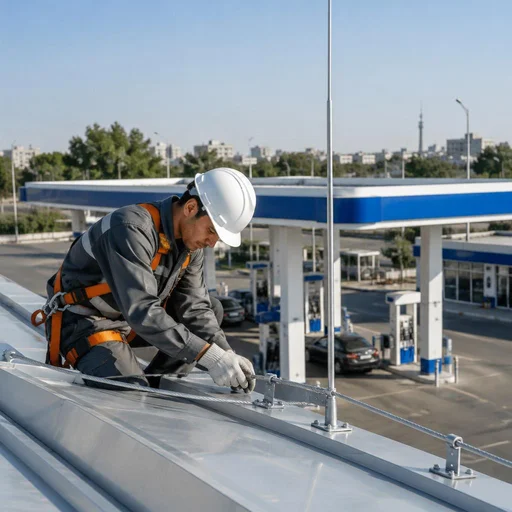
We install a rod lightning arrester on private houses and small buildings: a single rod 2–6 m high protects a zone with a radius of up to 15 m at category III. The rod is mounted on the ridge or on a chimney pipe, a down conductor is routed from the base along the facade, and a grounding loop is installed beneath it. Installing lightning protection on pitched roofs with an area of up to 150 m² takes one to two days, including the installation of connecting clamps and resistance measurement. A rod is advantageous on pitched roofs, but when the building height exceeds 12 m, a single rod does not cover the entire area — either a lightning protection mast or several arresters are required.
Cable and mesh lightning arrester for complex roofs
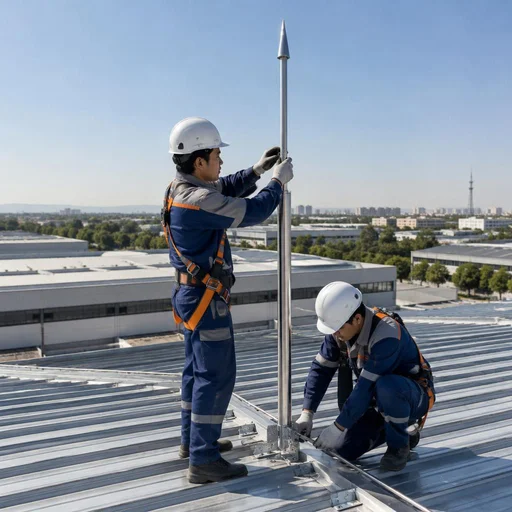
We install cable systems on extended roofs and mesh systems on flat roofs of commercial buildings, where uniform protection of the entire area is important. The cable is tensioned between two supports above the ridge, the spacing of the supports is selected according to the length of the slope, and the cable itself is connected to the down conductor via clamps. A mesh with a 5×5 m cell according to IEC 62305 covers a flat roof entirely, but requires more connecting clamps — on a metal roof, the mesh is often replaced by the roof itself as a natural arrester. In our practice, on warehouses with corrugated sheeting, this approach reduces material consumption by almost half.
Comparison of lightning arresters by site and installation
| Type of arrester | For which site | Roof shape | Protection category |
|---|---|---|---|
| Rod | Private house, cottage | Pitched | III–IV |
| Cable | Extended building | Pitched, hipped | II–III |
| Mesh | Commercial site | Flat | I–III |
| Mast | Industrial site | Any | I–II |
At sites with multiple roof levels, we combine a rod and a mesh — this is cheaper than installing a mast and more reliable than a single rod.
Composition of a lightning protection system: air terminal, down conductor, grounding, and SPD
Lightning protection is not a single rod on the roof, but a connected circuit: the air terminal receives the strike, the down conductor carries it downward, the ground electrode dissipates it into the soil, and the internal protection suppresses the surge in the network. Let's break down each component.
Down conductor: how the discharge current travels from the air terminal to the ground
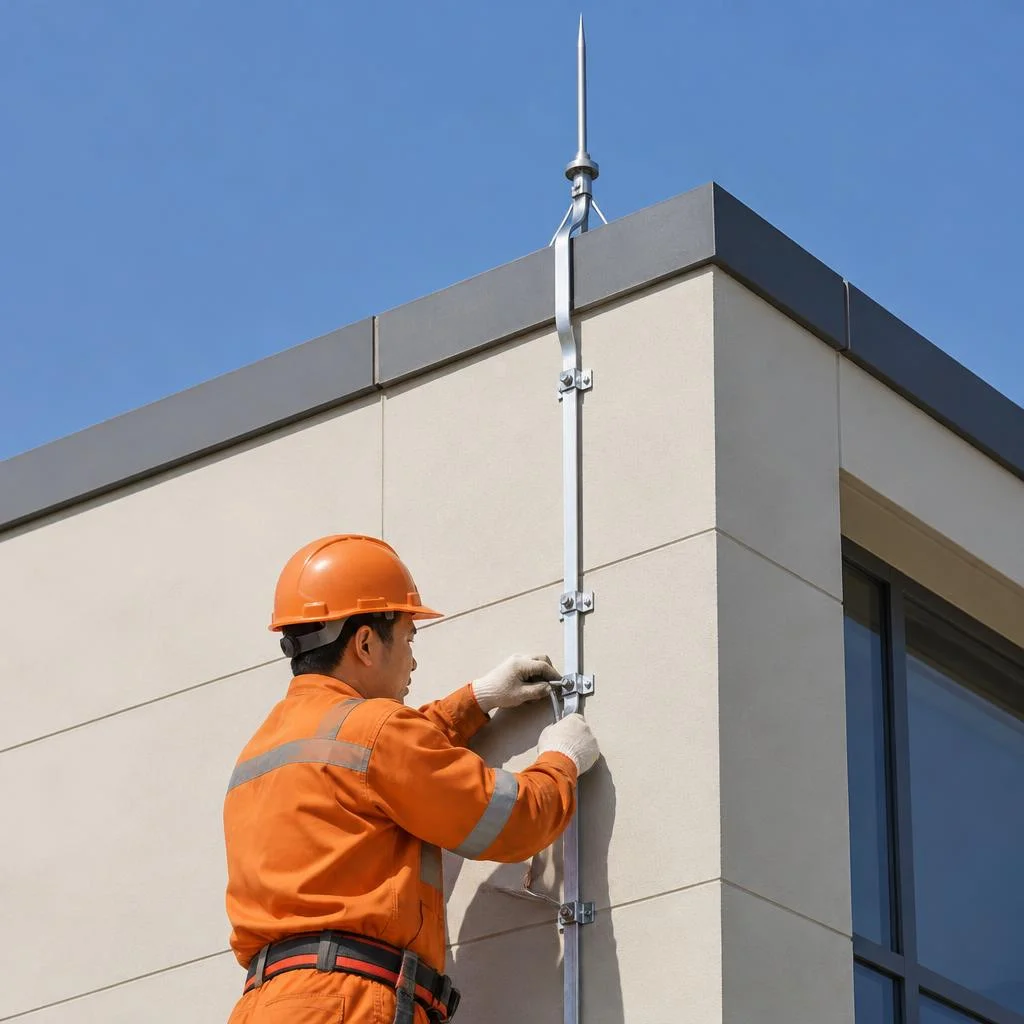
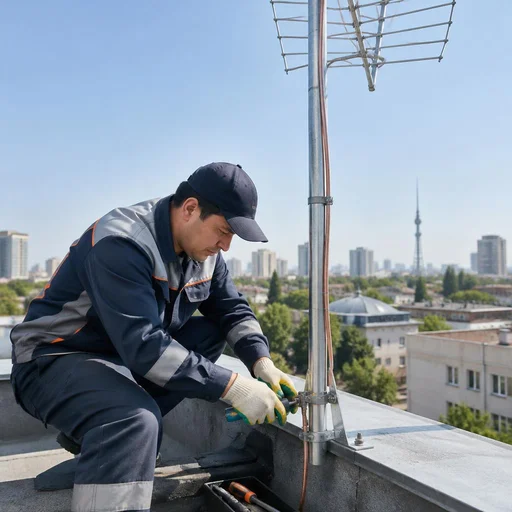
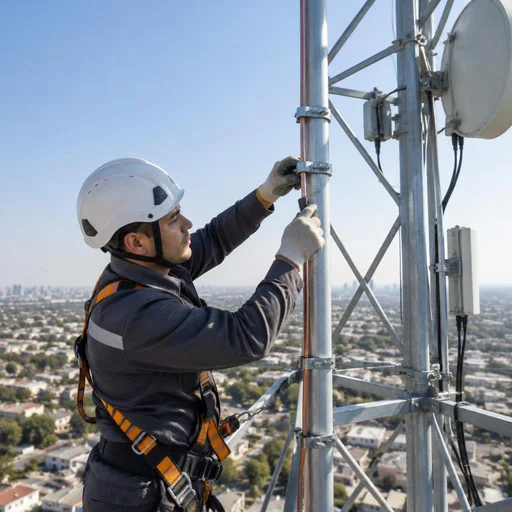
We route the down conductor along the facade or roof with a fastening spacing of no more than 1 m — galvanized steel or copper carries the discharge current to the ground electrode without heating the structure. The conductor cross-section is selected for the design current: for round steel this is 8 mm, for flat strip — 20×3 mm, for copper — 50 mm². On complex roofs, the down conductor is routed so that the path follows the shortest route to the ground without sharp bends or loops. Along the facade, the conductor is run on holders; along the roof — on connecting clamps that maintain circuit continuity at every joint and turn. The down conductor must not be routed right next to a gas pipe or antenna — a spark gap occurs during a discharge, so the path is kept at least 0.5 m away from metal utilities.
Lightning rod grounding: loop, deep-driven, and modular rod ground electrode
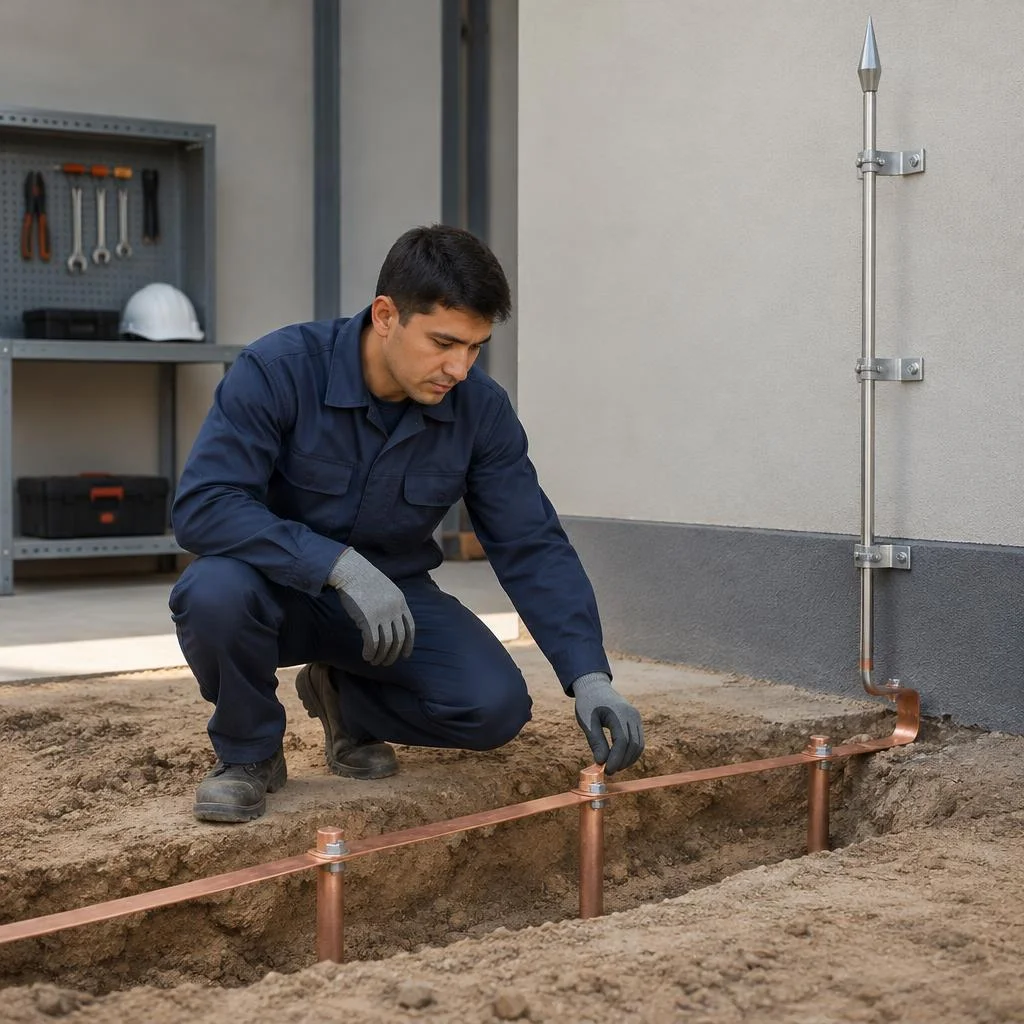
- Grounding loop: three to five 50×50 mm angles, welded to a 40×4 mm strip along the perimeter of a trench 0.5–0.7 m deep.
- Deep-driven ground electrode: a rod 3–6 m long is driven to its full depth, bypassing the dry topsoil layer.
- Modular rod grounding: a set of rods with couplings, extended to the required resistance without excavation.
- Grounding strip: connects the electrodes to each other and is brought out to the down conductor on the facade.
- Grounding resistance: measured with an instrument after installation and recorded in a report.
Internal protection: SPD, surge arrester, and discharge device in the panel
We install an SPD, a surge protective device, and a discharge device in the incoming panel — they protect electronics, boilers, and solar panels from surges carried in through the network. The SPD is installed in cascades: the first level at the incoming line suppresses the main wave, the second at the distribution panel finishes off the remainder, the third at sensitive equipment. For a private house in Tashkent, two levels are usually sufficient; for a facility with solar panels, DC-side protection is added. An SPD only works with combined grounding with the electrical system — if the grounding loops are separate, the surge still passes into the network, and the protection proves useless.
What makes up a lightning protection system kit
| System component | Elements | Function |
|---|---|---|
| External protection | Air terminal, holders | Receiving the discharge |
| Down conductor | Conductor, connecting clamps | Carrying current to the ground |
| Grounding | Electrodes, grounding strip | Dissipating current in the soil |
| Internal protection | SPD, discharge device | Protecting electronics and the network |
| Measuring point | Terminals, instrument break | Resistance measurement |
The system kit is assembled for the specific facility, but the basic set of components is the same. You cannot cut corners on connecting clamps: they are what maintain circuit continuity, and an oxidized contact negates the operation of the entire system.
How lightning protection installation works: turnkey stages of work
The installation of the system goes from calculation to the facility's certificate. Let's break down what the engineer does at each stage, which documents are drawn up, and how long the work takes.
Design and calculation of the protection zone
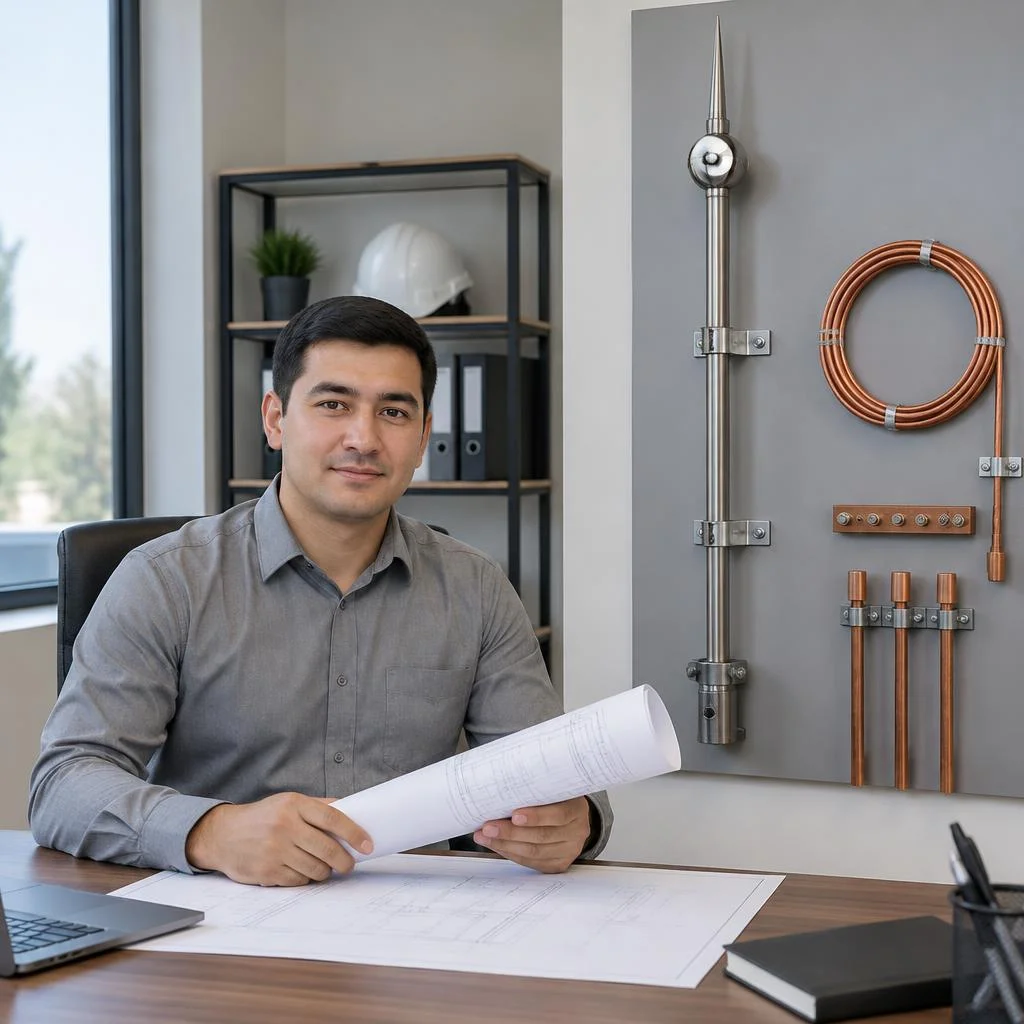
Eco-Service begins with designing the lightning protection system: the engineer calculates the protection zone according to SO 153-34.21.122-2003 and IEC 62305 and determines the category of the facility. The dimensions of the building, the height of extensions, the roof material, and the presence of explosive zones determine the type of zone A or B and the lightning protection category from I to IV. For a private house with an attic and a garage, the calculation often shows that a single rod on the ridge is not enough: the zone does not cover the extension, and a second air terminal or a catenary line along the slope is needed. The design includes the down conductor layout, grounding points, and locations for installing surge protective devices (SPDs). The protection zone calculation is done before purchasing materials — if you buy the air terminal first and calculate afterward, the zone often does not cover the extension or garage, and the kit has to be purchased additionally.
Installation of the air terminal, down conductor, and grounding
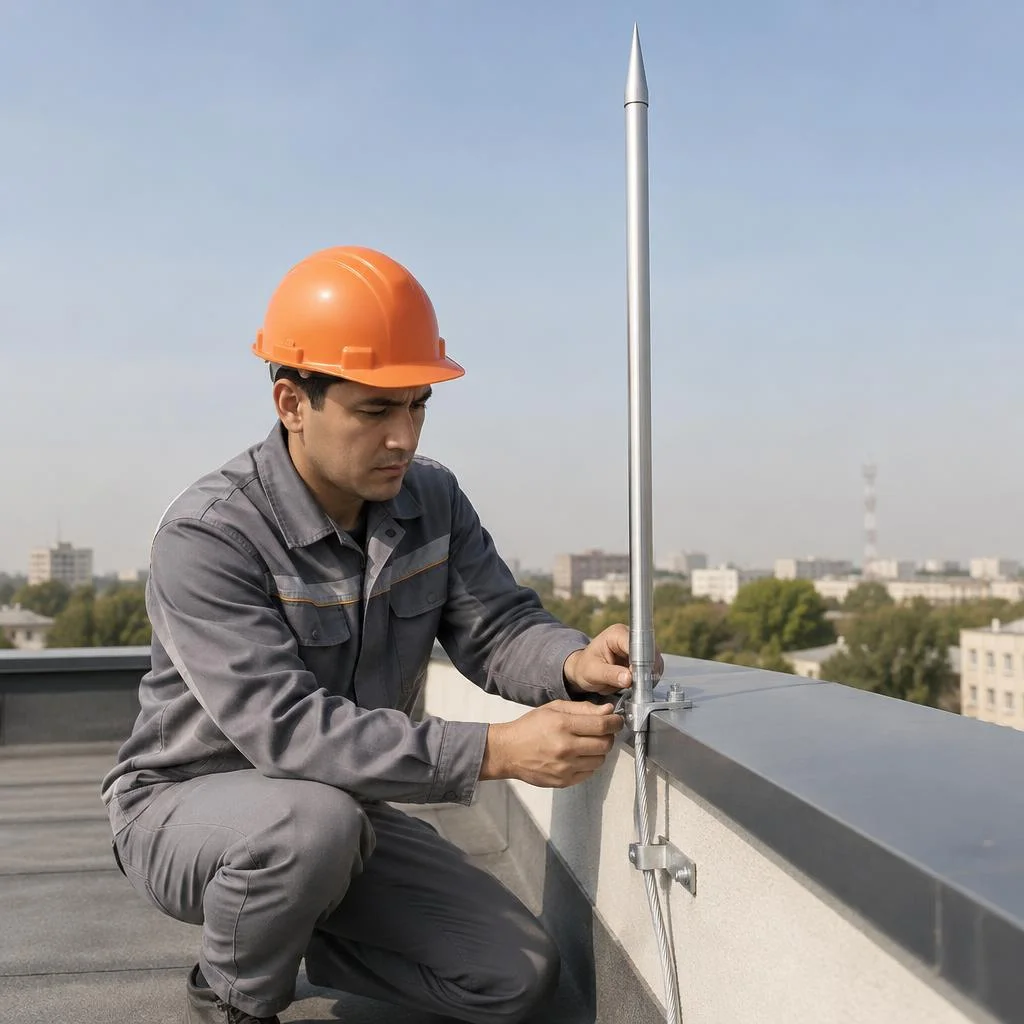
- Air terminal: a rod, catenary wire, or mesh is fastened on the roof taking into account the type of covering — the assemblies differ on metal and soft roofing.
- Down conductor along the facade: laid from the air terminal to the ground along the shortest path, bypassing windows and balconies, with the fastening spacing according to the standard.
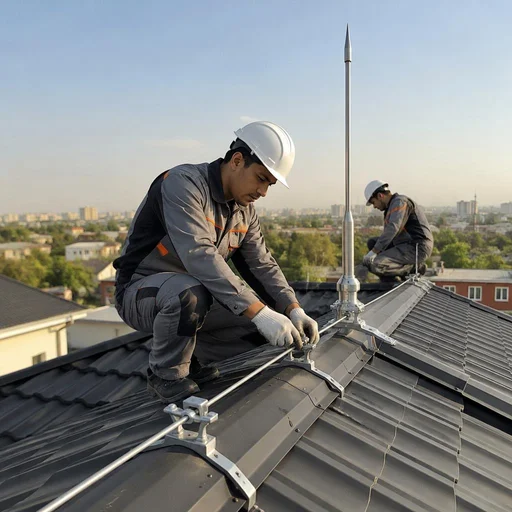
- Down conductor installation along the roof: used on flat and metal roofs where a descent along the facade is impossible or lengthens the circuit.
- Grounding loop: assembled from strip, deep-driven, or modular rod electrodes depending on the soil and the area of the plot.
- Connecting clamps: installed at the junction points of the air terminal, down conductors, and grounding — the continuity of the circuit depends on them.
Resistance measurement and lightning protection certificate
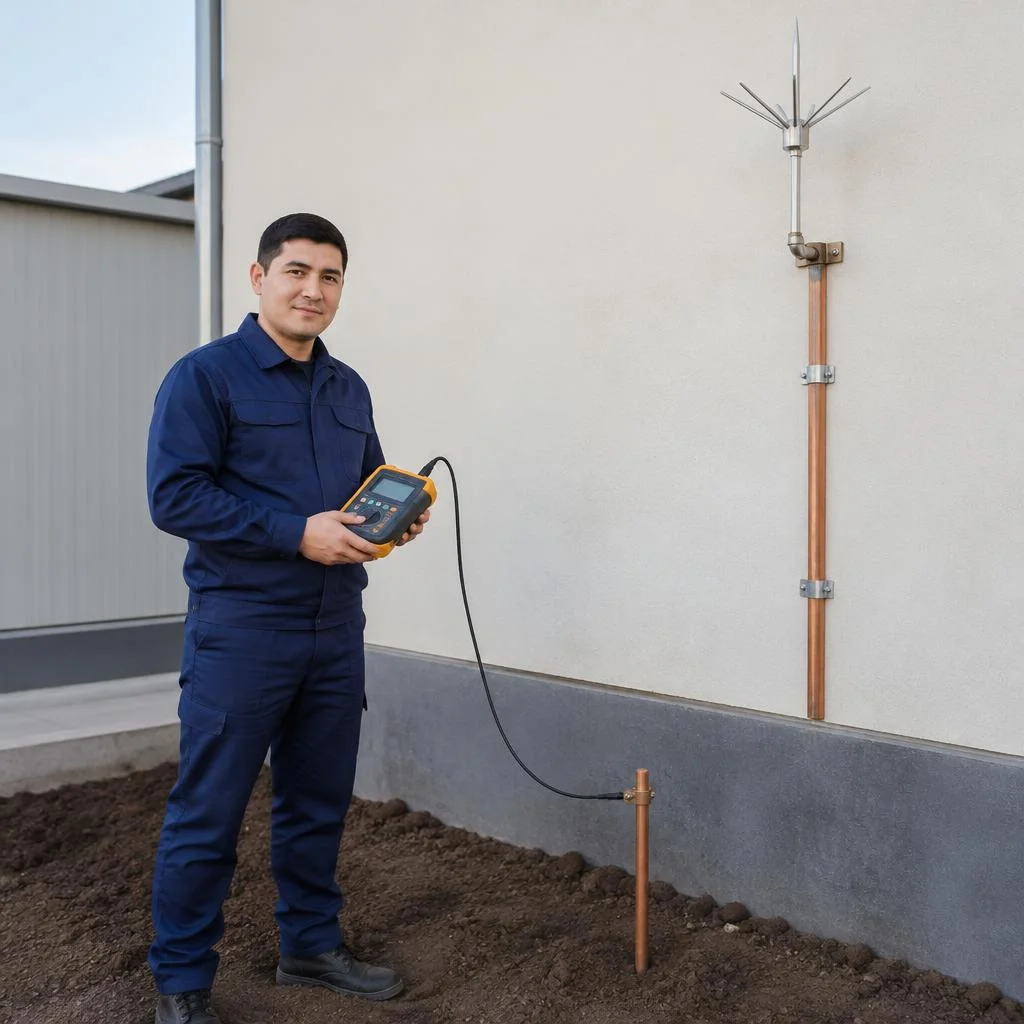
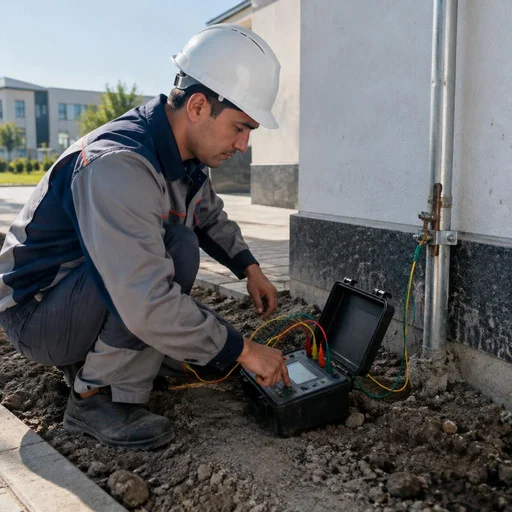
Eco-Service measures the grounding resistance after installation and draws up the lightning protection certificate — the document is needed for handing over the facility to inspection and for further audits. The measurement is carried out with an instrument using a three-wire scheme, and the result is recorded in a report with reference to the loop points. The certificate includes the system layout, protection category, data on down conductors, grounding, and SPDs, as well as the measurement results; if the facility is handed over to supervisory authorities, the certificate and report go into the set of documents together with the design. The measurement is done in the dry season: moist soil lowers the resistance, and a system that passed the check in spring may not meet the standard 10 ohms in summer. Work on a private house takes 1–2 days, while lightning protection installation on an industrial facility stretches to a week due to the size of the loop and the number of down conductors. If you are interested in the cost of installing a lightning rod, it depends on the type of air terminal, the length of the route, and the complexity of the grounding loop.
Installing a lightning rod in a private house: specifics and common mistakes
A private house is the most frequent request for lightning protection in our practice. Let's look at how installation here differs from an industrial facility and which mistakes occur most often.
How installation on a private house differs from an industrial facility
We install a lightning rod in a private house using a simplified scheme: one air terminal, one down conductor and a ground loop of 3 electrodes — as opposed to a multi-point system at an industrial facility, where air terminals are placed every 10-12 meters along the roof perimeter. For a one-story house with an area of up to 120 m² with a gable roof, a 2-meter rod on the ridge and a down conductor with a cross-section of 50 mm² made of galvanized steel or copper is sufficient. On a building with an attic and an extension, a single lightning rod often does not cover the entire area — the protection zone is calculated along the ridge and the extreme points of the roof, not the center of the building, so two or three air terminals may be needed. Before installation, request a calculation of the protection zone in accordance with SO 153-34.21.122-2003 with a roof plan — without it, the contractor places the rod "by eye," and the corner part of the house remains outside the protection.
Common mistakes during DIY installation
- Thin down conductor: a 6-8 mm rod or wire instead of a 25×4 mm strip — during a 100 kA discharge, the metal melts and the current travels down the wall.
- Welded ground loop without measurement: the welds burn through and crack, and no one measures the resistance — the system formally exists but does not work.
- No SPD: the lightning rod diverts the discharge, but the impulse through the wires reaches the equipment — without a surge protective device, the boiler, router, and inverter burn out.
- Ground loop near a path: the ground electrode is placed right next to a footpath or the apron around the house where people walk — during a discharge, the step potential difference becomes lethal.
- Break between grounding systems: the lightning protection loop is not connected to the electrical installation's grounding — during a discharge, a potential difference of thousands of volts arises between them.
What turnkey lightning rod installation includes
- Engineer's site visit and soil measurement: we measure the soil resistivity on the plot — the number of electrodes and the burial depth depend on it.
- Calculation of the protection zone: we draw up a scheme in accordance with SO 153-34.21.122-2003 with the air terminal tied to the roof plan and the ridge height.
- Installation of the air terminal and down conductor: we install the rod or mast, and route the down conductor along the facade with fasteners every 1-1.5 meters.
- Assembly of the grounding loop: we drive in the electrodes, connect them with strip, weld or crimp with clamps.
- SPD installation and measurement: we install a surge protective device at the service entrance, test the loop with an instrument, and issue the lightning protection certificate.
Warranty, timelines and maintenance of the lightning protection system
After the facility is handed over, the system does not remain unattended: connections oxidize, the soil around the ground loop settles, and the roof gets repaired. Let's break down what warranty we provide, what the timelines depend on, and how maintenance of installed systems is carried out.
2-year warranty and what it covers
Eco-Service provides a 2-year warranty on all lightning protection installation work — it covers the installation of the air terminal, down conductor, grounding and SPD. The warranty period includes replacement of failed connecting clamps, tightening of bolted connections on the down conductor, restoration of welded and threaded contacts of the ground loop, and checking the functionality of the surge protective device in the panel. If after the thunderstorm season the resistance of the ground loop has risen above the design value, we carry out the visit and repeat measurement free of charge. The warranty remains valid only with periodic inspection of the system — oxidized clamps and settled soil around the ground loop are not considered a warranty case if no inspection was carried out.
Installation timelines and what they depend on
Eco-Service performs lightning protection installation on a private house in 1–2 days, on a commercial facility — in 3–5 days, depending on the area and number of air terminals. For a cottage with an area of up to 200 m², one rod air terminal and two down conductors along the facade are usually sufficient; on a warehouse or production building we install a roof grid with a cell pitch of 6×6 m and at least four down conductors. Most often, clients search for the cost of lightning protection installation — and land on our page, where the price is calculated after a site visit. The final amount depends on the number of air terminals, the length of down conductors and the type of ground electrode — a deep-driven one on clay or a modular rod one on rocky soil. It is not the installation that stretches the timeline, but the preparation: drilling for a deep-driven ground electrode in dense clay takes more time than assembling the entire external part of the system.
Audit and maintenance of existing lightning protection
- Checking down conductors: inspection of fastenings along the facade, measurement of transition resistance at connection points and identification of breaks after roof repairs.
- Revision of clamps: selective disassembly of assemblies, cleaning of contact surfaces and tightening of threads with a torque wrench to the design torque.
- Measurement of grounding resistance: testing with an M-416 device or equivalent, comparison with the design value and conclusion on the suitability of the ground loop.
- Checking the SPD: testing the surge protective device with cartridge replacement if the indicator shows it has tripped.
- Repeat audit after changes: installation of solar panels or adding a floor shifts the protection zone, and the previous calculation is no longer relevant.
Conclusion
We have gathered the main points that determine the result of work on protecting a facility from discharges: from calculating the protection zone to checking the ground loop in the dry season. Below are brief conclusions without repeating the previous sections.
Main conclusions
- Type of air terminal: chosen based on the roof shape and building height, not by habit — a rod for a pitched roof, a grid for a flat roof, a cable for long spans.
- Grounding for the soil: on clay, a single electrode is insufficient for the standard 10 Ohms; a modular rod loop or deep-driven ground electrode is needed.
- External protection without SPD: does not save electronics from surge overvoltages — a surge arrester in the incoming panel is mandatory for facilities with equipment.
- Installation timelines: 1–2 days on a private house and up to 5 days on a commercial facility, if the design is ready and access for machinery is clear.
- System check: resistance measurement is carried out in the dry season, and a repeat audit is ordered after roof repairs or replacement of down conductors.