















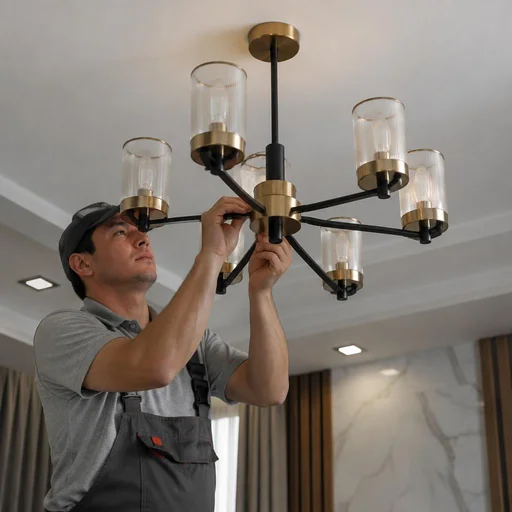
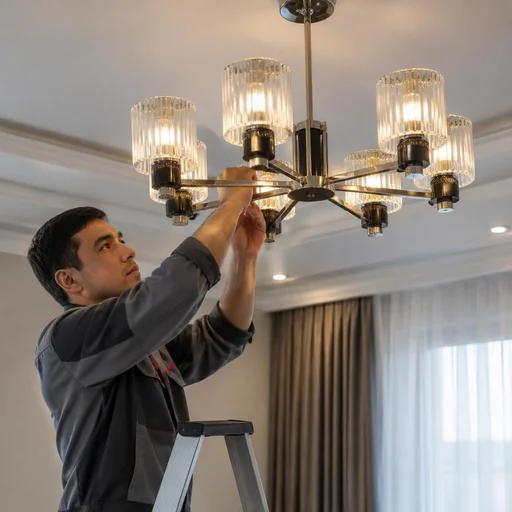

Which ceiling — which installation technology
The type of ceiling determines the fasteners, the work time and the risk of damaging the surface. We break down three basic substrates — concrete, stretch fabric and drywall — and what exactly changes in each case.
Installing a chandelier on a concrete ceiling
We attach the chandelier to concrete using an anchor or a hook, after first drilling a hole with a hammer drill and checking the load-bearing capacity of the slab. The slab thickness in panel buildings in Tashkent is 140-160 mm; in monolithic new builds in the Mirzo-Ulugbek district it can be 200 mm, so for heavy models weighing 8-12 kg the technician selects a wedge anchor at least 80 mm long. The hole is drilled with a concrete bit 8 or 10 mm in diameter to a depth of the anchor plus a 10 mm margin; dust is removed with a vacuum cleaner before seating the fastener. If a void or crack is encountered in the concrete, the anchor won't hold — the technician switches to a mounting plate with expansion dowels, otherwise the fixture will sag over time and the shade will tilt. In search, clients type it briefly — hang a chandelier on concrete — and the technician immediately understands which fastener to prepare for the slab.
Installing a chandelier on a stretch ceiling: the backing block and thermal ring
On a stretch ceiling, Eco-Service installs a backing block for the chandelier before the fabric is stretched, and covers the wire outlet with a thermal ring so the fabric doesn't tear from heat. The backing block is a 50×50 mm timber or a steel plate, fastened to the base concrete with anchors and set level with the future fabric; the harpoon secures the PVC fabric around the perimeter, and a thermal ring 60-80 mm in diameter is fixed at the cable exit point and protects the film from contact with a hot bulb. If the ceiling is already stretched, the backing block can't be installed without removing the fabric — in such cases the technician suggests a ceiling hook through the thermal ring or relocates the mounting point, but both options limit the weight of the fixture to about 4-5 kg. Clients often write briefly: connecting a light fixture on stretch fabric — and that immediately means a thermal ring and a backing block installed in advance.
Installing a chandelier on a drywall ceiling
On drywall, a chandelier is hung only via a backing block or reinforced fastening — the sheet itself won't hold the weight of the chandelier. A single layer of drywall 9.5 or 12.5 mm thick withstands no more than 5-6 kg in point pull-out, so for a multi-arm model weighing 7 kg and above, the technician looks for a load-bearing CD or UD profile behind the cladding and fastens to it with a long self-tapping screw or a bolt with a washer. If there is no backing block and the ceiling is already installed, the technician looks for the profile behind the drywall and fastens to it — this is more reliable than an anchor in the sheet. In framed ceilings with a profile spacing of 400-600 mm, it isn't always possible to hit the load-bearing element, so an additional backing block is installed through an access hatch.
Comparison of technologies by ceiling type
| Substrate | Fastener | Preparation | Special feature |
|---|---|---|---|
| Concrete | Anchor / hook | Drilling with a hammer drill | Checking load-bearing capacity |
| Stretch | Backing block + thermal ring | Backing block before stretching | Can't be installed without removing the fabric |
| Drywall | Reinforced fastening / backing block | Finding the profile | The sheet won't hold the weight |
The installation price depends on the substrate and the fasteners, not just on the model of the fixture: on concrete the work goes faster, while on stretch and drywall ceilings a preparatory stage is added. When planning to install a chandelier, first clarify the type of ceiling and whether there is a backing block — on stretch fabric it must be installed in advance, before stretching, otherwise installation will require removing the surface.
Types of chandeliers and what changes in installation
The number of arms and the total weight determine whether pre-assembly, reinforcement of the fasteners, and a separate wiring diagram are needed. We break down the main types and how each of them changes the course of the work.
Multi-arm and cascading chandeliers: assembly before installation
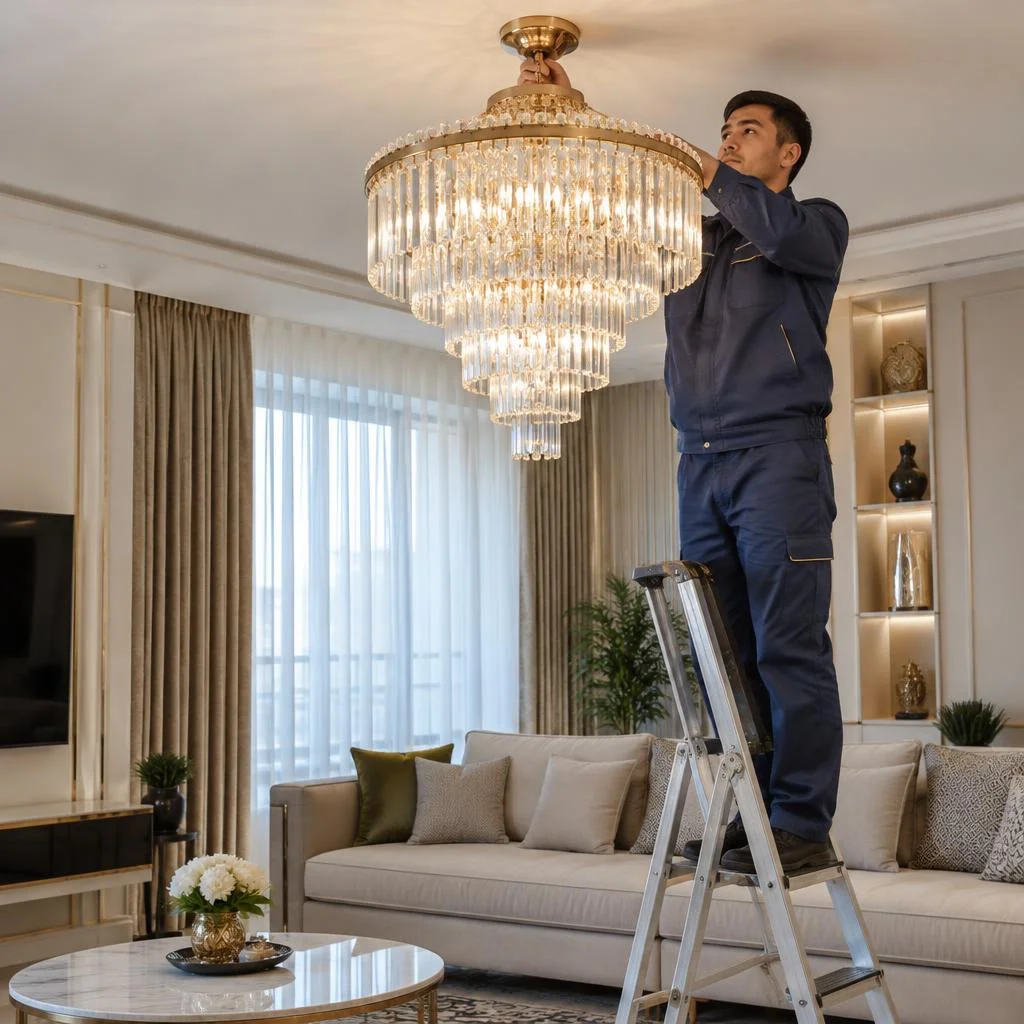
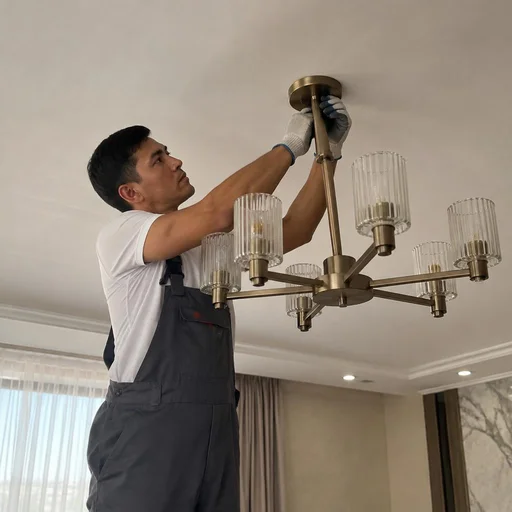
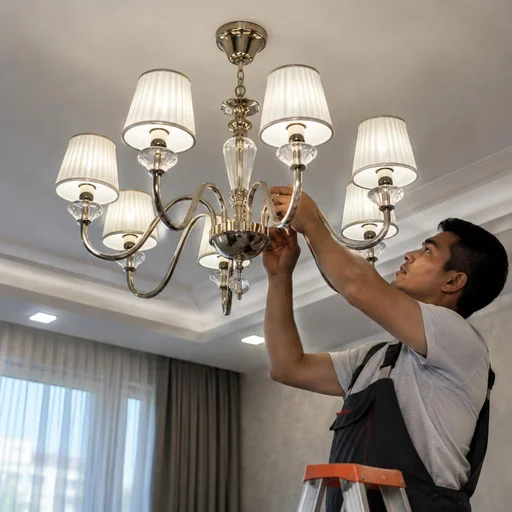
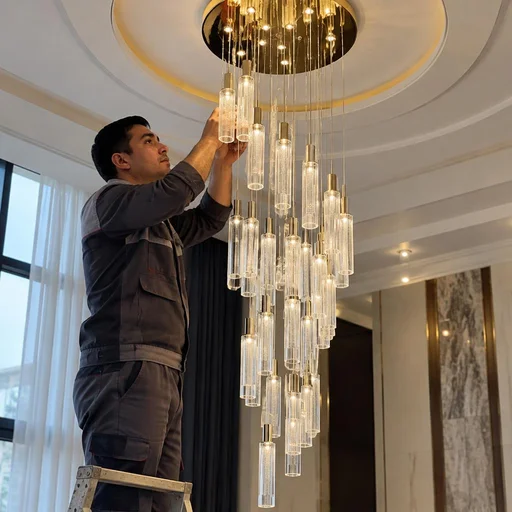
We assemble a multi-arm chandelier on site before hanging it, and we install a cascading one tier by tier, checking each level. For multi-arm models with 6-12 shades, the arms are first laid out according to the manufacturer's diagram, the decorative nuts are screwed on, and only then is the body raised to the ceiling — catching the thread while holding it up is almost impossible. Cascading structures with two or three tiers are assembled from the bottom up: the lower tier is fixed to the rod, checked for level, then the next one is hung. Both categories require a sturdy table or stepladder near the installation point. It is more convenient to assemble on the floor before lifting — that way you don't have to hold the structure up, and the risk of dropping the shades is minimal.
Chandelier with a fan and heavy chandeliers: reinforcement of the fasteners
Eco-Service hangs a chandelier with a fan and any heavy model on reinforced fasteners — vibration and weight require a margin of strength. The motor unit creates a constant dynamic load, so the standard mounting bracket from the kit often isn't suitable: it is replaced with a steel one at least 3 mm thick and anchor bolts into concrete or a backing in drywall. Heavy models made of crystal and metal weighing over 10 kg are additionally secured at four points instead of two, and the connection between the rod and the ceiling cup is checked for play. For a fan, not only the load-bearing capacity but also the rigidity of the fasteners matters: a weak bracket causes humming and blade wobble.
Spotlights and combined schemes
Eco-Service installs spotlights both separately and in combination with a central chandelier on a shared switch or a separate group. In a combined scheme, the central fixture and the spots can be powered from two keys: one turns on the chandelier, the other turns on the spot line around the perimeter. For 6-8 spots on an 18-20 m² ceiling, one group is enough; for large halls, they are divided into two or three zones with separate switches. If chandelier installation is ordered together with spot lighting, the wiring to the spots is laid in the same chase as the power supply for the central fixture. Clients often phrase the request as installation of spots with a chandelier — and in such a scheme this also means running a separate group to the spots. It is better to design a combined scheme before chasing — adding a group to existing wiring is more difficult and more labor-intensive.
Table of chandelier types and installation specifics
| Chandelier type | What is added | Fasteners | Assembly |
|---|---|---|---|
| Multi-arm | On-site assembly | Standard | Yes |
| Cascading | Tier-by-tier installation | Reinforced | Yes |
| With a fan | Vibration check | Reinforced | Partially |
| Heavy | Reinforcement of fasteners | Reinforced | Depends on the model |
| Spotlight | Lighting group | Standard | No |
Different types of chandeliers require different preparation, and the more arms and tiers there are, the higher the labor costs for assembly, not for the connection itself. Clients often ask how much it costs to hang a chandelier, price — the total depends on the weight, the number of arms, and the type of ceiling, not just on connecting to the mains. The table summarizes the key differences that the technician uses as a guide when visiting the site.
Connection: switches, dimmers, remotes
Connection is the most critical part of the work: we go through the wiring diagrams for a two-gang switch, a dimmer and a remote, as well as safe connections, on which it depends whether the light fixture will last for years without overheating and flickering.
Connecting a chandelier to a two-gang switch
We connect the chandelier to a two-gang switch so that each button controls its own group of lamps. In practice, installing a light fixture with two buttons requires separating a common neutral, a common ground and two separate phase conductors — one goes to the central arm, the second to the side arms, and the technician tests each conductor with a voltage tester before applying power. If the back box contains old two-wire wiring without a ground, we do not leave it as is: we run a third conductor or install an RCD on the lighting circuit, because the metal housing becomes dangerous if the phase breaks down. Clients often phrase the request as a full installation cycle — and the technician immediately understands that removal of the old shade, assembly of the new one, hanging on a hook or mounting bracket and connection are needed. Before installation, the technician must check which conductor comes to each button — otherwise the groups will be mixed up and the switch will work illogically.
Connecting a chandelier to a dimmer
Eco-Service connects the chandelier to a dimmer taking into account lamp compatibility — LED ones require dimmable models. The regulator's power is selected with a 20-30% margin over the total load: if the fixture has five 7 W lamps, the dimmer is taken not at 35 W but at 50-60 W, otherwise the light flickers at minimum brightness. For 12 V halogen lamps, an electronic transformer with a dimming function is needed, not a regular one — otherwise the regulator hums and heats up. Regular LED lamps flicker and hum with a dimmer, so during installation the technician immediately checks the lamp markings and, if necessary, replaces them with dimmable ones. In requests this sounds brief — suspension height adjustment, although in fact it involves selecting the chain height, rod length and mounting point for the specific ceiling height.
Installing a chandelier with a remote control
Eco-Service installs a chandelier with a remote control, setting up the signal receiver and synchronizing the remote with the lamp units. The receiver is placed in the back box or in the ceiling recess at a distance of 10-15 cm from metal fastening parts, and the control unit is connected according to the "phase-neutral-ground" scheme with a separate output for each group. The remote is synchronized with the receiver by pressing the pairing button — the technician performs this procedure in the client's presence to immediately check all scenarios: full on, night mode, smooth dimming. In search, clients often type chandelier installation price — and the technician immediately understands that the person needs both a work estimate and the installation itself. The signal receiver must not be hidden in a metal housing or behind shielding surfaces — otherwise the remote works intermittently.
Terminal block and safe connections
Eco-Service connects wires through a terminal block, not by twisting — this eliminates heating and oxidation of the contact. For each block, the technician strips the conductor by 8-10 mm, not leaving bare copper outside the housing, and selects the rating for the wire cross-section: for 1.5 mm² — 16 A, for 2.5 mm² — 24 A. Screw terminals loosen over time from vibration, so on models with a fan we install spring-loaded Wago models or similar. A twist loosens over time and heats up under load, so even when replacing an old light fixture the technician converts the connection to a terminal block.
Assembling the chandelier and preparing for hanging
Before hanging, the chandelier needs to be assembled, and the old one carefully dismantled. We break down the order of work, checking the base, and monitoring the result after installation.
Assembling the chandelier before installation
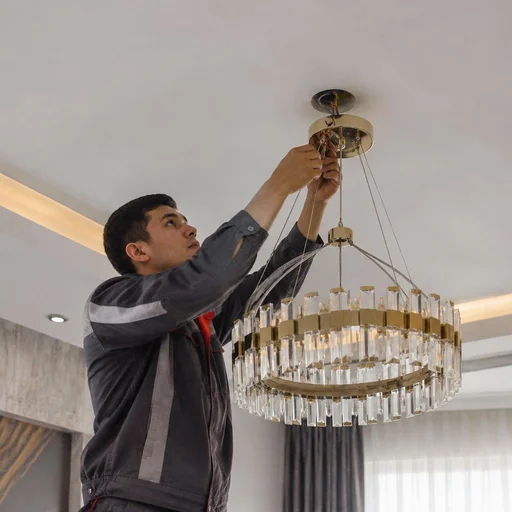
Eco-Service assembles the chandelier on site: attaches the arms, shades, and connects the internal wiring before lifting it to the ceiling. The internal wiring of each model is marked by groups: a two-gang switch requires splitting into two lines, a dimmer requires accounting for the total power of all lamps. The shades are installed last so they aren't bumped during lifting. Assembling on the floor allows each group of lamps to be checked immediately — if an arm doesn't light up, the defect is found before installation, not after. Clients often phrase the request as chandelier assembly price, and the technician immediately understands what is meant. A multi-arm model is easier to assemble on the floor rather than while suspended: that way every connection is visible.
Replacing an old chandelier with a new one
Eco-Service dismantles the old chandelier, checks the condition of the wiring and fasteners, then installs the new one on the prepared base. Dismantling takes 15-20 minutes, but it is precisely at this stage that hidden defects are revealed — broken strands under the insulation, traces of overheating on the terminals, a loosened dowel in a hollow-core slab. The technician assesses this before hanging the new model, so as not to redo the work twice. If the old hook is loose or the aluminum wiring has dried out, reinforcement of the fastening or laying of a new wire is added. Clients often search for this service briefly — chandelier replacement price, and by such a request the technician immediately understands the scope of the upcoming work. We quote the final cost after inspecting the base, not before the visit.
Checking the lighting circuit after installation
After installation, Eco-Service checks the lighting circuit: tests the connections for continuity, tests each group and the operation of the switch. Checking the lighting circuit takes 10-15 minutes and includes checking the breaker in the panel, testing the terminal block with a multimeter for continuity, and measuring the voltage on each group of lamps. Installation without this stage is a risk of getting flickering from a weak contact or heating of a twist under load. Checking the circuit reveals crossed wires and a weak contact before the fixture starts to heat up or flicker during operation. Clients often write chandelier assembly price, although this is already about final inspection — it's more convenient that way to verify the result across all stages of the work.
Difficult cases: heavy chandeliers, relocating the point, wall chasing
A chandelier cannot always be hung at a ready-made spot: sometimes the wire outlet does not match the new furniture, the old line cannot handle the load, and the weight of the light fixture exceeds the capabilities of the standard mounting hardware. We break down three such cases.
Relocating the chandelier mounting point
Eco-Service relocates the chandelier mounting point when the new spot does not coincide with the old wire outlet or with the furniture. The task is solved without replacing the entire wiring: the technician extends the existing cable and routes it into a new hole in the ceiling slab. Concealed wiring in panel buildings in Tashkent runs along the slab inside service voids, so before drilling the technician scans the slab and marks out the route to avoid hitting a live line. When moving the point by 30-50 centimeters, extending the wire is enough; when relocating across the room, a new section will need to be laid. Clients often phrase the request as relocating the mounting point when what is actually meant is relocating the outlet for new furniture. In search, this task is often typed in as an urgent technician call-out — and the technician immediately understands that the outlet needs to be relocated for the new position of the light fixture. Before relocating, the technician checks where the concealed wiring runs so as not to damage it when drilling the new hole.
Wall chasing and running the wire to the chandelier
Eco-Service chases the wall and runs the wire to the chandelier if there is no outlet in the required spot or the old line cannot withstand the load. The work proceeds in two stages: first a channel 20-25 millimeters deep is cut with a router through concrete or brick, then the cable is laid and the chase is covered with plaster. For lighting, a VVG 3×1.5 cable is sufficient — a thicker wire offers no advantages but complicates the chasing and the connection. In drywall partitions, no chasing is needed: the wire is pulled inside the frame in a corrugated conduit, which speeds up installation two to three times. In search, clients often type in chandelier hanging price, although with wall chasing the estimate is made up of the length of the channel, the footage of cable, and wall restoration, rather than rates for a ready-made spot. Keep this difference in mind in advance if there is no socket or outlet at the required point.
Reinforcing the mounting for a heavy chandelier
For a heavy chandelier, Eco-Service installs reinforced mounting: a mounting plate on anchors or an embedded support in the ceiling slab. A standard 6-millimeter dowel holds up to 15-20 kilograms, a wedge-type anchor in concrete — from 80 kilograms, and a steel embedded support cast into the slab withstands the weight of cascade models and chandeliers with a fan. The weight of the chandelier is distributed across several mounting points — this reduces the load on each one and protects the ceiling from deformation. In search, this service is typed in as chandelier hanging Tashkent price, although the final estimate depends on the type of ceiling slab and the weight of the fixture. Models heavier than 12 kilograms must not be hung on drywall without an embedded support, so before installation weigh the fixture and clarify the type of ceiling slab.
How the technician's visit works and what the job includes
From request to checking the lighting circuit: we show how the visit is structured, what the technician works with on site, and why the entire installation cycle fits into a single visit.
Calling an electrician to your home
Eco-Service takes your request and sends a mobile electrician to your home at a convenient time — the technician arrives with his own tools and fasteners. The mobile electrician completes the entire cycle on site: removes the old chandelier, prepares the mounting point, assembles the new one and connects it to the mains, so there is nothing extra to buy. We work with concrete, stretch and drywall ceilings — each type has its own tooling and its own fasteners. When placing a request, it is worth describing the ceiling type and the weight of the chandelier: the technician will take the right fastener straight away and won't have to make a second trip for it. If you are unsure about the weight — photograph the box or the product data sheet, and the anchor will be selected in advance from that data. Clients often search for an electrician to hang a chandelier — and land on this page, where the calculation is done before the visit.
What the technician's job includes
- Dismantling: we remove the old chandelier, cut the power on the line and check the condition of the wires in the ceiling cup.
- Fastening: we select an anchor or mounting point for the weight and ceiling material, and if necessary reinforce the fixing for a heavy fixture.
- Assembly: we assemble a multi-arm or cascading chandelier, connect the arms to the body, and check symmetry before hanging.
- Connection: we join the wires via a terminal block, and connect to a two-gang switch or dimmer according to the manufacturer's diagram.
- Circuit check: we test the line for continuity, check that each switch gang works, and only then hand the job over to the client.
Our own service centre
Eco-Service has its own service centre in Tashkent — the crews are based here, and clients can come in person. The technician doesn't come via an intermediary: the same team that carries out the installation takes the request, so the dispatcher immediately clarifies the ceiling type, the weight of the chandelier and the address, and the crew sets out with the right fasteners. An in-person appointment is convenient when you need to show the chandelier to a specialist before the visit — for non-standard fixings or a rare wiring diagram. Within the city we come out on the day of the request if slots are available, and to remote districts according to an agreed schedule. Clients often search for chandelier installation price — and land here, where the calculation is done before the visit. If you are looking for a chandelier installation technician — leave a request, and we will clarify the details before the visit.
Warranty, timelines, and why a direct provider
The person who performed the installation is responsible for the chandelier installation — that's why warranty obligations and transparent payment matter more than discounts. We break down exactly what the two-year obligations cover, how a direct contractor differs from an intermediary, and how to check the reputation of the crew.
2-year warranty on installation
Eco-Service provides a 2-year warranty on chandelier installation: if a connection loosens or the fastener sags, the technician will come and fix it. The coverage applies to the entire job — from the anchor embedded in concrete and the anchor fastener to the terminal block and connection to a two-gang switch; for a stretch ceiling, it also includes the thermal ring installed without skewing. Over two years of use, vibration from a fan or a cascading structure gradually loosens a weak joint, so we record the anchor type and terminal block model in the acceptance report. Clients often find us by searching: chandelier installation with warranty — and land on this page. The warranty covers specifically the work and the fasteners, so it's important that the technician uses their own proven terminal blocks and anchors, not random ones from the chandelier kit — a cheap screw clamp from the set oxidizes within a season.
Direct service provider without intermediaries
Eco-Service is a direct service provider: the request is received and fulfilled by the same team, without dispatcher intermediaries. The electrician who arrives at the address assembles the multi-arm chandelier themselves, selects the anchor for the weight of the structure, and connects the dimmer — from the first call to signing the acceptance report for the work, a specific crew is responsible. What this changes in practice: the price to hang a chandelier in Tashkent from an intermediary and from a direct contractor may be the same, but timelines and rework under the second scheme are tied to the technician, rather than dissolving between the call center and the subcontractor. A common query goes like this: chandelier assembly and installation price — behind it is usually the desire to understand what the estimate is made up of. When working through an intermediary, responsibility for quality is blurred, whereas with a direct contractor, the warranty and timelines are tied to a specific crew.
Payment and customer reviews
- Payment methods: you can pay for the work via Click, Payme, Uzcard, or Humo — in cash and by card; a receipt is issued immediately after acceptance.
- Reviews: Eco-Service clients leave them on Google Maps and Yandex.Maps, where photos of the work and ratings by specific districts are visible.
- What to look at before ordering: chandelier installation in Tashkent on similar ceilings — look in the reviews for mentions of stretch and drywall ceilings, not just concrete.
- Checking the crew: match the technician's name in the review with the one who arrived for the request — this shows that a permanent team is working, not a random subcontractor.
Conclusion
We've gathered the main things that determine the result of chandelier installation: the ceiling type, the weight of the fixture, and the quality of the connections. Below are five takeaways worth keeping in mind before calling a technician.
Key takeaways
- The ceiling type determines the fastener: an anchor is used on concrete, an embedded mount with a thermal ring on a stretch ceiling, and reinforcement under the profile on drywall.
- Heavy and cascading models: require reinforced fasteners and tiered installation, otherwise the structure sags under its own weight.
- Connections and adjustment: a terminal block is more reliable than a twist connection, and a dimmer only works with dimmable bulbs.
- Complex cases: relocating the point, wall chasing, and new wiring are agreed upon before work begins, not along the way.
- Warranty and contractor: a two-year term and a direct installer without intermediaries eliminate the risk of repeated rework.