
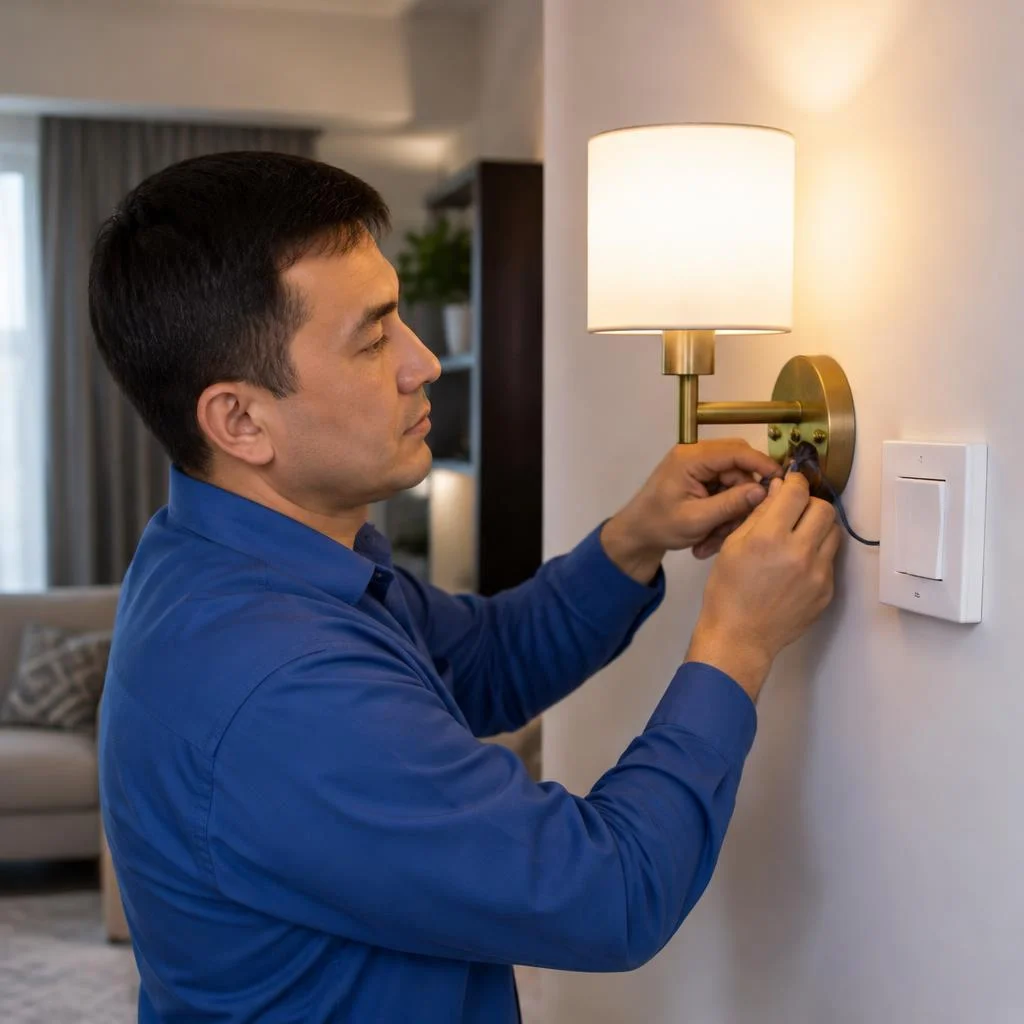
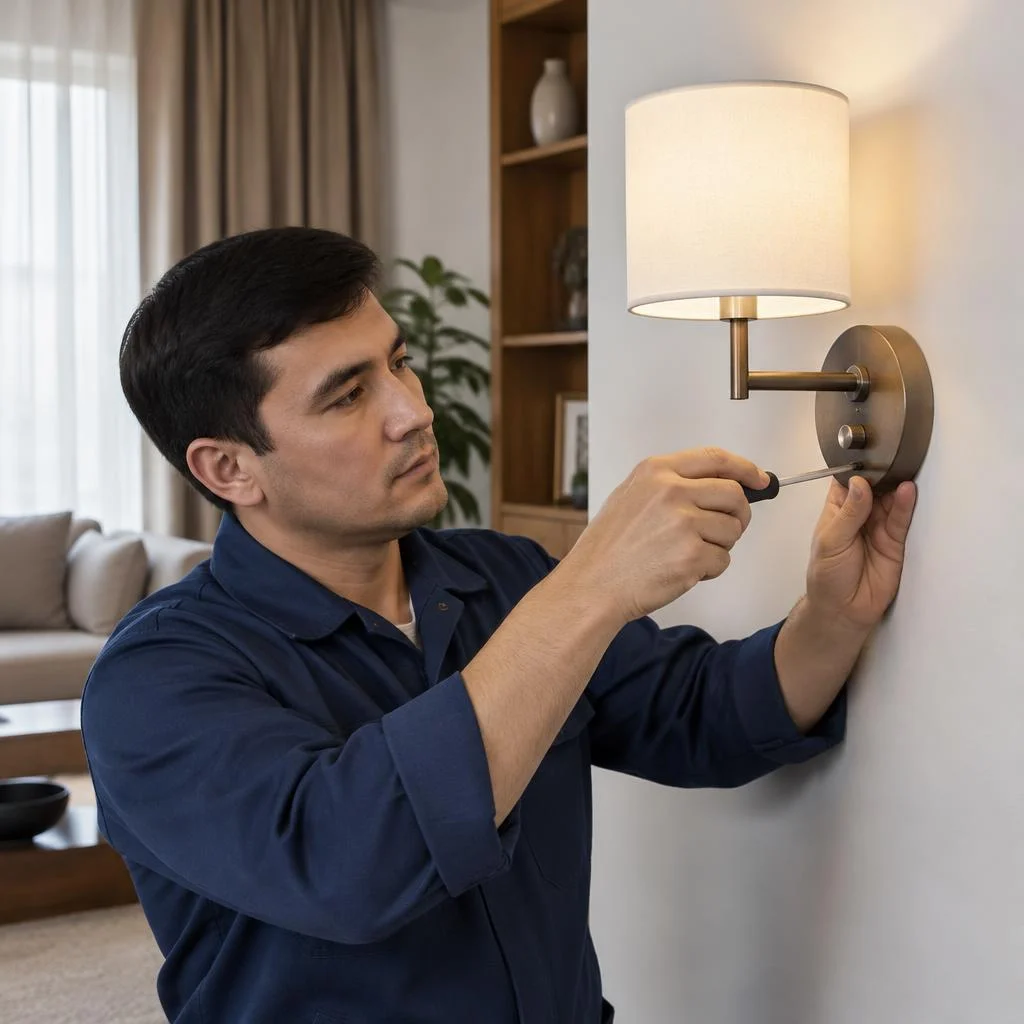








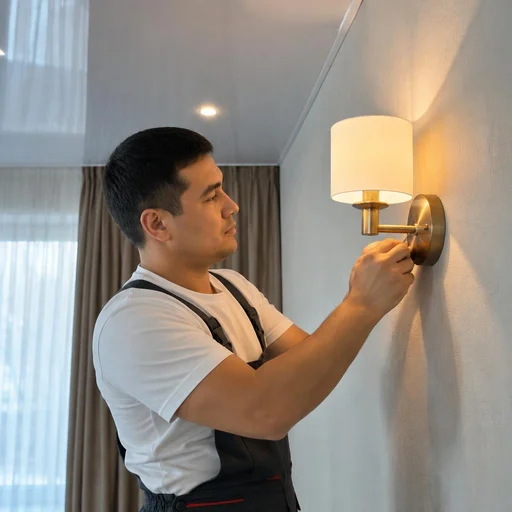
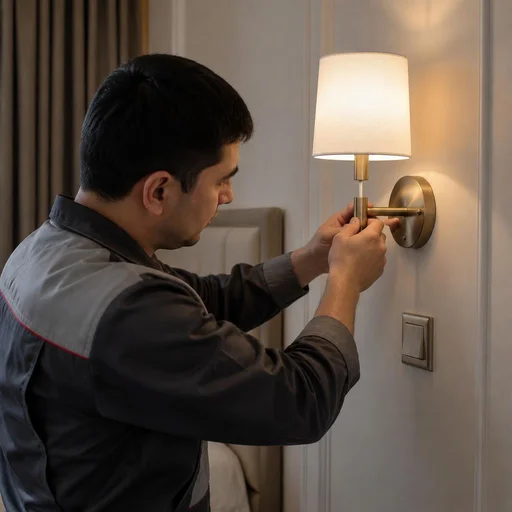
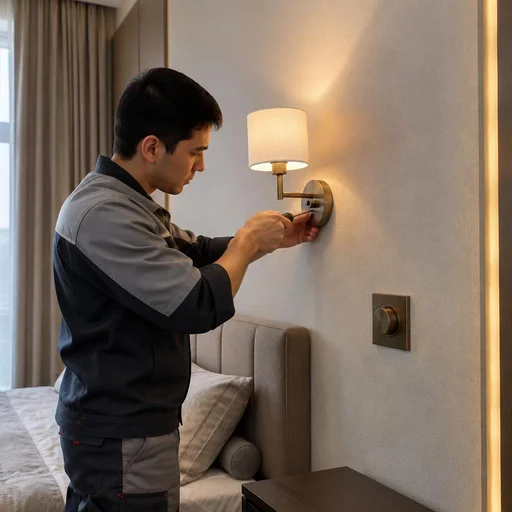
What a sconce is and what tasks wall light installation solves
A sconce is a wall-mounted light fixture with directional light. Sconce installation solves the tasks of local lighting by the bed, mirror and staircase. Let's look at how the fixture differs from a chandelier and a spot light and what scenarios it covers.
What a sconce is and how it differs from a chandelier and a spot light
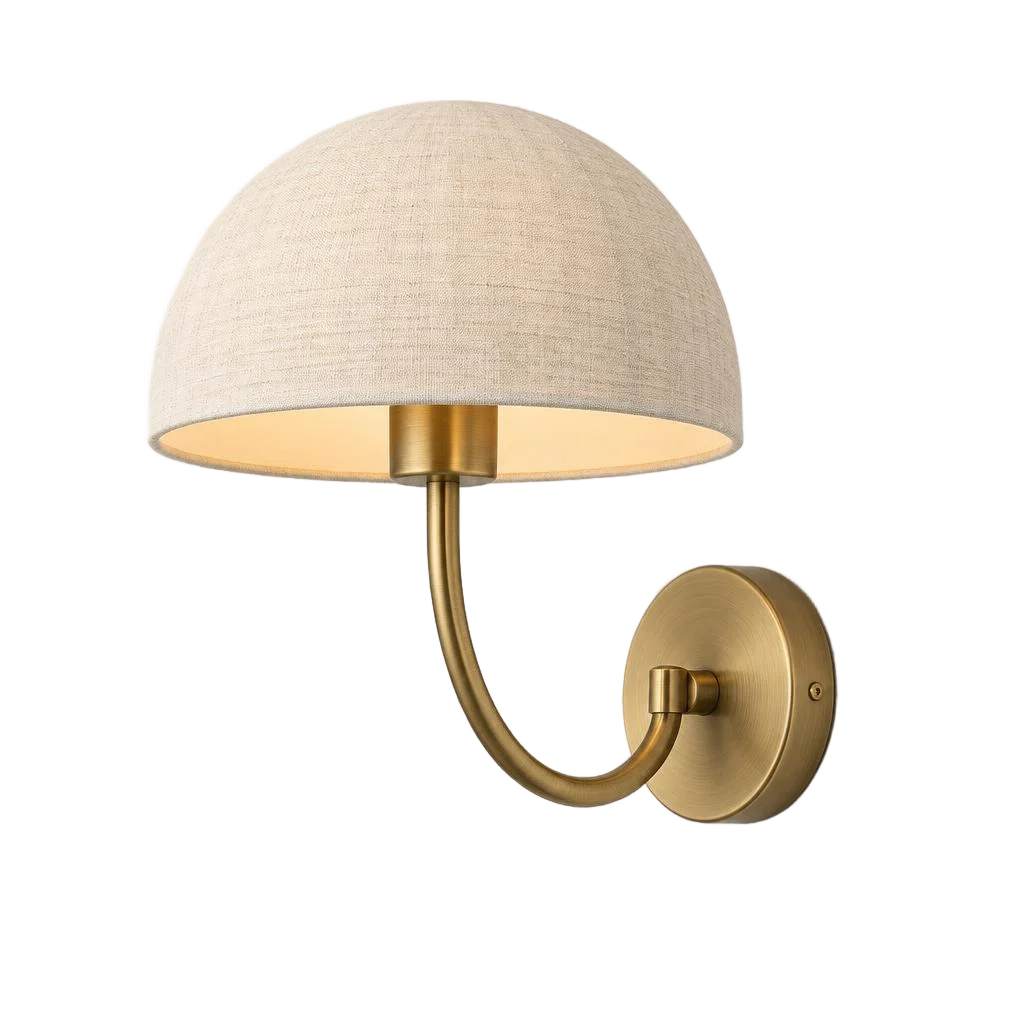
A sconce is a wall-mounted light fixture with one or several shades that is attached to a vertical surface and provides directional local light to a specific area: the headboard, a mirror, steps. Inside the body there is a socket for an E14 or E27 base, less often a built-in LED module without a replaceable lamp. In terms of design, the fixture is closer to a spot light than to a chandelier: both work on a local area, but a spot is recessed into the ceiling, while a sconce can be hung on a wall, where it often has a swivel bracket or hinge. The difference from a chandelier is fundamental: overhead light floods the entire room, while a wall fixture directs a narrow beam at a single point. Unlike a chandelier, a sconce does not require embedded supports in the floor slab — the installation point is chosen based on the furniture and the scenario, so marking the height matters more than the ceiling's load capacity.
What tasks sconce installation covers in an apartment and a house
- Reading by the bed: the light falls on the book, not in the partner's face — the height is measured from the mattress, not from the floor.
- Mirror lighting in the bathroom: two sconces on the sides give even light without shadows on the face during makeup and shaving.
- Accent on the staircase: fixtures every other step illuminate the flight and do not blind someone walking up from below.
- Zoning the living room: a pair of sconces by the sofa separates the lounge area from the dining area without floor lamps.
- Decor and art object: a display light fixture illuminates a niche or a shelf with a collection.
Types of sconces by mounting and shade type
| Mounting type | Feature | Where it is appropriate |
|---|---|---|
| Rigid (flange) | The shade is fixed, attached with 2-4 screws | Hallway, headboard, mirror |
| Swivel bracket | Tilt and rotation up to 180°, the light is aimed by hand | Reading, work area, staircase |
| Magnetic | Removable shade on a metal plate | Bedroom, models for charging |
| On a rod (console sconce) | Extends 20-40 cm from the wall, two arms | Living room, sofa, armchair |
| Pendant on a bracket | Shade on a flexible stem | Niche, display, shelf |
By shade, sconces are divided into one-, two- and three-arm: single-lamp ones give a point beam, multi-arm ones give diffused light over a wide area. Magnetic mounting is convenient for removable models, but requires a flat metal plate — on drywall it must be installed in an embedded support, otherwise the fixture will warp.
Surface types: how the installation of a wall sconce on a wall, ceiling, and mirror is carried out
Fasteners and tools are selected for the base — concrete, drywall, brick, wood, stretch ceiling, or mirror. Let's break down how sconce installation is carried out on each type of surface.
Installing a sconce on a concrete and brick wall
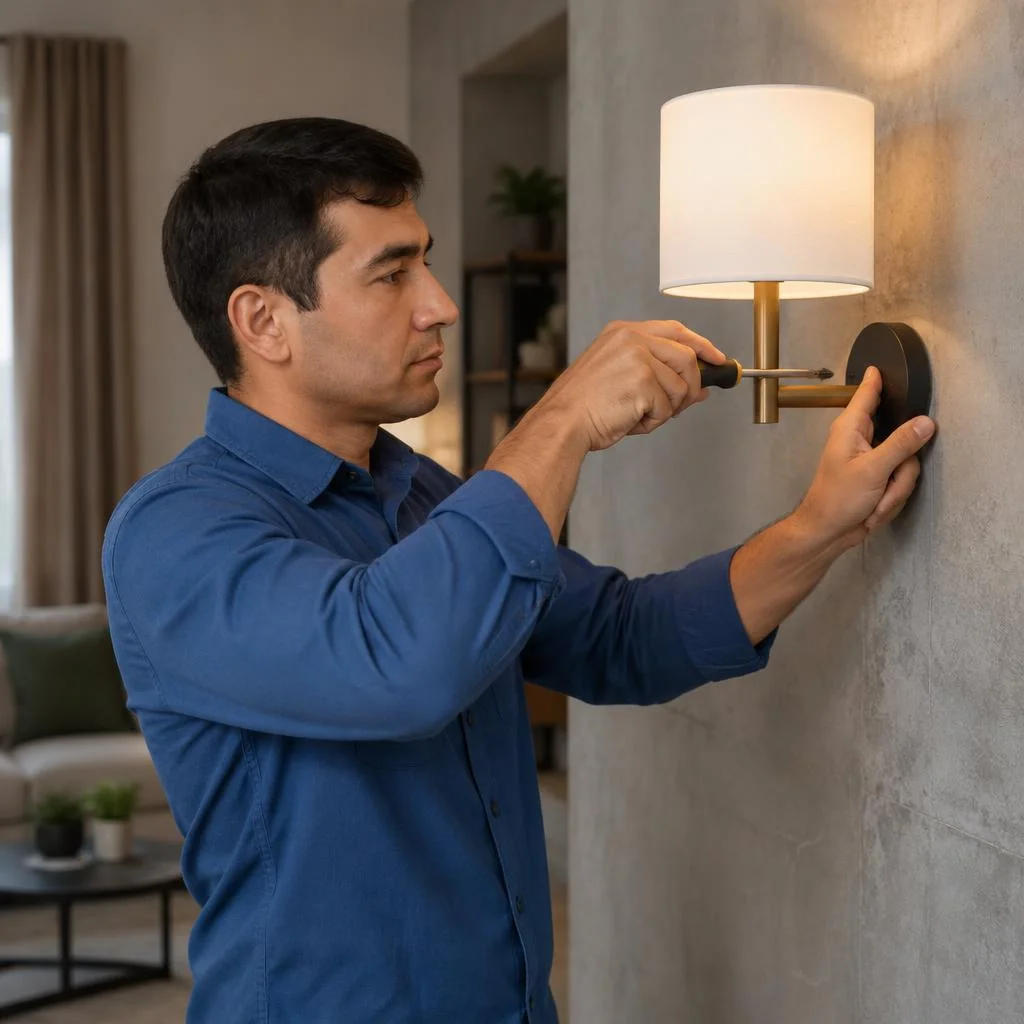
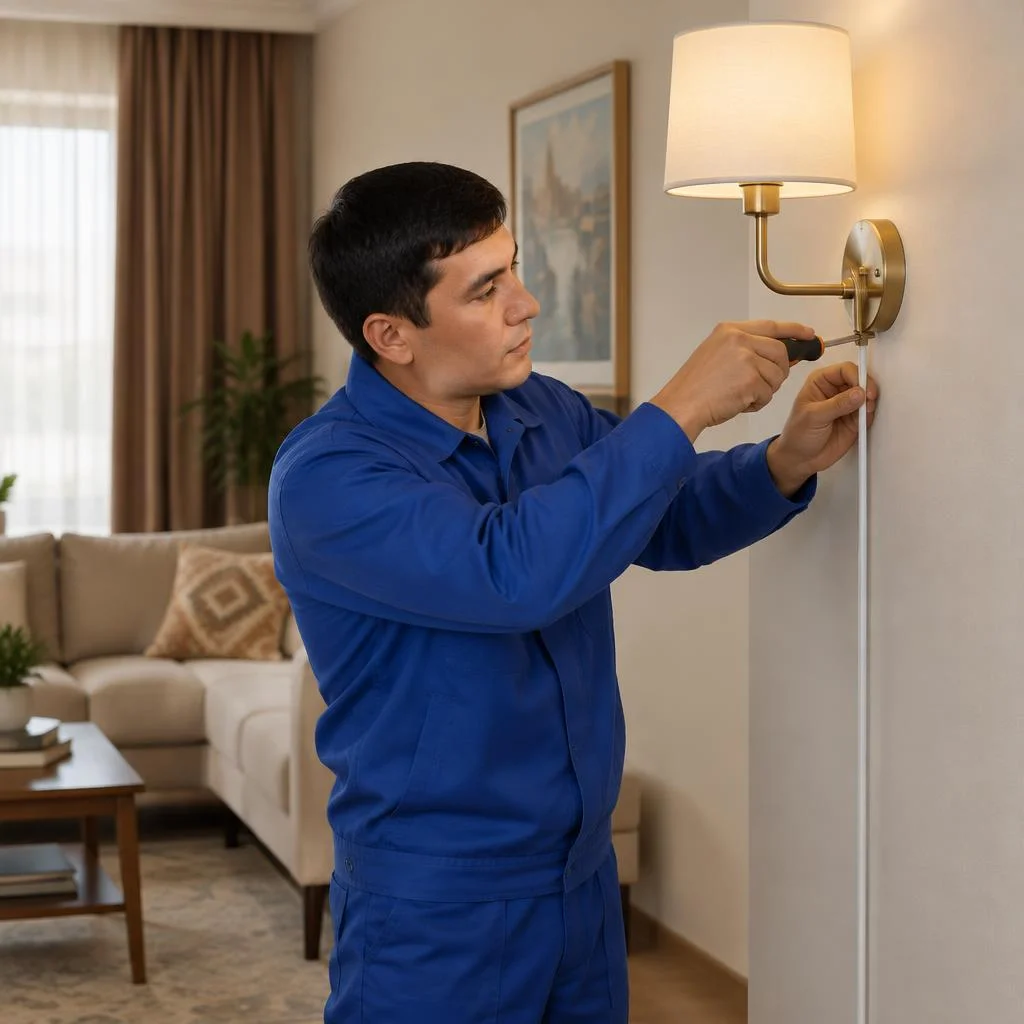
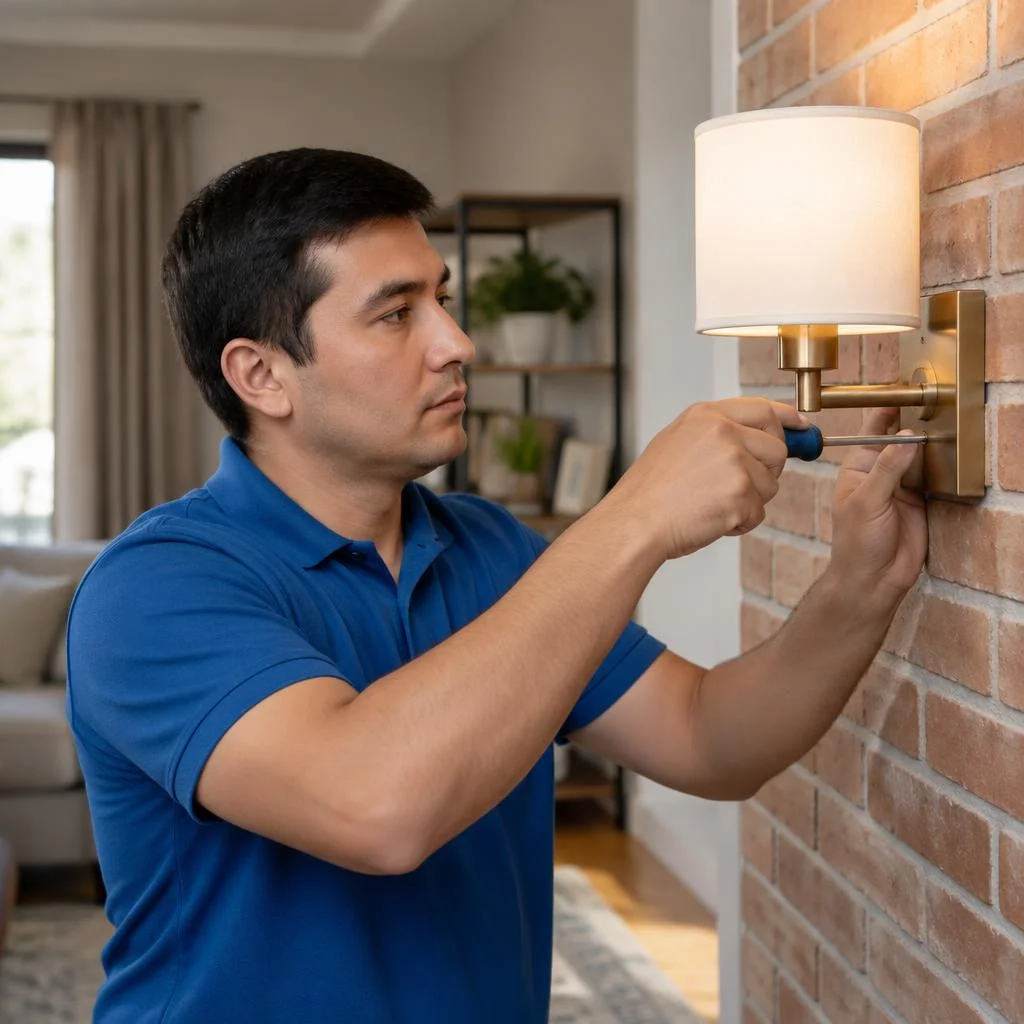
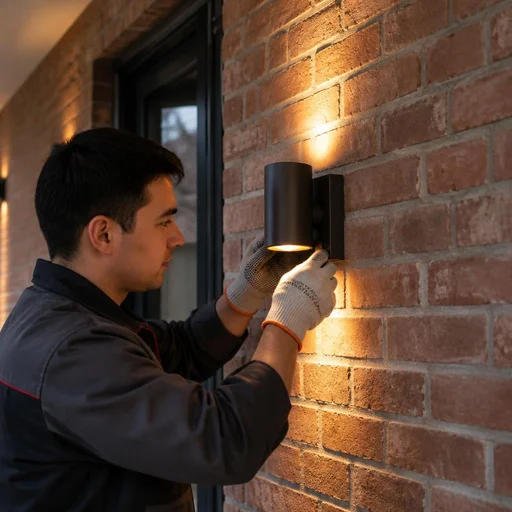
Eco-Service installs sconces on concrete and brick using a hammer drill and dowels — these are the most predictable bases, and the anchor point holds the weight of any wall light. On concrete, we drill with a 6-8 mm bit to a depth of 40-50 mm, insert a nylon dowel, and drive in the screw: two anchor points are enough for the bracket of a standard sconce. Brick requires drilling without impact — the hammer mode will crack the face masonry, so we work with drilling at 500-800 RPM. On brick, it's important not to hit a hollow joint: if the dowel doesn't hold, we move the point 3-5 cm and patch the old hole — otherwise, over time, the bracket will tear out the masonry. In search, clients often type "hang a sconce price" — for such a query, we immediately clarify the wall base, because both the fasteners and the master's work time depend on it.
Installing a sconce on drywall and a wooden surface
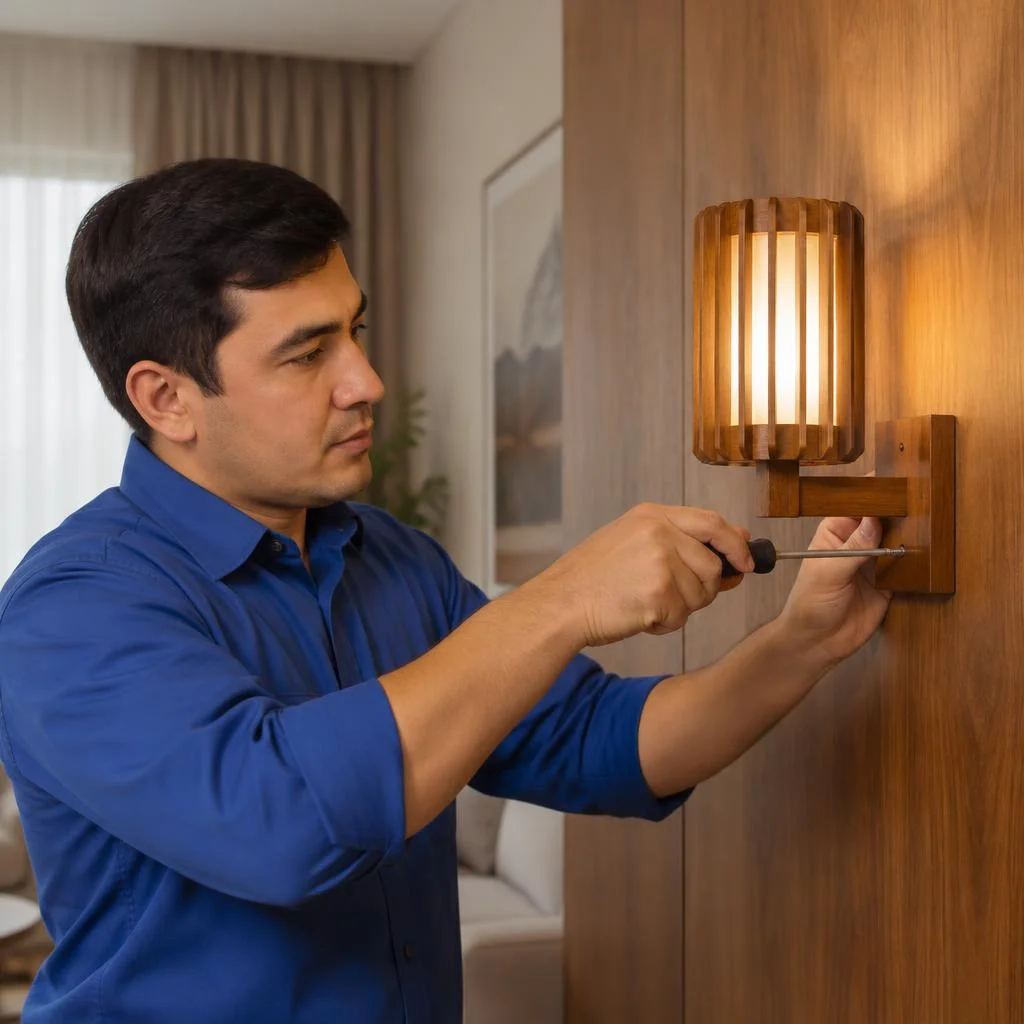
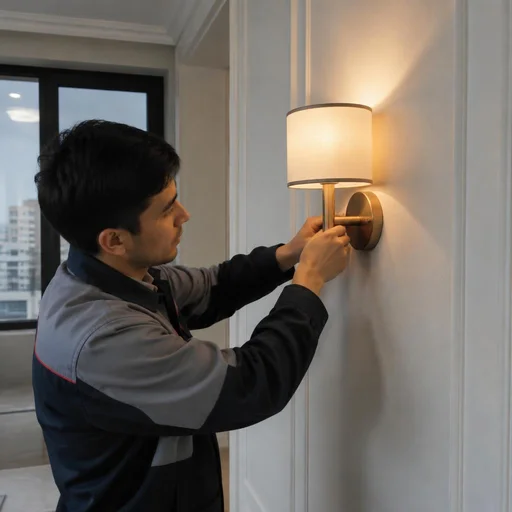
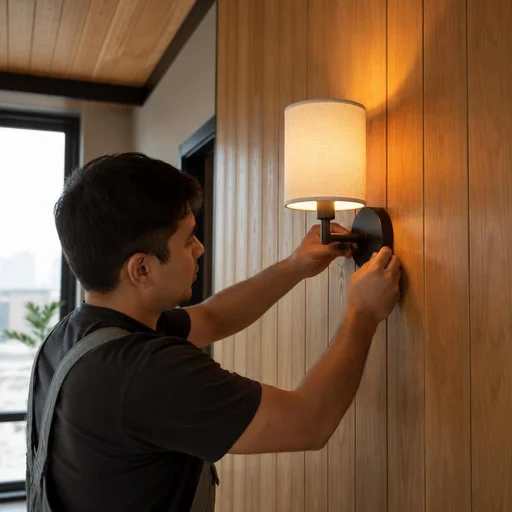
Eco-Service installs sconces on drywall using a backing block or a toggle bolt — a drywall sheet by itself does not hold the weight of the light fixture. If a profile runs behind the cladding, we bring the point onto it; if there is no backing block, we use a metal toggle bolt that opens behind the sheet and distributes the load over an area of up to 4 cm². On a wooden surface — tongue-and-groove boards, a furniture panel, a beam — we do without a dowel: a 4×40 mm wood screw goes into the solid wood and holds a sconce with two shades. If there is no backing block, it is more reliable to open up a small section and install a wooden block between the profiles — this way we eliminate the risk of the sconce tearing out the sheet along with a piece of the cladding.
Installing a sconce on a stretch ceiling, mirror, and in a niche
- Stretch ceiling: the backing block is attached before the membrane is stretched — after the membrane is installed, the point can no longer be reinforced.
- Mirror: the fastener goes to the wall behind the plane of the mirror or to the frame — you cannot drill the amalgam, as chips and cracks will run along the edge.
- Niche: we mount the light fixture on a bracket with an extension so that the shade does not press against the reveal and provides an even cone of light.
- Backing block: for the ceiling and niche, this is a wooden block or metal profile that the master installs during the rough finishing stage.
Installing a sconce on a staircase and in a bathroom
Eco-Service installs sconces on a staircase taking into account the height of the flight, and in a bathroom — with protection of the connections from moisture. On a staircase, the mounting point is tied to the flight: on a flight higher than 3 meters, we work from a transformable stepladder or scaffolding, and we use a bracket with an adjustable extension so that the light does not shine into the eyes when descending. In the bathroom, we always install a light fixture with a protection class of at least IP44 and seal the terminal blocks — otherwise, condensation will eventually oxidize the contacts and the sconce will start flickering. Installing a sconce above the bed in the bedroom is solved differently: here what matters more is not moisture protection, but the height from the headboard and the absence of glare from the shade.
Summary table: surface, fastener, and what is included in the installation
| Surface | Fastening | What installation includes |
|---|---|---|
| Concrete | Dowel + screw, 6-8 mm drill bit | Marking, drilling, bracket installation |
| Brick | Dowel, drilling without impact | Drilling at 500-800 rpm, joint control |
| Drywall | Backing block or toggle anchor | Finding the stud, reinforcing the point, installation |
| Wood | Wood screw 4×40 mm | Pilot drilling, installation without a dowel |
| Stretch ceiling | Backing block before stretching the fabric | Installing the timber, bringing out the point, installation |
| Mirror | Fastening to the wall or frame | Marking the offset, installation without drilling |
| Niche | Bracket with offset | Selecting the offset, adjusting the light cone |
| Staircase | Bracket with adjustable offset | Working at height, fastening to the flight |
| Bathroom | IP44 luminaire, sealant | Sealing terminal blocks, insulation check |
Connecting to the mains, cable routing and electrical safety
Installing a wall light is not just about mounting hardware but also about electrics: connecting to the mains, routing the cable, joining the wires. Let's look at how this part of the work is carried out and what to look for when choosing a contractor.
How to connect a wall light to the electrical mains
Eco-Service connects wall lights to the mains via terminal blocks, observing phase, neutral and earth — we do not use twisted joints. We strip the cores by 8-10 mm, crimp them with ferrules and insert them into screw terminals rated 16 A, and we run the yellow-green earth wire separately to the luminaire body. If there is no earth loop in the apartment — common in old-series panel buildings — we install an RCD on the lighting circuit with a leakage current of 10 mA. Before connecting, the circuit is de-energised and checked with a voltage tester: in Tashkent's older housing stock the breaker may switch off the wrong group, and the "switched-off" wire remains live. Clients often phrase their request briefly — installation of a wall light — and from that phrase the technician immediately understands the scope of work at the site.
Cable routing: concealed and surface-mounted
Eco-Service routes the cable to the installation point either concealed — in a chase under the plaster — or surface-mounted in trunking if chasing is not possible. Concealed wiring runs in corrugated conduit or a 16 mm HDPE pipe; the chase depth for VVGng 3×1.5 cable is about 20 mm, and the width is sized for a single cable. The surface-mounted option is more often chosen in rented apartments and in buildings with load-bearing walls where chasing is prohibited: the trunking is mounted along the skirting board or under the ceiling and closed with a decorative cover matching the wall colour. Concealed routing requires chasing and subsequent patching, so it is planned before the final finishing; if the renovation is already done, trunking in the wall colour is more sensible. When searching, clients often type "wall light installation on wall price" — that is how the query lands on our page with the cost estimate.
Marking out, drilling and typical installation mistakes
- Marking out with a level: the point for the wall light is marked taking into account the height of the furniture and the user's height — for the area by the bed, 110-130 cm from the floor; for the mirror in the bathroom, 170-180 cm.
- Checking the wall: before drilling, scan the wall with a wiring detector and a metal detector — in panel buildings the cable runs horizontally at switch height.
- Drilling: for a 6×40 dowel, use a 6 mm bit; drill without hammer action on drywall and with moderate force on concrete so as not to tear out the edge.
- Fasteners: for drywall, use butterfly anchors or anchor wedges; for concrete and brick, expansion dowels; for wood, screws without a dowel.
- Wiring mistake: hitting a concealed cable cuts power to neighbouring sockets and requires opening up the wall to restore the line.
- Installing the wall light without calculating the height: if the point was not tied to the furniture, after the wardrobe is assembled the light ends up behind the door or shines in your eyes.
Functions and control: dimmer, switch, motion sensor, USB and touch sensor
A wall sconce is not just light: a dimmer, switch, motion sensor, USB port and touch sensor change the scenario for using a room. Let's break down what each function requires from the wiring and when it is really appropriate.
Installing a sconce with a dimmer and switch
Eco-Service installs sconces with a dimmer for smooth brightness adjustment and with a switch for regular on/off, and the dimmer requires a compatible lamp. Smooth adjustment is useful in the bedroom and living room: in the morning 20-30% brightness is enough, in the evening for a movie — down to 10%, and for reading it is turned up to full. Rotary modules are placed in the back box behind the shade, rocker ones — on the wall next to the main light switch, so as not to run a separate line across the whole room. A dimmer does not work with all LED lamps: cheap models hum and flicker at low brightness, so we select a lamp marked "dimmable" for the specific module — otherwise adjustment turns into irritating flickering. Clients often search for installation of a sconce price — and land on this page, so in the estimate we include both the module and a compatible lamp, not just the light fixture body.
Installing a sconce with a motion sensor and touch control
Eco-Service installs sconces with a motion sensor for corridors and staircases and with touch control — for the bedroom and bathroom. The infrared sensor is placed at a height of 1.2-1.5 meters and aimed along the passage, not at the wall opposite: then it triggers on a person's step, not on a curtain moving from a draft. The touch module responds to touching a metal plate — convenient when your hands are busy or wet, but it requires grounding of the body. A motion sensor on a staircase is set to a delay of 30-60 seconds: too short a delay turns the light off while the person is still on the steps, too long — wastes the lamp's life and is irritating with nighttime triggers.
Installing a sconce with a USB port and magnetic mounting
Eco-Service installs sconces with a USB port by the bed for charging a phone and models with magnetic mounting — for removable light fixtures. Installing a sconce above the bed is the most common task in bedrooms: the outlets there are usually occupied, and the USB port delivers 5 V and 1-2 A, which is enough for a smartphone and a watch, but not for a laptop. For more powerful devices, a separate power supply in the wall is needed. Magnetic mounting holds the shade on neodymium discs — the light fixture is removed in one motion to wipe it down or charge it from a power bank on a trip. The USB port in a sconce is powered by a separate converter inside the body, so such a model cannot be connected to a dimmer — brightness adjustment will ruin the power supply.
Table: sconce function and what is needed for its installation
| Function | What is required | Where it is appropriate |
|---|---|---|
| Dimmer | LED lamp marked dimmable | Bedroom, living room |
| Switch | Separate line or branch | Hallway, study |
| Motion sensor | Direct line of sight to the passage | Corridor, staircase |
| Touch sensor | Grounding of the body | Bathroom, kitchen |
| USB port | 5 V converter inside the body | Bedroom, workspace |
| Magnetic mounting | Even load-bearing surface | Removable light fixture |
If you are planning several functions at once — dimmer plus USB, sensor plus touch — compatibility is checked before buying the light fixture, not after. And if you decide to install a sconce for the first time, it is easier to start with a basic model with a switch, and add an expanded scenario later — it is easier to select compatible modules than to redo a finished wall installation of a sconce.
Placement scenarios: installing a wall sconce above the bed, in the bathroom, on the staircase, and in a niche
The installation location dictates the height, the type of mounting, and moisture protection. Let's look at four typical scenarios: above the bed, in the bathroom, on a stair flight, and in a niche.
Installing a sconce above the bed: height and placement
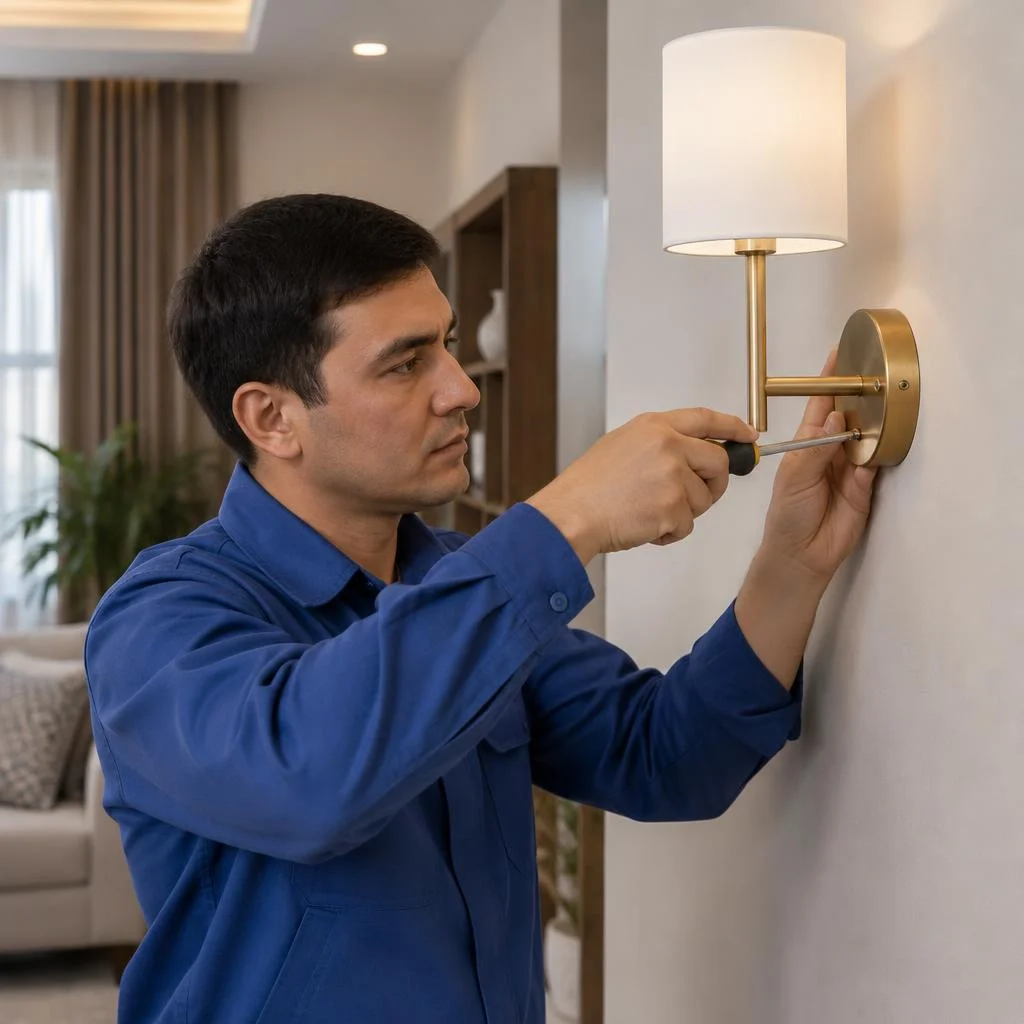
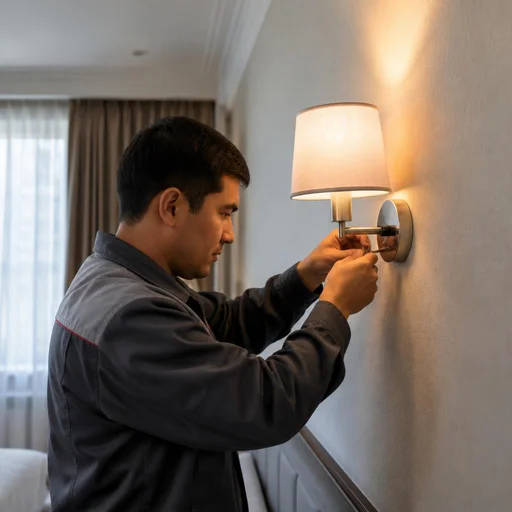
Eco-Service installs sconces above the bed at a height of 1.2-1.5 m from the floor — this way the light doesn't shine into the eyes of someone lying down and falls on the book. If the bed is a double, the fixtures are placed not in the center but on both sides of the headboard at a distance of 40-60 cm from the edge — a single sconce lights only half of the sleeping area. For reading while lying down, an angled shade with a swivel arm is optimal: the directed flow doesn't scatter throughout the room and doesn't disturb the other person. If the headboard is made of drywall, the fasteners are selected for hollow walls — otherwise the fixture will rip out the sheet at the first tug on the cord. Installing a sconce on the wall by the headboard begins with checking where the cable from the switch runs: in panel buildings in Tashkent, the wiring often runs from an outlet on the opposite wall, and a concealed chase will cost more than an exposed cable duct.
Installing a sconce in the bathroom: moisture protection and mirror
Eco-Service installs bathroom sconces with an IP44 rating or higher, most often on the sides of the mirror for even facial lighting. Symmetrical fixtures on both sides of the mirror provide even light without shadows under the eyes — a single lamp above creates shadows that interfere with shaving and applying makeup. In the area above the sink, IP44 is sufficient, but in close proximity to the shower or bathtub, IP65 is already required: splashes and condensation destroy an ordinary socket within a few months. Installing a sconce in the bathroom is done with moisture-resistant fasteners and a silicone gasket — it covers the cable entry point and doesn't let steam inside the mounting box. Take the wall material into account: for tile, you need to drill with a hole saw without impact, otherwise the tile cracks at the edge of the hole.
Installing a sconce on the staircase and in a niche
- Height on a flight: the fixture is placed 1.8-2 m from the step so that someone walking doesn't hit their head on the shade and arm.
- Step lighting: on a staircase, sconces are supplemented with lower lighting of the flights — overhead light leaves the steps in shadow.
- Niche depth: choose a model whose arm doesn't protrude beyond the wall plane, otherwise the fixture catches on clothing and curtains.
- Stretch ceiling: installing a sconce in a niche under a stretch ceiling requires a mounting bar before the ceiling is installed.
- Calculating points: on a staircase with two or more flights, count one point for every 3-4 steps.
What affects the final price
The placement scenario directly affects what the price of sconce installation will be: work in a niche, on a stair flight, or on a mirror requires more fasteners, time, and surface preparation than a flat wall. Installing a sconce with cable routing through concrete takes two to three times longer than connecting to a ready power point — hence the difference in the estimate. In the bathroom, moisture-resistant fasteners and sealing of the entry point are added; on the staircase, height calculation and work on scaffolding. To understand the ballpark figures for your case, compare the price list for sconce installation for different surfaces and zones. For niches, stretch ceilings, and stair flights, it's better to call a specialist in advance: they will assess the mounting points and wiring on site before work begins.
How we work: stages, timelines, 2-year warranty and a service center in Tashkent
A direct provider of the service, not an aggregator: our own service center in Tashkent, electrician technicians, 2-year warranty on installation. Let's break down how the work proceeds from request to connection.
Stages of work: from request to connection
- Request and clarification of the surface: the client states the wall type, the height of the point and the model of the light fixture — the technician selects the fasteners in advance for concrete, brick or drywall.
- Visit with marking: the technician arrives with tools, checks the base, marks the axis and height for installing the wall light, and agrees on the point with the customer.
- Installation and connection: drilling, securing the fasteners, mounting the body, connecting the wires via terminal blocks, insulation and connection to the lighting line.
- Testing under load: test switching on, checking contact heating, adjusting the dimmer or sensor if they are included in the kit.
2-year warranty and what it covers
Eco-Service provides a 2-year warranty on the installation and connection of the wall light — including fasteners, connections and the technician's work. If the light fixture pulls away from the wall, the terminal block heats up or the dimmer starts humming due to a wiring error, the technician comes again and eliminates the cause. The warranty does not cover failure of the lamp or light fixture itself — that is the manufacturer's responsibility; but if the wall light falls off the wall due to the fasteners, we will redo it at our own expense. Customers often write to the service exactly like this — install a wall light — and the technician immediately understands what is meant: he will select fasteners for the base, check the line and secure the body exactly level. A warranty case is processed with a report and receipt, so keep the documents after installation — on a repeat request this will save time on coordination.
Our own service center in Tashkent and the service area
Eco-Service is a direct provider with its own service center in Tashkent: in-person reception, without intermediaries or aggregators. We travel to all districts — Chilanzar, Yunusabad, Mirzo-Ulugbek, Yashnabad, Sergeli, Shaykhantakhur; within the city the technician usually arrives within a day after the request is confirmed. A direct provider means that the same technician who did the work is responsible for it — there is no need to forward a complaint through an intermediary platform. Ask about the cost of installing a wall light on the wall and the scope of work before the visit: this way the technician immediately brings the right fasteners and does not waste time on a second visit.
Conclusion
Five takeaways that will save time and money when installing: from choosing fasteners to checking function compatibility. Below is what most often affects the result.
Main takeaways
- The surface type determines the fasteners: concrete and brick hold on dowels, drywall requires a backing block, a stretch ceiling requires a backing block before stretching.
- Connection to the mains: terminal blocks with grounding, twisted connections are unacceptable; before work the line is de-energized and checked with a tester.
- Functions require compatibility: dimmer, motion sensor, USB and touch control work only with suitable lamps and modules — check before purchasing.
- Height depends on the scenario: above the bed — 1.2-1.5 m, on the staircase — 1.8-2 m, in the bathroom — on the sides of the mirror.
- Professional installation of a wall light with a 2-year warranty removes the risk of damaging the wall and errors in the electrical work.