
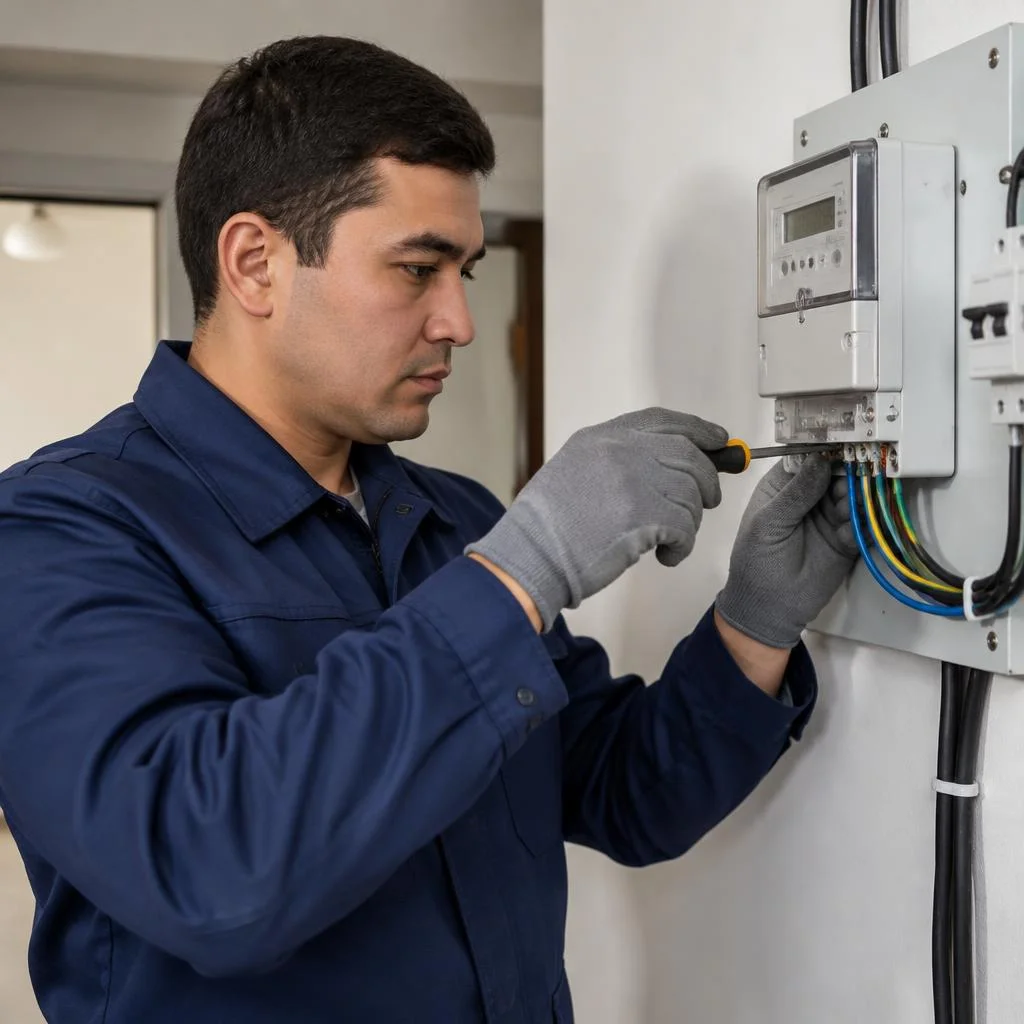
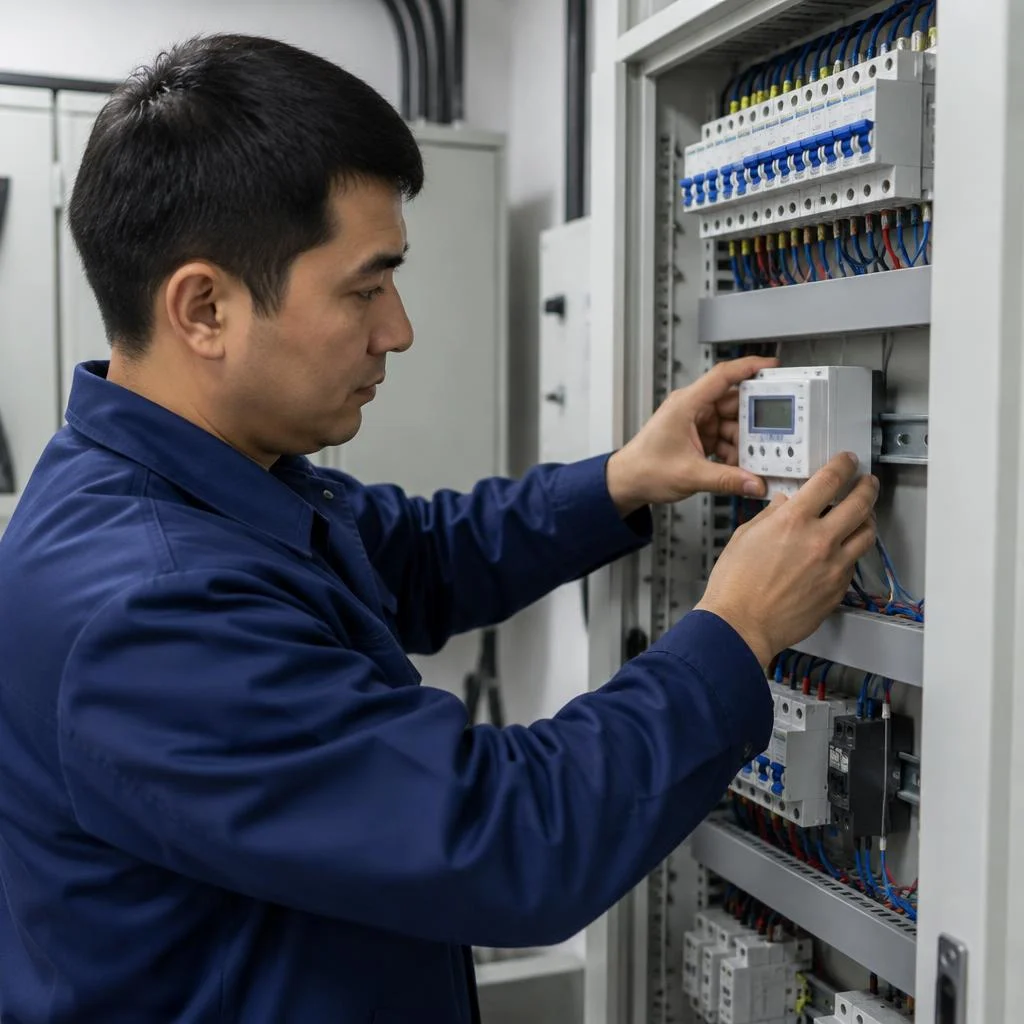
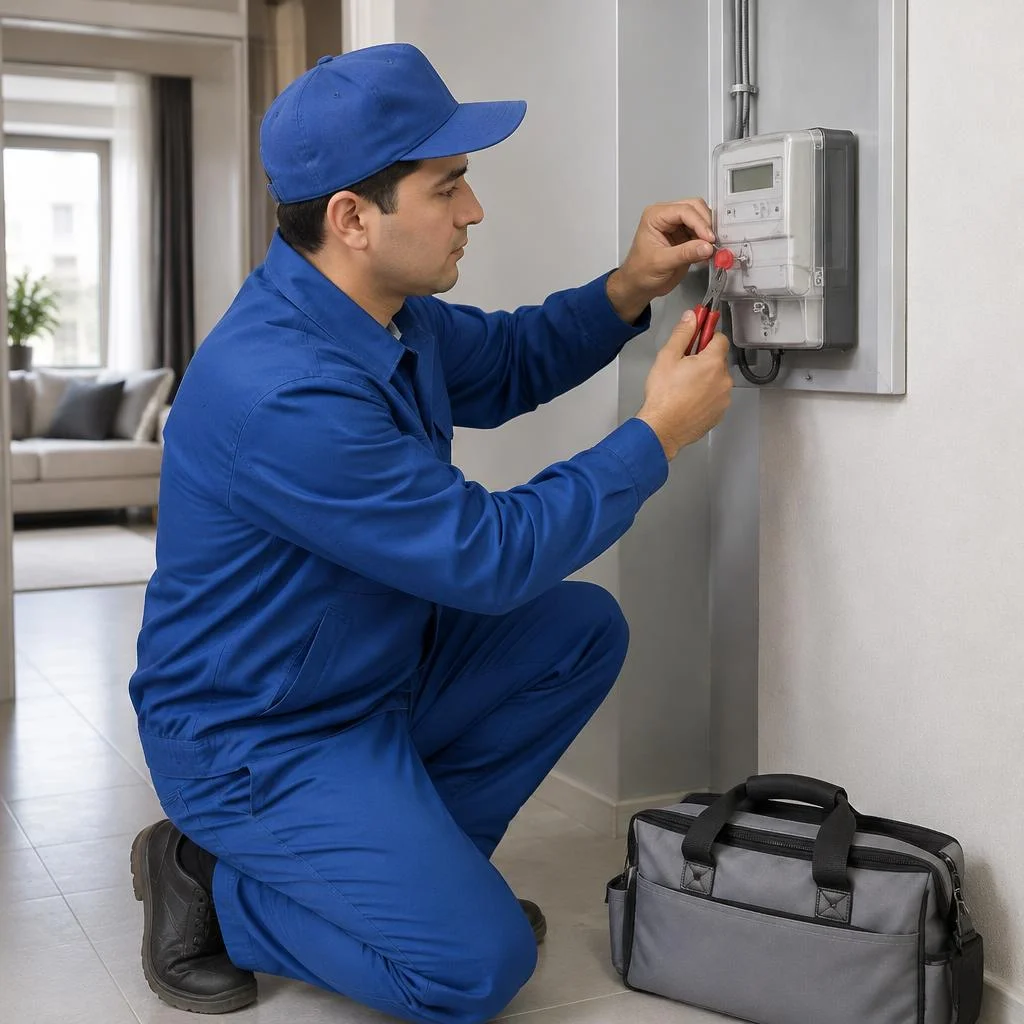
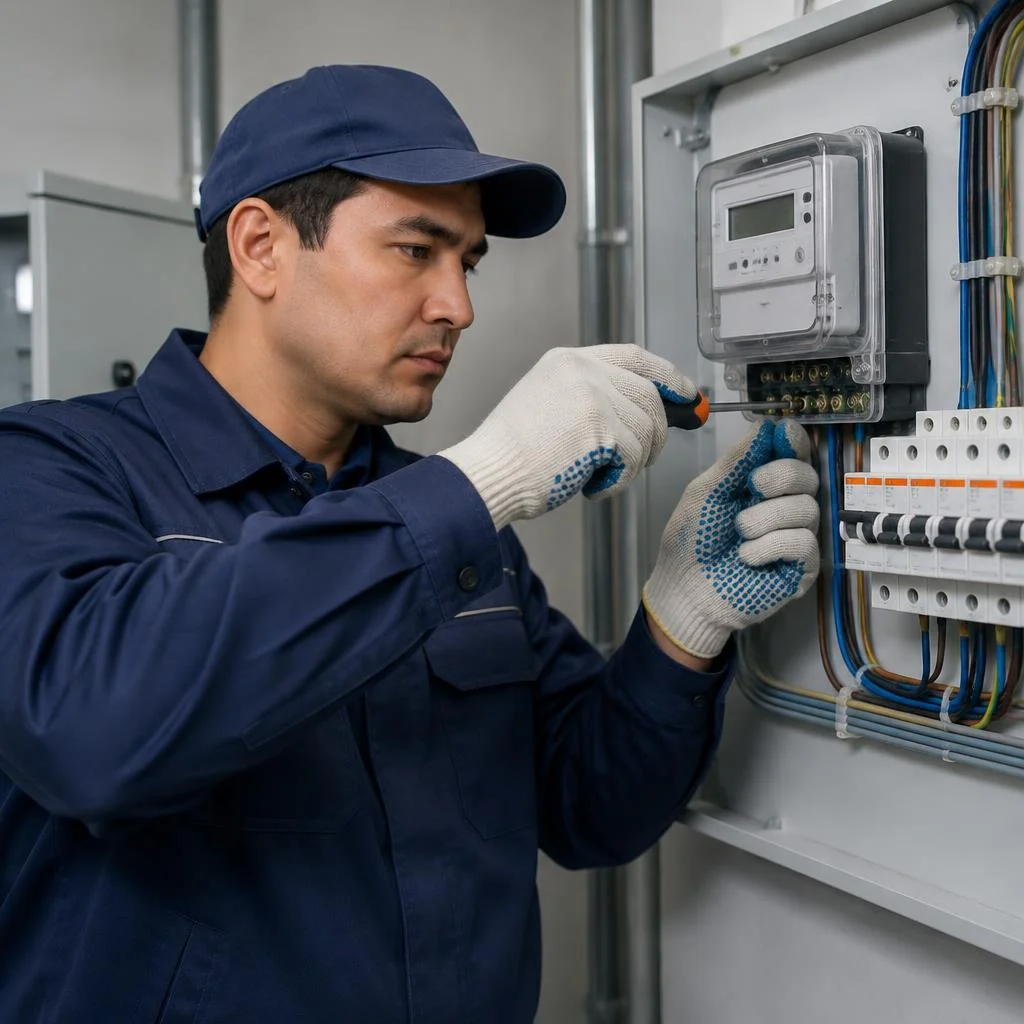








When a new electricity meter is needed and which devices are installed today
This question arises for owners of apartments and private houses in Tashkent for three reasons: meter wear, expiration of the verification interval, and the switch to multi-tariff metering. We explain how to recognize the need and which type of device suits a specific input configuration.
Signs that the meter needs replacing
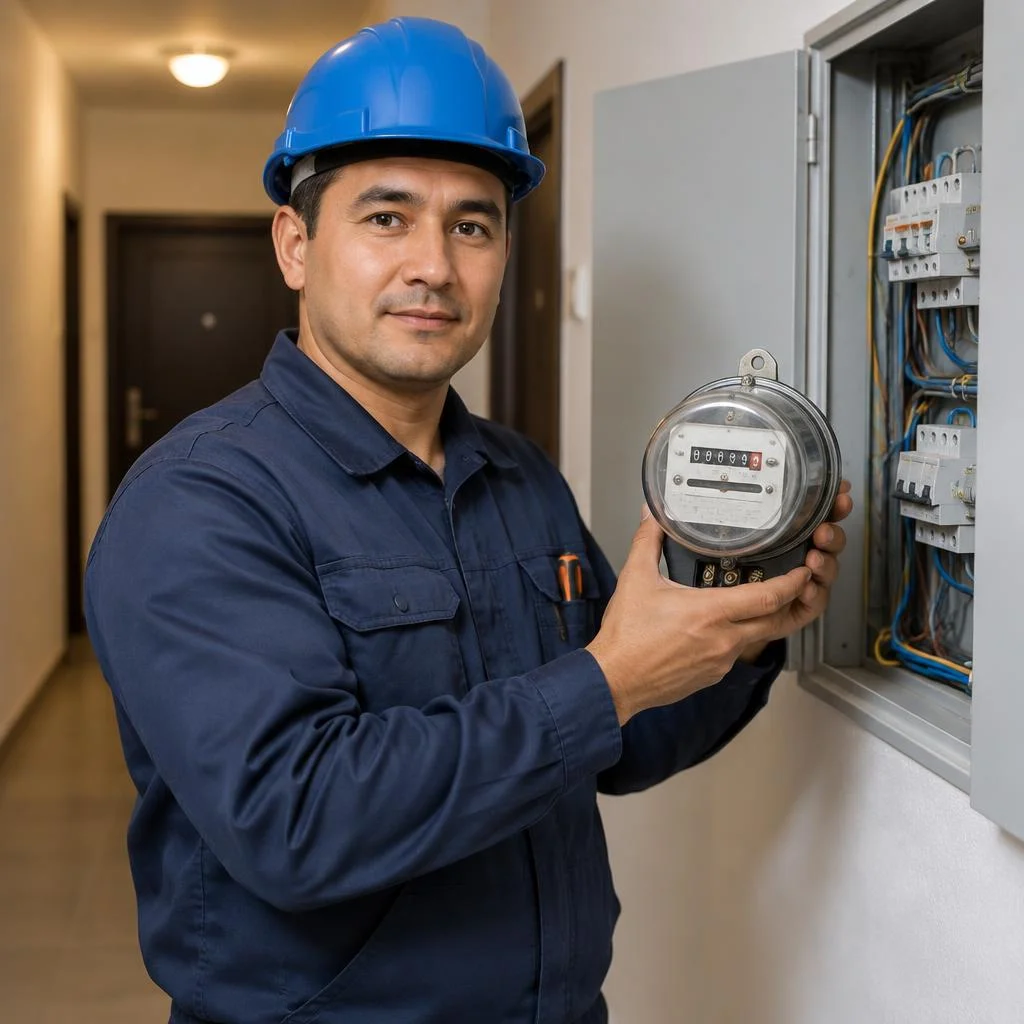
- The verification interval has expired: for induction devices it is 8 years, for electronic ones — from 10 to 16 years depending on the model.
- The body or glass is damaged: cracks, traces of scorching, melted terminals — a direct reason for replacement, not repair.
- The seal is broken or damaged: it is installed by the energy supply organization, and any independent interference is recorded as a violation.
- The readings diverge from actual consumption: if the disk keeps rotating when all consumers are disconnected, the device is faulty.
- The accuracy class does not meet the standards: an old induction meter with class 2.5 bills with an error higher than permissible under modern requirements.
- The device hums or heats up: extraneous noise and heating of the body indicate problems with the winding or mechanics.
Induction, electronic or Smart Meter: which to choose
| Device type | Operating principle | Tariff support | Who it suits |
|---|---|---|---|
| Induction | Rotating disk in a magnetic field | Single-tariff | Dacha plots, minimal load |
| Electronic | Microchip counts pulses | Single- and multi-tariff | Apartments, houses with night-time consumption |
| Smart Meter | Microchip and communication module | Multi-tariff, remote transmission | Houses with online consumption monitoring |
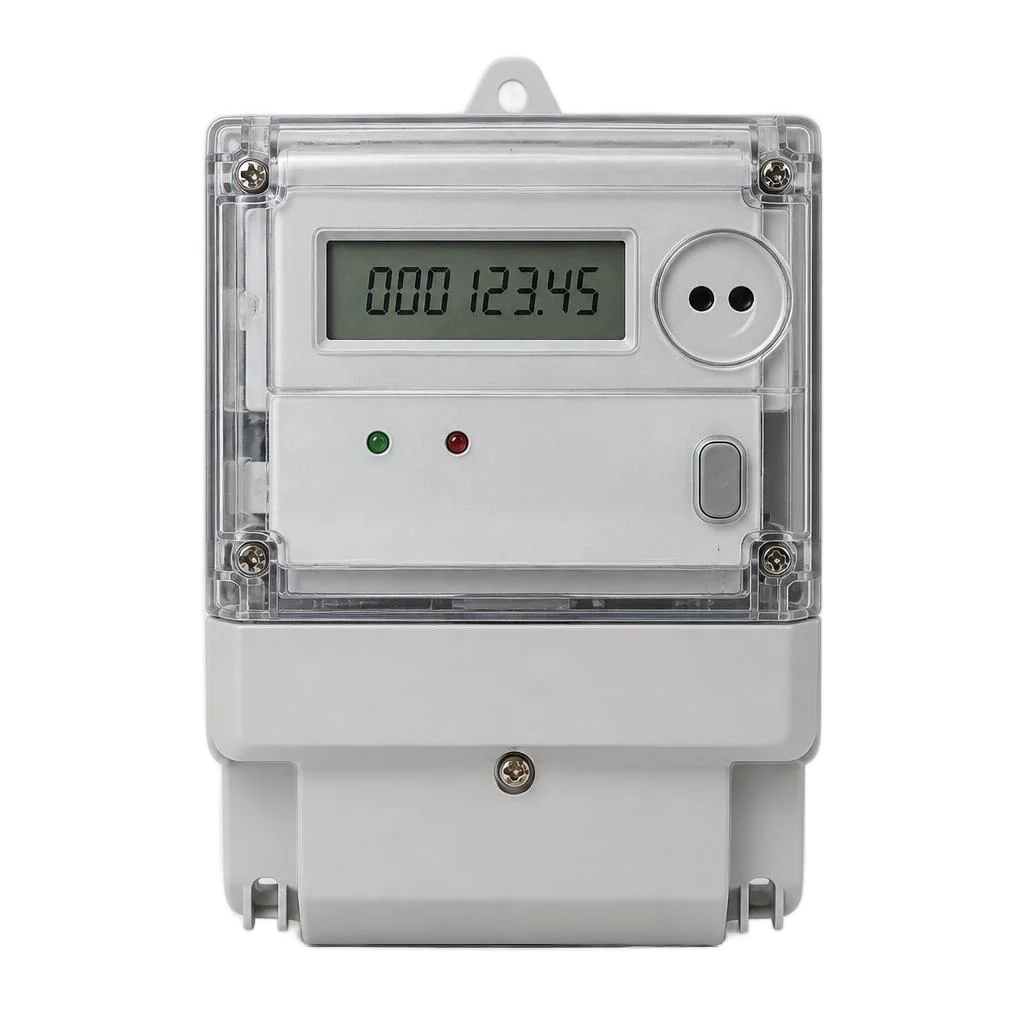
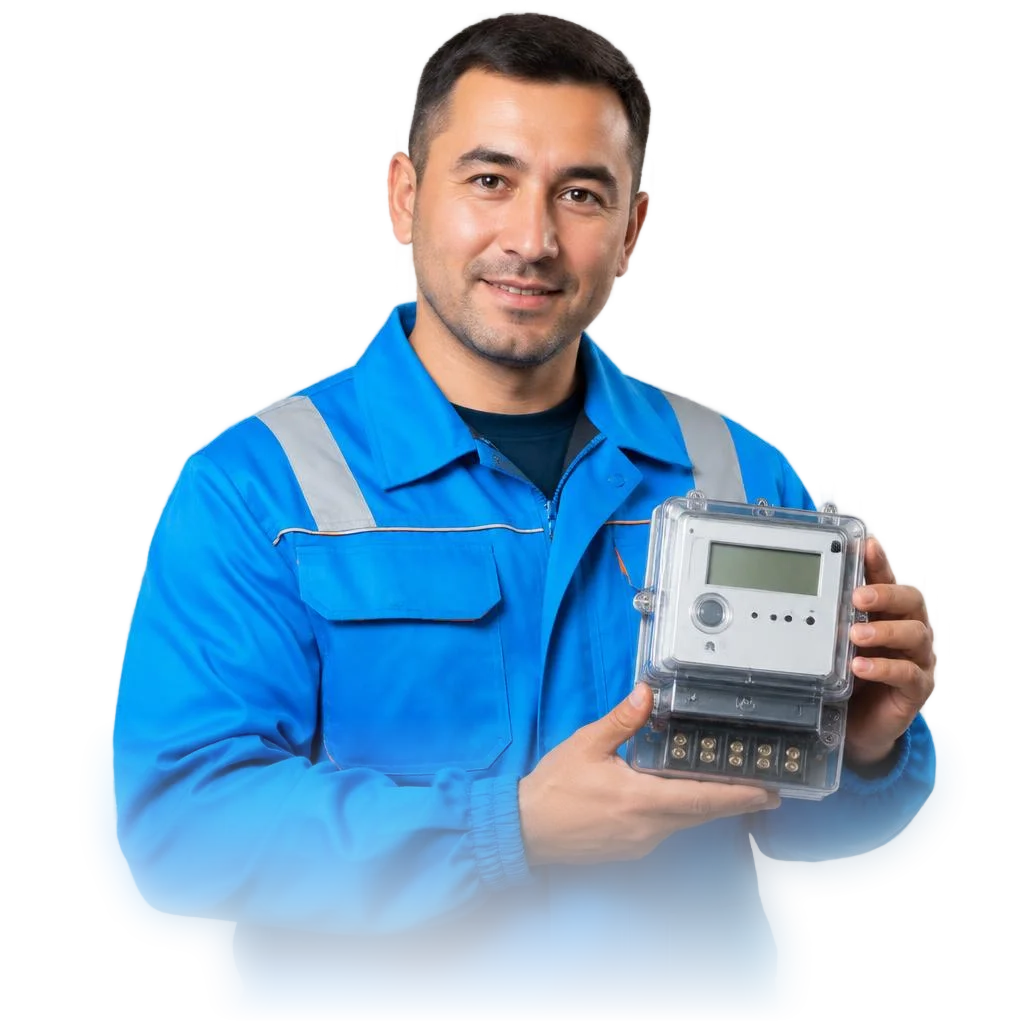
Electricity meter replacement in most Tashkent requests concerns Soviet-style induction devices, which are replaced with electronic ones of accuracy class 1.0. Eco-Service installs electronic and Smart Meter models: they are more accurate than induction ones and support multi-tariff mode. When switching from a disk device to an electronic one, the accuracy class increases, which reduces billing error, but it requires correct configuration of tariff zones — otherwise the savings from multi-tariff metering will not materialize.
Single-phase or three-phase: how to determine by load
A single-phase meter is installed for the standard load of an apartment, a three-phase one — for a 380 V input, powerful appliances, and in private houses. In Tashkent new buildings with electric stoves and boilers, three-phase input is increasingly being designed: the total power of household appliances exceeds the capacity of a single phase. For a private house with a pump, welding machine, or heating station, a three-phase device is not a luxury but a necessity, otherwise when switched on simultaneously the load skews onto one phase. In search, clients often type briefly — electricity meter replacement Tashkent — and from such a query the technician immediately understands the task and requests a photo of the panel. The type of meter is determined not by preference but by the input configuration: if there are three phases in the panel, a single-phase device physically cannot cover the load and will lead to phase imbalance. Selection is carried out according to the input configuration, not by price list — a mistake at this stage results in a repeat replacement and new coordination with the energy supply organization.
How electricity meter replacement works: stages, timelines and approval
The standard procedure takes a single visit by a technician — from dismantling the old device to sealing the new one. Let's break down the process step by step: what is done with the panel, how the device is mounted, and why approval is issued on the same day.
Dismantling the old device and preparing the panel
- De-energizing the line: we cut the voltage at the main circuit breaker and check with a tester that there is no phase on the terminals before any work.
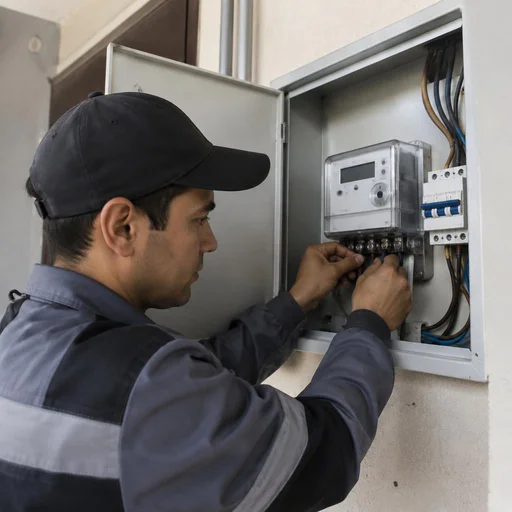
- Dismantling the old meter: we disconnect the wires, remove the device from its mount and label the conductors so that phase and neutral are not mixed up during installation.
- Inspecting the terminal block: we examine the contacts for carbon deposits and oxidation, check that the screws are tight and that the cable insulation to the meter is intact.
- Checking the mount and the circuit breaker: we assess the condition of the DIN rail and the circuit breaker, and if worn, replace them with a new one of a suitable rating.
- Preparing the panel: we remove old shavings and dust, level the mounting seat, and if necessary seal the cable entry.
Mounting on the DIN rail and connecting to the grid
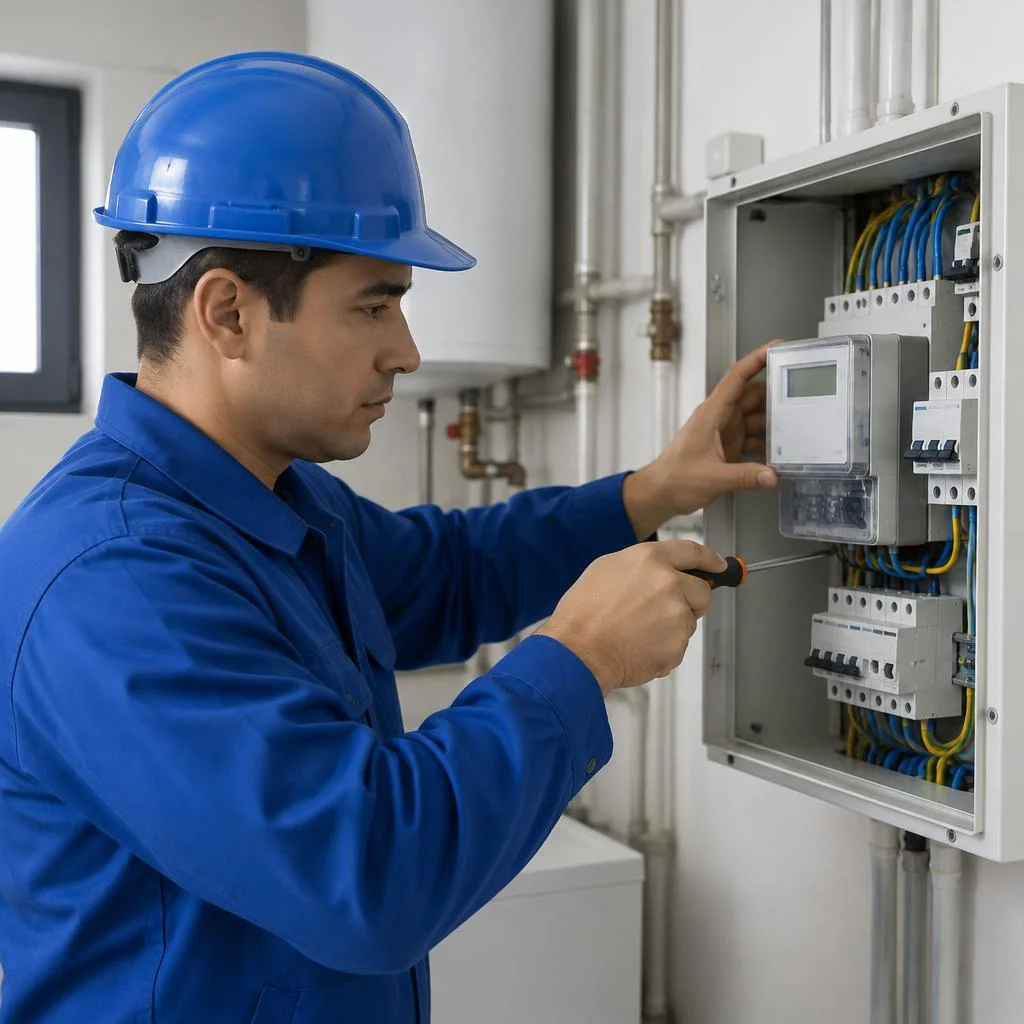
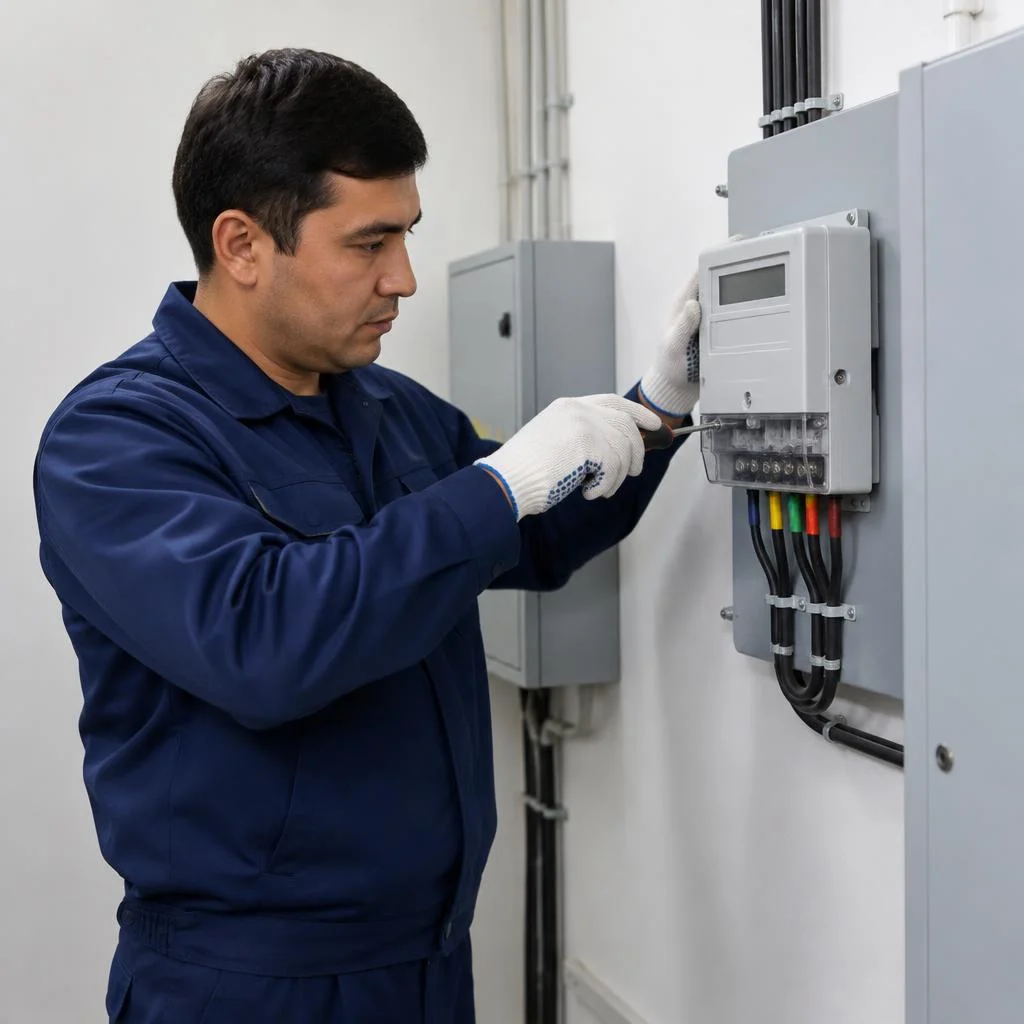
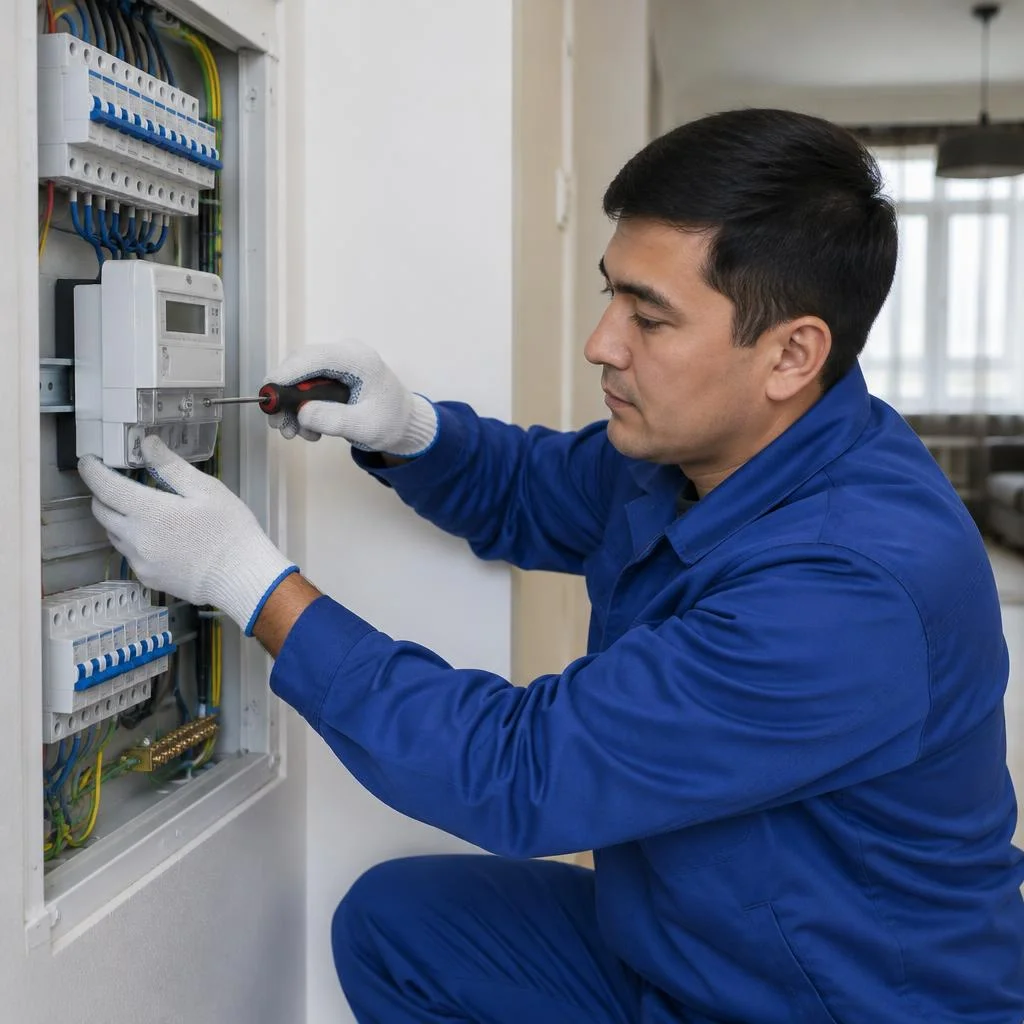
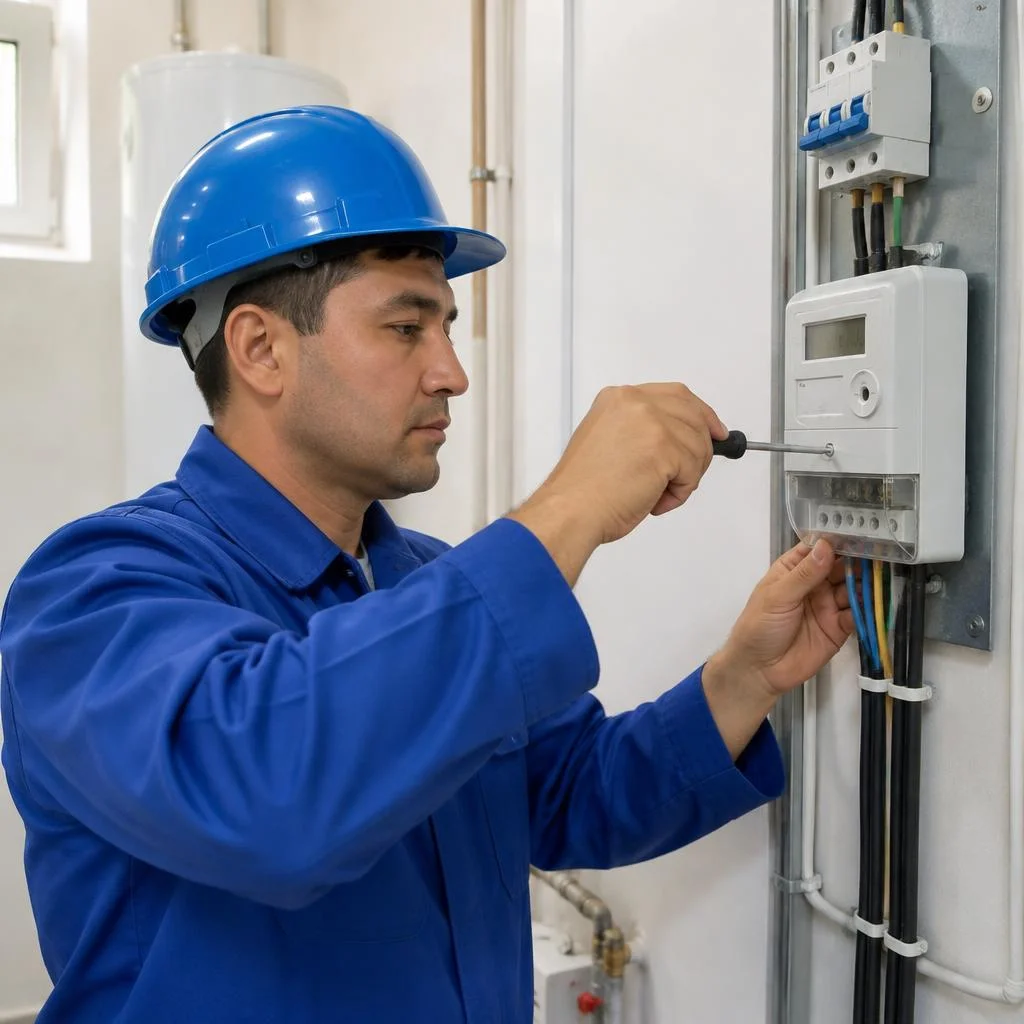
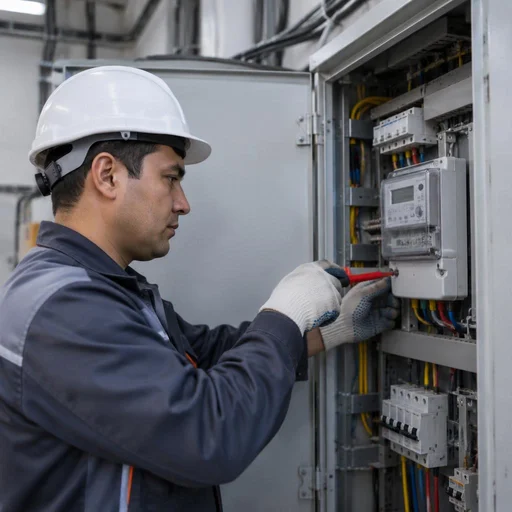
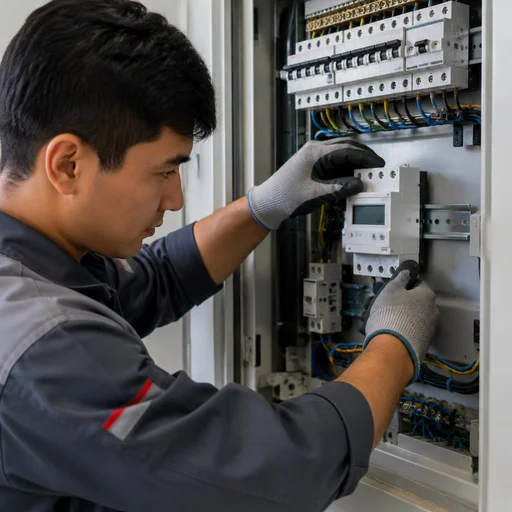
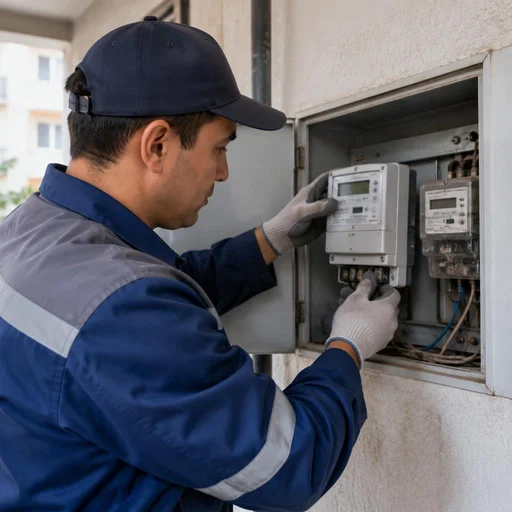
We mount the new device on the DIN rail in the distribution panel, connect it to the grid according to the factory diagram, and check the connection with a multimeter before applying voltage. For an apartment in Tashkent, a single-phase electronic device with accuracy class 1.0 is most often chosen; for a private house with a three-phase supply, a 380 V model with current up to 100 A is used. A standard 35 mm DIN rail holds a device 2-6 modules wide; on it we also place the circuit breaker and voltage relay, if required by the project. We make the connection with copper cable sized for the calculated load, and crimp the ends with ferrules — this way the contact does not heat up under peak currents from a boiler or electric stove. Checking the circuit before applying voltage eliminates reversed polarity and short circuits: this step takes a couple of minutes and protects the new device from failure on the very first switch-on.
Sealing and issuing approval
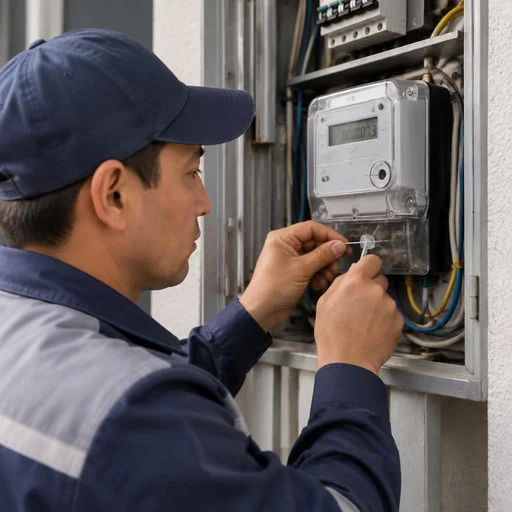
After installation, we seal the meter and help arrange the approval certificate with the energy supply organization so that the readings are accepted for billing. The seal is placed on the terminal cover and on the main circuit breaker — this records that access to live parts is closed and that the circuit has not been changed after inspection. The approval certificate is issued against the subscriber's account: the inspector verifies the device number, the readings at the time of installation, the cable cross-section and the circuit breaker rating, then enters the data into the database and passes it to the billing department. Electricity meter replacement in Tashkent is a procedure where this stage is critical: without a valid seal and certificate, the readings of the new device are not counted, and operation begins only after it is issued. That is why sealing cannot be postponed — approval stretched over weeks results in recalculation at an average tariff.
Replacing an electricity meter in an apartment and a private house: how the scenarios differ
The work plan depends on the property: in an apartment and a private house, the type of service entry, the installation location of the device, and the scope of installation differ. Let's look at each scenario separately.
Replacing a meter in an apartment
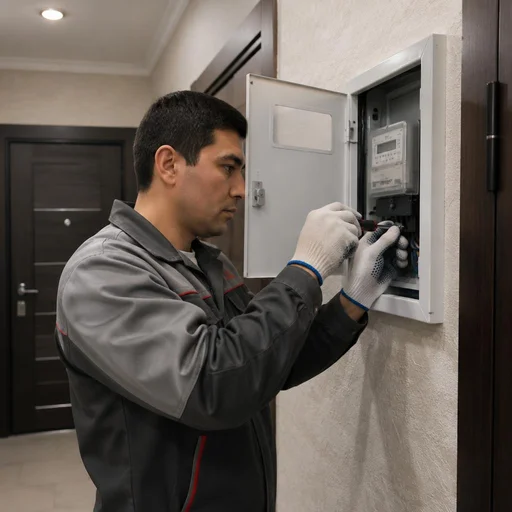
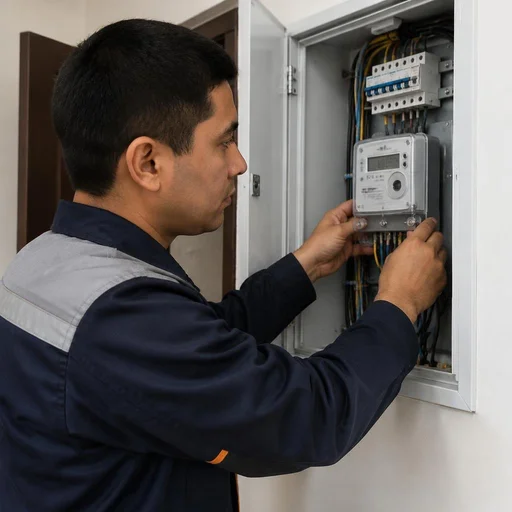
In an apartment, we replace the metering device in the floor-level or in-apartment panel — most often this is a single-phase device mounted on a DIN rail. In Tashkent high-rise buildings in Chilanzar and Yunusabad, the floor panels are located on the stairwell landing, and access to them is limited: if the device is inside the apartment, the work takes one visit; if it is in the shared panel, a key to the entrance door and the presence of a management company representative are required. Standard installation in an apartment involves dismantling the old module, installing the new one on the rail, connecting it to the network, and checking the circuit. In multi-apartment buildings, it is important to coordinate access to the floor panel in advance — without this, the technician wastes time on site, and the work stretches into a second visit.
Replacing a meter in a private house
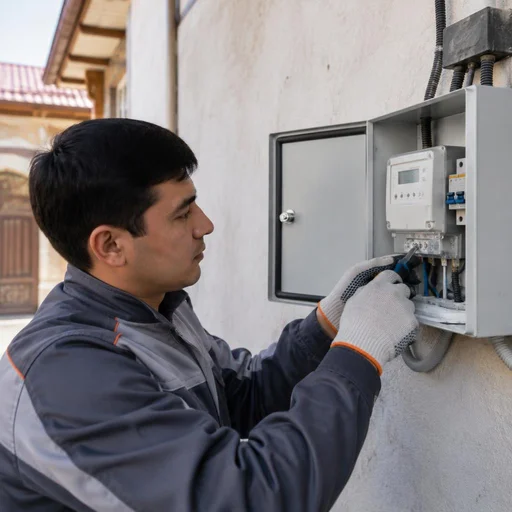
In a private house, we more often install a three-phase device, if necessary with a transformer for high loads, and carry out installation taking into account the outdoor service entry. In the Sergeli, Kuylyuk, and Darkhan areas, the service entry runs overhead from a utility pole, so a separate cable is routed to the meter in corrugated conduit or pipe, and the device itself is placed in an outdoor box or in a panel on the wall of the house. Electricity meter replacement in Tashkent for the private sector often includes replacing the cable to the meter: old aluminum wiring cannot handle the modern load from a water heater, air conditioner, and electric stove. For a private house, clarify the service entry capacity in advance: whether a transformer is needed depends on it — redoing work after installation is more expensive than selecting the right option from the start.
Moving the meter to a new location
- Approval of the point: the new location is fixed with the energy supply organization before work begins — otherwise approval will be denied.
- Cable routing: a cable of the required cross-section is run from the old service entry to the new location in protective corrugated conduit or pipe.
- Preserving the circuit: phase and neutral are connected in the same order as on the previous device so as not to disrupt metering.
- Checking and sealing: after installation, the connection circuit is checked and the device is submitted for sealing.
Multi-tariff and Smart Meter: setup and remote data transmission
Modern metering devices can do more than just count kilowatts: they distribute the load across tariff zones and transmit data without a controller's visit. We explain how this works in practice.
Setting up a multi-tariff meter
We configure a multi-tariff meter for day/night zones so that consumption during low-tariff hours is counted at a reduced rate. Programming is done via the optical port or a service menu: we set the zone boundaries, synchronize the device's internal clock with real time, and check the correctness of switching under a test load. An error in the zone boundaries is a common reason why savings don't appear: the device counts nighttime kilowatts at the daytime rate, and the owner only finds out about it from the bill. We perform the setup of the multi-tariff mode on electronic models that support two or more tariffs, including devices installed earlier by other contractors. Clients often phrase their request as replacing an electricity meter in Tashkent — and from such a request we immediately understand that a device with zone metering support is needed, not a simple single-tariff one. Savings from the multi-tariff mode only appear when the load is shifted to nighttime hours — without changing consumption habits, the device pays for itself slowly, so before setting it up it's worth assessing which appliances can realistically be turned on after 23:00.
Smart Meter and remote reading transmission
A Smart Meter transmits readings remotely, without manual reading, and allows consumption to be monitored through the energy supplier's service. Transmission goes through a built-in communication module: the device itself sends data packets to the server, and the owner sees consumption in their personal account and receives notifications about spikes. Installing an electricity meter in Tashkent as a Smart Meter most often happens in new buildings and during major wiring renovations, when the panel is assembled from scratch. Eco-Service installs such devices with a check of the installation point before work begins. For a Smart Meter, signal quality at the installation site is critical: in basements and metal panels the connection may be unstable, so the installation point is checked before installation — if the signal is weak, the device is moved higher or the antenna is brought outside.
Meter replacement with sealing and related work
A metering device is rarely limited to a single enclosure: terminals, mounting, cable wear out, and the panel becomes outdated. Let's break down which related works go together with sealing and why they shouldn't be postponed.
Meter replacement with sealing
- Dismantling and installation: we remove the old device, install a new one on a DIN rail or adapter panel, and connect the phase and neutral conductors according to the diagram.
- Circuit check: we ring out the line, measure the load, and make sure the device correctly records consumption before energizing.
- Seal installation: the power supply organization seals the terminal cover and enclosure, and draws up an admission certificate with the seal number and readings.
- Documents: we prepare the replacement certificate, the device passport, and the application — these papers confirm that the work was carried out legally.
Terminal block, mounting, and cable: what we replace along the way
- Terminal block: we replace it when it's melted, darkened, or the screws are loose — a new assembly costs less than a repeat visit by a technician after a short circuit.
- Meter mounting repair: we restore the DIN rail, adapter panel, and fixing points if the enclosure wobbles or sags under the weight of the wires.
- Cable to the meter: we replace the section with damaged insulation, signs of overheating, or insufficient cross-section for the current load.
- Input terminals: we tighten and crimp the contacts to eliminate heating and false tripping of the protection.
- Leakage current: we check the line insulation and, if necessary, add an RCD if the device is installed at the input to a private house.
Installation of the distribution panel and circuit breaker
We install the distribution panel and set up a circuit breaker to protect the meter line from overloads. If the old enclosure is too cramped or there isn't enough space on the DIN rail for the new device, we assemble a panel with spare modules for future lines, run a cable of the required cross-section, and label the groups. The circuit breaker is selected according to the meter's rated current: an oversized rating won't protect the device, while an undersized one will trip the line under normal load. For a three-phase input we install a three-pole breaker; for a single-phase one, a single-pole breaker with a mandatory neutral. In requests, clients often write briefly: how much does meter replacement cost — and the technician immediately understands that a calculation is needed for the panel, cable, and breaker. The final estimate depends on the number of modules, cable cross-section, and the scope of work on assembling the enclosure, so the exact figure is calculated after inspection.
2-Year Warranty, Service Center, and How to Order a Replacement
Before ordering, it is important to understand exactly what the warranty covers, how a technician visit is arranged, and which payment methods are available. Let's break down how the process works and the points of contact.
2-Year Warranty on Work
Eco-Service provides a 2-year warranty on installation, connection to the grid, and sealing of the electricity meter. The obligations cover the entire work cycle: mounting the device on a DIN rail, tightening the terminal block, connecting the cable, checking the circuit, and processing the permit. We issue the warranty card together with the certificate of completed work — it states the date, type of work, and the technician's details. If the device operates incorrectly after installation, we carry out a repeat visit for a warranty case at no additional charge. The warranty is valid as long as the seal remains intact and there has been no independent interference with the circuit — any modification after installation voids the obligations. If you plan to modify the panel, tell the technician in advance: some operations can be included in the main order.
Service Center in Tashkent and Technician Visits
Eco-Service has its own service center in Tashkent with in-person reception, and we arrange technician visits upon request. You can reach out in two ways: bring the old device to the center or submit a request for a visit — the technician will arrive with tools, a multimeter, and fasteners. In-person reception is convenient when you need to show an induction meter with damaged glass or discuss modifying the panel: photos don't always show the condition of the terminals, mounting, and incoming cable. We offer visits throughout the city, including the Kuyluk area, Yunusabad, Sergeli, and Mirzo-Ulugbek district. Before the visit, clarify the floor number and panel type — the set of fasteners differs for a private house and an apartment. If the meter is located on a stairwell landing, arrange access in advance.
Payment and Contact Methods
- Click and Payme: transfer by phone number or via the app after signing the certificate of completed work.
- Uzcard and Humo: card payment at the service center during in-person reception or via terminal from the technician on-site.
- Telegram: submit a request with photos of the panel and old device — the technician will assess the scope and confirm the visit time.
- Instagram: direct message for consultation on choosing a meter model and clarifying timelines.
- Electricity meter replacement price and electricity meter replacement cost are fixed in the certificate before work begins — the final amount does not change after installation.
Conclusion
We've gathered the key points that determine the outcome of electricity meter replacement: from the reason for the request to the documents after installation. Below is a brief summary of the main points.
Key Takeaways
- Verification interval and housing condition: the device must be replaced when the verification interval expires, the housing is damaged, or the seal is broken — don't delay this.
- Device type: electronic models and Smart Meters are more accurate than induction ones and support multi-tariff mode with separate metering by time-of-day zones.
- Phase configuration: a single-phase or three-phase meter is determined by the input circuit to the apartment or house, not by the owner's preference.
- Documents: sealing and the permit certificate are mandatory — without them, the energy supply organization does not recognize the device readings.
- Warranty: a 2-year warranty applies to installation and related work as long as the seal remains intact.


